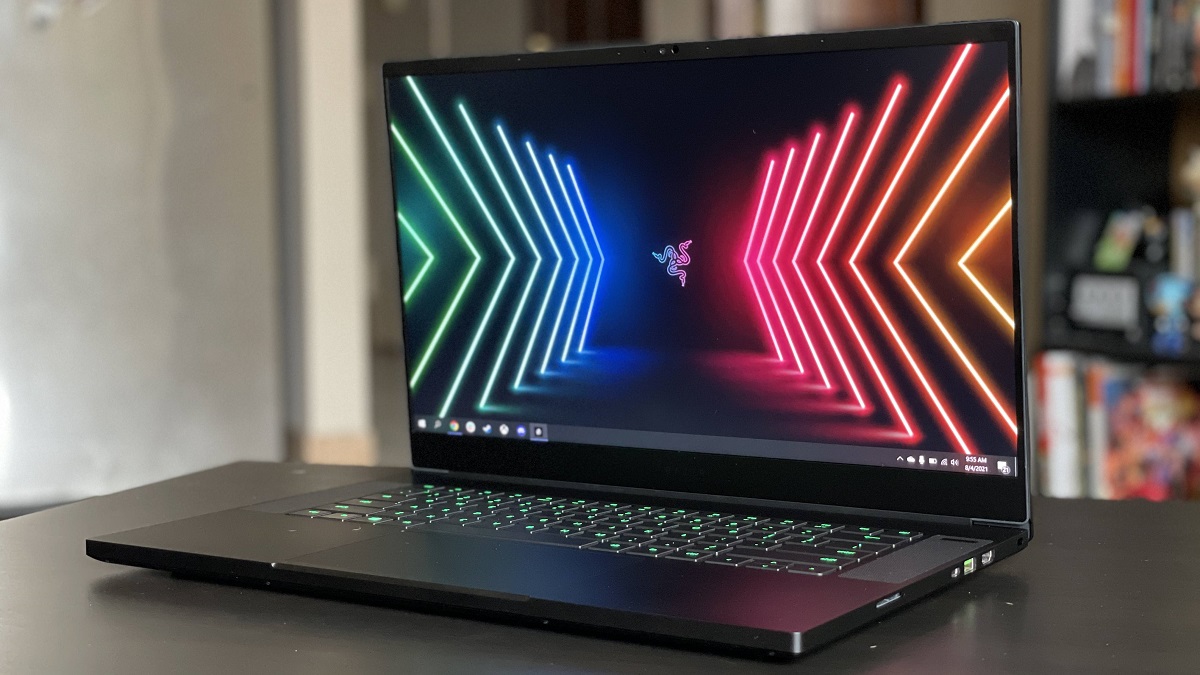
Introduction
Welcome to our guide on how to upgrade the SSD of your Razer Blade laptop. If you’re experiencing a slowdown in performance or running out of storage space, replacing the SSD can breathe new life into your machine. This step-by-step tutorial will walk you through the process, from choosing the right SSD to reinstalling the operating system.
Upgrading the SSD can significantly improve your laptop’s speed and responsiveness, allowing you to enjoy faster boot times, quicker application launches, and seamless multitasking. Additionally, with the growing demand for large file storage, a larger SSD will provide ample space for your files, games, and media.
Before we begin, ensure you have a basic understanding of computer hardware and are comfortable working with small electronic components. It’s also important to back up your data before proceeding with the upgrade. This way, you won’t lose any important files or applications during the process.
Upgrading the SSD on a Razer Blade laptop requires careful handling and precision. We recommend following the instructions provided by the manufacturer to avoid damaging your device. Please note that any modifications made to your laptop may void its warranty, so proceed at your own risk.
Now that we’ve covered the basics, let’s dive in and learn how to upgrade the SSD on your Razer Blade laptop. Follow along step-by-step, and you’ll soon have a faster and more spacious storage solution for your gaming and productivity needs.
Preparing for the Upgrade
Before diving into the SSD upgrade process, it’s crucial to take a few preparatory steps to ensure a smooth and successful upgrade. Here are some essential tasks to complete before proceeding:
1. Gather the necessary tools: To perform the SSD upgrade, you’ll need a few tools including a screwdriver set, an antistatic wrist strap, and a clean, static-free workspace. Make sure you have these items on hand before starting the upgrade.
2. Backup your data: Since the upgrade process involves opening up your laptop and replacing the SSD, there’s always a small risk of data loss. It’s important to create a backup of all your important files, documents, and media to an external storage device or cloud service. This way, you can easily restore your data if anything unexpected occurs during the upgrade.
3. Research compatible SSD options: The next step is to research and choose the right SSD for your Razer Blade laptop. Consider factors such as storage capacity, read/write speed, and compatibility with your specific laptop model. Check Razer’s official website or consult their customer support for recommended SSD options that work well with your model.
4. Check for firmware updates: Before proceeding with the upgrade, check if there are any firmware updates available for your Razer Blade laptop. Updating the firmware can often optimize performance and resolve any known issues that may interfere with the SSD upgrade process. Visit Razer’s support website or use their software utility to ensure your laptop’s firmware is up to date.
5. Unplug and power down your laptop: Prior to opening up your Razer Blade, make sure to shut it down completely and unplug any connected power sources. This step is crucial to prevent any electrical accidents or damage to the internal components during the upgrade process.
By completing these preparatory steps, you’ll be well-equipped and ready to perform the SSD upgrade on your Razer Blade laptop. Take the time to gather the necessary tools, back up your data, research compatible SSD options, check for firmware updates, and power down your laptop. With these tasks completed, you’re now ready to move on to the next phase of the upgrade process.
Choosing the Right SSD
When upgrading the SSD of your Razer Blade laptop, it’s essential to choose the right one that meets your specific needs and requirements. Here are some factors to consider when selecting the perfect SSD for your upgrade:
1. Storage Capacity: Determine how much storage space you require. SSDs are available in various capacities, ranging from 128GB to several terabytes. Consider your usage patterns and the types of files you’ll be storing to decide on an appropriate capacity. If you work with large files, such as videos or high-resolution images, opt for a larger capacity to ensure you have ample space.
2. Read/Write Speed: SSDs offer faster read and write speeds compared to traditional hard drives. A higher read/write speed translates to faster data transfer and quicker application load times. Look for SSDs with higher read/write speeds for a more responsive and efficient computing experience.
3. Interface Compatibility: Ensure that the SSD you choose is compatible with your Razer Blade laptop’s interface. Most modern laptops use the SATA III interface, while some newer models may feature the faster NVMe or PCIe interfaces. Check your laptop’s specifications and choose an SSD that supports the corresponding interface for optimal performance.
4. Brand Reputation: Opt for SSDs from reputable brands known for their reliability and performance. Popular brands like Samsung, Crucial, WD, and Kingston have proven track records in the SSD market. Reading reviews and customer feedback can help you make an informed decision.
5. Budget: Consider your budget when selecting an SSD. While higher-capacity SSDs with faster speeds tend to be pricier, it’s important to strike a balance between your desired specifications and your budget. Set a budget range and explore options within that range to find the best SSD that offers the performance and capacity you need within your allotted budget.
6. Warranty: Check the warranty offered by the SSD manufacturer. A longer warranty period indicates the manufacturer’s confidence in the reliability and durability of their product. Look for SSDs with a solid warranty to ensure peace of mind and protection in case of any unexpected failures.
Taking these factors into consideration will help you choose an SSD that best fits your requirements. Take the time to evaluate your storage needs, read/write speed preferences, compatibility with your laptop’s interface, brand reputation, budget, and warranty. By selecting the right SSD, you’ll be on your way to enjoying faster performance and increased storage space on your Razer Blade laptop.
Backing up your Data
Before proceeding with the SSD upgrade on your Razer Blade laptop, it’s crucial to create a backup of your data to ensure you don’t lose any important files or documents during the process. Here’s how you can back up your data effectively:
1. External Storage: One of the easiest ways to back up your data is by transferring it to an external storage device. This can be a USB flash drive, external hard drive, or a network-attached storage (NAS) device. Connect the external storage to your laptop and copy all the important files and folders onto it. Be sure to organize your data in a logical and easily accessible manner to simplify the restoration process later on.
2. Cloud Storage Services: Cloud storage services provide a convenient way to back up your data securely over the internet. Popular cloud storage platforms like Google Drive, Dropbox, and Microsoft OneDrive offer a certain amount of free storage space, with options to upgrade for more capacity if needed. Upload your important files and folders to the cloud storage service of your choice. This ensures that even if your external storage device fails or gets lost, your data will still be accessible from any device with an internet connection.
3. System Image Backup: Creating a system image backup is an ideal option if you want to preserve your entire system configuration and settings. With a system image backup, you can restore not only your files but also the operating system, applications, and customizations. Windows includes a built-in tool called “Backup and Restore” that allows you to create a system image backup. Follow the instructions provided by your operating system to generate a full system backup and store it on an external hard drive or network location.
4. Online Backup Services: If you prefer a comprehensive and automated backup solution, consider using an online backup service. These services continuously and securely back up your data to remote servers, offering an additional layer of protection. Providers like Backblaze, Carbonite, and IDrive offer affordable plans with different storage capacities. Install the client software provided by the online backup service and configure it to automatically back up your selected files and folders.
5. Verify your Backup: Once you’ve completed the backup process, it’s essential to verify that your data is successfully stored and accessible. Double-check your external storage device or cloud storage service to ensure that all the files you need have been properly copied. Perform a test restore of a few files to confirm that you can retrieve your data without any issues.
By backing up your data before performing the SSD upgrade on your Razer Blade laptop, you’ll have the peace of mind knowing that your important files are safe and can be easily restored. Whether you opt for external storage, cloud storage services, system image backups, or online backup services, taking the time to back up your data is a crucial step in preparing for a seamless upgrade experience.
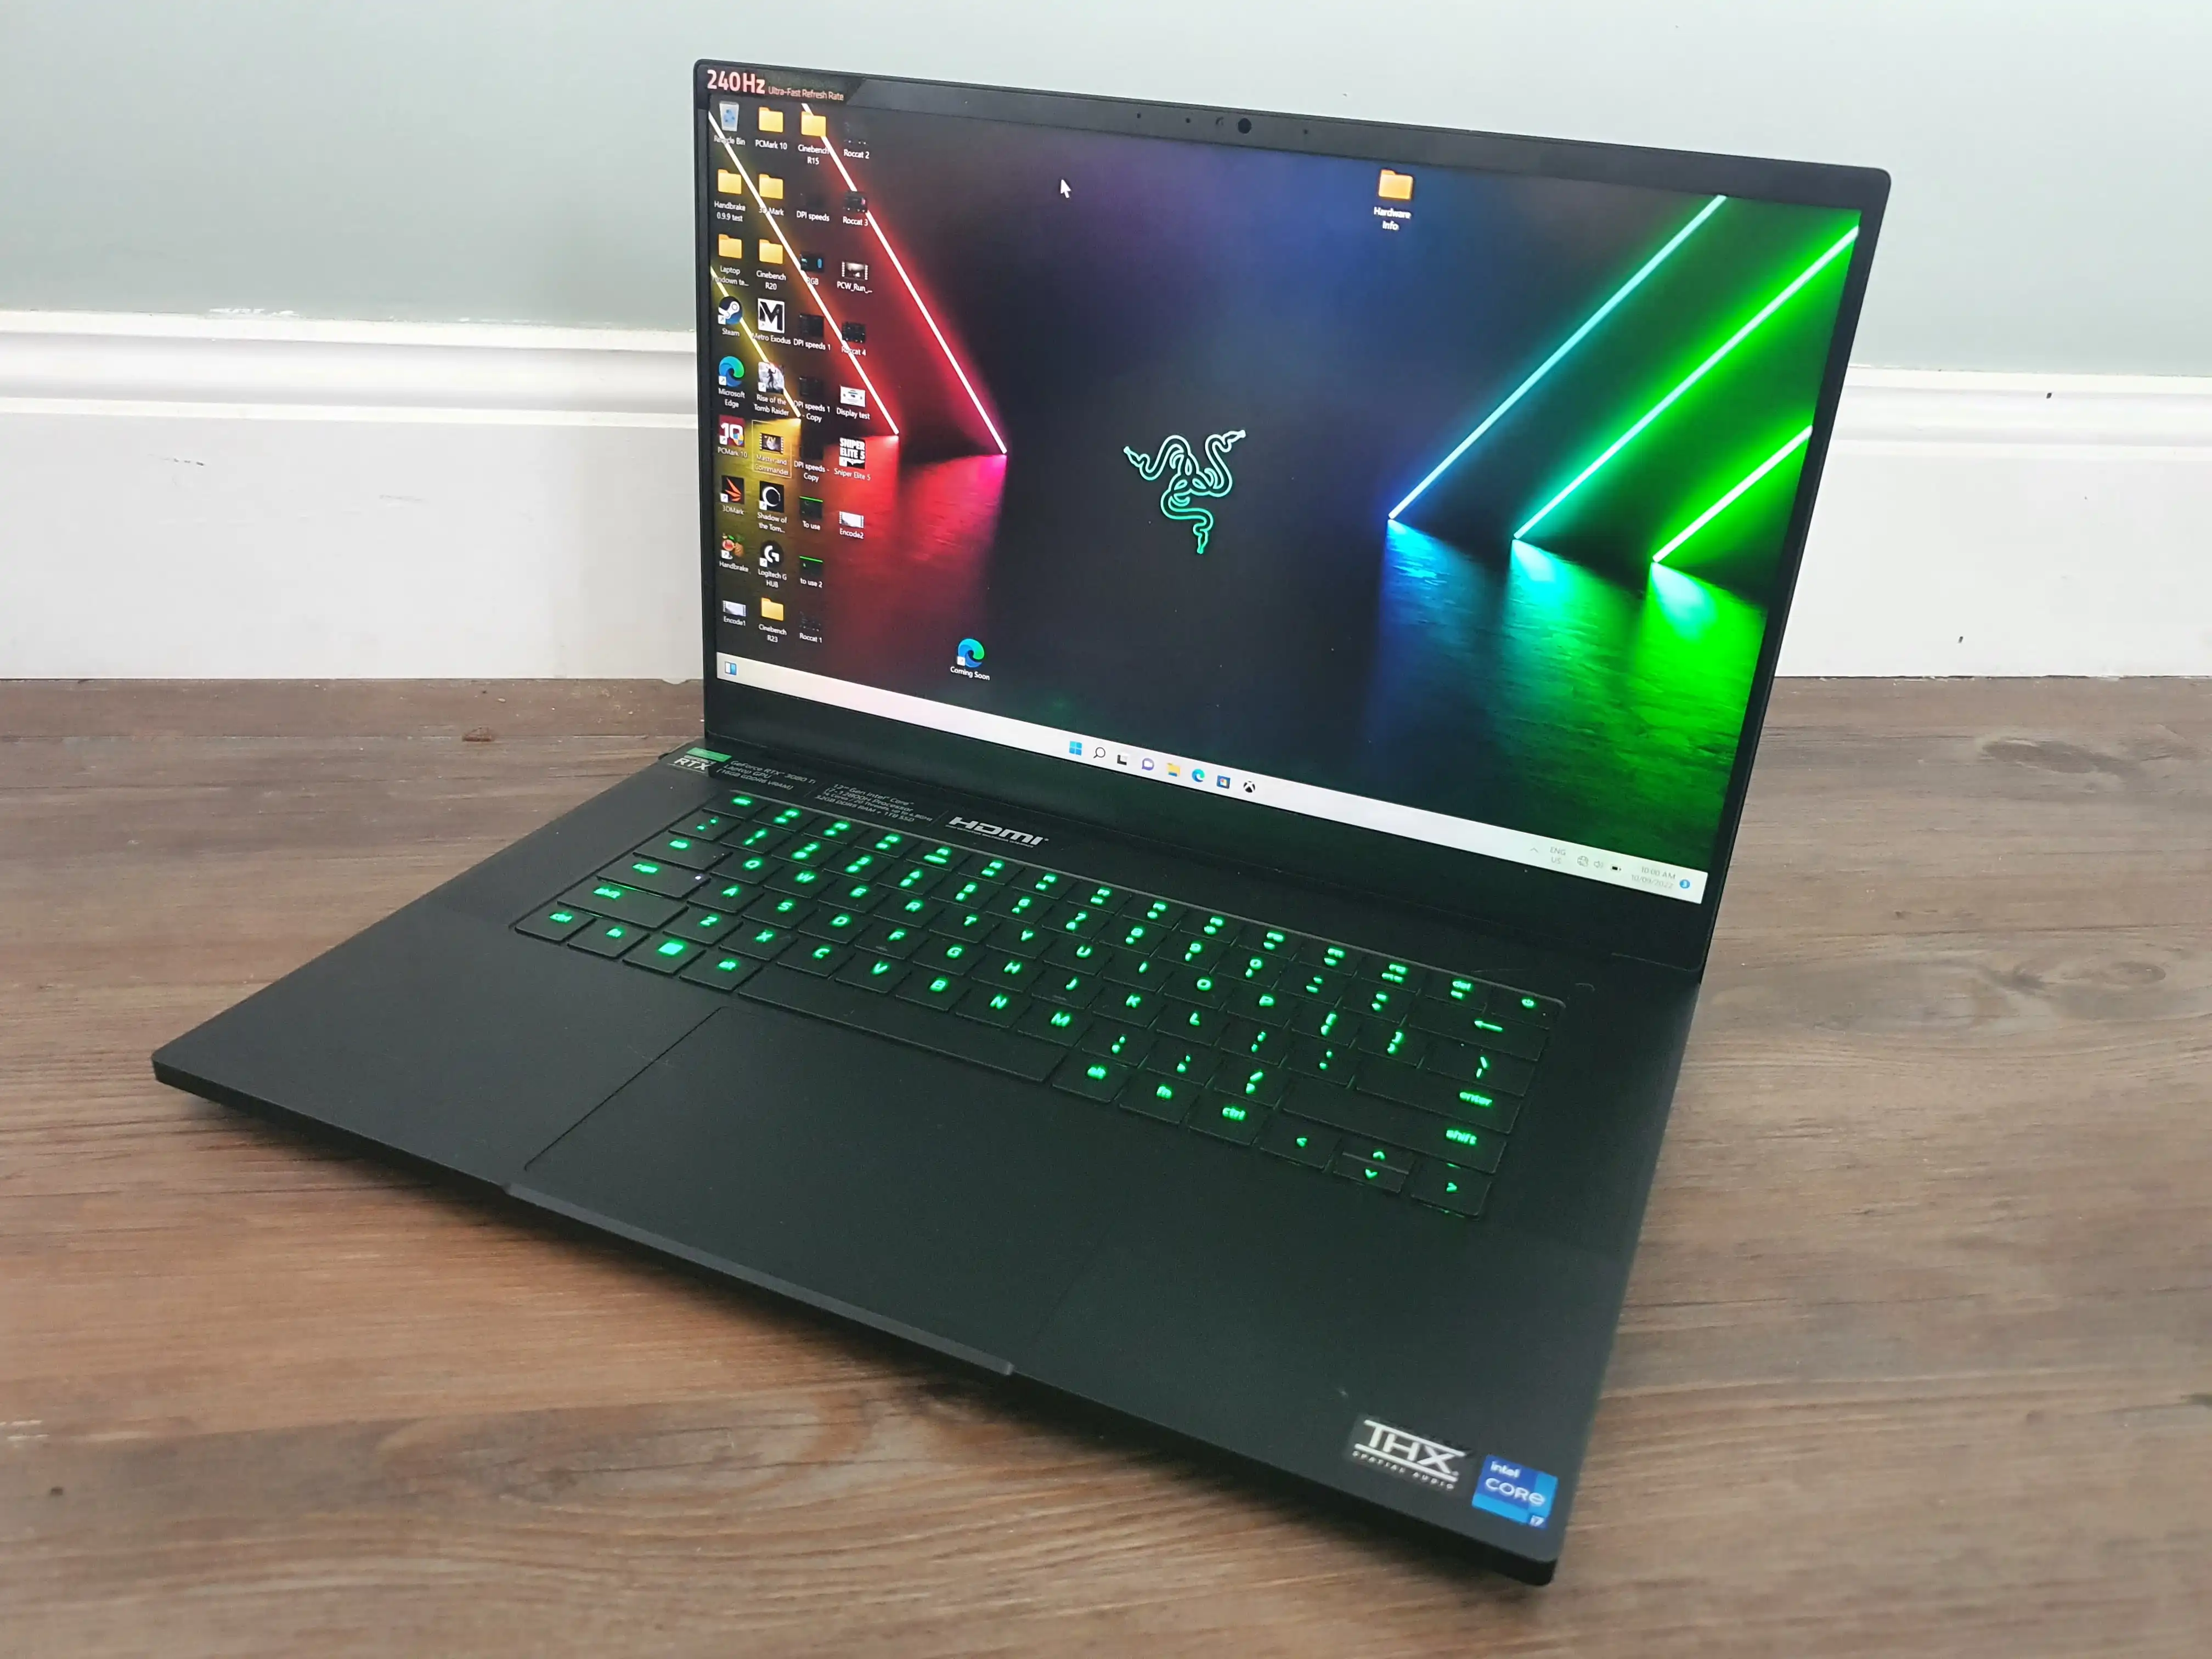
Opening the Razer Blade
Now that you’ve backed up your data and are ready to proceed with the SSD upgrade on your Razer Blade laptop, it’s time to open up the device. Opening the laptop requires careful handling and attention to detail. Here’s a step-by-step guide on how to open your Razer Blade:
1. Power Down: Make sure your laptop is powered off completely and disconnected from any power sources before starting the opening process. This ensures your safety and prevents any accidental damage to the internal components.
2. Prepare your Workspace: Find a clean, well-lit workspace with enough room to lay out the laptop and its components. Place a soft, static-free surface, such as an antistatic mat or a towel, to protect the laptop from scratches or static electricity.
3. Remove the Bottom Panel: Flip over your Razer Blade laptop and locate the screws securing the bottom panel. Depending on your specific model, there may be several screws located around the perimeter and in the center of the panel. Use the appropriate screwdriver to carefully remove these screws. Keep them safely aside to avoid misplacing them during the upgrade process.
4. Pry Open the Bottom Panel: Once the screws are removed, gently pry open the bottom panel using a plastic spudger or a guitar pick. Start at one corner and slowly work your way around the laptop, applying even pressure to avoid damaging the panel or the internal components. Take your time and be patient to prevent any unnecessary force.
5. Disconnect the Battery: After removing the bottom panel, locate the battery connector on the motherboard. Carefully disconnect the battery connector using a spudger or your fingers. This step ensures that there is no power running through the laptop during the upgrade process and reduces the risk of electrical accidents.
6. Ground Yourself: Before proceeding further, it’s important to ground yourself to prevent static electricity from damaging the internal components. Use an antistatic wrist strap or touch a grounded metal object to discharge any static buildup from your body.
With these steps completed, you have successfully opened up your Razer Blade laptop and are now ready to proceed with the next phase of the SSD upgrade process. Take extra care when removing the bottom panel, disconnecting the battery, and ensuring you are grounded to minimize any potential risks. By following these guidelines and handling the laptop with caution, you’re well on your way to a successful SSD upgrade on your Razer Blade.
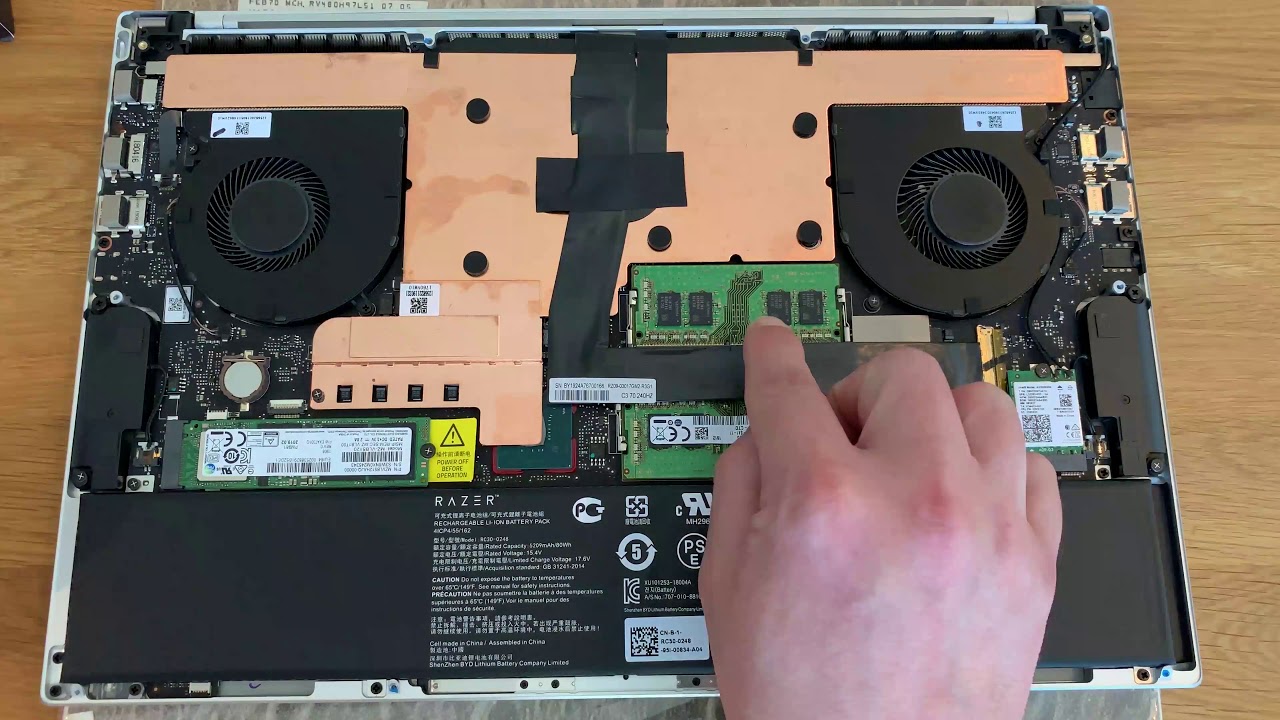
Removing the Old SSD
With your Razer Blade laptop open, it’s time to remove the old SSD and make way for the new one. Here’s a step-by-step guide on how to remove the old SSD:
1. Locate the Old SSD: Identify the location of the old SSD in your Razer Blade laptop. In most models, the SSD is typically located near the center or edge of the motherboard. Take note of any screws or connectors securing the SSD in place.
2. Remove the Screws: Carefully unscrew any screws or brackets securing the old SSD to the laptop. Keep track of these screws as you will need them later when installing the new SSD. Place them in a safe location to avoid misplacing them.
3. Disconnect any Cables: If your old SSD is connected via a cable, gently disconnect the cable by pulling it straight out from the connector. Take care not to pull on the cable itself, as this can cause damage to the connector or the cable.
4. Release any Retaining Clips: Some SSDs may be held in place by retaining clips. To remove the old SSD, carefully release these clips by gently pushing or prying them away from the SSD. Be cautious not to exert too much force, as it can result in damage to the clips or the SSD.
5. Slide out the Old SSD: Once any screws, cables, and retaining clips are removed, gently slide the old SSD out of its slot. Use even and gentle pressure to avoid any unnecessary strain on the SSD or the motherboard. Take note of the orientation of the SSD for proper placement of the new SSD.
6. Handle with Care: As you remove the old SSD, take care to handle it with caution. Avoid touching the exposed circuitry or any delicate components. Place the old SSD in an antistatic bag or another protective container for safekeeping or proper disposal.
By following these steps, you can successfully remove the old SSD from your Razer Blade laptop. Be gentle during the process, taking care to remove screws, disconnect cables, release retaining clips, and gently slide out the old SSD. With the old SSD removed, you’re now ready to move on to the exciting step of installing the new SSD in your Razer Blade.
Installing the New SSD
With the old SSD removed from your Razer Blade laptop, it’s time to install the new SSD. Follow these steps to successfully install the new SSD and prepare it for use:
1. Check Compatibility: Ensure that the new SSD is compatible with your Razer Blade laptop model. Refer to the manufacturer’s specifications or consult the Razer support website for compatibility information.
2. Align the New SSD: Take the new SSD and align it with the slot from which you removed the old SSD. Ensure that the connectors on the SSD match the connectors in the slot.
3. Slide in the New SSD: Gently slide the new SSD into the slot, applying even pressure. Take care not to force it in, as this could cause damage. The SSD should slide in smoothly until it is fully seated in the slot.
4. Secure the New SSD: If there were screws or brackets securing the old SSD, use them to secure the new SSD in place. Be sure to tighten the screws just enough to hold the SSD firmly in place without applying excessive force.
5. Reconnect Cables: If the new SSD requires a cable connection, carefully attach the cable to the corresponding connector. Ensure that the connection is secure but avoid putting too much pressure on the connectors.
6. Verify Installation: Once the new SSD is securely in place, double-check that it is properly aligned and seated. Ensure that all connectors and screws are tightened, and verify that there is no unnecessary movement or instability.
By following these steps, you can successfully install the new SSD in your Razer Blade laptop. Take care to align the new SSD correctly, slide it in smoothly, secure it with screws if necessary, and reconnect any cables. Double-check the installation to ensure that everything is in place and secure. With the new SSD installed, you’re now ready to move on to the next step of closing up your Razer Blade and preparing for the operating system reinstallation.
Closing the Razer Blade
Now that the new SSD is successfully installed in your Razer Blade laptop, it’s time to close up the device and prepare for the operating system reinstallation. Follow these steps to properly close your Razer Blade:
1. Reattach the Bottom Panel: Take the bottom panel that you removed earlier and carefully align it with the laptop’s chassis. Ensure that all the screw holes in the panel align with the corresponding holes in the laptop.
2. Secure the Bottom Panel: Using the screws you removed earlier, secure the bottom panel. Start by inserting and tightening the screws in a diagonal pattern to ensure even pressure distribution. Gradually tighten all the screws until they are snug, but be careful not to overtighten them, as this can damage the threads or the panel.
3. Reconnect the Battery: Locate the battery connector on the motherboard and gently reconnect it. Ensure that the connector is properly aligned and seated. This step restores power to the laptop and prepares it for the next phase of the upgrade process.
4. Perform a Visual Check: Take a moment to visually inspect the laptop and make sure that everything is properly secured and in place. Verify that all cables are connected, screws are tightened, and there are no loose or misplaced components.
5. Power On the Laptop: Once you’re confident that everything is closed up and secure, plug in the power source and power on your Razer Blade. Verify that the laptop boots up correctly and that you can access the BIOS or UEFI settings.
6. Test the New SSD: To ensure that the new SSD is functioning properly, open your file explorer or disk management utility and confirm that the new SSD is recognized and accessible. Test its performance by copying files or running applications to ensure that there are no issues with the installation.
By following these steps, you can successfully close up your Razer Blade laptop after installing the new SSD. Take care to reattach the bottom panel securely, reconnect the battery, visually inspect the laptop, power it on, and test the new SSD’s functionality. With the laptop closed up and the new SSD installed, you’re now ready to proceed with reinstalling the operating system.
Reinstalling the Operating System
Now that you have successfully closed up your Razer Blade laptop with the new SSD installed, the next step is to reinstall the operating system. Follow these steps to reinstall the operating system on your Razer Blade:
1. Create Installation Media: Obtain a bootable USB drive or DVD containing the installation media for your operating system. You can typically download this from the official website of your operating system (e.g., Windows, macOS, Linux). Follow the instructions provided by the operating system to create the installation media.
2. Boot from Installation Media: Insert the bootable USB drive or DVD into your Razer Blade laptop. Restart the laptop and access the boot menu by pressing the designated key (e.g., F12, Esc) during startup. Select the bootable drive or DVD from the menu to initiate the installation process.
3. Follow the Installation Wizard: The installation process will vary depending on your operating system. Follow the on-screen instructions provided by the installation wizard. Typically, you will be prompted to select the language, agree to the terms and conditions, choose the installation type (e.g., custom or upgrade), and select the SSD as the destination for the operating system installation.
4. Install Device Drivers: After the operating system installation is complete, install the necessary drivers for your Razer Blade laptop. These drivers can be downloaded from the Razer support website or included in the installation media. Install the drivers in the correct order, following the instructions provided by Razer.
5. Install Updates: Once the drivers are installed, connect your Razer Blade to the internet and check for any available operating system updates. Install these updates to ensure that your laptop is up to date with the latest security patches and performance enhancements.
6. Customize and Restore Data: Customize your operating system settings according to your preferences. You can personalize the desktop, install additional software, and restore your data from the backup you created earlier. Use the backup to migrate your files, documents, and settings back to your Razer Blade laptop.
By following these steps, you can successfully reinstall the operating system on your Razer Blade laptop. Create the installation media, boot from it, follow the installation wizard, install the necessary drivers, update the operating system, and customize the settings to your liking. Once you have completed these steps, your Razer Blade will be up and running with the new SSD, ready for you to enjoy improved performance and storage capacity.
Testing the Newly Upgraded SSD
After reinstalling the operating system and setting up your Razer Blade laptop with the new SSD, it’s important to test its performance and ensure everything is functioning smoothly. Follow these steps to effectively test the newly upgraded SSD:
1. Boot Time: Start by testing the boot time of your laptop. Restart or power on your Razer Blade and note the time it takes for the operating system to fully load. Compare this boot time to your previous experience with the old SSD. The new SSD should result in faster boot times, allowing you to get to your desktop quicker.
2. Application Launches: Open your frequently used applications and monitor the time it takes for them to launch. With the improved read and write speeds of the new SSD, applications should load faster than before. Test a variety of applications, including resource-intensive programs, to gauge the overall responsiveness of the system.
3. File Transfer Speeds: Copy a large file or folder from one location to another on your Razer Blade. The new SSD should offer faster file transfer speeds compared to the older SSD or traditional hard drives. Monitor the transfer speed and compare it to the previous performance.
4. Multitasking: Test the laptop’s ability to handle multiple tasks simultaneously. Open several applications and observe the system’s responsiveness and smoothness. With the new SSD’s improved performance, multitasking should feel seamless, with minimal lag or slowdowns.
5. Gaming Performance: If you’re a gamer, test the performance of your favorite games. Launch a game and note the loading times, smoothness of gameplay, and overall experience. The faster read and write speeds of the new SSD can result in improved game loading times and reduced in-game loading screens.
6. Stability and Reliability: Pay attention to the stability and reliability of the system after the SSD upgrade. Monitor for any unusual crashes, errors, or issues that may arise during regular usage. The new SSD should provide a stable and reliable platform for your daily computing needs.
By conducting these tests, you can ensure that the newly upgraded SSD is performing as expected on your Razer Blade laptop. Monitor the boot times, application launches, file transfer speeds, multitasking performance, gaming experience, and overall system stability and reliability. If any issues arise, troubleshoot accordingly or seek assistance from the manufacturer or technical support. Enjoy the improved performance and responsiveness that the new SSD has brought to your Razer Blade laptop.
Conclusion
Congratulations! You have successfully completed the SSD upgrade on your Razer Blade laptop. By following the step-by-step guide provided in this tutorial, you have enhanced the performance and storage capacity of your laptop, allowing for faster boot times, quicker application launches, and more efficient multitasking. The new SSD provides you with ample space to store your files, games, and media.
Throughout the upgrade process, you learned the importance of preparing for the upgrade by gathering the necessary tools, backing up your data, and researching the right SSD for your needs. You also discovered how to open up your Razer Blade laptop, remove the old SSD, install the new SSD, and close up the device correctly. Reinstalling the operating system and testing the performance of the newly upgraded SSD ensures that everything is functioning as expected.
Remember to take care during the entire process, following the manufacturer’s instructions, and using proper tools and techniques. If you encounter any unexpected issues or difficulties, don’t hesitate to seek assistance from the manufacturer’s support or consult with a professional.
With the SSD upgrade complete, enjoy the improved speed, responsiveness, and storage capacity of your Razer Blade laptop. Take full advantage of its capabilities, whether you’re gaming, working on multimedia projects, or simply browsing the web. Stay proactive by keeping your operating system and drivers up to date, performing regular backups, and monitoring the overall health of your laptop.
Thank you for using this guide, and we hope it has been valuable in helping you upgrade your Razer Blade SSD. By investing some time and effort, you’ve transformed your laptop into a more powerful and efficient machine that will serve you well for years to come. Happy computing!