Introduction
Welcome to the ultimate guide on how to transform your Switch into an Android tablet! With this step-by-step tutorial, you can unlock a whole new world of possibilities for your beloved gaming console. By installing the powerful LineageOS and configuring Android on your Switch, you’ll be able to enjoy the expansive Android ecosystem, access a variety of apps and services, and make the most out of your device.
While the Nintendo Switch is primarily known for its incredible gaming capabilities, with its detachable Joy-Con controllers and versatile portability, you might find yourself yearning for other functionalities. By utilizing the flexibility of Android, you can turn your Switch into a multi-purpose tablet that allows you to browse the internet, watch videos, stream content, and much more.
Before we dive into the nitty-gritty of the installation process, it’s important to note that modifying your Switch’s operating system carries some risks. While the steps outlined in this guide have been tested and proven to be effective, it’s crucial to follow each instruction carefully to avoid any potential issues.
To embark on this exciting journey, you will need a few prerequisites. First and foremost, you’ll need a Nintendo Switch console with the necessary accessories such as the Joy-Con controllers and the docking station. Additionally, you’ll need a computer with a USB port to connect your Switch, a reliable internet connection, and a compatible USB-C cable.
Furthermore, we highly recommend backing up any important data on your Switch before proceeding. While the installation process should not affect the core functionality of your device, it’s always wise to take extra precautionary measures to safeguard your personal data.
Now that we’ve covered the essentials, let’s move on to the first step of this transformational journey: installing LineageOS on your Switch. Remember, patience and attention to detail are key. So grab your Switch, get ready, and let’s unleash the power of Android on your gaming console!
Prerequisites
Before you embark on the journey of turning your Switch into an Android tablet, there are a few prerequisites that you need to fulfill. These requirements ensure a smooth installation process and a successful transformation of your device. So, let’s go over what you’ll need:
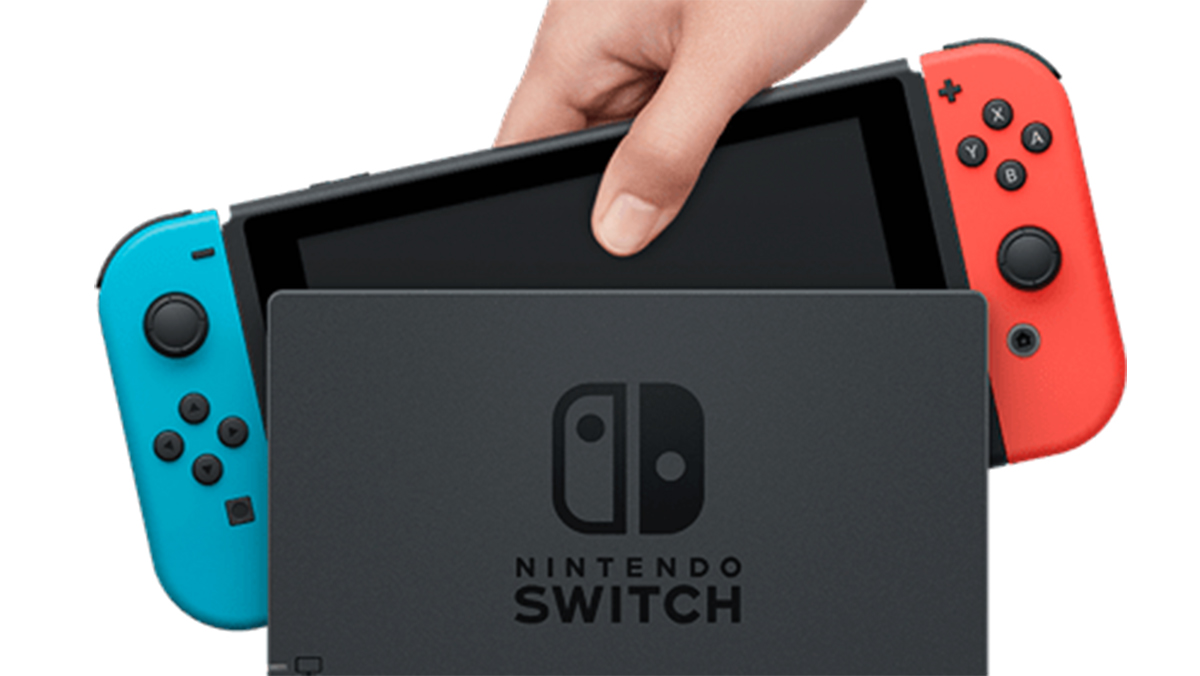
1. Nintendo Switch console: You’ll need a Nintendo Switch console with the necessary accessories, such as the Joy-Con controllers and the docking station. These components are vital for the proper functioning of your device throughout the installation process and afterward.
2. Computer with a USB port: You will require a computer with a functional USB port to connect your Switch. This connection is necessary to transfer the required files and perform the installation. Make sure your computer is in good working condition and ready to support this process.
3. Reliable internet connection: A stable and reliable internet connection is essential for downloading the necessary files and ensuring a smooth installation process. Having a fast and uninterrupted internet connection will save you time and prevent any potential hiccups during the installation.
4. Compatible USB-C cable: To connect your Switch to the computer, you’ll need a compatible USB-C cable. This cable will facilitate the file transfer and enable communication between your Switch and the computer. Ensure that the cable you use is in good condition and capable of supporting the data transfer.
5. Backup your data: While the installation process is unlikely to affect the core functionality of your Switch, it’s always a good idea to back up any important data before proceeding. This precautionary step ensures that you won’t lose any valuable data in case of any unforeseen issues during the transformation process.
Once you have fulfilled these prerequisites, you’ll be well-prepared to begin the transformation of your Switch into an Android tablet. Make sure you have all the necessary components and take the time to set up a stable environment for the installation. By doing so, you’ll ensure a smoother experience and a successful outcome.
Step 1: Installing LineageOS on Your Switch
Now that you have the prerequisites in place, it’s time to embark on the first step of the transformation process: installing LineageOS on your Nintendo Switch. LineageOS is a custom ROM that replaces the Switch’s original operating system with a modified version of Android. This is a crucial step in turning your console into an Android tablet. Here’s how you can do it:
1. Download the necessary files: First, you’ll need to download the LineageOS ROM file and the corresponding Google Apps (Gapps) package. These files can be found on the official LineageOS website. Make sure to download the version that is compatible with your Nintendo Switch model.
2. Enable Developer Options: On your Switch, go to the Settings menu and scroll down to System. Tap on “About Phone” and find the “Build Number” section. Tap on the build number multiple times until you see a notification stating that you have enabled Developer Options.
3. Enable USB Debugging: Still in the Developer Options menu, enable USB Debugging. This will allow your Switch to communicate with your computer during the installation process.
4. Connect your Switch to your computer: Grab your USB-C cable and connect your Switch to your computer. Make sure the USB connection is secure and stable.
5. Boot into Recovery Mode: Power off your Switch. Press and hold the Volume Up button, then press the Power button to boot into Recovery Mode. This will open the Hekate bootloader, which is necessary for installing LineageOS.
6. Flash LineageOS and Gapps: Use the Volume buttons to navigate through the Hekate menu and select “Custom Recovery.” Once in TWRP (Team Win Recovery Project), use the “Install” option to select and flash the LineageOS ROM file. Repeat the process for the Gapps package as well.
7. Reboot your Switch: After successfully flashing both LineageOS and Gapps, go back to the main menu and select “Reboot.” This will restart your Switch with the newly installed LineageOS operating system.
Congratulations! You have successfully installed LineageOS on your Nintendo Switch. Your device has now transformed into an Android-powered tablet. In the next step, we will explore how to set up and configure Android on your Switch to make it fully functional. Get ready to dive deeper into the Android world!
Step 2: Setting Up Android on Your Switch
Now that you have installed LineageOS on your Nintendo Switch, it’s time to move on to the next step: setting up Android on your device. This step involves configuring essential settings and personalizing your Android tablet experience. Let’s get started:
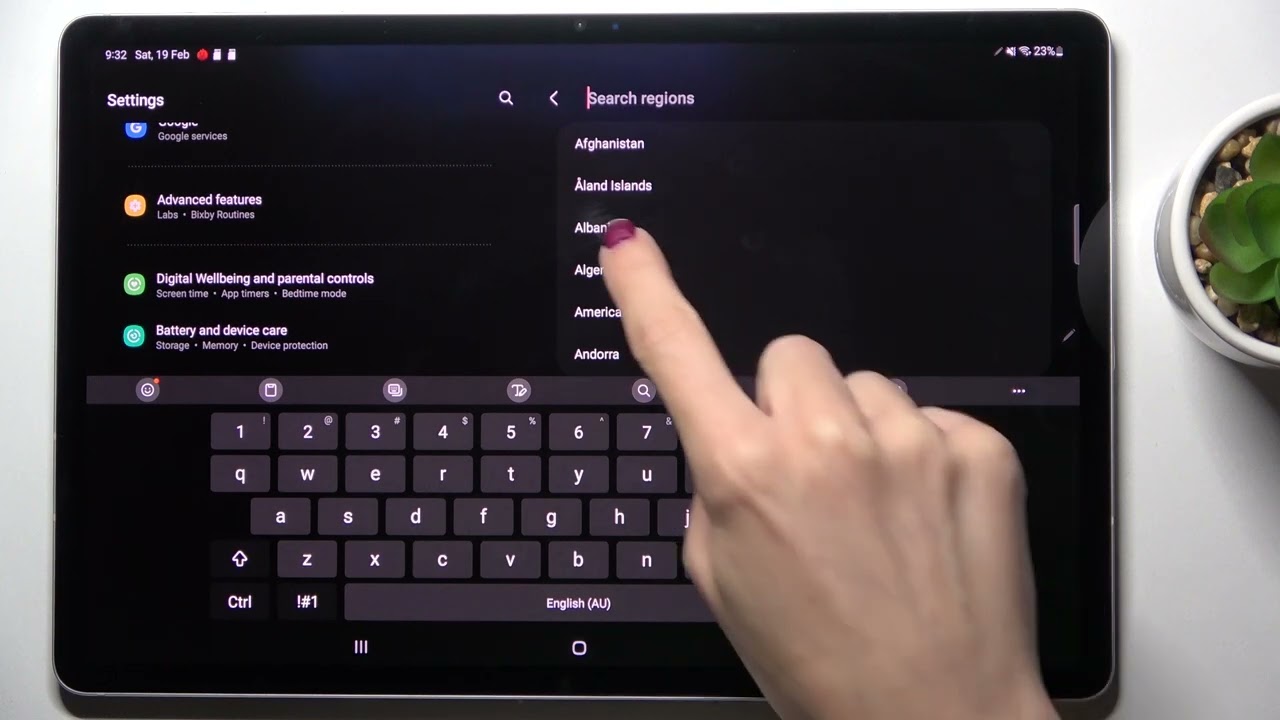
1. Language and region: When you boot up your Switch after installing LineageOS, you’ll be prompted to select your language and region. Choose your preferred language and region to set the default settings for your Android tablet.
2. Google account: To enjoy the full range of Google services and access the Play Store, you’ll need to sign in with your Google account. If you don’t have one, create a new account or use an existing one to get started.
3. Wi-Fi connectivity: Connect your Switch to a Wi-Fi network to access the internet. Go to the Settings menu and select Wi-Fi. Choose your desired network from the available options and enter the password if required.
4. System updates: Check for system updates in the Settings menu to ensure that your Android tablet is running the latest version of LineageOS. Regular updates bring bug fixes, security patches, and additional features that enhance your overall experience.
5. App permissions and settings: Navigate to the App Settings menu to manage app permissions, notifications, and other individual app settings. This allows you to customize each app according to your preferences and optimize their performance.
6. Home screen and launcher: Take some time to personalize your home screen layout and select a launcher that suits your style. Android offers a variety of options to choose from, allowing you to customize the look and feel of your Switch as an Android tablet.
7. Set up accounts and sync: Configure and sync your email accounts, contacts, and calendars to seamlessly integrate them with your Android tablet. This will allow you to access your important data and stay connected on the go.
8. Explore the Play Store: Open the Play Store and start exploring the vast library of apps and games available for Android. Download your favorite apps and customize your Android tablet experience to meet your specific needs.
By following these steps, you can set up Android on your Nintendo Switch and personalize it to your heart’s content. Once you have completed this step, you’re ready to move on to the next phase: configuring Android on your Switch. Get ready to unlock the full potential of your newly transformed Android tablet!
Step 3: Configuring Android on Your Switch
Now that you have set up Android on your Nintendo Switch, it’s time to dive deeper into configuring and optimizing your Android tablet experience. This step will involve fine-tuning various settings and customizing your device to suit your preferences. Let’s explore how to configure Android on your Switch:
1. Display preferences: In the Settings menu, navigate to Display settings to adjust brightness, screen timeout, and other display-related preferences. You can also enable features like Night Mode to reduce eye strain during nighttime usage.
2. Sound settings: Customize your audio experience by adjusting sound volume, ringtones, and notification tones in the Sound settings menu. You can also enable or disable vibration feedback as per your preferences.
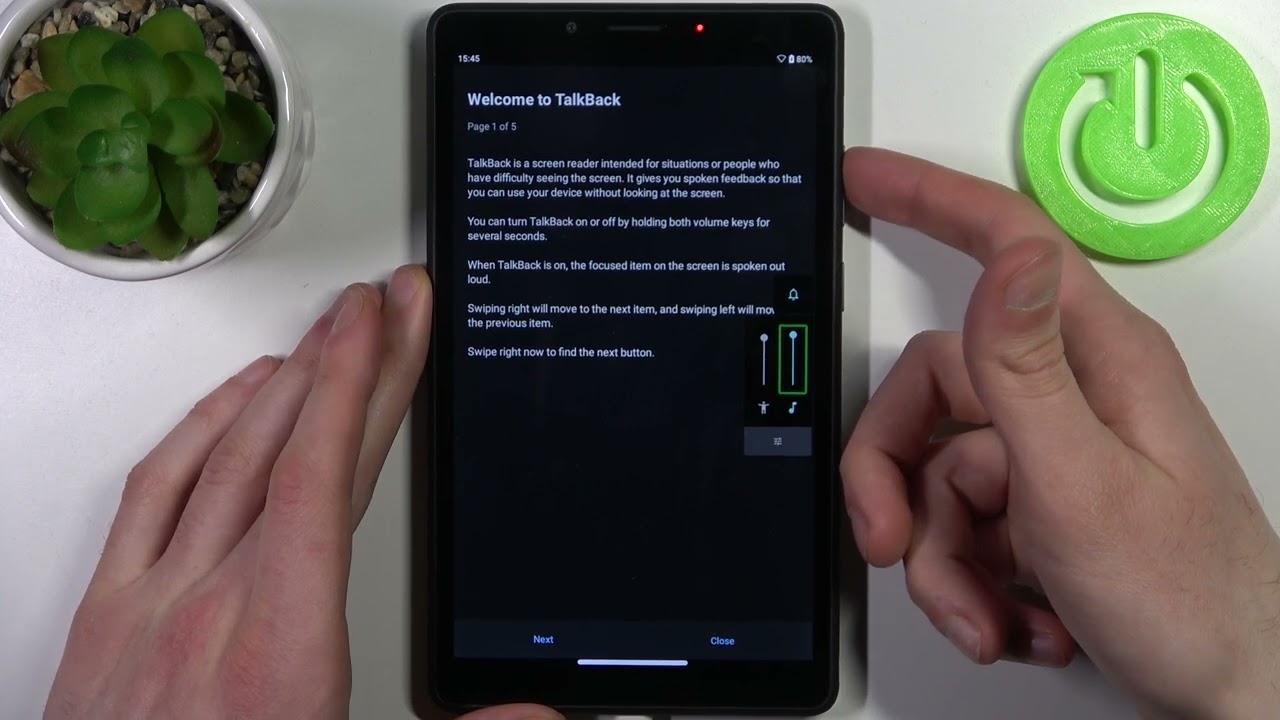
3. Accessibility options: Android offers a range of accessibility features to ensure an inclusive experience for all users. Explore the Accessibility settings to enable features like TalkBack, font size adjustment, color inversion, and more.
4. Security and privacy: Protect your Switch and your personal data by configuring security and privacy settings. Set up lock screen security with PIN, pattern, or biometric authentication. Enable options like Find My Device for added security and peace of mind.
5. Battery optimization: Maximize your device’s battery life by navigating to the Battery settings. Here, you can enable features like Battery Saver mode, restrict background activity of apps, and monitor battery usage to identify power-hungry applications.
6. Data usage: Control and monitor your data usage by configuring settings in the Data usage menu. Set data limits, restrict background data for specific apps, and track your data usage to avoid exceeding your monthly limit.
7. App permissions: Review and manage app permissions in the App permissions menu. Enable or disable individual permissions for apps installed on your Switch to ensure your privacy and control over data access.
8. System updates: Regularly check for and install system updates to ensure that your Android tablet is running the latest version of LineageOS. These updates bring improvements, bug fixes, and security patches to enhance your overall experience.
By going through these configuration steps, you can personalize your Android tablet experience and tailor it to your liking. Feel free to explore other settings and menus to further customize your Switch to suit your preferences and needs.
Step 4: Installing Essential Apps and Services
Now that you have configured Android on your Nintendo Switch, it’s time to take advantage of the expansive Android ecosystem by installing essential apps and services. This step will allow you to unlock the full potential of your Android tablet and make the most out of your device. Here’s how you can install essential apps and services:
1. Google Play Store: Open the Play Store and sign in with your Google account if you haven’t done so already. The Play Store is the gateway to a vast collection of apps and games. Explore different categories, search for specific apps, and start downloading the ones you need.
2. Productivity Apps: Install productivity apps such as Google Drive, Google Docs, and Google Sheets to create, edit, and collaborate on documents, spreadsheets, and presentations. Email clients like Gmail and productivity tools like Microsoft Office are also valuable additions for boosting your productivity on the go.
3. Streaming and Entertainment Apps: Bring your entertainment experience to the next level by installing popular streaming services like Netflix, YouTube, and Spotify. These apps provide access to a wide array of movies, TV shows, videos, and music for endless hours of entertainment.
4. Social Media Apps: Stay connected with friends and family by installing social media apps like Facebook, Twitter, Instagram, and WhatsApp. These apps allow you to browse your feed, share updates, and communicate with others in real-time.
5. Gaming Apps: Take advantage of the gaming capabilities of your Switch by installing popular gaming apps from the Play Store. Whether you prefer casual games, puzzle games, or action-packed adventures, there’s something for everyone to enjoy.
6. Utility Apps: Install utility apps that enhance your Android tablet experience. This includes apps like file managers, antivirus software, note-taking apps, weather apps, and more. These apps can help you stay organized, protect your device, and provide useful information.
7. Customization Apps: If you want to further personalize your Android tablet, explore apps that offer customization options. From launchers and icon packs to wallpaper apps and widget creators, these apps allow you to customize the look and feel of your Switch according to your unique style.
8. Device-specific Apps: Lastly, make sure to install any device-specific apps that are necessary for the optimal functioning of your Switch. This may include apps for managing system updates, optimizing performance, or accessing specific features unique to your device.
By installing these essential apps and services, you can enhance your Android tablet experience and tailor it to your specific needs and interests. Take the time to explore the Play Store and discover new apps that can add value to your Switch. Enjoy the exciting world of Android on your newly transformed device!
Step 5: Optimizing Performance on Your Switch
After setting up your Android tablet on the Nintendo Switch, it’s important to optimize its performance to ensure smooth and efficient operation. Optimizing performance will help improve battery life, enhance responsiveness, and maximize the overall user experience. Here are some tips to help you optimize performance on your Switch:
1. Clear cache and app data: Over time, cached data and app data can accumulate and impact performance. Go to Settings > Storage to clear cache and app data for individual apps or all apps at once. This will free up storage space and help maintain optimal performance.
2. Disable or uninstall unnecessary apps: Review the apps installed on your Switch and disable or uninstall any that you no longer use or need. This will free up system resources and improve performance by reducing memory usage and background processes.
3. Limit background app refresh: Prevent apps from running in the background and consuming system resources unnecessarily. Go to Settings > Apps > [App Name], then disable the “Allow background data usage” option. This ensures that apps only refresh when they’re actively in use.
4. Adjust animation and transition settings: Reduce the animation and transition effects to speed up the interface. In the Developer Options, adjust the system animation scale, window animation scale, and transition animation scale to 0.5x or disable them completely.
5. Enable power-saving mode: Activate the power-saving mode to optimize battery usage. Go to Settings > Battery > Battery Saver and enable this mode when your battery is running low or if you want to conserve power during extended usage periods.
6. Keep your system and apps up to date: Regularly check for system updates and app updates to ensure you have the latest bug fixes, performance improvements, and security patches. Install updates from the Play Store and the system update menu in the Settings.
7. Monitor resource usage: Use built-in system monitoring tools or third-party apps to track CPU, RAM, and battery usage. This will help identify any resource-intensive apps or processes that may be affecting performance and battery life.
8. Restart your device periodically: Restarting your Switch periodically can help clear temporary files, refresh system processes, and resolve any performance issues that may have arisen. Restarting can also help alleviate any memory leaks or excessive resource usage.
By implementing these optimization techniques, you can ensure that your Switch operates at its best performance level. Experiment with these settings and find the configuration that works best for you. Enjoy a smooth and responsive experience as you explore the possibilities of your Android-powered Nintendo Switch!
Conclusion
Congratulations on successfully transforming your Nintendo Switch into an Android tablet! By following this comprehensive guide, you have unlocked a world of new possibilities for your device. From installing LineageOS to configuring Android, installing essential apps and optimizing performance, you have taken your Switch to the next level.
With Android on your Switch, you can now enjoy a wide range of apps, games, and services that were previously unavailable on your gaming console. Browse the internet, stream movies and videos, stay connected with friends, and explore the vast library of games available on the Play Store.
Remember, while the installation process may have seemed daunting at first, your efforts have paid off. By adhering to the prerequisites and following each step carefully, you have successfully turned your Switch into a versatile Android tablet.
Be sure to keep your new Android tablet updated with the latest LineageOS updates and app updates to ensure optimal performance, security, and access to new features. Customize your tablet, explore new apps, and make the most out of this powerful device.
We hope that this guide has been informative and helpful in your journey. It’s time to embrace the new possibilities that your Android-powered Nintendo Switch offers. Make it your own, personalize it to suit your preferences, and enjoy the versatility and functionality of this hybrid device.
Thank you for joining us on this transformative journey. Now go forth and explore the exciting world of Android on your Nintendo Switch!