Introduction
Are you looking to enhance your viewing experience on Roku by enabling closed captioning? Closed captioning is a valuable feature that provides text display of the audio content being played, making it easier for individuals with hearing impairments to follow along. Additionally, closed captioning can be helpful in environments with noisy backgrounds or when you simply prefer to read the dialogue while watching your favorite shows or movies.
In this article, we will guide you through the step-by-step process of turning on closed captioning on your Roku device. Whether you’re using a Roku streaming stick, a Roku TV, or any other Roku device, the procedure remains relatively the same. With just a few taps of your remote, you’ll be able to access and customize closed captioning according to your preferences.
Before we dive into the details, take a moment to ensure that your Roku device is properly connected to your TV and that you have access to the Roku interface. Once you have confirmed this, let’s proceed to the next step and begin enabling closed captioning on your Roku device.
Step 1: Navigate to the Settings menu
The first step to enabling closed captioning on your Roku device is to access the Settings menu. This is where you can find all the options and configurations for your device.
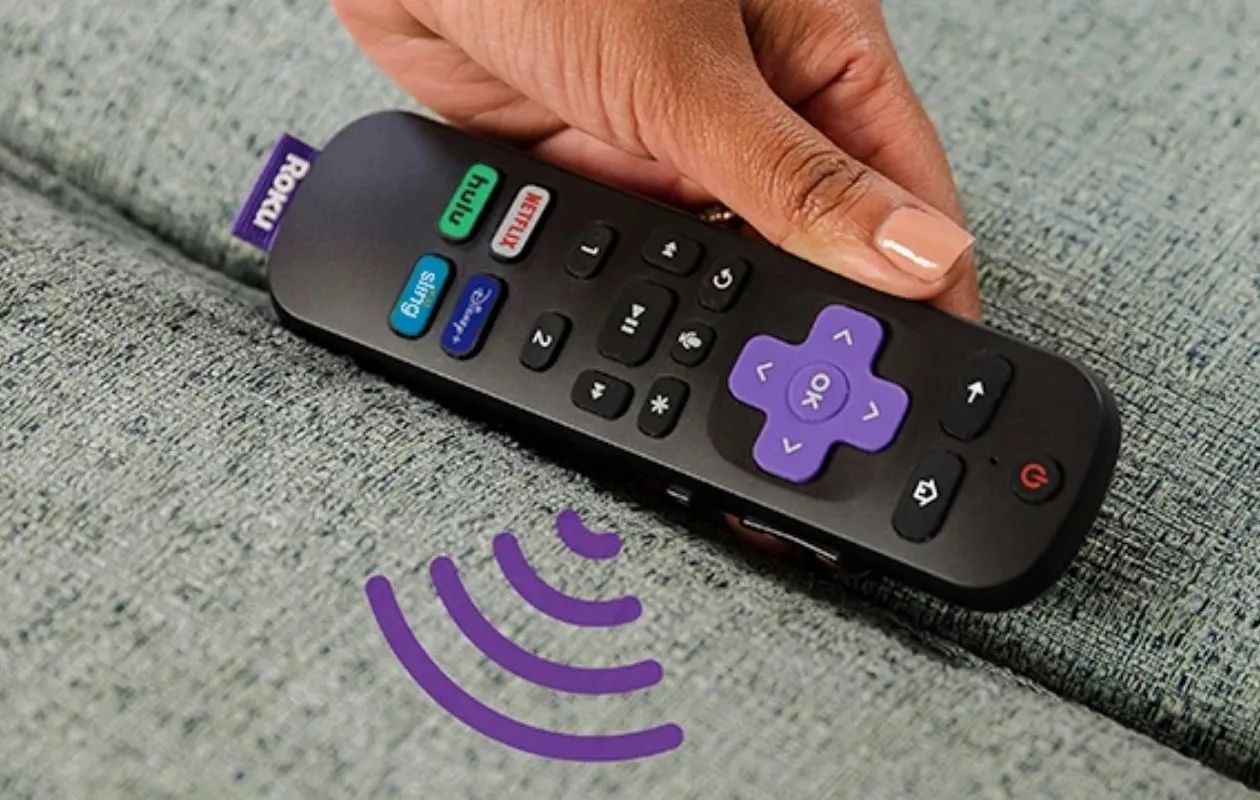
To begin, grab your Roku remote and ensure that it is functioning properly. Then, follow these steps:
- Turn on your TV and select the input channel corresponding to your Roku device.
- On your Roku remote, press the Home button. This will take you to the Roku home screen.
- Using the navigation buttons on your remote, scroll up or down to highlight and select the Settings option.
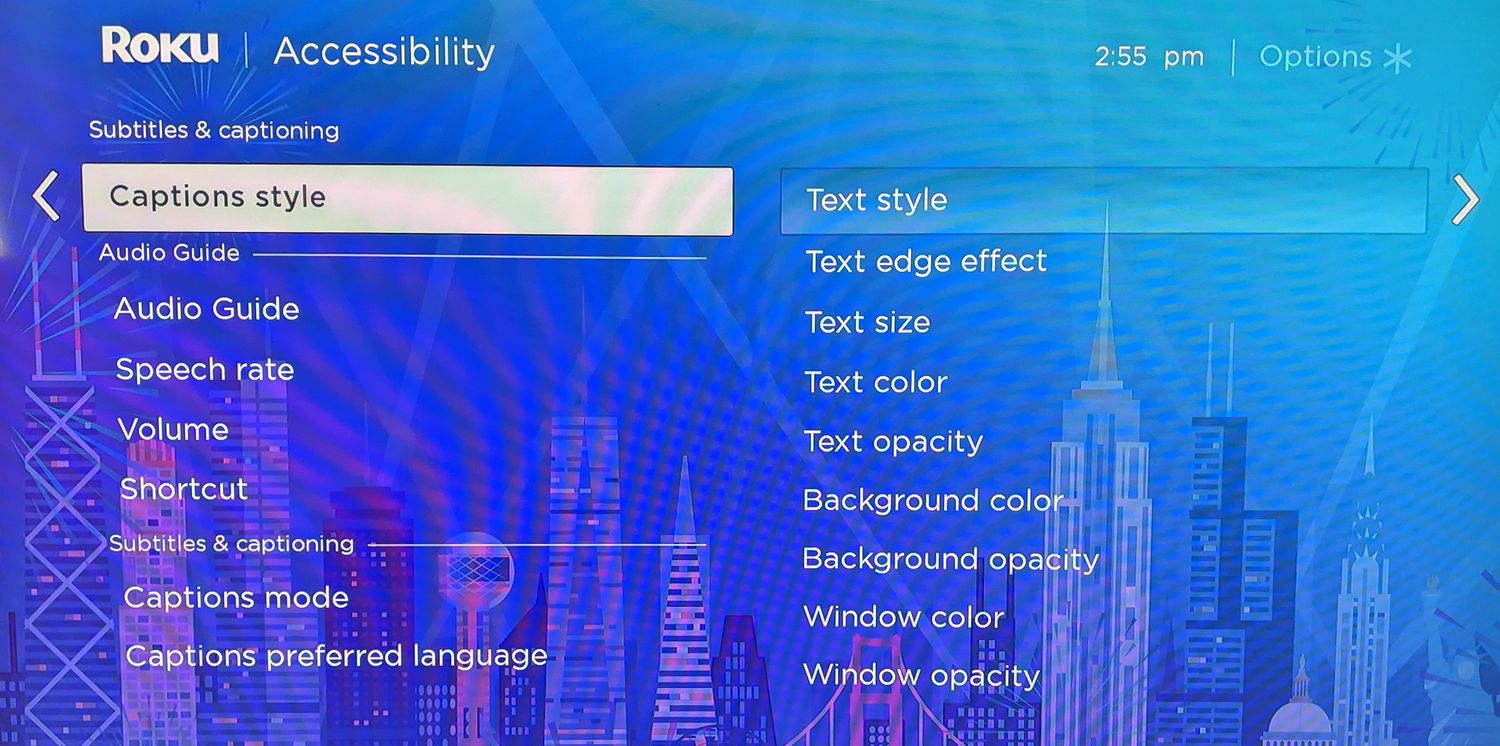
- In the Settings menu, you can find various options to customize your Roku device. Navigate to the Accessibility option and select it.
Once you have reached the Accessibility settings, you are one step closer to enabling closed captioning on your Roku device. In the following steps, we will guide you through the process of turning on closed captioning and customizing its settings to suit your preferences.
Step 2: Select Accessibility
Now that you have accessed the Settings menu on your Roku device, it’s time to navigate to the Accessibility settings where you can enable closed captioning. Follow these steps to proceed:
- In the Accessibility settings menu, you will find various options to make your Roku device more user-friendly for individuals with different needs. Scroll down or use the navigation buttons on your remote to highlight and select the Accessibility option.
- By selecting Accessibility, you will be presented with a range of accessibility features. These features are designed to improve the overall user experience, including closed captioning.
- Scroll through the accessibility features available and locate the Closed Captioning option.
- Highlight and select the Closed Captioning option to access the closed captioning settings.
Once you have successfully selected the Accessibility settings and accessed the Closed Captioning option, you can proceed to the next step to enable closed captioning on your Roku device. In the following step, we will guide you through the process of enabling closed captioning and customizing its settings according to your preferences.
Step 3: Enable Closed Captioning
Now that you have accessed the Closed Captioning settings, you are ready to enable this feature on your Roku device. Follow these steps to proceed:
- In the Closed Captioning settings menu, you will find various options to customize the appearance and behavior of closed captions. To begin, locate the “Closed Captions Mode” option.
- Using the navigation buttons on your remote, highlight the “Closed Captions Mode” option and press the OK or Select button to enter the submenu.
- In the submenu, you will see different options for enabling closed captioning. The most common options are “On” and “Off.” Select “On” to enable closed captioning.
- After enabling closed captioning, navigate to the “Apply” or “Save” button and select it to save your changes.
Congratulations! You have successfully enabled closed captioning on your Roku device. From now on, whenever you watch content on your Roku device, closed captions will be available to enhance your viewing experience.
Remember that closed captioning availability may vary depending on the content you are watching. Some streaming services or channels may not offer closed captions for all their programs. Additionally, not all programs or movies have closed captioning available even if the service itself supports it. However, the majority of popular streaming services and channels on Roku do provide closed captioning options.
Now that you have enabled closed captioning, you may want to customize its appearance and behavior further. In the next step, we will guide you through the process of customizing closed captioning settings on your Roku device.
Step 4: Customize Closed Captioning Settings
After enabling closed captioning on your Roku device, you have the option to customize its settings according to your preferences. These settings will allow you to adjust the appearance and behavior of the closed captions. Follow these steps to customize your closed captioning settings:
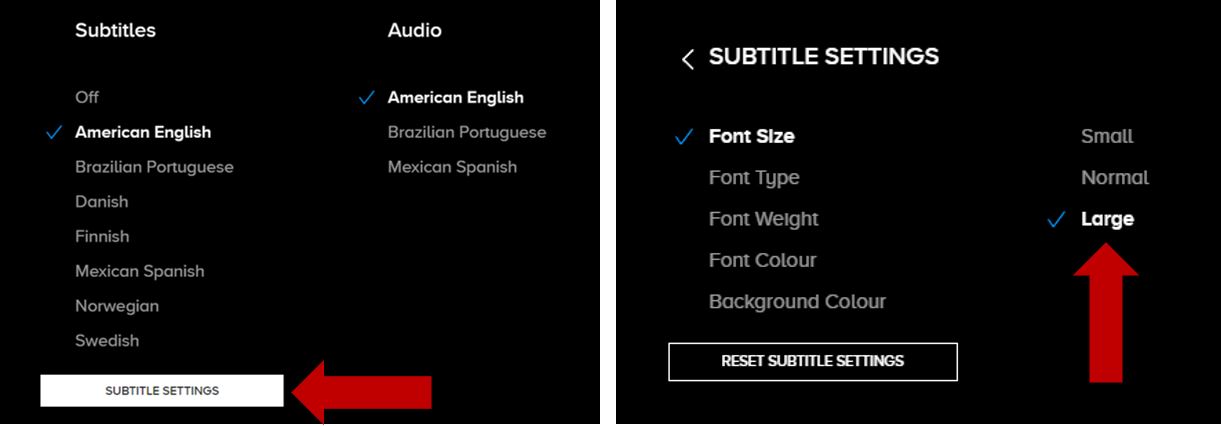
- In the Closed Captioning settings menu, locate the “Closed Captions Style” or a similar option that pertains to customizing the appearance of closed captions.
- Highlight the “Closed Captions Style” option and press the OK or Select button to enter the submenu.
- In the “Closed Captions Style” submenu, you will find various options to modify the font style, font size, color, and background color of the closed captions. Use the navigation buttons on your remote to make your desired changes.
- As you make changes to the closed captioning style, a preview of the changes will typically be displayed on the screen. This allows you to see how the closed captions will appear in real-time.
- Once you are satisfied with the changes you have made, navigate to the “Apply” or “Save” button and select it to save your customized closed captioning settings.
Congratulations! You have successfully customized the closed captioning settings on your Roku device. Now, the closed captions will appear according to your preferred style while you enjoy your favorite shows and movies.
Keep in mind that the options available for customizing closed captioning settings may vary depending on your Roku device model and software version. Some older models may have limited customization options compared to newer devices.
With closed captioning enabled and customized on your Roku device, you can now enjoy a more personalized and inclusive viewing experience. In the next step, we will guide you through testing the closed captioning to ensure it is functioning correctly.
Step 5: Test Closed Captioning
After enabling and customizing closed captioning on your Roku device, it is essential to test it to ensure that it is functioning correctly. Testing the closed captioning will help you verify that the captions are displaying accurately and synchronizing with the audio. Follow these steps to test your closed captioning:
- Choose any content that supports closed captioning on your Roku device, such as a TV show or movie from a streaming service.
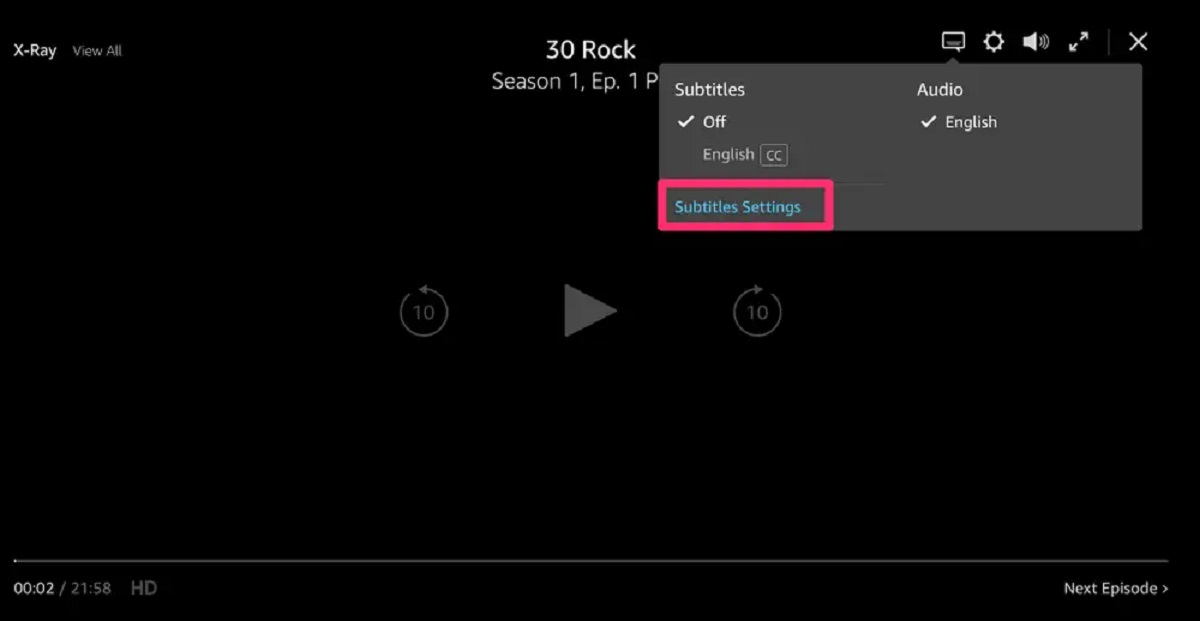
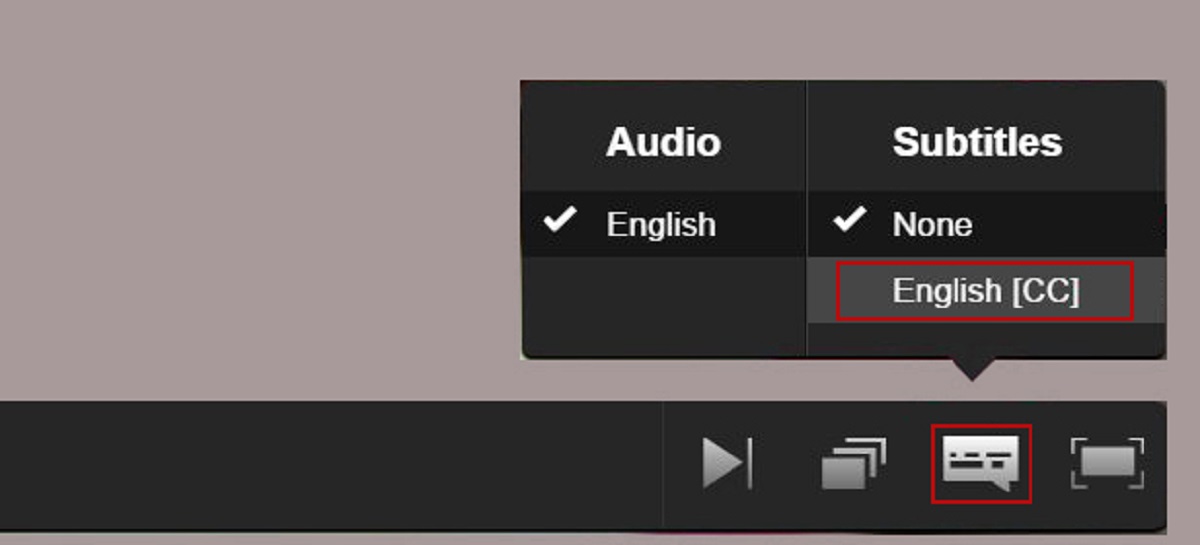
- Play the selected content and make sure that closed captioning is enabled. You can usually identify this by a small “CC” or closed captioning symbol on the screen.
- Observe the screen while the content is playing to ensure that the closed captions appear accurately and in real-time with the dialogue and audio.
- Pay attention to the timing of the closed captions. They should align with the spoken words and sound effects on the screen.
- Check the readability of the closed captions. Make sure that the text size, font style, and colors you have customized are clear and easy to read.
If the closed captions are displaying properly and meeting your preferences, then you have successfully enabled and tested closed captioning on your Roku device. If you encounter any issues, such as misaligned or missing captions, you may need to revisit the closed captioning settings and make necessary adjustments.
It’s important to note that the availability and quality of closed captioning can vary across different content providers and individual shows or movies. If you encounter problems with closed captioning on a specific program or platform, it’s recommended to contact the service provider for further assistance.
By testing closed captioning and ensuring its accuracy, you can have a more enjoyable and accessible viewing experience on your Roku device.
Conclusion
Enabling closed captioning on your Roku device is a simple and worthwhile process that enhances the accessibility and inclusivity of your viewing experience. By following the steps outlined in this guide, you have successfully enabled closed captioning, customized its settings, and tested its functionality. Now, you can enjoy your favorite shows and movies with the added benefit of closed captions.
Remember, closed captioning is not only beneficial for individuals with hearing impairments, but it can also be useful in noisy environments or when you prefer to read along with the dialogue. With closed captioning enabled, you won’t miss a word or struggle to understand the audio, ensuring a more immersive and enjoyable viewing experience.
If you encounter any issues or have further questions regarding closed captioning on your Roku device, refer to the Roku support website or reach out to their customer service for personalized assistance.
Thank you for following this guide, and we hope that enabling closed captioning has made your Roku experience more accessible and enjoyable.


