Introduction
Upgrading your computer’s hard drive from a traditional HDD to a faster and more efficient SSD is a worthwhile investment for improving performance and enhancing overall system responsiveness. However, the prospect of transferring your operating system and data from the old HDD to the new SSD may seem daunting to some. Fortunately, with the right tools and guidance, this process can be relatively simple and straightforward.
In this guide, we will walk you through the step-by-step process of transferring Windows from your HDD to an SSD. Whether you are upgrading your laptop or desktop, following these instructions will ensure that you can seamlessly migrate your operating system, applications, and data to the new SSD without losing any valuable information.
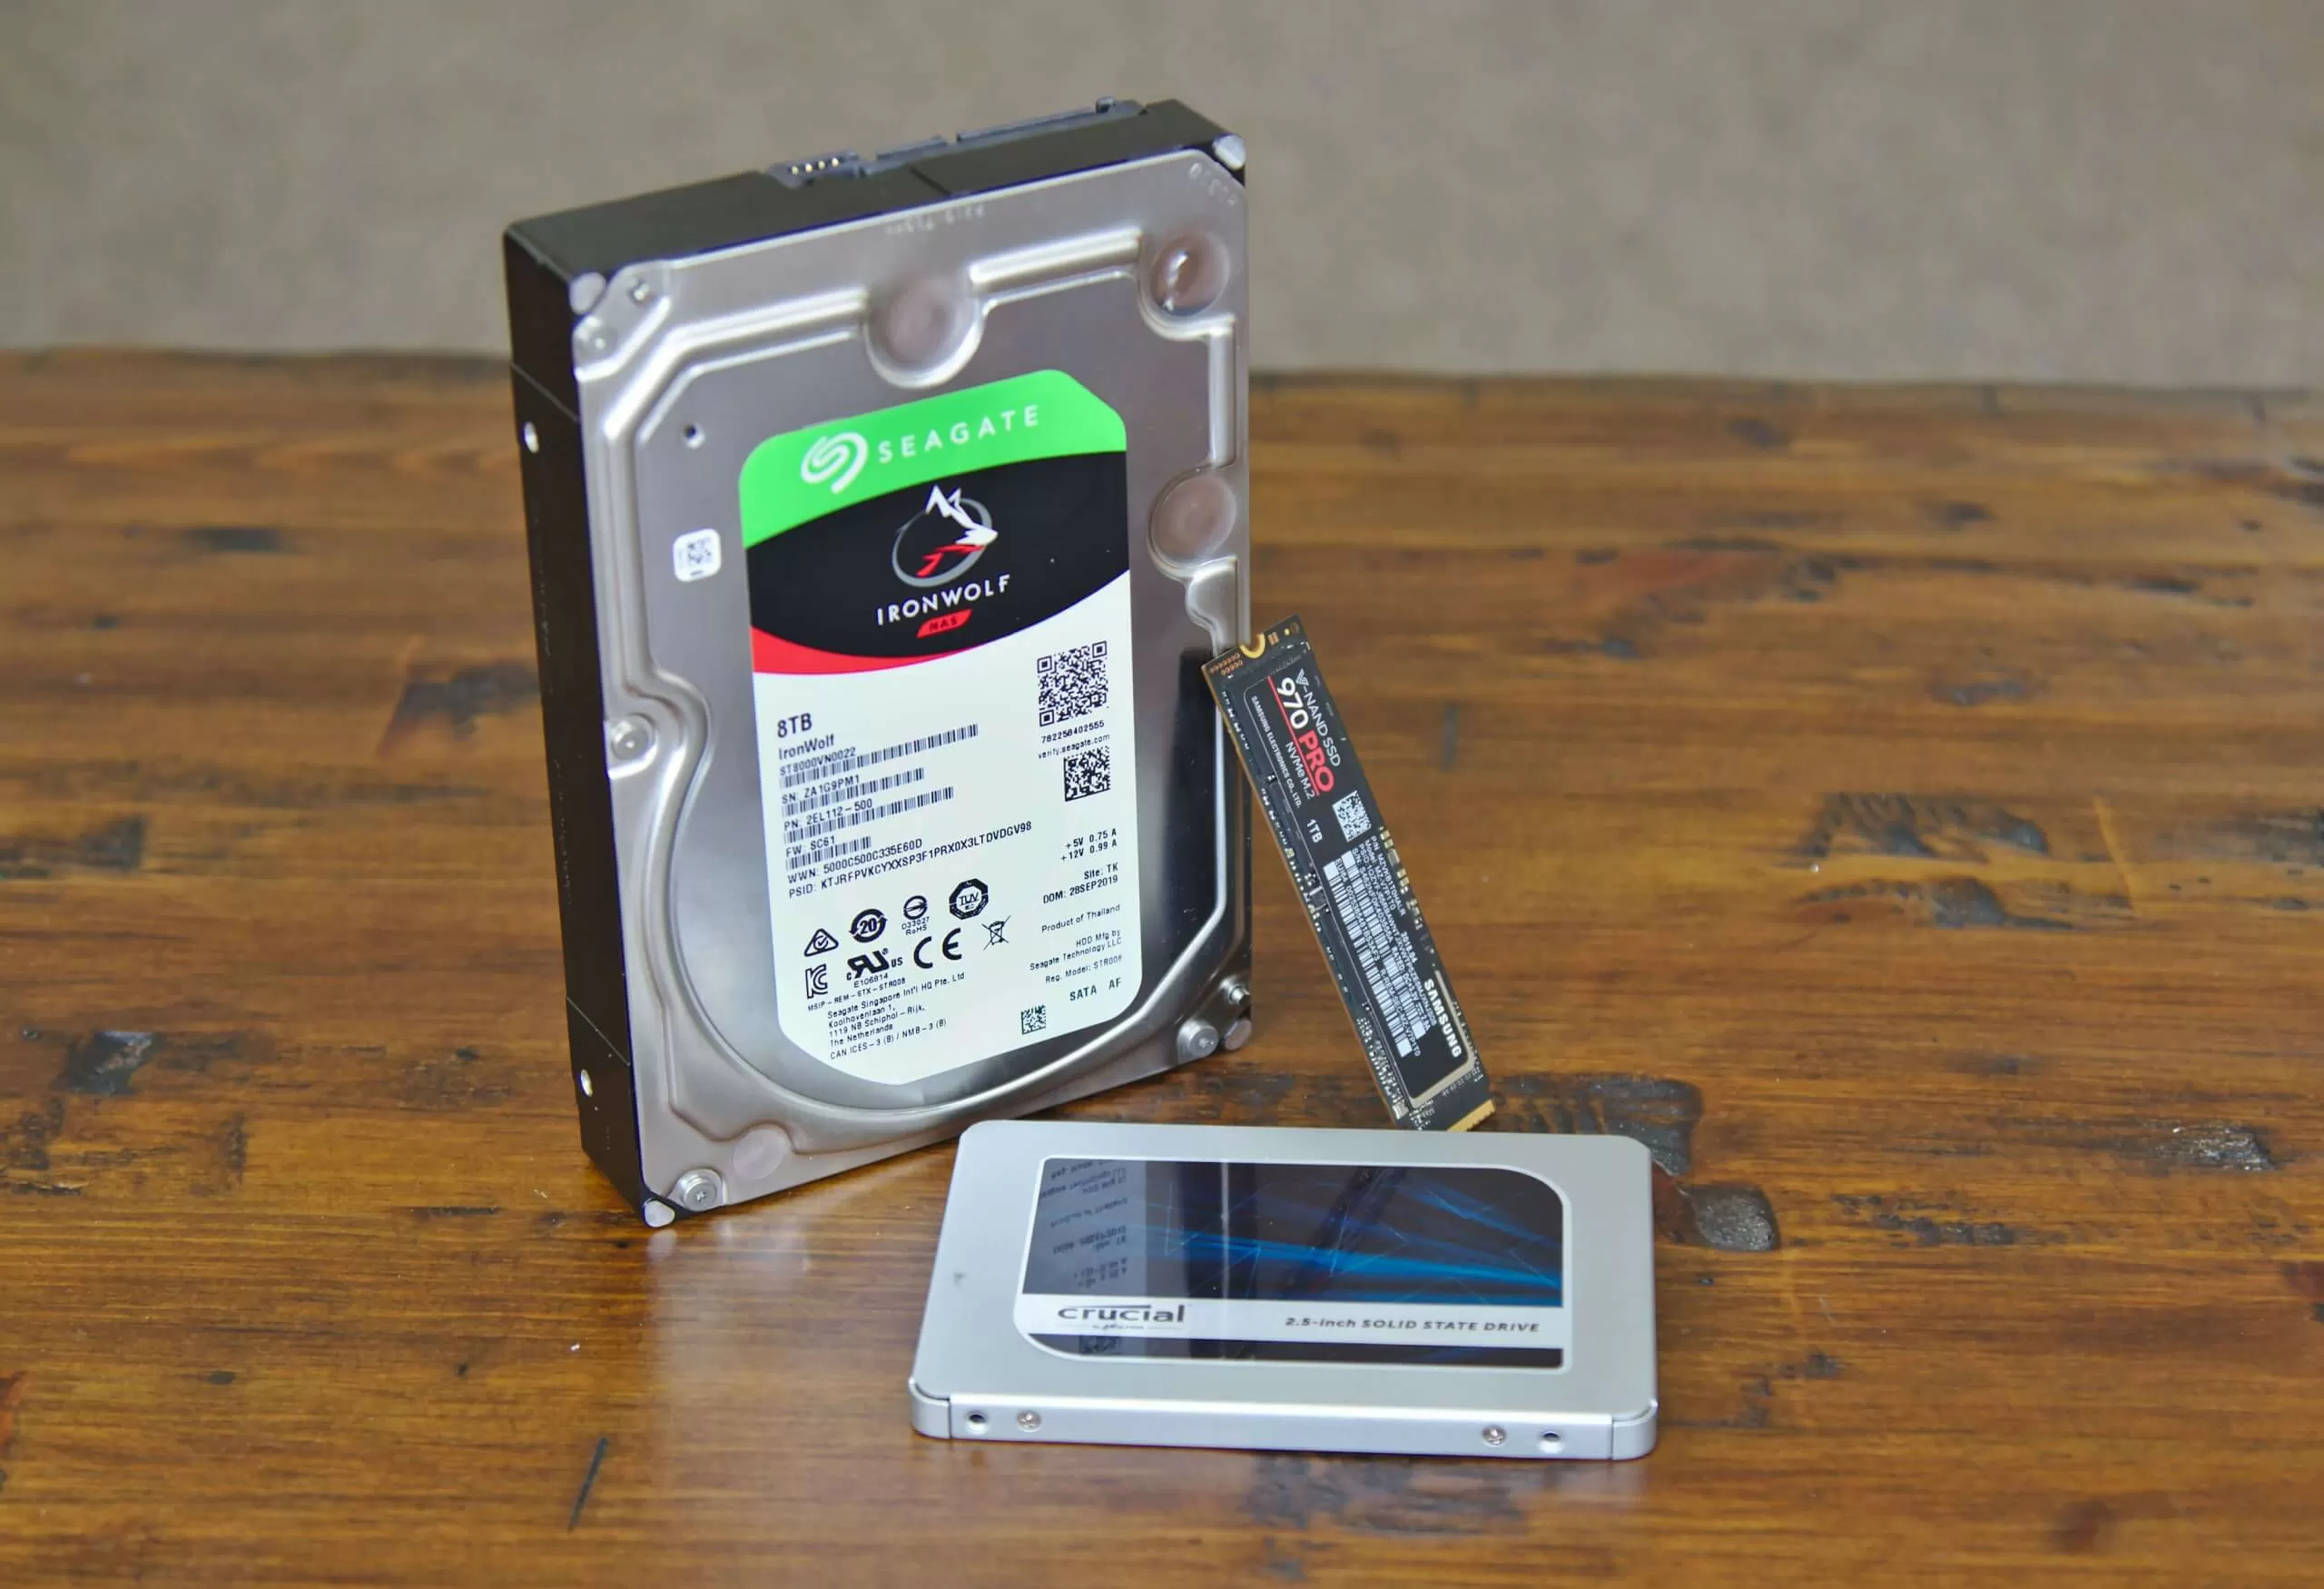
Before diving into the transfer process, it is essential to understand the benefits that an SSD offers over a traditional HDD. Solid-state drives are known for their lightning-fast read and write speeds, which result in significantly faster boot times, application launches, file transfers, and overall system performance. With no moving parts, an SSD is also more durable, energy-efficient, and operates silently.
By transferring Windows to an SSD, you can enjoy a noticeable improvement in your computer’s speed and responsiveness, allowing you to multitask seamlessly and enjoy a smoother computing experience.
Now, let’s get started with the process of transferring Windows from your HDD to an SSD, ensuring a swift and successful migration of your operating system and data.
Getting Started
Before initiating the transfer process, there are a few essential steps you need to take to ensure a smooth and successful transition to your new SSD. Let’s go through them:
- Check compatibility: Ensure that your computer’s motherboard and BIOS support the use of SSDs. Most modern computers are compatible, but it’s always a good idea to double-check.
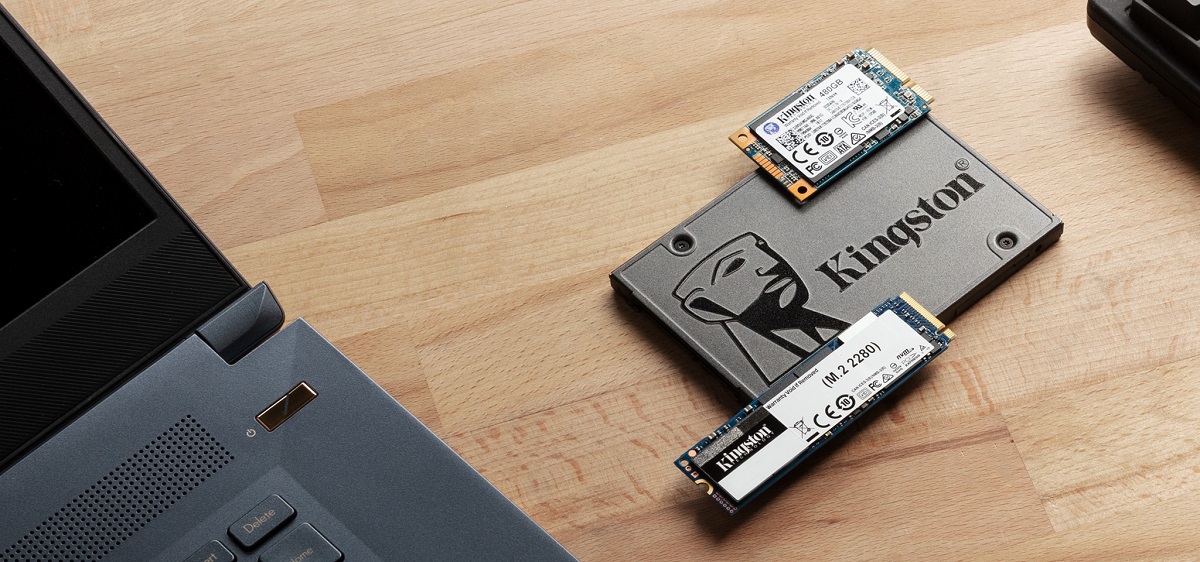
- Choose the right SSD: Selecting the right SSD for your needs is crucial. Consider factors such as storage capacity, performance, and budget. Look for SSDs that offer sufficient space to accommodate all your files and applications.
- Gather necessary tools: You will need a few tools to complete the transfer process, including a screwdriver to open your computer’s casing and a SATA-to-USB adapter or enclosure to connect your SSD to your computer for cloning.
- Backup your data: Before proceeding with the transfer process, it is crucial to create a backup of all your important files and data. While the chances of data loss during the transfer are minimal, it’s better to be safe than sorry. Store your backup on an external hard drive, cloud storage, or any other secure location.
Once you have completed these preparatory steps, you are ready to move on to the actual transfer process. The next section will guide you through creating a backup of your data to ensure a smooth and secure transfer of your operating system and files from the HDD to the SSD.
Backup Your Data
Before proceeding with the transfer process, it is crucial to create a backup of all your important files and data. While the chances of data loss during the transfer are minimal, it’s always better to be safe than sorry. Creating a backup ensures that you have a copy of your files in case anything goes wrong during the transfer process.
To back up your data, follow these steps:
- Identify important files: Take some time to identify the files, documents, media, and any other data that you consider important and would like to keep safe. This may include personal photos, videos, important documents, and any other files you don’t want to lose.
- Choose a backup method: There are several backup methods you can choose from. You can manually copy your files to an external hard drive or USB storage device. Alternatively, you can make use of cloud storage services like Google Drive, Dropbox, or OneDrive to store your files securely online.
- Perform the backup: Depending on your chosen backup method, copy your important files to the external hard drive, USB storage device, or upload them to the cloud storage service. Make sure to organize your files in a logical manner to make it easier to restore them later.
- Verify your backup: Once the backup process is complete, take a moment to double-check that all your important files have been successfully copied or uploaded. Open a few randomly chosen files to ensure their integrity.
By following these steps, you can be confident that your important files and data are safely backed up, minimizing the risk of any data loss during the transfer process. With your data securely backed up, you are now ready to move on to the next step of preparing your SSD for the transfer.
Prepare Your SSD
Before you can transfer Windows from your HDD to your SSD, it’s important to prepare the SSD for the migration process. Here are the steps to get your SSD ready:
- Connect your SSD: If your SSD is external, connect it to your computer using a SATA-to-USB adapter or enclosure. If it’s an internal SSD, ensure that your computer is powered off, unplug it from the power source, and then carefully install the SSD in an available drive bay, following the manufacturer’s instructions.
- Format and partition the SSD: Once the SSD is connected, you may need to format and partition it. Open the Disk Management tool on your Windows computer by pressing the
Windows + Xkeys, then selecting “Disk Management” from the menu. Locate the SSD in the list of drives, right-click on it, and select “Format.” Choose the file system (usually NTFS), assign a drive letter, and follow the prompts to complete the formatting and partitioning process. - Assign a letter to the SSD: If the SSD doesn’t automatically receive a drive letter during the formatting process, you can assign one manually. Right-click on the SSD in the Disk Management tool, select “Change Drive Letter and Paths,” and click on “Add.” Choose a letter for the SSD and click “OK.”
By following these steps, you have successfully prepared your SSD for the transfer process. The next section will guide you through cloning your HDD to the SSD, ensuring that all your files, applications, and operating system are seamlessly transferred.
Clone Your HDD to SSD
Now that your SSD is prepared, it’s time to clone your HDD to the SSD. Cloning allows you to create an exact replica of your existing hard drive, including the operating system, files, and applications. Follow these steps to clone your HDD to your SSD:
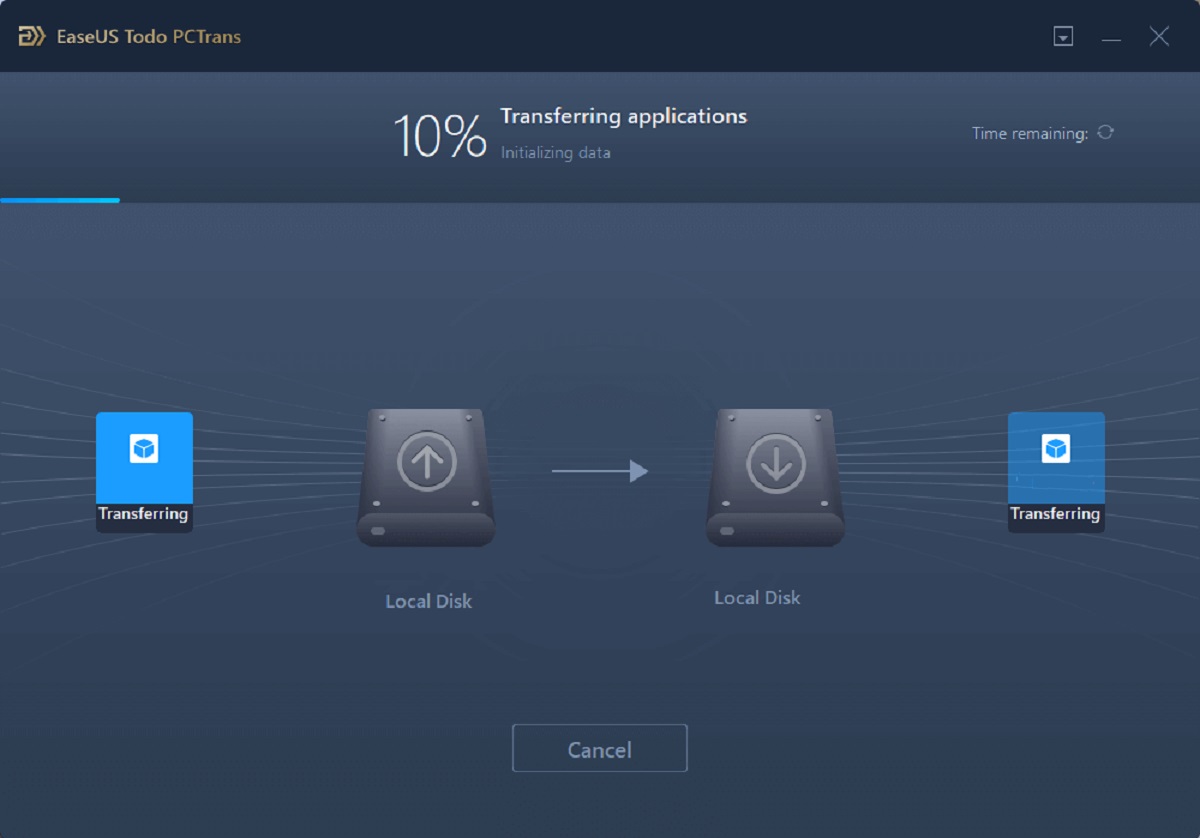
- Choose a cloning software: There are numerous third-party cloning software options available, such as Clonezilla, Macrium Reflect, and EaseUS Todo Backup. Select a reliable and user-friendly cloning software that suits your needs.
- Launch the cloning software: Install and launch the chosen cloning software on your computer.
- Select the source and destination drives: In the cloning software, select your HDD as the source drive and your SSD as the destination drive.
- Configure the cloning settings: Depending on the cloning software, you may have the option to adjust certain settings. Ensure that you select the option to clone all partitions and maintain the proportions of the partitions from the source drive to the destination drive. This ensures a complete transfer of your operating system and data.
- Start the cloning process: Double-check that you have selected the correct source and destination drives. Then, initiate the cloning process. Depending on the size of your HDD and the speed of your drives, this process may take some time to complete.
- Verify the cloning: Once the cloning process is complete, the software should provide you with a notification or confirmation. Verify that the cloning was successful and that all the data from your HDD has been transferred to your SSD.
By following these steps and successfully cloning your HDD to your SSD, you now have a complete replica of your old hard drive on your new SSD. The next section will guide you through the process of installing your SSD into your computer and setting it as the boot drive.
Install SSD in Your Computer
With the cloning process completed, it’s time to physically install the SSD into your computer. Follow these steps to install your SSD correctly:
- Power off your computer: Before working inside your computer, ensure that it is powered off and unplugged from the power source.
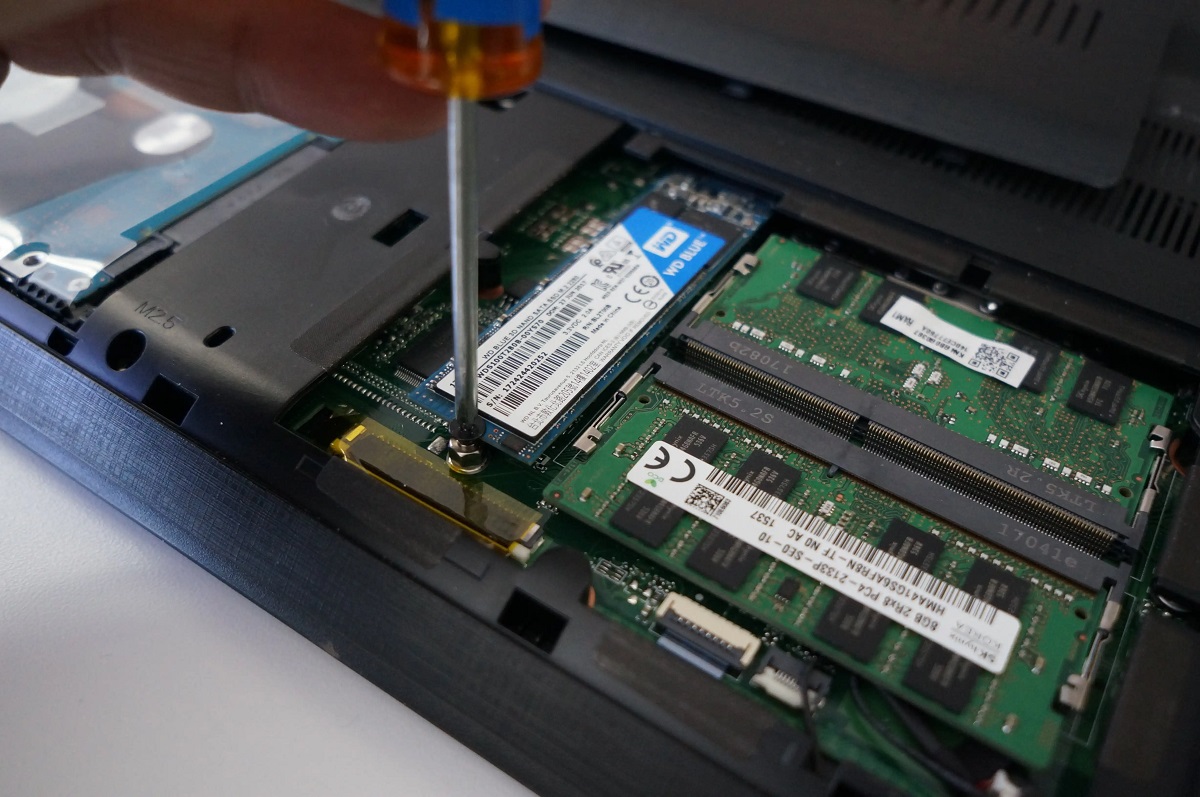
- Open your computer’s casing: Use a screwdriver to remove the screws securing the computer’s casing. Carefully slide off the side panel or remove the top cover, depending on the design of your computer.
- Locate the drive bay: Identify an available drive bay where you can install your SSD. Most cases have dedicated mountings for SSDs.
- Mount the SSD: Align the screw holes on the SSD with the mounting points in the drive bay and secure it using screws or any other mounting mechanisms provided by the case manufacturer.
- Connect the SATA and power cables: Locate the SATA and power cables in your computer. Connect one end of the SATA cable to the SSD and the other end to an available SATA port on your motherboard. Connect the power cable to the SSD as well, ensuring a secure connection.
- Close and secure your computer’s casing: Once the SSD is securely mounted and all cables are connected, carefully slide the side panel back into place or reattach the top cover. Use the screws to secure the casing.
Congratulations! You have successfully installed your SSD into your computer. In the next section, we will guide you through setting your SSD as the boot drive and configuring your computer to recognize it as the primary operating system drive.
Set SSD as Boot Drive
Now that your SSD is installed in your computer, it’s time to set it as the boot drive to ensure that your computer starts up from the SSD, taking advantage of its faster performance. Follow these steps to set your SSD as the boot drive:
- Power on your computer: Plug in your computer and power it on.
- Access the BIOS: During the boot process, you need to access the BIOS or UEFI settings of your computer. Typically, this involves pressing a specific key (such as Del, F2, or F12) repeatedly while your computer is starting up. Consult your computer’s manual or the manufacturer’s website to determine the exact key combination.
- Locate the Boot Order settings: Once you’re in the BIOS or UEFI settings, navigate to the Boot tab or section. Look for an option called “Boot Order,” “Boot Priority,” or similar.
- Set the SSD as the first boot option: Within the boot order settings, choose the SSD as the first boot device or move it to the top of the boot order list. Save the changes and exit the BIOS or UEFI settings.
- Restart your computer: Restart your computer and allow it to boot up again.
After completing these steps, your computer should now start up from the SSD as the primary boot drive. This will ensure faster boot times and overall improved performance compared to booting from the HDD. In the next section, we will verify the success of the transfer process and ensure that your computer is successfully running on the SSD.
Verify the Transfer
After setting your SSD as the boot drive, it’s important to verify that the transfer process was successful and that your computer is now running on the SSD. Follow these steps to ensure a smooth transition:
- Restart your computer: Restart your computer to allow it to boot up from the SSD.
- Check the operating system: Once your computer has booted up, check that the operating system is running smoothly. Ensure that all the features and functionalities of Windows are working as expected.
- Test application performance: Open some of your commonly used applications and observe the performance. Applications should launch faster and run more smoothly when running from the SSD.
- Verify file accessibility: Access your files, documents, and media to ensure that you can easily retrieve and save files without any issues.
- Monitor system responsiveness: Navigate through your computer’s various functions and tasks, paying attention to the overall system responsiveness. You should notice a significant improvement in speed and responsiveness compared to when you were using the HDD.
- Run benchmark tests: If you want to measure the improved performance of your SSD, you can run benchmark tests such as CrystalDiskMark or AS SSD Benchmark. These tools will provide you with detailed information regarding the read and write speeds of your SSD.
By following these steps and verifying that your computer is running smoothly on the SSD, you can be confident that the transfer process was successful. Enjoy the improved speed and performance that your new SSD brings to your computer’s operations.
Conclusion
Congratulations! You have successfully transferred Windows from your HDD to your SSD. By upgrading to an SSD, you have unlocked a new level of speed and performance for your computer. The process of transferring Windows to an SSD may have seemed daunting at first, but with the right tools and guidance, it can be accomplished smoothly.
Throughout this guide, we discussed the importance of backing up your data, preparing your SSD, cloning your HDD to the SSD, installing the SSD in your computer, and setting it as the boot drive. By following these steps, you have migrated your operating system, applications, and data to the SSD, ensuring a seamless transition that maximizes the potential of your new drive.
With the SSD now serving as the primary storage for your operating system, you can expect faster boot times, accelerated application launches, and improved overall system responsiveness. The enhanced speed and efficiency of your computer will allow you to work more efficiently, indulge in multimedia without lag, and enjoy a smoother computing experience.
Remember to keep your old HDD as a secondary storage device so you can continue to utilize its storage capacity for additional files and programs. You can also reformat it to use it as a backup drive or repurpose it for other storage needs.
We hope this guide has been helpful in simplifying the process of transferring Windows from an HDD to an SSD. Enjoy the improved performance and responsiveness that your new SSD brings and get ready to take your computing experience to new heights!