Introduction:
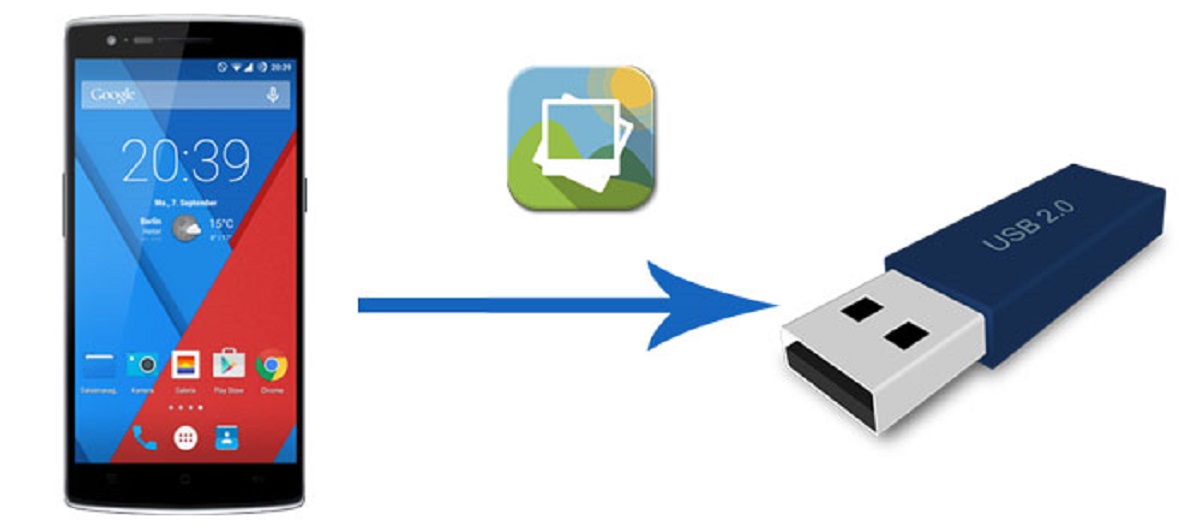
If you’re an avid user of Google Photos, you know how convenient it is to store and access your precious memories in the cloud. However, there may be times when you want to have physical copies of your photos or simply want to back them up to an external storage device. This is where a flash drive comes in handy.
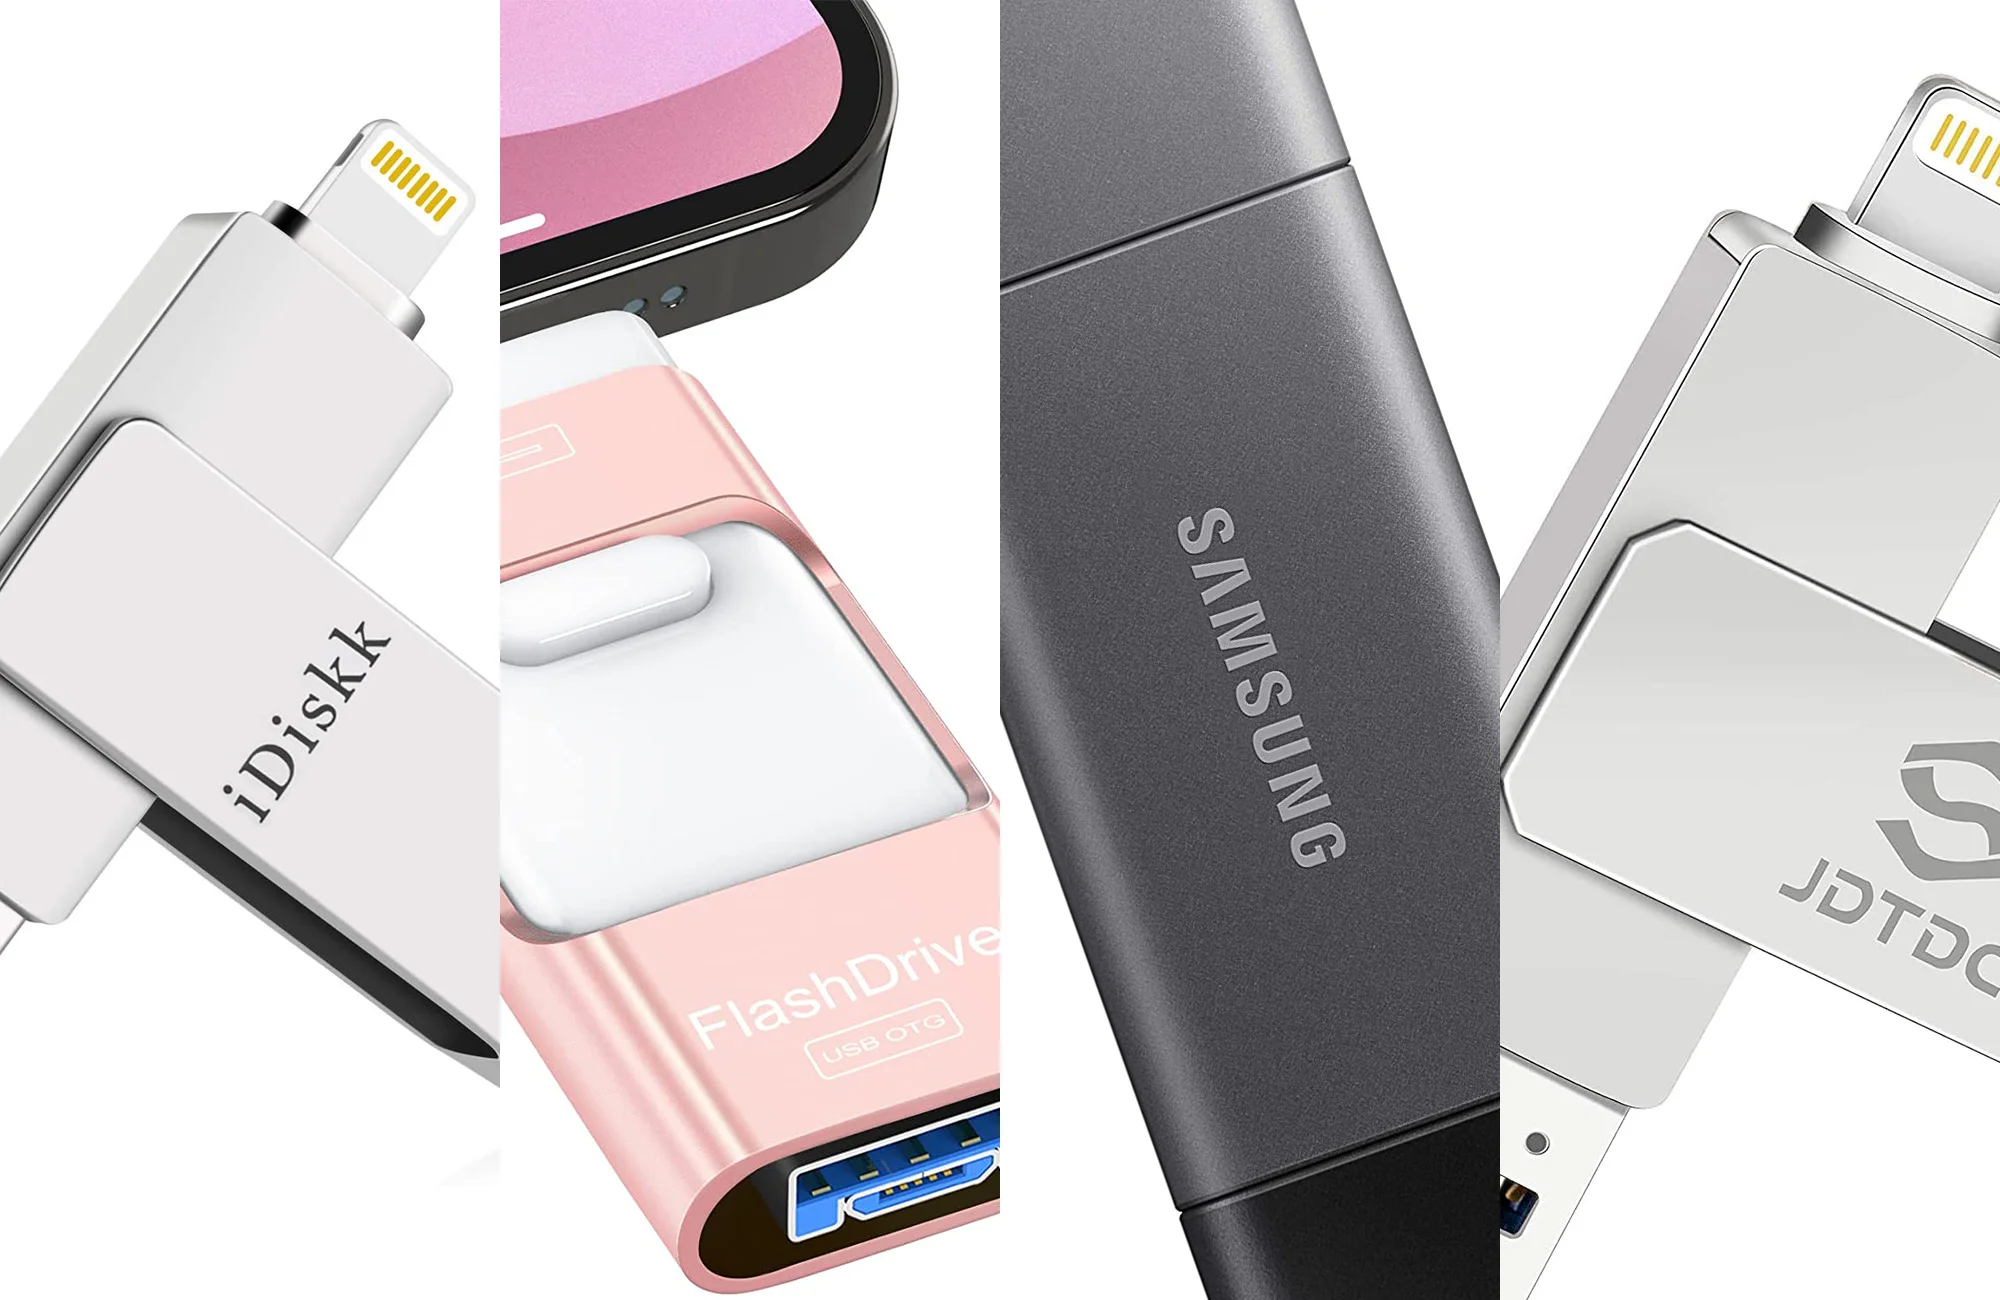
A flash drive, also known as a USB drive or thumb drive, is a portable storage device that allows you to transfer files from your computer or other devices. With its compact size and high storage capacity, it’s an ideal solution for storing and transferring your Google Photos.
In this article, we’ll guide you through the process of transferring your Google Photos to a flash drive. Whether you’re looking to free up space on your phone or computer or simply want to have your favorite memories in a tangible form, we’ve got you covered.
From connecting the flash drive to your computer to safely removing it after the transfer, we’ll walk you through each step in a clear and concise manner. By the end of this guide, you’ll have your Google Photos safely stored on your flash drive, ready to be shared, printed, or kept as a backup.
So, let’s get started and learn how to transfer your Google Photos to a flash drive!
Step 1: Connect the Flash Drive to Your Computer
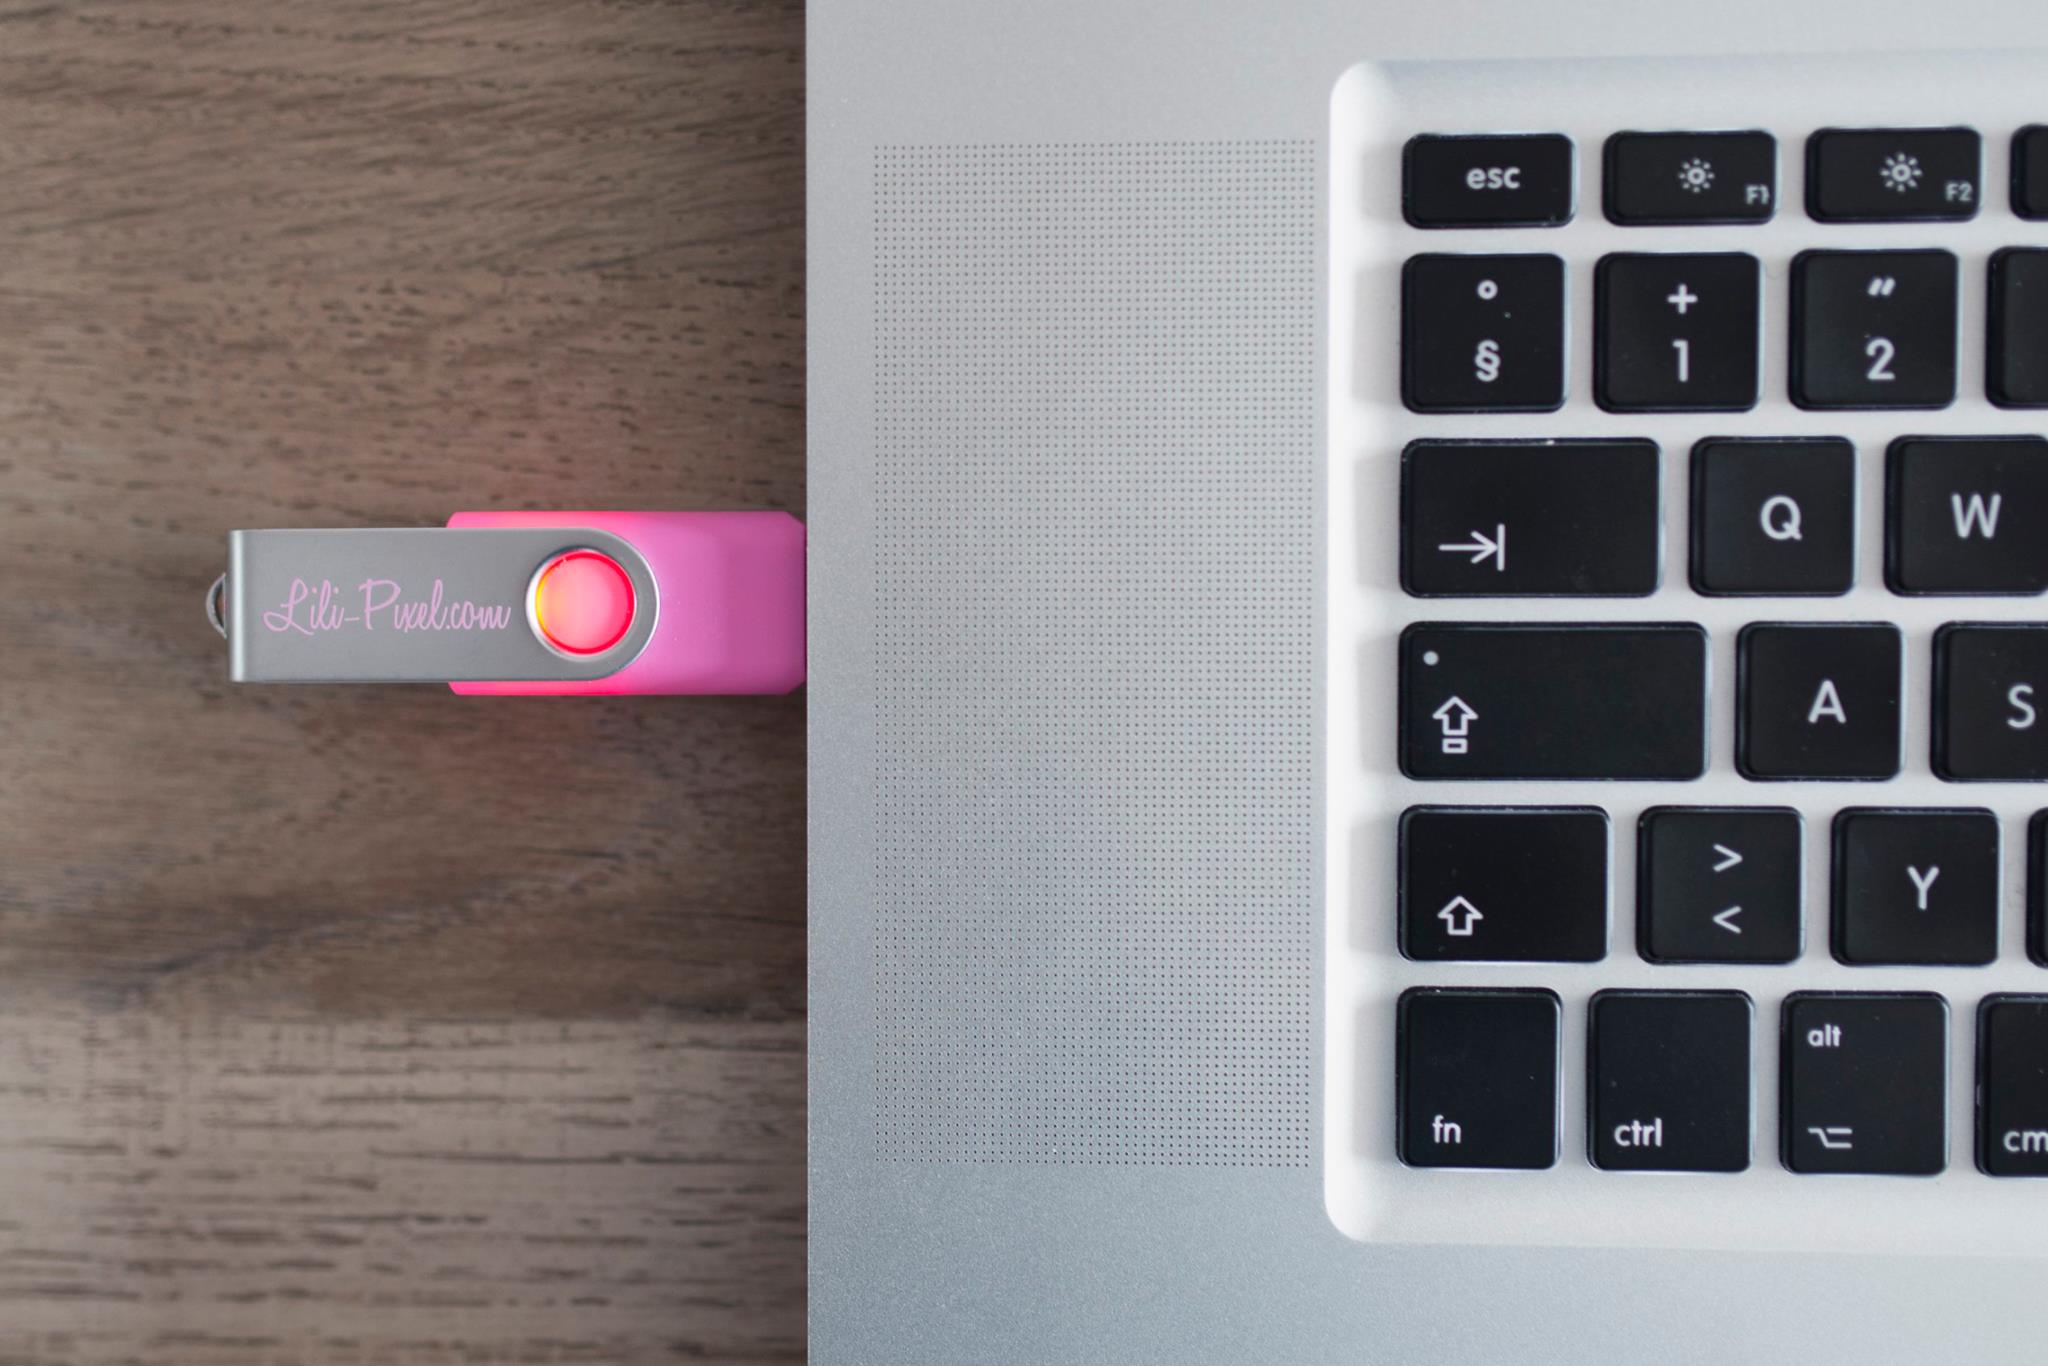
The first step in transferring your Google Photos to a flash drive is to physically connect the flash drive to your computer. Follow these simple steps:
- Locate an available USB port on your computer. USB ports are typically located on the sides or back of your computer.
- Take the flash drive and insert it into the USB port. Make sure it is inserted correctly, with the metal connector facing down.
- Wait for your computer to recognize the flash drive. You may see a notification or hear a sound indicating that a new device has been detected.
- Once the flash drive is connected and recognized by your computer, you’re ready to move on to the next step.
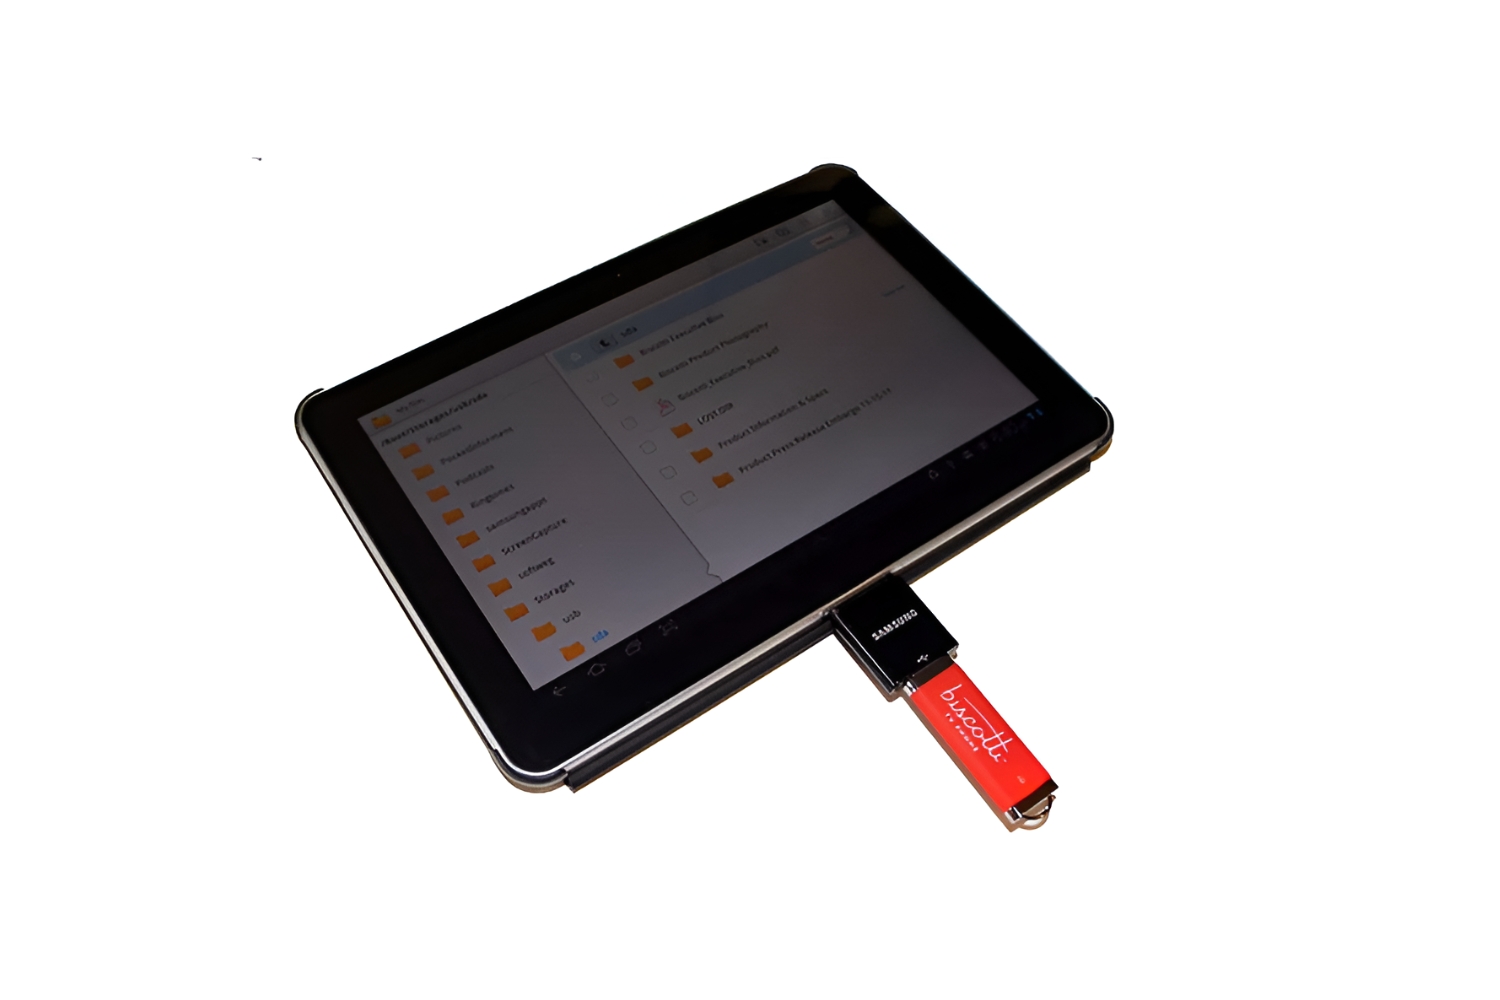
It’s important to note that some newer computers may have USB-C ports instead of traditional USB ports. In this case, you’ll need a USB-C to USB adapter to connect the flash drive to your computer. These adapters are readily available at electronics stores or online retailers.
Now that your flash drive is successfully connected, we can proceed to the next step of transferring your Google Photos.
Step 2: Open Google Photos
With the flash drive connected to your computer, it’s time to open Google Photos and access the photos and videos you want to transfer. Follow these steps:
- Launch a web browser on your computer and go to the Google Photos website (photos.google.com).
- Sign in to your Google account if you haven’t already. Enter your email address and password, and click “Next” to proceed.
- Once you’re signed in, you’ll be redirected to your Google Photos library. Here, you’ll find all your uploaded photos and videos organized by date.
- To select specific photos or videos for transfer, you can either browse through your library or use the search bar to find specific items.
- Click on the thumbnail of the first photo or video you want to transfer. This will open it in a larger view.
- Next, click on the “More options” icon (represented by three vertical dots) in the top-right corner of the screen. A drop-down menu will appear.
- From the drop-down menu, select the “Download” option. This will initiate the download process for the selected item.
- Repeat this process for each additional photo or video you want to transfer. You can select multiple items by holding down the Ctrl (or Command) key while clicking on the thumbnails.
Now that you’ve opened Google Photos and selected the photos and videos you wish to transfer, it’s time to proceed to the next step: downloading the selected items.
Step 3: Select Photos and Videos to Transfer
Now that you have Google Photos open, it’s time to select the specific photos and videos that you want to transfer to your flash drive. Here’s how you can do it:
- Take a moment to browse through your Google Photos library. You can scroll down to view older photos or use the search bar to find specific items.
- As you come across a photo or video you wish to transfer, click on it to open it in a larger view. This allows you to see the file details and make sure it is the correct item you want to transfer.
- If the photo or video is indeed the one you want to transfer, look towards the top-right corner of the screen. You will see a checkmark icon. Click on it to select the item for transfer.
- To select multiple photos or videos, you can hold down the Ctrl (or Command) key on your keyboard while clicking on each item. This allows you to select multiple files at once.
- To deselect an item, simply click on the checkmark icon again, and it will be unselected. This is helpful if you accidentally selected the wrong file.
- Continue this process of selecting the photos and videos you want to transfer until you have chosen all the desired items.
- Take your time to double-check your selections before proceeding to the next step.
By selecting the specific photos and videos you want to transfer, you have ensured that only those files will be downloaded and saved to your flash drive. This allows you to have control over the exact content you want to have on your external storage device.
Once you have completed the selection process, it’s time to move on to the next step: downloading the selected items.
Step 4: Download Selected Items
Now that you have selected the photos and videos you want to transfer from Google Photos to your flash drive, it’s time to download them onto your computer. Follow these steps:
- With the desired items selected, look towards the top-right corner of the screen. You will see a download icon represented by a downward arrow.
- Click on the download icon to initiate the download process. Depending on the number and size of the selected files, this may take a few moments.
- Google Photos will start preparing the files for download, and a downloading progress indicator will appear on the screen. You can monitor the progress to see how much time is remaining.
- Once the download is complete, a notification will appear, informing you that the files have been downloaded to your computer.
- By default, the files are saved to your computer’s default download folder. You can change the destination folder if needed by adjusting your browser settings.
- Take a moment to verify that the downloaded files are in the designated folder on your computer. You can open the folder and check if the selected photos and videos are present.
- Now that you have successfully downloaded the selected items from Google Photos, it’s time to transfer them to your flash drive.
Downloading the files to your computer first ensures that you have a local copy before transferring them to your flash drive. This provides an added layer of security and ensures that your files are not lost during the transfer process.
With the files downloaded and ready, let’s move on to the next step: transferring the files to your flash drive.
Step 5: Locate Downloaded Files
After downloading the selected photos and videos from Google Photos, it’s important to locate the downloaded files on your computer. This will allow you to easily access them and transfer them to your flash drive. Follow these steps to find the downloaded files:
- Open the file explorer or finder on your computer. This can typically be done by clicking on the corresponding icon in your taskbar or dock.
- Navigate to the default download folder on your computer. This is where the downloaded files are saved by default.
- If you have changed the destination folder for downloads, navigate to the custom folder you specified.
- Look for the files that were downloaded from Google Photos. They will be in the format and file type that you selected during the download process.
- You can use the file explorer’s search function to quickly find the downloaded files. Simply enter a relevant keyword or file name in the search bar, and the explorer will display the matching files.
- Take a moment to verify that the downloaded files are located in the designated folder on your computer. You can open the folder and confirm that the selected photos and videos are present.
- Keep the downloaded files accessible and ready for the next step: transferring them to your flash drive.
Locating the downloaded files ensures that you can easily access and transfer them to your flash drive without any confusion. It’s important to make sure you have successfully located the files before proceeding to the next step.
Now that you know where the downloaded files are on your computer, let’s move on to the next step: copying and pasting the files to your flash drive.
Step 6: Copy and Paste Files to Flash Drive
With the downloaded files from Google Photos located on your computer, it’s time to transfer them to your flash drive. Follow these steps to copy and paste the files:
- Connect your flash drive to an available USB port on your computer if you haven’t already done so.
- Open the file explorer or finder on your computer.
- Navigate to the folder where you have the downloaded files from Google Photos.
- In the file explorer, locate your flash drive. It will generally be listed under the “Devices” or “Removable Storage” section.
- Double-click on the flash drive to open it and display its contents.
- Now, select the downloaded files you want to transfer to the flash drive. You can do this by clicking and dragging your mouse cursor to select multiple files or holding down the Ctrl (or Command) key and clicking on each file individually.
- Once the desired files are selected, right-click on any of the selected files and choose the “Copy” option from the context menu.
- Next, go back to the opened flash drive folder in the file explorer, right-click inside it, and choose the “Paste” option from the context menu.
- The selected files will begin copying to your flash drive. The time it takes will depend on the size of the files and the speed of your computer and flash drive.
- Once the copying process is complete, you can double-check to ensure that the files have been successfully transferred to the flash drive.
Copying and pasting the files to your flash drive allows you to create a duplicate set of your Google Photos on an external storage device. This gives you an additional backup and ensures that you can access your photos and videos even when you don’t have an internet connection.
Now that the files have been successfully transferred, we can proceed to the final step: safely removing the flash drive from your computer.
Step 7: Safely Remove the Flash Drive
After successfully transferring the files from your computer to the flash drive, it’s important to follow the proper procedure for safely removing the flash drive. This ensures that your data is protected and prevents any potential data loss or corruption. Follow these steps to safely remove the flash drive:
- Ensure that all file transfers to and from the flash drive are complete and that there are no active file operations involving the flash drive.
- Locate the “Safely Remove Hardware” or “Eject” icon in the system tray or menu bar of your computer. This icon typically looks like a USB plug with a checkmark or an arrow next to it.
- Click on the “Safely Remove Hardware” or “Eject” icon to display a list of removable devices connected to your computer.
- From the list, select the flash drive that you want to remove.
- Wait for a confirmation message or notification that it is safe to remove the flash drive. This message indicates that all the data has been written to the flash drive and that it is no longer in use by your computer.
- Gently remove the flash drive from the USB port of your computer. Hold it by the sides and avoid pulling on the drive or applying excessive force.
By following these steps, you minimize the risk of data loss or damage to your files and the flash drive itself. It ensures that all data has been properly written and that there are no ongoing processes that could be disrupted by removing the flash drive.
With the flash drive safely removed from your computer, you have successfully completed the process of transferring your Google Photos to a flash drive. The photos and videos are now stored on the external device, allowing you to access and enjoy your memories whenever you need them.
Conclusion
Transferring your Google Photos to a flash drive provides you with a convenient way to have physical copies and backups of your precious memories. By following the steps outlined in this guide, you can easily transfer your photos and videos from Google Photos to a flash drive.
We started by connecting the flash drive to your computer and then opened Google Photos to select the specific photos and videos you wanted to transfer. After downloading the selected items, we located the downloaded files on your computer. Then, we copied and pasted the files to the flash drive. Finally, we safely removed the flash drive from your computer.
By properly following each step, you have successfully completed the process of transferring your Google Photos to a flash drive. You now have a physical backup that you can access offline and keep for safekeeping. Additionally, having the photos stored on a flash drive provides you with flexibility, allowing you to share the files easily with others or transfer them to different devices.
Remember to store your flash drive in a safe place to prevent it from being lost or damaged. Regularly updating and backing up your photos ensures that your memories are always safeguarded.
With this newfound knowledge, you can confidently transfer your Google Photos to a flash drive, giving you peace of mind and control over your photo collection. Enjoy preserving and sharing your cherished moments!


