Introduction
Welcome to the world of TV antennas! If you’re experiencing poor reception or no signal while watching your favorite shows, it’s time to test your TV antenna. Testing your antenna can help identify any issues or malfunctions, allowing you to enjoy uninterrupted viewing.
A TV antenna is an essential component for receiving over-the-air television signals. It picks up broadcast signals from local stations and delivers them to your TV, providing access to a wide range of channels without the need for a cable or satellite subscription. However, just like any other electronic device, TV antennas can develop problems over time, resulting in reception issues.
Testing your TV antenna is crucial in troubleshooting any issues you may be facing. By understanding the signs of a faulty antenna and using the right tools and techniques, you can determine whether the problem lies with the antenna itself or other factors such as cabling or interference.
In this article, we will guide you through the process of testing a TV antenna. We will cover various methods, from using a digital TV to a signal meter and even a multimeter. Whether you are a novice or an experienced DIY enthusiast, you will gain valuable insights to help you diagnose and resolve antenna-related problems.
Before we dive into the testing methods, let’s explore some common signs that may indicate a faulty TV antenna. By familiarizing yourself with these signs, you can better understand the potential issues your antenna may be facing.
Understanding TV Antennas
Before you begin testing your TV antenna, it is important to have a basic understanding of how it works. A TV antenna, also known as an aerial, receives electromagnetic waves transmitted by television stations and converts them into audio and visual signals to be displayed on your television.
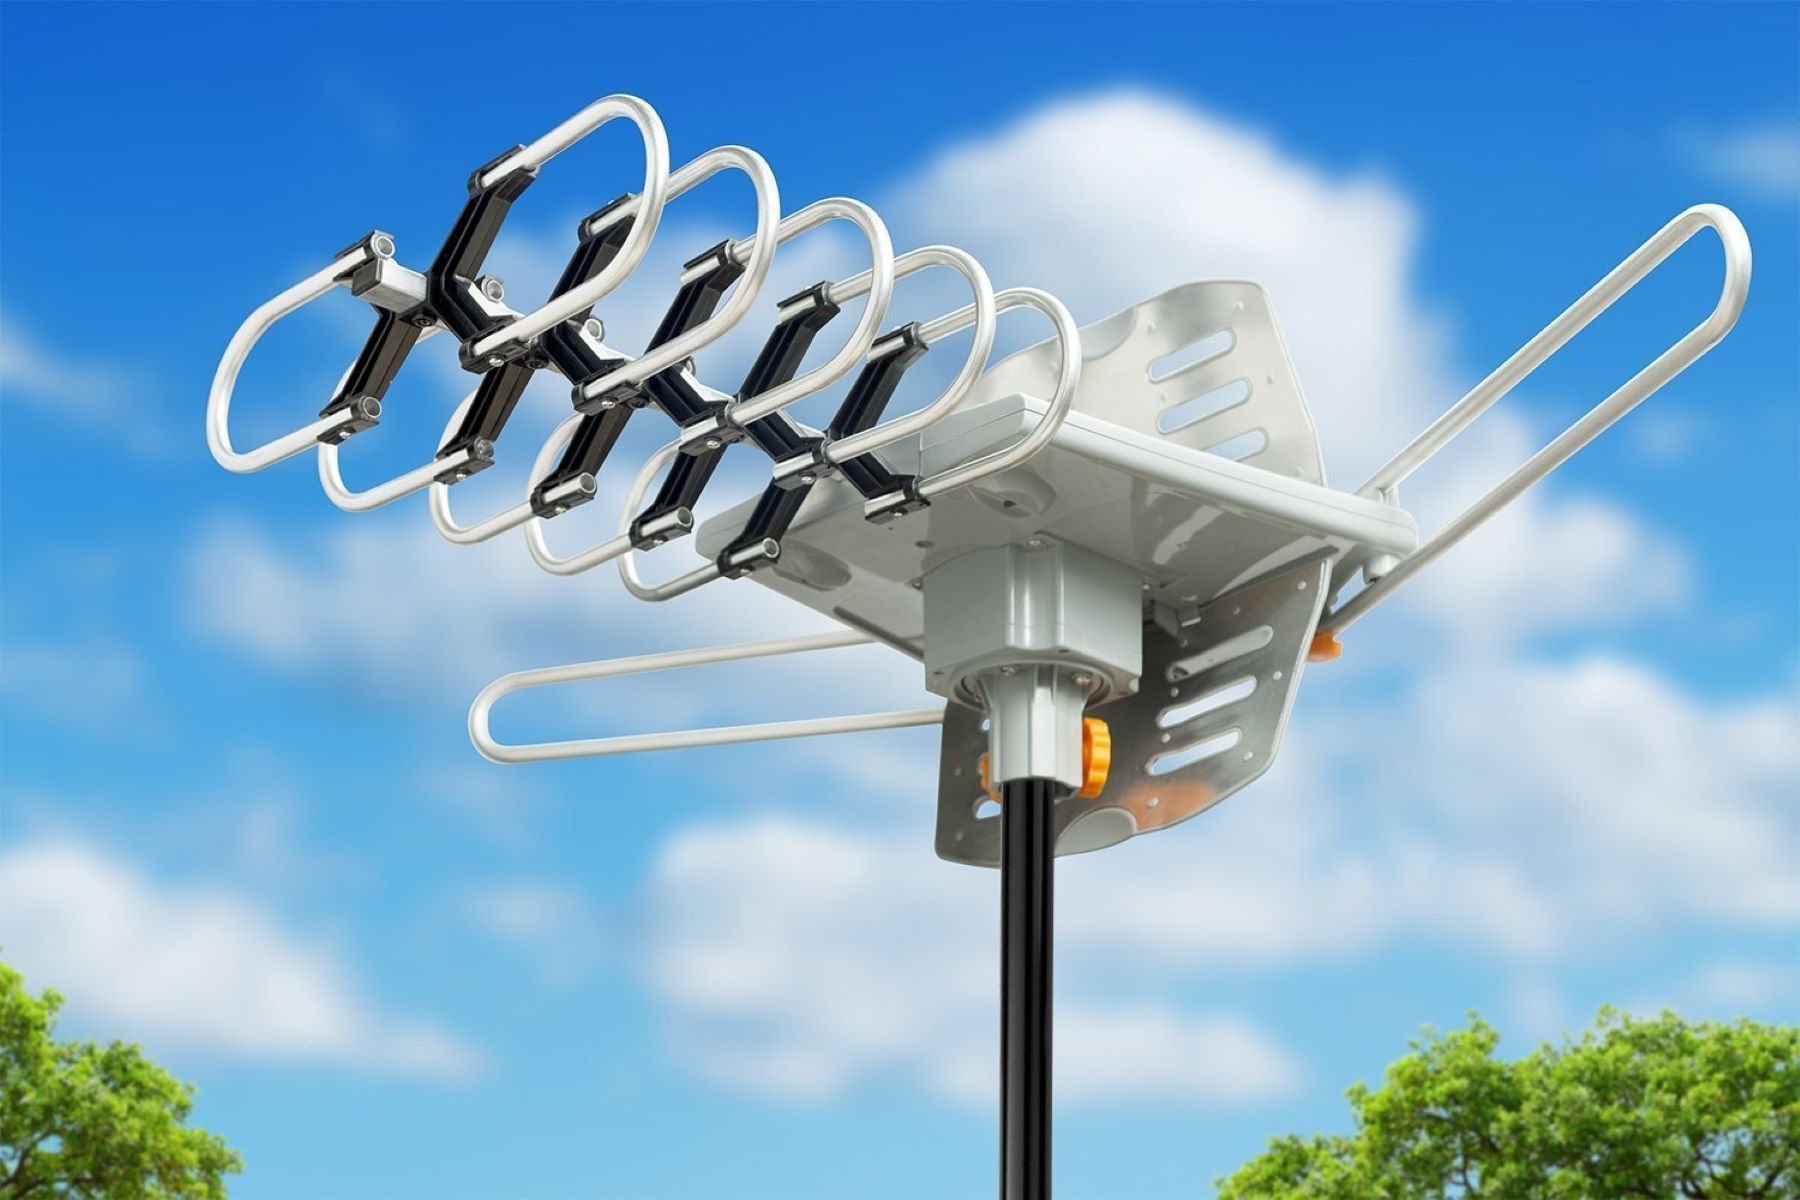
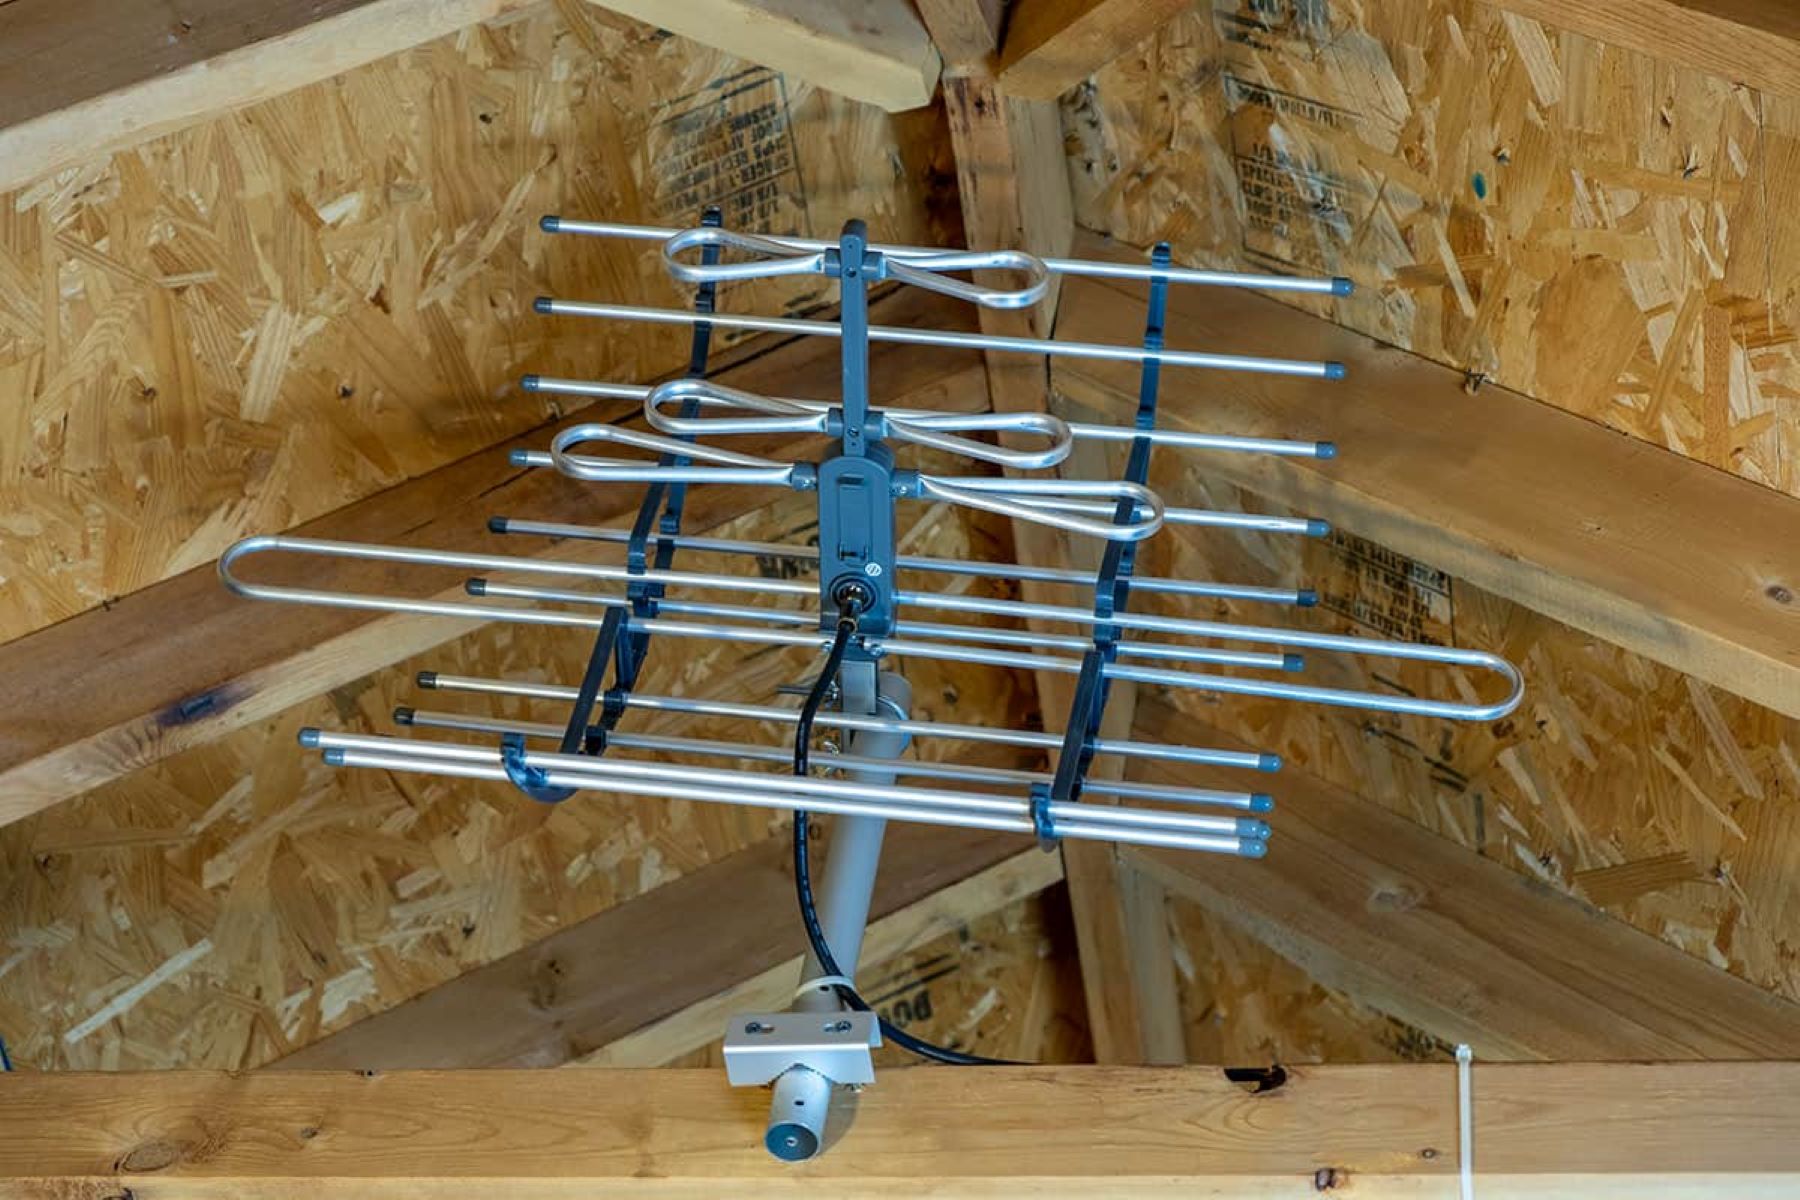
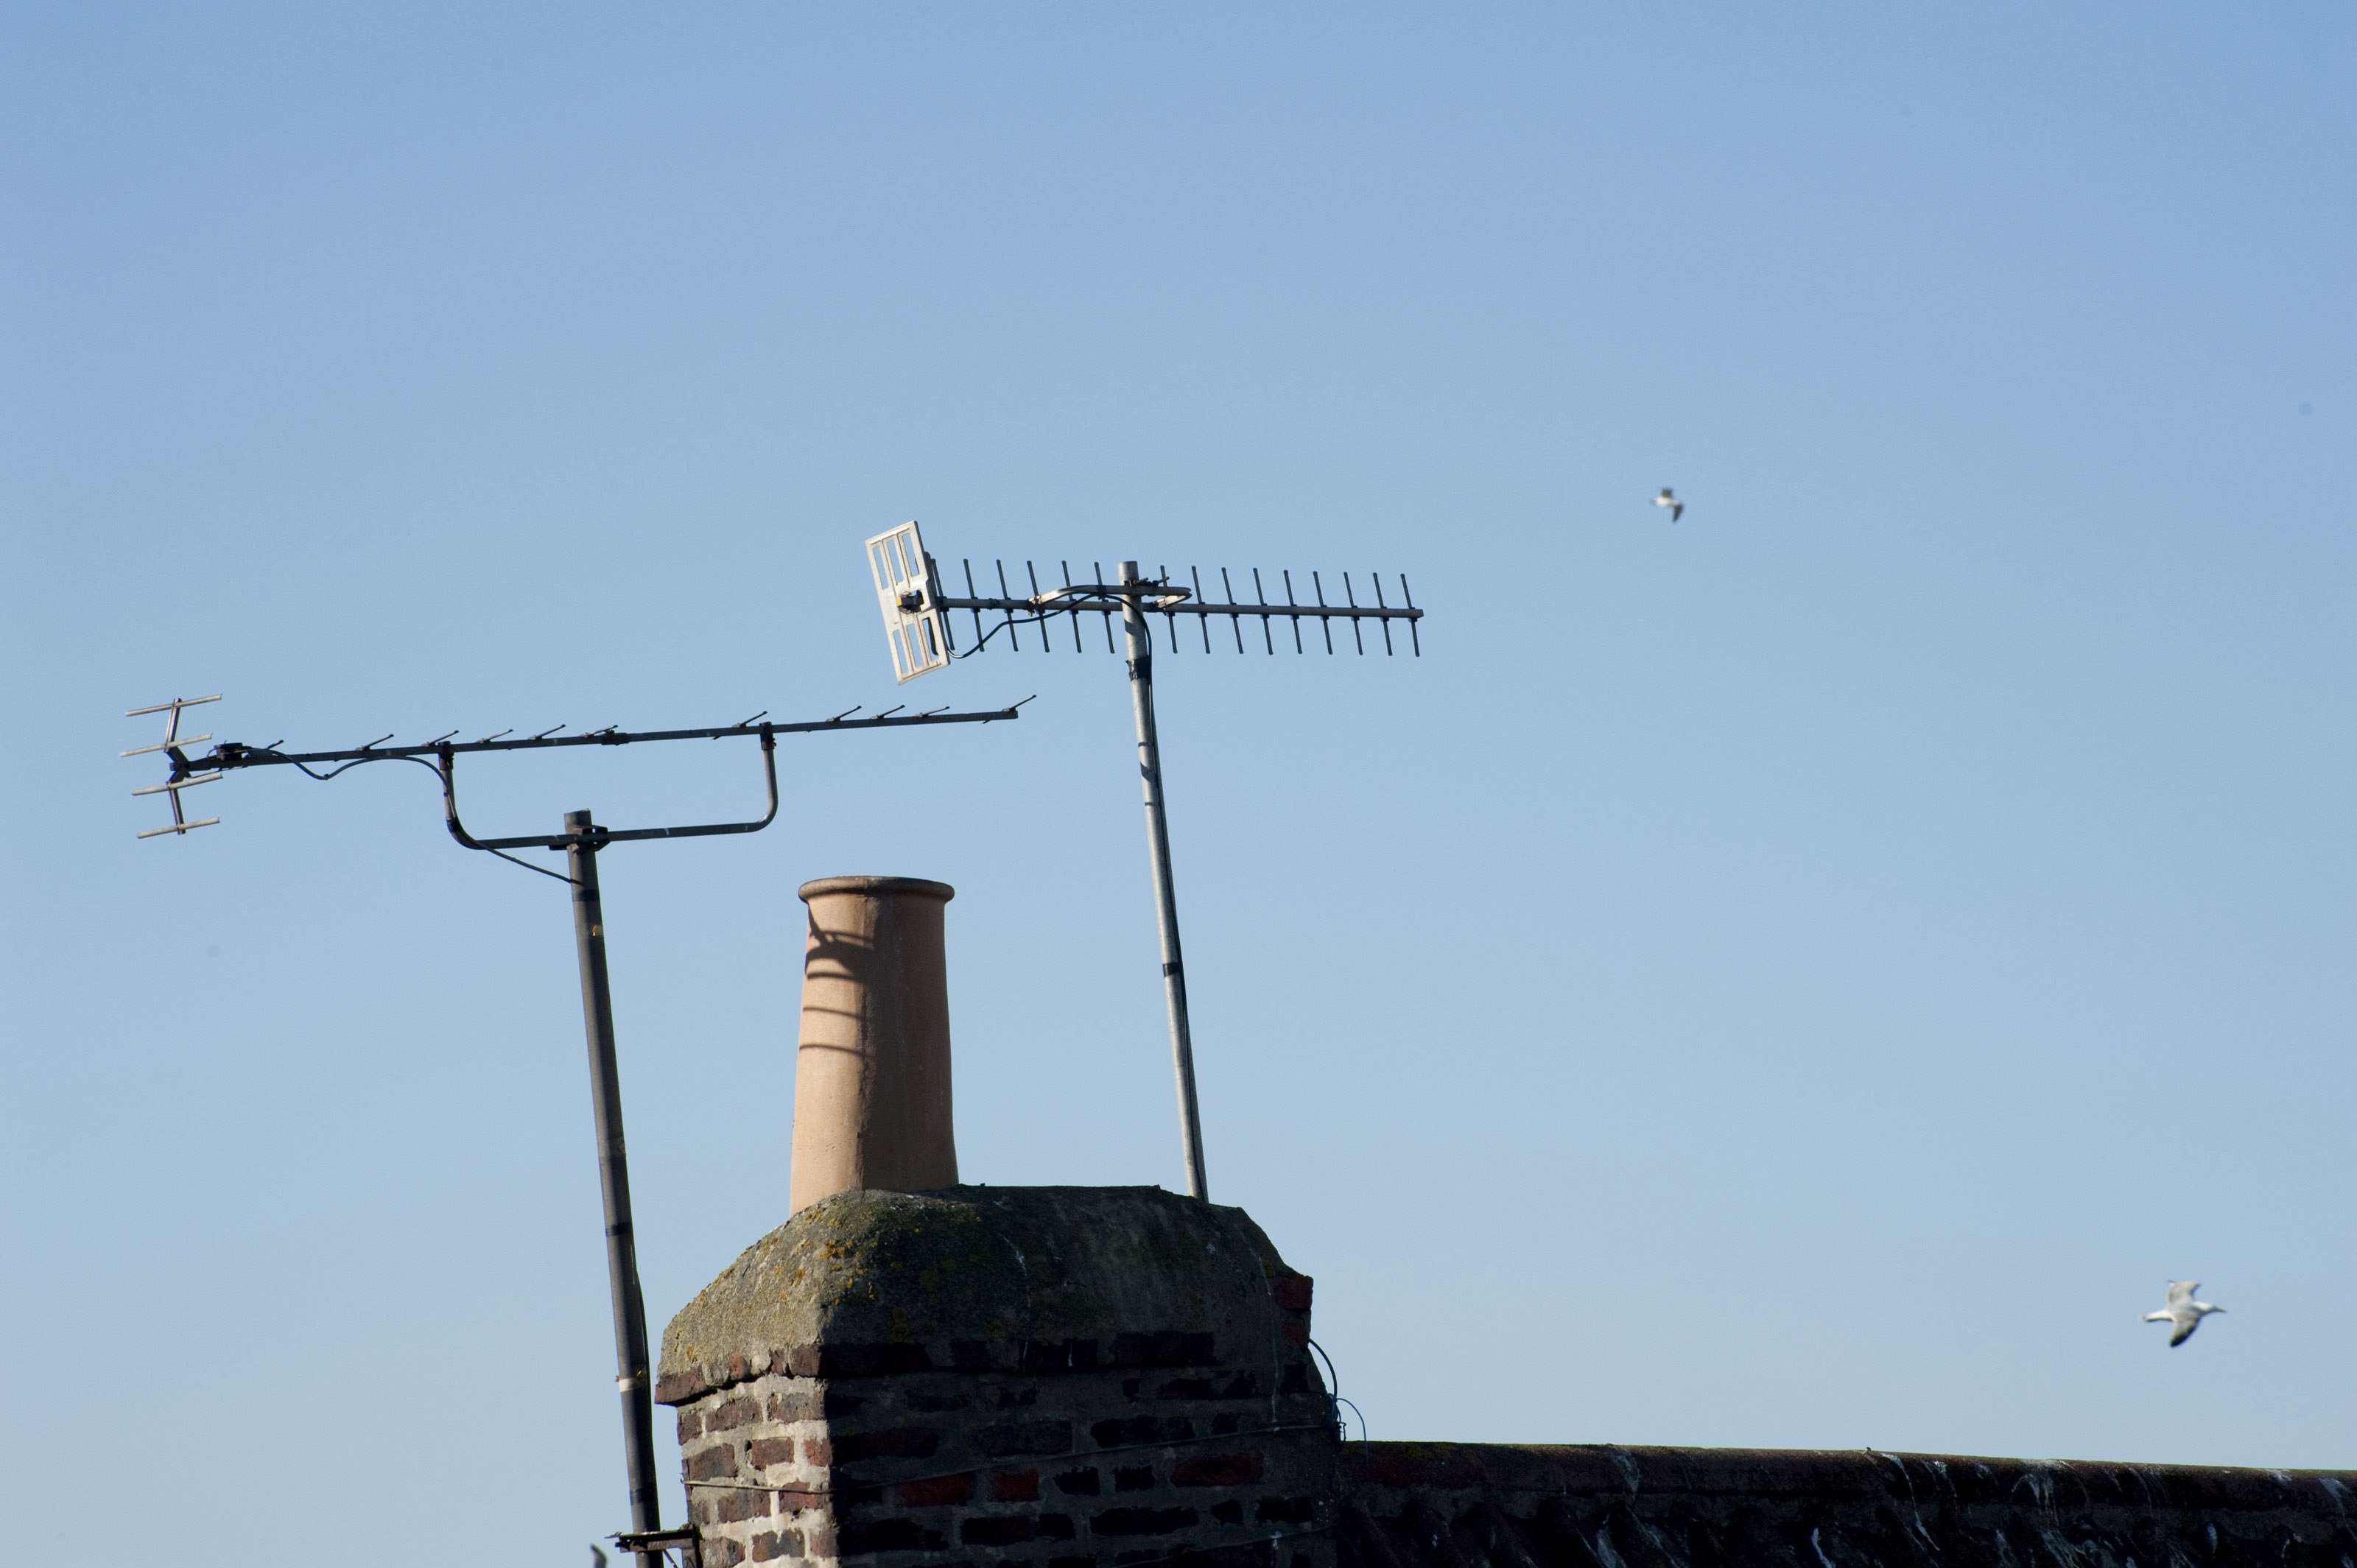
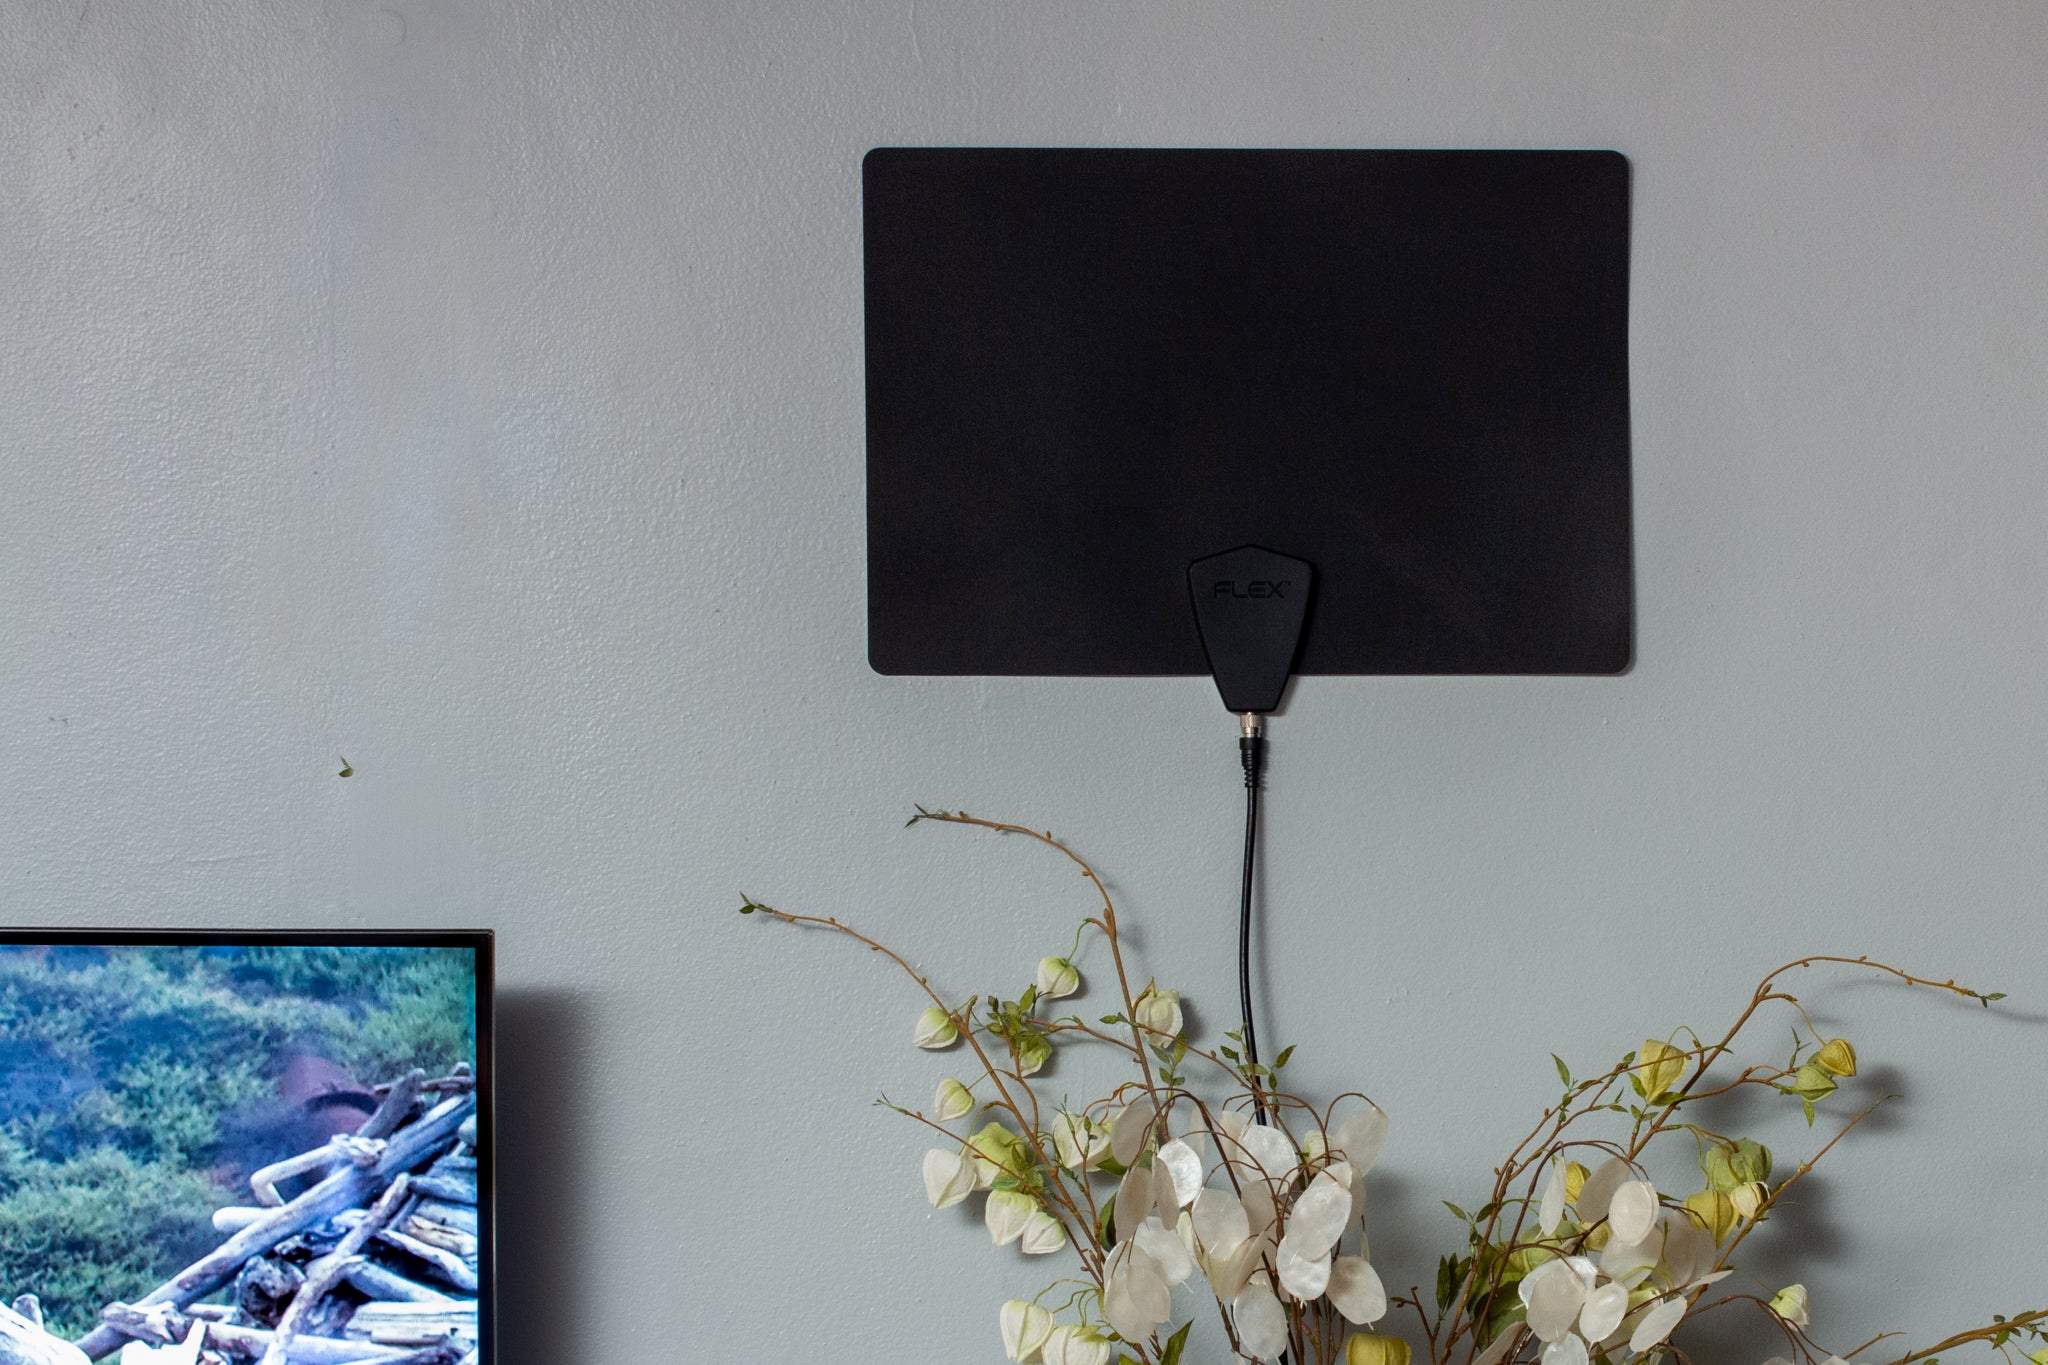
There are two types of TV antennas: indoor and outdoor. Indoor antennas are typically smaller in size and are designed to be placed near your TV or on a window sill. They are suitable for areas with strong signal reception. On the other hand, outdoor antennas are larger and are installed on rooftops or poles. These antennas are better suited for areas with weaker signal reception or where obstructions like buildings or trees may hinder reception.
TV antennas use different designs to capture and amplify signals. The most common types are the rabbit ears, Yagi, and log periodic antennas. Rabbit ears antennas consist of two extendable rods that can be adjusted for optimum signal reception. Yagi antennas, also known as directional antennas, have multiple elements arranged in a specific pattern to receive signals from one direction. Log periodic antennas have a wideband design that enables them to receive signals across multiple frequencies.
Frequencies for over-the-air TV broadcast vary by region and country. In the United States, television signals are transmitted over VHF (Very High Frequency) and UHF (Ultra High Frequency) bands. VHF signals occupy channels 2 to 13, while UHF signals occupy channels 14 to 51. It is important to ensure that your TV antenna is capable of receiving signals on the correct frequency range for your area in order to enjoy the available channels.
When positioning your TV antenna, it is crucial to consider the line of sight to the transmitting towers. Obstructions such as buildings, trees, and hills can weaken or block the signals, affecting the reception quality. By identifying the direction of the broadcasting towers in your area and properly aligning your antenna, you can optimize signal reception and minimize potential interference.
Now that you have a better understanding of TV antennas, let’s move on to identifying the signs of a faulty antenna. By knowing what to look for, you can determine whether the issue lies with the antenna itself or if there are other factors at play.
Signs of a Faulty TV Antenna
When it comes to troubleshooting a TV antenna, it’s important to recognize the signs that indicate a potential issue with the antenna itself. By identifying these signs early on, you can take the necessary steps to fix the problem and ensure uninterrupted TV viewing.
Here are some common signs that may indicate a faulty TV antenna:
- Poor Signal Quality: If you notice frequent pixelation, freezing, or distortion in your TV signal, it may be a sign of a faulty antenna. A weak or damaged antenna can result in inconsistent signal reception, leading to a poor viewing experience.
- Loss of Channels: If you suddenly lose access to certain channels that were previously available, it could be due to an issue with your antenna. It’s possible that the antenna is not receiving signals on the correct frequency or is not properly aligned with the broadcasting towers.
- No Signal: If your TV displays a “No Signal” message or shows a blank screen, it typically indicates a problem with the antenna. This could be due to a loose connection, faulty wiring, or a malfunctioning antenna.
- Intermittent Signal: If your TV signal comes and goes, with periods of complete signal loss followed by periods of normal reception, it may indicate an issue with the antenna. Loose connections, damaged cables, or a misaligned antenna can result in intermittent signal reception.
- Antenna Movement: If your antenna appears to move or rotate on its own, it may be a sign of mechanical issues. Loose mounting brackets, damaged rotors, or motor malfunctions can cause the antenna to move unexpectedly.
It’s important to note that while these signs may indicate a problem with your TV antenna, they could also be caused by other factors such as faulty cables, incorrect settings on your TV, or interference from nearby electronic devices. Therefore, it’s crucial to eliminate these possibilities before concluding that the issue lies with the antenna itself.
Now that you know the signs of a faulty TV antenna, let’s move on to the preparations you need to make before testing your antenna. These preparations will ensure that you have the necessary tools and information to accurately diagnose and resolve any antenna-related issues.
Preparations before Testing
Before you start testing your TV antenna, it’s important to make a few preparations to ensure that you have everything you need for an effective and efficient process. By taking these steps, you’ll be ready to diagnose any issues and make the necessary adjustments or repairs.
Here are some key preparations to consider:
- Research Your Local Broadcast Towers: Knowing the locations and directions of the broadcasting towers in your area is essential for aligning your antenna correctly. Use online resources or smartphone apps to determine the nearest towers and their corresponding magnetic bearings.
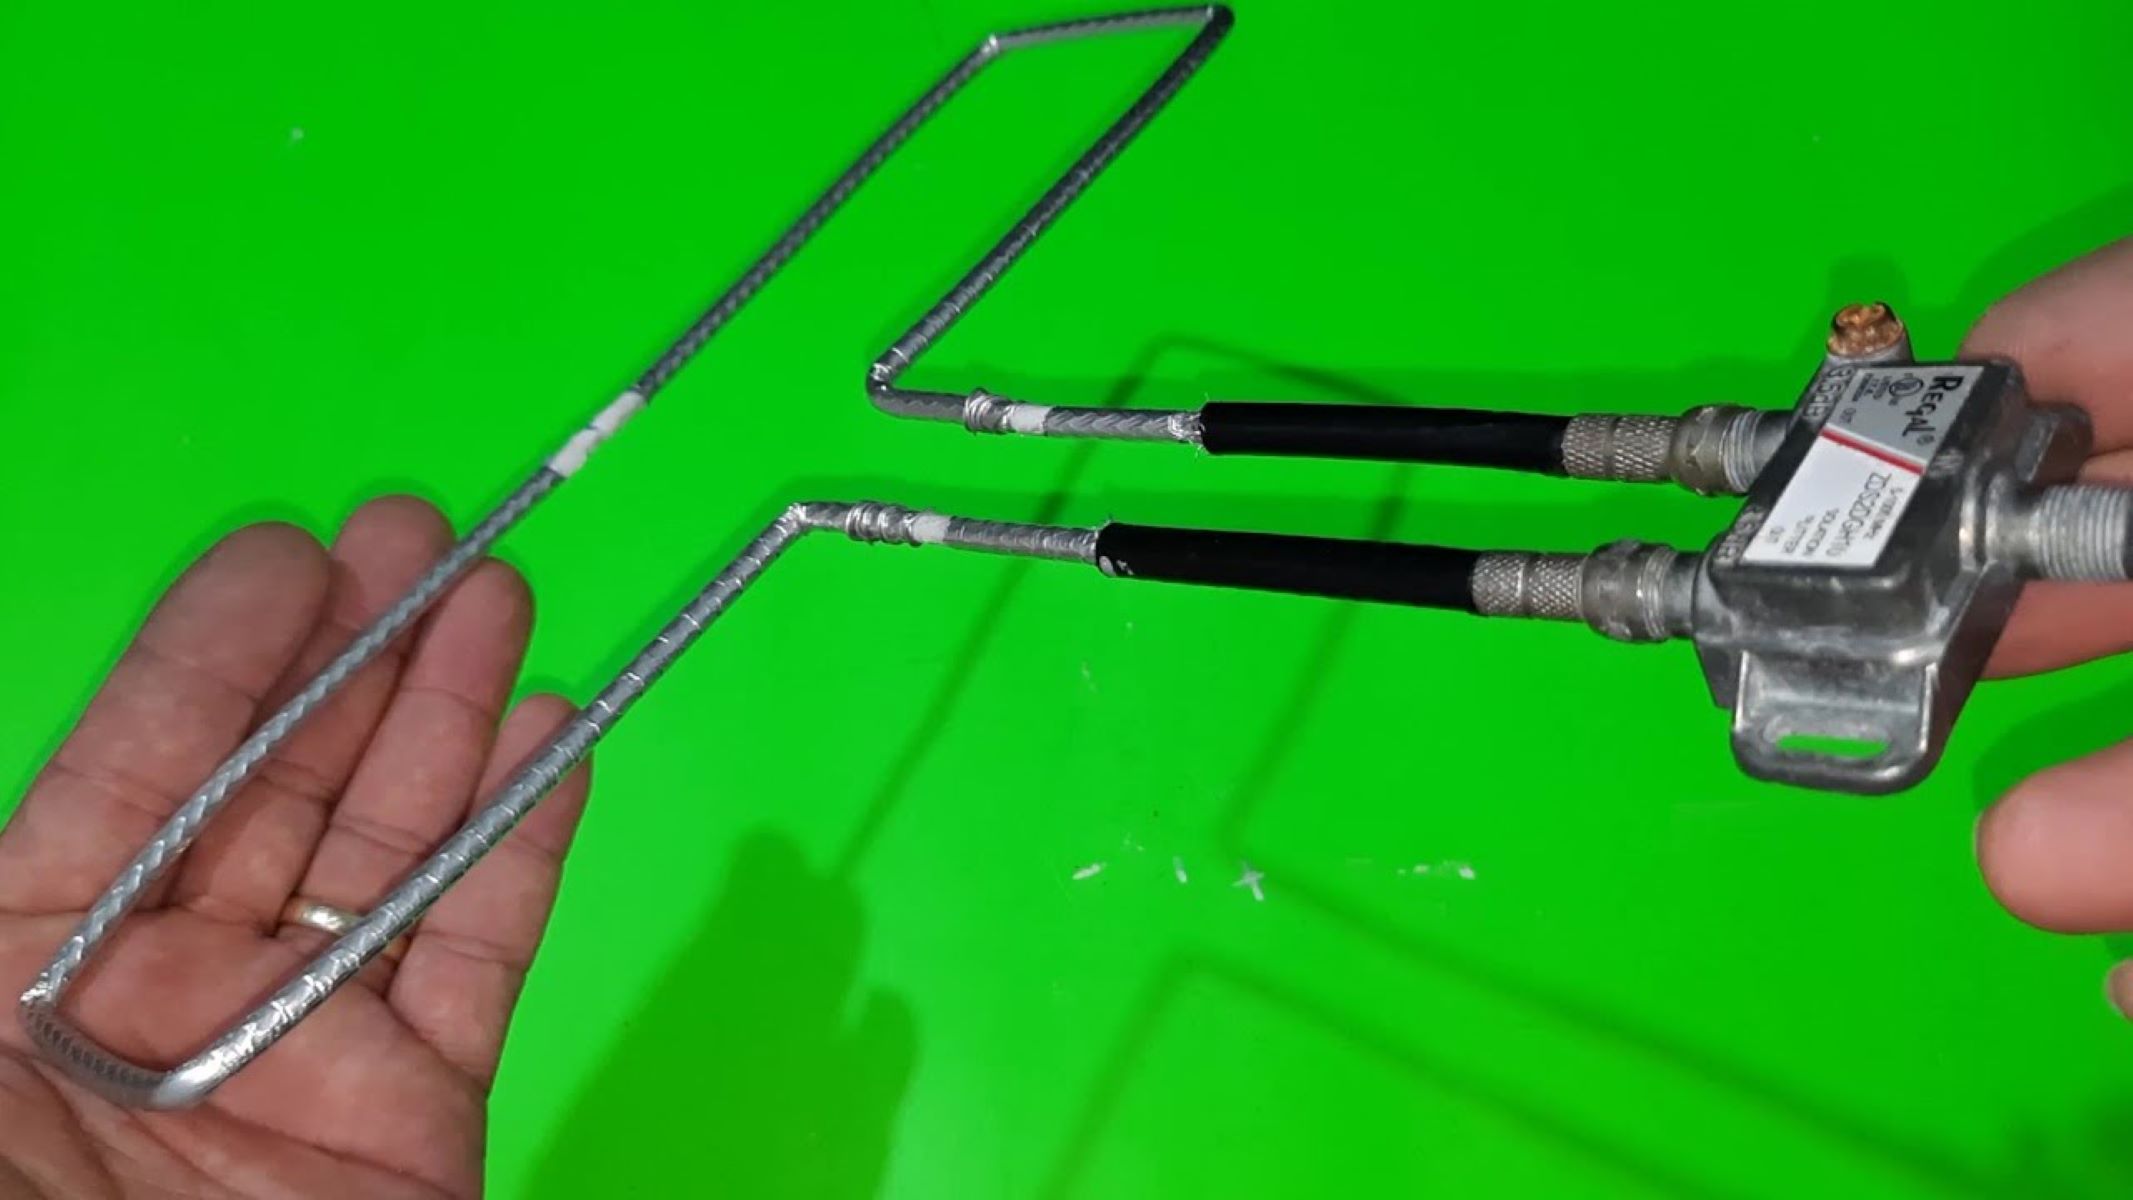
- Check the Antenna Connections: Inspect the connections between your antenna, TV, and any additional equipment such as amplifiers or signal splitters. Ensure that the coaxial cable is securely connected to the antenna and that there are no visible signs of damage or wear. If necessary, replace any faulty cables or connectors.
- Inspect the Antenna Condition: Examine the physical condition of your antenna. Look for any signs of damage, such as bent elements, corrosion, or loose parts. If you notice any issues, it may be necessary to repair or replace the antenna.
- Check for Obstructions: Survey your surroundings to identify any potential obstacles that may affect signal reception. Trees, buildings, or other structures in the line of sight between your antenna and the broadcasting towers can weaken the signal. Consider repositioning or elevating the antenna to minimize obstruction.
- Gather the Necessary Tools: Make sure you have the tools required for testing your TV antenna. This may include a digital TV, an analog TV, a signal meter, and/or a multimeter depending on the testing methods you plan to employ.
- Record Baseline Signal Strength: Before making any adjustments or repairs, it’s helpful to note the baseline signal strength and quality of your current reception. This will allow you to compare the results after testing and gauge the effectiveness of your troubleshooting efforts.
By taking these preparatory steps, you’ll be well-equipped to test your TV antenna and identify any underlying issues. Now, let’s jump into different testing methods that you can use to diagnose problems with your antenna.
Testing the TV Antenna with a Digital TV
One of the most effective ways to test a TV antenna is by using a digital TV. Digital televisions have built-in tuners that can scan for and display over-the-air channels. By following these steps, you can determine if your antenna is receiving the desired signals:
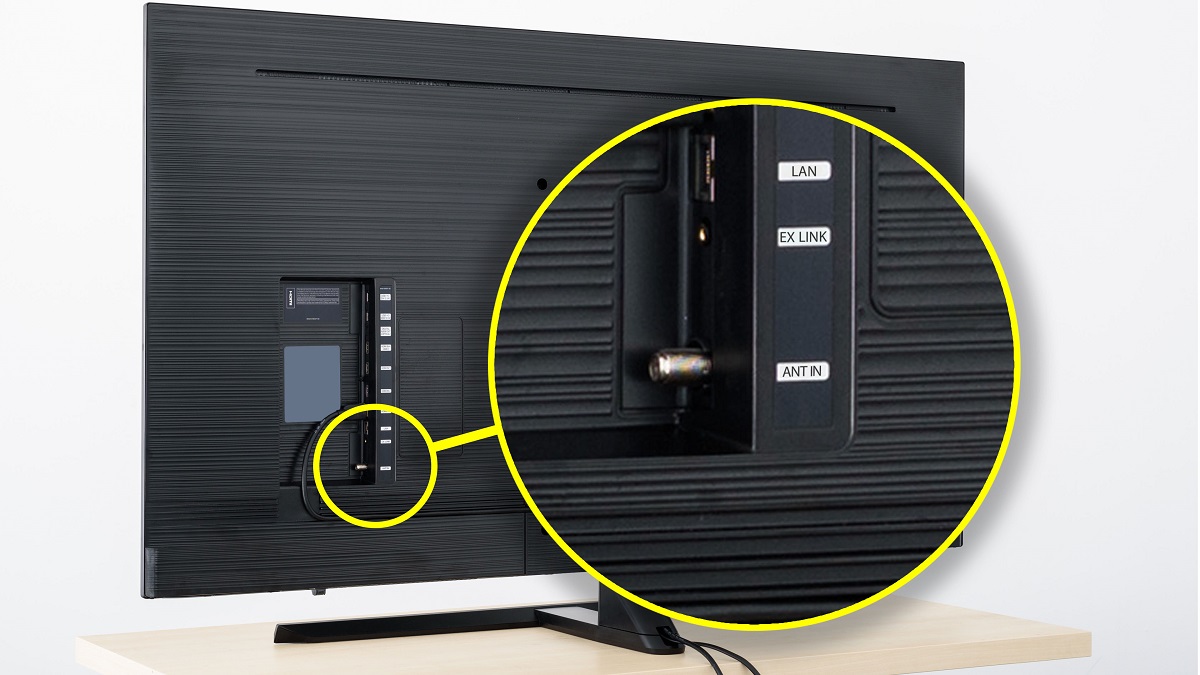
- Connect the Antenna: Attach the coaxial cable from your TV antenna to the antenna input on your digital TV. Ensure a secure connection.
- Turn on the TV and Select Antenna Mode: Power on your digital TV and access the settings menu. Look for the option to choose the antenna as the source/input. Select this option to enable the TV’s internal tuner to receive over-the-air signals.
- Perform a Channel Scan: Within the settings menu, you should find the option to scan for available channels. Start the channel scan, and let the TV search for all available channels within its reception range. The scanning process might take a few minutes to complete.
- Check and Evaluate the Results: Once the channel scan is complete, you will see a list of detected channels on your TV screen. Take note of the number of channels found and their corresponding signal strength and quality. Test a few channels to ensure clear reception and proper audio and video output.
- Adjust the Antenna Position: If you are not satisfied with the channel reception or signal quality, it’s time to make some adjustments. Slowly and incrementally reposition the antenna by rotating, tilting, or relocating it to optimize signal reception. Rescan the channels after each adjustment to assess the impact on signal strength.
- Repeat the Process: If necessary, continue adjusting the antenna and rescanning until you achieve the desired channel reception and signal quality. Making note of the changes you make during the process can help you track the most effective adjustments.
Testing your TV antenna with a digital TV is a straightforward method that allows you to verify if your antenna is capable of receiving the available over-the-air channels in your area. If you are still experiencing issues with reception, it may be worthwhile to test the antenna with an analog TV or employ additional testing methods, as we will discuss in the following sections.
Testing the TV Antenna with an Analog TV
If you have access to an analog TV, it can be another useful tool for testing your TV antenna. While analog TV signals are no longer widely used, they can still provide valuable information about your antenna’s performance. Here’s how to test your antenna with an analog TV:
- Connect the Antenna: Attach the coaxial cable from your TV antenna to the antenna input on the analog TV. Ensure a secure connection.
- Turn on the TV and Access the Channel Menu: Power on your analog TV and access the channel settings menu. Look for the option to manually scan for channels or tune the TV to a specific channel.
- Start the Manual Channel Scan: Begin the channel scan on your analog TV and wait for the TV to search for available channels. Unlike a digital TV, an analog set requires manual tuning to find channels.
- Assess the Channel Reception: After the channel scan is complete, evaluate the quality of the received channels. Look for clear images, good sound, and minimal interference or noise. Take note of the number of channels found and the signal strength levels.
- Adjust the Antenna Position: If you are not satisfied with the channel reception or signal quality, try adjusting the antenna’s position. Move it around, rotate it, or change its elevation to improve the signal reception. Remember to rescan the channels after each adjustment to assess the impact on reception.
- Repeat and Compare Results: If necessary, continue adjusting the antenna and rescanning until you achieve satisfactory reception. Make comparisons with the initial channel scan results to determine the effectiveness of the adjustments made.
Testing your TV antenna with an analog TV can provide valuable insights into the antenna’s performance, as analog signals are generally more sensitive to signal quality issues. If you notice poor reception or interference on analog channels, it’s even more crucial to refine the antenna position and alignment for optimal performance.
In the next section, we will explore how to use a signal meter to test your TV antenna and gain more precise measurements of signal strength.
Testing the TV Antenna with a Signal Meter
If you want to obtain more precise measurements of your TV antenna’s signal strength, a signal meter can be a valuable tool. A signal meter allows you to gauge the strength of the signals received by your antenna. Here’s how to test your TV antenna with a signal meter:
- Connect the Signal Meter: Attach the signal meter to the coaxial cable coming from your TV antenna. Ensure a secure connection between the signal meter and the cable.
- Power on the Signal Meter: Turn on the signal meter and set it to the appropriate frequency range for your region. Most signal meters come with frequency adjustment options. Ensure that the meter is set to match the frequency bands used by the broadcasting towers in your area.
- Inspect the Signal Strength Display: While monitoring the signal meter’s display, slowly and carefully adjust the antenna’s position. Observe the signal meter as you make these adjustments and note any changes in signal strength readings. Aim to maximize the signal strength by aligning the antenna towards the broadcasting towers.
- Optimize Signal Strength: Fine-tune the antenna’s position until you achieve the highest signal strength reading on the meter. Make small adjustments and observe how they affect the signal strength. Take note of the antenna position that produces the strongest signal.
- Repeat the Process: If necessary, repeat the signal meter test in different locations or orientations to find the optimal antenna position. This will help ensure that the best signal reception is achieved under various conditions.
- Assess the Signal Strength: Once you have completed the signal meter test, take note of the measured signal strength. Compare the results to the baseline signal strength recorded earlier to gauge the improvement in signal quality achieved through antenna adjustments.
A signal meter provides a more precise measurement of signal strength, allowing you to make accurate adjustments to your TV antenna. This can result in improved reception and a more enjoyable TV viewing experience. However, it’s important to keep in mind that signal meters may vary in features and functionalities, so it’s recommended to consult the user manual or documentation provided with your specific signal meter for more detailed instructions.
In the next section, we will explore how to test your TV antenna using a multimeter, which can help identify potential wiring or connectivity issues.
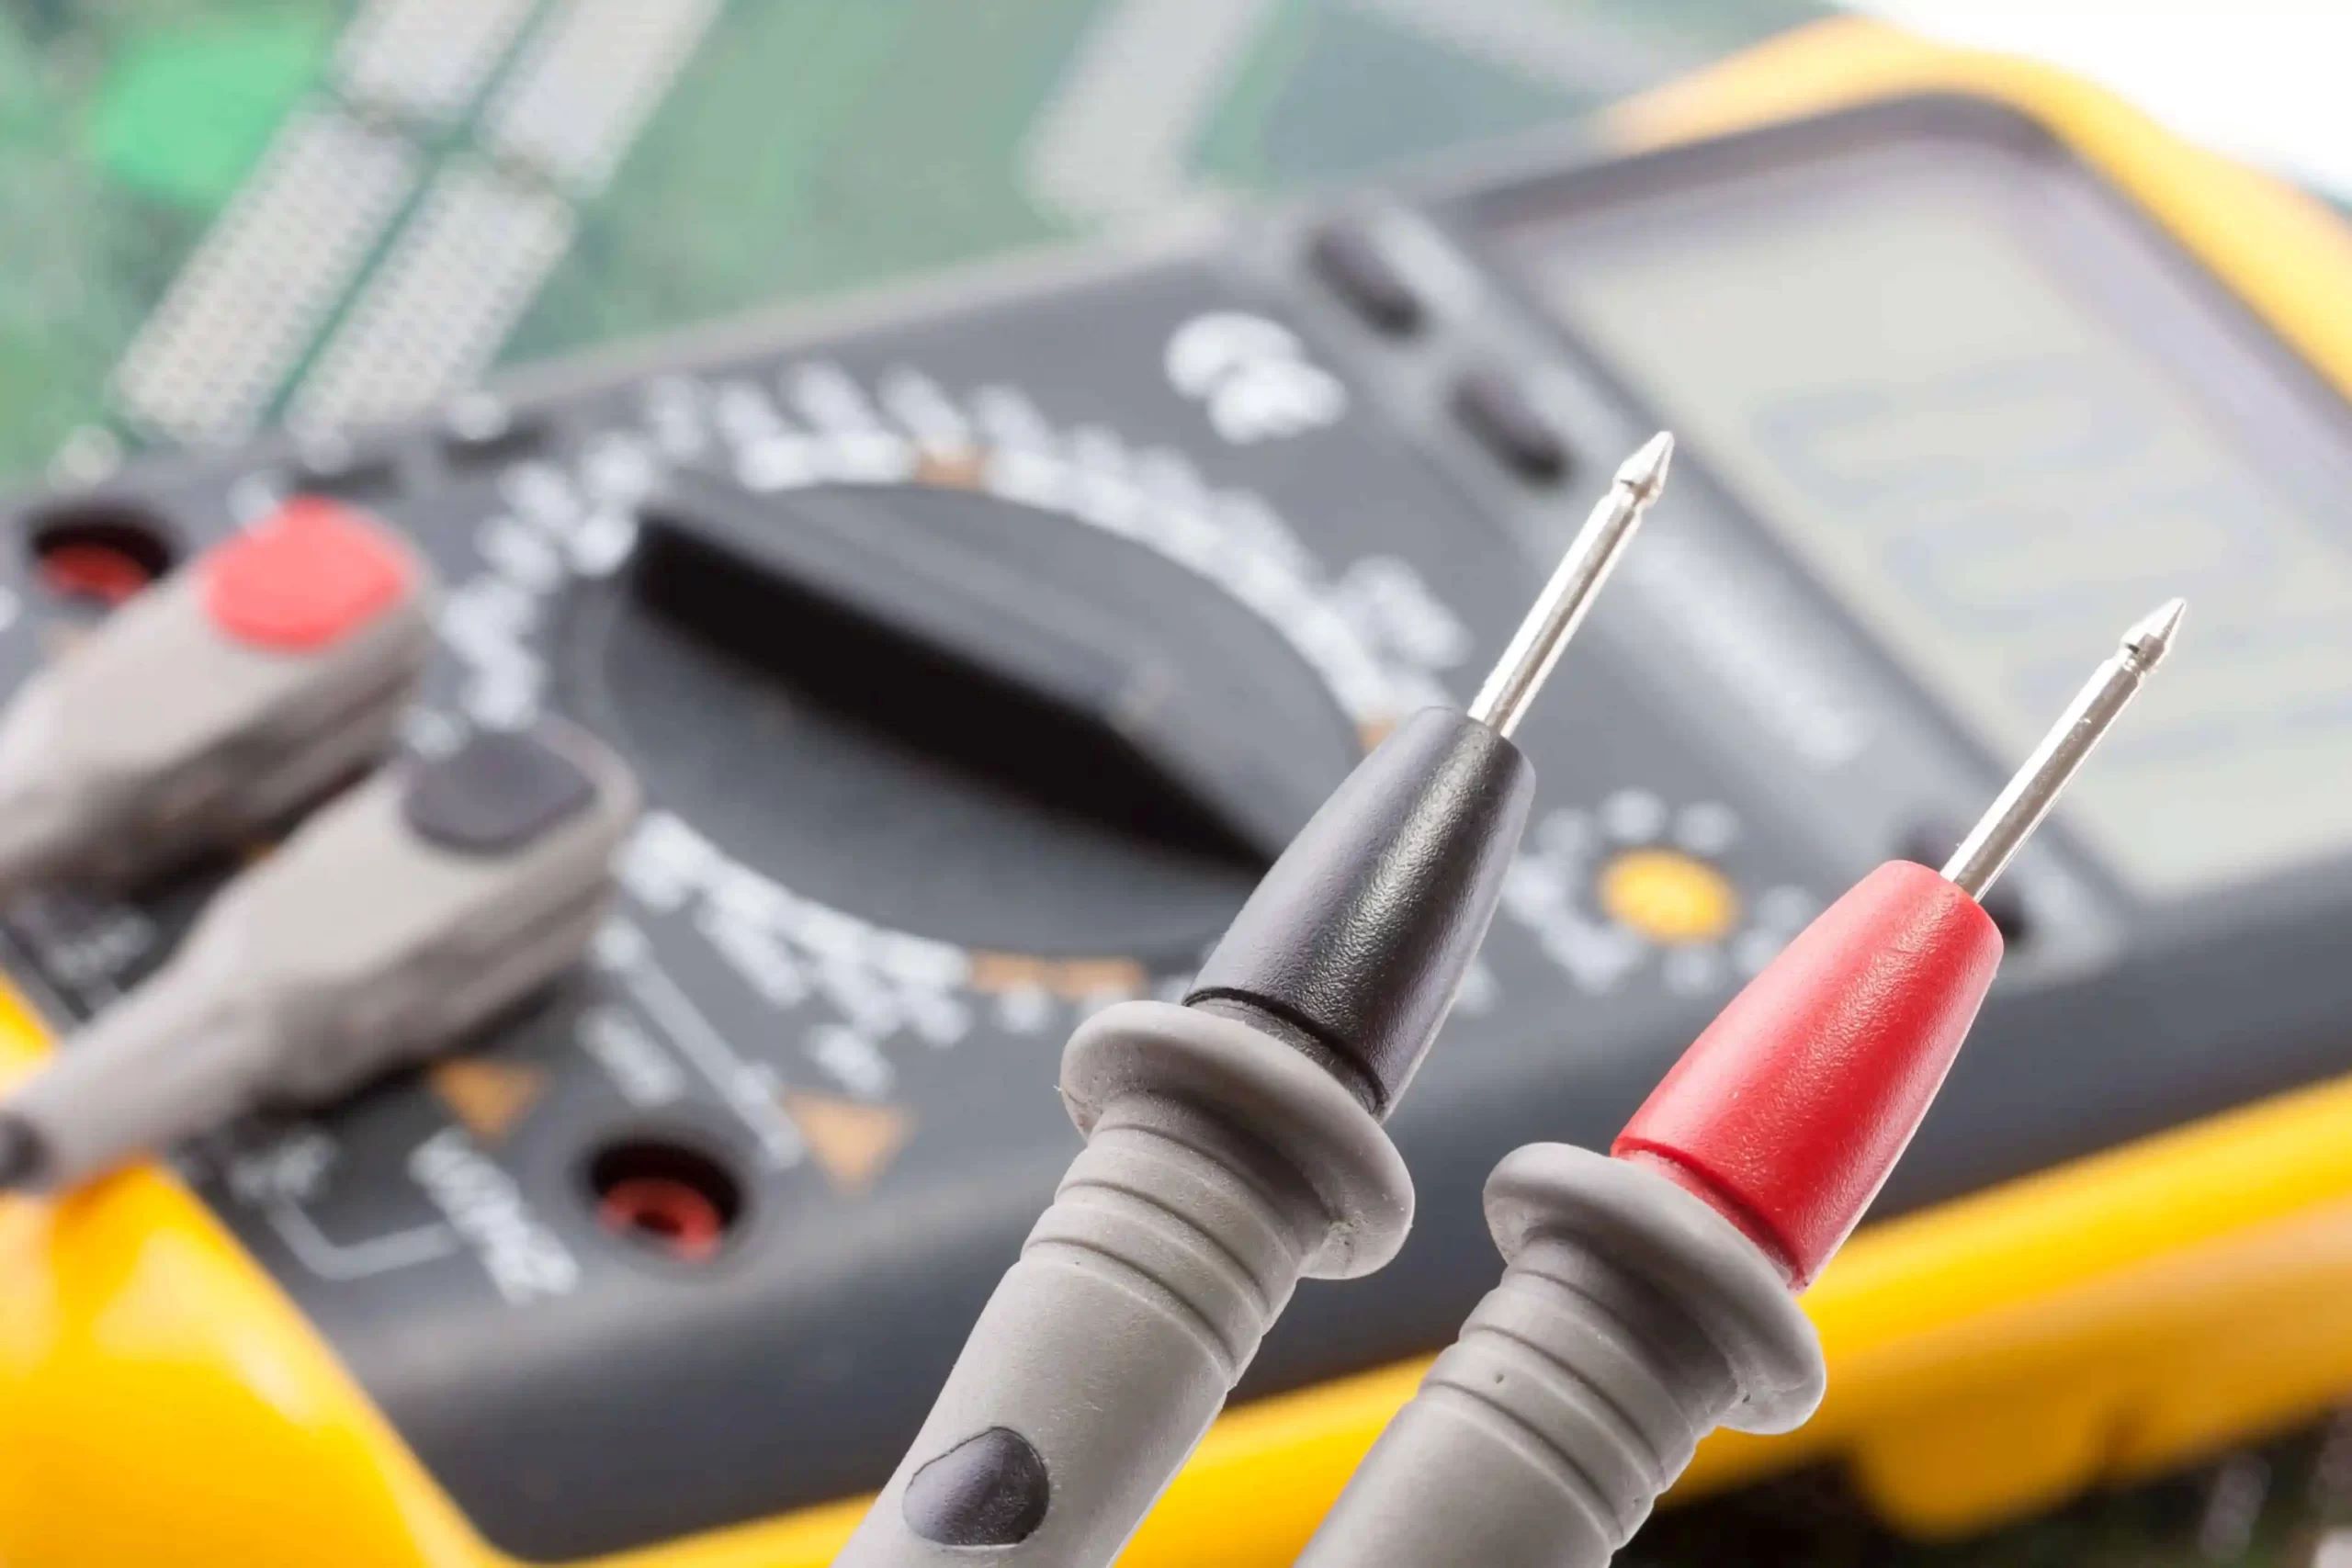
Testing the TV Antenna with a Multimeter
A multimeter is a versatile tool that can also be used to test a TV antenna. While it won’t directly measure signal strength like a signal meter, a multimeter can help diagnose potential wiring or connectivity issues that may affect antenna performance. Here’s how to test your TV antenna with a multimeter:
- Set your Multimeter to Continuity or Resistance Mode: Turn on your multimeter and set it to either continuity mode or resistance mode. Both modes can be used to check the continuity and integrity of the antenna’s wiring and connections.
- Disconnect the Antenna Cable: Disconnect the coaxial cable from your TV antenna. This will allow you to test the individual components and connections of the antenna with the multimeter.
- Check Continuity between the Antenna Elements: With your multimeter in continuity mode, touch the probes to the individual elements of the TV antenna. This includes the main antenna element as well as any additional elements or rods. If there is a complete and unbroken connection, the multimeter will emit a beep or show continuity on its display.
- Inspect Connections and Cabling: Use your multimeter in resistance mode to check the resistance across various connections and cables. Touch one probe to the center pin of the coaxial cable connector, and touch the other probe to the outer metal shielding. The resistance reading should be close to zero or very low. Repeat this process for other connections, including the antenna grounding.
- Test the Coaxial Cable: Use your multimeter in resistance mode to test the coaxial cable for any potential issues. Connect one probe to the center pin of one end of the cable and the other probe to the center pin of the other end. The resistance reading should be low or close to zero, indicating a good continuity in the cable.
- Check Connectors and Splitters: If you are using connectors or splitters in your antenna setup, use your multimeter to test their continuity and resistance as well. This will help identify any faulty or poorly connected components that may be compromising the antenna performance.
By using a multimeter in continuity and resistance mode, you can troubleshoot wiring and connection issues in your TV antenna setup. Identifying and addressing these issues can improve the overall performance and reception of your antenna. Remember to consult the user manual or documentation provided with your specific multimeter for more detailed instructions on its operation.
In the next section, we will provide some additional tips for troubleshooting TV antenna issues and addressing common problems that may arise.
Tips for Troubleshooting TV Antenna Issues
Troubleshooting TV antenna issues can sometimes be a challenging task, but with the right approach and knowledge, you can effectively diagnose and resolve common problems. Here are some valuable tips to help you troubleshoot TV antenna issues:
- Check for Loose Connections: Ensure that all the connections between your TV, antenna, and any additional equipment are secure and properly tightened. Loose connections can lead to poor signal reception or complete signal loss.
- Inspect the Coaxial Cable: Examine the coaxial cable for any signs of damage or wear, such as fraying, kinks, or sharp bends. Replace any faulty or damaged cables to ensure optimal signal transmission.
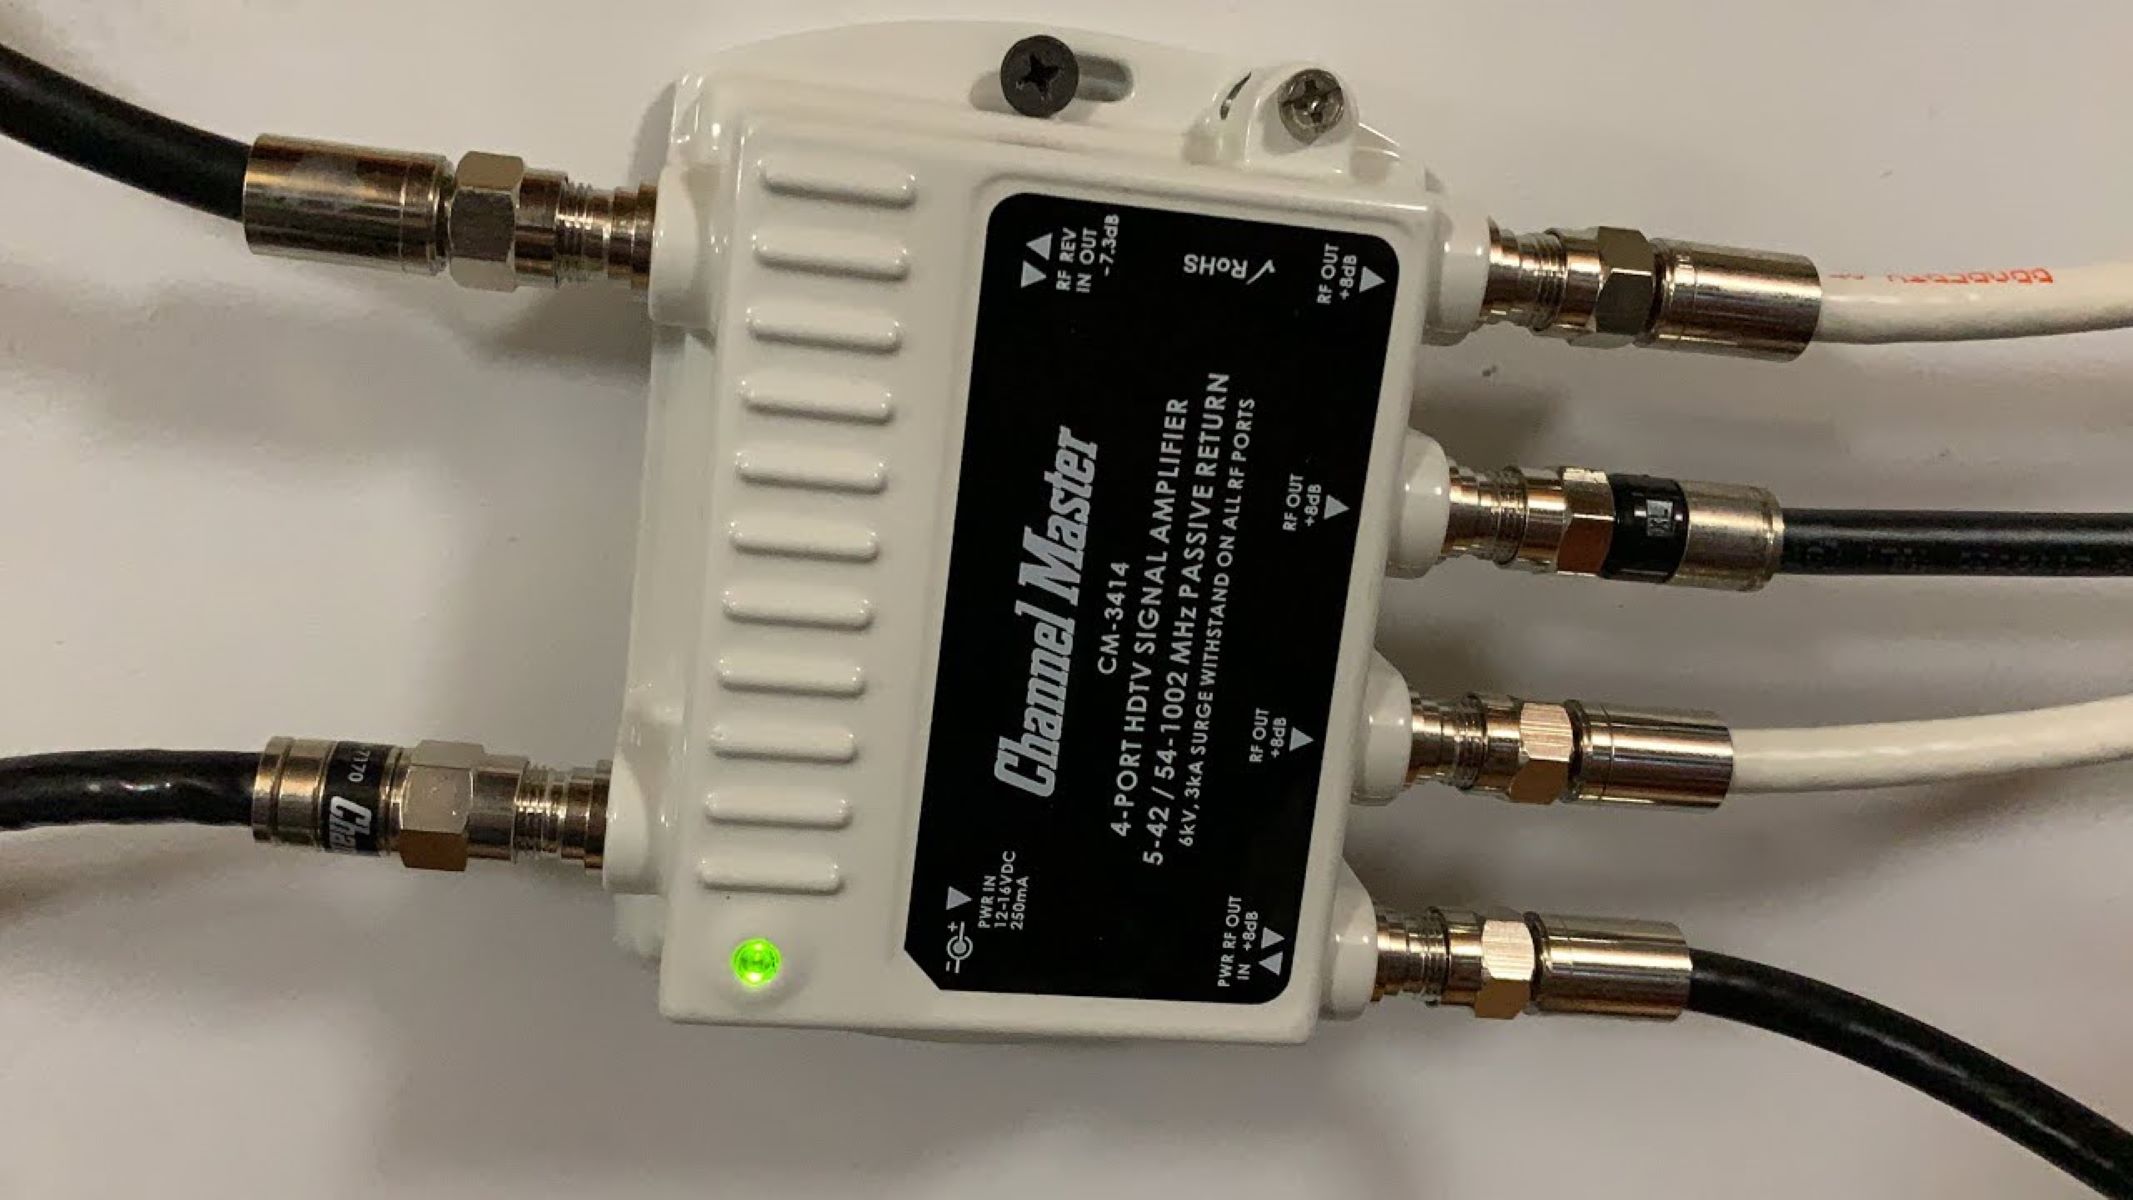
- Consider Signal Amplification: If you live in an area with weak TV signals, you might benefit from using a signal amplifier. These devices boost the incoming signal strength and can improve reception, especially when dealing with long cable runs or splitting signals to multiple TVs.
- Minimize Signal Interference: Eliminate or reduce any potential sources of interference that might affect your TV antenna reception. This includes moving away from electronic devices, fluorescent lights, or appliances that can introduce electromagnetic interference.
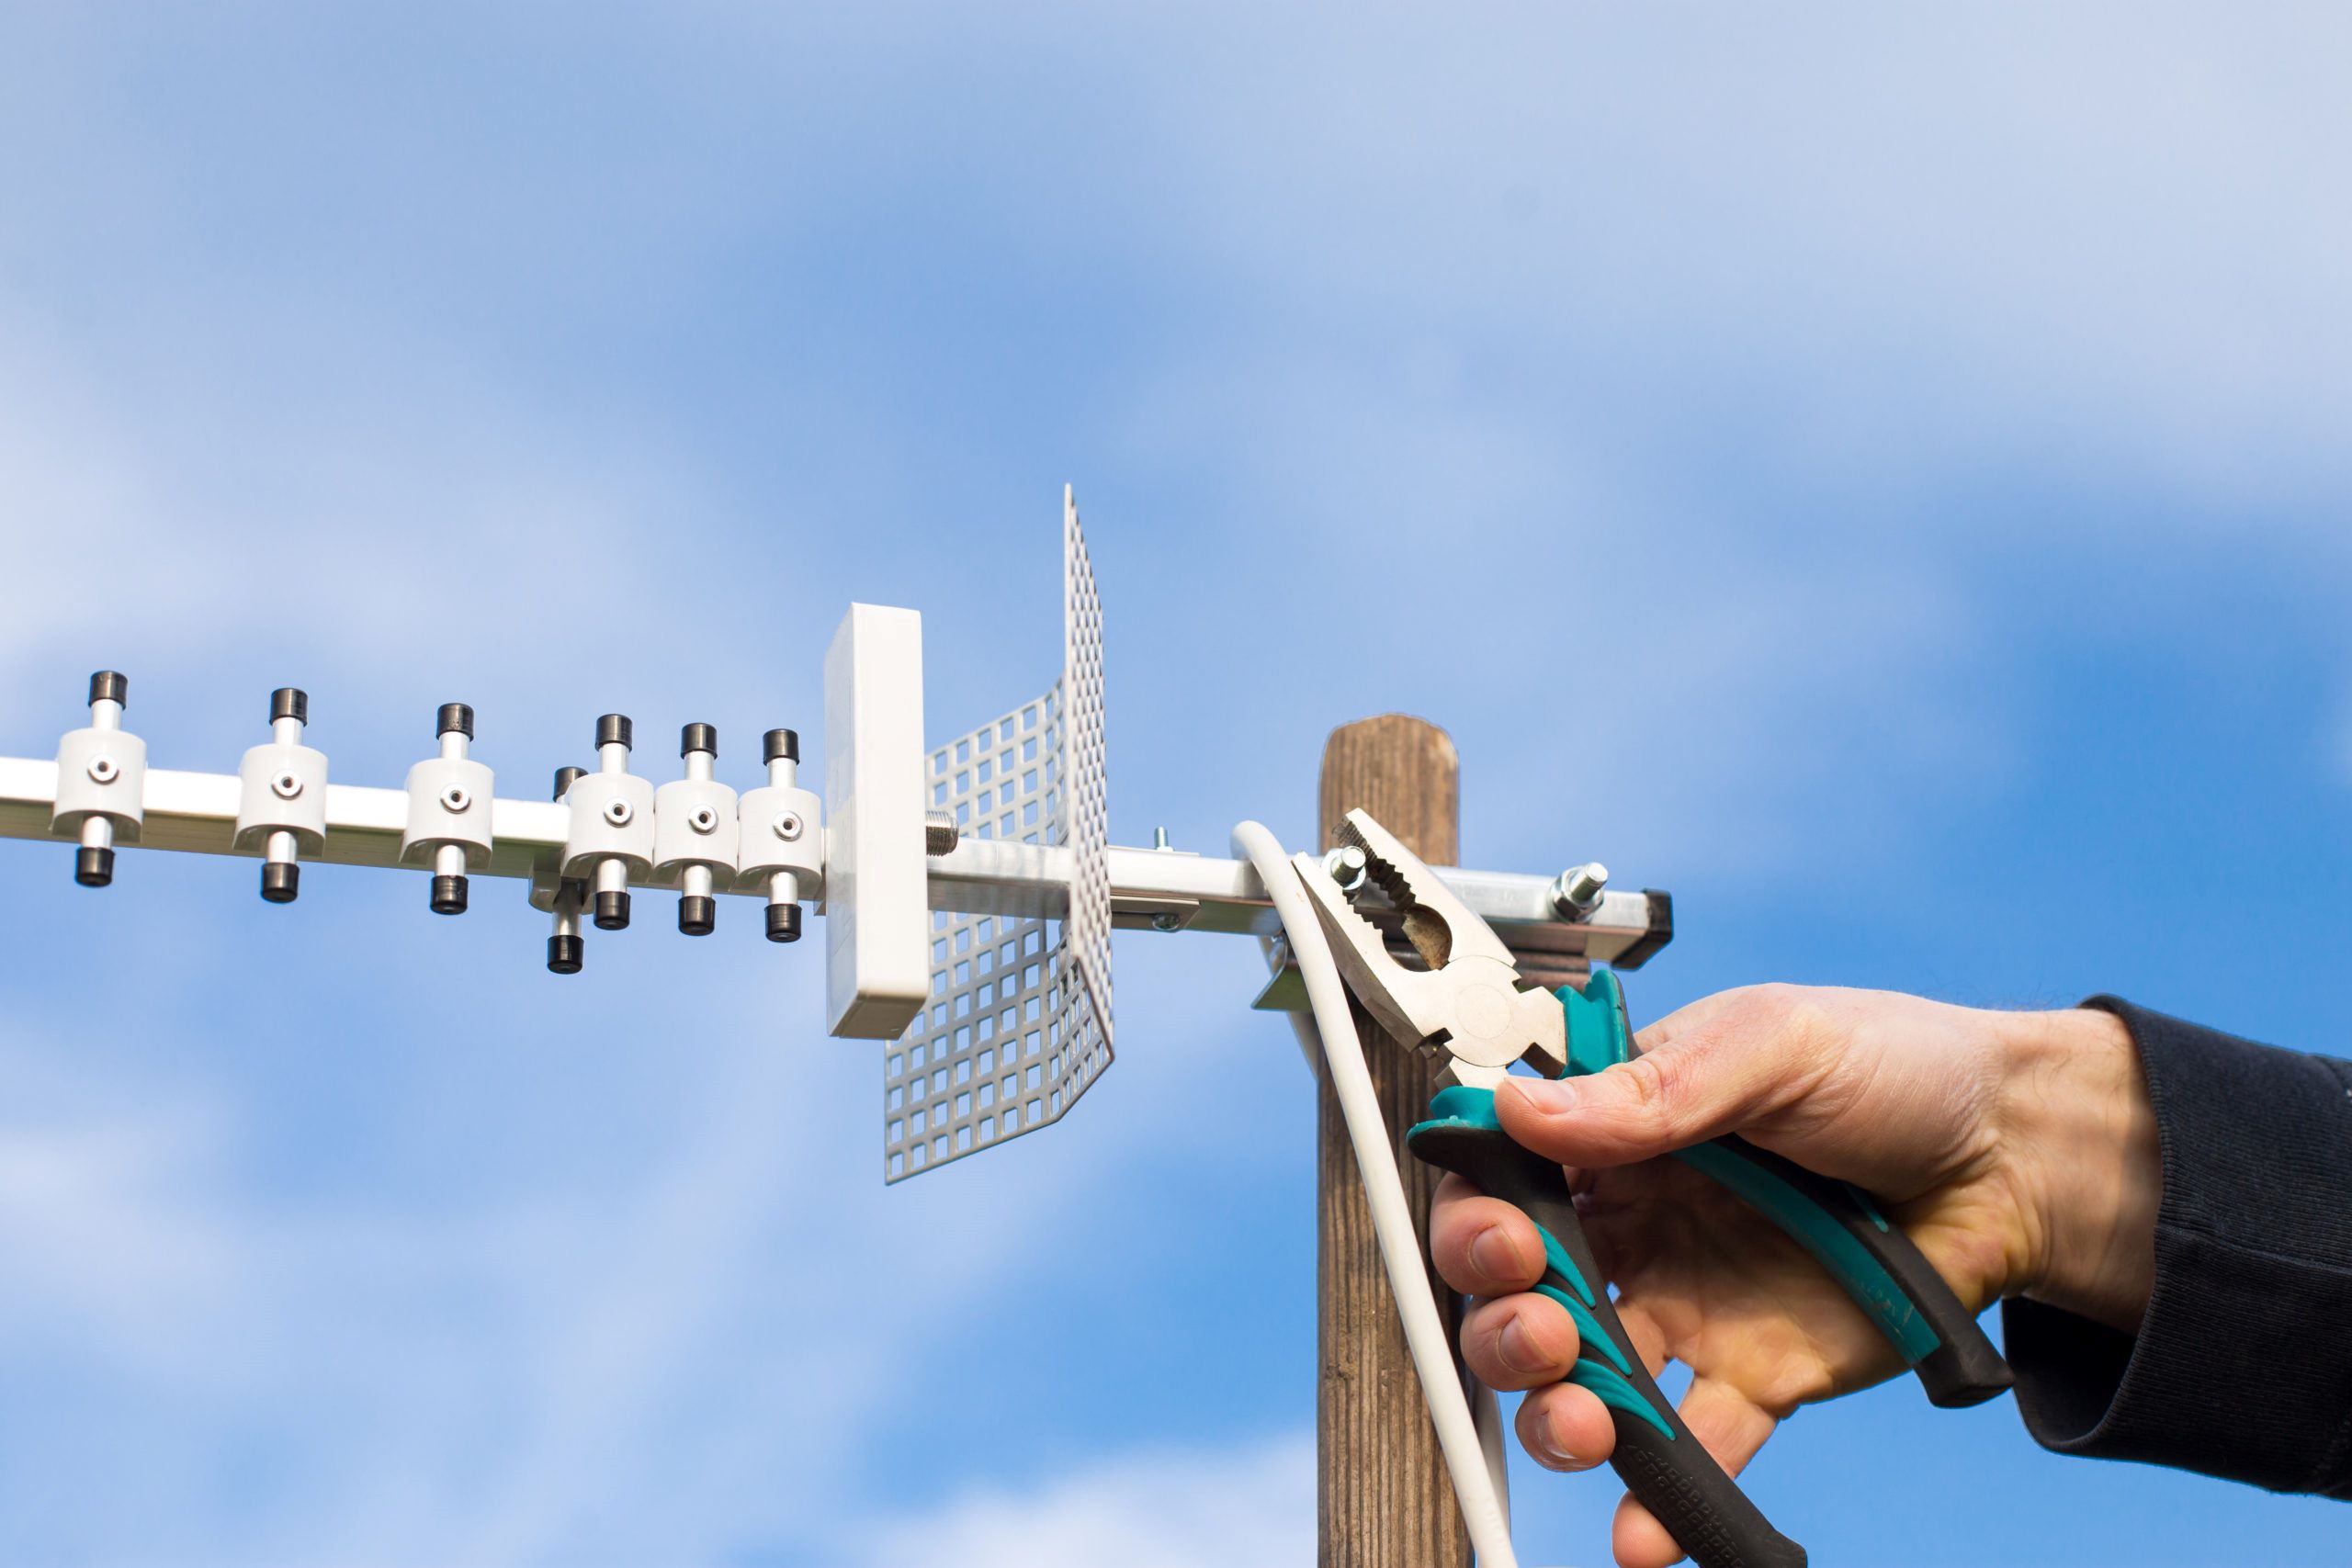
- Ensure Proper Antenna Positioning: Position your TV antenna for optimal reception. Aim it towards the broadcasting towers, avoiding obstructions like trees or buildings. Consider using a compass or smartphone app to help you determine the right direction for aligning the antenna.
- Test Different Antenna Locations: If possible, try installing your antenna in various locations to find the spot that offers the best signal reception. Higher elevation or repositioning the antenna might lead to improved performance.
- Scan for New Channels: Periodically rescan for channels on your TV to ensure that you are receiving all the available stations in your area. Channel lineups can change, and new stations may become available over time.
- Consider a Professional Consultation: If you have tried various troubleshooting methods without success, or if you are unsure how to proceed, it may be beneficial to consult a professional TV antenna installer. They can assess your setup, identify any issues, and provide expert recommendations or solutions.
Remember, every TV antenna setup is unique, and the optimal solution may require a combination of techniques. Through systematic troubleshooting and diligent testing, you can overcome challenges and enjoy reliable TV signal reception.
Now that you have a comprehensive knowledge of testing TV antennas and troubleshooting related issues, you are prepared to diagnose and resolve any problems you may encounter. By implementing these tips and techniques, you can optimize your TV antenna’s performance and enjoy uninterrupted access to your favorite channels.
Conclusion
Testing a TV antenna is a crucial step in troubleshooting reception issues and ensuring optimal performance. By understanding the signs of a faulty antenna and utilizing the right tools and techniques, you can diagnose and address any problems that may arise. Whether you choose to test your TV antenna with a digital or analog TV, a signal meter, or a multimeter, each method provides valuable insights into the condition and functionality of your antenna.
Throughout the testing process, it is important to perform thorough preparations, such as researching local broadcast towers, checking connections, and assessing the condition of the antenna. These preparatory steps can help streamline the testing process and provide a solid foundation for accurate results.
By following the recommended procedures for each testing method, you can identify and alleviate common issues such as poor signal quality, loss of channels, or intermittent reception. Adjusting the antenna’s position, optimizing signal strength, and addressing wiring or connectivity problems can significantly improve your TV viewing experience.
In addition to the testing methods discussed, we have also provided valuable tips for troubleshooting TV antenna issues. These include checking for loose connections, considering signal amplification, minimizing interference, and testing different antenna locations. By implementing these tips, you can overcome common challenges and enhance the performance of your TV antenna.
Remember, troubleshooting a TV antenna can sometimes require patience, persistence, and experimentation. Every TV antenna setup is unique, and the solutions that work best for one person may differ from those that work for another. However, by following the guidelines outlined in this article and utilizing the appropriate tools, you are well-equipped to diagnose and resolve any TV antenna issues you may encounter.
With a properly functioning TV antenna, you can enjoy uninterrupted access to a wide range of over-the-air channels and enhance your television viewing experience. So, don’t hesitate to put these testing methods and troubleshooting tips into practice and unleash the full potential of your TV antenna!