Introduction
Welcome to our guide on how to tell if a projector bulb is bad. Projectors are a popular choice for presentations, movie nights, and various other events. However, like any electronic device, projector bulbs can deteriorate over time, affecting the image quality and overall performance.
Identifying the signs of a bad projector bulb is crucial to ensure that you can enjoy a clear and vibrant image. In this article, we will discuss the common indicators that your projector bulb is reaching the end of its lifespan. We will also provide you with steps to check if the bulb is indeed faulty and guide you on replacing it.
It’s important to note that projector bulbs have a finite lifespan and will eventually need replacing. By understanding the signs of a bad projector bulb, you can avoid unexpected projector failures and ensure the best possible viewing experience.
So, whether you’re a business professional relying on projectors for presentations or a home theater enthusiast who wants to optimize their movie nights, let’s dive into the signs that indicate your projector bulb might be on its last legs.
Signs of a Bad Projector Bulb
As the centerpiece of a projector’s functionality, the bulb plays a critical role in delivering a high-quality visual experience. Over time, however, projector bulbs can deteriorate, leading to a decline in image quality. Here are some signs that may indicate a bad projector bulb:
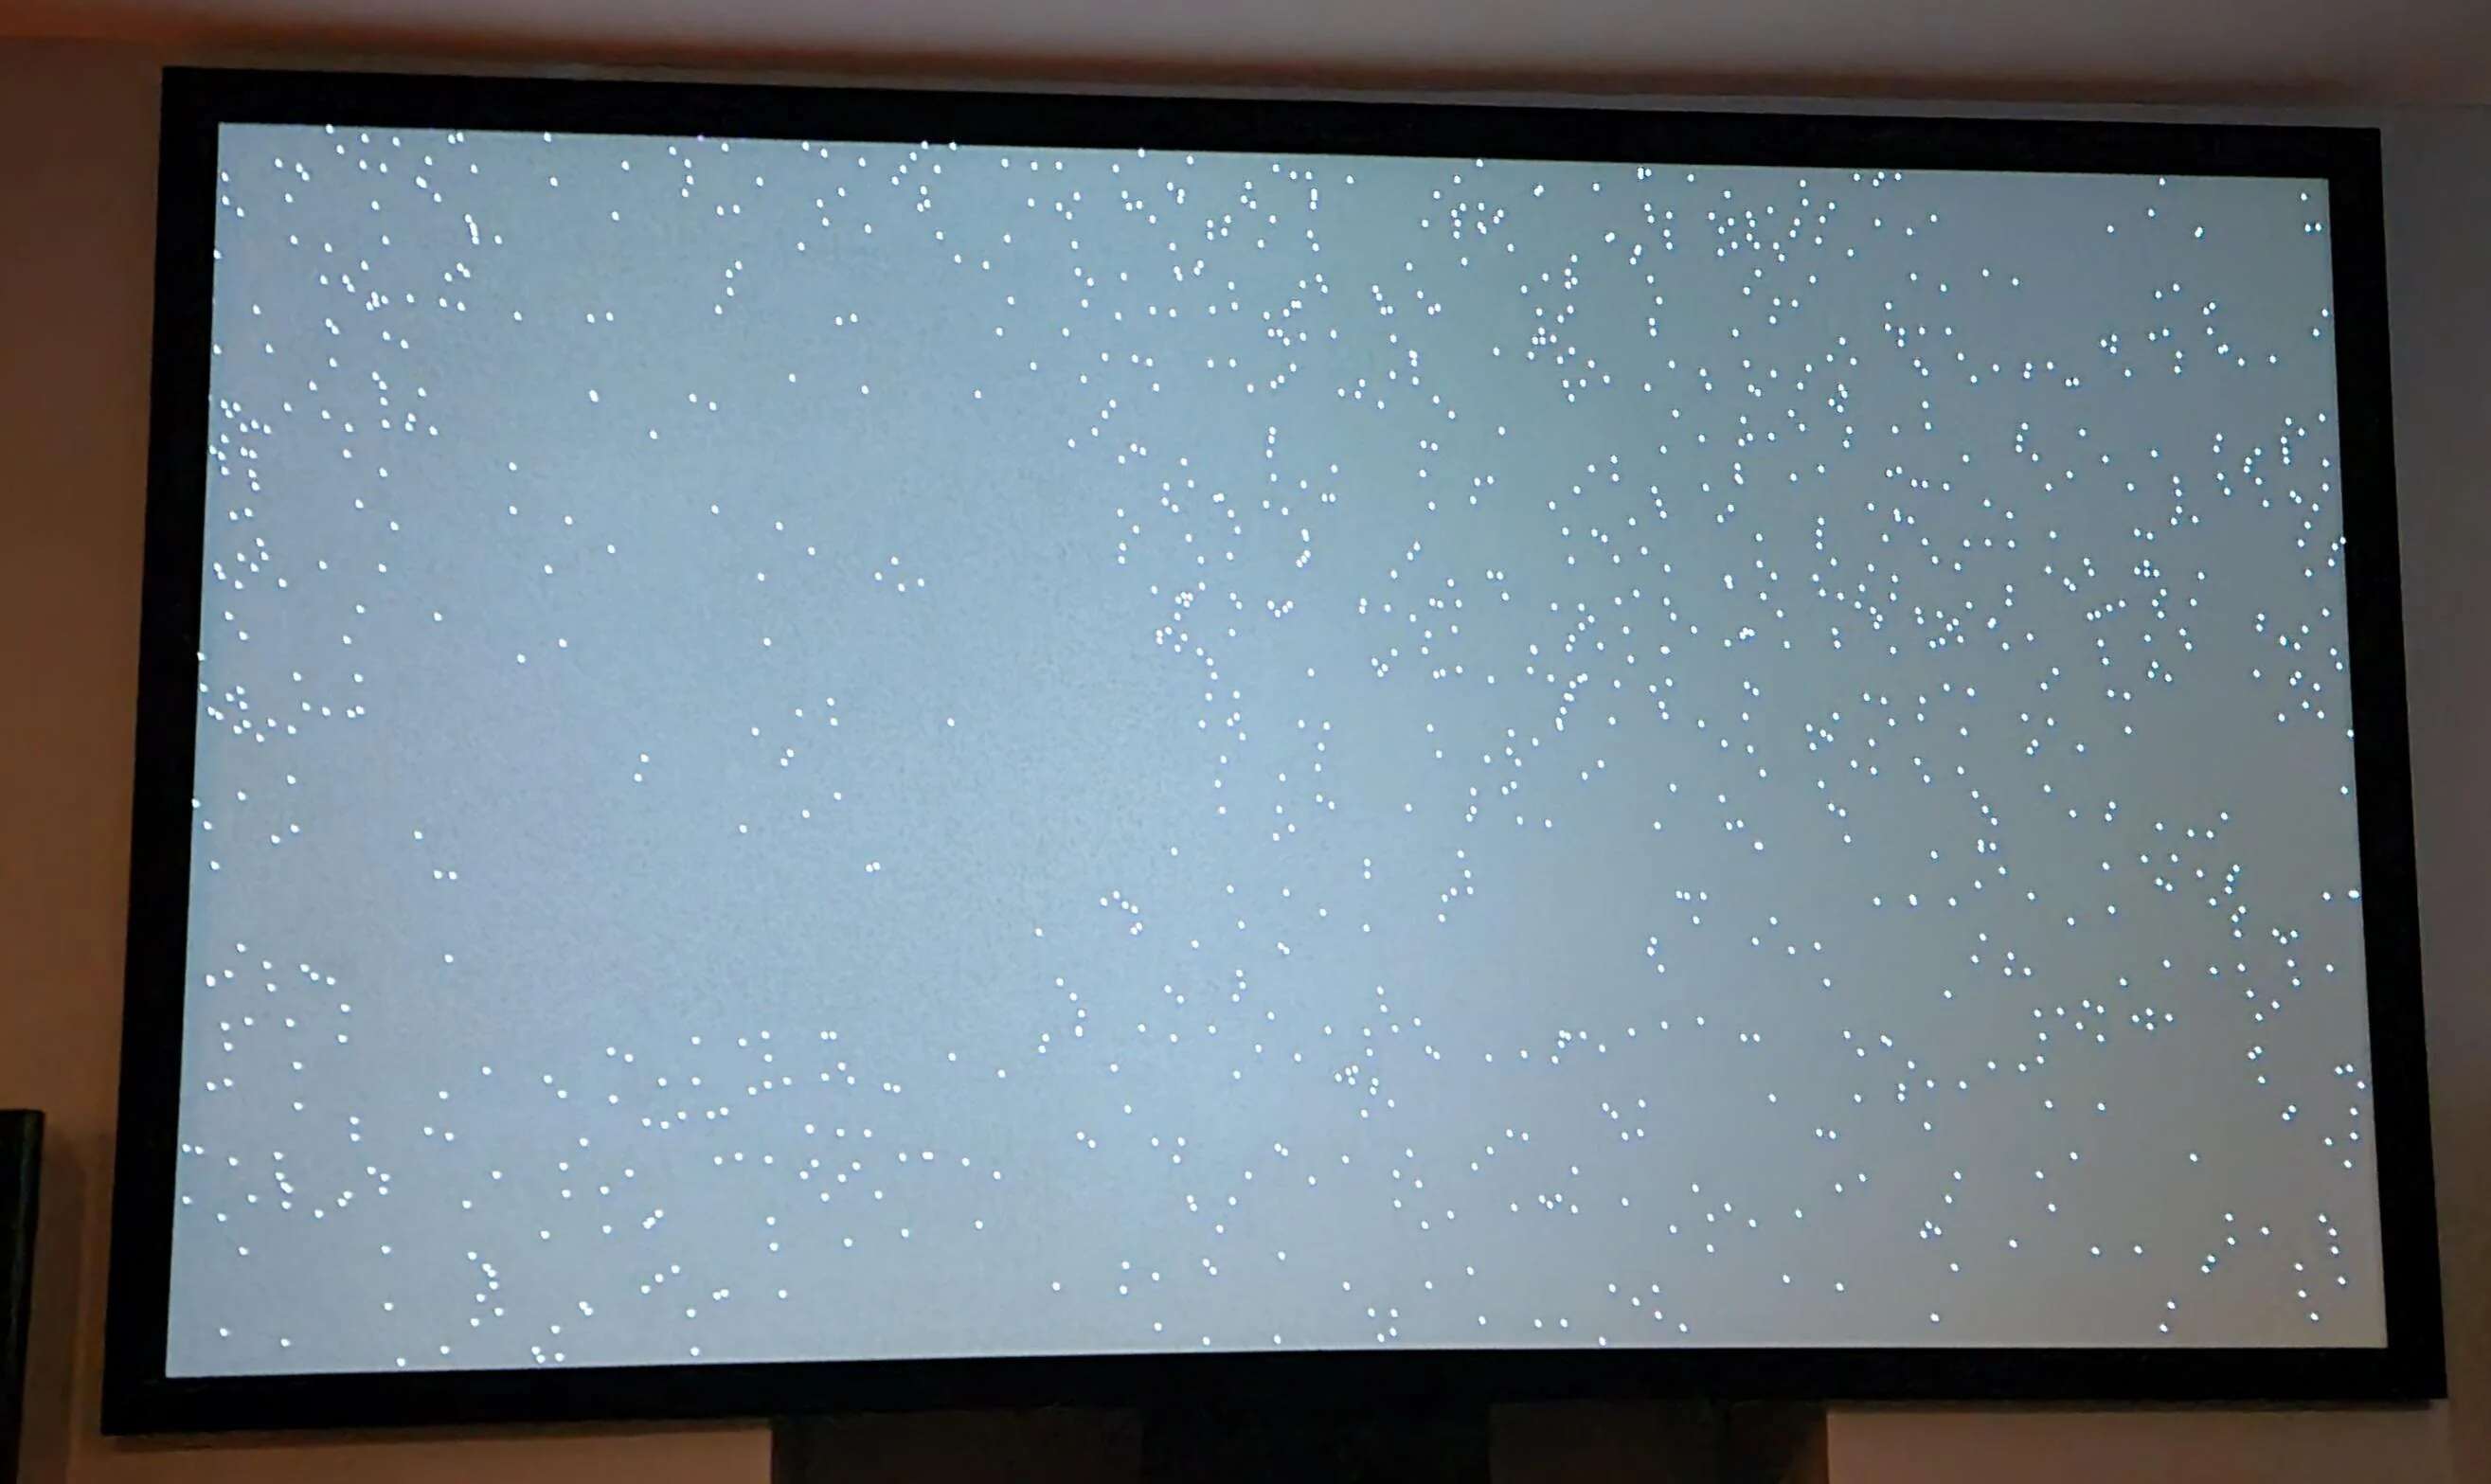
- Poor Image Quality: One of the most evident signs of a bad projector bulb is a decrease in image quality. If you notice a significant decrease in brightness or clarity, it is likely that your bulb is nearing the end of its lifespan.
- Dim or Flickering Image: If the projected image appears dim or flickers intermittently, it is a clear indication that the projector bulb may be failing. This can be caused by the gradual weakening of the bulb’s filament, resulting in inconsistent illumination.
- Color Distortion: A bad projector bulb can also affect color accuracy, leading to distorted or unnatural colors in the projected image. If you notice unusual color shifts or incorrect hues, it is a sign that the bulb needs to be replaced.
- Projector Overheating: Another symptom of a bad projector bulb is frequent overheating. If your projector shuts down unexpectedly or displays warning messages related to temperature issues, it could be due to the bulb’s reduced efficiency, causing the projector to work harder and generate excess heat.
It’s important to note that not all image quality issues are solely caused by a bad projector bulb. Other factors, such as dirty or damaged lens, faulty connections, or projector settings, can also impact the visual output. However, if you experience multiple signs mentioned above, it is likely that the bulb is the culprit.
Now that we have discussed the signs of a bad projector bulb, let’s move on to understanding the average lifespan of projector bulbs and how to check if your bulb is actually the problem.
Poor Image Quality
Poor image quality is one of the primary indicators that your projector bulb may be reaching the end of its lifespan. If you notice a significant decrease in brightness or clarity in the projected image, it is likely that the bulb is starting to fail.
Over time, projector bulbs naturally lose their brightness as they age. This can result in a dimmer image, making it harder to see details and affecting the overall viewing experience. Additionally, the clarity and sharpness of the image may also diminish, impacting the fine details and text readability.
When evaluating the image quality, it’s essential to consider factors beyond just brightness. Look for any noticeable deterioration in color reproduction and contrast. If the colors appear faded or washed out, or if the contrast levels seem significantly reduced, it may indicate a problem with the bulb.
If you suspect that poor image quality is due to a bad projector bulb, it’s a good idea to compare the current projected image with an image from when the bulb was new. This can help you assess the extent of the deterioration and confirm whether the bulb needs replacement.
Keep in mind that other factors, such as dirty lenses, improper projector settings, or issues with the source material, can also contribute to poor image quality. Therefore, it’s crucial to rule out these possibilities before concluding that the bulb is the sole cause of the problem.
It’s worth noting that projector bulb manufacturers typically provide estimated bulb lifespans in terms of hours. For example, a bulb may have an average lifespan of 2,000 hours. However, factors such as usage patterns, environmental conditions, and power fluctuations can impact the actual lifespan of the bulb.
In the next section, we will explore additional signs that may indicate a bad projector bulb and how to check if your bulb is indeed the problem.
Dim or Flickering Image
If you notice that your projected image appears dim or flickers intermittently, it is a clear indication that your projector bulb may be reaching the end of its lifespan. Dimness or flickering can be caused by various factors related to the bulb’s deterioration.
Over time, the filament inside the projector bulb can weaken due to usage, resulting in a decrease in brightness. As the bulb nears the end of its life, you may notice a significant reduction in the overall brightness of the projected image. This dimness can make it challenging to view the content clearly and may require adjustments to the projection environment.
In addition to dimness, a failing projector bulb can also cause the image to flicker on and off. This flickering can be quite distracting and disrupt the viewing experience. It is often caused by inconsistencies in the illumination provided by the weakened bulb filament.
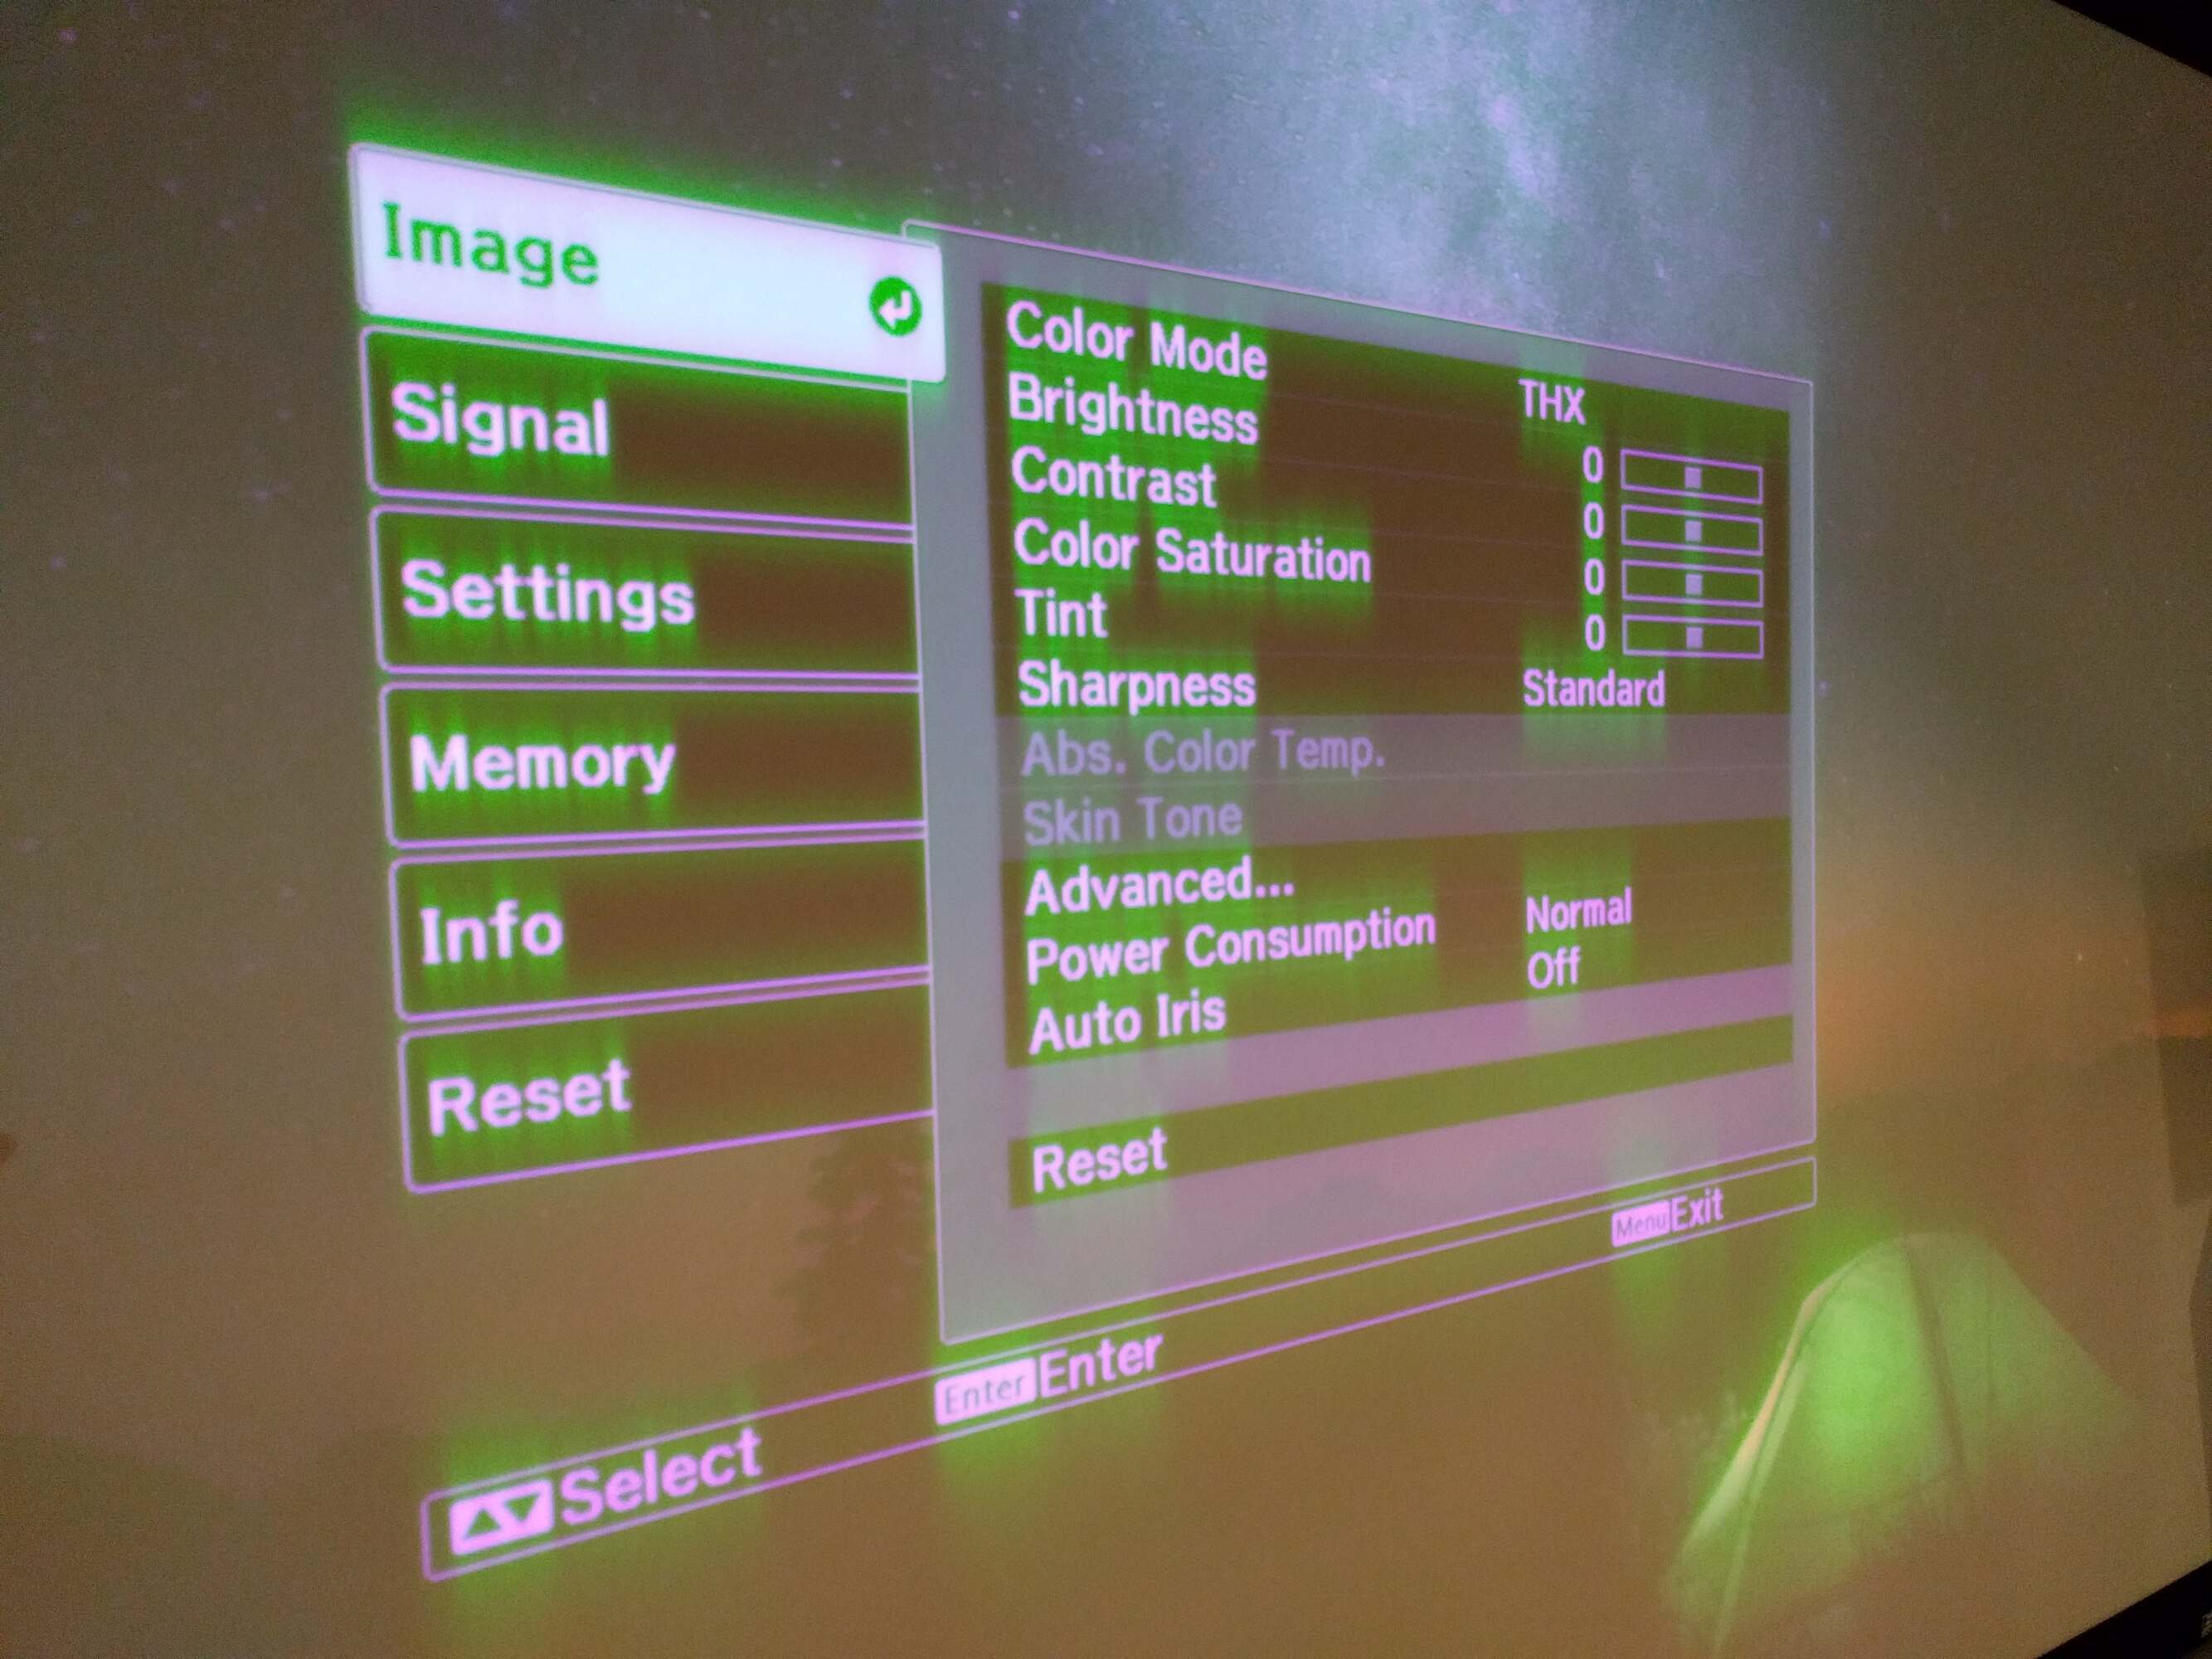
If you suspect that your projector bulb is responsible for the dim or flickering image, it is recommended to perform a few troubleshooting steps. Firstly, check the projector’s lamp settings and ensure that they are set to the appropriate mode for your viewing environment. Adjusting the brightness and contrast settings may also help improve the image quality temporarily.
If the dimness or flickering persists despite adjusting the settings, it is a good idea to consider replacing the projector bulb. However, it’s important to note that dimness or flickering can also be caused by other factors such as faulty connections or issues with the projector circuitry. Therefore, it’s recommended to rule out these possibilities before determining that the bulb is the sole cause of the problem.
By being aware of the signs of a dim or flickering image, you can take timely action to ensure that your projector continues to deliver optimal performance. In the next section, we will discuss another sign that may indicate a bad projector bulb – color distortion.
Color Distortion
Color distortion is another common sign of a bad projector bulb. If you notice unusual color shifts or incorrect hues in the projected image, it is likely that the bulb is nearing the end of its lifespan and needs to be replaced.
A projector bulb that is reaching its end can cause color accuracy issues. The color reproduction may appear distorted, with colors appearing faded, washed out, or unnaturally tinted. This can greatly impact the visual quality and overall viewing experience, especially when it comes to watching movies, presentations, or any content reliant on accurate color representation.
One way to detect color distortion is by comparing the projected image to a known reference image or by using calibration patterns. This will allow you to identify any discrepancies in color accuracy and determine if the bulb is the culprit.
It’s important to note that color distortion can sometimes be mitigated through color adjustments available in the projector settings. However, if you find that no matter how much you tweak the color settings, the projected image still has noticeable distortion, it is likely that the bulb is the primary cause.
Color distortion can be particularly evident in areas where a specific color should be dominant, such as skin tones, landscapes, or vibrant objects. If you notice that the colors in these areas are not accurately rendered or appear inconsistent, it’s a strong indication that your projector bulb needs attention.
Remember that before concluding that color distortion is solely due to a bad projector bulb, it’s essential to eliminate other potential factors. Ensure that your video source, cables, and external devices are all functioning correctly and that there are no issues with the projector’s color settings or calibration.
In the next section, we will explore another sign of a bad projector bulb – the projector overheating.
Projector Overheating
Projector overheating is a telltale sign that your projector bulb may be degrading and approaching the end of its lifespan. If your projector shuts down unexpectedly or displays warning messages related to temperature issues, it is likely that the bulb’s reduced efficiency is causing the projector to work harder and generate excessive heat.
As the projector bulb ages, its internal components degrade, hindering its ability to produce light efficiently. This inefficiency leads to an increased workload for the projector’s cooling system, which tries to compensate by using more energy to maintain an optimal operating temperature. Over time, the excessive heat can cause the projector to overheat, triggering automatic shutdowns as a protective measure.
If your projector exhibits frequent overheating, it’s crucial to ensure that the ventilation system is clear from obstructions and that the projector is placed in a well-ventilated area. Additionally, cleaning the projector’s air filters regularly can help improve airflow and reduce the risk of overheating.
However, if you’ve checked the ventilation and cleaned the filters, yet the projector still overheats, it may indicate that the bulb’s reduced efficiency is the root cause. When the bulb can no longer produce light effectively, the projector compensates by running at higher power settings, generating more heat in the process.
It is important not to ignore overheating issues, as prolonged exposure to high temperatures can cause damage to both the projector and the bulb. If your projector consistently overheats even after taking preventive measures, it is advisable to consider replacing the bulb as soon as possible to avoid further damage and ensure optimal projector performance.
Now that we have explored the signs of a bad projector bulb, including poor image quality, dim or flickering image, color distortion, and projector overheating, let’s move on to understanding the average lifespan of projector bulbs and how to check if your bulb is indeed the problem.
Bulb Life Expectancy
Understanding the average lifespan of projector bulbs is crucial when it comes to managing their maintenance and replacement. The lifespan of a projector bulb can vary depending on various factors, including the brand, model, usage patterns, and environmental conditions.
Most projector manufacturers provide an estimated bulb lifespan in terms of hours. For example, a typical projector bulb may have an average lifespan of around 2,000 to 3,000 hours. This means that under normal usage conditions, the bulb should last for that duration before needing replacement.
However, it’s important to note that the actual lifespan of a projector bulb can be influenced by several factors. Frequent power on/off cycles, extended usage at high power settings, exposure to extreme temperatures, and improper handling or maintenance can all contribute to the shortened lifespan of a bulb.
Additionally, the quality of the bulb itself can impact its longevity. High-quality bulbs that are well-manufactured and use advanced materials may have a longer lifespan compared to lower-quality alternatives.
It’s worth mentioning that many projectors have a built-in feature that tracks the bulb’s usage time and provides an estimated remaining lamp life. This feature can help you keep track of how long your current bulb has been in use and give you an indication of when it may need replacement.
However, it’s essential to remember that the estimated bulb lifespan is just that – an estimate. It’s always a good idea to proactively observe the signs of a failing projector bulb, such as poor image quality, dim or flickering image, color distortion, or projector overheating, rather than solely relying on the estimated usage hours.
In the next section, we will discuss how to check if your projector bulb is indeed the problem and the steps to replace it if necessary.
How to Check if the Projector Bulb is Bad
If you are experiencing issues with your projector and suspect that the bulb might be the culprit, there are several steps you can take to determine if the bulb is indeed the problem. Here’s how to check if the projector bulb is bad:
- Check for error messages or indicators: Many projectors have built-in error codes or warning indicators that can help identify if there is an issue with the bulb. Consult the projector’s manual or display panel to see if any error messages are displayed.
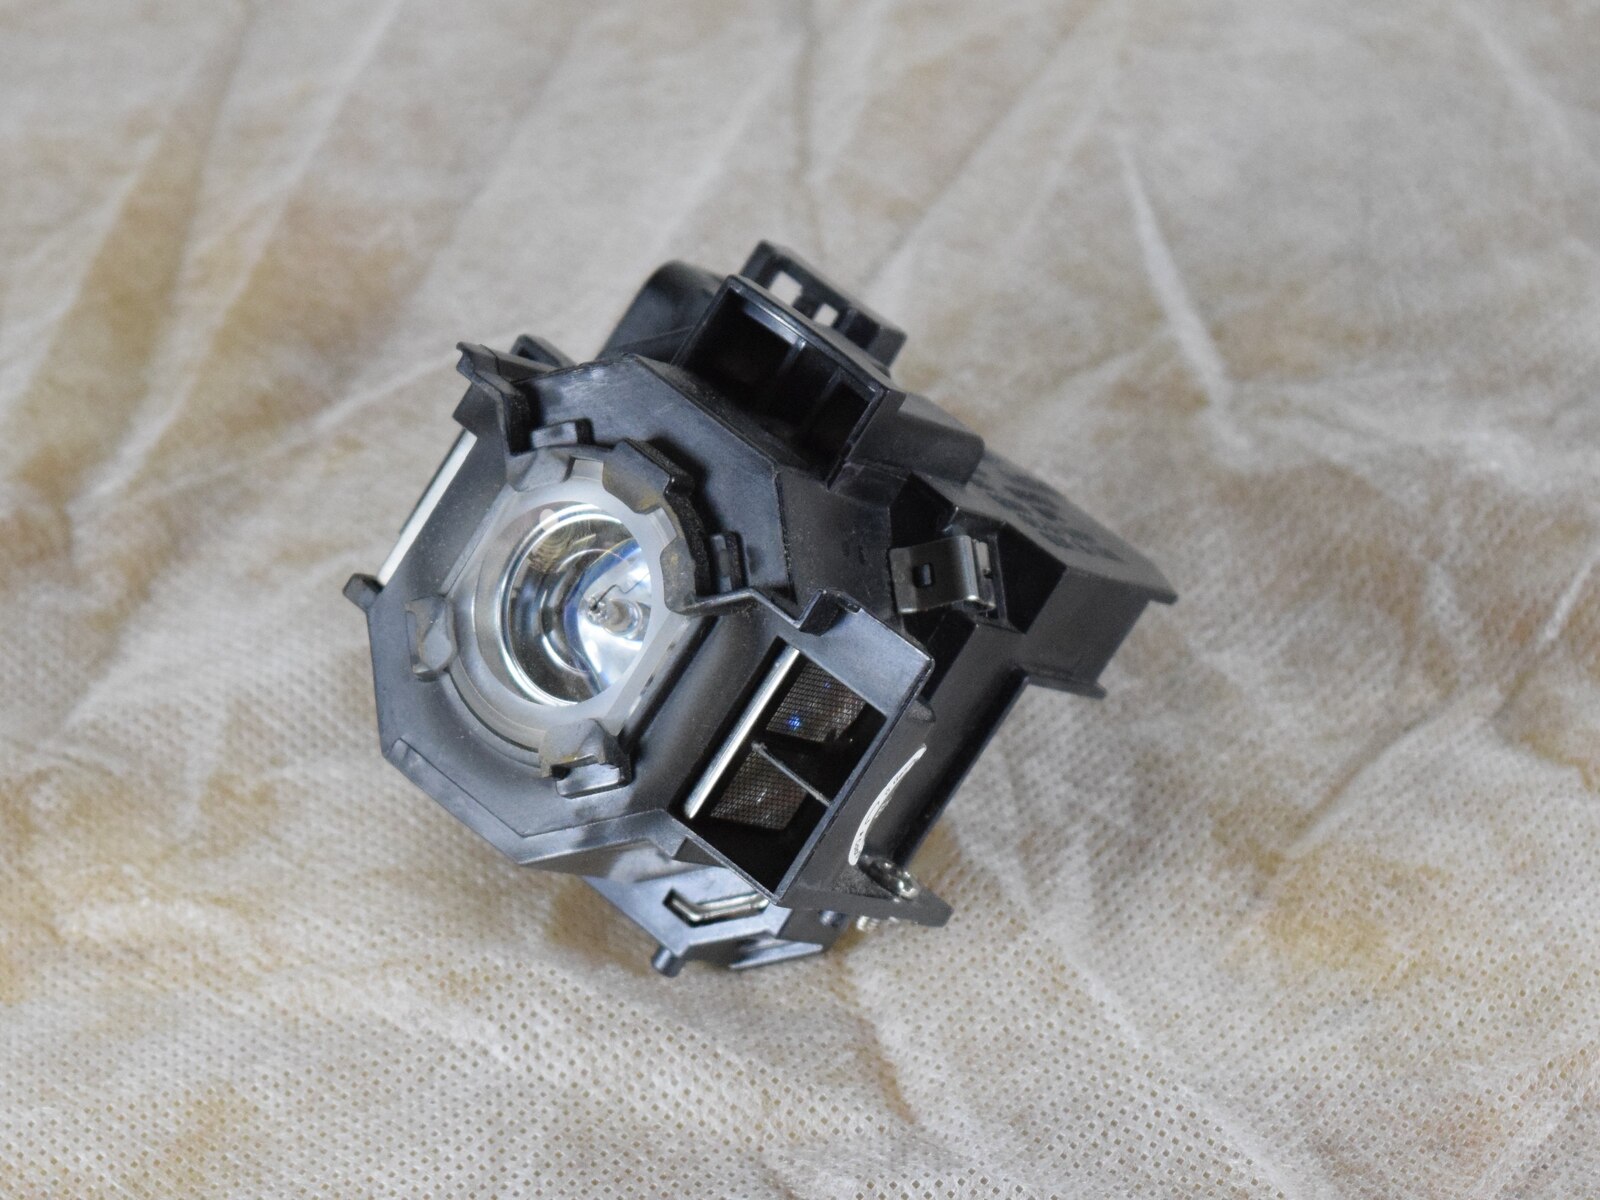
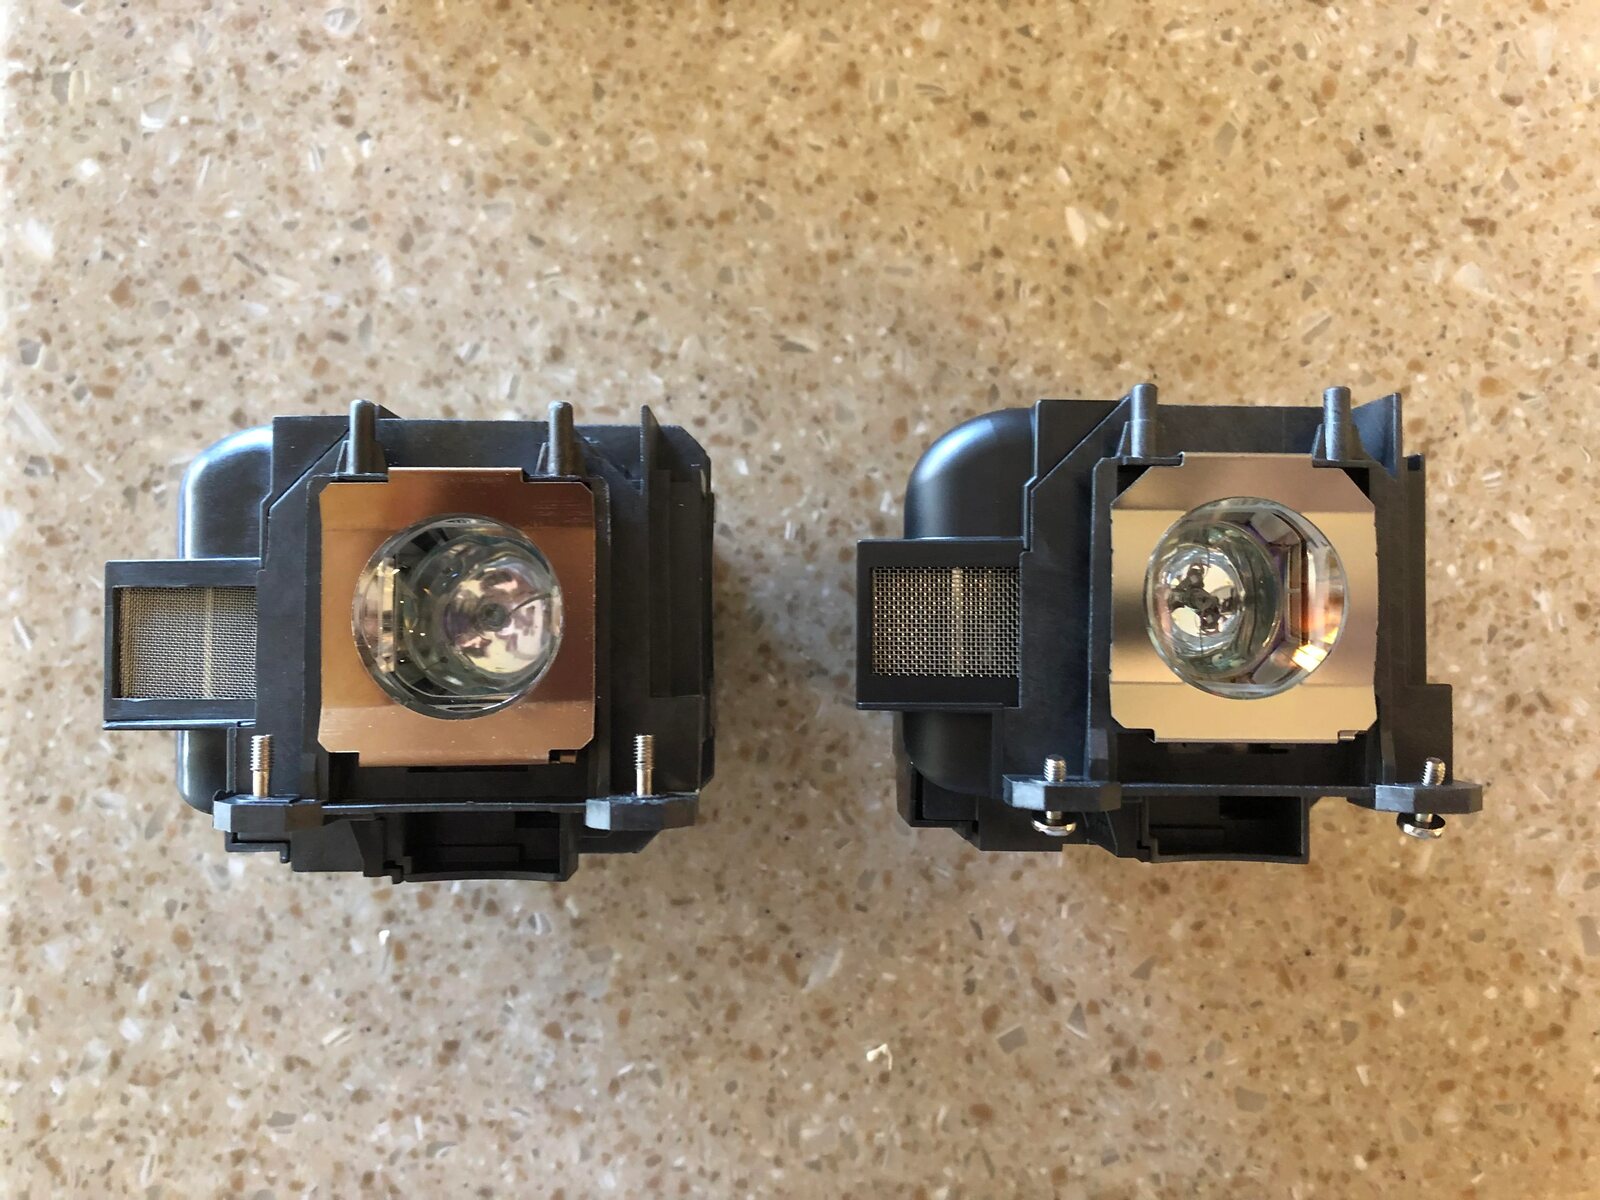
- Inspect the bulb: Carefully remove the projector bulb and inspect it for any visible signs of damage, such as cracks, discoloration, or a clouded appearance. If you notice any of these issues, it is a clear indication that the bulb needs to be replaced.
- Reset and restart the projector: In some cases, projector issues may be resolved by performing a simple reset. Turn off the projector, unplug it from the power source, and wait for a few minutes. Then, plug it back in and power it on to see if the problem persists. If the issue persists after resetting, it is more likely that the bulb is the cause.
- Test with a different bulb or projector: If you have access to a spare projector or bulb, try swapping them out to see if the problem persists. If the issue is resolved with the new bulb or on a different projector, it confirms that the original bulb is faulty.
It’s important to note that the above steps can help you identify if the projector bulb is indeed the problem, but they may not pinpoint the exact issue. If you’ve determined that the bulb is faulty, it is recommended to replace it with a new one to restore optimal projector performance.
However, if you’re not comfortable performing these checks yourself, or if you prefer professional assistance, it is always a good idea to consult a certified technician or contact the manufacturer’s support for further guidance.
Now that you know how to check if the projector bulb is bad, let’s proceed to the next section, where we will discuss the steps to replace a faulty projector bulb.
Steps to Replace a Bad Projector Bulb
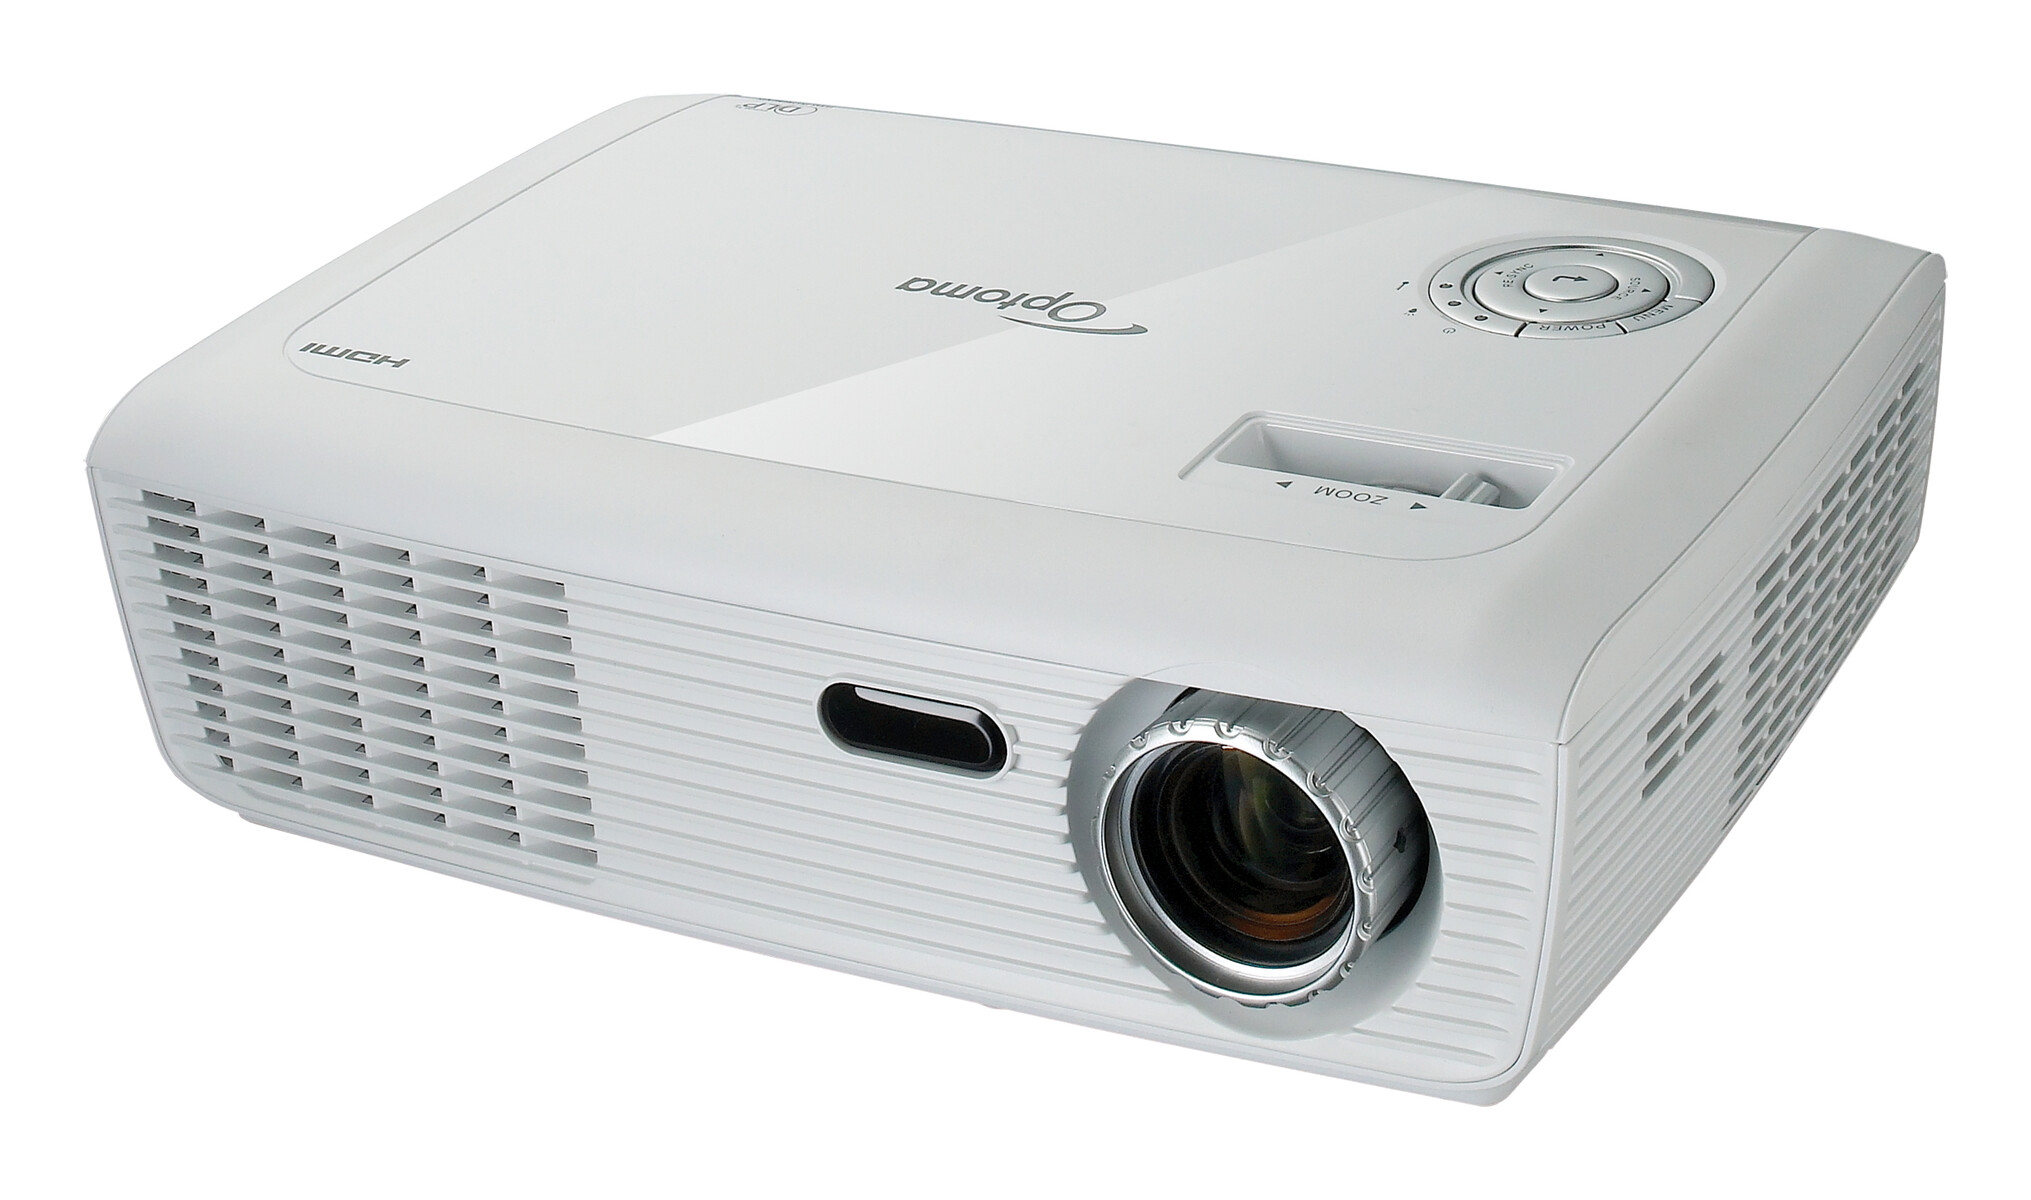
If you have determined that your projector bulb is indeed faulty and needs to be replaced, here are the general steps to follow:
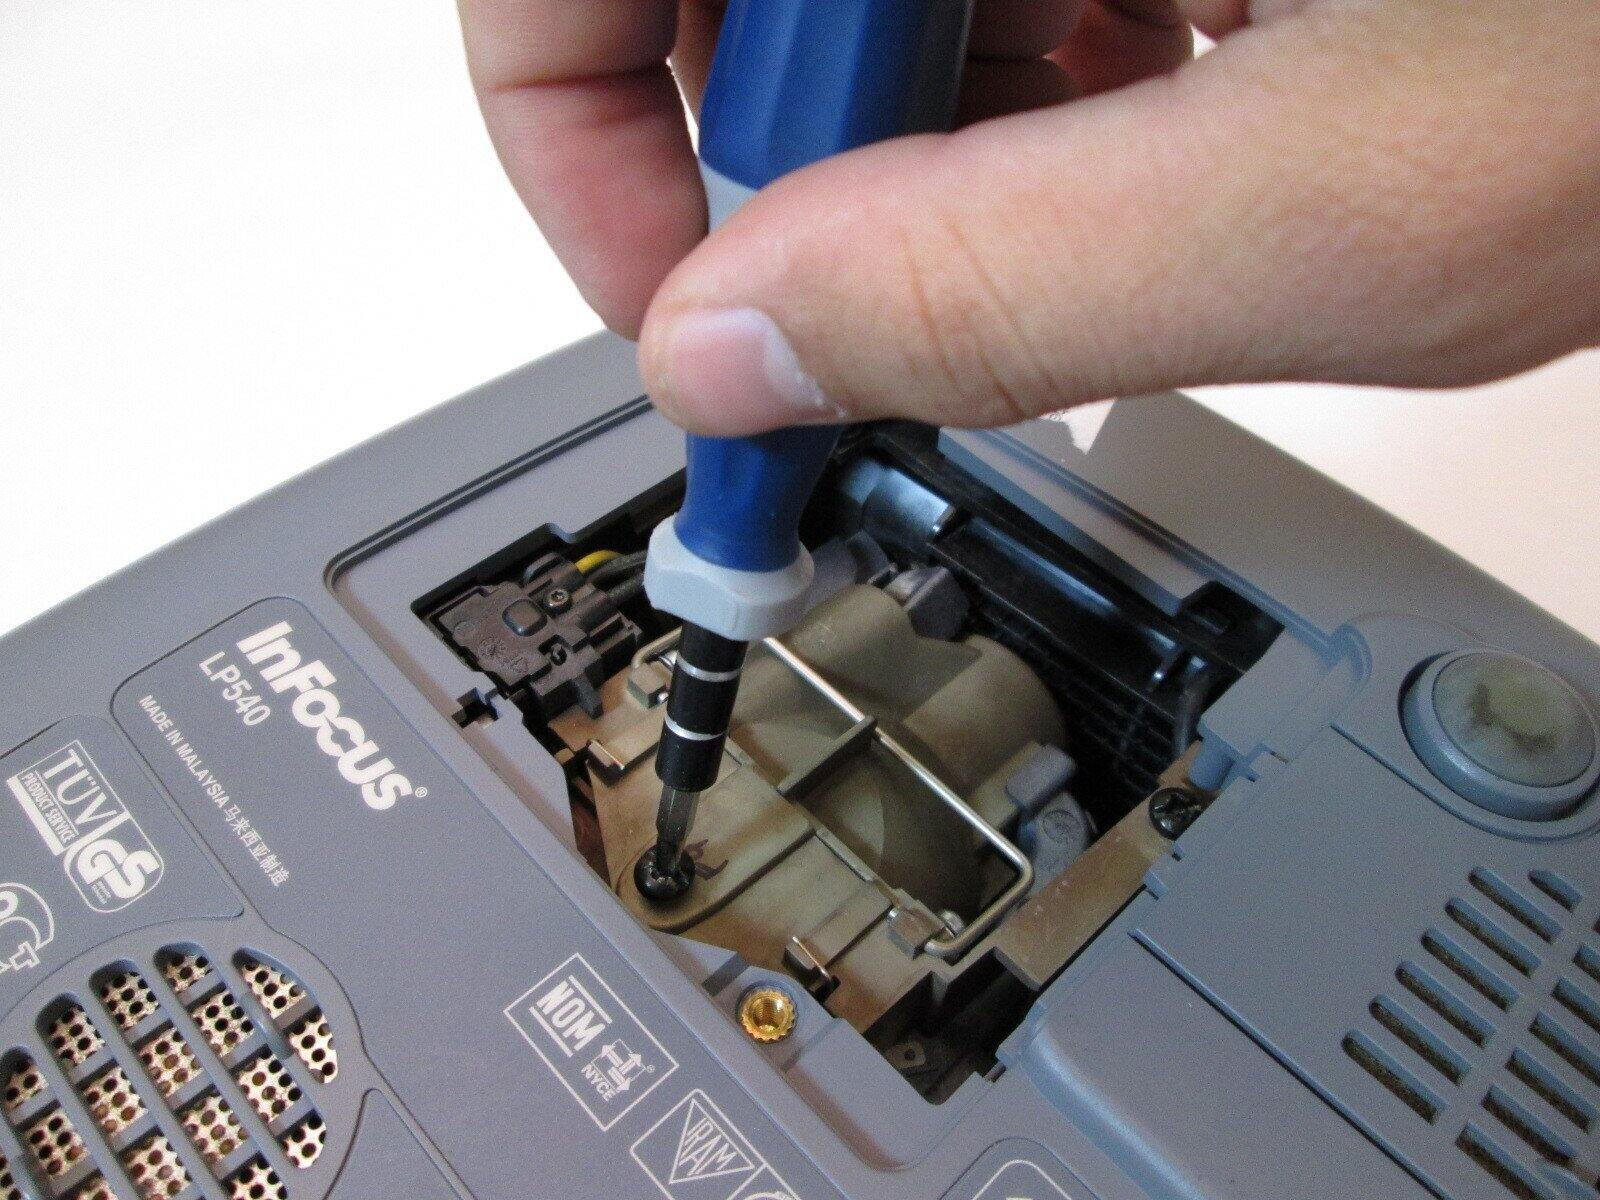
- Consult the projector manual: Before beginning the replacement process, refer to the projector’s manual for specific instructions on how to replace the bulb. Each projector model may have slight variations in the replacement procedure, so it’s important to follow the manufacturer’s guidelines.
- Prepare a new bulb: Purchase a replacement bulb that is compatible with your projector model. Ensure that you choose a high-quality, original or recommended replacement bulb to ensure optimal performance and lifespan.
- Allow the projector to cool down: Before replacing the bulb, ensure that the projector has been turned off and has had enough time to cool down. Handling a hot bulb can be dangerous and may lead to damage or injury.
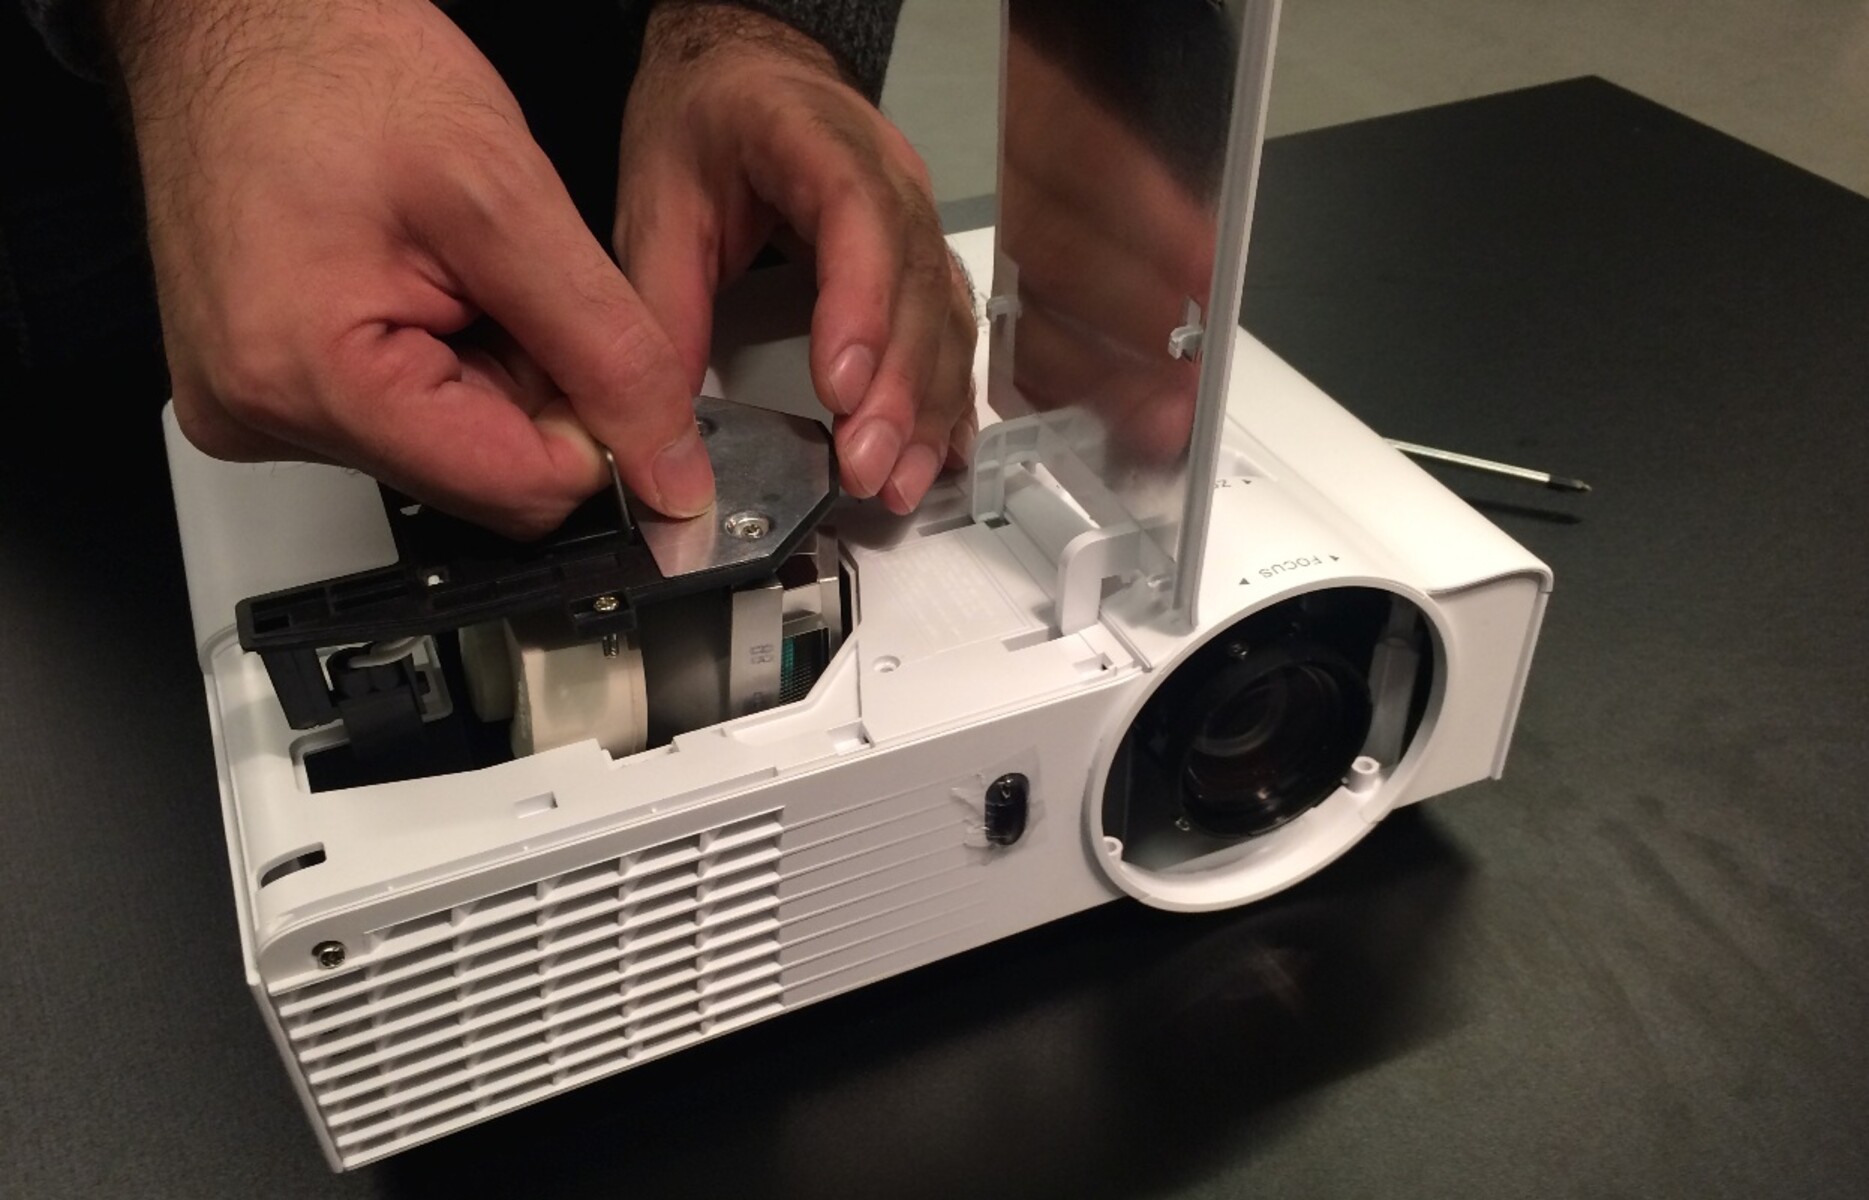
- Remove the old bulb: Carefully follow the instructions provided in the manual to safely remove the old bulb from the projector. Usually, it involves removing the lamp cover, disconnecting any wires or connectors, and loosening the screws that hold the bulb in place.
- Install the new bulb: Take the new bulb out of its packaging and insert it into the projector using the reverse steps of the removal process. Ensure that the bulb is securely seated and that any connectors or wires are properly reattached.
- Secure the bulb: Once the new bulb is installed, securely tighten any screws or brackets to hold it in place. Ensure that the lamp cover is properly closed and fastened as per the manufacturer’s instructions.
- Reset the lamp timer: After replacing the bulb, it’s recommended to reset the lamp timer on the projector. This ensures accurate tracking of the new bulb’s usage hours and helps you keep better track of its lifespan.
- Test the projector: Power on the projector and ensure that the new bulb is functioning properly. Check for any error messages or indicators that may indicate any issues with the replacement. If everything appears normal, you can proceed with enjoying your projector’s improved image quality.
It is important to note that while the above steps provide a general guideline for replacing a projector bulb, it’s always recommended to refer to the specific instructions provided by the projector’s manufacturer. Following their guidelines ensures a safe and proper replacement process.
Now that you are familiar with the steps to replace a bad projector bulb, you can confidently undertake this task to restore your projector’s performance.
Conclusion
In conclusion, being able to recognize the signs of a bad projector bulb is crucial for ensuring optimal performance and a superior viewing experience. By monitoring the image quality, checking for dimness or flickering, observing color distortion, and being aware of projector overheating issues, you can identify when it’s time to replace the bulb.
Remember that poor image quality, including reduced brightness and clarity, is a strong indication of a failing bulb. Dimness or flickering in the projected image can also be a clear sign that the bulb is nearing the end of its lifespan. Color distortion, where colors appear faded or unnaturally tinted, can be another symptom of a bad bulb. Additionally, frequent projector overheating can indicate reduced efficiency of the bulb.
If you suspect that your bulb is the problem, take the necessary steps to check its condition. This may involve inspecting the bulb for visible damage, resetting the projector, or testing with a different bulb. If the bulb is indeed faulty, follow the manufacturer’s instructions to replace it correctly.
Remember to choose a high-quality replacement bulb and ensure that it is compatible with your specific projector model. Taking proper precautions, such as allowing the projector to cool down before replacing the bulb and resetting the lamp timer after installation, will ensure a smooth replacement process.
Keep in mind that while this guide provides helpful information, it’s always important to refer to the projector’s manual and consult the manufacturer’s support for specific instructions and guidance.
By being attentive to the signs of a bad projector bulb and taking prompt action, you can continue to enjoy optimal image quality, vibrant colors, and a reliable projector performance for your presentations, movie nights, and other events.