Introduction
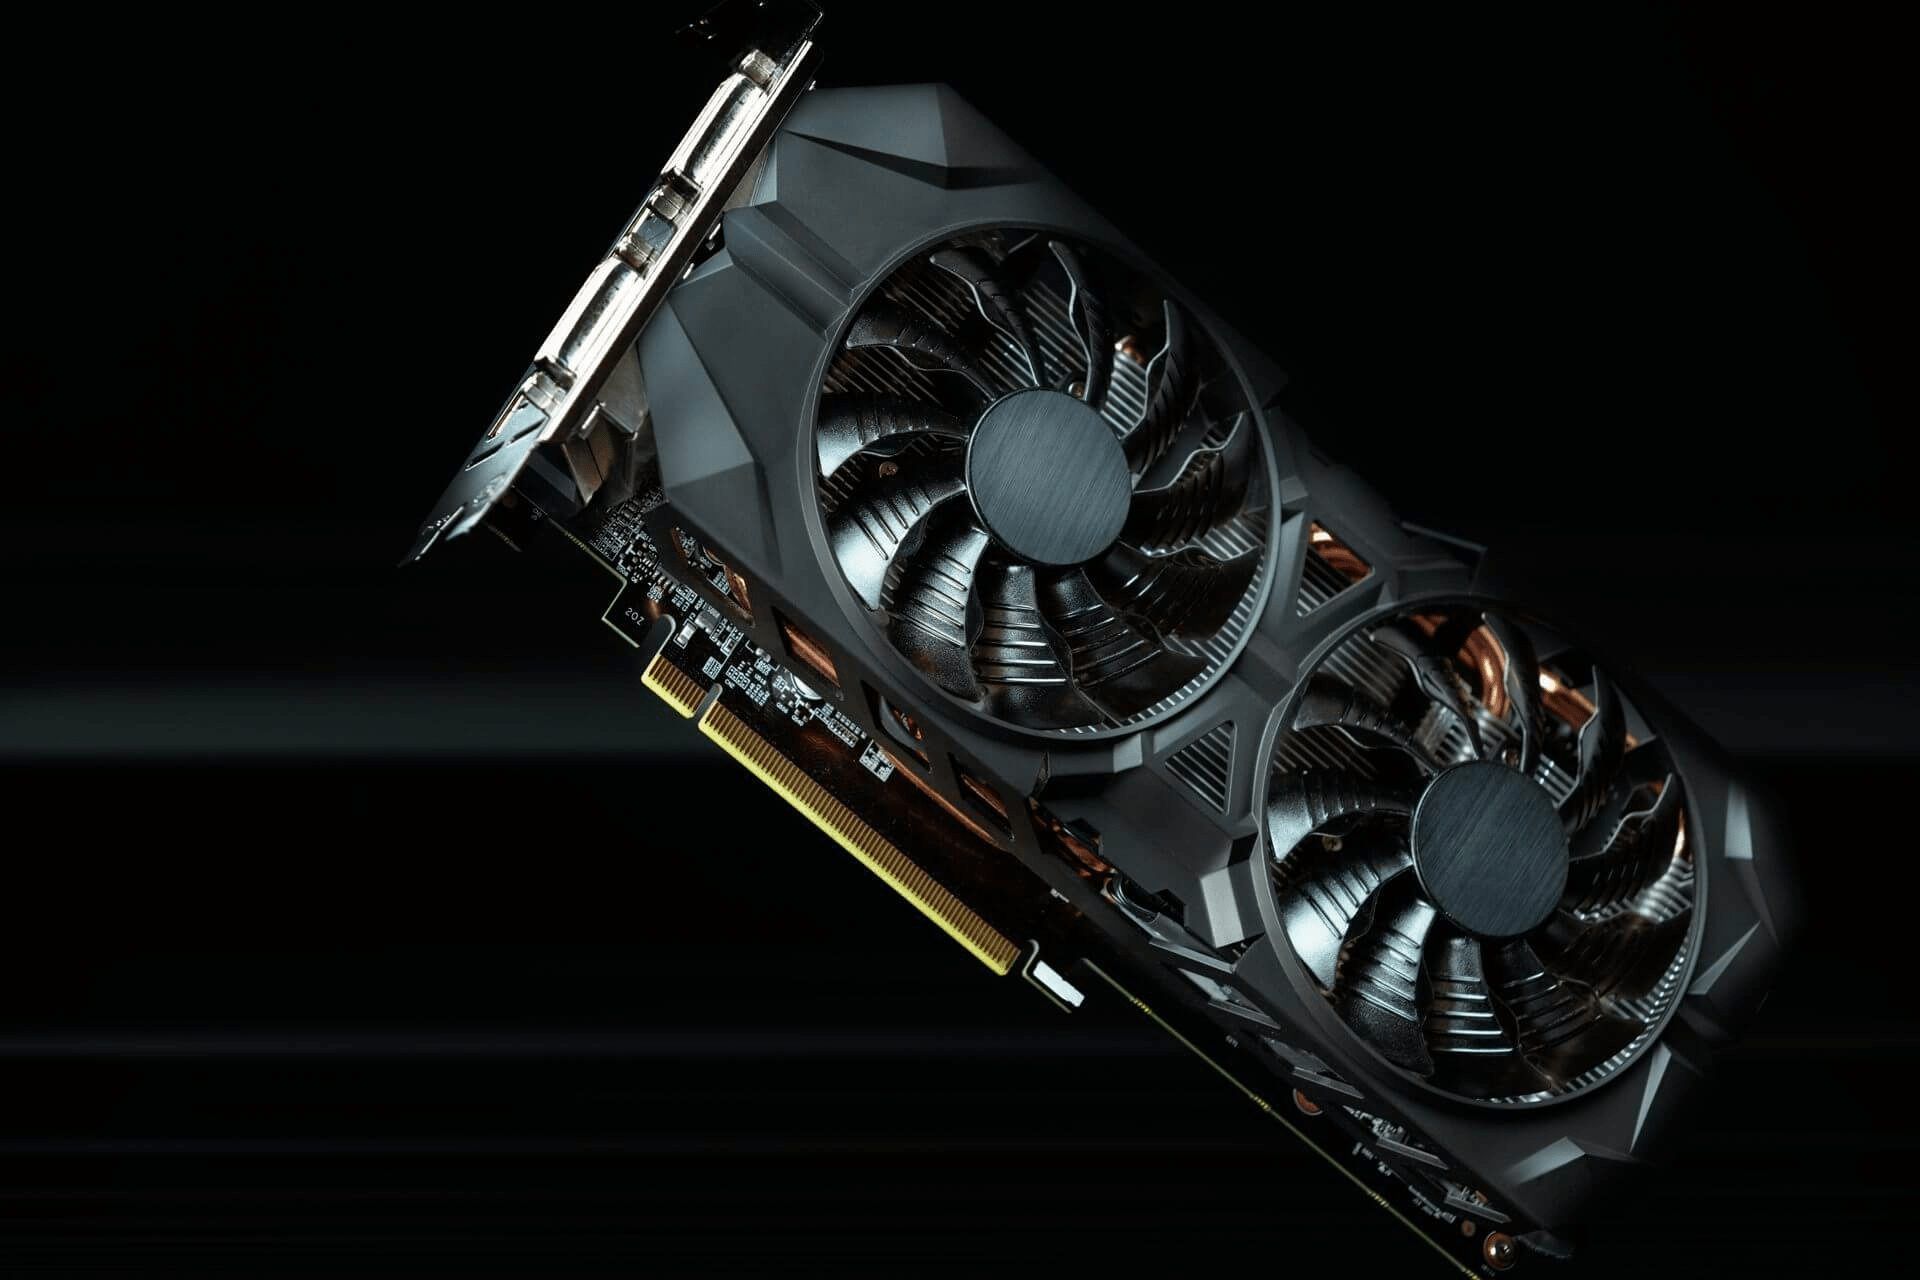
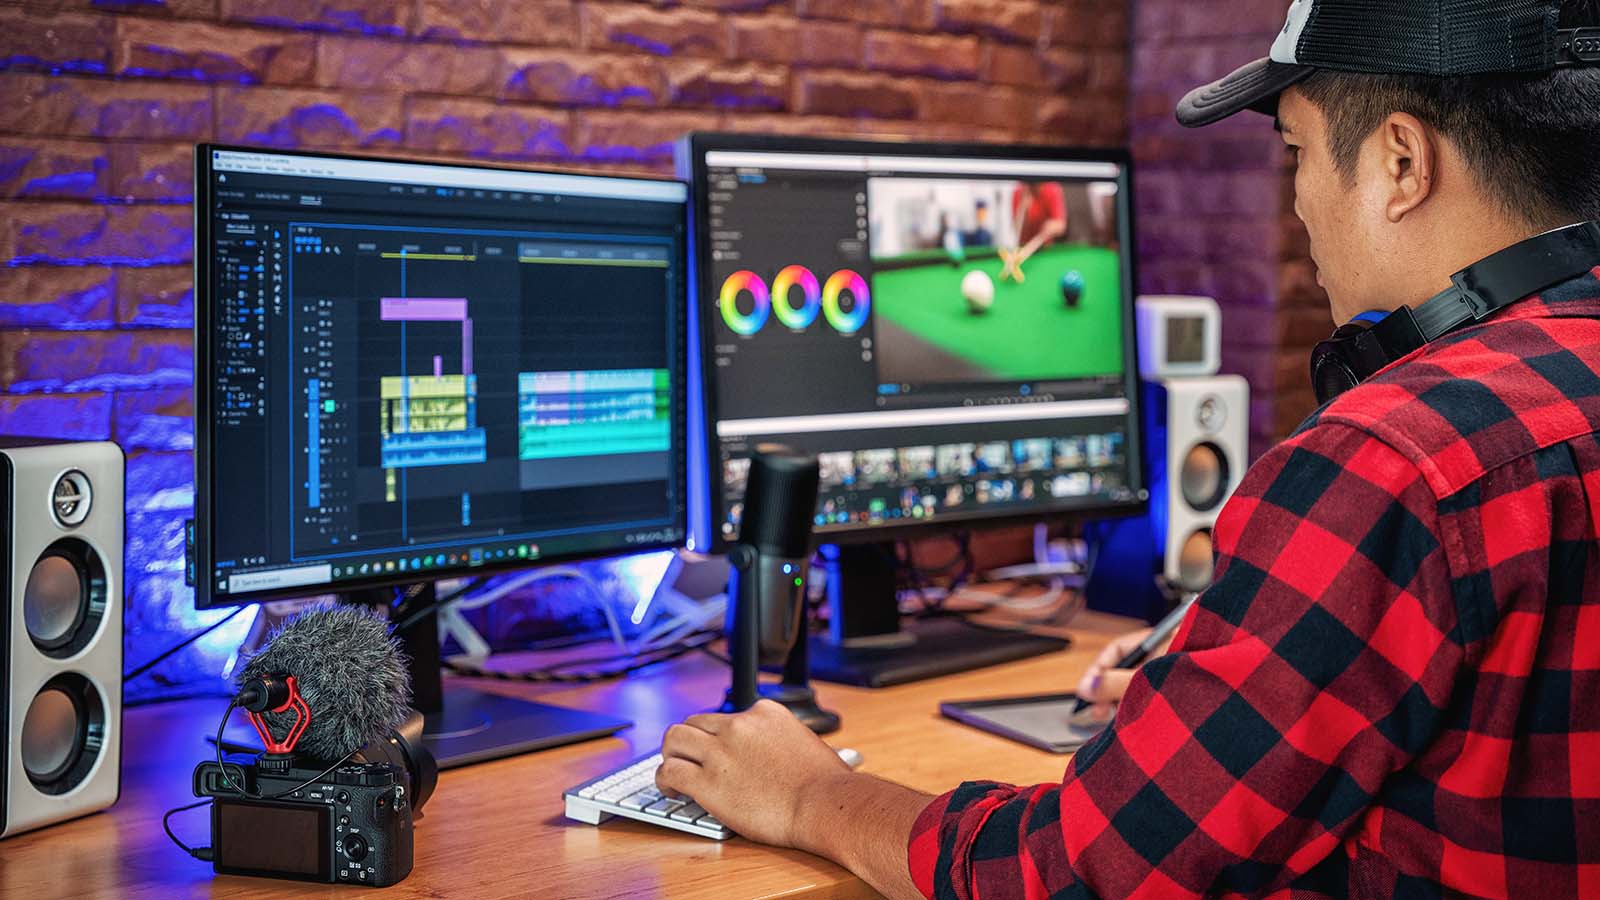
Overheating is a common problem that many computer users face, especially when it comes to the graphics processing unit (GPU). The GPU is responsible for rendering graphics and handling intense graphical tasks, such as gaming or video editing. However, when the GPU gets too hot, it can lead to performance issues, system crashes, or even hardware damage.
Understanding the causes and signs of GPU overheating is crucial for preventing any potential damage to your computer. In this article, we will explore the reasons behind GPU overheating and provide practical tips on how to prevent it from happening.
Whether you are a seasoned gamer, a graphic designer, or just a regular computer user, these preventative measures will help keep your GPU running at optimal temperatures and ensure smooth and efficient performance.
So, let’s dive into the world of GPU overheating and discover the steps you can take to combat this common issue.
What Causes GPU Overheating?
GPU overheating can have several causes, and it’s essential to understand them to effectively prevent the problem. Here are some of the common culprits:
- Dust and Dirt: Accumulated dust and dirt on the GPU and its cooling components can hinder proper heat dissipation. Over time, this can cause the GPU to heat up significantly.
- Inadequate Airflow: If your computer case doesn’t have proper ventilation or the fans aren’t working correctly, it can lead to insufficient airflow. Without proper airflow, the GPU won’t be able to cool down efficiently.
- Overclocking: Overclocking is the process of pushing your GPU beyond its factory-set limits to achieve better performance. However, this can result in increased heat production, as the GPU is being pushed to work harder than intended.
- Poor Thermal Paste Application: Thermal paste is a compound that helps transfer heat from the GPU to the heatsink. If the thermal paste is incorrectly applied or dried out, it can lead to inefficient heat transfer and, consequently, overheating.
- Insufficient Cooling Solutions: Some GPUs come with inadequate stock cooling solutions, such as small or inefficient fans. This can make it challenging for the GPU to stay cool, especially during intense gaming or heavy graphics-related tasks.
Understanding these causes can help you identify potential issues and take the necessary steps to prevent GPU overheating. In the next section, we will discuss the signs that indicate your GPU might be overheating, so stay tuned!
Signs of GPU Overheating
Recognizing the signs of GPU overheating is crucial for timely intervention and preventing any potential damage to your graphics card. Here are some common indicators that your GPU may be overheating:
- Frequent System Crashes: If your computer frequently crashes while performing graphics-intensive tasks, it could be a sign that your GPU is overheating. When the GPU gets too hot, it can trigger a system shutdown to prevent further damage.
- Artifacts or Visual Glitches: Overheating can cause graphical artifacts or glitches to appear on your screen. You may notice random lines, distorted images, or color abnormalities while using your computer.
- Fan Noise and High RPM: When the GPU starts to overheat, the cooling fans installed on it will kick into high gear to try and dissipate the heat. This can result in loud fan noise and an increase in fan RPM (revolutions per minute).
- Performance Issues: Overheating can lead to a decrease in GPU performance. You might experience frame rate drops, stuttering, or lagging while gaming or running graphics-intensive applications.
- Elevated GPU Temperatures: Monitoring your GPU temperatures is essential to identify overheating. If your GPU consistently reaches temperatures above the recommended range (usually around 80-90 degrees Celsius), it indicates a cooling problem.
If you notice any of these signs, it’s crucial to take immediate action to prevent further damage to your GPU. In the next section, we will discuss practical steps you can take to prevent GPU overheating effectively.
How to Prevent GPU Overheating
Preventing GPU overheating involves implementing a combination of proactive measures to ensure efficient cooling. By following these tips, you can maintain optimal temperatures for your GPU and avoid performance issues or hardware damage:
- Clean the Graphics Card: Regularly clean the graphics card and its cooling components to remove accumulated dust and dirt. Use compressed air or a soft brush to gently clean the fan blades, heatsink, and surrounding areas.
- Improve Airflow in Your PC Case: Ensure that your computer case has proper ventilation and adequate airflow. Remove any obstructions, organize cables, and consider installing additional case fans or upgrading to a case with better airflow.
- Adjust Fan Speed: Use GPU management software to adjust the fan speed settings. Increasing the fan speed will enhance airflow and help dissipate heat more effectively. However, keep in mind that higher fan speeds may result in increased noise levels.
- Apply Thermal Paste: Check the thermal paste on your GPU and reapply it if necessary. Properly applied thermal paste promotes efficient heat transfer between the GPU and the heatsink, ensuring optimal cooling performance.
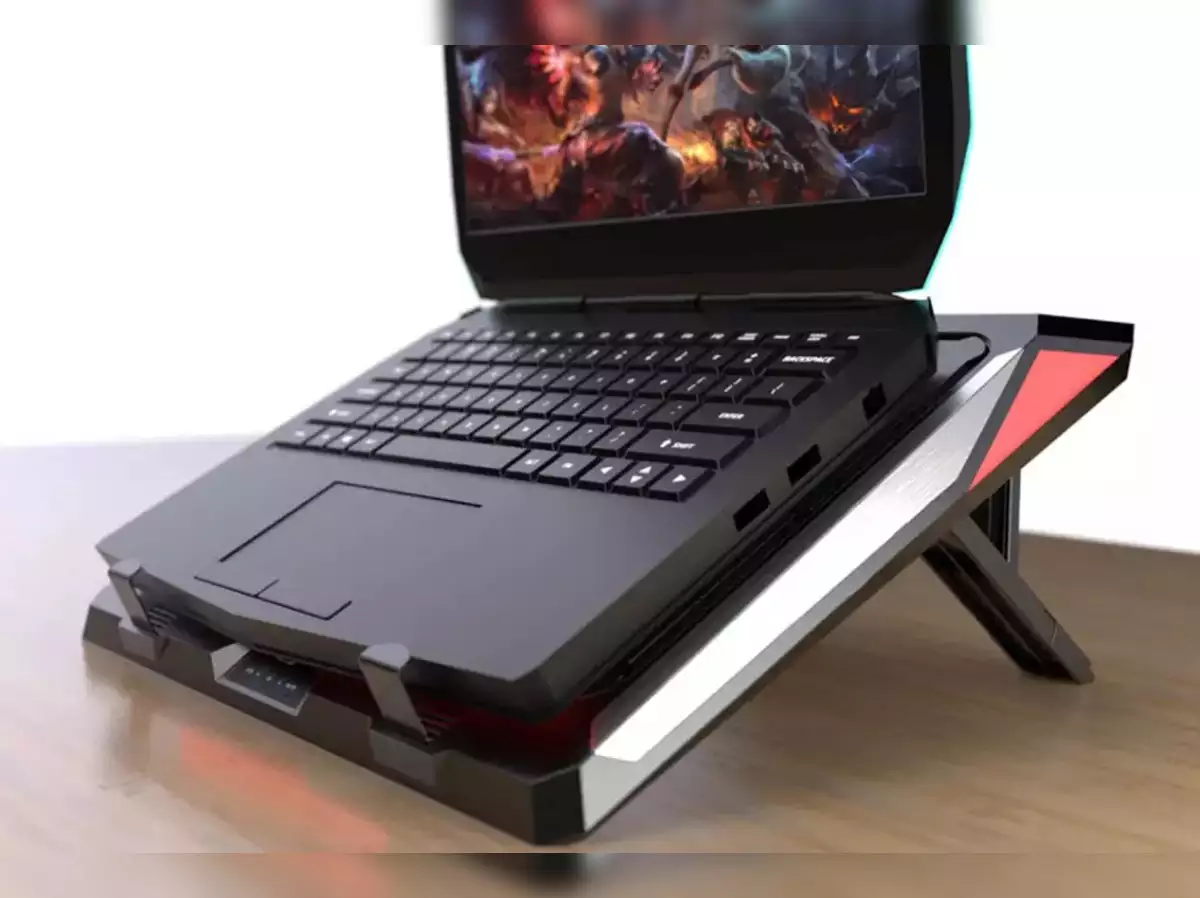
- Use a Cooling Pad or Stand: If you use a laptop for gaming or graphics-intensive tasks, consider using a cooling pad or stand. These accessories provide additional cooling by increasing airflow around the laptop and reducing heat buildup.
- Monitor GPU Temperatures: Install a monitoring tool to keep an eye on your GPU temperatures. This will enable you to identify any sudden spikes in temperature and take appropriate action to prevent overheating.
- Avoid Overclocking: While overclocking can provide performance benefits, it also generates more heat. If you want to avoid GPU overheating, refrain from overclocking or ensure that you have adequate cooling in place.
By implementing these preventative measures, you can significantly reduce the risk of GPU overheating and maintain optimal performance for your graphics card. Taking proactive steps to control temperatures will extend the lifespan of your GPU and contribute to a more stable computing experience.
Clean the Graphics Card
Regularly cleaning your graphics card is a simple yet effective way to prevent GPU overheating. Over time, dust and dirt can accumulate on the graphics card’s fan blades, heatsink, and other components, inhibiting proper heat dissipation. This accumulation can lead to increased temperatures and reduced cooling efficiency. Follow these steps to clean your graphics card:
- Power off and disconnect: Before starting the cleaning process, power off your computer and unplug it from the power source. This ensures your safety and prevents any accidental damage.
- Open your computer case: Remove the side panel of your computer case to access the internal components safely.
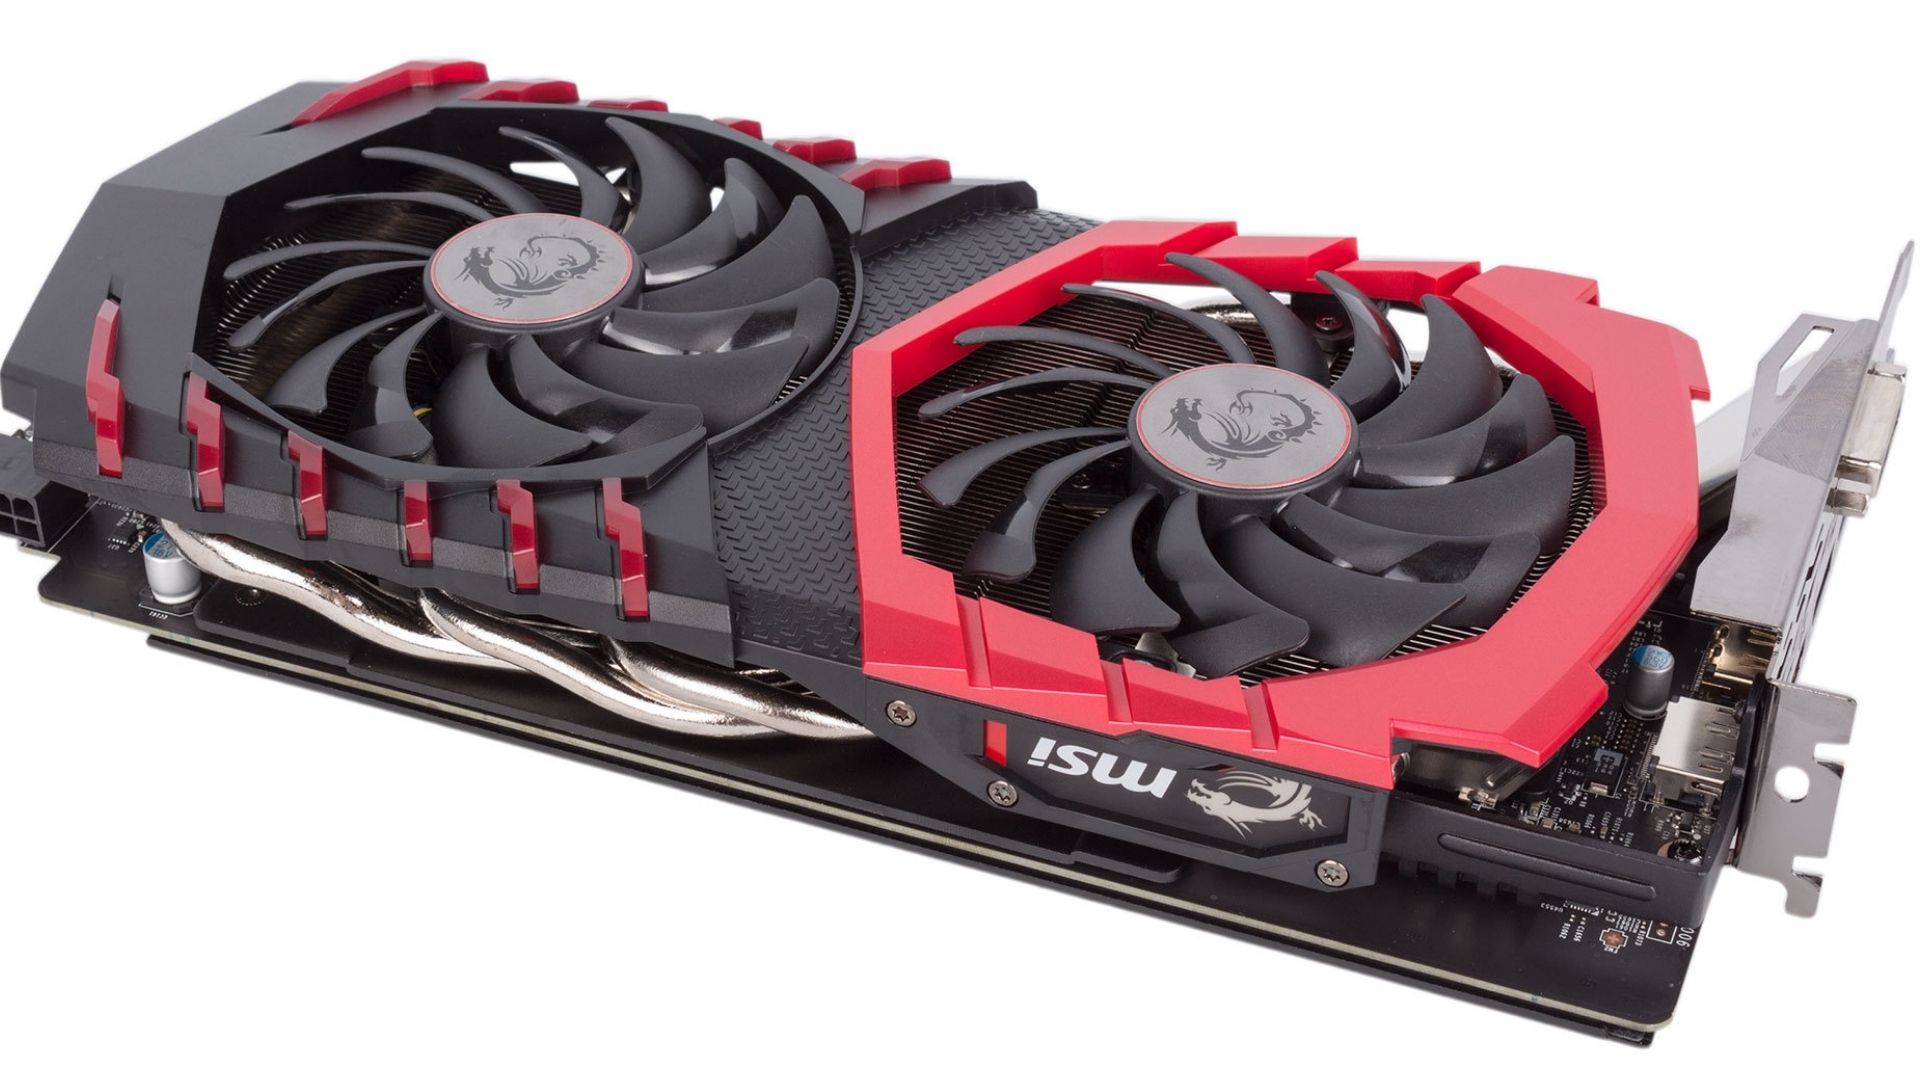
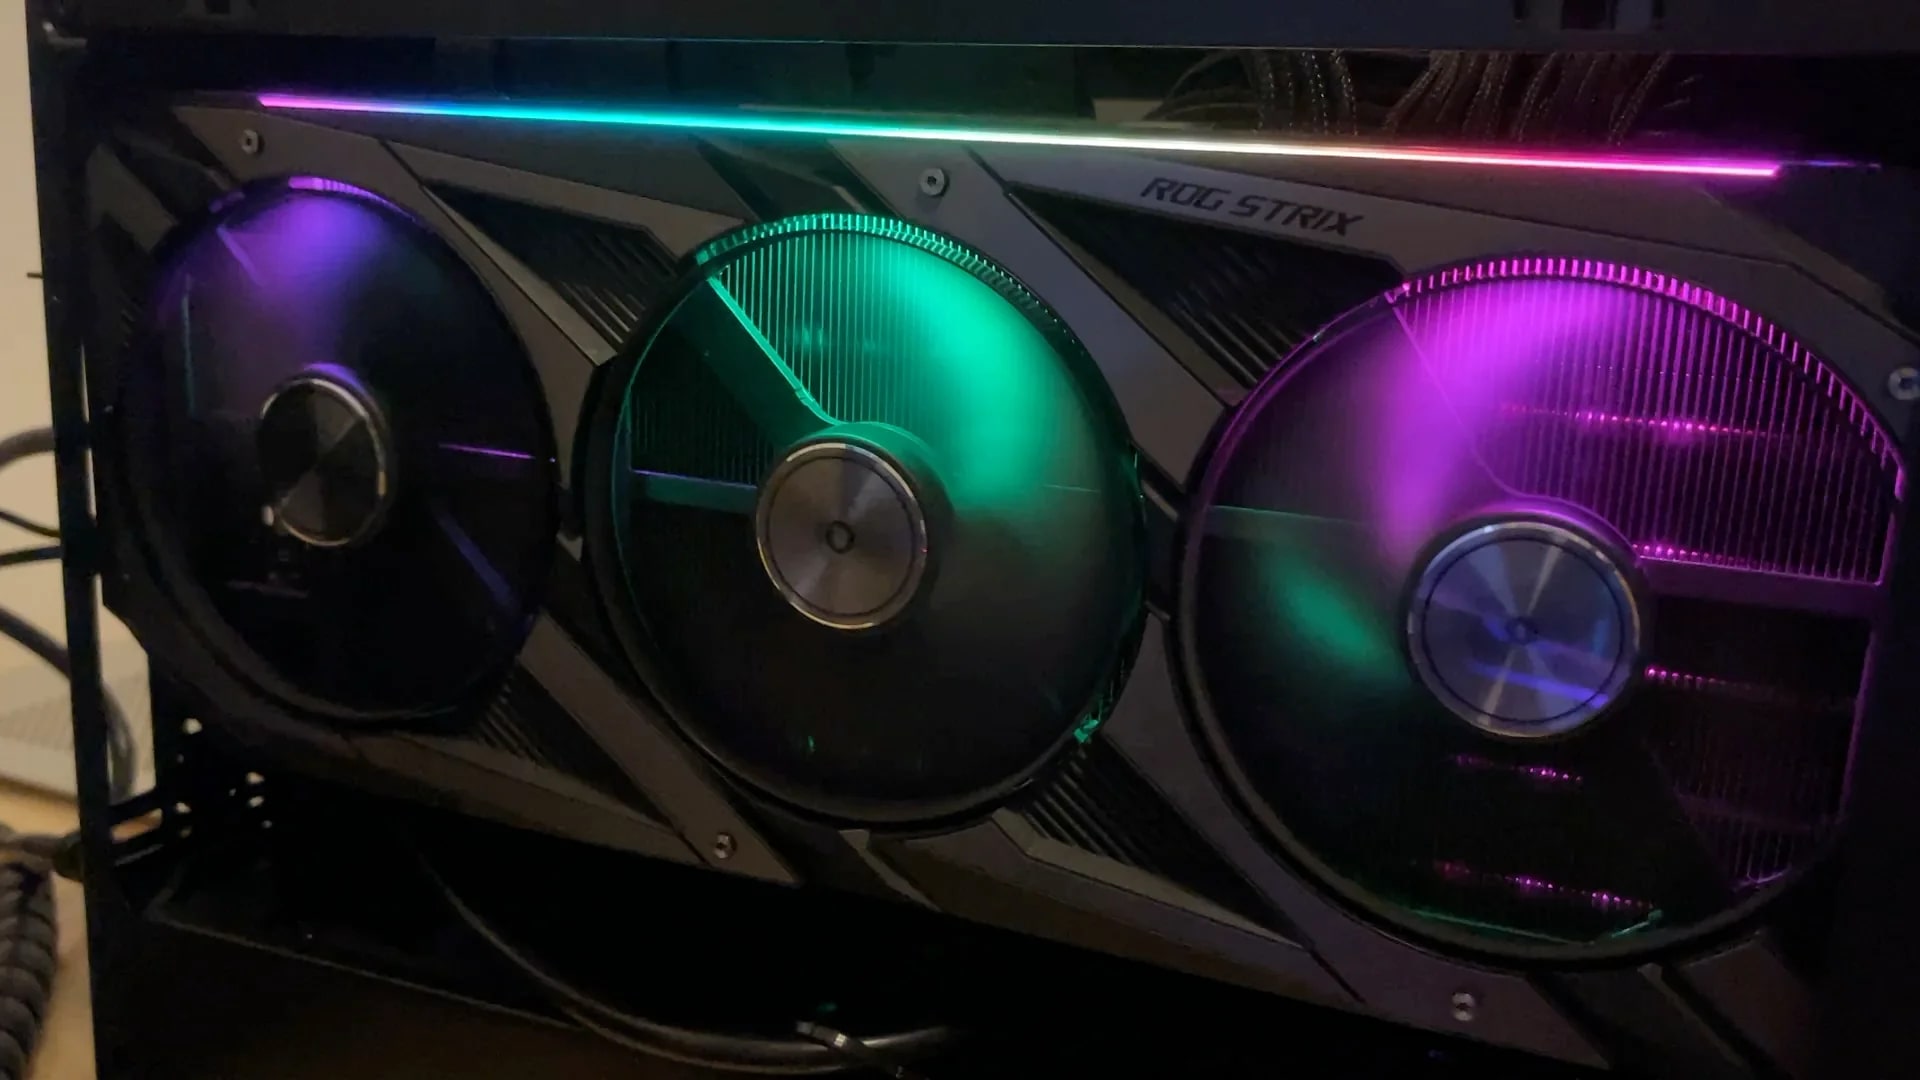
- Locate the graphics card: Identify your graphics card by locating the large rectangular board installed in one of the expansion slots on your motherboard. It will have a fan and heatsink assembly on top.
- Clean the fan blades: Use compressed air or a soft brush to gently remove dust and debris from the fan blades. Hold the fan in place to prevent it from spinning while cleaning to avoid damage.
- Clean the heatsink: Similarly, use compressed air or a soft brush to clean the heatsink. Pay close attention to the finned structure, ensuring that air can flow through without obstruction.
- Clean surrounding areas: Clean the area around the graphics card, removing any dust or debris that may restrict airflow to the card’s cooling components.
- Reassemble: Once you have finished cleaning, carefully reattach the side panel of your computer case and reconnect any cables you may have unplugged.
Cleaning your graphics card every few months, or as needed, will help maintain optimal cooling efficiency and prevent GPU overheating. Remember to handle the components with care and avoid applying excessive force that could damage delicate parts.
Improve Airflow in Your PC Case
Improving airflow in your PC case is vital for preventing GPU overheating. Proper ventilation and efficient airflow help dissipate heat generated by your graphics card and other internal components. Here are some tips to enhance airflow in your PC case:
- Remove obstructions: Take a look inside your computer case and remove any obstructions that could block airflow, such as cables or debris. Ensure that there is a clear pathway for air to flow through the case.
- Organize cables: Proper cable management can significantly improve airflow. Use zip ties or cable management solutions to neatly arrange cables and keep them away from fans and airflow pathways.
- Add additional case fans: Consider installing additional case fans to improve airflow. Fans can be mounted on the front, rear, top, or sides of the case, depending on the available mounting points. Ensure that the fans are properly aligned to create a steady flow of air.
- Upgrade to a case with better airflow: If your current case doesn’t provide adequate airflow options, you may want to consider upgrading to a case with better ventilation. Look for cases with mesh panels, larger fan mounts, and optimized airflow designs.
- Position the case correctly: Ensure that your PC case is positioned in a well-ventilated area. Avoid placing it in a confined space or against a wall, as this can restrict airflow and lead to higher temperatures.
- Regularly clean dust filters: Many modern PC cases come equipped with dust filters to prevent dust from entering the case. Regularly clean these dust filters to maintain proper airflow and prevent clogging.
- Monitor internal temperatures: Use software utilities to monitor the internal temperatures of your computer. This will help you identify any hotspots or areas that may require additional cooling measures.
By implementing these strategies, you can optimize the airflow in your PC case and ensure that your graphics card and other components receive adequate cooling. Good airflow will help maintain lower temperatures and minimize the risk of GPU overheating.
Adjust Fan Speed
Adjusting the fan speed of your graphics card is an effective way to control temperatures and prevent GPU overheating. By increasing the fan speed, you can enhance the airflow around your GPU, leading to better heat dissipation. Here’s how you can adjust the fan speed:
- Install GPU management software: To adjust the fan speed of your graphics card, you will need to install specialized software provided by the graphics card manufacturer. Examples include MSI Afterburner, NVIDIA Control Panel, or AMD Radeon Settings. Download and install the appropriate software for your GPU.
- Open the GPU management software: Launch the GPU management software and navigate to the fan control settings. The location of these settings may vary depending on the software you are using. Typically, you can find them in the “Performance” or “Overclocking” section.
- Adjust fan speed: Once you have accessed the fan control settings, you can adjust the fan speed manually. You can either set a fixed fan speed or choose automatic fan control based on GPU temperatures. Increasing the fan speed will result in higher airflow and improved cooling, but it may also lead to increased noise levels.
- Test and monitor: After adjusting the fan speed, test your system to ensure stability. Monitor your GPU temperatures to see if the adjustments effectively prevent overheating. If necessary, fine-tune the fan speed settings until you find the optimal balance between cooling performance and noise.
- Save settings: Once you are satisfied with the fan speed adjustments, remember to save the settings in the GPU management software. This ensures that the changes persist even after restarting your computer.
Adjusting the fan speed of your graphics card provides you with greater control over its cooling performance. By increasing the fan speed when engaging in graphically intensive tasks or gaming, you can effectively prevent GPU overheating and maintain optimal temperatures.
Apply Thermal Paste
Applying thermal paste is an important step in ensuring efficient heat transfer between the GPU and the heatsink. Over time, the thermal paste can deteriorate or dry out, leading to poor conductivity and increased temperatures. To prevent GPU overheating, follow these steps to apply thermal paste:
- Gather the necessary materials: You will need thermal paste, rubbing alcohol, a lint-free cloth or cotton swabs, and a plastic spatula or credit card for spreading the paste.
- Power off and disconnect your computer: Before starting the process, power off your computer and unplug it from the power source. This ensures your safety and prevents any accidental damage.
- Remove the graphics card: Carefully remove the graphics card from your computer. Refer to your motherboard or GPU manufacturer’s instructions for guidance on safely removing the card.
- Clean the GPU and heatsink: Use rubbing alcohol and a lint-free cloth or cotton swab to clean the old thermal paste from the GPU and heatsink. Ensure that both surfaces are thoroughly cleaned and free from any residue.
- Apply a small amount of thermal paste: Apply a pea-sized amount of thermal paste to the center of the GPU. Avoid applying too much paste, as it can lead to excess spreading and messy application.
- Spread the thermal paste: Use a plastic spatula or credit card to gently spread the thermal paste evenly across the surface of the GPU. Ensure that the paste covers the entire GPU, but avoid spreading it onto surrounding components.
- Reinstall the graphics card: Carefully place the graphics card back into the appropriate slot on your motherboard. Make sure it is firmly and securely seated.
- Reassemble your computer: Close your computer case, reconnect any cables that were disconnected, and plug your computer back into the power source.
By regularly applying fresh thermal paste, you can ensure optimal heat transfer between the GPU and the heatsink, effectively preventing GPU overheating. This simple maintenance step can significantly improve cooling performance and extend the lifespan of your graphics card.
Use a Cooling Pad or Stand
Using a cooling pad or stand is an effective way to prevent GPU overheating, especially if you use a laptop for gaming or graphics-intensive tasks. These accessories help improve airflow around your laptop and reduce heat buildup. Here’s how a cooling pad or stand can help:
1. Increased airflow: Cooling pads or stands often feature built-in fans that provide additional airflow to your laptop. These fans help dissipate the heat generated by your GPU and other internal components.
2. Elevated laptop position: By using a cooling pad or stand, you can elevate your laptop from the surface it rests on. This elevation creates space for improved airflow, preventing hot air from getting trapped under the laptop.
3. Heat redistribution: Cooling pads or stands typically have a design that promotes heat redistribution. They often feature heat-dissipating materials, such as aluminum or mesh, that help absorb and dissipate heat more effectively.
4. Enhanced comfort: In addition to cooling benefits, cooling pads or stands can improve your overall comfort while using your laptop. They provide a stable and ergonomic platform that allows for better typing posture and reduces strain on your wrists and neck.
5. Portability and versatility: Cooling pads or stands are usually lightweight and portable, making them easy to carry and use wherever you go. They are compatible with various laptop sizes and can be adjusted to achieve the desired angle and position.
6. Additional features: Some cooling pads or stands come with additional features, such as USB hubs, adjustable fan speeds, or built-in cable management. These features add convenience and further enhance the cooling capabilities of the accessory.
Using a cooling pad or stand is a proactive measure to maintain lower temperatures for your laptop GPU. This helps prevent GPU overheating and ensures smooth and stable performance during extended gaming sessions or graphics-intensive work.
Monitor GPU Temperatures
Monitoring your GPU temperatures is crucial for preventing GPU overheating and maintaining optimal performance. By keeping an eye on the temperatures, you can identify potential issues and take appropriate action before any damage occurs. Here’s how you can effectively monitor your GPU temperatures:
- Install monitoring software: There are various software tools available that can monitor your GPU temperatures. Popular options include MSI Afterburner, HWMonitor, GPU-Z, and SpeedFan. Download and install the software that is compatible with your GPU.
- Launch the monitoring software: Open the monitoring software and navigate to the GPU temperature section. The software will display real-time temperature readings of your GPU.
- Monitor during different tasks: Monitor your GPU temperatures during various activities, such as gaming, video editing, or running graphics-intensive applications. This will give you an idea of how the temperatures fluctuate under different workloads.
- Observe safe temperature ranges: Research the recommended temperature ranges for your specific GPU model. Generally, temperatures below 80-90 degrees Celsius are considered safe. If your GPU consistently exceeds these temperatures, it indicates a cooling issue that needs to be addressed.
- Check for sudden temperature spikes: Keep an eye out for sudden temperature increases that are not proportional to your workload. This could indicate cooling problems or other issues that require attention.
- Monitor VRAM and VRM temperatures: In addition to GPU core temperatures, monitor the temperatures of your GPU’s VRAM (video random access memory) and VRM (voltage regulator module). High temperatures in these components can also lead to performance issues and overheating.
- Take appropriate action: If you notice consistently high temperatures or sudden spikes, take necessary action to address the issue. This may involve improving cooling, cleaning the GPU, adjusting fan speed, or seeking professional assistance if needed.
Regularly monitoring your GPU temperatures will help you identify potential problems early on and take proactive measures to prevent GPU overheating. By maintaining proper cooling, you can ensure optimal performance and extend the lifespan of your graphics card.
Avoid Overclocking
While overclocking can provide performance boosts, it also comes with an increased risk of GPU overheating. Overclocking involves pushing your GPU beyond its factory-set limits to achieve higher clock speeds and improved performance. However, this process generates more heat and can lead to instability and potential damage to your graphics card. To prevent GPU overheating, it is generally advisable to avoid or approach overclocking with caution. Here’s why:
1. Increased heat production: Overclocking results in higher power consumption and increased heat generation. This puts additional stress on the GPU, which may exceed the cooling capabilities of the stock heatsink and cooling solution.
2. Reduced stability: Overclocking can lead to system instability, causing crashes, freezes, or performance issues. As temperatures rise due to overclocking, the risk of instability further increases, potentially compromising the overall system’s reliability.
3. Increased wear and tear: Running your GPU at higher clock speeds for an extended period can lead to increased wear and tear on the components. Over time, this could result in decreased performance, reduced lifespan, or even permanent damage to the graphics card.
4. Voiding warranty: Overclocking is often considered an unauthorized modification and may void the warranty of your GPU. If any issues arise, the manufacturer may not provide support or repairs for a graphics card that has been overclocked.
5. Alternative cooling requirements: Overclocking often necessitates additional cooling measures, such as aftermarket cooling solutions or custom liquid cooling setups. These additional cooling methods can be costly and require expertise to implement effectively.
While some enthusiasts may choose to overclock their GPUs for maximum performance, it is important to weigh the potential risks and benefits. If you decide to overclock, ensure that you have adequate cooling measures in place, monitor your GPU temperatures closely, and proceed incrementally. It is essential to strike a balance between achieving higher performance and maintaining a stable and safe operating temperature for your graphics card.
Conclusion
Preventing GPU overheating is essential for maintaining the performance and longevity of your graphics card. By understanding the causes and signs of GPU overheating, you can take proactive measures to keep your GPU operating at optimal temperatures. Regularly cleaning the graphics card, improving airflow in your PC case, adjusting fan speed, applying thermal paste, using a cooling pad or stand, monitoring GPU temperatures, and avoiding overclocking are all effective strategies to prevent GPU overheating.
By cleaning your graphics card and ensuring it is free of dust and dirt, you promote efficient heat dissipation. Improving airflow in your PC case through proper cable management, additional case fans, or upgrading to a case with better ventilation helps maintain optimal cooling performance. Adjusting the fan speed of your GPU enhances airflow and cooling efficiency. Applying thermal paste correctly ensures optimal heat transfer between the GPU and the heatsink. Using a cooling pad or stand provides additional airflow and heat distribution for your laptop GPU.
Monitoring GPU temperatures allows you to identify potential issues and take necessary action to prevent overheating. Lastly, avoiding overclocking reduces the risk of GPU overheating and maintains system stability.
By implementing these preventative measures, you can effectively prevent GPU overheating and ensure the smooth and efficient performance of your graphics card. Remember to monitor your GPU temperatures regularly and address any issues promptly to avoid long-term damage. With proper cooling and temperature management, your GPU will continue to deliver exceptional graphics and computing experiences for years to come.


