Introduction
Welcome to this step-by-step guide on how to set up a VPN on Windows 10. Whether you’re concerned about your online privacy, want to access geo-restricted content, or simply want to secure your internet connection, setting up a VPN can provide you with the necessary tools to achieve these goals.
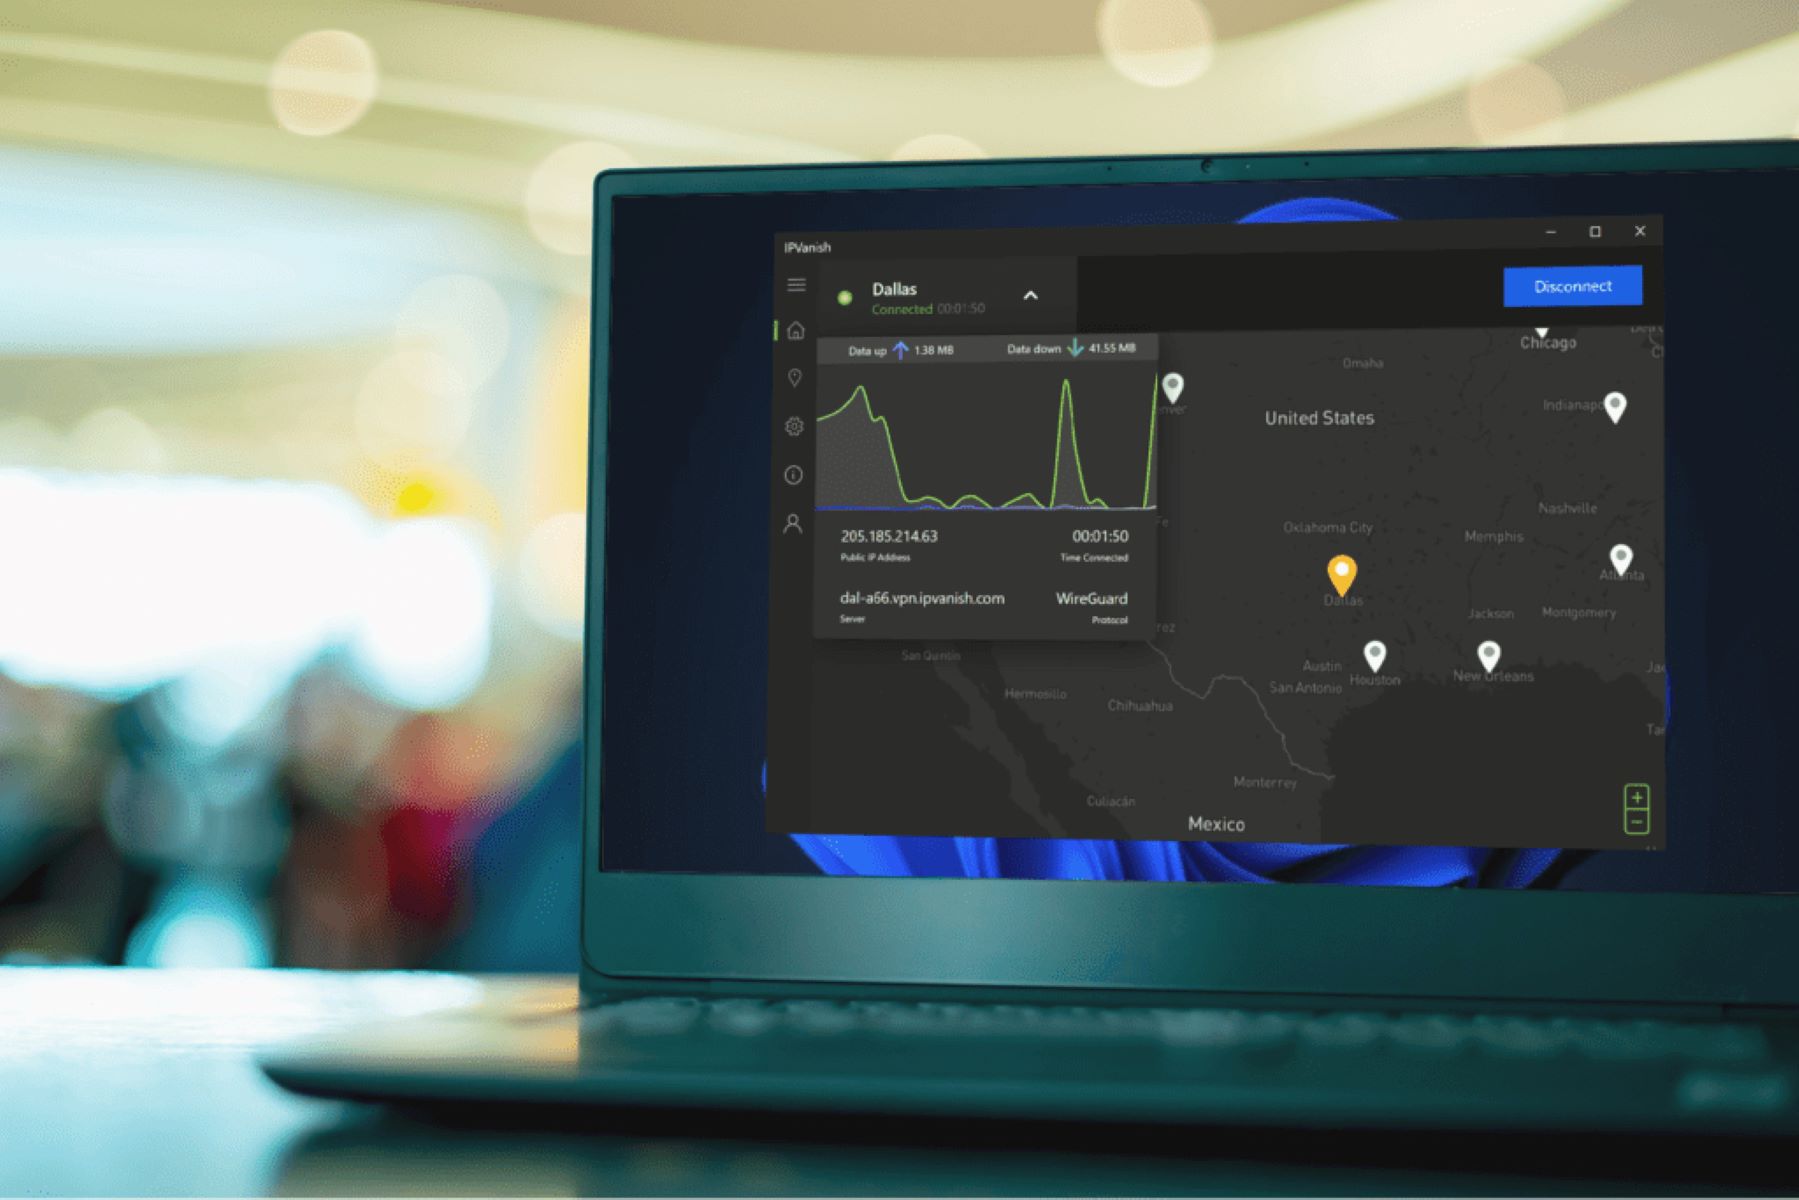
A Virtual Private Network (VPN) allows you to create a secure connection between your device and the internet. It encrypts your internet traffic, making it difficult for anyone to intercept or monitor your online activities. By using a VPN, you can browse the web anonymously and protect your sensitive information from prying eyes.
Setting up a VPN on Windows 10 is a straightforward process that can be completed by following a few simple steps. In this guide, we will walk you through the process of downloading and installing a VPN, configuring your VPN settings, and connecting to a VPN server.
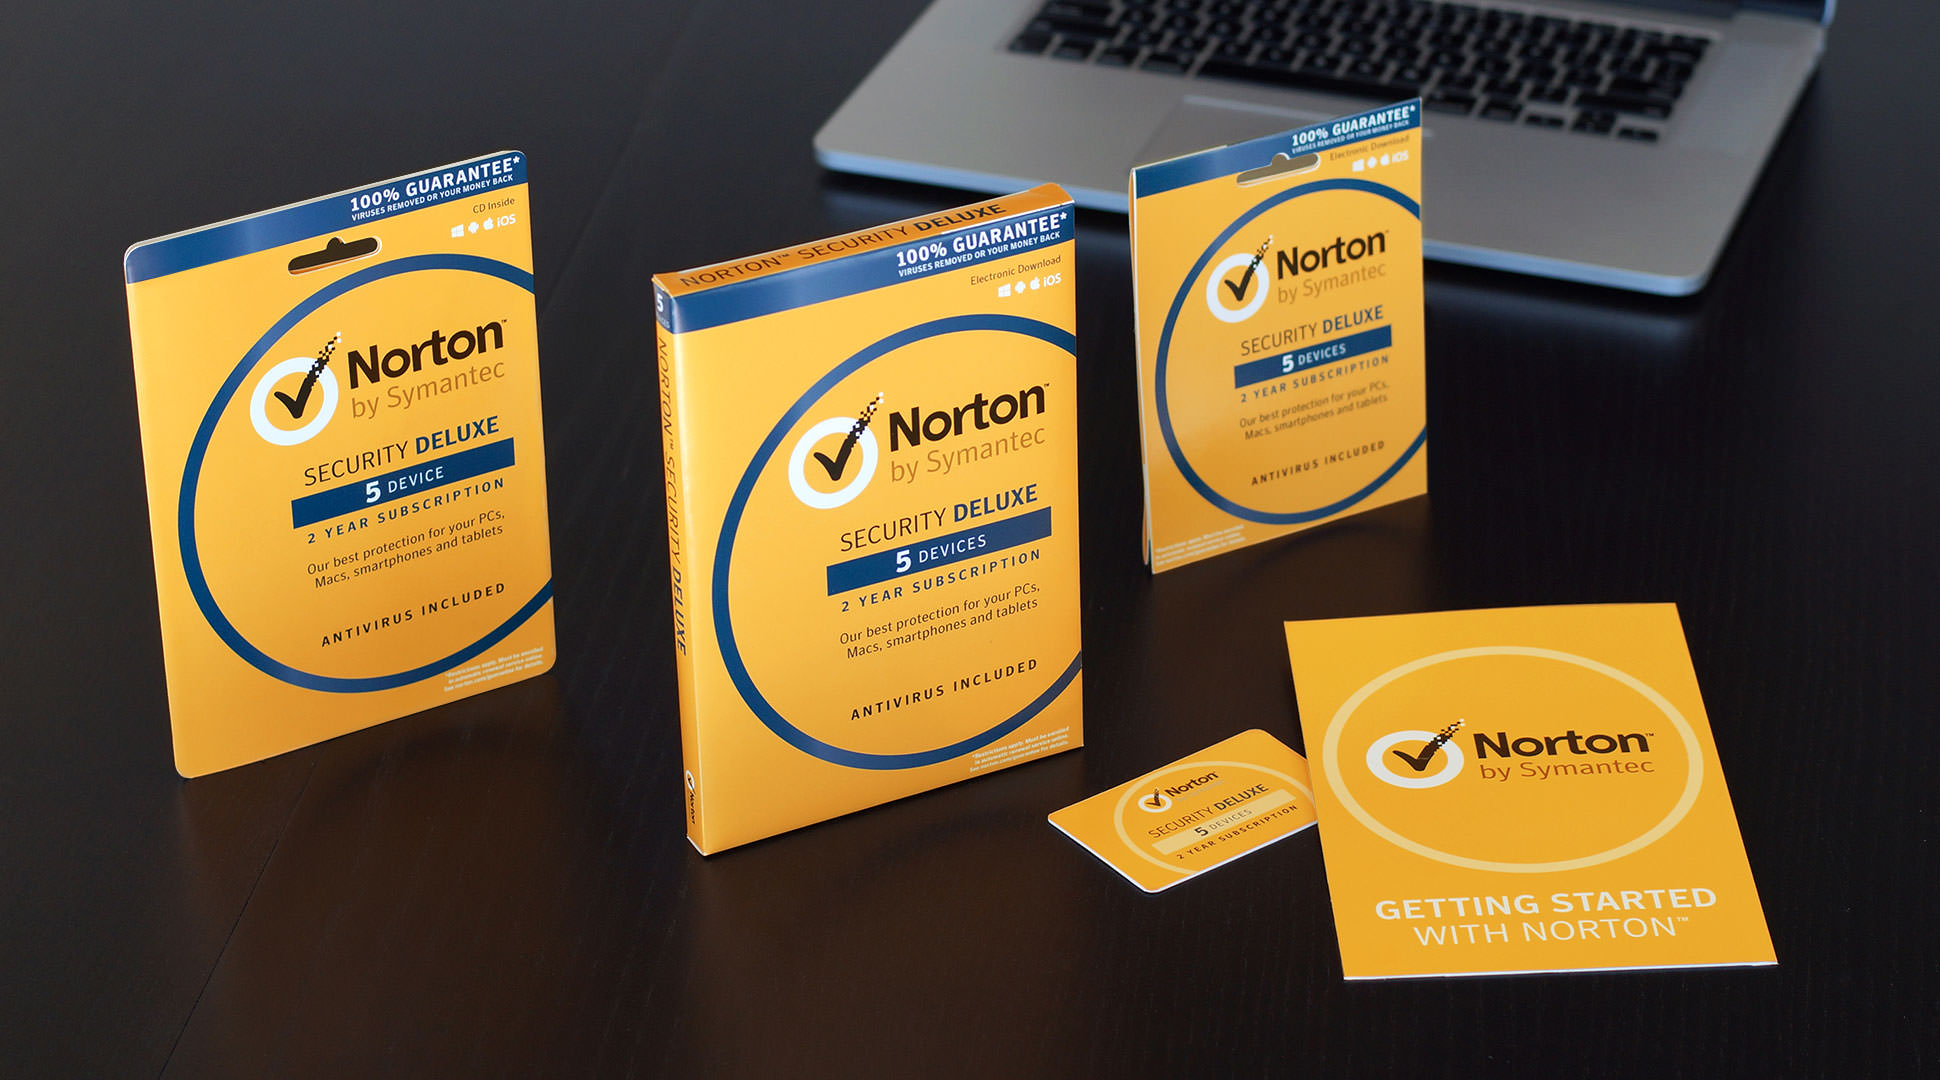
Before we begin, it’s important to note that there are numerous VPN providers available, each offering different features and pricing plans. It’s crucial to choose a reliable and reputable VPN service that meets your specific needs. Take the time to research and compare different providers to find the best one for you.
Now, let’s dive into the step-by-step process of setting up a VPN on Windows 10 and take control of your online privacy and security.
Step 1: Download and Install a VPN
The first step in setting up a VPN on Windows 10 is to download and install a VPN client from a trusted VPN provider. Follow these steps to get started:
- Research and choose a reputable VPN provider that suits your needs. Look for features like strong encryption, a wide server network, and good customer support.
- Visit the VPN provider’s website and navigate to the “Downloads” or “Get Started” section.
- Look for the download link that corresponds to the Windows operating system. Click on the link to initiate the download process.
- Once the download is complete, locate the installation file. Most VPN clients have a straightforward installation process. Double-click on the file to begin the installation.
- Follow the on-screen instructions to install the VPN client. You may be asked to agree to the terms and conditions, choose an installation location, or customize certain settings. Make the appropriate selections and proceed with the installation.
- After the installation is complete, launch the VPN client. You may find a shortcut on your desktop or in the Windows Start menu. Click on the shortcut to open the VPN client.
With the VPN client opened, you are now ready to move on to the next step. Stay tuned for Step 2, where we will guide you through the process of opening VPN settings on your Windows 10 device.
Step 2: Open VPN Settings
Now that you have successfully downloaded and installed a VPN client on your Windows 10 device, it’s time to open the VPN settings. Here’s how to do it:
- Locate the VPN client icon on your desktop or in the Windows Start menu. Double-click on the icon to open the VPN client.
- Once the VPN client is launched, you will typically see a main dashboard or home screen with various options and settings.
- Look for a menu or tab labeled “Settings,” “Preferences,” or something similar. It is usually located in the top-right corner or accessible from a drop-down menu.
- Click on the “Settings” or “Preferences” option to access the VPN client’s settings.
- A new window or tab will open, displaying the different configuration options for the VPN client. Here, you can customize various settings such as connection protocols, DNS leak protection, kill switch, and more.
- Take a moment to familiarize yourself with the different settings available. While the default settings should work fine for most users, you may want to make specific adjustments based on your preferences or requirements.
- Once you have reviewed the settings and made any desired changes, click on the “Apply” or “Save” button to save your settings.
Congratulations! You have successfully accessed and customized the VPN settings on your Windows 10 device. In the next step, we will guide you through the process of adding a VPN connection. Stay tuned!
Step 3: Add a VPN Connection
Now that you have opened the VPN settings on your Windows 10 device, it’s time to add a VPN connection. Follow these steps:
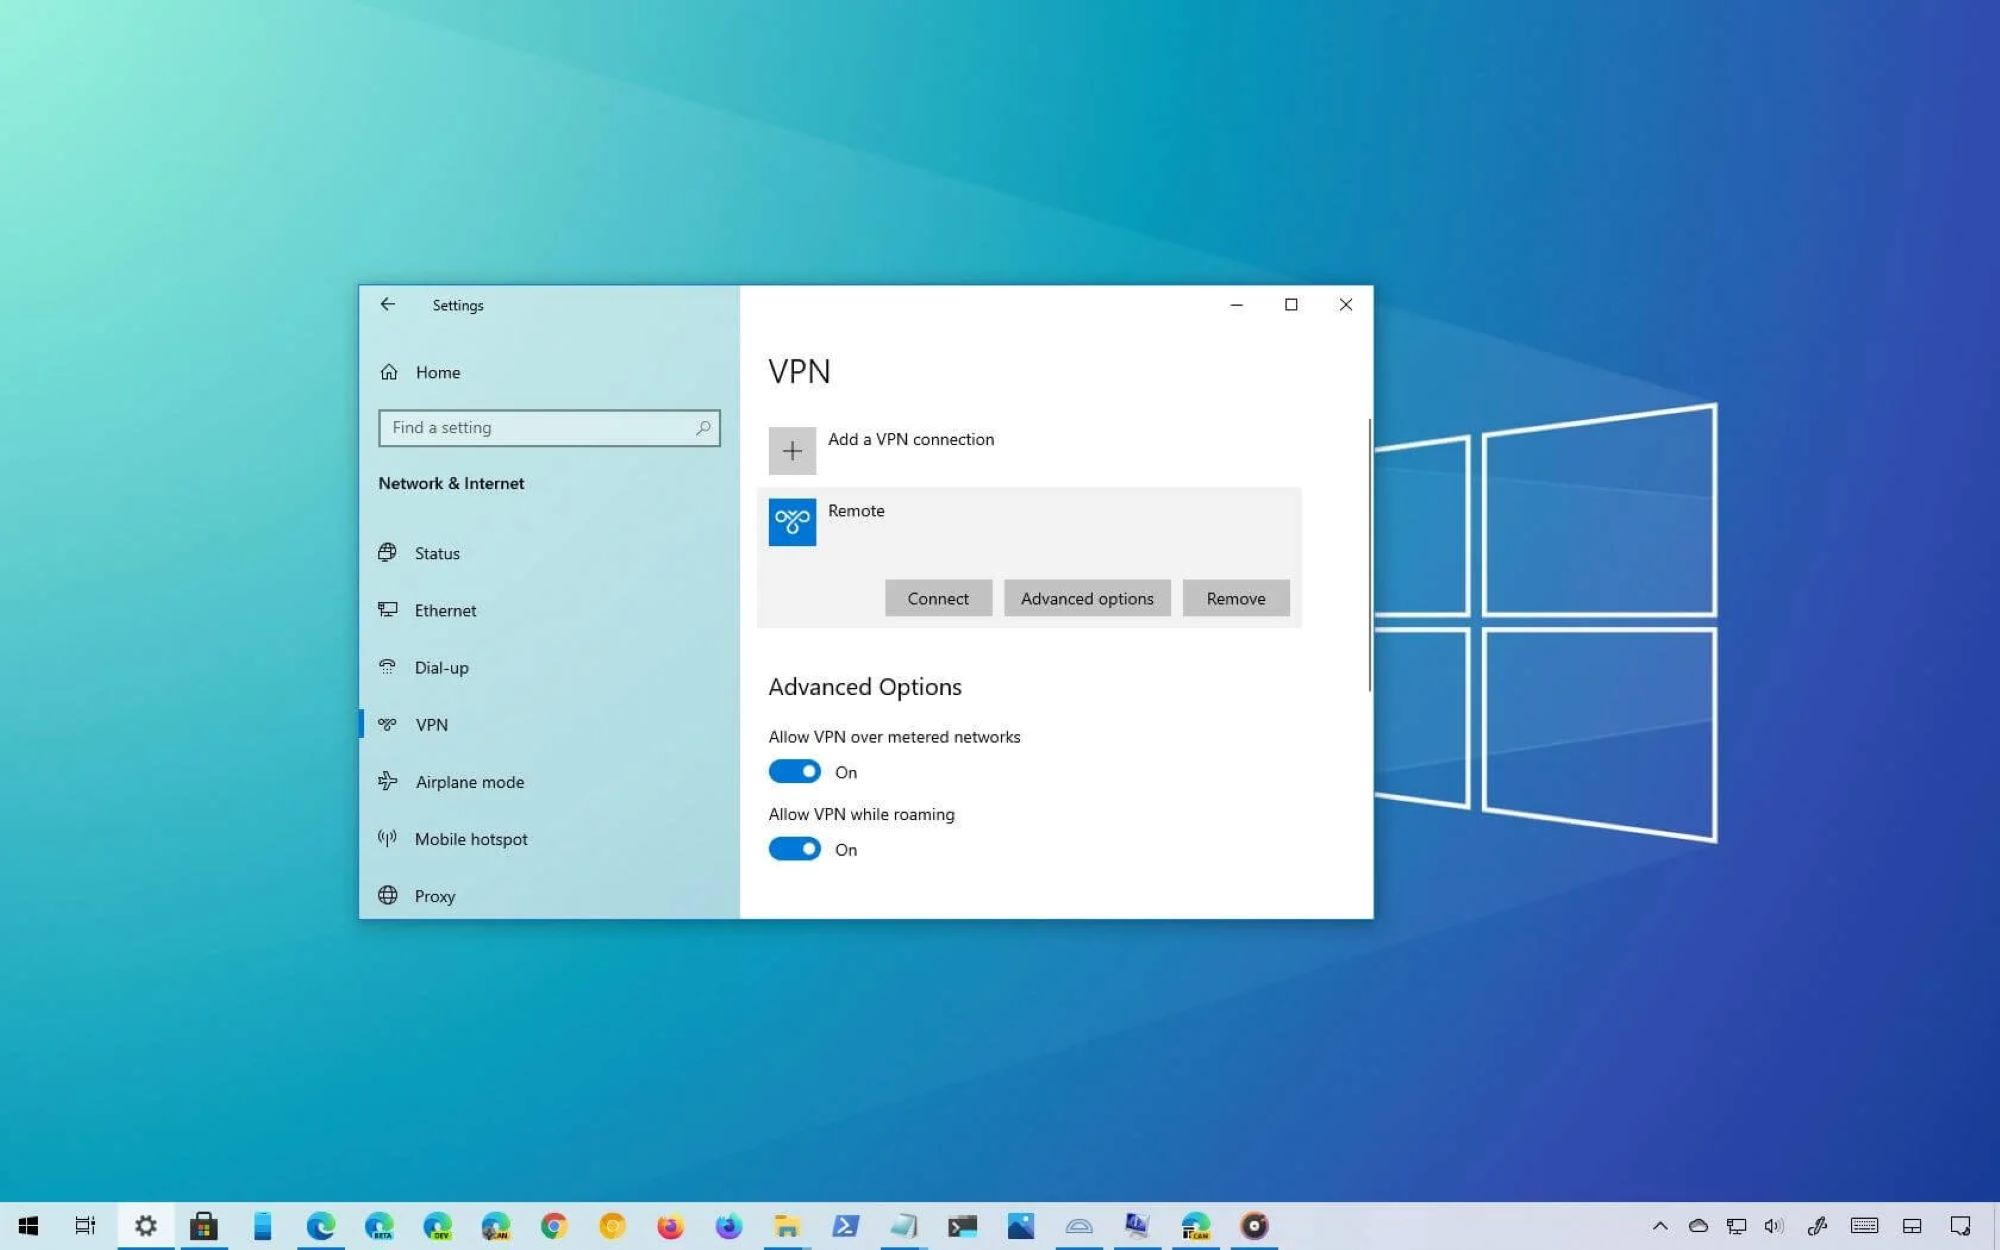
- In the VPN settings window, look for an option called “Add a VPN connection,” “Add connection,” or something similar. This option is usually located in the main settings menu.
- Click on the “Add a VPN connection” option to begin adding a new connection.
- A new window will appear, prompting you to enter the necessary details for your VPN connection. Here are the key settings you need to configure:
- VPN Provider: Select your VPN provider from the drop-down menu. If your provider is not listed, choose “Windows (built-in)” or “Generic” as the provider.
- Connection Name: Enter a name for your VPN connection. This can be any name you prefer to identify the connection.
- Server Name or Address: Enter the server name or IP address provided by your VPN provider. This information is essential for establishing a connection to the VPN server.
- VPN Type: Choose the appropriate VPN protocol from the drop-down menu. Common options include OpenVPN, L2TP/IPSec, and PPTP. Consult your VPN provider for the recommended protocol.
- Username and Password: Enter the login credentials provided by your VPN provider. This typically includes a username and password or a pre-shared key.
- Once you have entered the necessary details, double-check them for accuracy. It’s crucial to ensure that the server name, VPN type, and login credentials are correct.
- After verifying the details, click on the “Save” or “Connect” button to add the VPN connection to your Windows 10 device.
Great job! You have successfully added a VPN connection to your Windows 10 device. In the next step, we will guide you through the process of entering VPN connection details. Stay tuned!
Step 4: Enter VPN Connection Details
Now that you have added a VPN connection to your Windows 10 device, it’s time to enter the specific details for your connection. Follow these steps:
- In the VPN settings window, find the newly added VPN connection in the list of available connections. It should be displayed with the name you provided during the previous step.
- Select the VPN connection by clicking on it. This will highlight the connection and allow you to modify its settings.
- Click on the “Connect” or “Edit” button to enter the VPN connection details.
- A new window will appear, displaying the details of your VPN connection. Here, you can customize additional settings for your connection, such as advanced options and proxy settings.
- Review the different tabs or sections in the window to familiarize yourself with the available settings. Make any necessary adjustments based on your preferences or requirements.
- In the main settings, you may find specific options to enable features like “Automatically connect to this VPN” or “Remember my credentials.” Toggle these options based on your preferences.
- In the advanced settings, you may find options to configure DNS settings, specify custom DNS servers, or set up split tunneling. Adjust these settings if needed, but exercise caution to avoid any connectivity issues.
- Once you have reviewed and set the desired connection details, click on the “Save” or “Connect” button to save the changes.
- Congratulations! You have successfully entered the VPN connection details on your Windows 10 device. In the next step, we will guide you through the process of connecting to the VPN. Let’s proceed!
Great job! You have now entered the necessary details for your VPN connection. In the next step, we will guide you through the process of connecting to the VPN. Stay tuned!
Step 5: Connect to the VPN
Now that you have entered the VPN connection details on your Windows 10 device, it’s time to connect to the VPN. Follow these steps:
- In the VPN settings window, locate the VPN connection you added in the previous steps. It should be listed with the name you provided for the connection.
- Select the VPN connection by clicking on it. This will highlight the connection and allow you to initiate the connection process.
- Click on the “Connect” or “Connect/Disconnect” button to establish a connection with the VPN server.
- The VPN client will now attempt to establish a secure connection with the VPN server using the provided details. This process may take a few moments.
- During the connection process, you may be prompted to enter your username and password or provide any additional authentication details. Enter the required information as per your VPN provider’s instructions.
- Once the connection is established, you will see an indication that you are connected to the VPN. This can be a notification, a change in the VPN client’s interface, or an icon in the system tray.
- Verify your connection by visiting a website or performing an internet activity. Your traffic should now be encrypted and routed through the VPN server, ensuring your online privacy and security.
- To disconnect from the VPN, open the VPN settings window and locate the connected VPN connection. Click on the “Disconnect” or “Disconnect/Connect” button to end the VPN connection.
Well done! You have successfully connected to the VPN on your Windows 10 device. In the next step, we will explore optional adjustments you can make to your VPN settings. Let’s proceed!
Step 6: Adjust VPN Settings (optional)
After successfully connecting to the VPN on your Windows 10 device, you have the option to adjust the VPN settings according to your preferences or specific requirements. Follow these steps to make optional adjustments:
- Open the VPN settings window on your Windows 10 device. This can usually be done by clicking on the VPN client icon in the system tray or accessing it through the Start menu.
- Once the VPN settings window is open, navigate to the “Settings,” “Preferences,” or similar section where you can configure additional VPN options.
- Explore the different tabs or categories within the settings window to access various customization options. Some common settings you may find include:
- Protocol Selection: Depending on your VPN provider, you may have the option to choose different protocols like OpenVPN, L2TP/IPSec, or PPTP. Select the protocol that best suits your needs for improved performance and security.
- Encryption: Some VPN clients allow you to adjust the level of encryption used for your connection. Higher encryption levels provide greater security but can potentially impact connection speed.
- Kill Switch: Enable the kill switch feature to automatically disconnect your internet connection if the VPN connection drops. This prevents any data from being transmitted outside the VPN tunnel.
- Split Tunneling: If your VPN supports split tunneling, you can specify which apps or services should use the VPN connection and which should access the internet directly.
- DNS Settings: You may have the option to configure DNS settings within the VPN client. Consider using a secure DNS resolver or your VPN’s DNS servers for improved privacy.
- Review the available settings and make any desired adjustments based on your preferences or requirements. Ensure that you follow the recommendations provided by your VPN provider for best practices.
- Once you have made the necessary changes, click on the “Save” or “Apply” button to save the updated settings.
- Test your VPN connection after adjusting the settings to ensure that it is still functioning correctly. Visit websites, check your IP address, and perform various internet activities to verify that your traffic is still securely routed through the VPN server.
Well done! You have successfully adjusted the VPN settings on your Windows 10 device. By customizing the settings, you can optimize your VPN experience according to your preferences and needs. You are now ready to enjoy a secure and private internet browsing experience. Congratulations!
Conclusion
Congratulations on successfully setting up a VPN on your Windows 10 device! By following the step-by-step guide provided in this article, you have taken significant steps towards enhancing your online privacy, security, and access to geo-restricted content.
A VPN is a valuable tool that encrypts your internet traffic, keeping your data and online activities secure from hackers, ISPs, and other potential threats. It also allows you to access websites and services that may be blocked or restricted in your region.
Remember, when choosing a VPN provider, it is essential to opt for a reputable and reliable service that prioritizes user privacy and offers strong encryption protocols. Conduct thorough research and compare different providers to find the one that best suits your needs.
Once you have chosen a VPN provider, follow the steps outlined in this guide to download and install the VPN client, open VPN settings, add a VPN connection, enter the connection details, and connect to the VPN server. Optionally, you can also adjust the VPN settings according to your preferences.
By setting up a VPN on your Windows 10 device, you can enjoy a private, secure, and unrestricted online experience. Whether you’re browsing the web, streaming content, or conducting sensitive transactions, a VPN adds an extra layer of protection to keep your data safe.
Remember to regularly update your VPN client and follow best practices for online security. Always use strong, unique passwords, keep your operating system and applications up to date, and exercise caution when downloading files or clicking on suspicious links.
Thank you for following this step-by-step guide. We hope it has been informative and helpful in your journey to set up a VPN on your Windows 10 device. Stay safe, stay secure, and enjoy the benefits of a reliable VPN!