Introduction
Welcome to the world of wireless connectivity! In this digital age, having a reliable and secure Wi-Fi network is crucial for staying connected to the internet and enjoying all the benefits it offers. Whether you’re setting up a Wi-Fi network for your home or office, this guide will walk you through the step-by-step process of getting your Wi-Fi up and running.
In today’s fast-paced world, where smartphones, laptops, smart TVs, and other devices have become an integral part of our daily lives, having a stable and fast internet connection is essential. Wi-Fi, short for Wireless Fidelity, provides the convenience of wireless internet access, allowing multiple devices to connect and communicate with each other without the need for cumbersome cables. With Wi-Fi, you can browse the web, stream movies, play online games, and connect with friends and family – all from the comfort of your own home or office.
Setting up a Wi-Fi network may seem like a daunting task, but fear not! With the right guidance and a few simple steps, you’ll have your Wi-Fi up and running in no time. From choosing the right router to configuring security settings, we’ll cover everything you need to know to get started.
Before diving into the technical details, it’s important to note that every Wi-Fi network is unique and may require specific settings based on your internet service provider and personal preferences. However, this guide will provide you with a general framework to follow, giving you the flexibility to adapt the instructions to your specific situation.
Now, let’s dive in and learn how to set up your Wi-Fi network from scratch. Don’t worry if you’re not a tech guru – we’ll explain everything in simple terms, ensuring that you can follow along regardless of your level of expertise.
Step 1: Choose the Right Router
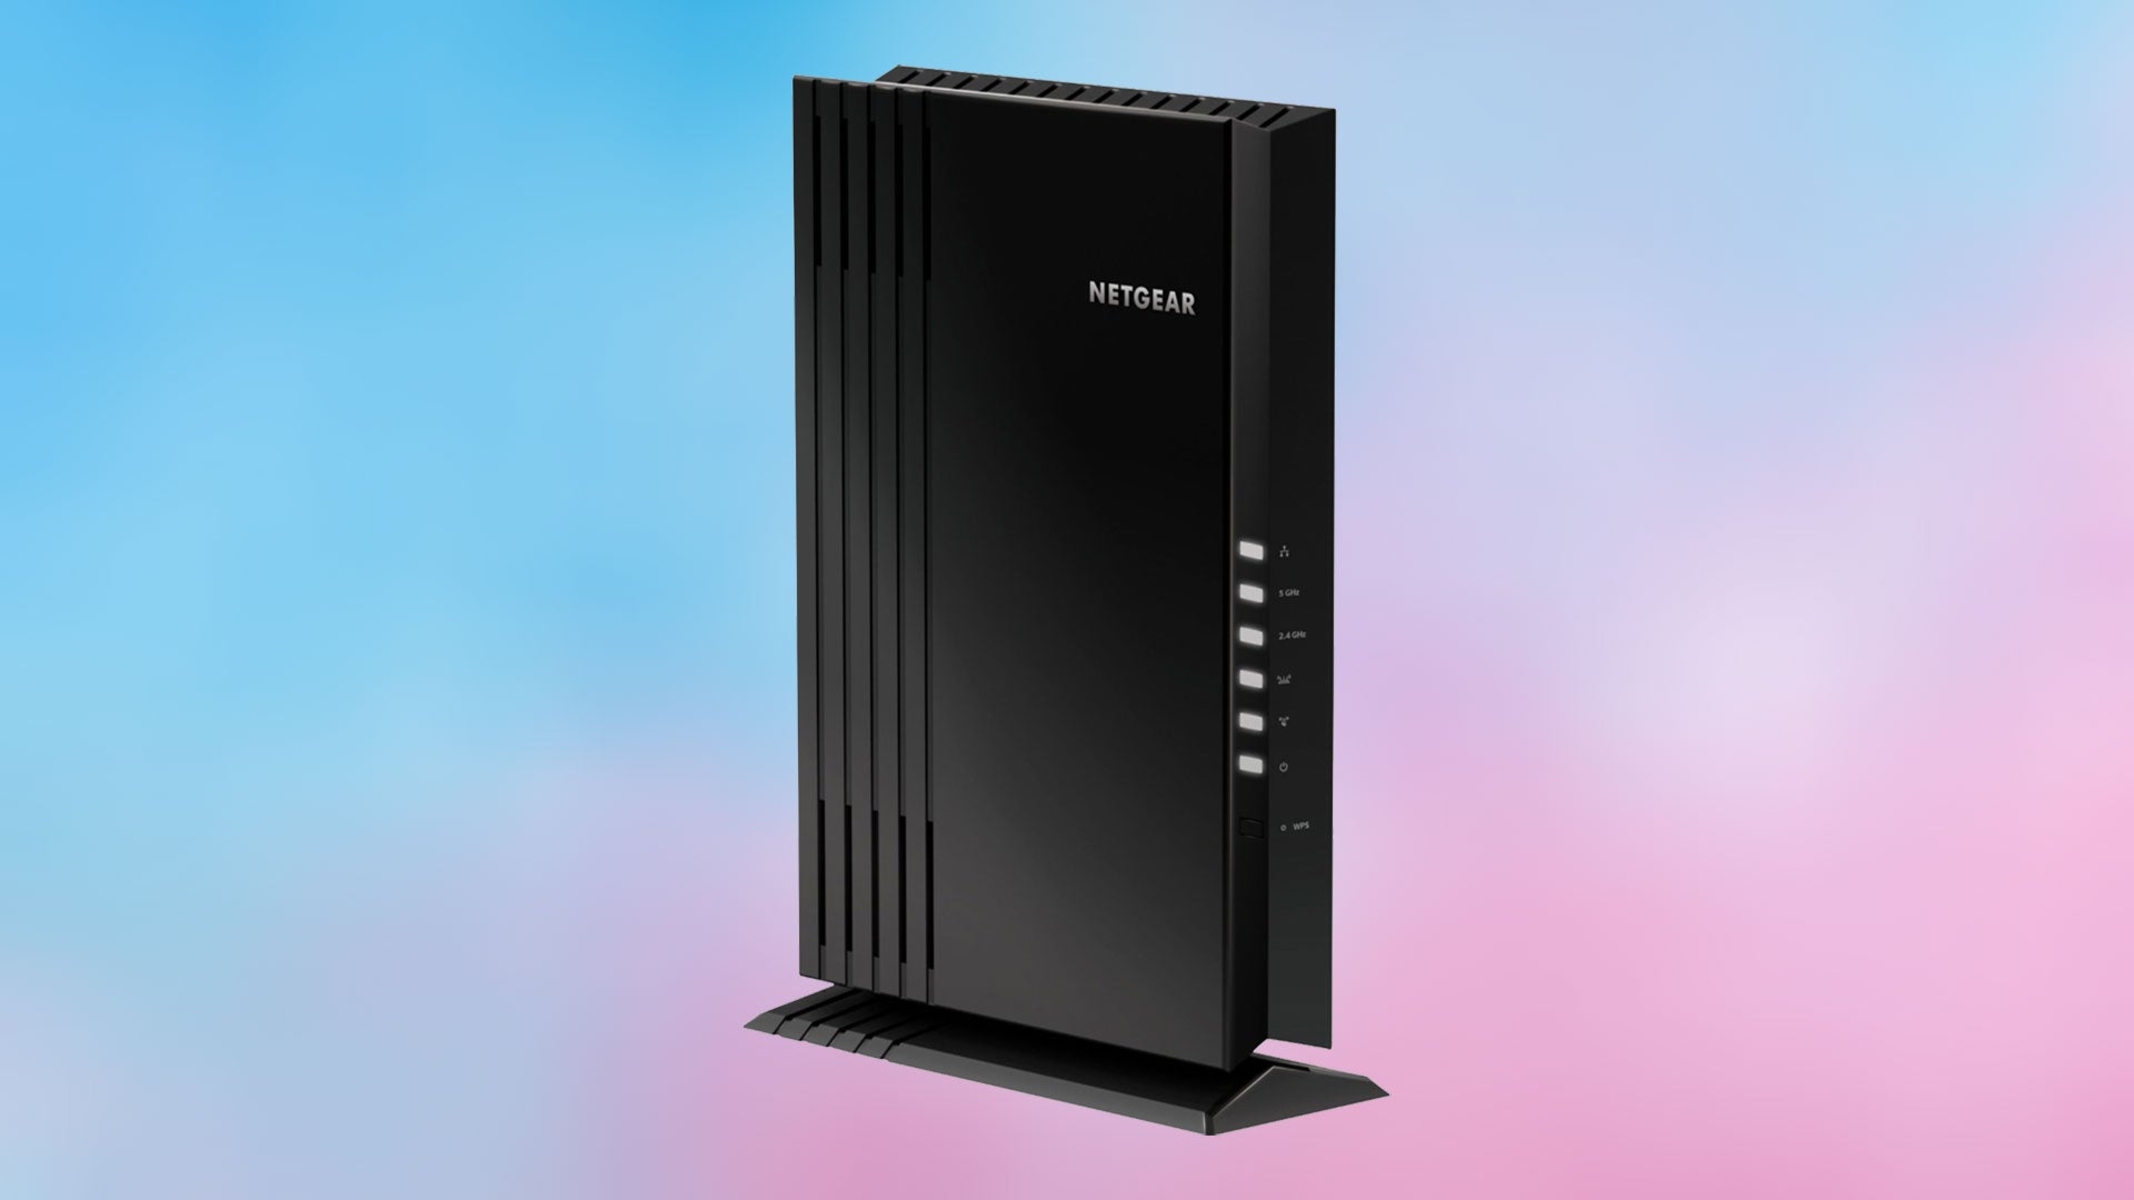
The first step in setting up a Wi-Fi network is selecting the right router. The router is the central device that connects your devices to the internet and allows them to communicate with each other. When choosing a router, there are a few key factors to consider.
Firstly, you’ll want to assess your internet needs. Consider the number of devices that will be connected to the network and the type of activities they’ll be performing. If you have a large household or office with multiple devices streaming HD videos or playing online games simultaneously, you’ll need a router with faster speeds and a higher bandwidth.
Secondly, look for a router with the latest wireless standards such as 802.11ac or 802.11ax. These standards provide faster speeds, better coverage, and improved reliability compared to older standards. If you have older devices that only support older Wi-Fi standards like 802.11n or 802.11g, make sure the router you choose is backward compatible.
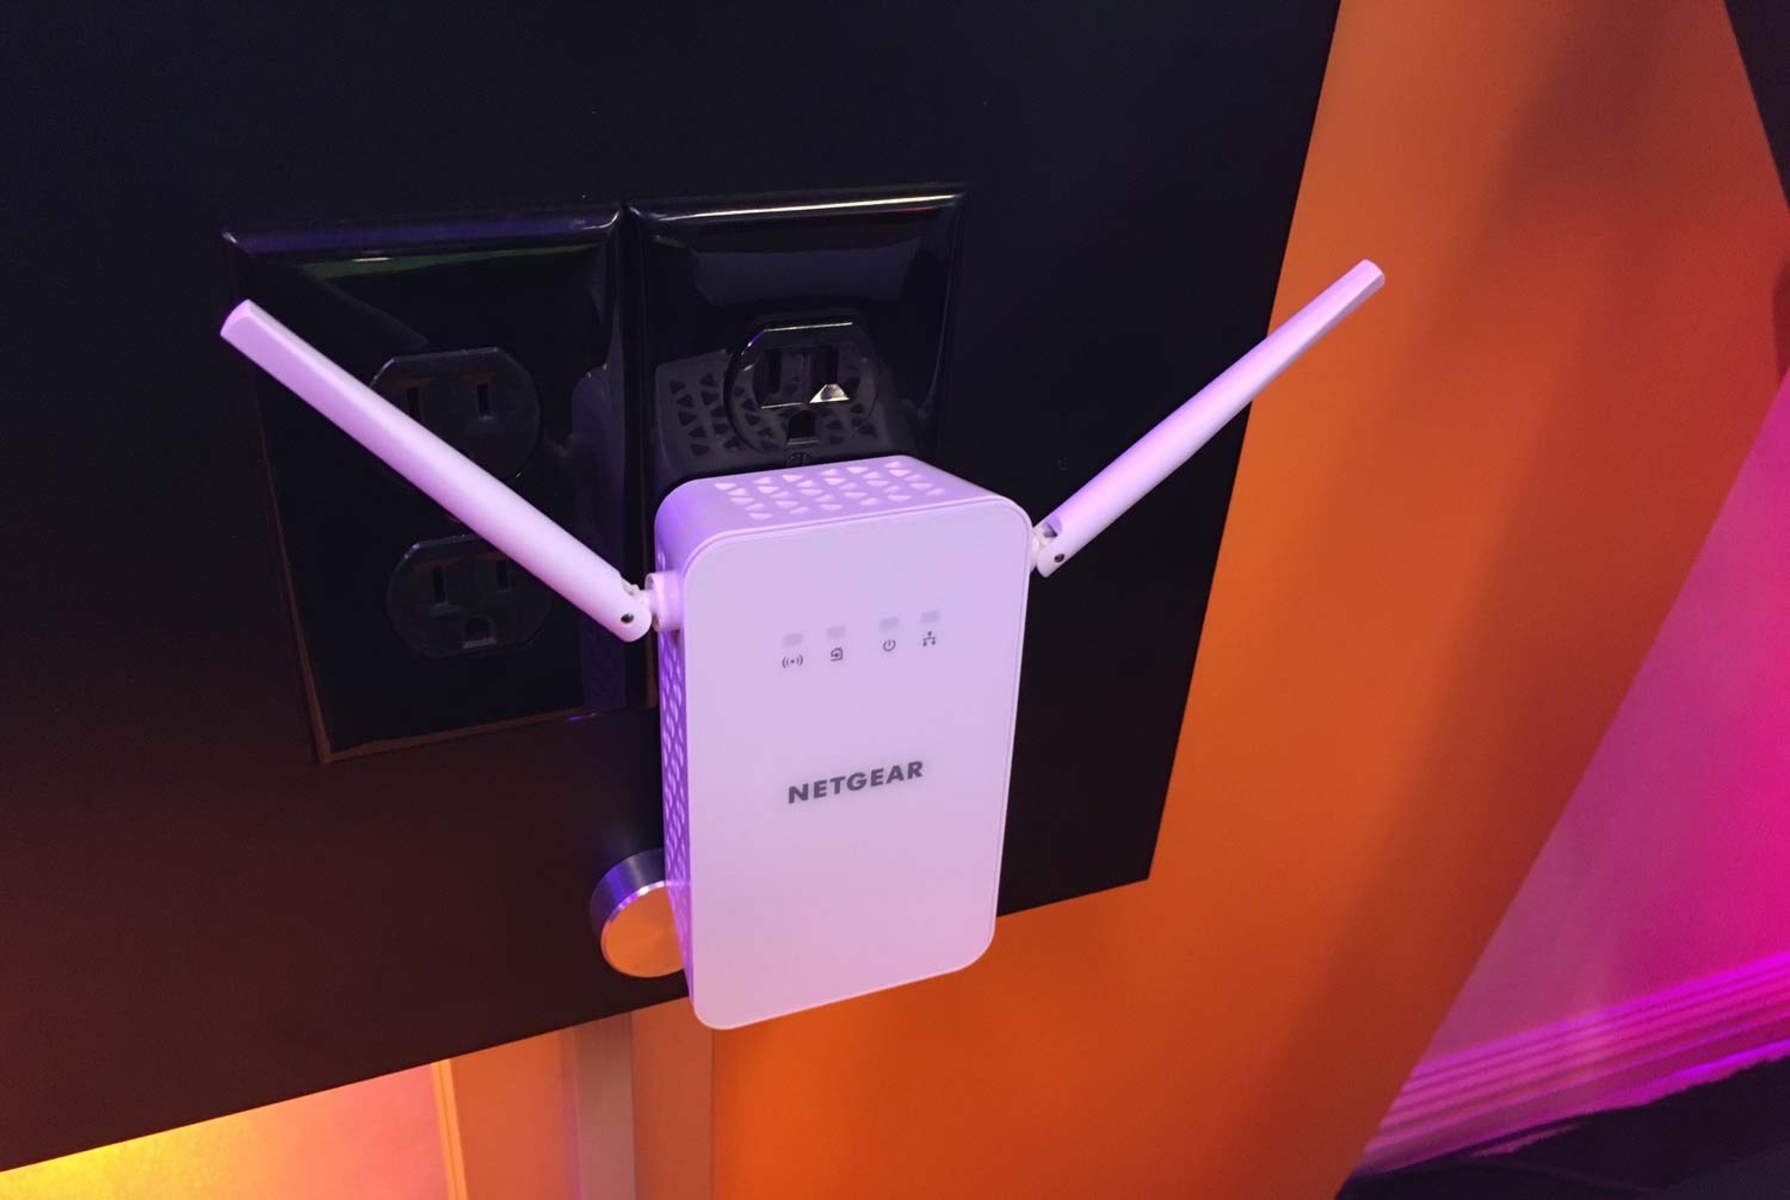
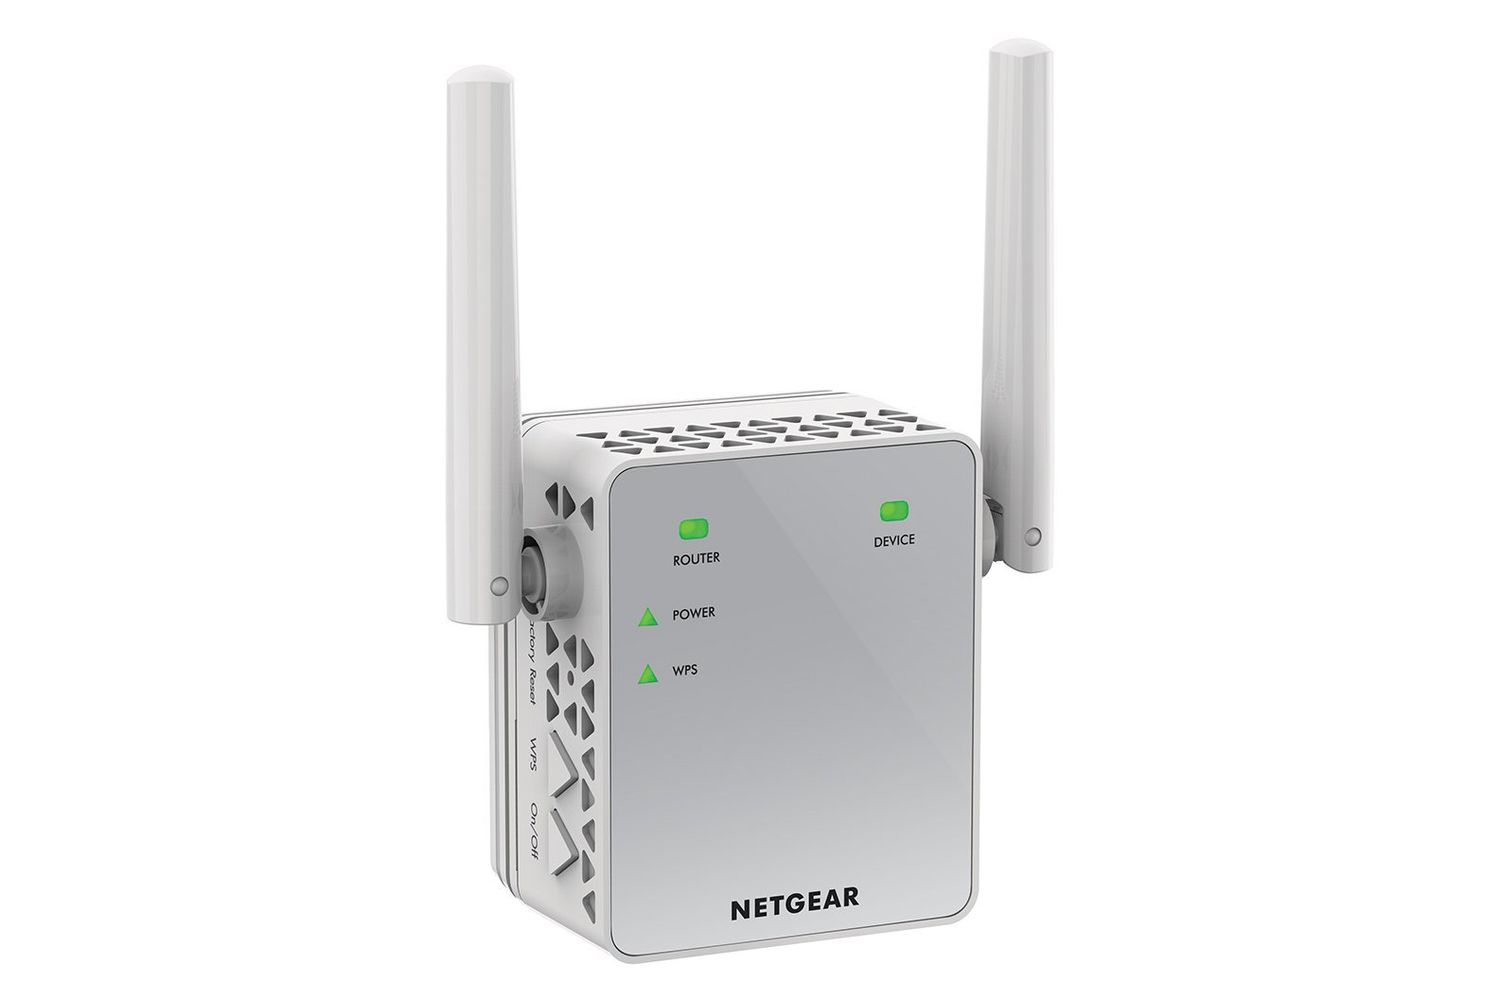
Additionally, consider the range of the router. If you have a large area to cover, opt for a router with strong signal strength and multiple antennas. This will ensure that you have a strong and consistent Wi-Fi signal throughout your home or office.
Many routers also offer additional features like USB ports for connecting external devices, guest network access, and parental controls. These features can be handy if you have specific requirements or need to manage network access for different users.
Lastly, consider your budget. Routers come in various price ranges, so it’s essential to find a balance between your needs and your budget. It’s worth investing in a high-quality router that will provide optimal performance and reliability in the long run.
Once you’ve considered these factors, you’ll have a better idea of what kind of router suits your needs. Take the time to read reviews and compare different models before making your final decision.
Now that you’ve learned how to choose the right router, you’re ready to move on to the next step: connecting the router to a modem. Stay tuned!
Step 2: Connect the Router to a Modem
Once you have chosen the right router, the next step in setting up your Wi-Fi network is connecting the router to a modem. The modem is the device that connects your network to the internet through your Internet Service Provider (ISP). Here’s how you can do it:
1. Start by locating your modem. It’s usually provided by your ISP and may be a separate device or integrated into a modem-router combo.
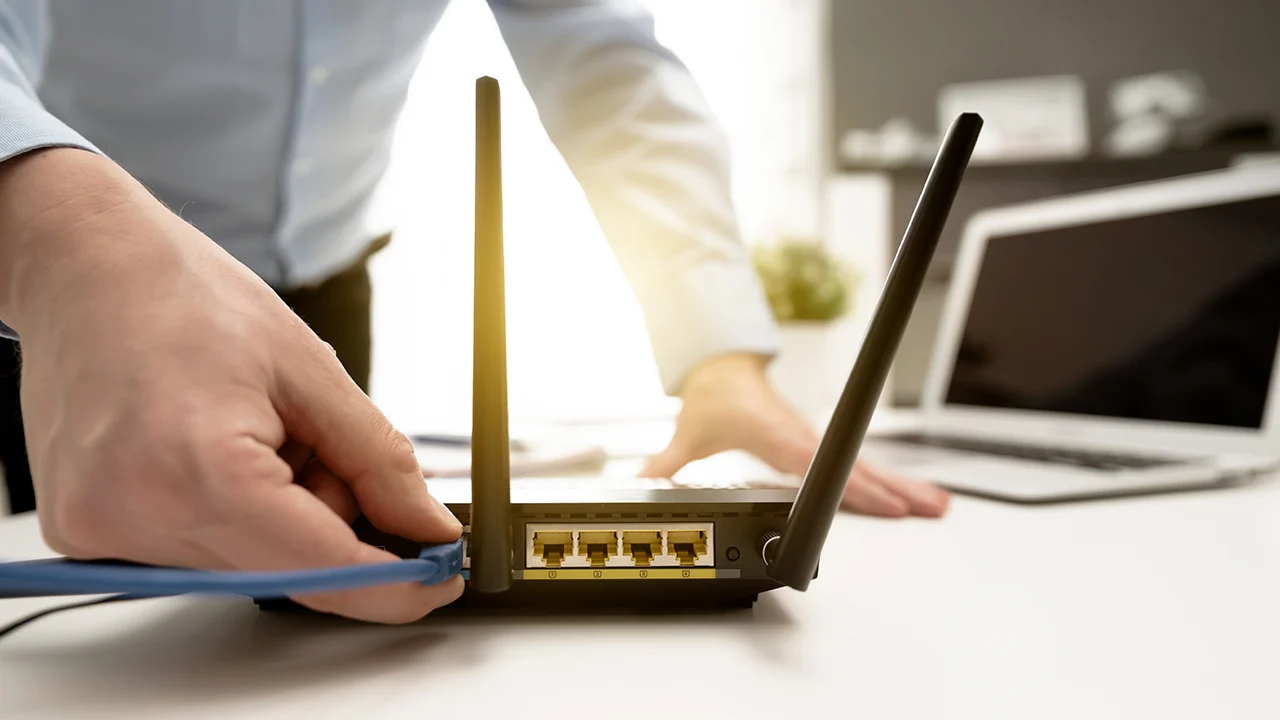
2. Connect one end of an Ethernet cable to the modem’s Ethernet port. This is typically labeled as “WAN” or “Internet”.
3. Plug the other end of the Ethernet cable into the WAN port on your router. This port is often distinguished from the other LAN ports and may be color-coded or labeled differently.
4. Ensure that both the modem and router are powered on and connected to a power source.
5. Wait for the modem and router to establish a connection. This process may take a few minutes as they negotiate and synchronize their settings.
6. Once the connection is established, the router will start broadcasting the Wi-Fi network.
It’s important to note that some ISPs may require additional configuration steps, such as entering your account information or configuring specific settings on the router. Refer to your ISP’s instructions or contact their customer support for any specific requirements.
By connecting the router to a modem, you’re establishing the link between your local network and the internet. This allows all the devices connected to your Wi-Fi network to access the internet seamlessly.
Now that your router is connected to the modem, you’re ready to move on to the next step: configuring router settings. Keep reading to learn how!
Step 3: Configure Router Settings
Once you have connected your router to a modem, the next step is to configure your router settings. These settings determine how your Wi-Fi network functions and ensure its security and accessibility. Here’s how you can configure your router:
1. Open a web browser on a device connected to the Wi-Fi network. Enter your router’s IP address in the address bar. The IP address is typically mentioned on the router itself or provided with the user manual. Common IP addresses are 192.168.0.1 or 192.168.1.1.
2. You will be prompted to enter the router’s admin username and password. This information is usually printed on the router or mentioned in the user manual. If not, contact the router manufacturer or search online for the default credentials.
3. Once logged in, you will be directed to the router’s web-based management interface. The layout and options may vary depending on the router brand and model.
4. Explore the different settings available. Some key configurations to consider include:
- Network Name (SSID): Choose a unique and easily identifiable name for your Wi-Fi network. Avoid using personal information or sensitive data that can be easily guessed.
- Wireless Security: Enable robust security protocols such as WPA2-PSK (AES) to protect your Wi-Fi network from unauthorized access. Create a strong and unique password that combines uppercase and lowercase letters, numbers, and special characters.
- Channel Selection: Optimize the Wi-Fi performance by selecting the least congested Wi-Fi channel. You can use automatic channel selection or manually analyze your environment using tools like Wi-Fi Analyzer.
- Quality of Service (QoS): If your router supports QoS, prioritize certain devices or applications to ensure a smooth and uninterrupted internet experience for critical tasks like streaming or gaming.
- Advanced Settings: Explore additional settings such as port forwarding, VPN, parental controls, or guest network access, based on your specific needs and requirements.
5. Once you have made the necessary configurations, save the settings and allow the router to apply the changes.
It’s important to note that the steps mentioned above provide a general overview of router configuration. Every router has its unique set of options and interfaces, so refer to the router’s user manual or online documentation for detailed instructions.
By configuring your router settings, you ensure that your Wi-Fi network is customized to your preferences and secured against potential threats. Now that you have set up the basic settings, let’s move on to the next step: setting up wireless security.
Step 4: Set Up Wireless Security
Wireless security plays a crucial role in protecting your Wi-Fi network from unauthorized access and potential security breaches. By setting up strong security measures, you ensure that only authorized devices can connect to your network. Follow these steps to configure wireless security:
1. Access your router’s management interface by entering the router’s IP address in a web browser, just as you did during the previous step.
2. Navigate to the wireless security settings, which are typically found under the Wi-Fi or Wireless section of the router’s settings.
3. Choose the appropriate wireless security protocol. The most common and recommended protocol is WPA2-PSK (Wi-Fi Protected Access 2 – Pre-Shared Key). This provides a high level of security for your network.
4. Set a strong and unique password for your Wi-Fi network. Create a passphrase that combines a mix of uppercase and lowercase letters, numbers, and special characters. Avoid using common or easily guessable passwords.
5. Save the changes and wait for the router to apply the new security settings.
6. Once the settings are saved, all devices connecting to your Wi-Fi network will need to enter the password to gain access.
It’s important to periodically update your Wi-Fi password to ensure the security of your network. Additionally, avoid sharing your password with unauthorized individuals and consider changing it if you suspect it has been compromised.
By setting up wireless security, you minimize the risk of unauthorized access or data compromise on your Wi-Fi network. With a strong password in place, you can feel confident that your network is protected against potential threats.
Now that you have secured your network, it’s time to move on to the next step: changing the default admin password. Let’s continue!
Step 5: Change Default Admin Password
Changing the default admin password of your router is essential to protect your network from unauthorized access. Default passwords are often well-known and can be easily exploited by hackers. Follow these steps to change the default admin password:
1. Access your router’s management interface by entering the router’s IP address in a web browser, just as you did in previous steps.
2. Navigate to the administration or system settings section, where you can change the router’s login credentials.
3. Look for the option to change the admin password. It may be labeled as “admin password,” “administrator password,” or something similar.
4. Enter a strong and unique password that combines a mix of uppercase and lowercase letters, numbers, and special characters. Avoid using personal information or easily guessable passwords.
5. Save the new password and log out of the router’s management interface.
Changing the default admin password adds an extra layer of security to your router. It ensures that only authorized individuals can access and modify the router’s settings, reducing the risk of unauthorized changes or breaches.
It’s important to note that you should avoid sharing your admin password with others unless necessary. Additionally, periodically update the admin password to further enhance the security of your network.
With the default admin password changed, you have taken an important step in securing your network from potential threats. Now, let’s move on to the final step: connecting devices to the Wi-Fi network.
Step 6: Connect Devices to the Wi-Fi Network
Now that you have set up and secured your Wi-Fi network, it’s time to connect your devices and enjoy the benefits of wireless connectivity. Follow these steps to connect devices to your Wi-Fi network:
1. On the device you want to connect, such as a smartphone, laptop, or tablet, access the Wi-Fi settings.
2. Look for available Wi-Fi networks and select your network from the list. The network name (SSID) should be the one you set up during the router configuration process.
3. If prompted, enter the Wi-Fi network password you set during the wireless security setup. This authenticates your device and grants access to the network.
4. Once entered, your device will connect to the Wi-Fi network. You should see the Wi-Fi icon in the status bar or the network name displayed as connected in the Wi-Fi settings.
5. Repeat the process for each device you want to connect to the Wi-Fi network, ensuring they all access the correct network name (SSID) and use the same password.
It’s important to note that some devices may have additional Wi-Fi settings, such as enabling or disabling certain features or adjusting other network-related settings. Explore the device’s settings to make any necessary configurations to suit your preferences.
Once your devices are connected to the Wi-Fi network, you can enjoy the convenience and flexibility of wireless internet access. Use your devices to browse the web, stream videos, play online games, and more, all without the constraints of physical cables.
If you encounter any issues while connecting devices to the Wi-Fi network, ensure that the Wi-Fi network name (SSID) and password are entered correctly. If problems persist, you may need to troubleshoot the device or contact your router manufacturer’s support for assistance.
Congratulations! You have successfully set up and connected devices to your Wi-Fi network. Enjoy the freedom of wireless connectivity!
Conclusion
Setting up a Wi-Fi network may seem like a daunting task, but with the right knowledge and step-by-step guidance, anyone can do it. By following the six steps outlined in this guide, you have learned how to choose the right router, connect it to a modem, configure router settings, set up wireless security, change the default admin password, and connect devices to your Wi-Fi network.
Wi-Fi networks have become an essential part of our daily lives, providing us with the convenience and flexibility of wireless internet access. From browsing the web to streaming movies and connecting with loved ones, a stable and secure Wi-Fi network is essential.
Remember to choose a router that meets your needs in terms of speed, coverage, and additional features. Take the time to configure the settings, including wireless security, to protect your network and data from unauthorized access. Changing the default admin password further enhances the security of your router.
Lastly, connecting your devices to the Wi-Fi network allows you to enjoy the benefits of wireless connectivity. Whether you’re working from home, relaxing with a movie, or staying connected on the go, a strong and reliable Wi-Fi network empowers you to do so.
Keep in mind that Wi-Fi networks require periodic maintenance and updating to ensure continued optimal performance and security. Regularly check for firmware updates for your router and devices, change passwords periodically, and monitor network activity.
With this knowledge, you are now equipped to set up and maintain your Wi-Fi network with confidence. Enjoy the convenience and freedom that a well-configured and secure Wi-Fi network brings to your digital lifestyle!