Introduction
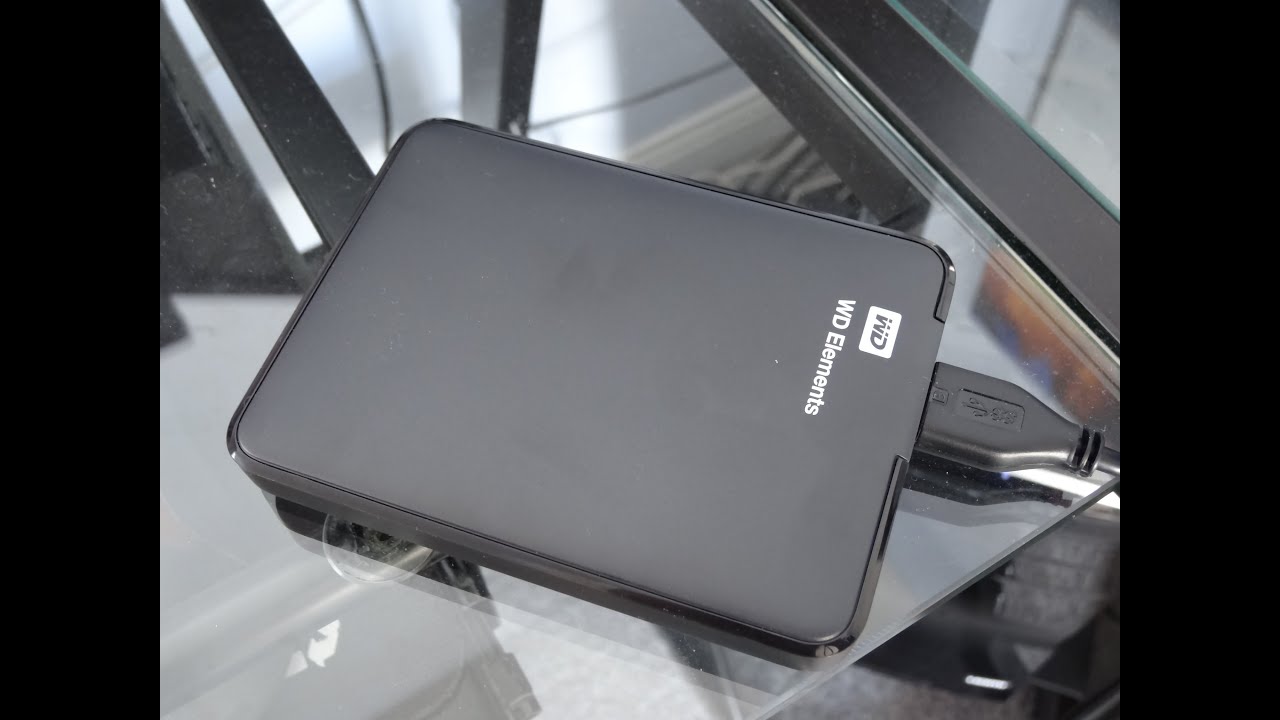
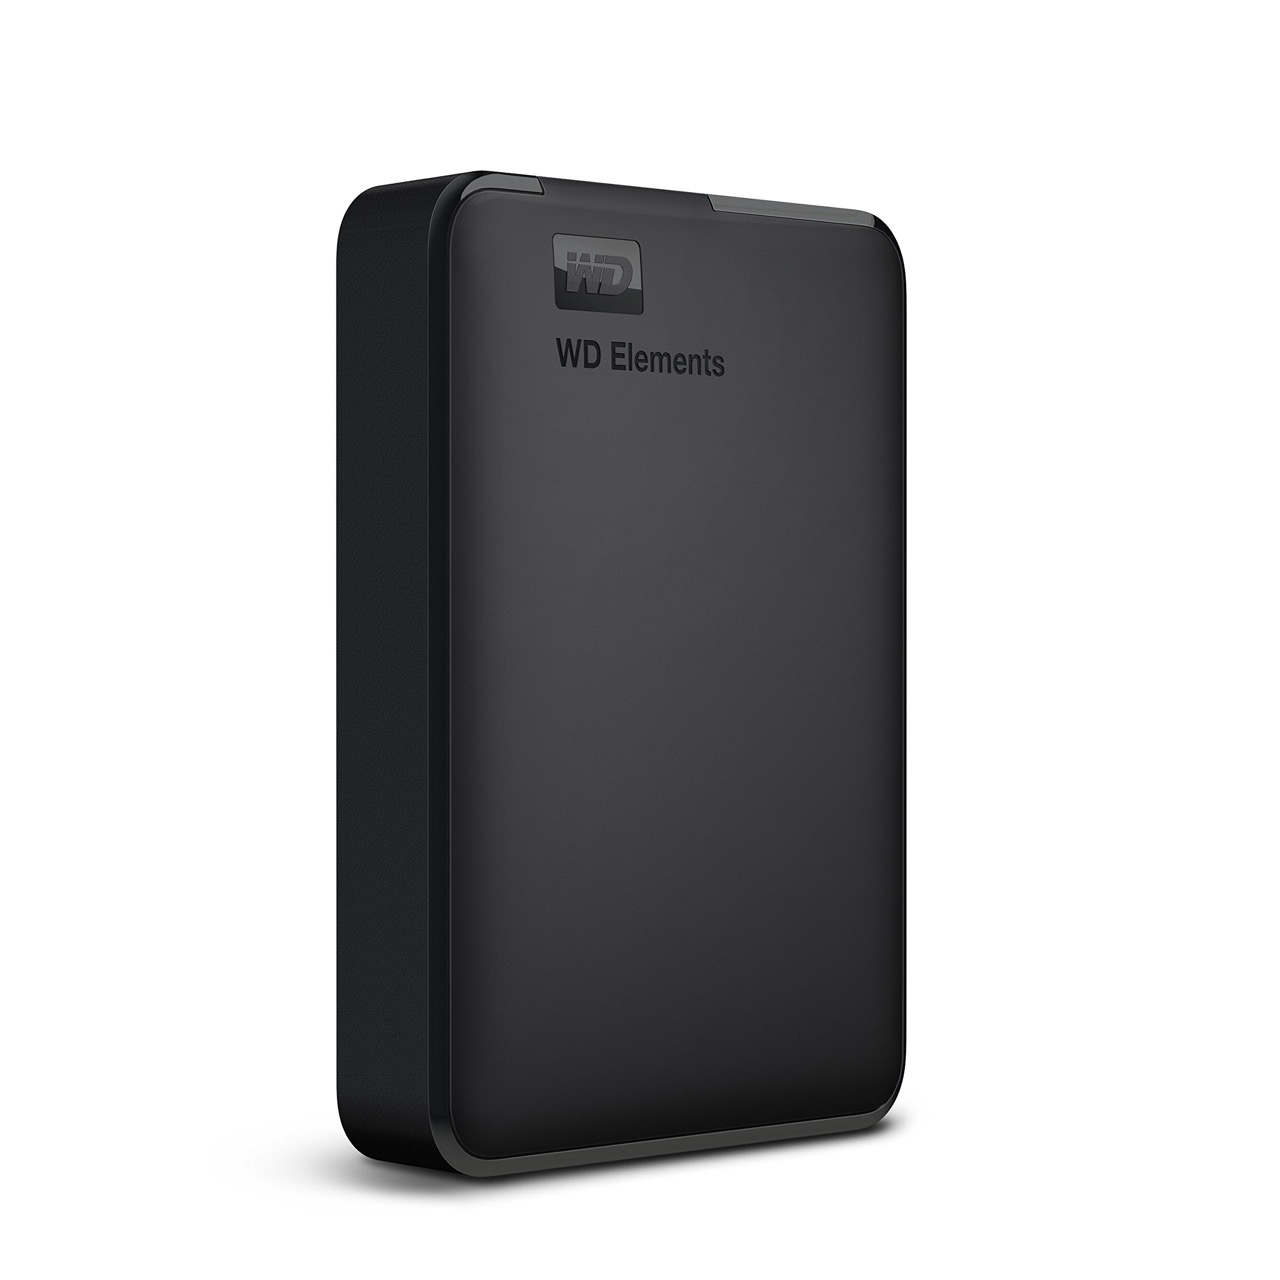
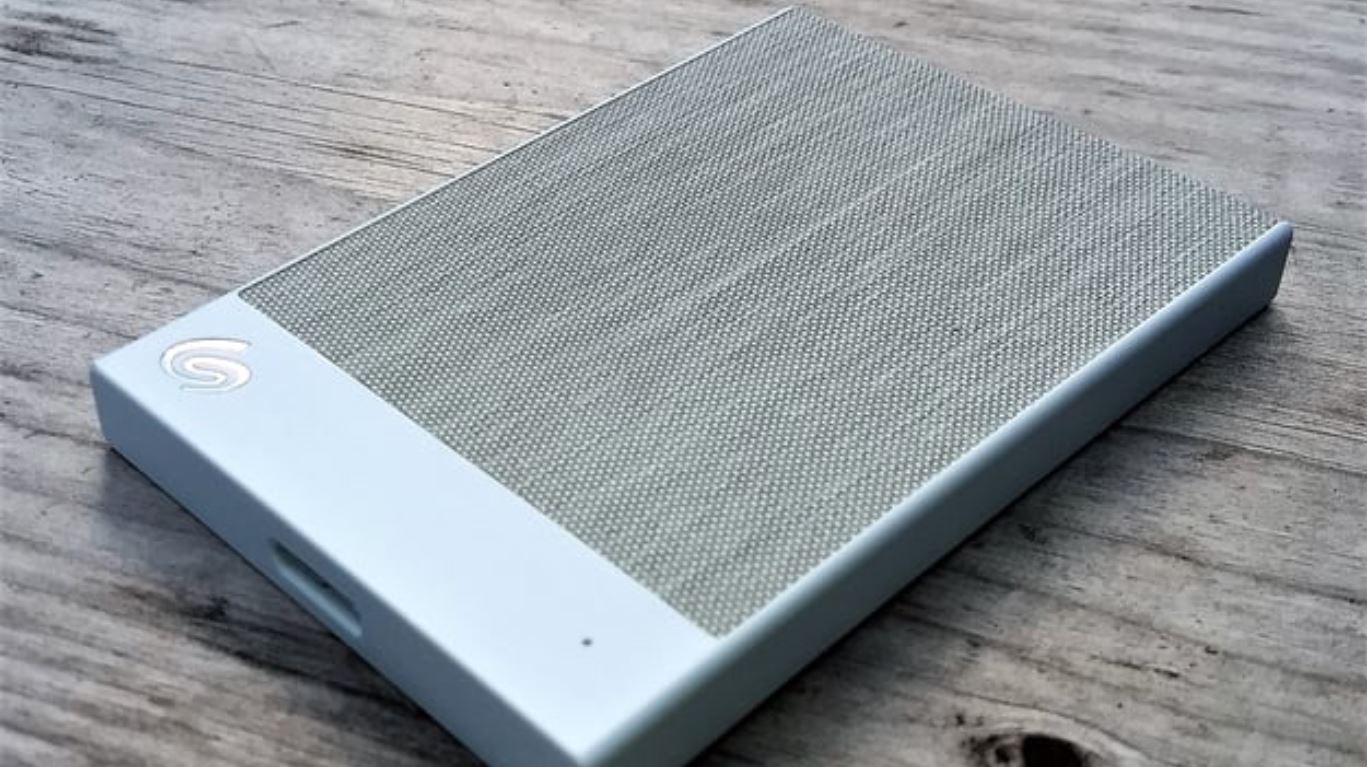
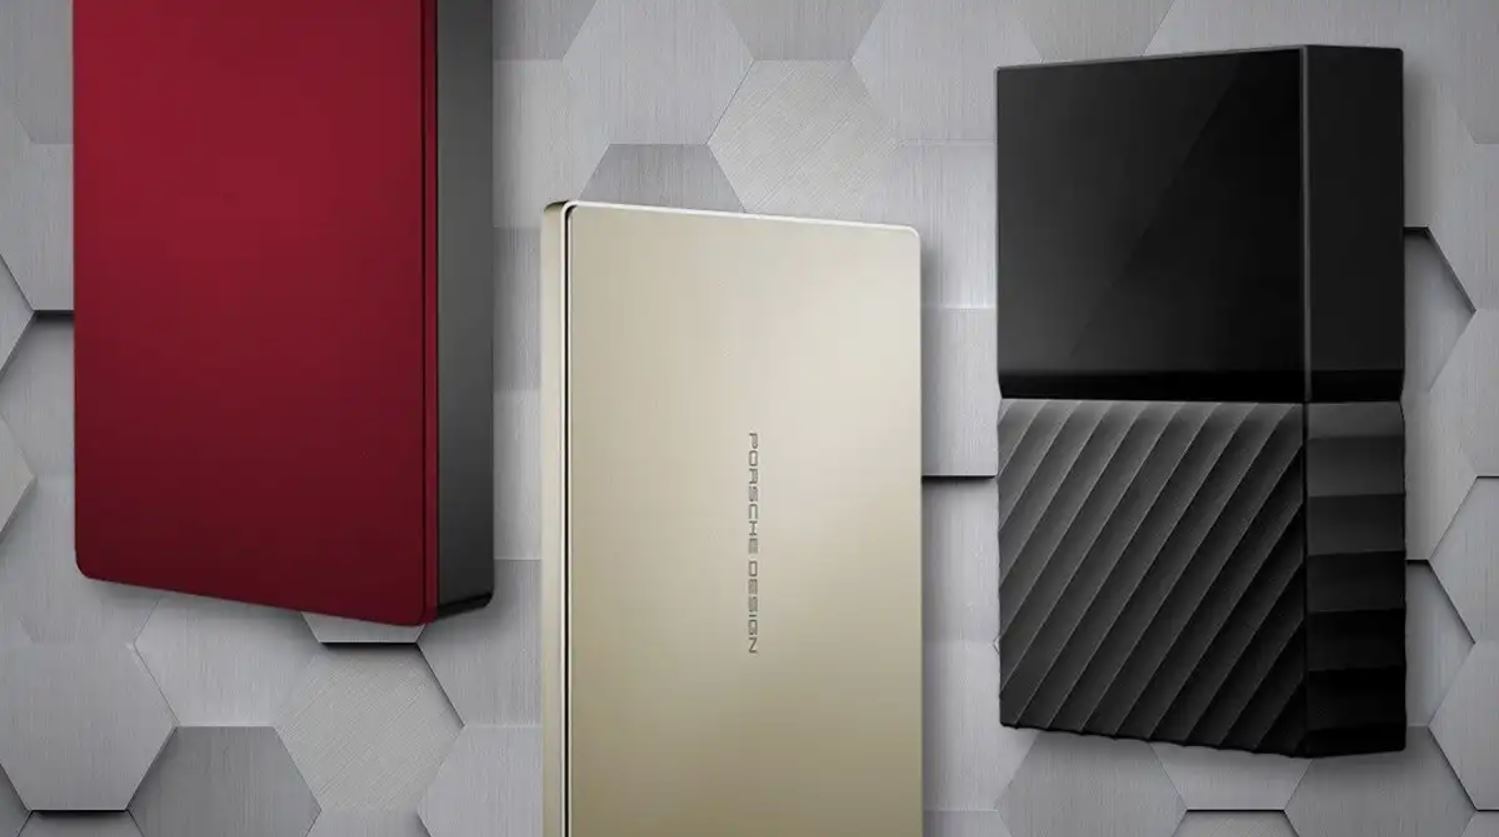
Welcome to the world of WD Elements External Hard Drive! If you’re looking for a reliable and spacious storage solution, you’ve come to the right place. The WD Elements External Hard Drive offers a simple yet powerful way to store and backup your important files, whether you’re a student, professional, or avid multimedia enthusiast.
With its sleek design and high-capacity options, the WD Elements External Hard Drive is the perfect companion for those who require extra storage space for their documents, photos, videos, and more. Whether you need to free up space on your computer or create a backup of all your important files, this external hard drive is here to make the process easy and hassle-free.
In this guide, we will take you through the step-by-step process of setting up your WD Elements External Hard Drive, from unboxing to transferring your files. By the end of this article, you’ll have a clear understanding of how to maximize the potential of your external hard drive and reap the benefits of efficient data storage.
Before we dive into the steps, it’s important to note that the instructions provided here are applicable to both Windows and Mac users. Whether you’re using a PC or a Mac, you’ll be able to follow along and set up your WD Elements External Hard Drive with ease.
So let’s get started and unlock the full potential of your WD Elements External Hard Drive!
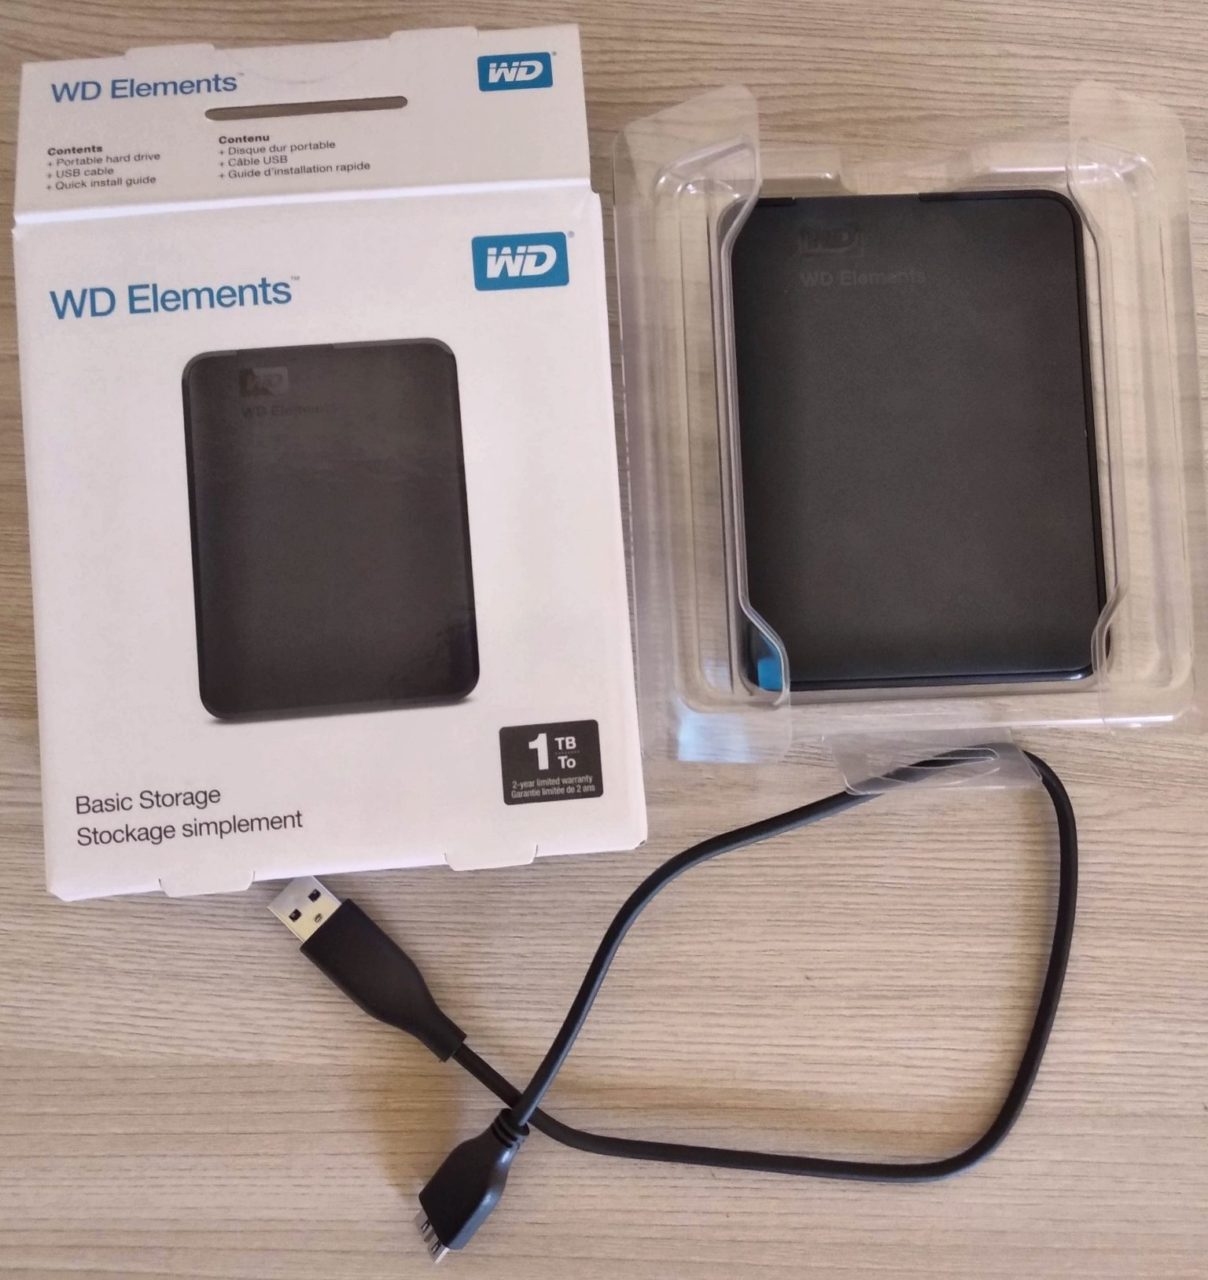
Step 1: Unboxing the WD Elements External Hard Drive
The first step to setting up your WD Elements External Hard Drive is unboxing it. Follow these simple steps to get started:
- Locate the box of your WD Elements External Hard Drive and carefully remove all the packaging materials. Make sure to keep the box and packaging materials in case you need to store or transport your hard drive in the future.
- Inside the box, you will find your WD Elements External Hard Drive along with a USB cable and a quick installation guide. Take out all the components and keep them ready for the next steps.
- Inspect the hard drive for any physical damage or defects. It’s important to ensure that your hard drive is in perfect condition before proceeding with the setup.
- Find a suitable location for your hard drive. It should be placed on a stable surface away from any liquid or heat sources. Make sure there is enough space around the hard drive for proper ventilation.
- Once you have prepared the setup area, connect one end of the USB cable to the WD Elements External Hard Drive and the other end to an available USB port on your computer. The cable should fit securely into both ends.
- Now that your hard drive is connected, power it on. Most WD Elements External Hard Drives have a built-in power switch that you can flip to turn it on. Some models might not have a power switch and will automatically power on when connected to your computer.
- Once the hard drive is powered on, you should see a LED indicator light up on the device. This indicates that the hard drive is receiving power and ready to be recognized by your computer.
You have successfully unboxed your WD Elements External Hard Drive and connected it to your computer. Now, let’s move on to the next step and get your hard drive ready for use.
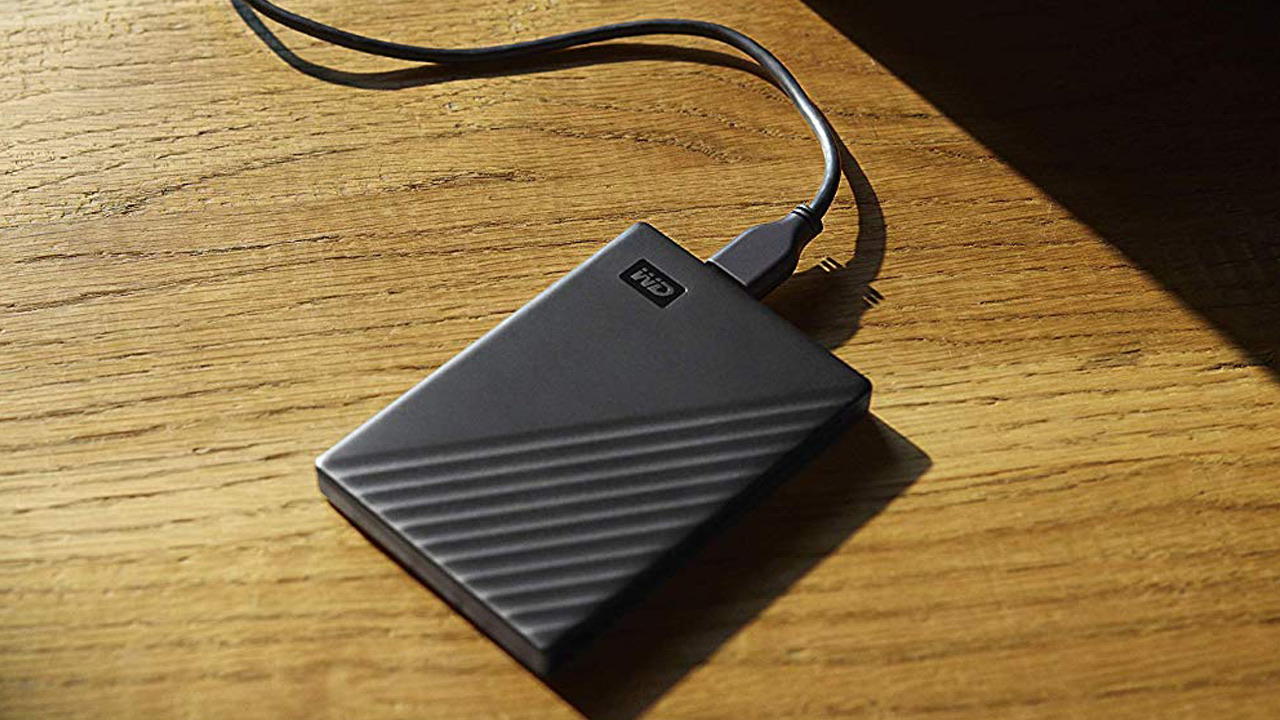
Step 2: Connecting the WD Elements External Hard Drive to your computer
Now that you have unboxed your WD Elements External Hard Drive, it’s time to connect it to your computer. Follow these steps to ensure a successful connection:
- Ensure that your computer is powered on and running. Make sure to unlock it if it is password-protected or in sleep mode.
- Locate an available USB port on your computer. The WD Elements External Hard Drive uses a USB 3.0 interface for faster data transfer speeds, but it is also backward compatible with USB 2.0. It is recommended to use a USB 3.0 port for optimal performance.
- Take the USB cable that came with your WD Elements External Hard Drive and connect one end to the hard drive itself and the other end to the USB port on your computer. Make sure the connection is secure.
- Once connected, your computer will detect the WD Elements External Hard Drive automatically. It may take a few moments for the computer to recognize and configure the new device.
- If your computer prompts you to install any software or drivers for the hard drive, follow the on-screen instructions to complete the installation. Depending on your operating system, you may not need to install any additional software as most modern systems have built-in drivers for external hard drives.
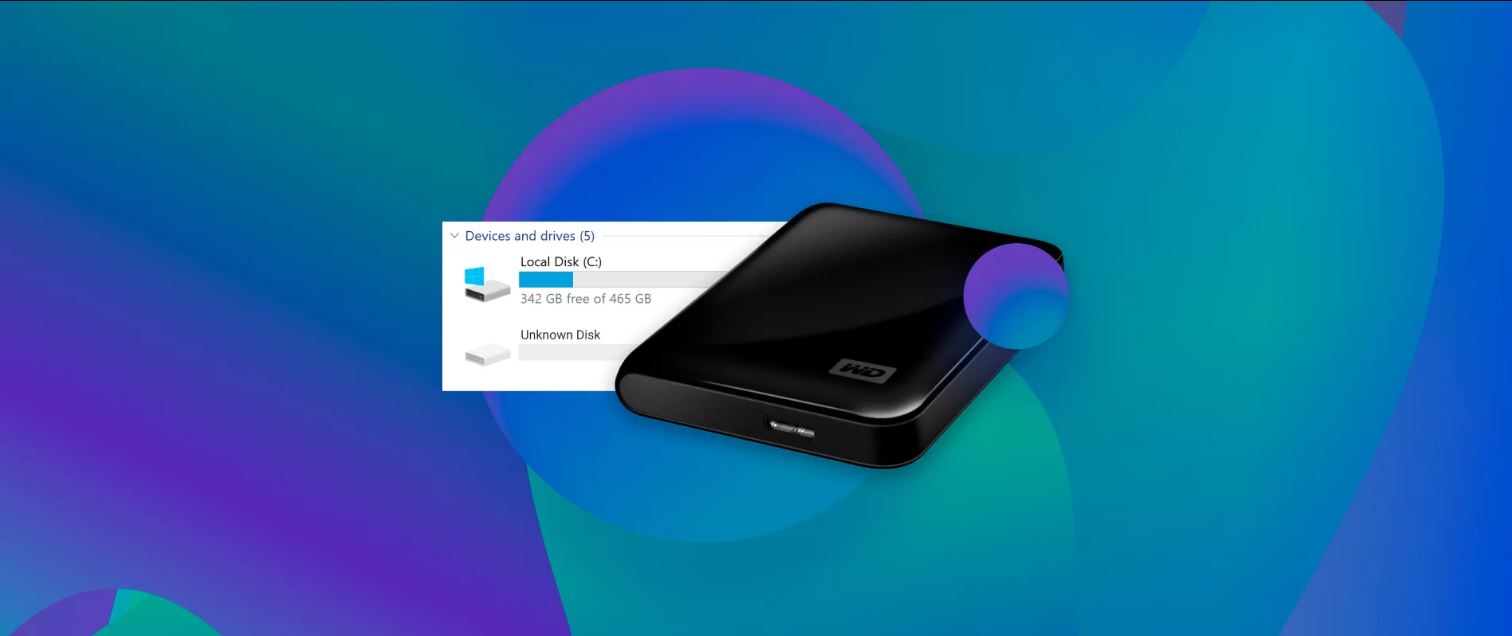
- After the installation process is complete, navigate to the File Explorer (Windows) or Finder (Mac) to check if the WD Elements External Hard Drive is visible. It should be listed as a new device or drive.
- Double-click on the drive icon to open and explore its contents. Congratulations! You have successfully connected your WD Elements External Hard Drive to your computer.
Remember to safely eject your WD Elements External Hard Drive when you’re finished using it to prevent data corruption. Simply right-click on the drive icon and select “Eject” (Windows) or drag the drive icon to the Trash (Mac) before physically disconnecting the USB cable.
Now that the hard drive is connected and recognized by your computer, let’s move on to the next step and format the WD Elements External Hard Drive.
Step 3: Formatting the WD Elements External Hard Drive
After connecting your WD Elements External Hard Drive to your computer, the next step is to format it. Formatting prepares the hard drive for use and ensures compatibility with your operating system. Follow these steps to format your WD Elements External Hard Drive:
- Before formatting, make sure you have backed up any important data on the hard drive. Formatting erases all existing data on the drive, so it’s essential to create a backup if needed.
- Open the File Explorer (Windows) or Finder (Mac) and locate the WD Elements External Hard Drive.
- Right-click on the hard drive icon and select “Format” (Windows) or “Erase” (Mac) from the drop-down menu. This will open the formatting options.
- Choose the file system you want to use for the hard drive. For Windows users, NTFS is the recommended file system as it supports larger file sizes and provides better performance. For Mac users, select the APFS (Apple File System) or MacOS Extended (Journaled) file system.
- Enter a name for your hard drive. You can choose any name you like, but it’s best to give it a descriptive name that reflects its purpose or content.
- Double-check the formatting settings, including the file system and the name you’ve entered. Ensure that everything is correct before proceeding.
- Click on the “Format” or “Erase” button to initiate the formatting process. Depending on the size of your hard drive, this process may take a few minutes to complete.
- Once formatting is finished, you will receive a confirmation message. Your WD Elements External Hard Drive is now formatted and ready to be used with your computer.
Formatting your hard drive ensures that it is set up correctly and compatible with your operating system. It also allows you to allocate the desired file system and customize the name for easy identification. Now that your WD Elements External Hard Drive is formatted, you’re ready to start transferring your files to it.
Step 4: Transferring files to the WD Elements External Hard Drive
With your WD Elements External Hard Drive formatted and ready to go, it’s time to start transferring your files. Follow these steps to transfer files to your hard drive:
- Open the File Explorer (Windows) or Finder (Mac) and locate the files or folders you want to transfer to your WD Elements External Hard Drive.
- Select the files or folders you wish to transfer. You can do this by clicking and dragging a selection box around the desired files or by holding down the Ctrl (Windows) or Command (Mac) key and clicking on individual files.
- Once you’ve selected the files or folders, right-click on them and choose “Copy” (Windows) or press Command+C (Mac) to copy them to the clipboard.
- Navigate to the WD Elements External Hard Drive in the File Explorer (Windows) or Finder (Mac). It should be listed as a separate drive or volume.
- Right-click on an empty space within the hard drive folder and choose “Paste” (Windows) or press Command+V (Mac) to paste the copied files onto the hard drive.
- The files will begin copying to the WD Elements External Hard Drive. The time it takes to complete the transfer will depend on the size and number of files being transferred.
- Monitor the progress of the file transfer, and do not disconnect the hard drive until the process is complete. It’s important to let the transfer finish to avoid any data corruption.
- Once the file transfer is finished, you can safely disconnect the WD Elements External Hard Drive from your computer. Remember to follow the proper ejection process by right-clicking on the hard drive icon and selecting “Eject” (Windows) or dragging the drive icon to the Trash (Mac) before physically disconnecting the USB cable.
Congratulations! You have successfully transferred files to your WD Elements External Hard Drive. You can now enjoy the extra storage space and peace of mind knowing that your files are safely stored on the external hard drive.
Remember to keep your hard drive in a safe location and regularly back up your important files to ensure their security. The WD Elements External Hard Drive is a reliable and convenient solution for all your storage needs.
Step 5: Safely ejecting the WD Elements External Hard Drive
Once you have finished using your WD Elements External Hard Drive, it is important to safely eject it from your computer to avoid data loss or corruption. Follow these steps to safely eject your hard drive:
- Ensure that all file transfer operations involving the WD Elements External Hard Drive are complete.
- If you are using Windows, locate the “Safely Remove Hardware” icon in the system tray. It looks like a USB plug with a green checkmark or a white arrow. If you are using a Mac, simply drag the hard drive icon to the Trash.
- Click on the “Safely Remove Hardware” icon in Windows or right-click on the hard drive icon in the system tray and select “Eject” from the options. On a Mac, wait until the hard drive icon disappears from the desktop or the Finder window before physically disconnecting the USB cable.
- Once you have safely ejected the WD Elements External Hard Drive, you can unplug the USB cable from your computer. Make sure to disconnect the cable carefully to avoid any damage to the ports or the hard drive itself.
- Store your WD Elements External Hard Drive in a safe and dry place until you need it again. Consider using a protective case or sleeve to protect it from dust and potential physical damage.
It is important to follow these steps to ensure that your WD Elements External Hard Drive is not disconnected prematurely, as this can result in data loss or damage to the files stored on the hard drive. Safely ejecting the hard drive helps to close any open files or background processes and ensure that all data is written and saved before disconnecting.
By adhering to these safe ejection practices, you can preserve the integrity of your files and maintain the long-term reliability of your WD Elements External Hard Drive.
Conclusion
Congratulations on successfully setting up your WD Elements External Hard Drive! You have learned how to unbox the hard drive, connect it to your computer, format it, transfer files, and safely eject it. Now you have a reliable storage solution at your fingertips.
The WD Elements External Hard Drive offers a simple and efficient way to store and backup your important files, providing you with the peace of mind that your data is protected. With its high-capacity options and compatibility with both Windows and Mac systems, it is a versatile choice for students, professionals, and multimedia enthusiasts alike.
Remember to regularly back up your important files to the WD Elements External Hard Drive to ensure that your data remains safe and easily accessible. Creating backups is crucial in case of accidental deletion, hardware failure, or any other unforeseen events that may compromise the integrity of your files.
By following the steps outlined in this guide, you have acquired the essential knowledge to maximize the potential of your WD Elements External Hard Drive. Whether you need to free up space on your computer’s internal drive or create a secure backup of all your files, your external hard drive will serve as a reliable companion.
Thank you for choosing the WD Elements External Hard Drive. Enjoy the convenience and peace of mind that this powerful storage solution brings to your digital life!