Introduction
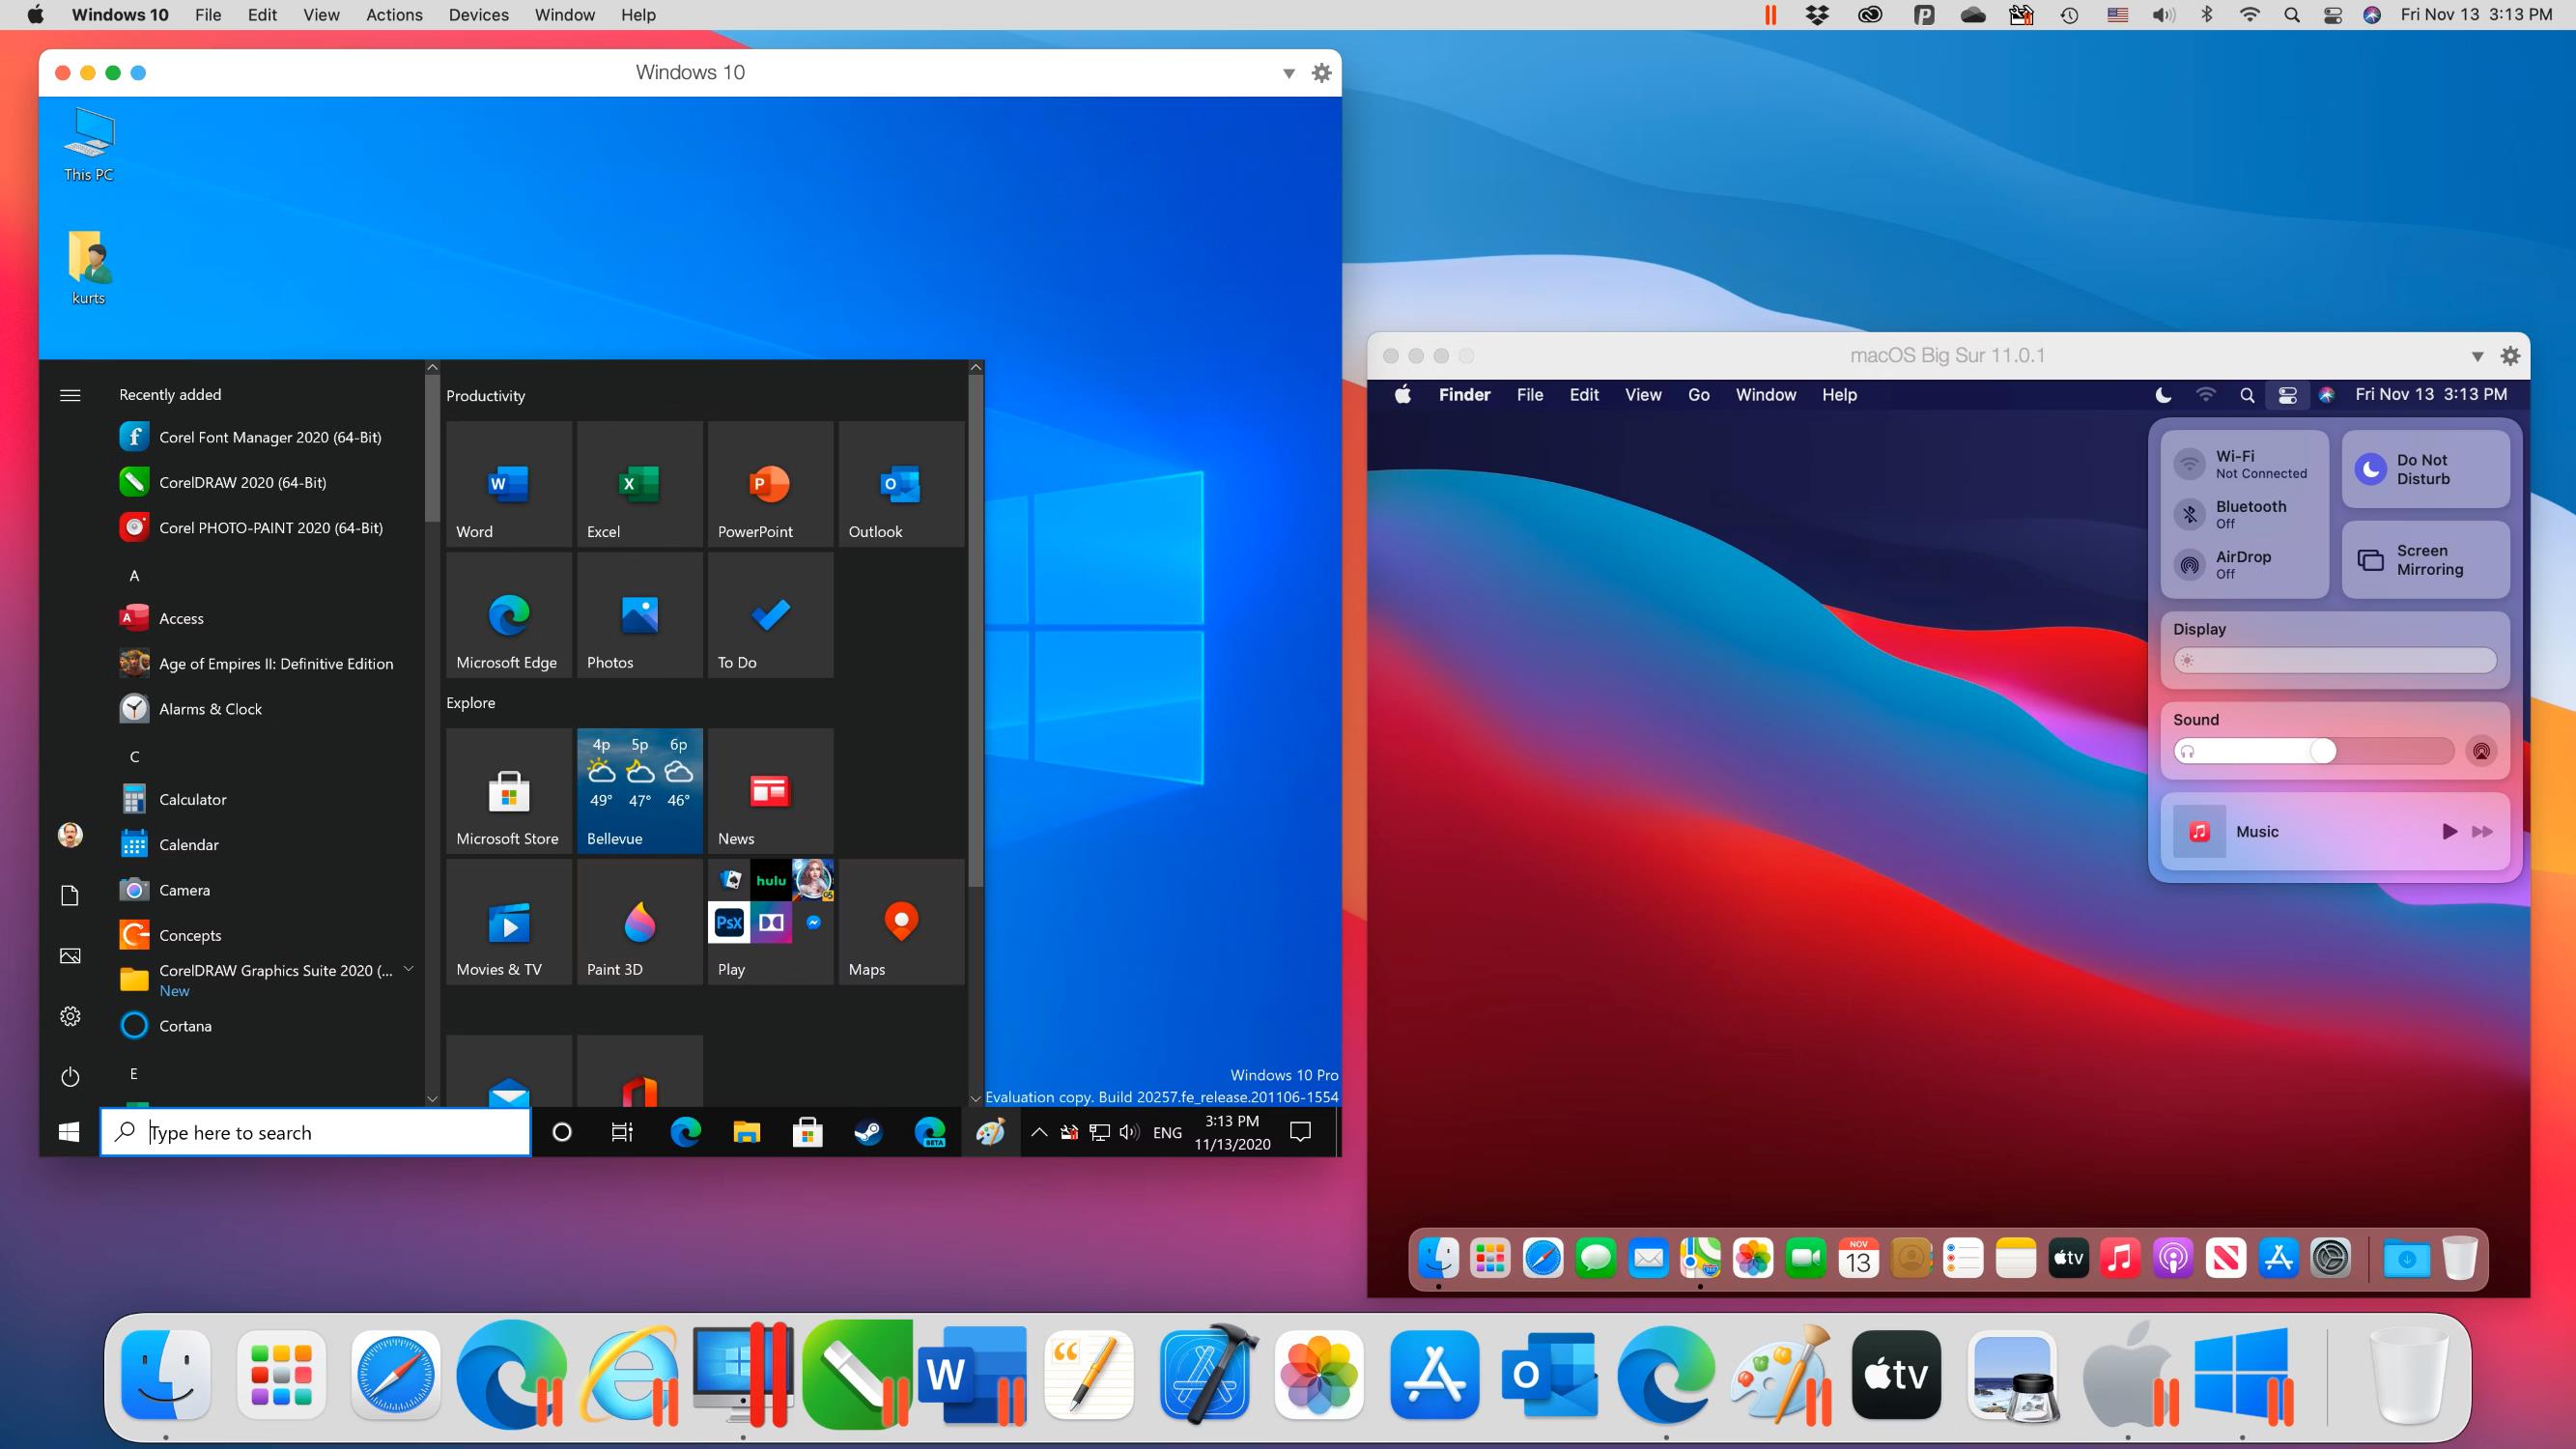
Setting up a virtual machine on your Mac can be incredibly useful for a variety of purposes. Whether you want to test new software, create a separate environment for specific tasks, or try out different operating systems, virtual machines offer a flexible and efficient solution.
In this article, we will guide you through the process of setting up a virtual machine on your Mac using VirtualBox. VirtualBox is a powerful open-source virtualization software that allows you to run multiple operating systems on one machine.
Beyond the convenience of running multiple operating systems simultaneously, virtual machines provide a sandboxed environment, meaning any changes made within the virtual machine do not affect your host system. This is ideal for testing applications or experimenting with new software without the risk of damaging your primary system.
Before we begin, it’s important to note that setting up a virtual machine requires some technical knowledge and understanding of computer systems. However, we will provide clear and concise instructions to help you through each step of the process.
So, if you’re ready to dive into the world of virtual machines and unlock a world of possibilities on your Mac, let’s get started!
Step 1: Download and Install VirtualBox
The first step in setting up a virtual machine on your Mac is to download and install VirtualBox. VirtualBox is free virtualization software that allows you to run multiple operating systems on your computer.
To begin, open your web browser and navigate to the VirtualBox website. Once you’re on the website, locate the download section and choose the version of VirtualBox that is compatible with your Mac operating system.
Click on the download link and wait for the installation file to download. Once the download is complete, locate the installation file on your computer and double-click on it to start the installation process.
Follow the on-screen instructions to install VirtualBox on your Mac. You may be prompted to enter your administrative password during the installation process.
Once the installation is complete, you can find VirtualBox in your Applications folder. Double-click on the VirtualBox icon to launch the application.
Congratulations! You have successfully downloaded and installed VirtualBox on your Mac. Now you’re ready to move on to the next step: downloading the operating system ISO file.
Step 2: Download the Operating System ISO File
Now that you have VirtualBox installed on your Mac, the next step is to download the operating system ISO file that you want to install on your virtual machine.
The ISO file is an image file that contains the entire operating system. It is like a virtual version of a physical installation disk. You can find ISO files for various operating systems on the internet, including popular options like Windows, Linux, and macOS.
To download the ISO file, open your web browser and search for the operating system you want to install followed by “ISO download”. For example, if you want to install Windows 10, search for “Windows 10 ISO download”.
Make sure to choose a trusted source to download the ISO file from. It is recommended to download it directly from the official website of the operating system or from reputable software repositories.
Once you’ve found the appropriate ISO file for your desired operating system, click on the download link to start the download. The file size may vary depending on the operating system you’re downloading, so it may take some time to complete the download.
Once the ISO file is downloaded, remember the location where you saved it on your computer. You will need this file in the next step to create a new virtual machine on VirtualBox.
Great job! You have successfully downloaded the operating system ISO file. Now let’s move on to the next step: creating a new virtual machine.
Step 3: Create a New Virtual Machine
Now that you have downloaded the operating system ISO file, it’s time to create a new virtual machine in VirtualBox.
To begin, launch VirtualBox from your Applications folder. Once VirtualBox is open, click on the “New” button in the top-left corner of the window.
A new window will appear, prompting you to enter a name for your virtual machine and select the operating system and version. Give your virtual machine a descriptive name that will help you identify it later.
Next, choose the operating system and version that matches the ISO file you downloaded in the previous step. VirtualBox will automatically detect the type and version based on the name you entered, but you can also manually select it from the drop-down menus.
After selecting the correct operating system and version, click on the “Next” button to proceed.
In the next window, you will be asked to specify the amount of memory (RAM) you want to allocate to your virtual machine. It is recommended to allocate at least 2GB of RAM for optimal performance, but you can adjust this based on your computer’s resources.
Once you’ve set the desired amount of memory, click on the “Next” button to continue.
In the following window, you have the option to create a new virtual hard disk for your virtual machine. By default, VirtualBox will select “Create a virtual hard disk now”.
If you want to store the virtual machine’s files in a different location on your computer, you can choose “Use an existing virtual hard disk file” and select the desired location.
For most users, it is recommended to stick with the default option and click on the “Create” button to proceed.
Congratulations! You have successfully created a new virtual machine in VirtualBox. In the next step, we will configure the virtual machine settings before installing the operating system.
Step 4: Configure the Virtual Machine Settings
Now that you have created a new virtual machine in VirtualBox, it’s time to configure the settings before installing the operating system.
First, select the newly created virtual machine from the list on the left-hand side of the VirtualBox window. Then, click on the “Settings” button at the top of the window to access the virtual machine’s settings.
In the settings window, you will find various tabs that allow you to configure different aspects of the virtual machine. Let’s go through some important settings:
- System: In this tab, you can adjust the processor and enable or disable features like virtualization and Extended Features. It is recommended to allocate at least two processor cores to the virtual machine for optimal performance.
- Display: This tab allows you to adjust the display settings for the virtual machine. You can change the video memory and enable 3D acceleration if supported.
- Storage: Here, you can attach the ISO file you downloaded earlier as a virtual CD/DVD drive. Click on the “Add” button and navigate to the location where you saved the ISO file. Select it and click “OK”.
- Network: This tab allows you to configure the network settings for the virtual machine. If you want the virtual machine to have internet access, select “Bridged Adapter” under “Attached to”. This will allow the virtual machine to use your Mac’s network connection.
- Shared Folders: If you want to share files between your Mac and the virtual machine, you can set up shared folders in this tab. Click on the “Add” button, specify the folder path on your Mac, and choose a name for the shared folder.
Once you have finished configuring the settings, click on the “OK” button to save the changes and close the settings window.
Great job! You have successfully configured the virtual machine settings. In the next step, we will proceed with installing the operating system on the virtual machine.
Step 5: Install the Operating System
Now that you have configured the settings for your virtual machine, it’s time to install the operating system.
Start by selecting the virtual machine from the list in the VirtualBox window and click on the “Start” button at the top of the window.
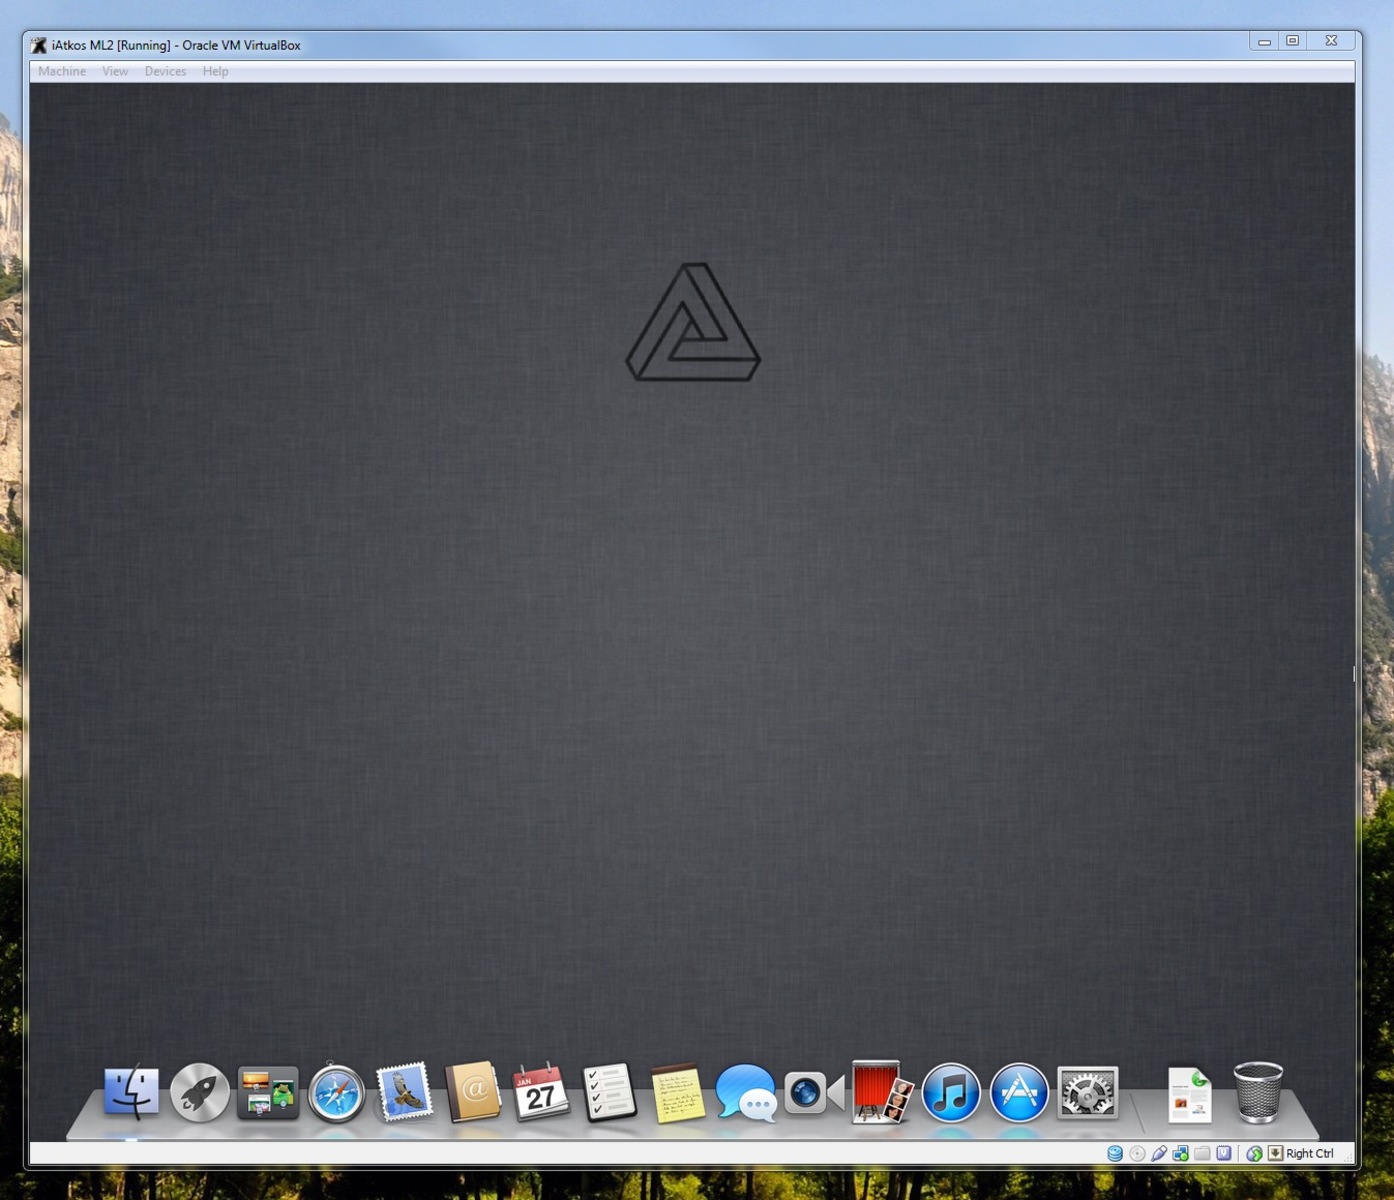
The virtual machine will start up, and a new window will appear displaying the virtual machine’s screen. It will prompt you to select a bootable medium to start the installation process.
In the virtual machine window, click on the CD/DVD icon in the toolbar at the top and select the virtual CD/DVD drive that contains the operating system ISO file.
Once you’ve selected the ISO file, the installation process will begin. The steps may vary depending on the operating system you’re installing, but generally, you will be guided through the setup process, including accepting the license terms, selecting the installation location, and creating user accounts.
Follow the on-screen instructions to complete the installation. It may take some time to install the operating system, so be patient and let the process run its course.
Once the installation is complete, the virtual machine will restart, and you will be greeted with the login screen of the newly installed operating system.
Congratulations! You have successfully installed the operating system on your virtual machine. Now you can start exploring and using it within the VirtualBox environment.
Next, we’ll move on to customizing the virtual machine to enhance its performance and usability.
Step 6: Customize the Virtual Machine
With the operating system successfully installed on your virtual machine, it’s time to customize it to suit your needs and enhance its performance.
Here are some key areas you can focus on when customizing your virtual machine:
- Install Updates: Just like your physical computer, it’s important to keep your virtual machine up to date. Install the latest updates and security patches to ensure optimal performance and protect against vulnerabilities.
- Install Essential Software: Install necessary software and applications on the virtual machine that you would typically use on your physical computer. This could include productivity tools, development environments, web browsers, or multimedia players.
- Adjust Display Settings: Depending on your preference, you can customize the display settings of the virtual machine to improve the resolution, adjust screen size, or enable multiple monitors.
- Configure Network Settings: If you didn’t configure the network settings during the initial setup, you can do it now to ensure that the virtual machine has access to the internet and can connect to other devices on your network.
- Set Up Keyboard and Mouse: VirtualBox offers seamless integration between your physical computer and the virtual machine. Ensure that the keyboard and mouse settings are correctly configured to enable smooth interaction with the virtual machine.
- Install Device Drivers: If you’re experiencing compatibility issues or certain features are not working correctly, you may need to install specific device drivers within the virtual machine. This will help ensure that your hardware devices work seamlessly with the virtual machine.
Remember to take regular snapshots of your virtual machine so that you can easily revert back to a previous state if anything goes wrong during customization or experimentation.
By customizing the virtual machine to your specific needs, you can create a tailored and efficient computing environment within VirtualBox.
Next, we will move on to installing VirtualBox Guest Additions to enhance the virtual machine’s functionality.
Step 7: Install VirtualBox Guest Additions
To further enhance the functionality and performance of your virtual machine, it is recommended to install VirtualBox Guest Additions.
VirtualBox Guest Additions is a set of device drivers and system applications that provide better integration between the host system (your Mac) and the virtual machine. It offers additional features, including improved display resolution, seamless mouse integration, shared clipboard between host and guest, and better performance.
Here’s how to install VirtualBox Guest Additions:
- Start the virtual machine and log in to the operating system.
- In the VirtualBox menu bar, go to “Devices” and select “Insert Guest Additions CD image…”.
- A virtual CD/DVD drive will be inserted into the guest operating system.
- Open File Explorer or Finder and locate the CD/DVD drive containing the Guest Additions files.
- Run the appropriate installer for your operating system. This could be an executable file or a package installer.
- Follow the on-screen instructions to complete the installation process.
- Once the installation is complete, restart the virtual machine for the changes to take effect.
After restarting the virtual machine, you will notice the improved functionality provided by VirtualBox Guest Additions. You should have better screen resolution options, seamless mouse integration, and the ability to share files and clipboard between the guest and host systems.
It is recommended to keep VirtualBox Guest Additions up to date by periodically checking for updates on the VirtualBox website or through the provided updater within the guest operating system.
By installing VirtualBox Guest Additions, you can enhance the overall usability and performance of your virtual machine, providing a more seamless and integrated experience.
Next, we will move on to setting up networking for the virtual machine.
Step 8: Set Up Networking for the Virtual Machine
Setting up networking for your virtual machine is an important step to ensure it has internet connectivity and can communicate with other devices on your network.
Here’s how to set up networking for your virtual machine:
- Start the virtual machine and log in to the operating system.
- In the VirtualBox window, select your virtual machine from the left-hand side.
- Click on the “Settings” button at the top of the window to access the virtual machine’s settings.
- Go to the “Network” tab.
- Under “Attached to”, select the desired networking option:
- “NAT” (Network Address Translation): This option allows the virtual machine to access the internet using the host’s network connection. It provides basic networking capabilities.
- “Bridged Adapter”: This option connects the virtual machine directly to your Mac’s network adapter, giving it a unique IP address on the network. This allows the virtual machine to be seen as a separate device on the network.
- “Internal Network” or “Host-Only Adapter”: These options create a private network between your Mac and the virtual machine. It enables communication between the host and the virtual machine, but not with other devices on the network.
- Configure any additional settings as required, such as MAC address, promiscuous mode, or port forwarding.
- Click “OK” to save the settings.
- Restart the virtual machine to apply the changes.
Once the virtual machine restarts, it should have network connectivity based on the networking option you selected. You can now browse the internet, access network resources, and communicate with other devices on your network.
It’s important to note that if you selected the “Bridged Adapter” option, your virtual machine will have its own IP address on the network and can be seen as a separate device by other devices on the network. This can be useful for scenarios such as testing websites or accessing resources on your network.
By setting up networking for your virtual machine, you can fully utilize its capabilities and integrate it seamlessly with your network infrastructure.
Next, we will explore how to manage virtual machine storage.
Step 9: Manage Virtual Machine Storage
Managing the storage of your virtual machine is crucial for efficient operation and ensuring you have enough space to accommodate your needs. In this step, we will explore various ways to manage virtual machine storage.
Here are some key aspects to consider when managing virtual machine storage:
- Add Virtual Hard Disk: If you need additional storage space for your virtual machine, you can add a new virtual hard disk. In the VirtualBox window, select your virtual machine, click on the “Settings” button, go to the “Storage” tab, and click on the “Add Hard Disk” icon. Follow the on-screen instructions to create a new virtual hard disk.
- Resize Virtual Hard Disk: If you find that your virtual hard disk is running out of space, you can resize it to increase its capacity. In the VirtualBox window, select your virtual machine, click on the “Settings” button, go to the “Storage” tab, select the virtual hard disk that you want to resize, and click on the “Resize” icon. Follow the instructions to increase the size of the virtual hard disk.
- Compact Virtual Disk: When you delete files or make changes within the virtual machine, the virtual hard disk may not automatically reclaim the freed space. To reclaim the unused space and reduce the size of the virtual disk file, you can use the “Compact” option. In the VirtualBox window, select your virtual machine, click on the “Settings” button, go to the “Storage” tab, select the virtual hard disk to compact, and click on the “Compact” icon.
- Snapshot Management: Virtual machine snapshots are a convenient way to capture the state of your virtual machine at a specific point in time. However, snapshots can consume a significant amount of disk space. Regularly review and manage your snapshots to reclaim storage space by deleting unnecessary snapshots or merging them.
- Manage Virtual Disk Images: VirtualBox allows you to create and manage virtual disk images in various formats. You can convert virtual disk images to different formats or even clone them to create multiple virtual machines with similar configurations.
By effectively managing virtual machine storage, you can optimize disk space usage, ensure sufficient storage capacity, and maintain smooth operation of your virtual machine.
Remember to regularly back up your virtual machine files to prevent data loss or unexpected storage issues.
With that, you have completed the steps to set up and manage a virtual machine on your Mac using VirtualBox. Enjoy exploring the possibilities and benefits that virtual machines offer!
Conclusion
Congratulations! You have successfully learned how to set up and manage a virtual machine on your Mac using VirtualBox.
Throughout the process, you have acquired the skills to download and install VirtualBox, download the operating system ISO file, create a new virtual machine, configure its settings, install the operating system, customize the virtual machine, install VirtualBox Guest Additions, set up networking, and manage storage.
Setting up a virtual machine offers numerous benefits, including the ability to test software, create isolated environments, and explore different operating systems, all without affecting your host system. Virtual machines provide flexibility and convenience, allowing you to run multiple operating systems and applications simultaneously.
Remember to keep your virtual machine and VirtualBox Guest Additions updated to ensure the best performance and security. Additionally, regularly managing storage, snapshots, and virtual disk images will help maintain efficiency and prevent storage issues.
Virtual machines are powerful tools that can greatly enhance productivity and expand your computing capabilities. Whether you’re a developer, system administrator, or tech enthusiast, mastering virtual machine setup and management will open up new possibilities for your work and hobbies.
Thank you for following this guide on setting up virtual machines on your Mac. We hope this information has been helpful to you, and we encourage you to continue exploring and experimenting with virtual machines to further hone your skills and expand your digital horizons.


