Introduction
Welcome to this guide on how to set up Roku on a projector! Roku is a popular streaming device that allows you to access a wide range of entertainment options on your television. But what if you want to enjoy all the benefits of Roku on a projector? In this article, we will walk you through the steps to seamlessly connect your Roku device to a projector, so you can stream your favorite shows, movies, and more on the big screen.
Projectors offer a unique and immersive viewing experience, whether you want to enjoy a movie night with friends or enhance your presentations for work or school. By setting up Roku on a projector, you can take advantage of its extensive streaming capabilities and enjoy high-quality content on a larger scale.
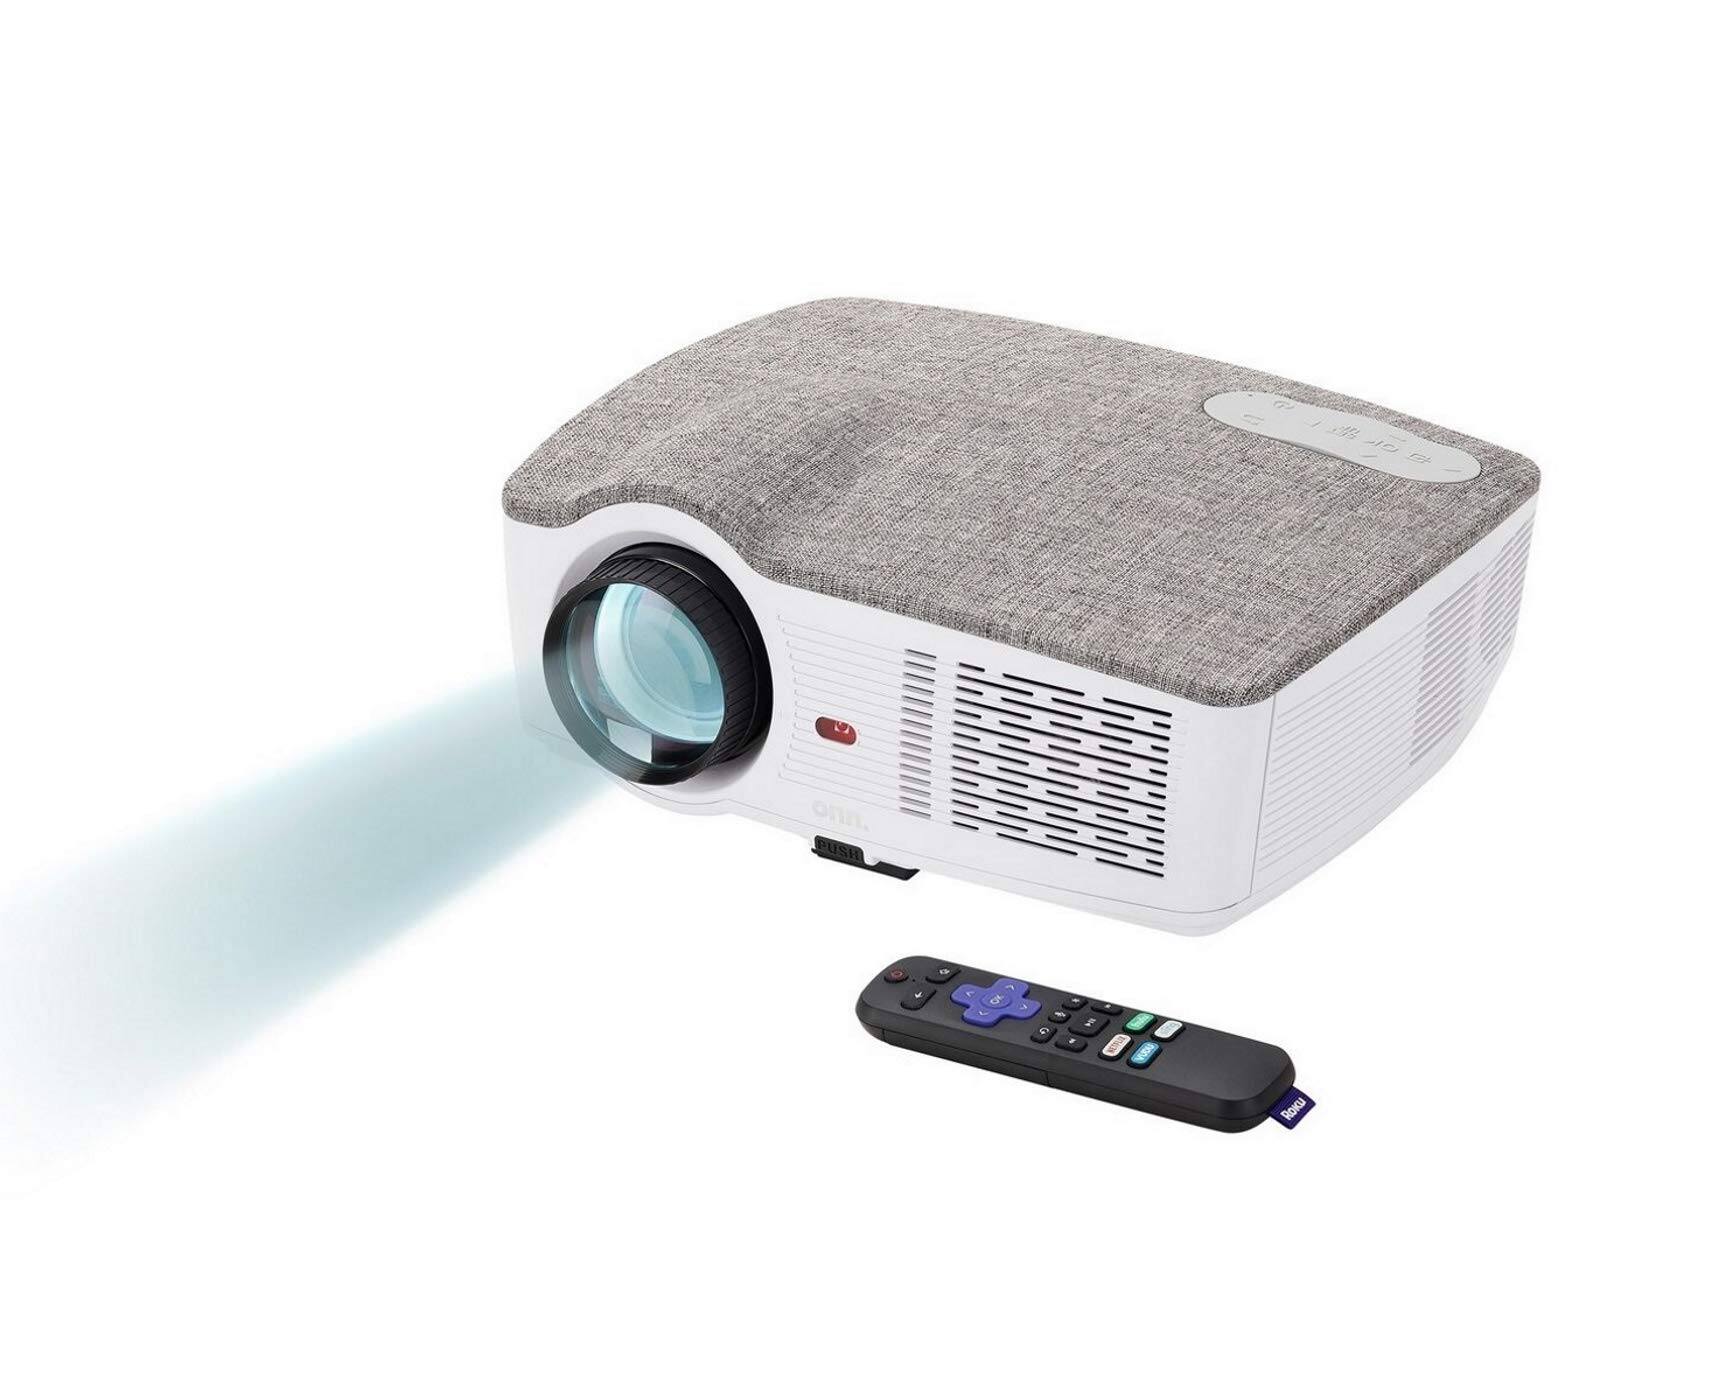
Before we dive into the steps, it’s important to ensure that your projector and Roku device are compatible. Not all projectors support HDMI input, which is necessary to connect Roku. Make sure to check your projector’s specifications or manual to confirm if it has an HDMI port. If it does, then let’s get started!
Step 1: Check Compatibility
The first step in setting up Roku on a projector is to check the compatibility of your projector with the Roku device. Not all projectors support HDMI input, which is required for connecting Roku. To determine if your projector is compatible, you need to verify if it has an HDMI port.
Start by locating the ports on the back or side of your projector. Look for an HDMI port, typically labeled as “HDMI” or represented by an HDMI symbol. If you find an HDMI port, then your projector is compatible with Roku, and you can proceed with the setup process.
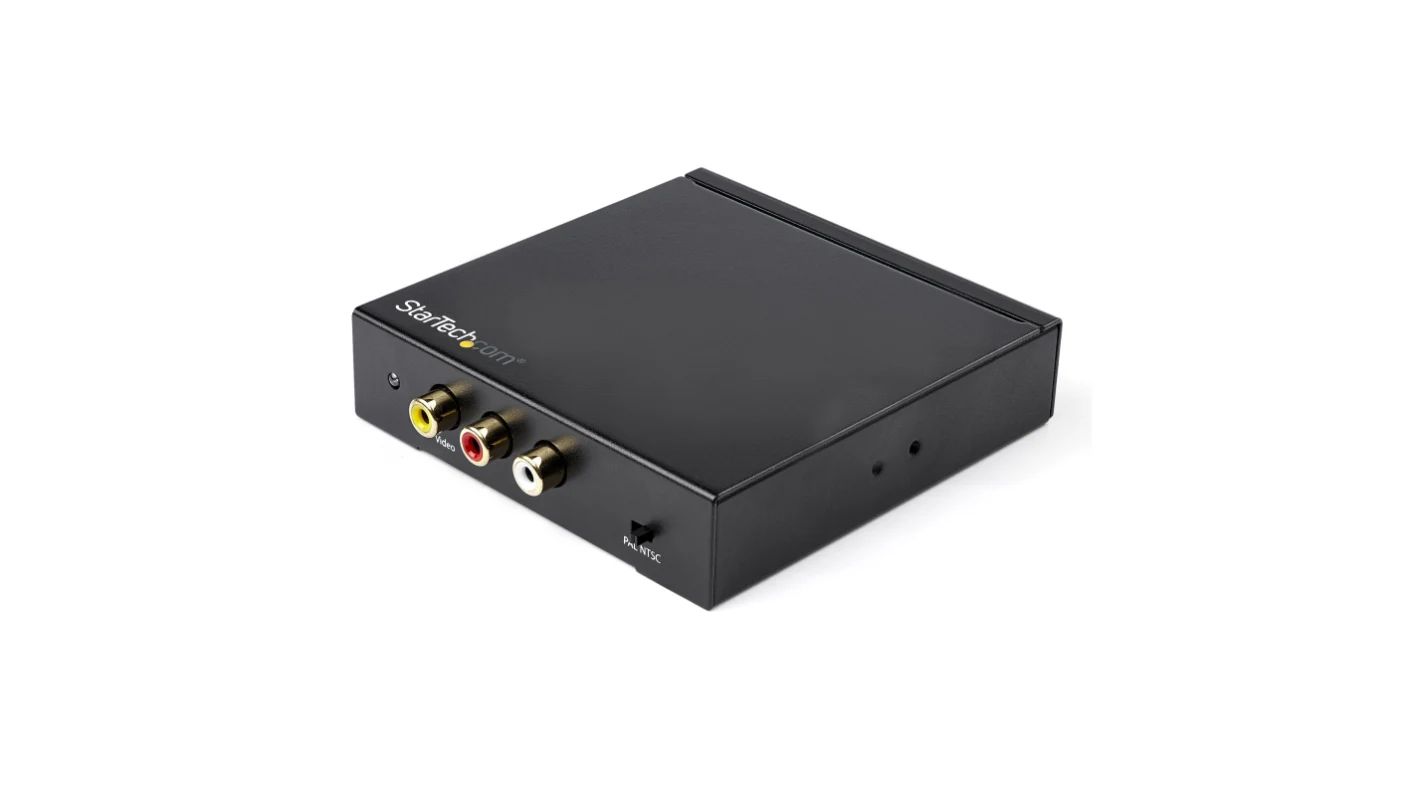
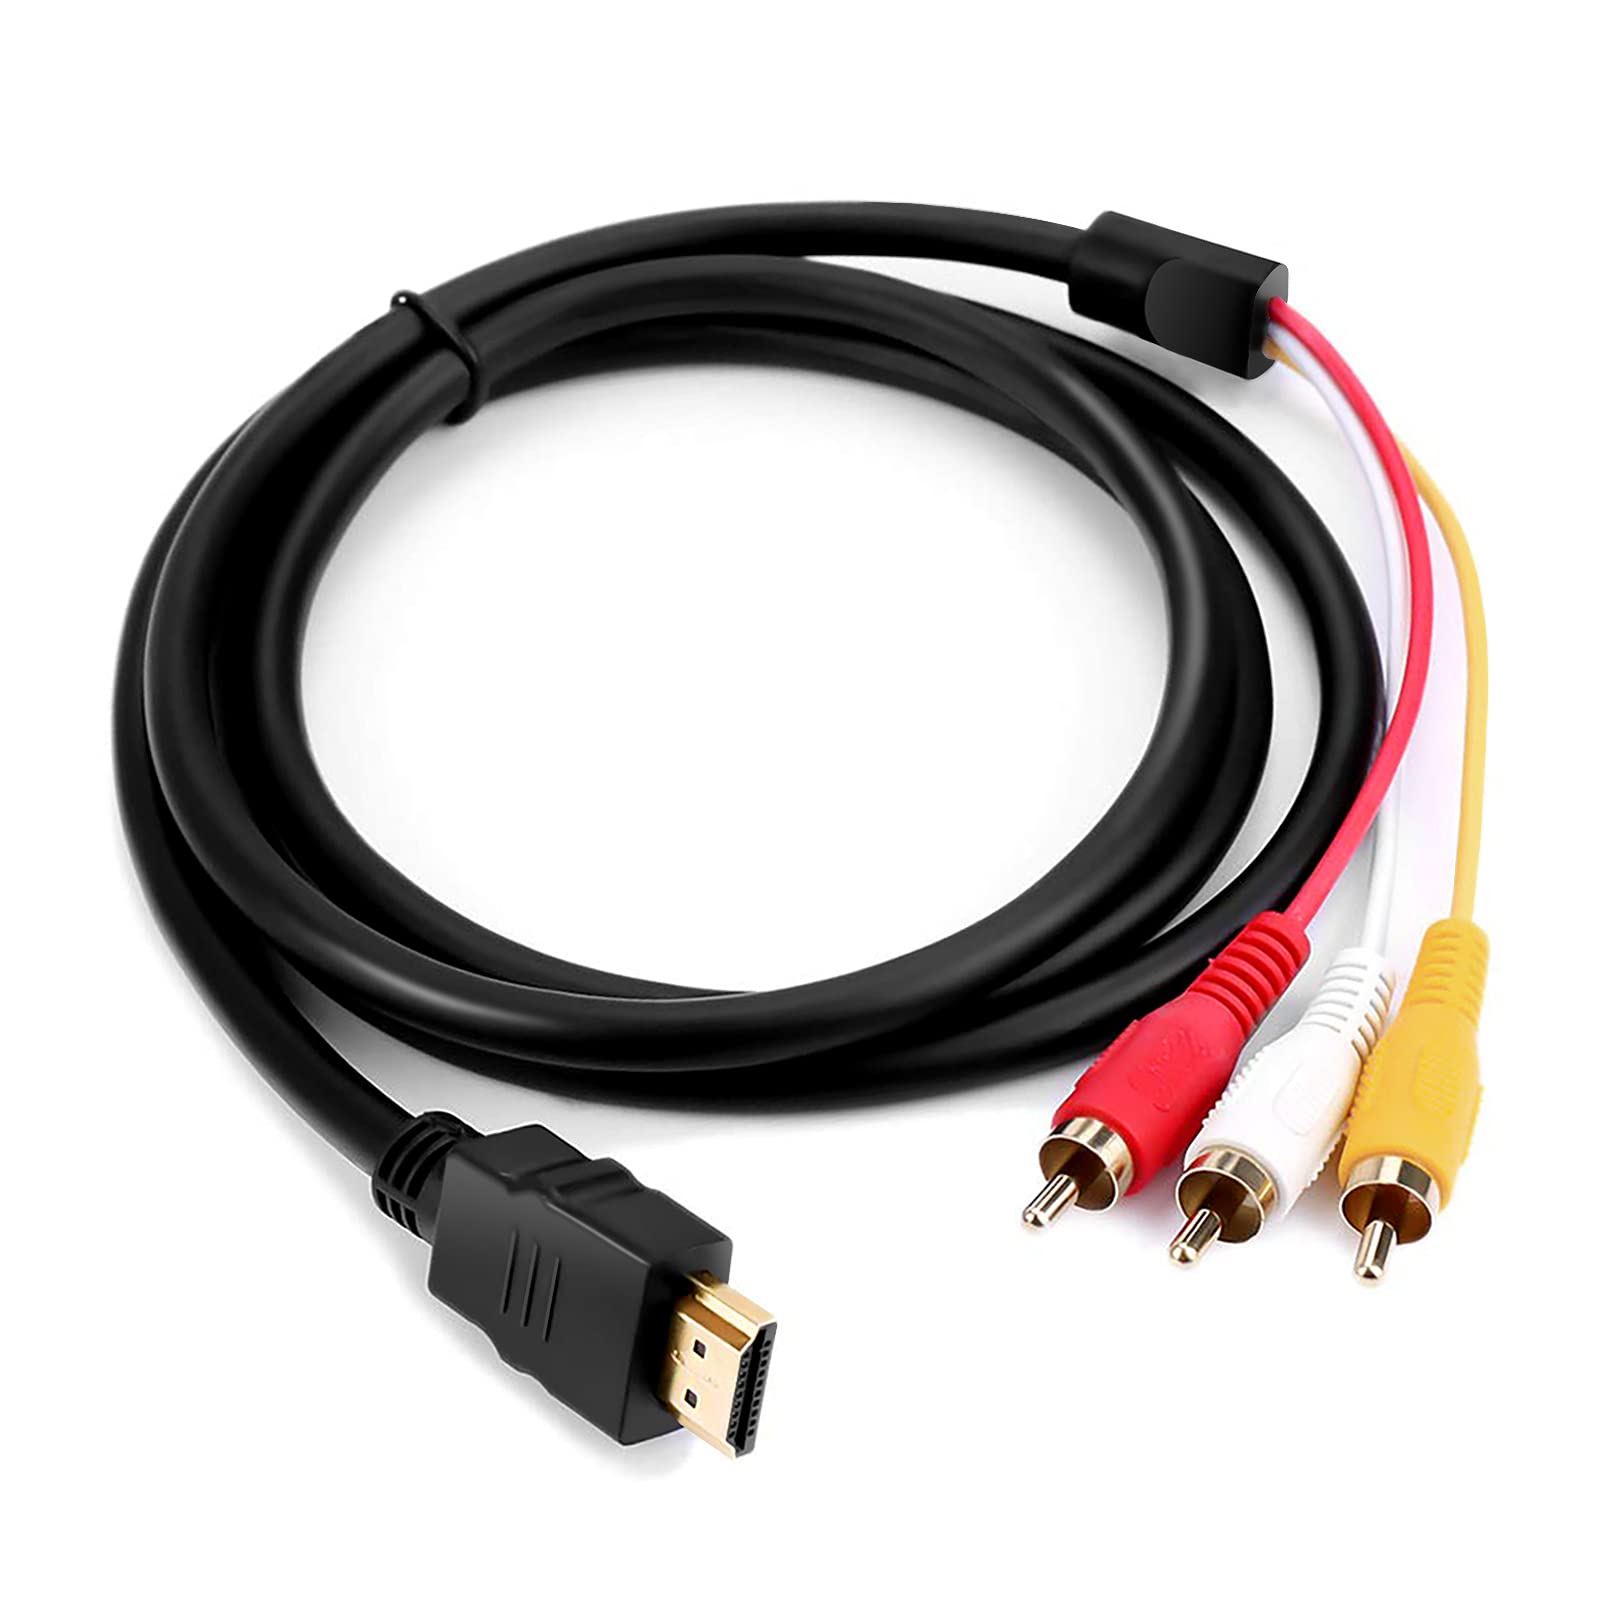
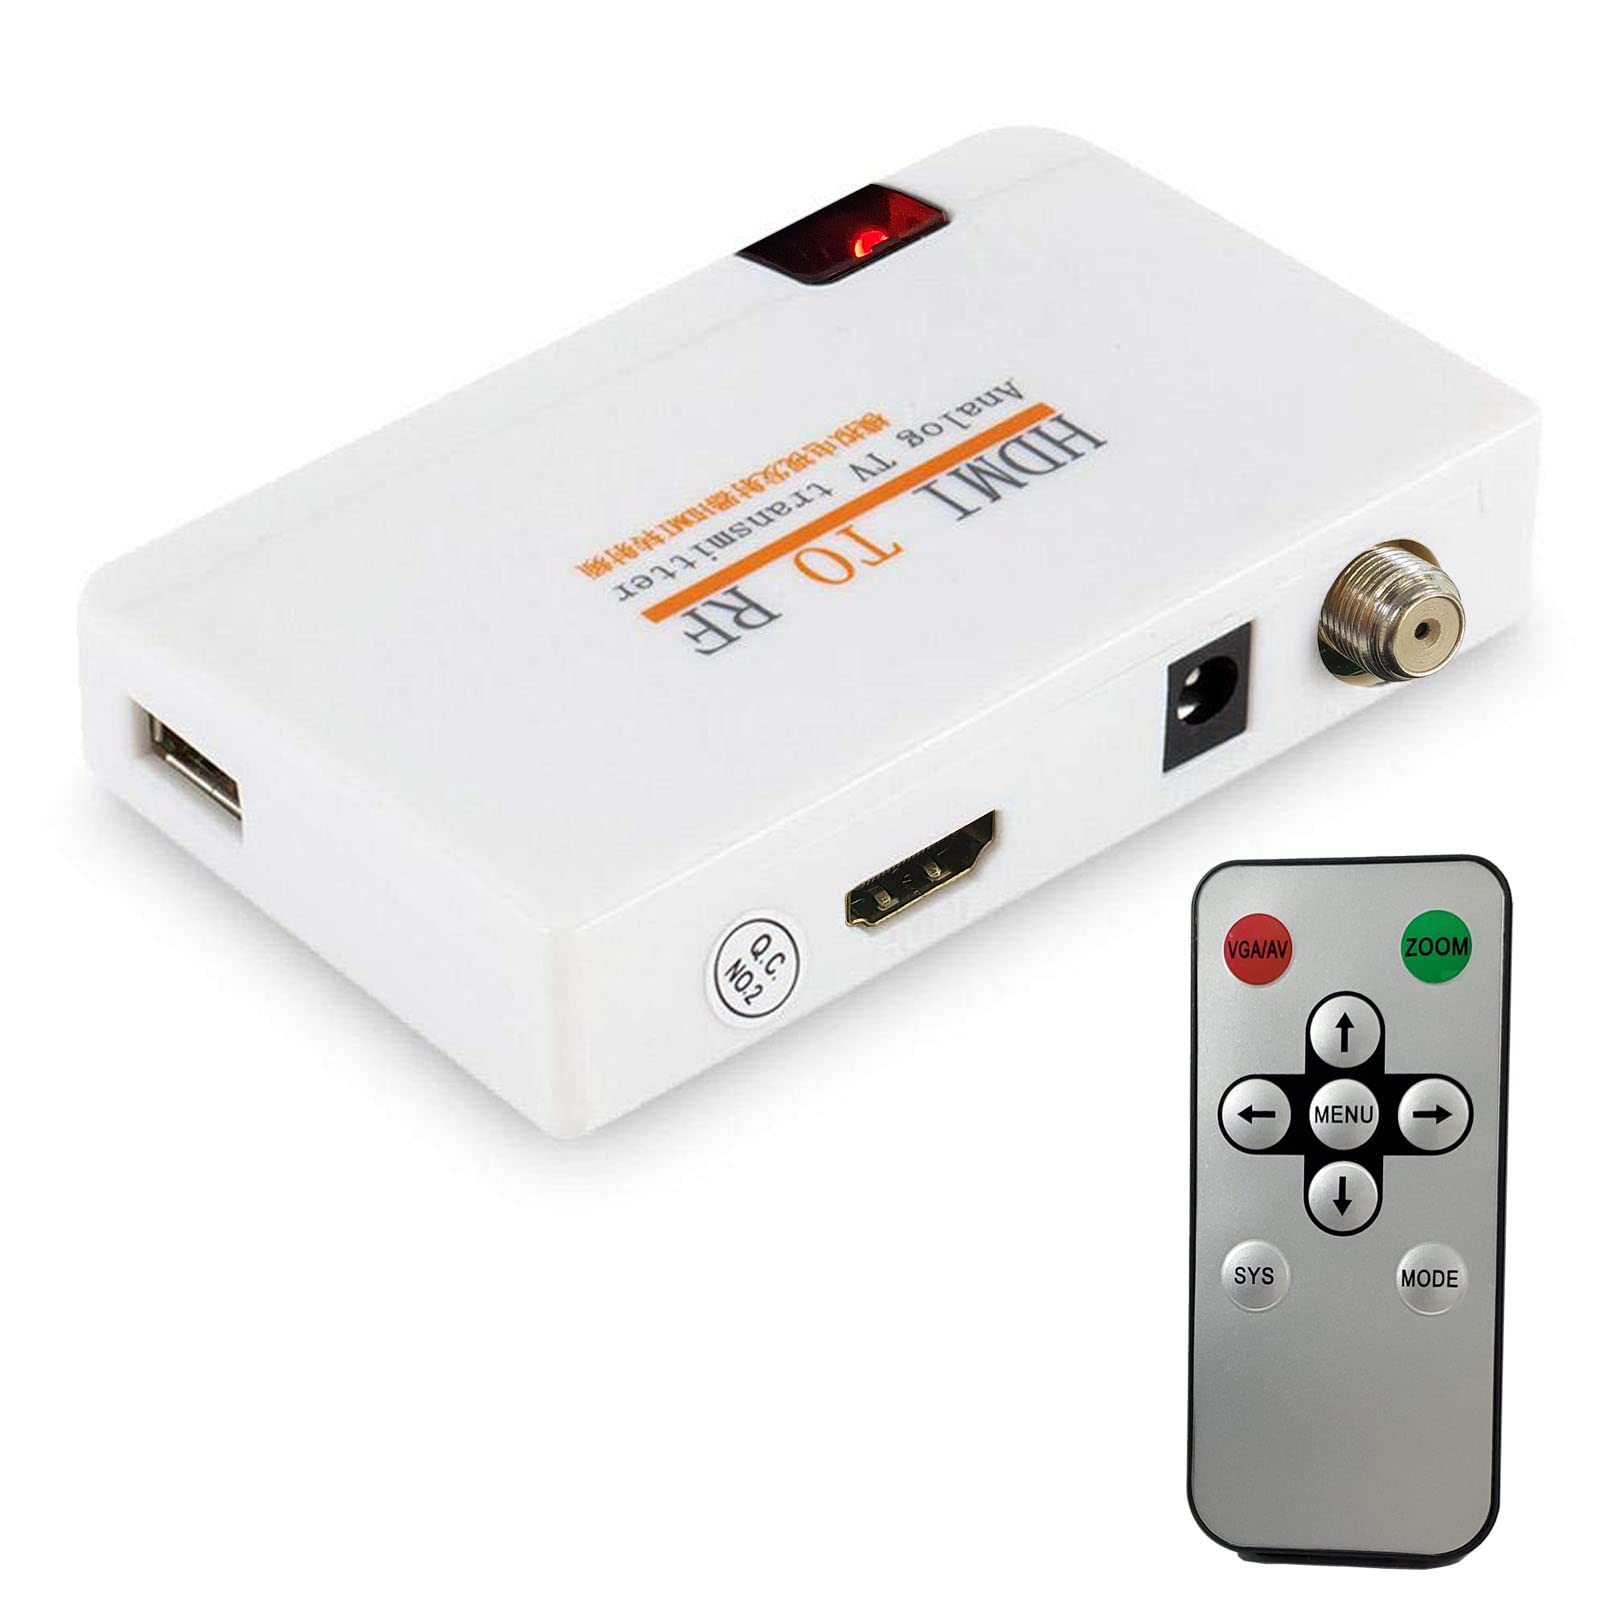
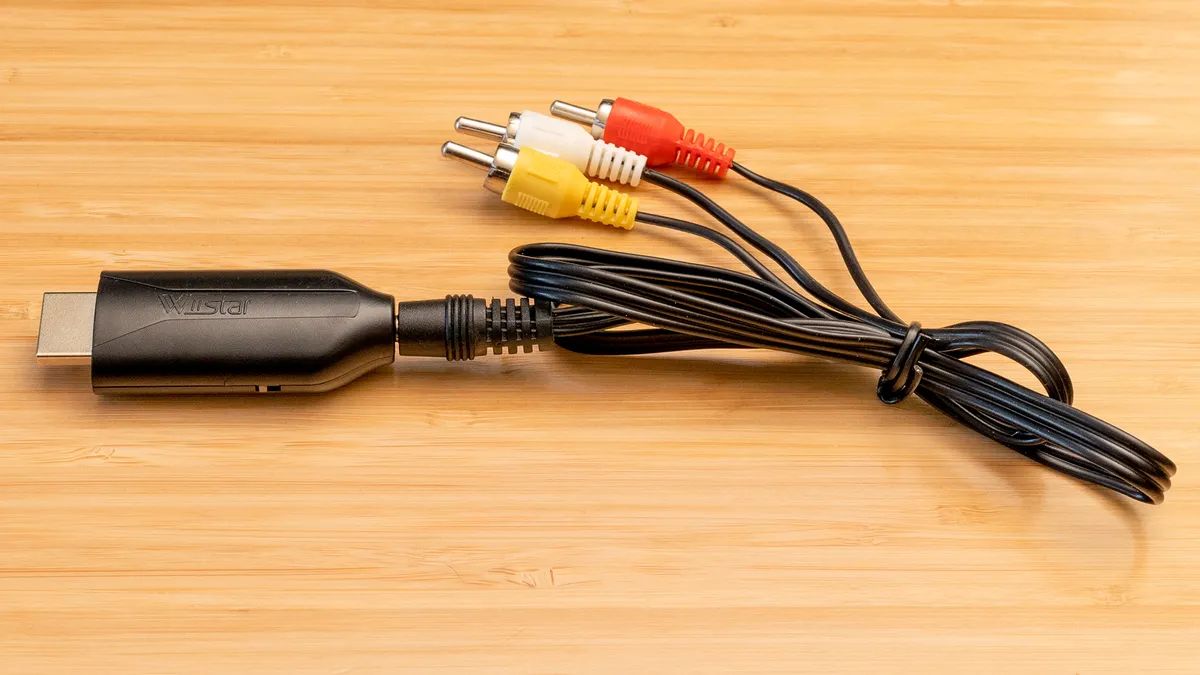
If your projector does not have an HDMI port, don’t worry! There are alternative options available to connect Roku to your projector. You can use an HDMI-to-VGA adapter or an HDMI-to-Component Video adapter to convert the HDMI output of Roku into a format that your projector can accept. Keep in mind that using these adapters may affect the video quality or resolution, so it’s always recommended to use an HDMI-compatible projector for the best experience.
Additionally, ensure that your projector supports the resolution and display settings required by Roku. Most projectors nowadays support standard high-definition (HD) resolutions like 720p and 1080p. However, if you have a projector with a lower resolution, such as 480p, the output from Roku may not appear as sharp or clear. To enjoy the full capabilities of Roku, it’s ideal to have a projector with a minimum resolution of 720p.
Checking the compatibility of your projector is an essential initial step to ensure that you can successfully connect Roku and enjoy its streaming features on your projector. Once you’ve confirmed compatibility, you’re ready to move on to the next step, which involves connecting Roku to your projector.
Step 2: Connect Roku to Projector
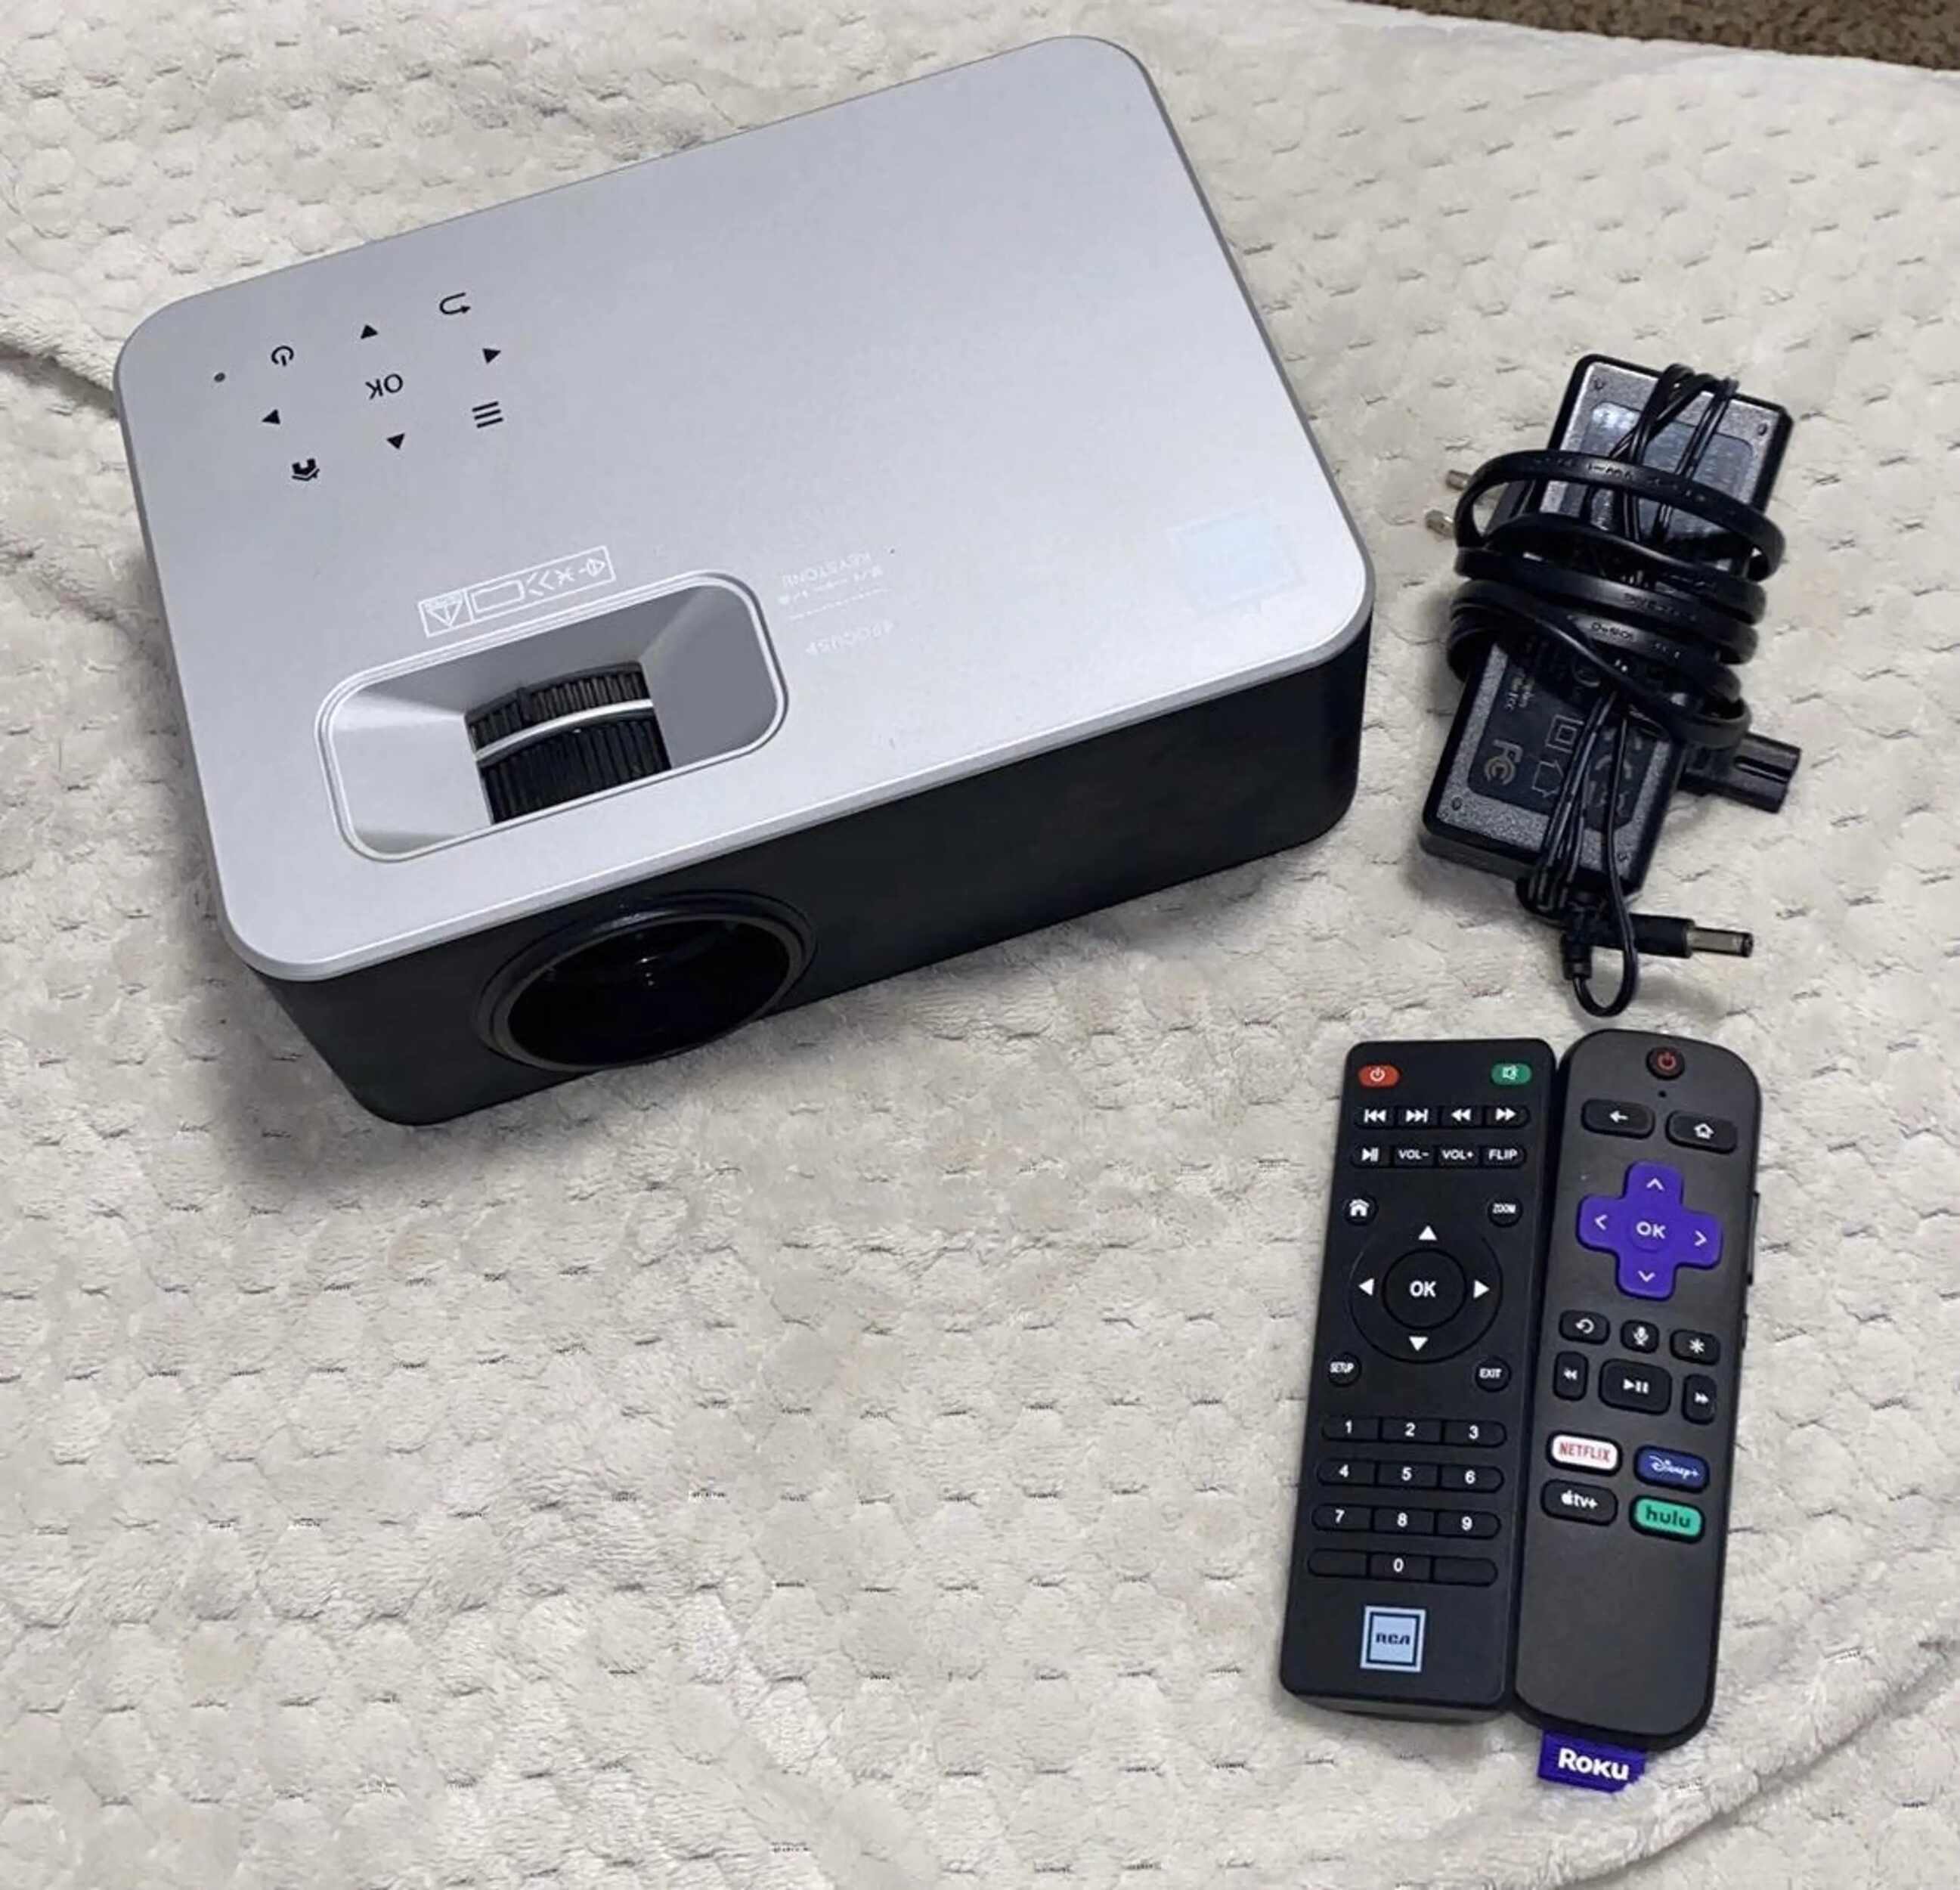
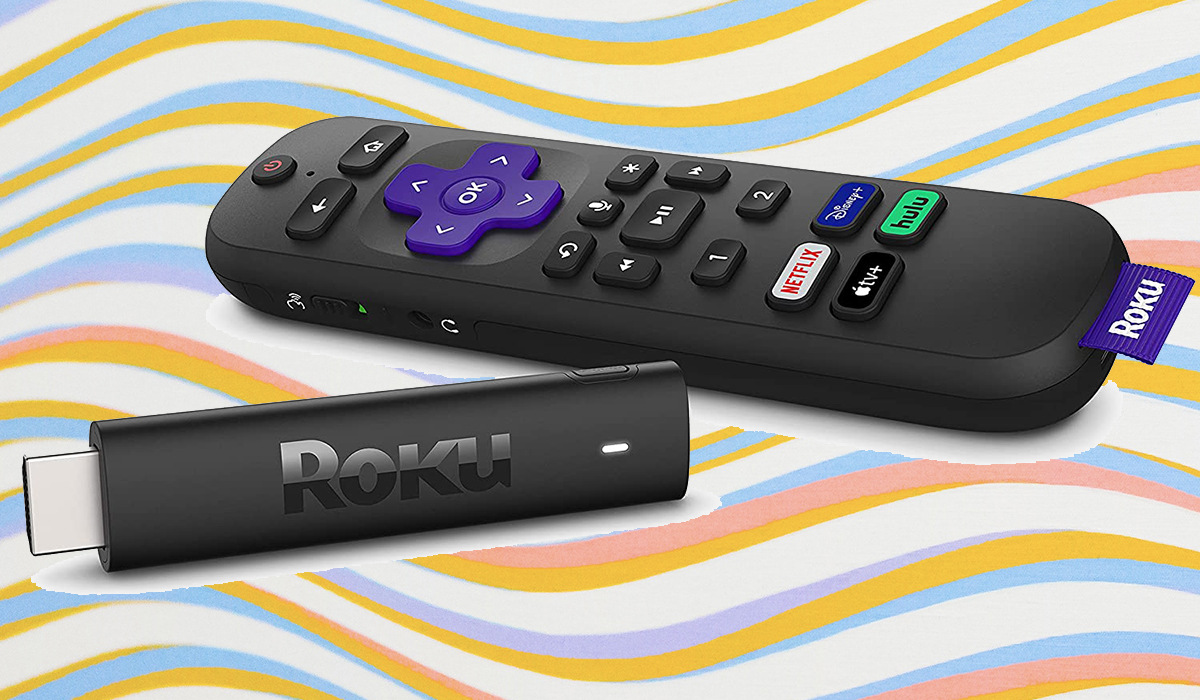
Now that you’ve confirmed the compatibility of your projector, it’s time to connect Roku to your projector. The process is straightforward and requires an HDMI cable to establish the connection.
Start by locating the HDMI port on your Roku device. Depending on the model, it may have either a built-in HDMI port or a separate HDMI port on the streaming stick. Connect one end of the HDMI cable to the HDMI port on your Roku device.
Next, locate the HDMI port on your projector and connect the other end of the HDMI cable to this port. Ensure that the cable is securely plugged into both the Roku device and the projector to establish a stable connection.
If you’re using an adapter to connect Roku to your projector, insert the HDMI end of the adapter into the HDMI port on your Roku device. Then, connect the other end of the adapter to the corresponding port on the projector.
Once the HDMI cable is connected, you can power on your projector and Roku device. Make sure to select the correct HDMI input on your projector’s settings to display the output from Roku. You may need to refer to your projector’s manual or menu options to switch to the appropriate HDMI input.
Now, you should see the Roku interface appearing on the projector screen. If not, double-check the HDMI connections and try switching to a different HDMI input on your projector. Sometimes, projectors have multiple HDMI ports, so verifying the input source is important.
With Roku successfully connected to your projector, you’re one step closer to enjoying all the streaming content it has to offer. The next step involves setting up an internet connection on your Roku device, which is crucial for accessing online content. Let’s proceed to step 3!
Step 3: Set up Internet Connection
To access the wide range of streaming content available on Roku, you need to set up an internet connection on your Roku device. This will allow you to stream your favorite movies, TV shows, and more from popular streaming services such as Netflix, Hulu, and Amazon Prime Video.
Here’s how you can set up an internet connection on your Roku:
- On the Roku home screen, navigate to the “Settings” option using the Roku remote.
- In the settings menu, select “Network” and then choose “Wireless (Wi-Fi)” if you’re using a Wi-Fi network. If you prefer a wired connection, select “Wired (Ethernet)” and ensure that the Roku device is connected to your router using an Ethernet cable.
- If you selected “Wireless (Wi-Fi)”, Roku will display a list of available Wi-Fi networks. Choose your network from the list and enter your Wi-Fi password if prompted.
- Wait for Roku to establish a connection with your Wi-Fi network. Once connected, Roku will display a confirmation message on the screen.
It’s important to note that your Roku device needs to be within range of your Wi-Fi network for a stable connection. If you’re experiencing connectivity issues, try moving the Roku device closer to your Wi-Fi router or consider using a Wi-Fi extender to improve the signal strength.
Once your Roku device is connected to the internet, it will automatically check for any available software updates. If there are updates, Roku will download and install them, ensuring that your device is running the latest firmware for optimal performance.
Setting up an internet connection is a crucial step in the Roku setup process. Without an active internet connection, you won’t be able to access the vast array of streaming content that Roku offers. With your internet connection now established, let’s move on to the next step: creating a Roku account.
Step 4: Create Roku Account
In order to get the full benefits of Roku and access the wide variety of streaming channels, you’ll need to create a Roku account. This account will serve as your gateway to personalized recommendations, channel subscriptions, and device settings.
Follow these steps to create your Roku account:
- On your Roku device, navigate to the home screen and select the option “Sign In” or “Create Account”, depending on the model.
- On the next screen, choose the option “Create a new account”.
- Use your computer, smartphone, or tablet to navigate to the Roku sign-up page indicated on your TV screen.
- Once you’re on the sign-up page, fill in the required information, including your name, email address, and a strong password. You may also need to set up a unique PIN for account security.
- Agree to the terms and conditions, and then click on “Continue” to proceed.
- On the next screen, you’ll be asked to provide payment information. Roku requires a valid payment method, such as a credit card or PayPal, to verify your identity and enable you to make purchases or subscribe to premium channels. If you prefer not to provide payment information at this time, you can choose the option “Skip, I’ll add later”.
- Review all the details you’ve entered, and click on “Submit” to create your Roku account.
Once your account is created, you’ll receive a confirmation email from Roku. Open the email and follow the instructions to complete the account verification process.
With your Roku account successfully created, you can now log in with your credentials on your Roku device. This will provide you with a personalized streaming experience, including recommendations based on your preferences.
Now that your Roku account is set up, let’s move on to the next step: activating your Roku device.
Step 5: Activate Roku Device
After creating your Roku account, the next step is to activate your Roku device. Activation is necessary to link your Roku device to your account and enable access to the Roku Channel Store and other features.
Follow these steps to activate your Roku device:
- On your Roku device, you will see an activation code displayed on the screen. Take note of this code.
- Using a computer, smartphone, or tablet, visit the Roku activation page by navigating to https://my.roku.com/link in a web browser.
- On the Roku activation page, enter the activation code that you noted from your TV screen. Click on “Submit” to proceed.
- Next, you’ll be prompted to sign in to your Roku account. Enter your email address and password associated with your Roku account.
- Click on “Continue” to finalize the activation process.
- Your Roku device will now automatically update and sync with your Roku account. This may take a few minutes.
- Once the activation process is complete, your Roku device will display a confirmation message on the screen.
Congratulations! Your Roku device is now activated and linked to your Roku account. You can now start exploring the Roku Channel Store and download your favorite streaming channels. Additionally, any premium channels or subscriptions that you have previously purchased or subscribed to will be available for you to enjoy.
If you encounter any difficulties during the activation process, double-check that you have entered the correct activation code and login credentials. If the problem persists, contact Roku customer support for further assistance.
Now that your Roku device is activated, it’s time to move on to the next step: installing and updating channels on your Roku device.
Step 6: Install and Update Channels
With your Roku device activated and linked to your account, it’s time to install and update the channels you want to stream on your projector. Roku offers a wide selection of free and paid channels, including popular streaming services like Netflix, Hulu, and Amazon Prime Video.
Follow these steps to install and update channels on your Roku device:
- On your Roku home screen, navigate to the “Streaming Channels” option using the Roku remote.
- In the Channel Store, you can browse through the various categories or use the search function to find specific channels. Select a channel you want to install.
- On the channel page, select “Add Channel” to initiate the installation process.
- Wait for the channel to download and install on your Roku device. The time taken may vary depending on the channel’s size and your internet connection speed.
- Repeat the process for any additional channels you want to install.
- To update channels, go to the Roku home screen and select “Settings”. Then, navigate to “System” and choose “System update”. Roku will check for any available updates and automatically install them.
- It’s recommended to keep your channels updated to ensure you have access to the latest features, bug fixes, and improvements.
Once the channels are installed, you can access them from your Roku home screen. The recently installed channels will appear at the bottom of the screen for easy access. Simply select a channel to open it and start streaming your favorite content.
Remember that some channels may require a separate subscription or login. If you encounter any issues during the installation or updating process, make sure you have a stable internet connection and check the Roku website or channel provider’s support resources for troubleshooting steps.
Now that you’ve successfully installed and updated your channels, it’s time to fine-tune the display settings to ensure optimal viewing on your projector. Let’s move on to the next step: adjusting display settings.
Step 7: Adjust Display Settings
Once you have installed and updated your desired channels on your Roku device, it’s important to adjust the display settings to ensure the best visual experience on your projector. This step allows you to optimize the picture quality and display settings according to your preferences.
Follow these steps to adjust the display settings on your Roku device:
- On your Roku home screen, navigate to the “Settings” option using the Roku remote.
- In the settings menu, select “Display type” to set the resolution that matches your projector’s capabilities. Choose the highest resolution supported by your projector for the best picture quality.
- If the display size or aspect ratio appears incorrect on your projector, navigate to “Display mode” and choose the appropriate option. You may need to experiment with different modes to find the one that fits your projector’s screen perfectly.
- For further customization, you can adjust additional display settings such as brightness, contrast, color, and sharpness in the “Advanced display settings” or “Picture settings” options. Fine-tuning these settings can enhance the overall image quality to suit your preferences.
- Make sure to save any changes you make in the display settings menu.
It’s important to note that every projector has its own unique characteristics, so the optimal display settings may vary. Experiment with different settings and adjust according to your personal preferences and the capabilities of your projector.
Additionally, if your projector supports advanced features such as HDR (High Dynamic Range) or Dolby Vision, you can enable these options in the display settings menu. These features enhance the color and contrast range, resulting in a more vibrant and lifelike picture.
Once you have adjusted the display settings to your liking, you’re ready to enhance your viewing experience on the projector. Take some time to explore different channels and enjoy your favorite movies, TV shows, and more on the big screen.
In the next step, we’ll guide you on how to pair your Roku remote with your device for seamless control. Let’s move on to step 8: pairing the Roku remote.
Step 8: Pair Roku Remote
Now that you have set up and adjusted the display settings on your Roku device, it’s time to pair the Roku remote to ensure seamless control over your streaming experience on your projector. Pairing the remote allows you to navigate through channels, adjust settings, and perform other functions with ease.
Follow these steps to pair your Roku remote:
- Ensure that your Roku device is powered on and connected to your projector.
- Make sure the batteries in your Roku remote are properly inserted and have sufficient power.
- Position yourself within a few feet of the Roku device, as proximity is important for successful pairing.
- Press and hold the pairing button located inside the battery compartment of your Roku remote. The pairing button is typically a small button that needs to be pressed using a pen or a paperclip.
- Continue to hold the pairing button until the pairing light on the Roku device starts flashing.
- Wait for the pairing process to complete. This usually takes a few seconds.
- Once the pairing is successful, the pairing light on the Roku device will stop flashing, indicating that the remote is now paired and ready for use.
Now, you can use your Roku remote to navigate through channels, play/pause content, adjust volume, and perform other functions according to your preference. If you have multiple Roku devices in your home, ensure that the remote is paired specifically with the Roku device that you want to control.
If you encounter any issues during the pairing process or find that the remote is not responding, try replacing the batteries and repeating the process. You may also need to ensure that there are no obstructions between the remote and the Roku device.
With the Roku remote successfully paired, you can now enjoy the convenience and control it offers as you stream your favorite content on your projector.
In the next and final step, we will provide some troubleshooting tips to help you resolve common issues. Let’s move on to step 9: troubleshooting tips.
Step 9: Troubleshooting Tips
While setting up Roku on a projector, you may encounter some common issues or face technical difficulties. However, there’s no need to worry as there are several troubleshooting tips to help you overcome these challenges. Here are some common issues and their possible solutions:
1. No signal on the projector: Ensure that all cables are securely connected to both the Roku device and the projector. Double-check the HDMI connection and try using a different HDMI port on the projector if available.
2. Poor image quality: If the projected image appears blurry or distorted, check the projector’s resolution settings and make sure it matches the Roku device’s output resolution. Adjust the display settings on both the Roku device and the projector to optimize the picture quality.
3. Remote connectivity issues: If the Roku remote isn’t responding, try replacing the batteries. Reposition yourself closer to the Roku device during the pairing process. Ensure there are no obstructions between the remote and the device.
4. Wi-Fi connection problems: If you’re experiencing issues with the internet connection, check if other devices are connected to the Wi-Fi network. Reset your router or contact your internet service provider if necessary. You can also try using a wired Ethernet connection for a more stable and reliable internet connection.
5. Channel playback issues: If a specific channel is not working properly or experiencing playback problems, try closing the channel and reopening it. Verify your internet connection speed and ensure it meets the recommended requirements for streaming. If the issue persists, check for any available channel updates or contact the channel provider for assistance.
6. Firmware updates: Regularly check for firmware updates on your Roku device. Updates often include bug fixes, performance improvements, and new features. Go to the Roku settings menu and select “System Update” to download and install any available updates.
If you’ve followed the troubleshooting tips above and are still experiencing issues, consult the Roku support website or contact Roku customer support for further assistance. They have a dedicated team to help you resolve technical problems and provide guidance.
By following these troubleshooting tips, you can overcome common challenges and ensure a smooth and enjoyable streaming experience on your projector with Roku.
Now that you’re equipped with troubleshooting knowledge, you’re all set to enjoy your favorite content on the big screen with Roku and your projector.
Conclusion
Congratulations on successfully setting up Roku on your projector! By following the step-by-step guide outlined in this article, you are now able to enjoy a wide range of streaming content on the big screen. Whether it’s watching movies, TV shows, sports events, or playing games, Roku offers a diverse selection of channels and entertainment options to cater to your preferences.
Starting with checking the compatibility of your projector and connecting Roku, we guided you through setting up an internet connection, creating a Roku account, and activating your device. We also covered how to install and update channels, adjust display settings, pair the Roku remote, and provided troubleshooting tips for common issues.
Remember to keep your Roku device and channels updated for the best performance and access to new features. Take advantage of the customization options, such as adjusting display settings, to optimize your viewing experience on the projector.
If you encounter any difficulties during the setup process or while using the Roku device, don’t hesitate to refer to the Roku support website for comprehensive troubleshooting resources or reach out to their customer support team for assistance.
Now that you’re equipped with the knowledge and tools to maximize your streaming experience on the projector with Roku, sit back, relax, and enjoy the wide array of content available at your fingertips. Happy streaming!