Introduction
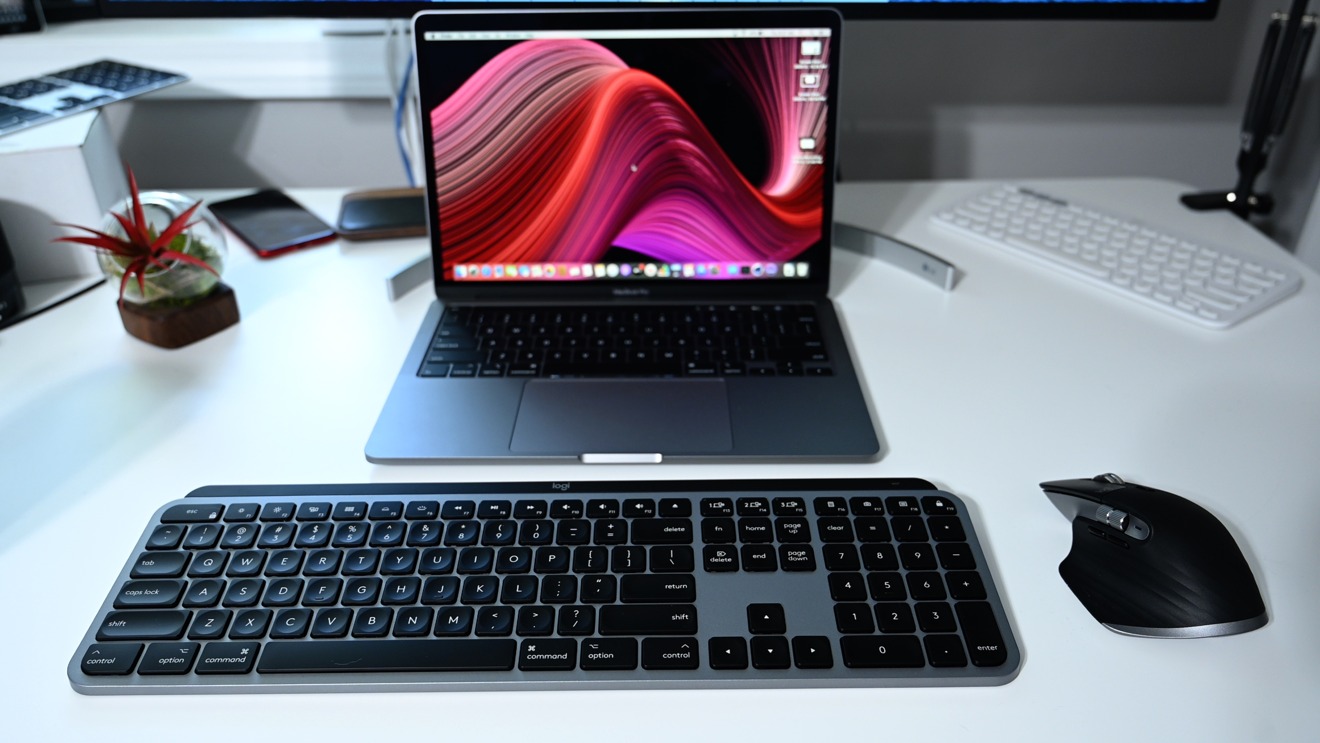
Welcome to our guide on how to set up a Logitech keyboard on your Mac. Logitech keyboards are known for their durability, functionality, and ergonomics, making them an excellent choice for Mac users who want a seamless typing experience. Whether you have just purchased a new Logitech keyboard or are looking to connect an existing one to your Mac, this article will walk you through the step-by-step process.
Setting up a Logitech keyboard on your Mac involves a few simple steps, from unpacking the keyboard to customizing the settings according to your preferences. By the end of this guide, you’ll be able to enjoy the full benefits of your Logitech keyboard and type away with ease on your Mac.
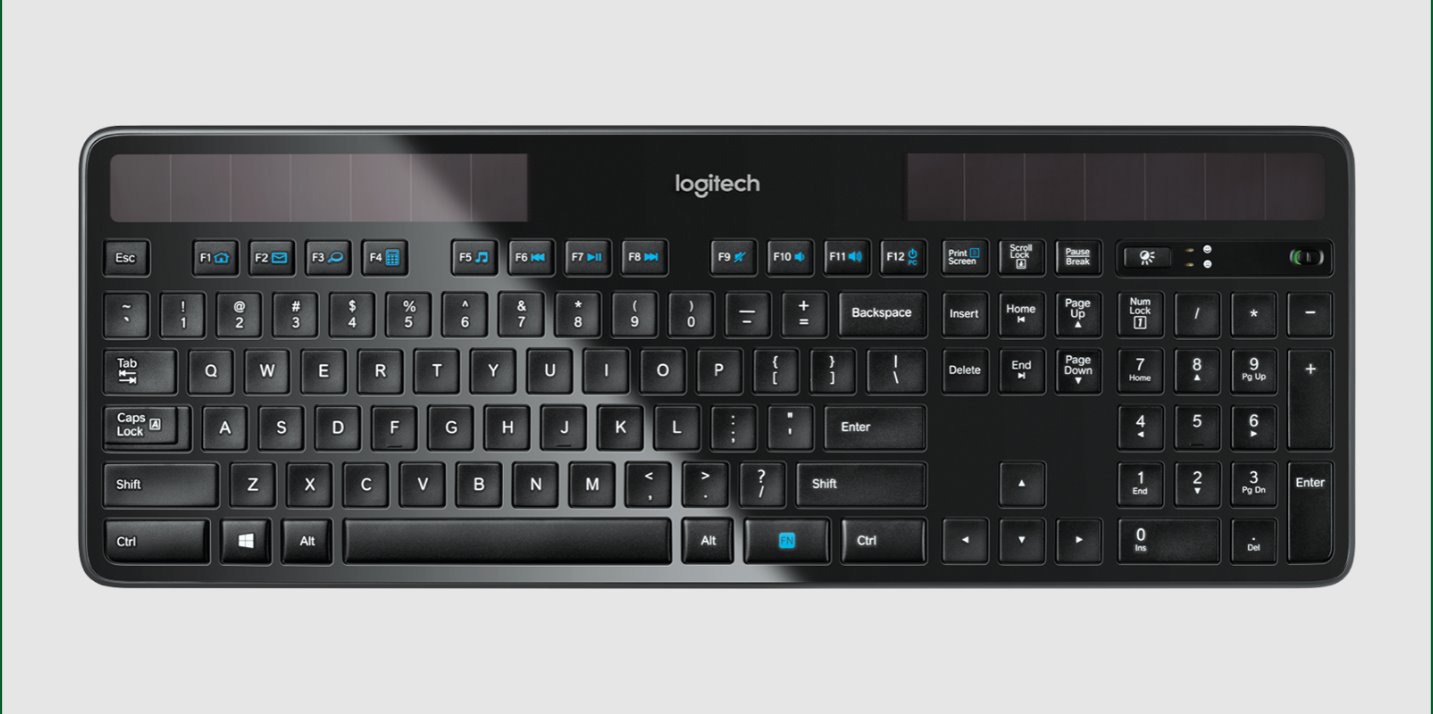
Before we dive into the setup process, it’s important to note that Logitech offers a variety of keyboard models, each with its own unique features and specifications. Therefore, the specific setup instructions may vary slightly depending on the model you have. However, the underlying principles and steps remain relatively consistent.
So, whether you have a Logitech wired keyboard, wireless keyboard, or a Bluetooth-enabled keyboard, we’ve got you covered. Let’s get started with the setup process and unleash the full potential of your Logitech keyboard on your Mac!
Step 1: Unpacking the Keyboard
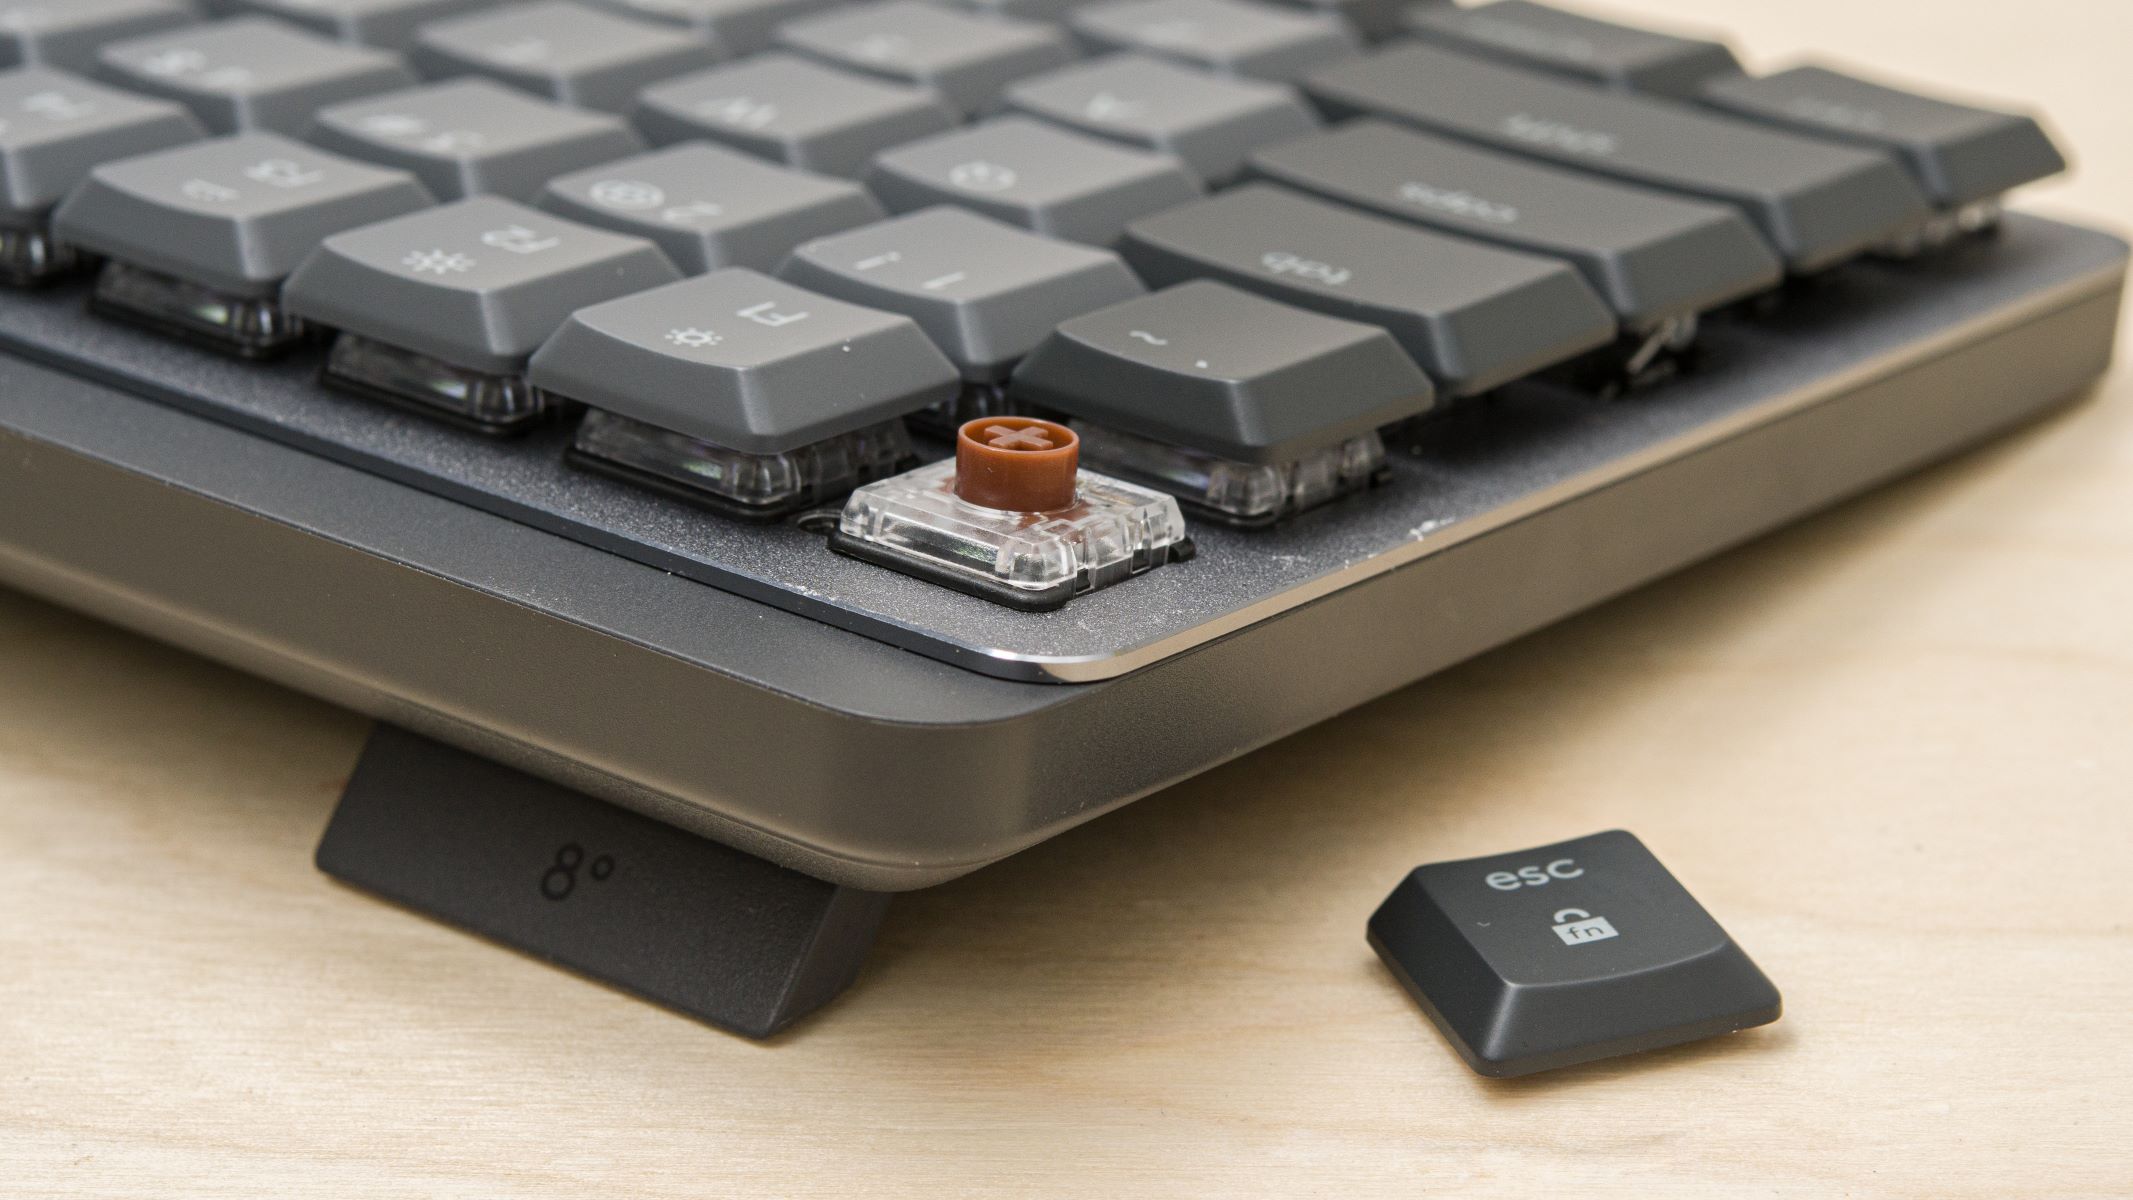
The first step in setting up your Logitech keyboard on your Mac is to unpack the keyboard from its packaging. Carefully remove any protective covering, and take a moment to familiarize yourself with the different components of the keyboard.
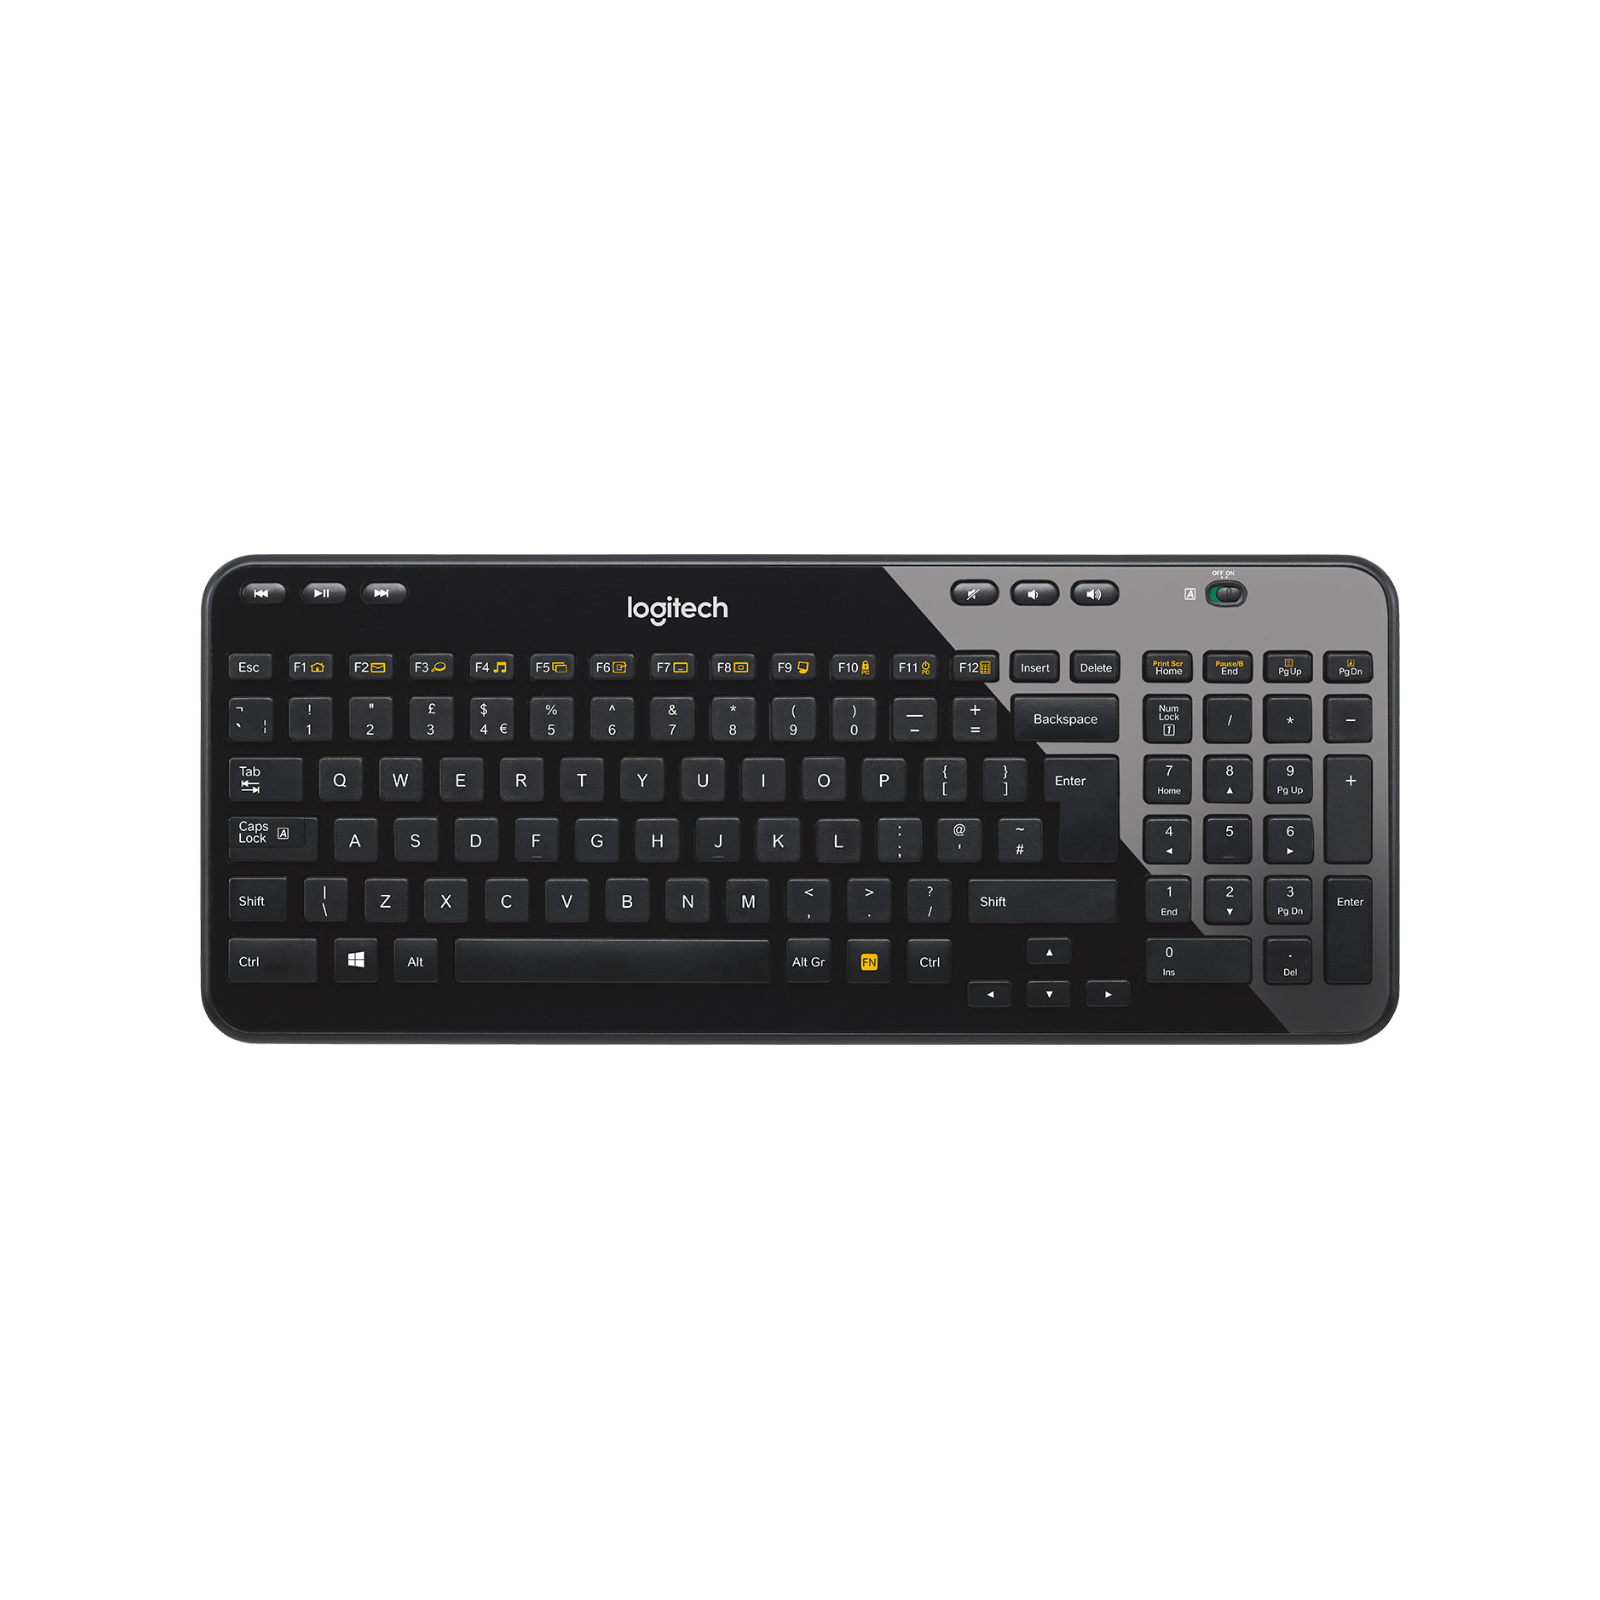
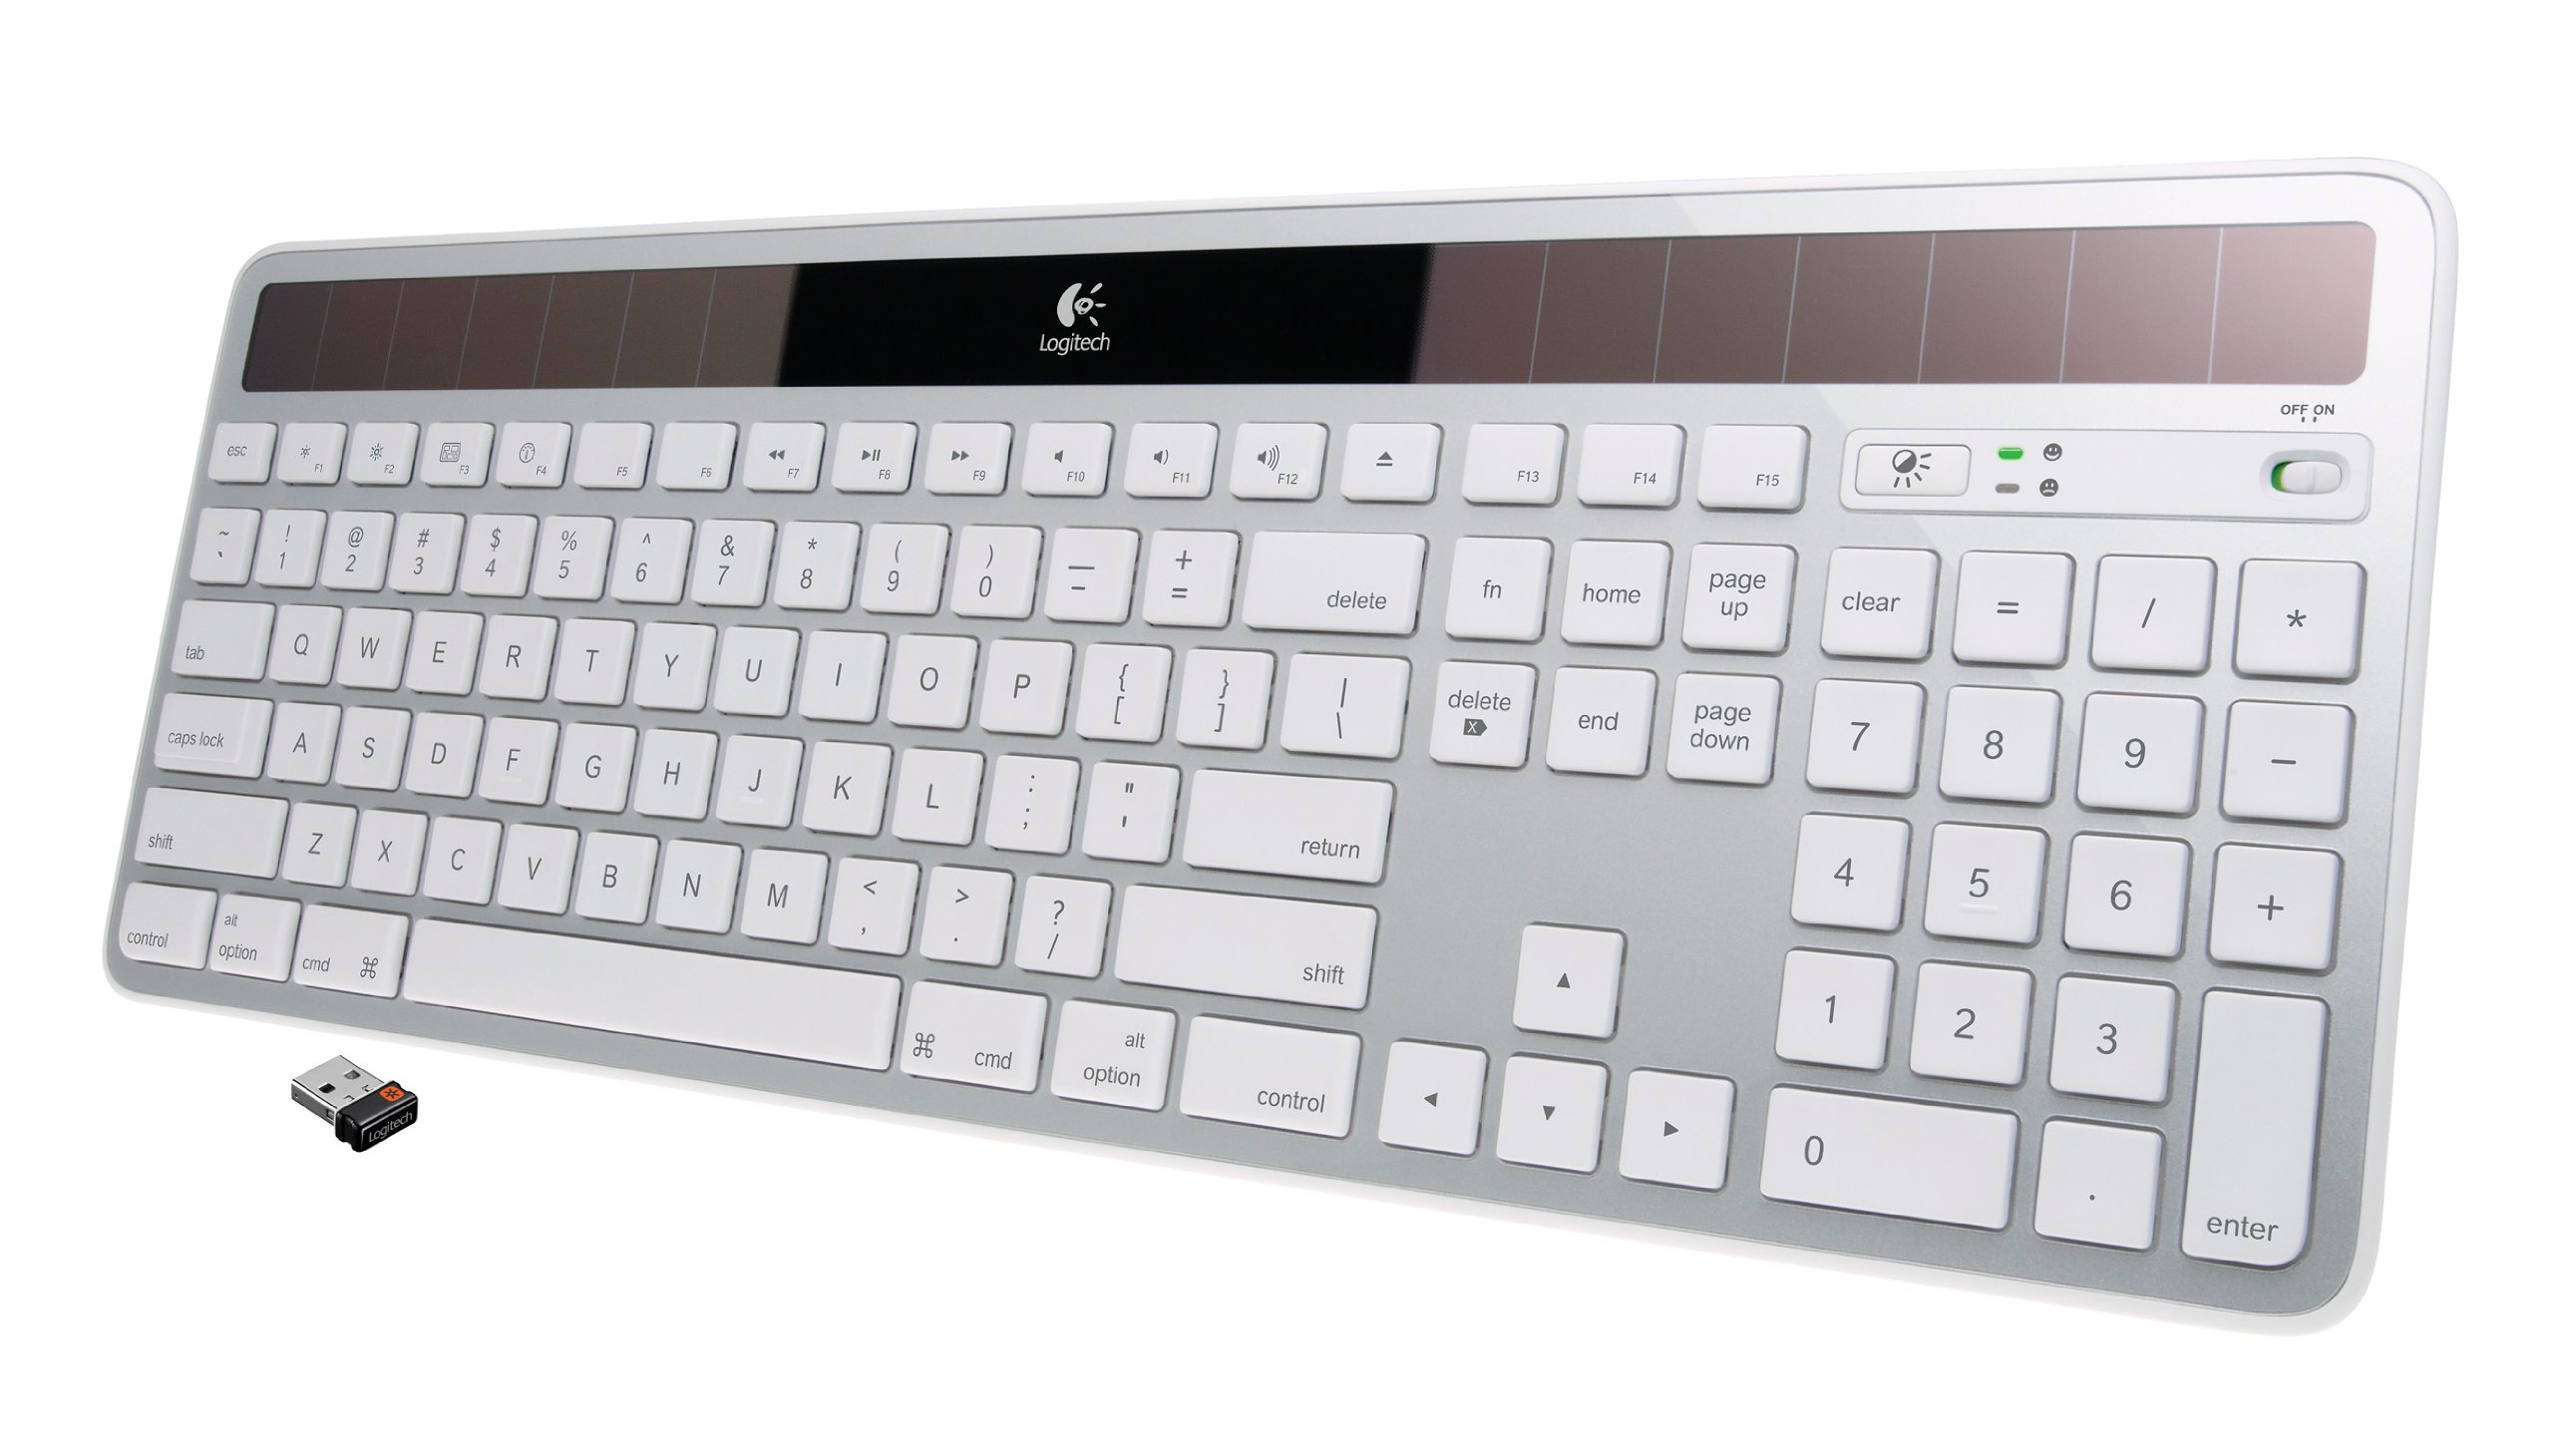
Logitech keyboards typically come with the keyboard unit itself, a USB cable (for wired keyboards), and batteries (for wireless keyboards). Make sure you have all the necessary components ready before moving on to the next step.
If you have a wireless Logitech keyboard, you may also find a USB receiver in the packaging. This receiver allows your Mac to communicate with the keyboard wirelessly. Keep the USB receiver in a safe place, as you’ll need it during the setup process.
Once you have all the components ready, find a clean and clutter-free workspace to set up your keyboard. Make sure there’s enough space for you to comfortably use the keyboard without any obstructions.
Now that you’ve unpacked the keyboard and set up your workspace, you’re ready to move on to the next step: connecting the keyboard to your Mac.
Step 2: Connecting the Keyboard to Your Mac
Connecting your Logitech keyboard to your Mac is a straightforward process. The method of connection will depend on the type of keyboard you have – wired or wireless.
If you have a wired Logitech keyboard, locate the USB cable that came with the keyboard. Plug one end of the cable into the USB port on your Mac and the other end into the USB port on the keyboard. Your Mac should automatically detect the keyboard, and you can start using it right away. If the keyboard is not being recognized, try using a different USB port or restarting your Mac.
For wireless Logitech keyboards, the first step is to insert the batteries into the keyboard. The battery compartment is usually located on the back or underside of the keyboard. Follow the instructions provided with your specific model to ensure proper battery installation.
Next, if your wireless keyboard comes with a USB receiver, plug the receiver into a USB port on your Mac. The receiver will establish a connection between your keyboard and Mac. Make sure the receiver is securely plugged in for a stable connection.
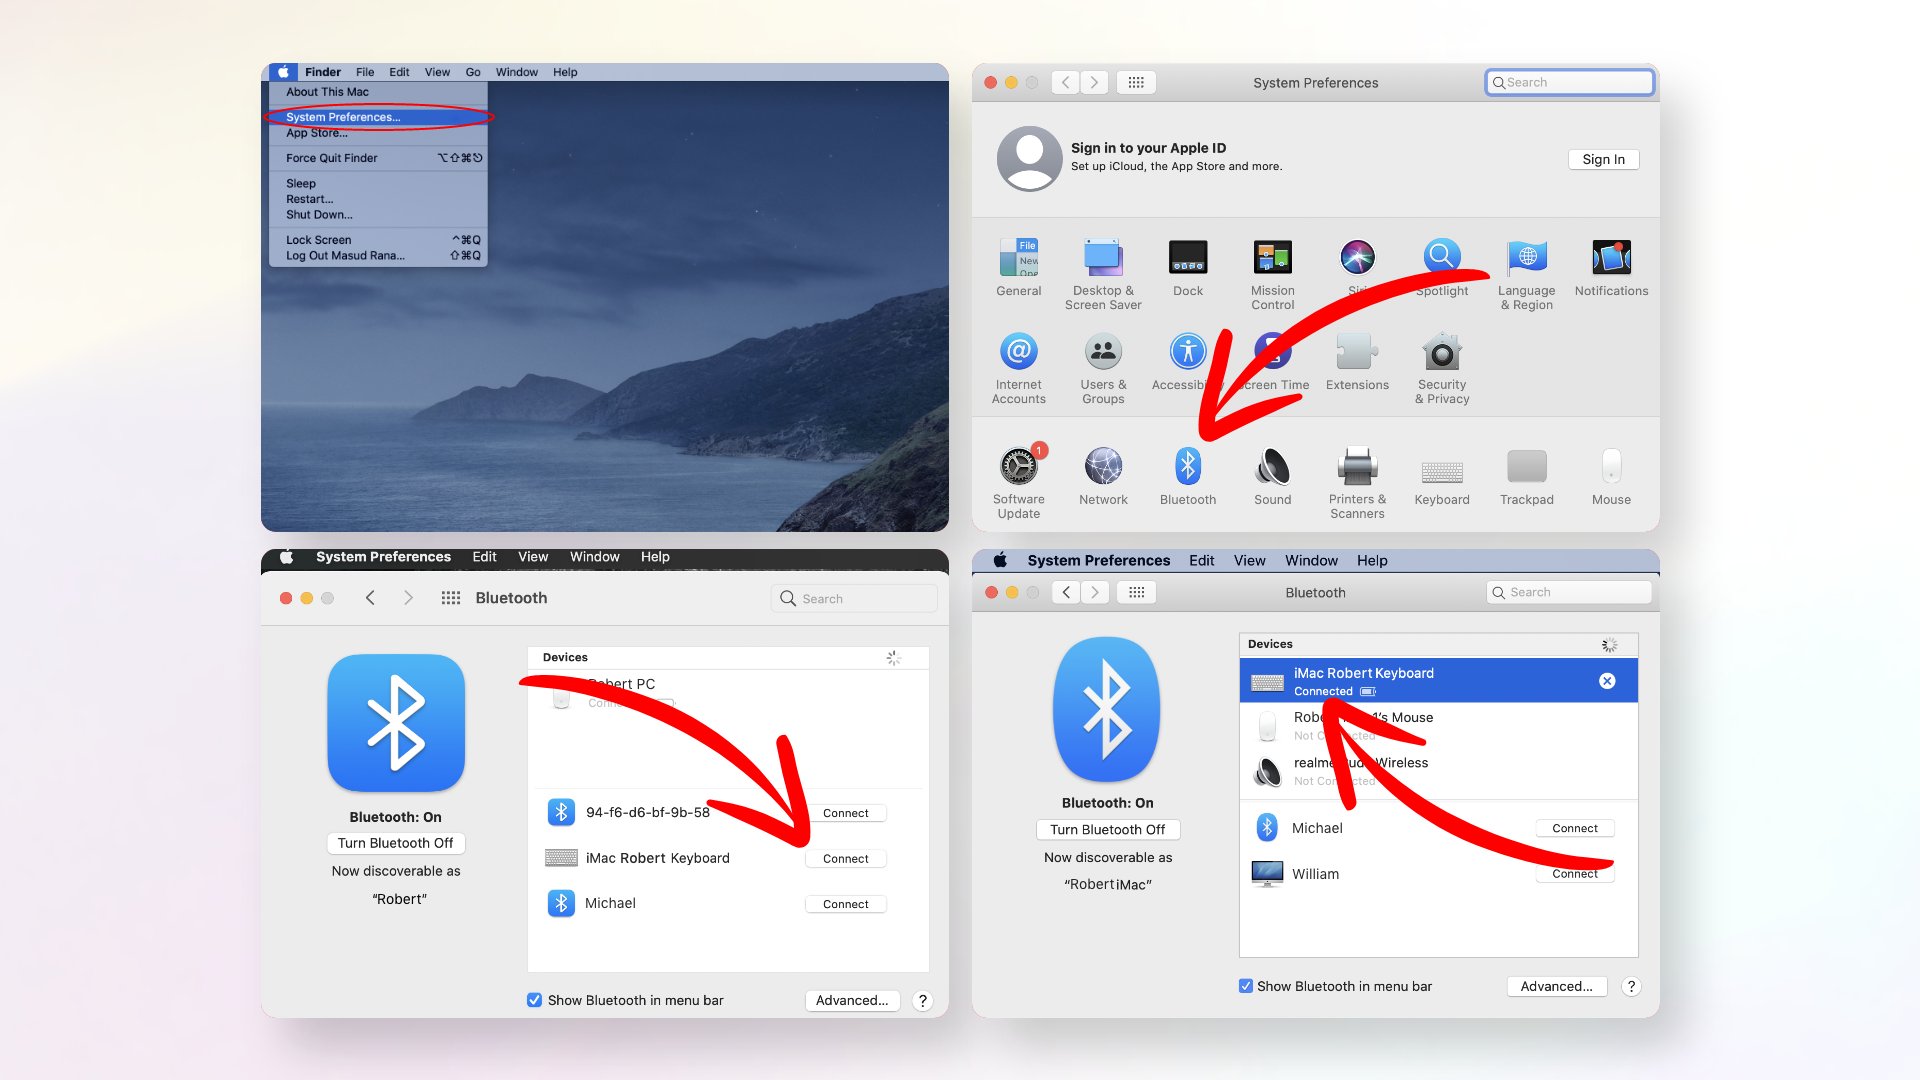
If your Logitech keyboard is Bluetooth-enabled, put it into pairing mode by pressing the Bluetooth button on the keyboard. On your Mac, go to System Preferences, click on Bluetooth, and ensure that Bluetooth is turned on. Your keyboard should appear in the list of available devices. Select it, and your Mac will establish a Bluetooth connection with the keyboard.
Once the connection is established, your Logitech keyboard is ready to be used with your Mac. You can start typing and enjoy the convenience and functionality it provides.
With the keyboard connected, it’s time to move on to the next step: pairing the keyboard with your Mac.
Step 3: Pairing the Keyboard with Your Mac
After connecting your Logitech keyboard to your Mac, the next step is to pair the keyboard to ensure seamless communication between the two devices. The pairing process may vary depending on the type of keyboard you have – wired, wireless, or Bluetooth-enabled.
If you have a wired Logitech keyboard, there is no need for pairing as the connection is established automatically when you plug in the USB cable. Simply start using the keyboard, and it should function immediately.
For wireless Logitech keyboards that come with a USB receiver, the pairing process is simple. Once you have inserted the USB receiver into your Mac, it should automatically pair with the keyboard. However, if it doesn’t, you can press the Connect/Pairing button on both the receiver and the keyboard to initiate the pairing process. The devices will communicate with each other, and once paired, you can start using the keyboard.
If you have a Bluetooth-enabled Logitech keyboard, the pairing process involves a few additional steps. First, make sure Bluetooth is enabled on your Mac by going to System Preferences and clicking on the Bluetooth icon. If it’s not enabled, turn it on.
On your Logitech keyboard, press the Bluetooth button to put it in pairing mode. The keyboard should now appear in the list of available devices on your Mac’s Bluetooth settings. Click on the keyboard’s name to select it, and your Mac will establish a Bluetooth connection. Follow any additional on-screen instructions to complete the pairing process.
Once the pairing is successful, you can start using your Logitech keyboard with your Mac wirelessly. Take a moment to test the keys and ensure that everything is working as expected.
Now that the keyboard is paired with your Mac, it’s time to move on to the next step: customizing the keyboard settings.
Step 4: Customizing Keyboard Settings
Once you have successfully connected and paired your Logitech keyboard with your Mac, you can customize the keyboard settings to enhance your typing experience. Logitech keyboards often come with additional features and functionalities that can be adjusted to suit your preferences.
To begin customizing your keyboard settings, open the System Preferences on your Mac. Click on the “Keyboard” preference pane, which allows you to modify various keyboard-related settings.
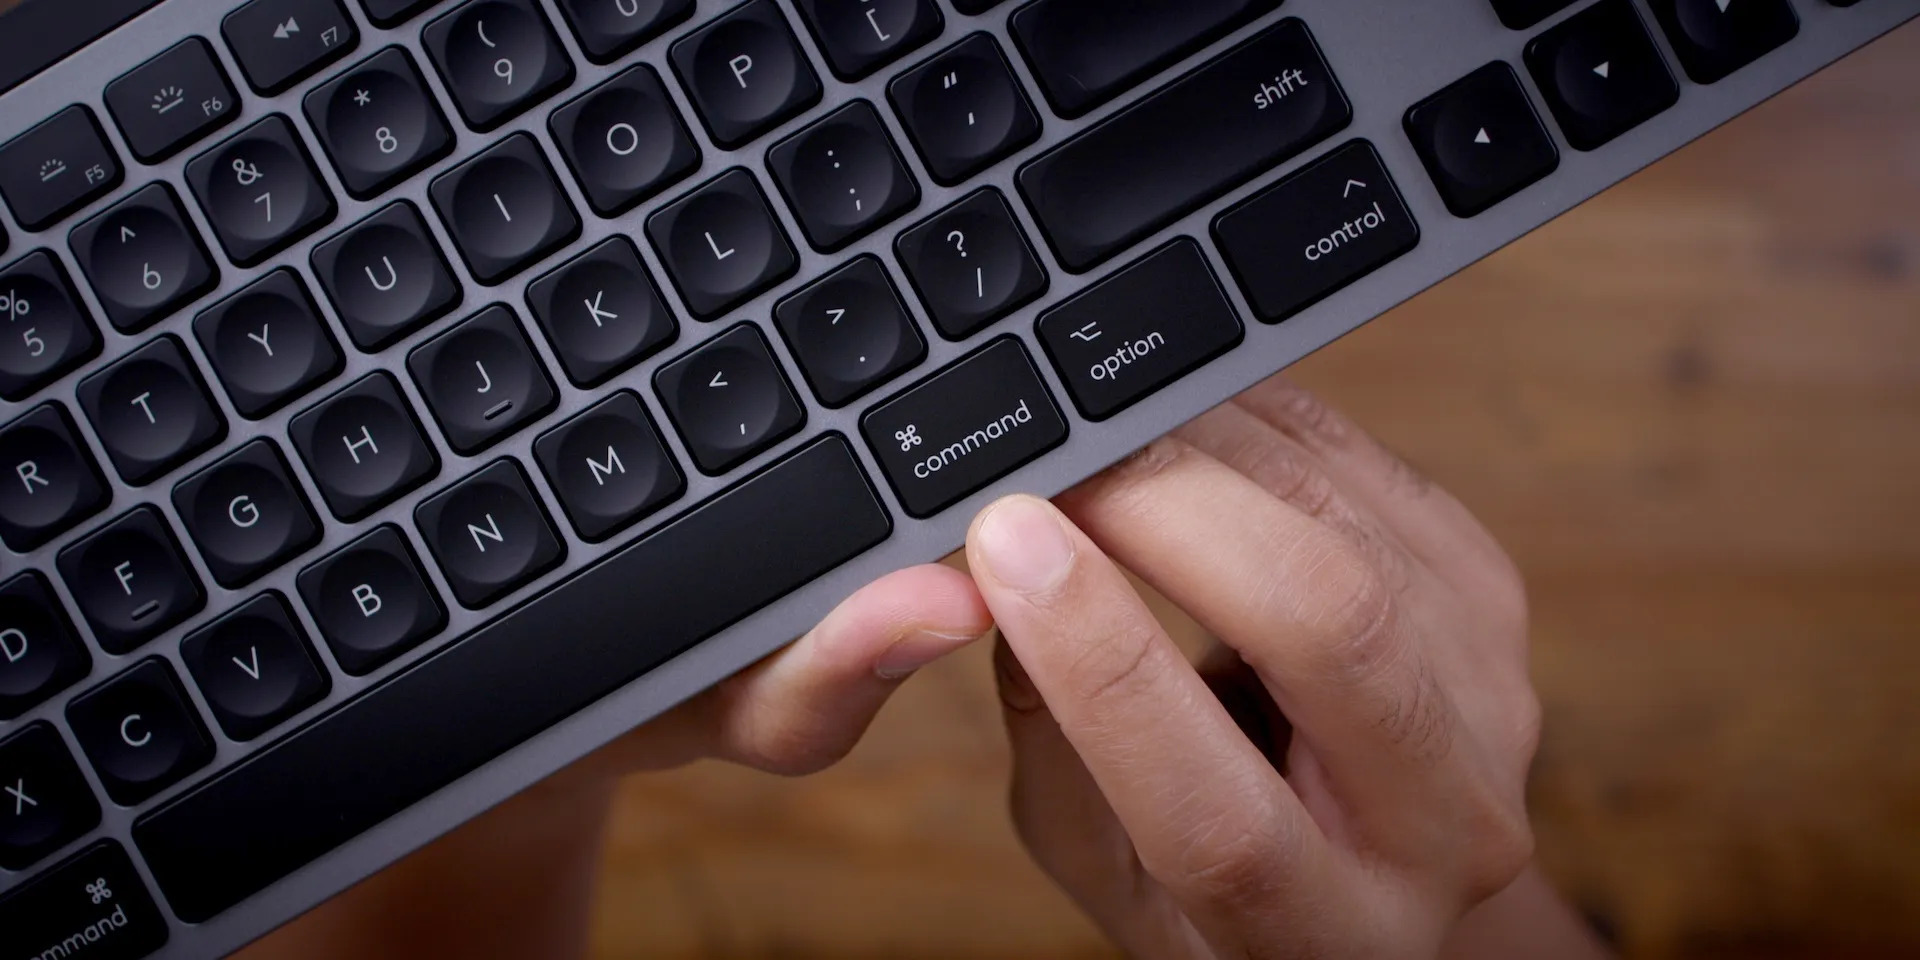
Within the Keyboard settings, you can adjust the typing speed, set keyboard shortcuts, enable/disable automatic capitalization, and change the behavior of modifier keys such as Shift, Control, Option, and Command.
Logitech keyboards also often come with multimedia keys and additional function keys. You can customize the functionality of these keys to perform specific actions, such as controlling volume, launching applications, or accessing specific features on your Mac. To customize these keys, navigate to the “Keyboard” preference pane, and click on the “Shortcuts” tab. From there, you can add, edit, or remove keyboard shortcuts to suit your needs.
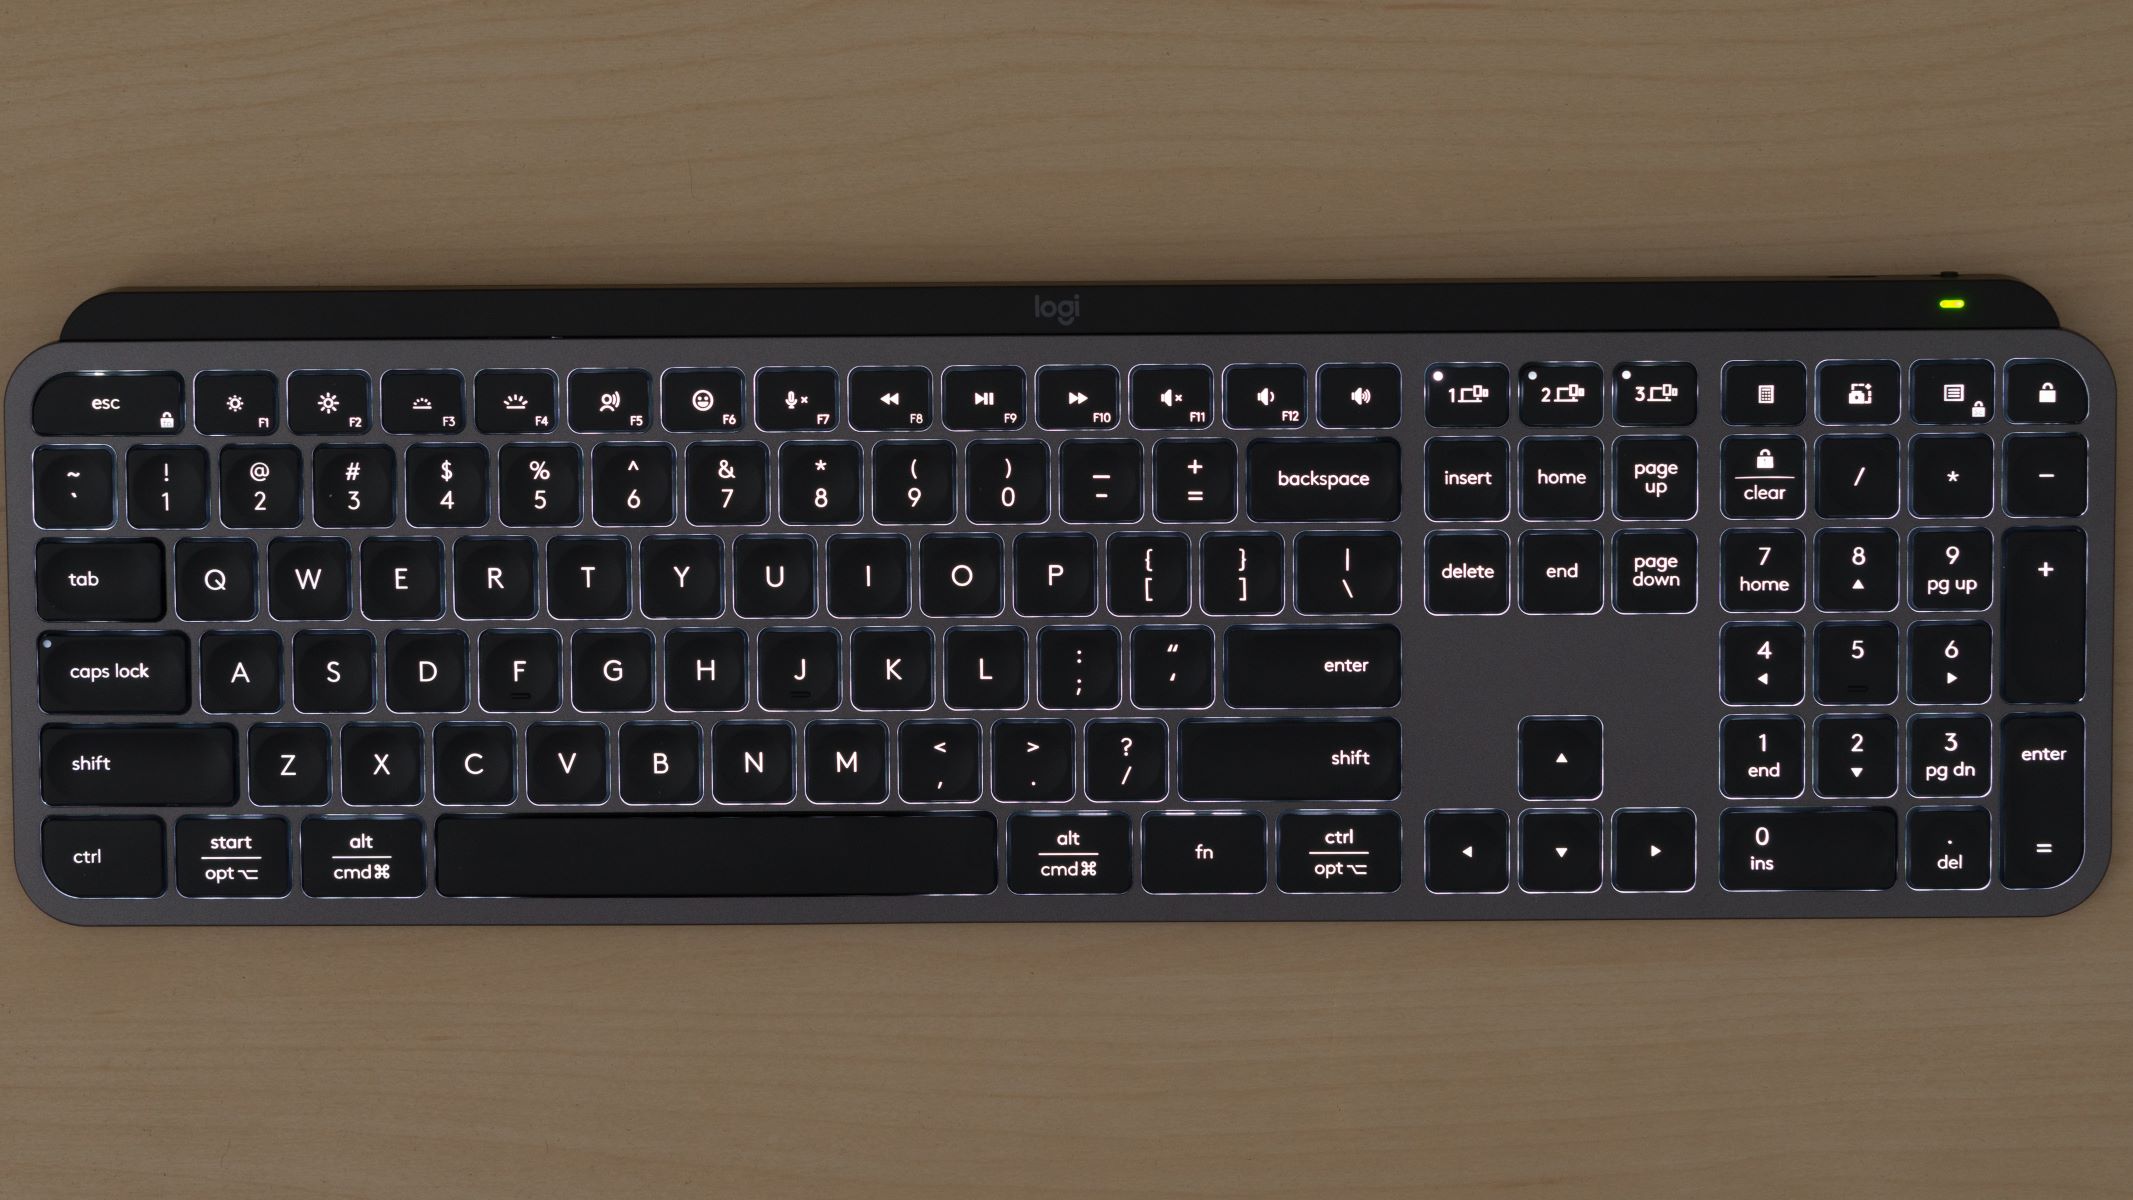
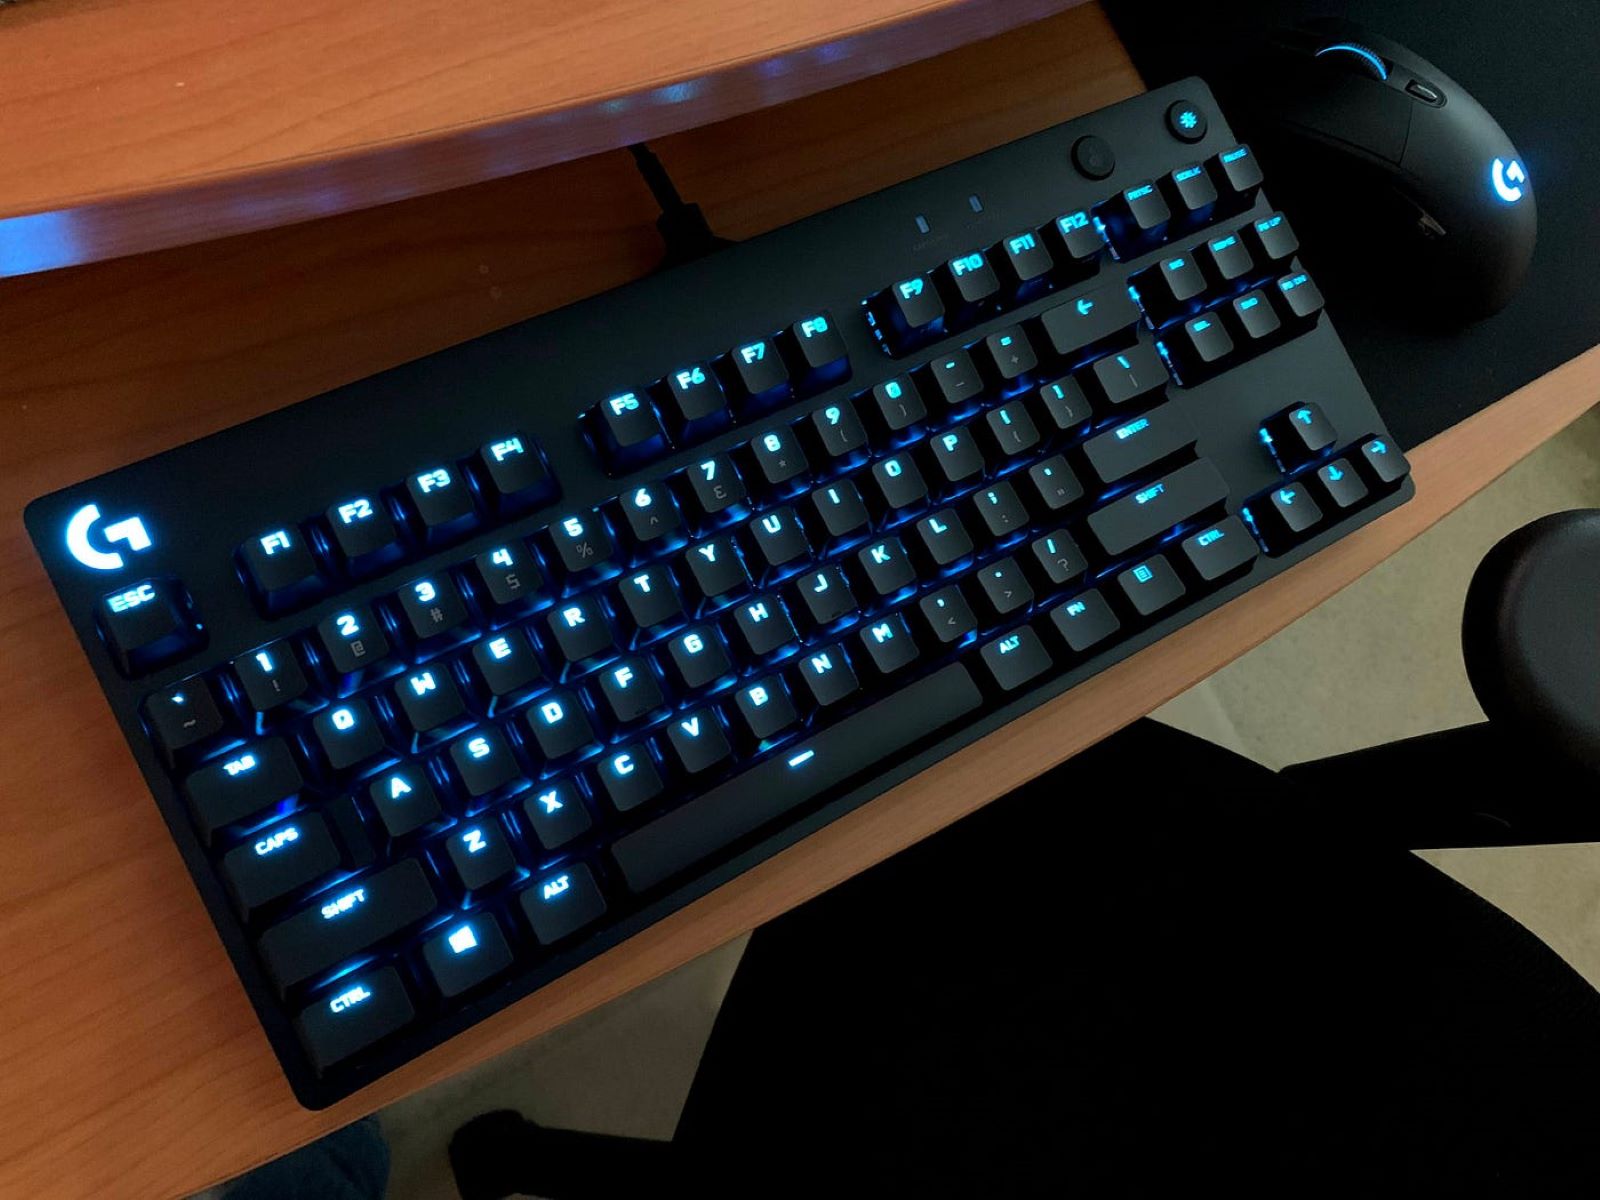
Some Logitech keyboards may have backlighting features, allowing you to adjust the brightness or change the color of the backlight. If your keyboard supports this feature, you can typically control the backlight settings through dedicated keys or software provided by Logitech. Consult the user manual or the Logitech website for specific instructions on customizing the backlighting options.
Additionally, Logitech often provides optional software that allows you to further customize your keyboard settings. These software applications, such as Logitech Options for Mac, provide advanced customization options, including remapping keys, creating profiles, and adjusting sensitivity settings. Visit the Logitech website to download and install the corresponding software for your keyboard model.
By customizing the keyboard settings, you can optimize your typing experience and personalize the keyboard to meet your specific needs and preferences. Take some time to explore the available options and fine-tune the settings to enhance your productivity and comfort.
Now that you’ve customized your keyboard settings, let’s move on to the final step: troubleshooting common issues that may arise during the setup process.
Step 5: Troubleshooting Common Issues
While setting up your Logitech keyboard on your Mac is generally a smooth process, you may encounter some common issues along the way. Here are a few troubleshooting tips to help you overcome these challenges:
1. Keyboard not recognized: If your Mac fails to recognize your Logitech keyboard, try connecting the keyboard to a different USB port or restarting your Mac. Additionally, make sure you have installed any necessary drivers or software provided by Logitech for your specific keyboard model.
2. Connectivity issues: If you have a wireless Logitech keyboard, ensure that the USB receiver is securely plugged into your Mac. If the connection is still unstable, try moving the receiver closer to the keyboard or removing any potential interference sources, such as other electronic devices or metallic objects.
3. Bluetooth pairing problems: If you’re pairing a Bluetooth-enabled Logitech keyboard, ensure that Bluetooth is enabled on your Mac and that the keyboard is in pairing mode. If the pairing process fails, try resetting the keyboard by turning it off and on again or removing and reinserting the batteries.
4. Unresponsive keys or buttons: If you experience unresponsive keys or buttons on your Logitech keyboard, first check if the batteries (for wireless keyboards) are properly installed and have sufficient charge. Clean the keys and buttons to remove any debris or dirt that might be interfering with their functionality. If the issue persists, contact Logitech customer support for further assistance.
5. Software conflicts: If you have installed Logitech software or drivers for advanced customization options, ensure that they are up to date. Check for any conflicts with other software installed on your Mac and try disabling or uninstalling them temporarily to see if it resolves any issues you’re experiencing.
If none of these troubleshooting steps resolve your issue, consult the Logitech support website for specific troubleshooting guides and contact their customer support for further assistance.
By following these troubleshooting tips, you can overcome common setup issues and ensure that your Logitech keyboard works seamlessly with your Mac.
With all the setup and troubleshooting steps covered, you should now be able to enjoy your Logitech keyboard on your Mac, enhancing your typing experience and productivity.
Conclusion
Setting up a Logitech keyboard on your Mac is a straightforward process that allows you to enjoy the superior functionality and convenience these keyboards offer. By following the steps outlined in this guide, you can easily unpack your keyboard, connect it to your Mac, pair it for seamless communication, customize the settings to suit your preferences, and troubleshoot common issues that may arise.
Whether you have a wired, wireless, or Bluetooth-enabled Logitech keyboard, the setup process is designed to be user-friendly and efficient. The ability to personalize keyboard settings, such as typing speed, shortcut assignments, backlighting options, and more, allows you to tailor your typing experience to your liking.
If you encounter any difficulties during the setup process or face performance issues with your Logitech keyboard, refer to the troubleshooting tips provided to overcome common challenges. Logitech support resources and customer service are also available to assist you in resolving any specific issues you may encounter.
Now that you have successfully set up your Logitech keyboard on your Mac, enjoy the enhanced typing experience and productivity that your newfound configuration brings. Whether you’re using the keyboard for work, gaming, or general everyday use, you can expect reliability, comfort, and efficiency that Logitech keyboards are known for.
Remember to regularly check for updates or additional software from Logitech to take full advantage of all the features your keyboard has to offer. Stay informed about firmware updates and new settings or customization options that can further enhance your experience.
We hope this guide has been helpful in assisting you with setting up your Logitech keyboard on your Mac. Enjoy your new keyboard and all the benefits it brings to your daily computing tasks!