Introduction
Welcome to the world of home security cameras! Whether you’re a homeowner or a renter, investing in a reliable home security camera system is an essential step in ensuring the safety and security of your property and loved ones.
With the advancements in technology, home security cameras have become more accessible, affordable, and user-friendly than ever before. They provide a valuable layer of protection and peace of mind, allowing you to monitor your home and deter potential intruders.
In this comprehensive guide, we will walk you through the process of setting up home security cameras, from choosing the right system to installing and maintaining it. By the end, you will have all the information you need to create a secure environment for your home.
Before we delve into the details, it’s important to note that home security cameras are just one part of a comprehensive security strategy. They work best when combined with other measures, such as sturdy locks, motion sensor lights, and a monitored alarm system. Together, these elements form a robust defense against potential threats.
So, whether you’re looking to protect your home while you’re away or simply want to keep an eye on your property from the comfort of your couch, let’s get started on the journey of setting up your home security cameras.
Benefits of Home Security Cameras
Home security cameras offer numerous benefits that go beyond just keeping an eye on your property. Here are some of the key advantages of installing home security cameras:
- Deterrence: The presence of visible security cameras acts as a deterrent to potential intruders. Knowing that their actions are being recorded significantly reduces the risk of break-ins and vandalism.
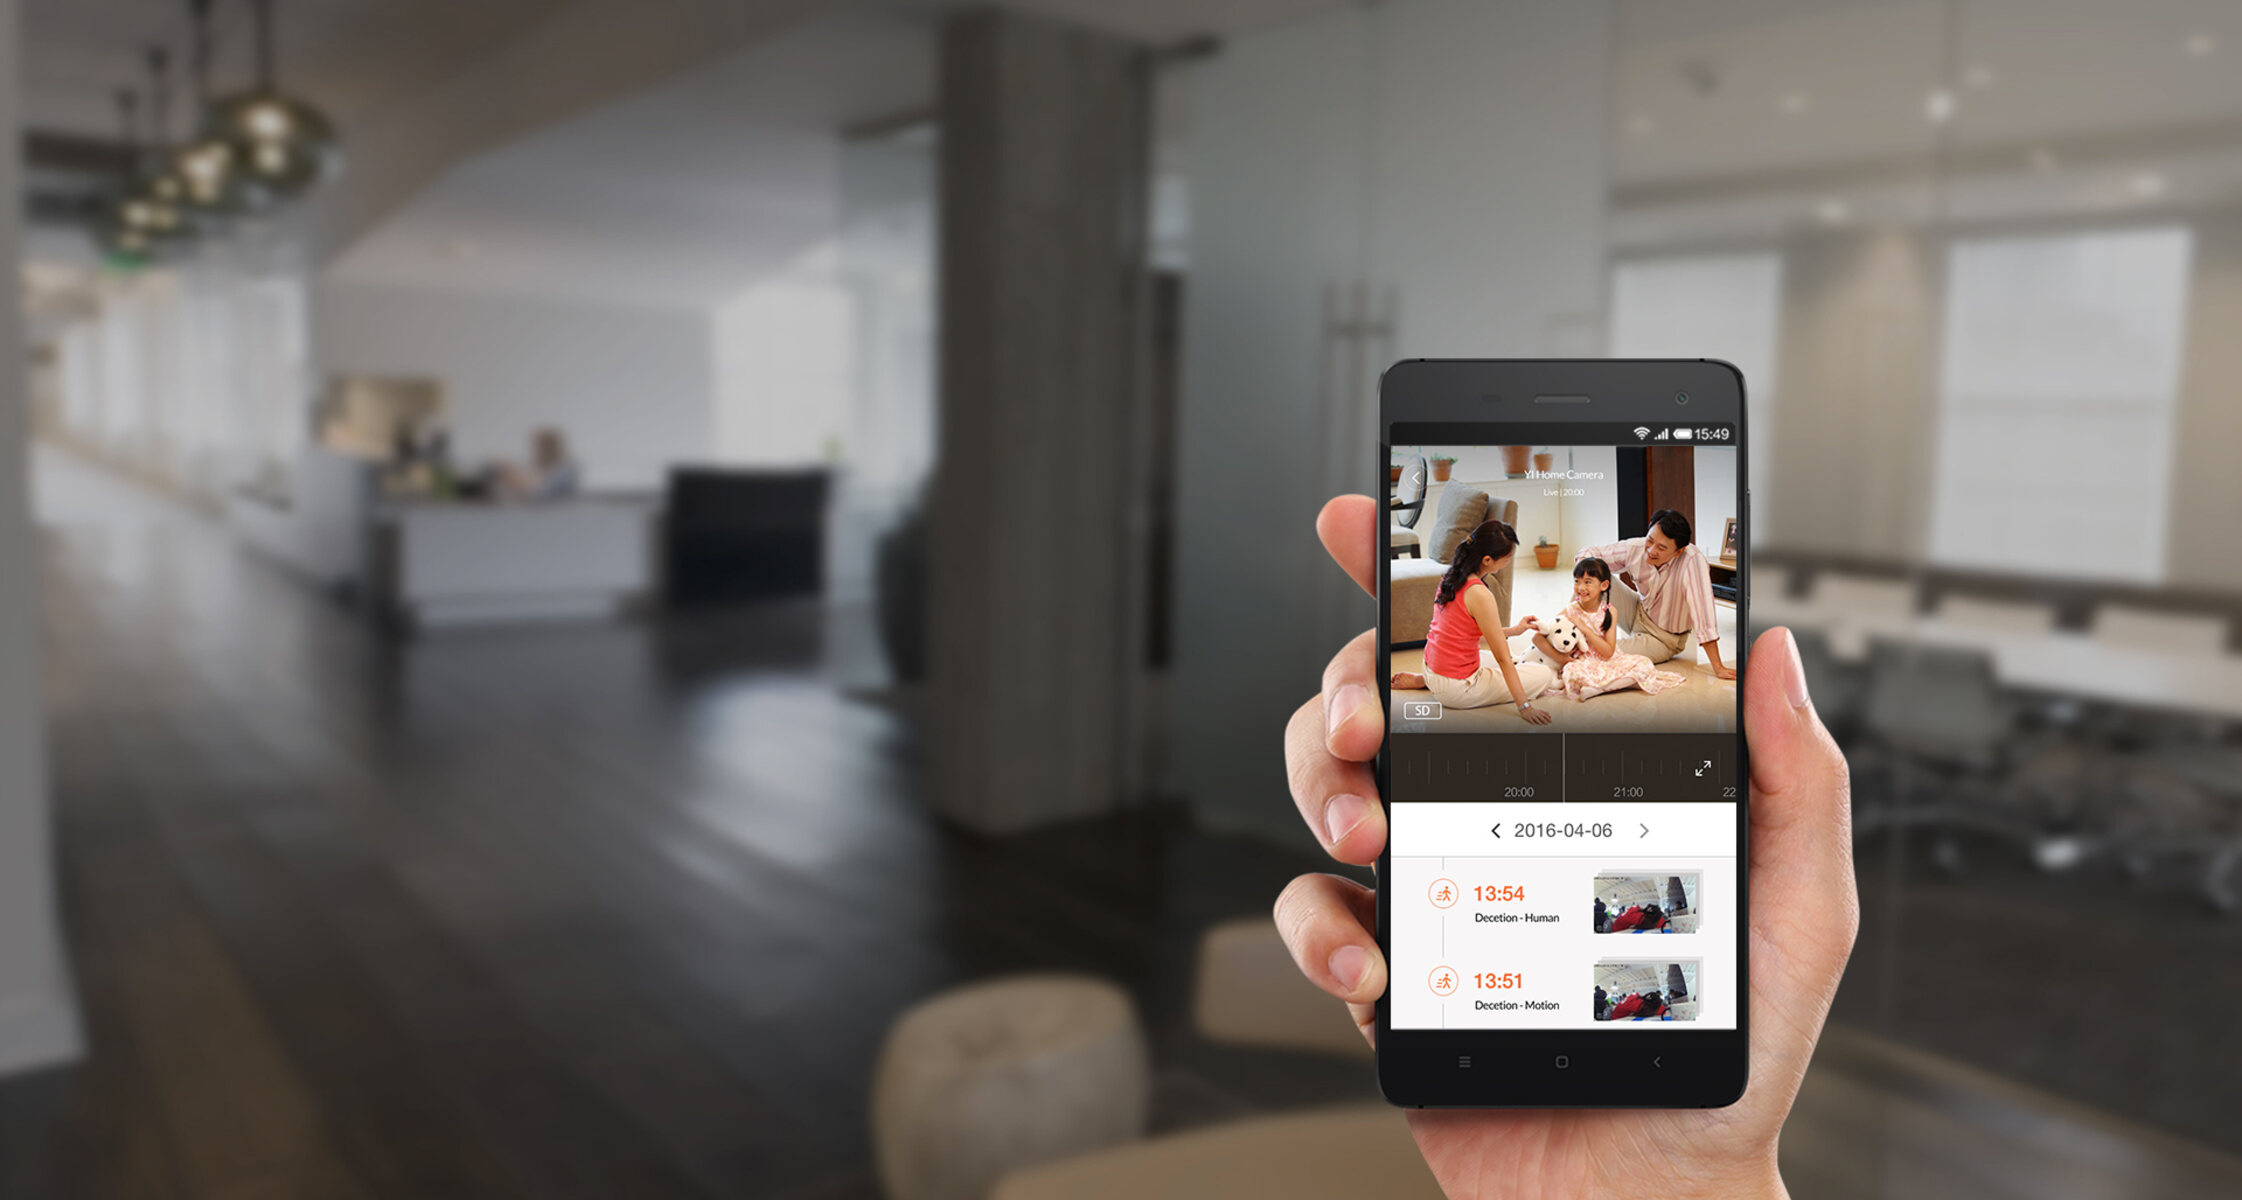
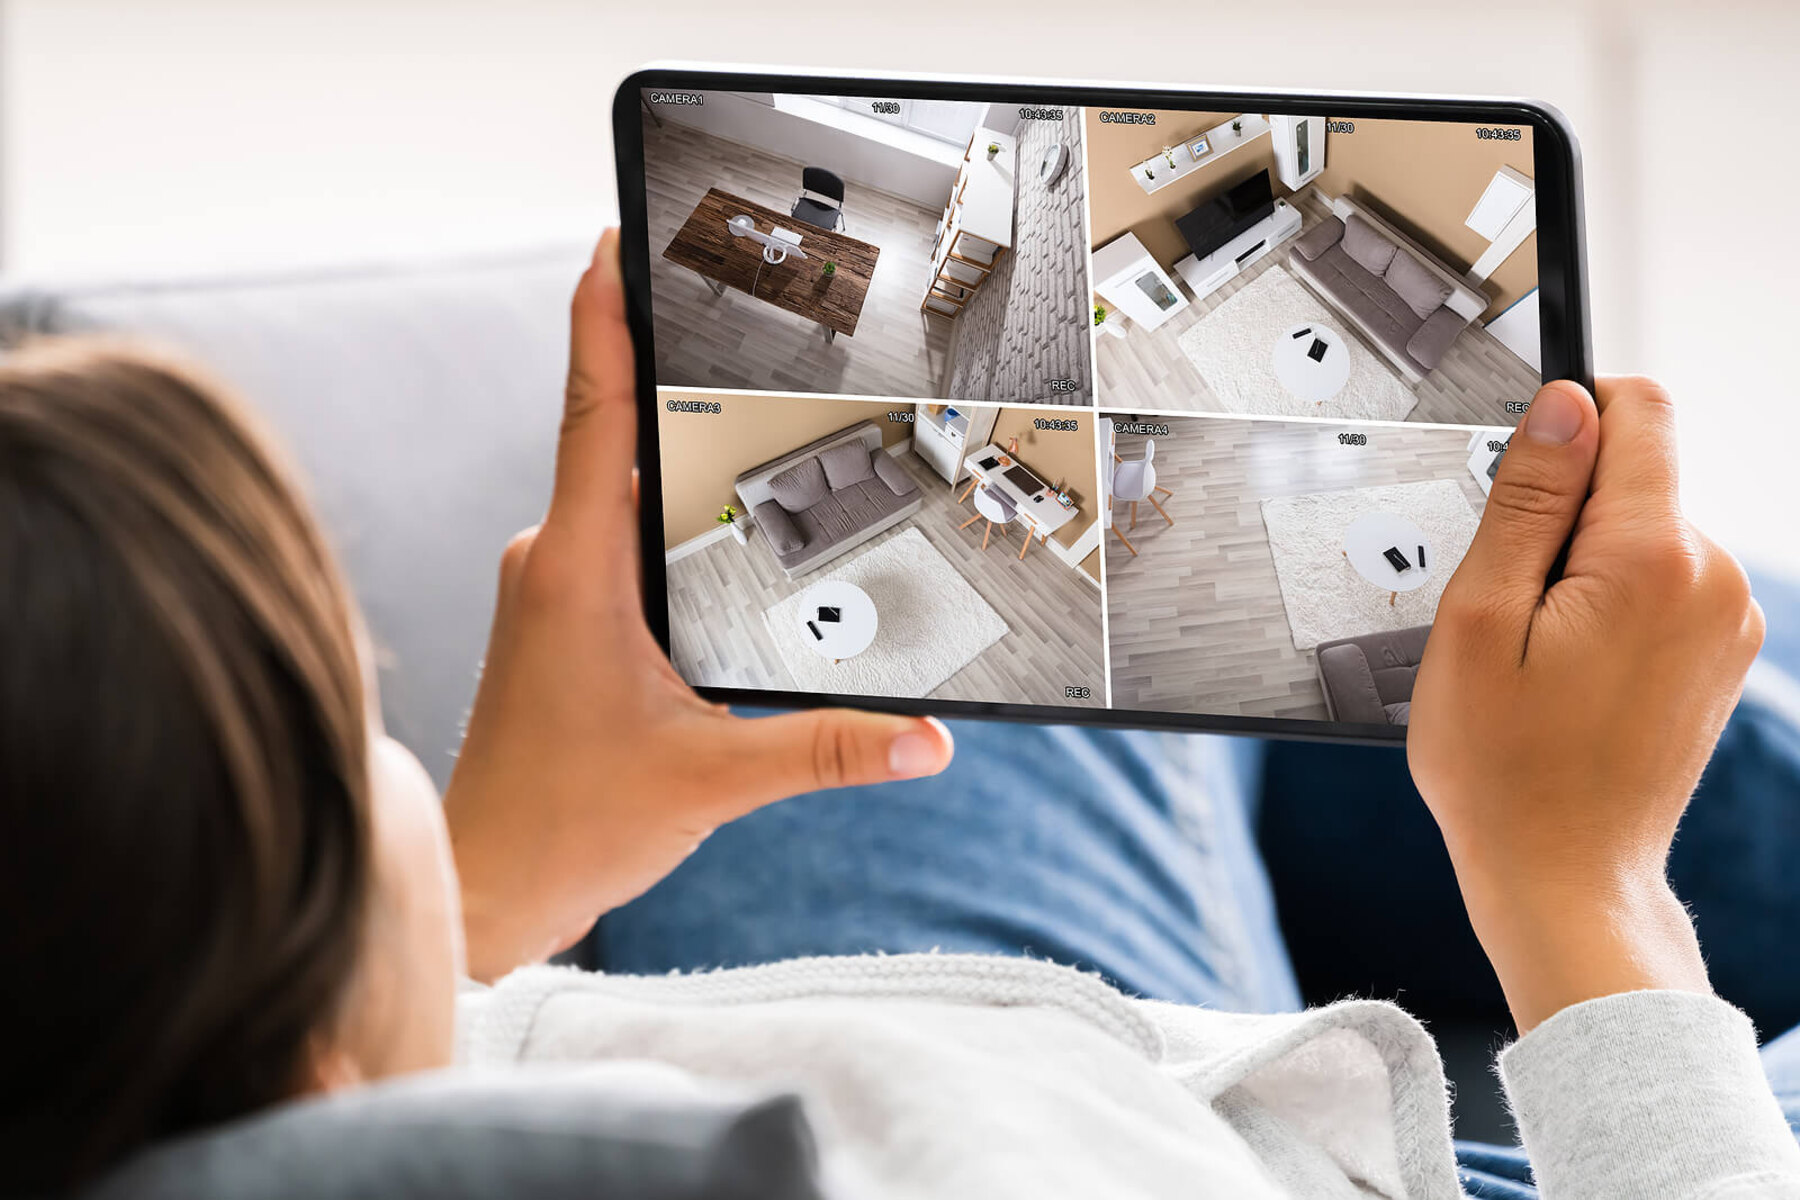
- Remote Monitoring: With modern home security cameras, you can conveniently monitor your property from anywhere using your smartphone or computer. This allows you to keep an eye on your home while you’re away, providing peace of mind and the ability to respond promptly to any suspicious activity.
- Evidence Collection: In the unfortunate event of a break-in or any other criminal activity, home security cameras provide valuable evidence that can aid law enforcement in apprehending the perpetrators and recovering stolen property.
- Insurance Premiums: Installing a home security camera system can often lead to discounted insurance premiums. Insurance companies recognize the added security and reduced risk that comes with surveillance cameras, resulting in potentially substantial savings for homeowners.
- Monitoring Vulnerable Areas: Home security cameras are not limited to the protection of the main entrance. They can be strategically placed to monitor other vulnerable areas, such as backyards, garages, and basements, providing comprehensive coverage for your property.
- Peace of Mind: One of the most significant benefits of home security cameras is the peace of mind they offer. Whether you’re at work, on vacation, or asleep at night, knowing that your home is under surveillance can make you feel secure and at ease.
By investing in a home security camera system, you create a secure environment that sends a clear message to potential intruders: your property is protected. The benefits extend beyond just security, offering convenience, evidence, and peace of mind. With these advantages in mind, let’s move on to the next step: choosing the right home security camera system.
Choosing the Right Home Security Camera System
When it comes to choosing the right home security camera system, there are several factors to consider. Making an informed decision ensures that you select a system that meets your specific needs and provides the level of security you desire. Here are some key considerations:
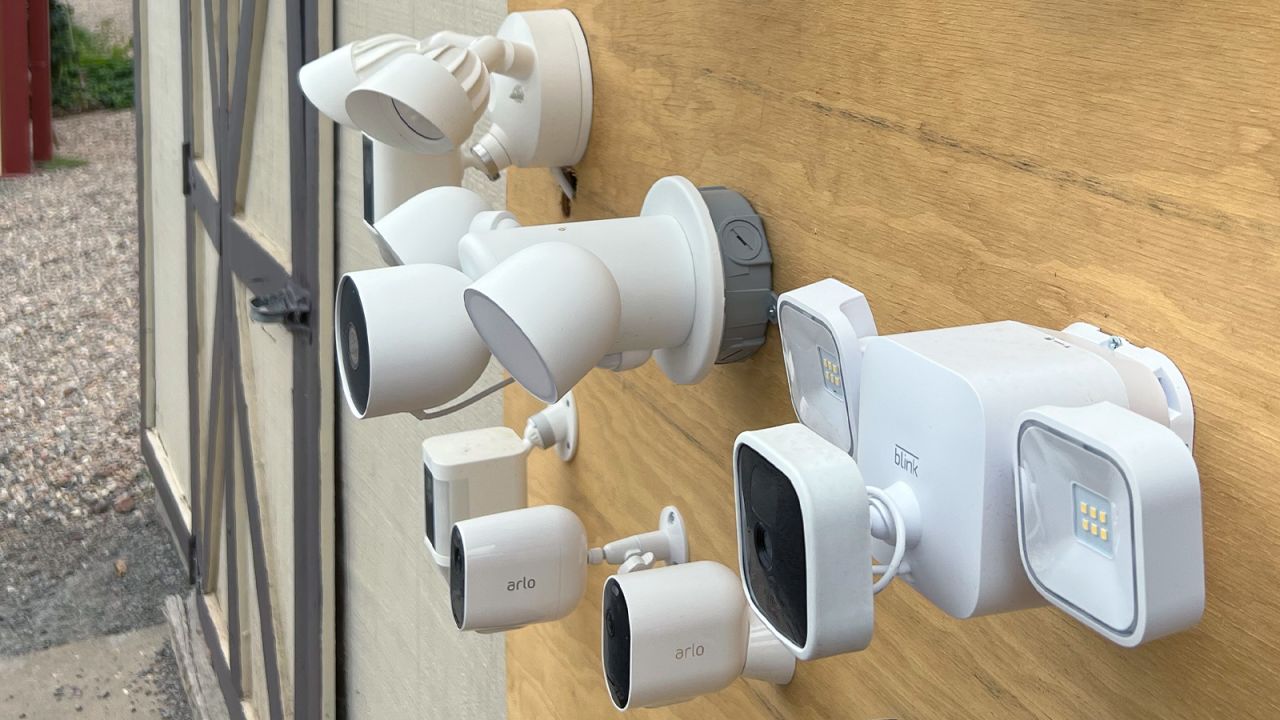
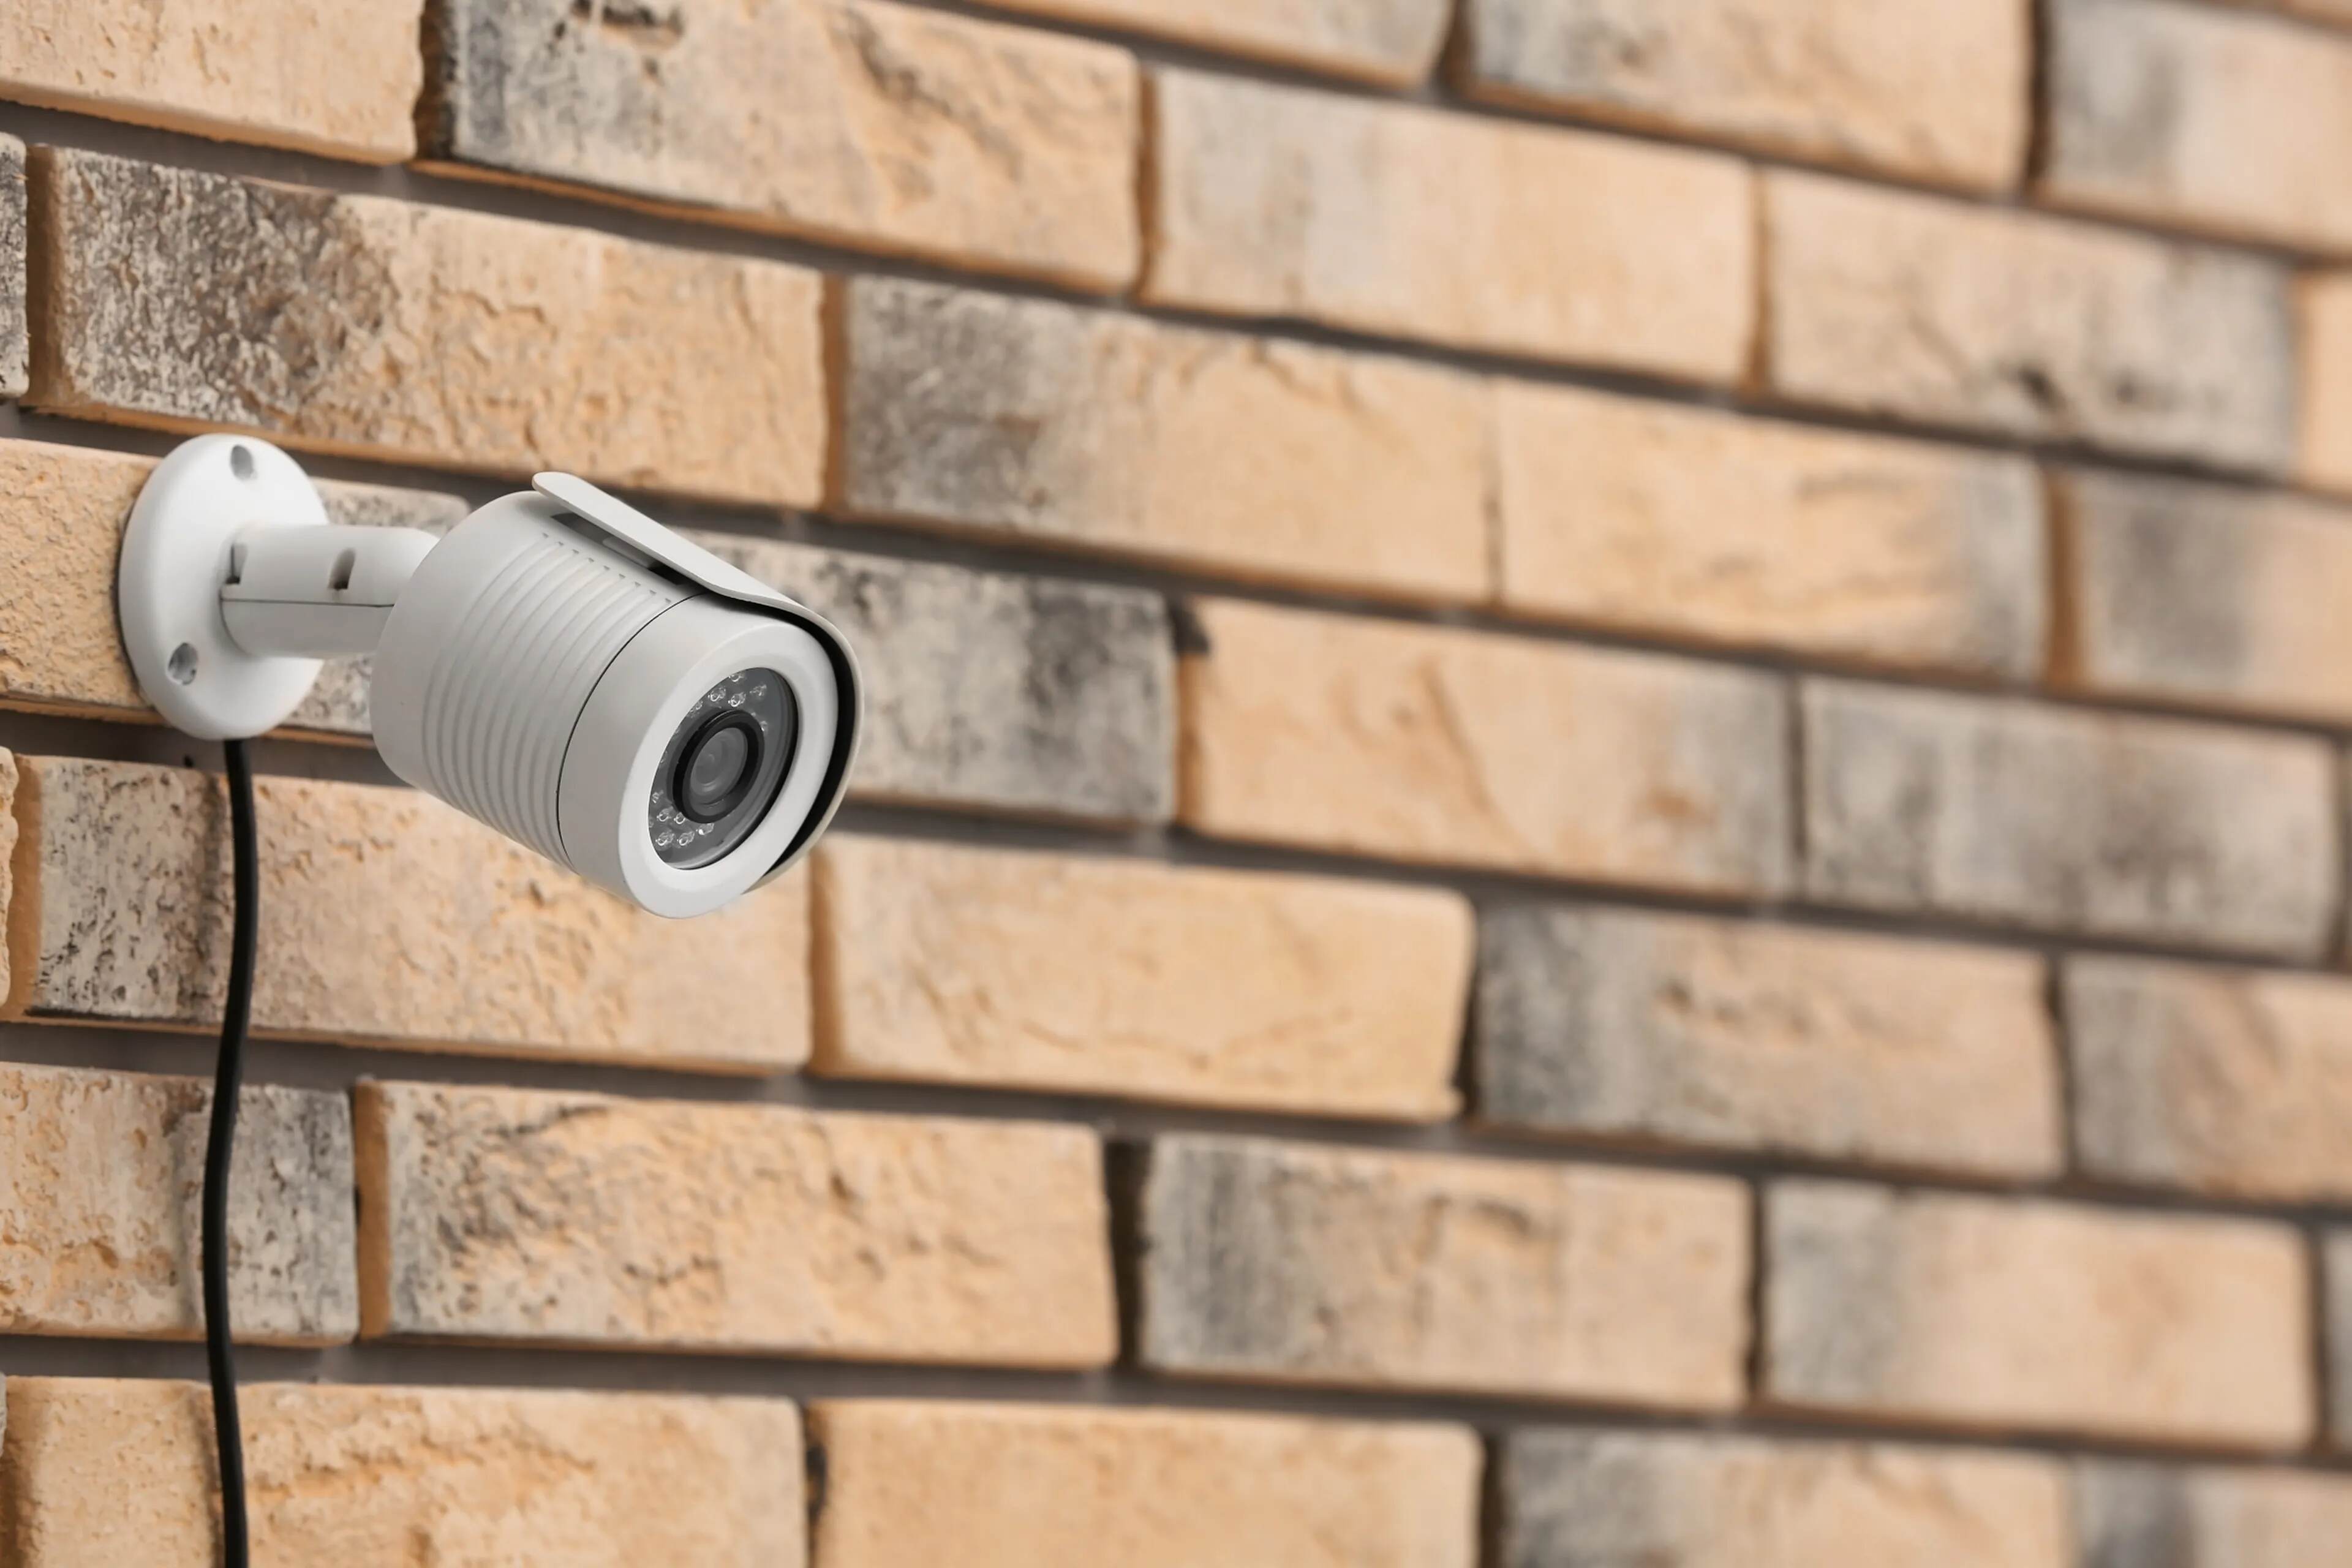
- Indoor or Outdoor: Determine whether you need cameras for indoor monitoring, outdoor surveillance, or both. Outdoor cameras need to be weatherproof and designed to withstand the elements.
- Video Quality: Look for cameras that offer high-definition (HD) or even ultra-high-definition (UHD) video quality. Crisp and clear footage is essential for accurate identification of individuals and details.
- Field of View: Consider the field of view (FOV) offered by the cameras. A wider FOV allows for more coverage and reduces blind spots.
- Connectivity: Determine how the cameras will connect to your network. Wired cameras offer a stable connection, while wireless cameras provide flexibility in terms of placement.
- Recording and Storage: Decide how you want the cameras to record and store footage. Options include local storage on a DVR or NVR system, cloud storage, or a combination of both.
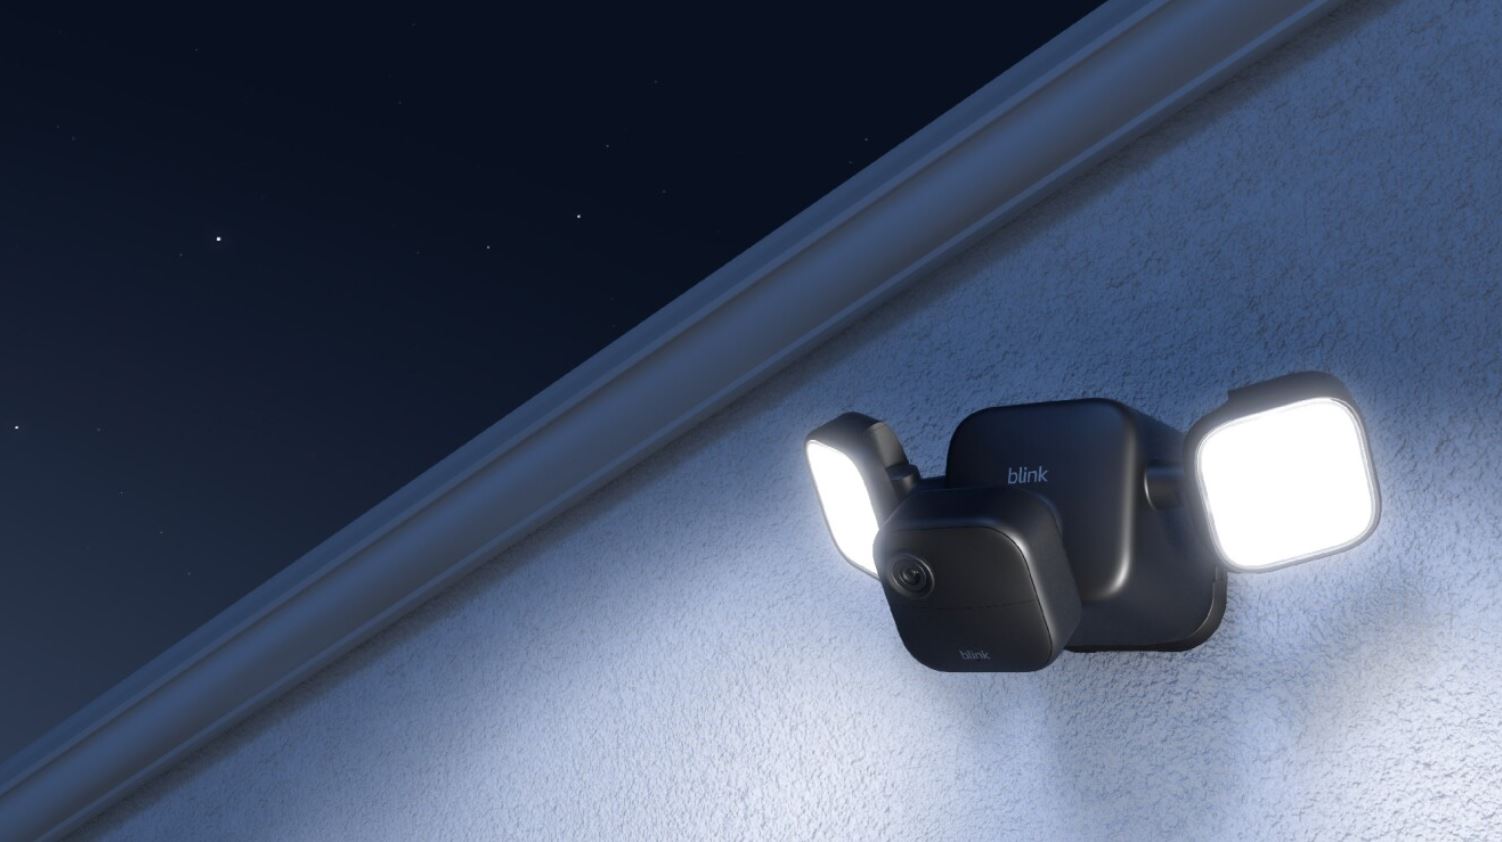
- Night Vision: If you want to monitor your property during the night, choose cameras with infrared (IR) or night vision capabilities. This ensures clear visibility even in low-light conditions.
- Remote Access: Check if the camera system offers remote access capabilities, allowing you to view live feeds and playback recordings from anywhere using a smartphone, tablet, or computer.
- Integration: Consider whether the camera system integrates with other smart devices or home automation systems, allowing for enhanced convenience and functionality.
- Budget: Set a budget for your home security camera system and find options that offer the best features within your price range.
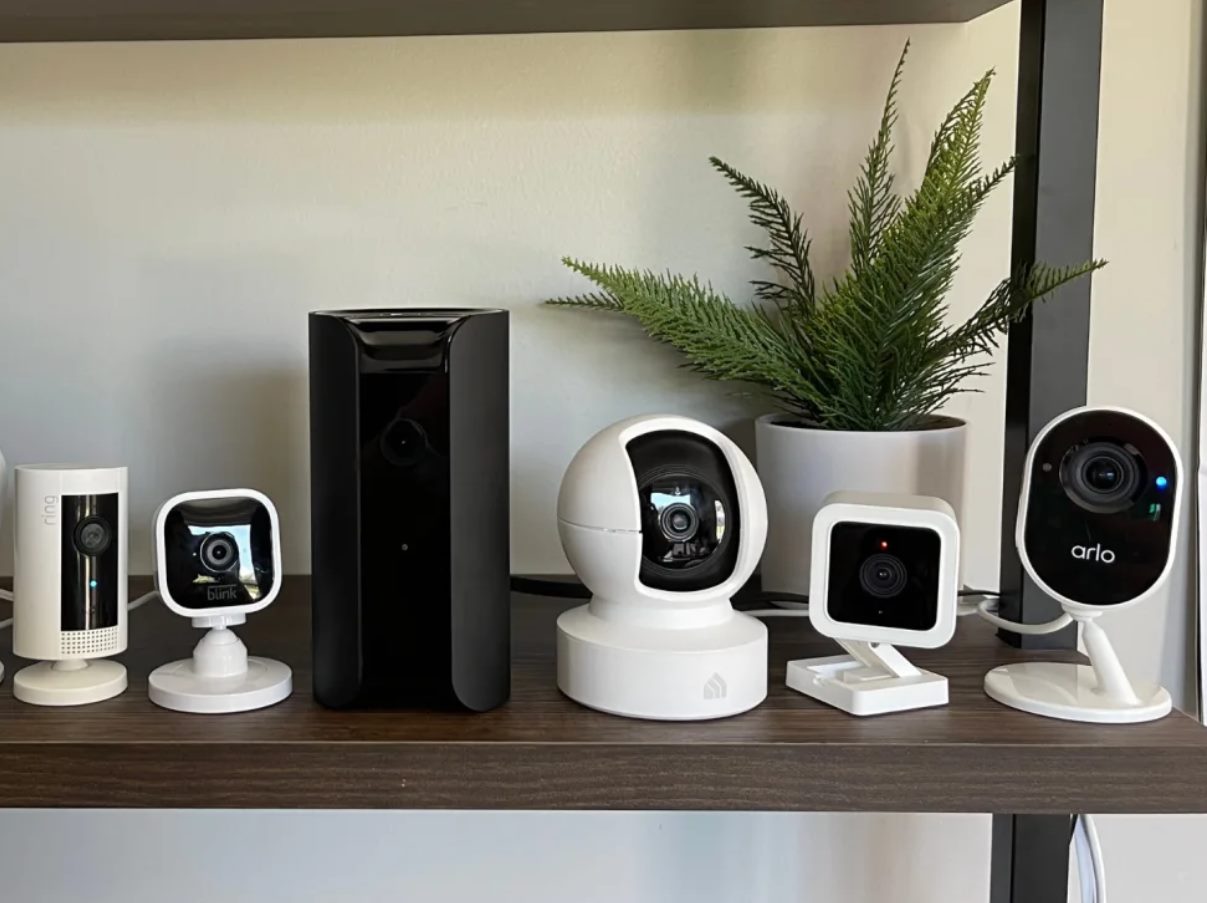
Take your time to research different brands, read reviews, and compare features before making a final decision. It’s also a good idea to consult with a professional security system provider who can recommend the most suitable camera system for your specific needs.
Now that you understand the key factors in choosing the right home security camera system, let’s move on to the next step: determining the best camera locations for optimal coverage.
Determining the Best Camera Locations
Deciding on the best camera locations for your home security system is crucial to ensure optimal coverage and effectiveness. By strategically placing cameras in key areas, you can maximize their surveillance capabilities and minimize blind spots. Here are some important considerations when determining camera locations:
- Entrances and Exits: Place cameras near all entrances and exits, including front and back doors, garage doors, and windows. These areas are common points of entry for intruders.
- Driveways and Walkways: Aim cameras towards driveways, walkways, or paths leading to your property. This helps capture any suspicious activity or approach towards your home.
- Backyards and Outdoor Spaces: If you have a backyard or outdoor space, install cameras to monitor these areas. This can deter unauthorized access, protect valuable outdoor items, and keep an eye on children or pets playing outside.
- Blind Spots and Vulnerable Areas: Identify any blind spots around your property, such as dark corners or areas obstructed by landscaping, and install cameras to cover these areas. Also, consider locations that offer a view of vulnerable areas like sheds, gates, or utility entrances.
- Stairways and Hallways: Inside your home, position cameras to cover stairways and hallways, which are common pathways for intruders. This helps capture any movement within your home and ensures comprehensive coverage.
- Points of Interest: If you have valuable items or areas of high importance, such as safes, art collections, or home offices, place cameras to monitor these specific points of interest.
When determining camera locations, consider the field of view and coverage provided by each camera. Adjust the angle and position of the cameras to ensure they capture the desired areas effectively. Also, take into account any legal restrictions or privacy concerns that may affect camera placement.
Once you have identified the ideal camera locations, it’s time to move on to the next step: installing your home security cameras.
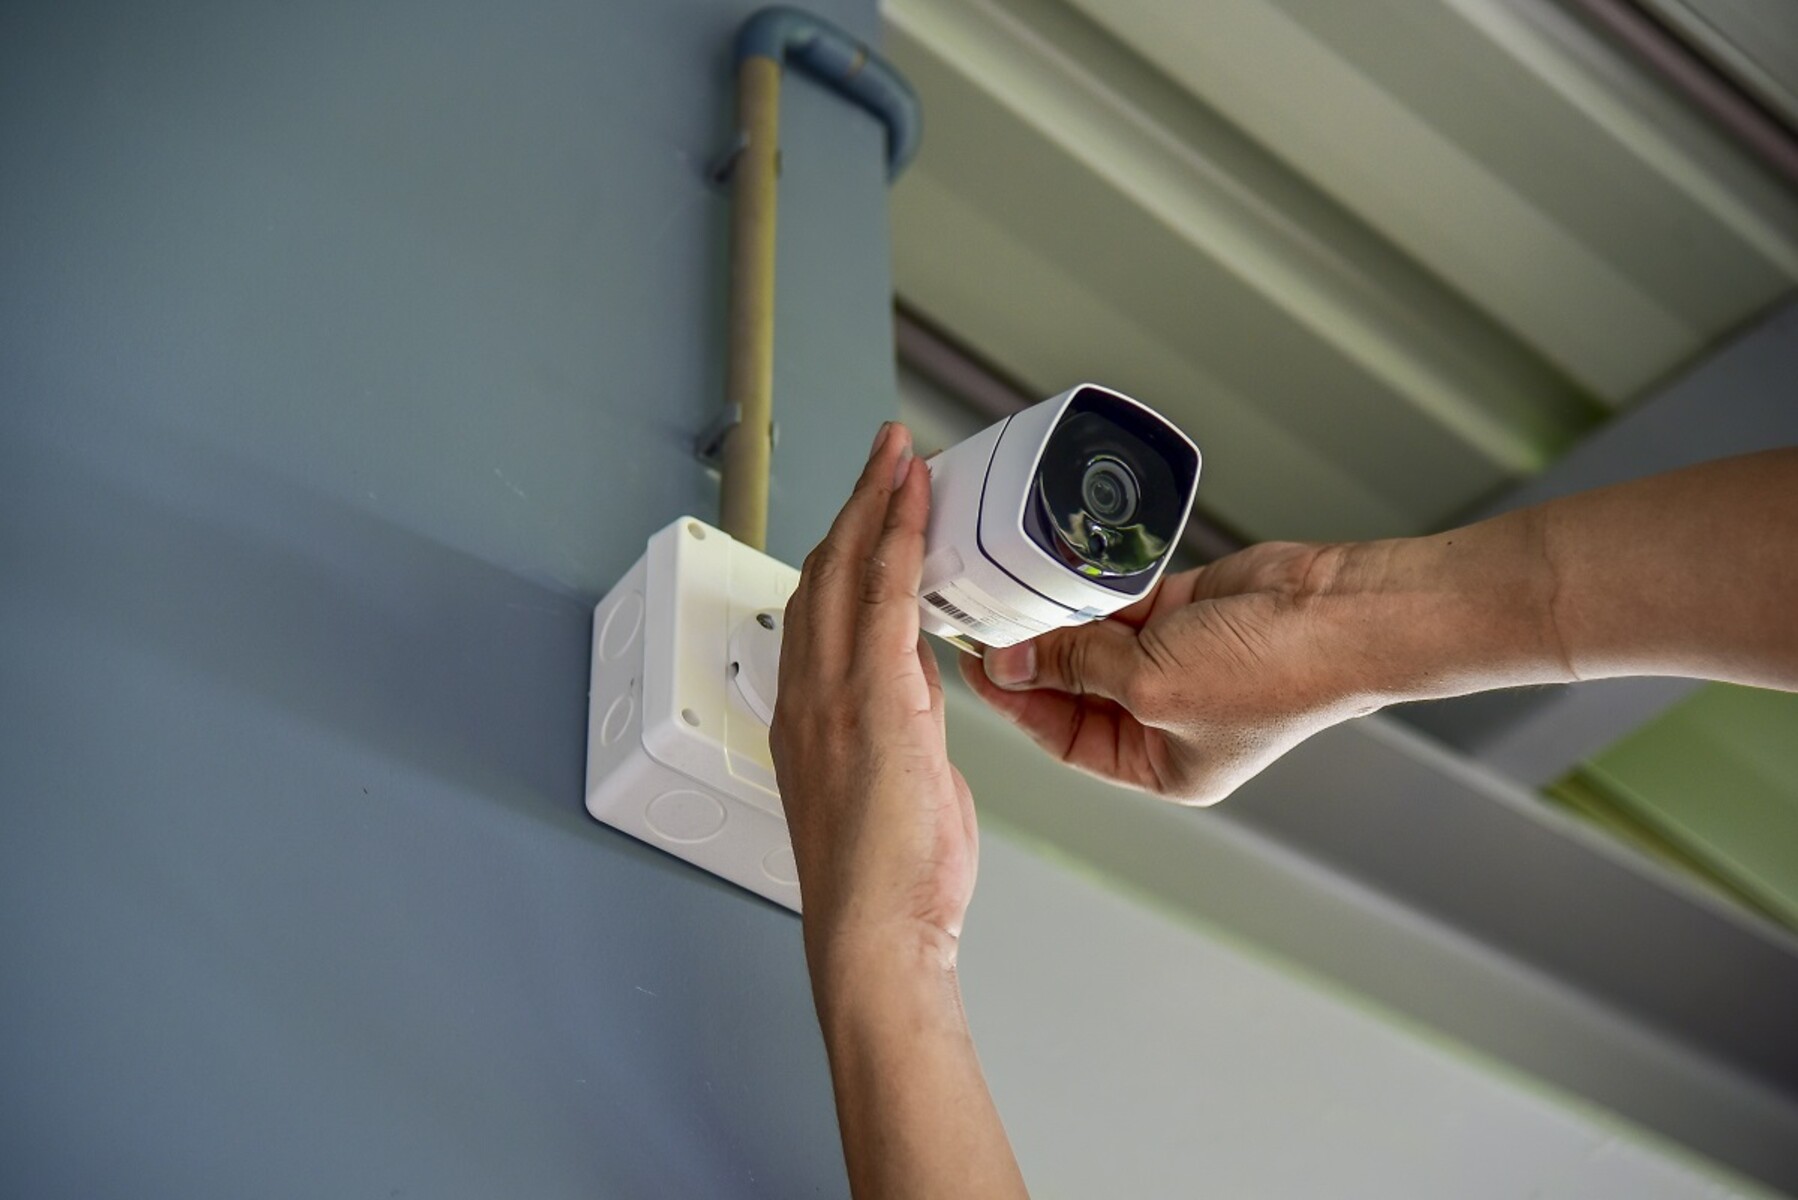
Installing Your Home Security Cameras
Now that you have determined the best camera locations, it’s time to start installing your home security cameras. While the specific installation process may vary depending on the camera system you have chosen, here are some general steps to follow:
- Gather the Necessary Tools: Before you begin, gather the tools required for installation, such as a drill, screws, screwdriver, and a ladder or step stool.
- Read the Manufacturer’s Instructions: Carefully read the manufacturer’s instructions provided with your camera system. This will guide you through the installation process specific to your cameras.
- Mount the Cameras: Use the appropriate mounting brackets or hardware to securely attach the cameras to the designated locations. Ensure they are mounted at the desired angle and position for optimal coverage.
- Route the Cables: If you have wired cameras, carefully route the cables from the cameras to the designated monitoring or recording system. Conceal the cables where possible to maintain a clean and professional installation.
- Connect the Cameras: If you have wireless cameras, follow the manufacturer’s instructions to connect the cameras to your Wi-Fi network. For wired cameras, connect the cables to the appropriate ports on the monitoring system.
- Power Up the Cameras: Ensure that your cameras are receiving power either through electrical outlets or PoE (Power over Ethernet) connections, depending on your camera system’s requirements.
- Adjust and Test: Once the cameras are installed, adjust their angles, focus, and zoom if applicable. Test each camera to ensure it is capturing clear footage and transmitting it to the monitoring system correctly.
During the installation process, you may encounter challenges such as finding suitable mounting surfaces or routing cables discreetly. In such cases, consult the manufacturer’s instructions or seek assistance from a professional installer.
Remember to prioritize safety throughout the installation process. Use a ladder or step stool on stable ground, and ensure all electrical connections are made with power turned off. Additionally, consider using weatherproof housing or covers for outdoor cameras to protect them from the elements.
With your cameras successfully installed, it’s time to move on to the next step: connecting your home security cameras to a monitoring system.
Connecting Your Home Security Cameras to a Monitoring System
Connecting your home security cameras to a monitoring system is an essential step in ensuring real-time surveillance and capturing footage for future reference. Here’s a guide on how to connect your cameras to a monitoring system:
- Choose a Monitoring System: Select a monitoring system that is compatible with your home security camera system. This could be a dedicated DVR (Digital Video Recorder), NVR (Network Video Recorder), or a cloud-based solution.
- Connect the Cameras to the System: Follow the manufacturer’s instructions to connect each camera to the monitoring system. This typically involves plugging the camera cables into the corresponding ports on the DVR or NVR.
- Configure the System: Use the setup wizard or software provided by the monitoring system to configure the cameras. This includes assigning names to each camera, adjusting recording settings, and setting up motion detection if desired.
- Set Up Remote Viewing: If your monitoring system offers remote viewing capabilities, follow the instructions to set up access from your smartphone, tablet, or computer. This allows you to monitor your cameras while you’re away from home.
- Configure Storage Options: Determine how the footage will be stored. If using a DVR or NVR, set up the storage options like continuous recording or motion-triggered recording. If opting for cloud storage, follow the provider’s instructions to activate and configure the service.
- Test the Connection: After connecting and configuring the cameras, test the connection to ensure that the monitoring system is receiving a live feed from each camera. Check the live feeds and verify that recording is functioning properly.
- Consider Professional Monitoring: For enhanced security, consider subscribing to a professional monitoring service. This service can provide 24/7 monitoring of your cameras, alert you to any suspicious activity, and contact authorities if necessary.
By connecting your home security cameras to a monitoring system, you enable continuous surveillance and have the ability to review footage in the event of any incidents or suspicious activity.
Next, we’ll explore the process of setting up remote access to your home security cameras, allowing you to monitor your property from anywhere in the world.
Setting Up Remote Access to Your Home Security Cameras
Setting up remote access to your home security cameras allows you to monitor your property from anywhere in the world using your smartphone, tablet, or computer. This convenient feature provides peace of mind and the ability to stay connected to your home even when you’re away. Here’s how to set up remote access:
- Check Camera System Compatibility: Ensure that your home security camera system supports remote access. Most modern camera systems offer this feature, but it’s important to verify compatibility before proceeding.
- Enable Remote Viewing: Access the camera system’s settings or software interface and enable remote viewing. This may involve creating an account, configuring network settings, and setting up port forwarding on your router.
- Install Mobile Apps or Software: Install the mobile app or software provided by the camera system manufacturer on your smartphone, tablet, or computer. These apps or software will allow you to access and view the camera feeds remotely.
- Connect to Your Camera System: Launch the app or software and log in using your account credentials. Follow the instructions provided to connect to your camera system and access the live camera feeds.
- Configure Push Notifications: Set up push notifications within the app or software to receive alerts or notifications when motion is detected or when specific events occur. This will keep you informed of any potential security threats or activity.
- Test Remote Access: Once you have set up remote access, test the connection by accessing the camera feeds from a different network or location. Ensure that the live feeds are displayed properly and that you can control camera functions such as pan, tilt, and zoom (if applicable).
- Secure Your Remote Access: Protect your remote access by using strong, unique passwords for your camera system account. Additionally, make sure your home network has proper security measures in place, such as a strong Wi-Fi password and encryption.
By setting up remote access to your home security cameras, you can conveniently monitor your property, check in on loved ones, and receive notifications of any suspicious activity or events in real-time.
Now that you have remote access set up, it’s time to move on to the next step: testing and adjusting your home security cameras to ensure optimal performance.
Testing and Adjusting Your Home Security Cameras
After installing and connecting your home security cameras, it’s crucial to test and make necessary adjustments to ensure optimal performance and coverage. Testing and adjusting your cameras will help identify any issues or blind spots and ensure that you are capturing clear and reliable footage. Here’s how to test and adjust your home security cameras:
- Verify Camera Positions: Check if the cameras are positioned correctly and capturing the desired areas. Adjust the angle, tilt, and zoom (if applicable) to ensure optimal coverage and minimize blind spots.
- Test Live Camera Feeds: Access the live camera feeds through your monitoring system or remote access app to verify that the cameras are capturing clear and high-quality footage. Make sure each camera provides the desired field of view and focal point.
- Check for Image Distortion: Look for any image distortion, such as fisheye effects or blurry footage. Adjust the camera settings, lens focus, or positioning as needed to improve the image quality.
- Monitor Recording Functionality: Test the recording functionality of your camera system. Check if the cameras are recording continuously or based on motion detection settings, and ensure that the recorded footage is being stored correctly.
- Test Night Vision: If your cameras have night vision capabilities, perform a test in low-light conditions to ensure clear visibility and quality of the footage. Adjust the camera settings or add additional lighting if necessary.
- Adjust Motion Detection: Fine-tune the motion detection settings to minimize false alerts or optimize sensitivity. Test the motion detection feature by walking through the camera’s field of view to ensure accurate detection and triggering of events.
- Evaluate Network Bandwidth: If you notice any latency or buffering issues with your camera feeds, check your network bandwidth. Ensure that your internet connection can handle the data transmission from multiple cameras, especially if you have high-resolution or multiple streams.
- Consider Camera Notifications: Explore the options for camera notifications, such as email alerts or push notifications. Configure these settings to receive notifications for specific events or activities captured by your cameras.
Performing thorough testing and adjustments ensures that your home security cameras are functioning optimally and providing the desired level of surveillance and security. It allows you to identify any issues or limitations and take corrective action to enhance your camera system’s performance.
With your home security cameras tested and adjusted, it’s important to establish a regular maintenance routine to keep your cameras in top shape and ensure their continued effectiveness. We’ll explore this topic in the next section.
Maintaining and Updating Your Home Security Camera System
Maintaining and updating your home security camera system is essential to ensure its continued effectiveness and reliability. Regular maintenance and updates help prevent potential issues, improve performance, and keep your system up to date with the latest advancements. Here are some maintenance tasks and updates to consider:
- Keep Cameras Clean: Regularly clean the camera lenses and housings to remove any dust, dirt, or debris that may affect image quality. Use a soft, lint-free cloth and gentle cleaning solutions recommended by the manufacturer.
- Inspect Wiring and Connections: Periodically check the wiring and connections of your camera system to ensure they are secure and in good condition. Loose or damaged cables can lead to connectivity issues or loss of footage.
- Monitor Storage Capacity: Keep an eye on the storage capacity of your DVR, NVR, or cloud storage system. Regularly delete unnecessary footage or consider upgrading your storage capacity if you frequently reach its limit.
- Update Firmware: Check for firmware updates provided by the camera manufacturer. These updates often include bug fixes, performance improvements, and new features that can enhance your camera system’s functionality.
- Review Camera Positions: Regularly assess the camera positions to ensure they still provide optimal coverage. Changes in landscaping, renovations, or new structures may require adjustments to maintain the desired field of view.
- Test Backup Power: If your camera system has a backup power source, such as a battery or generator, test it periodically to ensure it is functioning correctly. This ensures uninterrupted surveillance in the event of a power outage.
- Check Camera Settings: Review and adjust camera settings as needed. This includes motion detection sensitivity, recording schedules, and notification preferences. Make any necessary updates based on changes to your surveillance needs.
- Monitor System Health: Regularly monitor the overall health and performance of your camera system. Look for any error messages, unusual behavior, or signs of malfunction. Address any issues promptly to avoid potential security gaps.
- Stay Informed: Stay updated on advancements in home security camera technology and best practices. Subscribe to manufacturer newsletters, join online forums, or consult with professionals to learn about new features or potential upgrades for your system.
Maintaining and updating your home security camera system ensures that it continues to provide reliable and effective surveillance for your property. By incorporating regular maintenance tasks and staying up to date with the latest updates, you can maintain the performance and security of your system in the long run.
Now that you understand the importance of maintaining and updating your home security camera system, let’s conclude our comprehensive guide with a final word on the significance of a well-functioning security setup.
Conclusion
Securing your home with a well-planned and properly installed home security camera system is an essential step in protecting your property, belongings, and loved ones. Throughout this guide, we have explored the various steps involved in setting up a home security camera system.
We began by highlighting the benefits of home security cameras, which extend beyond just deterring potential intruders. From remote monitoring to evidence collection, these cameras provide peace of mind and enhance the overall security of your home.
Choosing the right camera system is crucial, taking into consideration factors such as indoor or outdoor use, video quality, field of view, connectivity, and storage options. By carefully selecting the right cameras for your needs, you can ensure maximum coverage and functionality.
Determining the best camera locations is essential to eliminate blind spots and capture critical areas of your property. By strategically placing cameras at entrances, exits, driveways, and other vulnerable spots, you can enhance the effectiveness of your surveillance system.
Once the cameras are installed, connecting them to a monitoring system allows for centralized surveillance and recording. Remote access capabilities provide the convenience of monitoring your property on the go, increasing your sense of security and control.
Testing and adjusting your home security cameras ensure optimal performance and reliability. Regular maintenance and updates, such as cleaning lenses, inspecting connections, and updating firmware, keep your system in top shape and up to date with the latest advancements.
In conclusion, setting up a home security camera system requires careful planning, installation, and ongoing maintenance. By investing time and effort into a comprehensive security setup, you can create a safe and secure environment for your home, offering peace of mind whether you’re there or away.
Remember, while home security cameras are an important piece of the security puzzle, they should be complemented with other measures such as strong locks, adequate lighting, and a well-maintained property. Together, these elements work synergistically to create a robust defense system.
Now armed with the knowledge and guidance provided in this guide, you are well-equipped to embark on the journey of setting up your own home security camera system. Stay vigilant, stay secure, and enjoy the peace of mind that comes with knowing your home is protected.