Introduction
Welcome to our comprehensive guide on how to hide a trail cam for home security. Trail cameras not only serve as a valuable tool for capturing wildlife activities in the great outdoors, but they can also be repurposed to enhance the security of your home. By strategically placing and concealing these cameras, you can effectively monitor your property and deter potential intruders.
As technology continues to advance, trail cameras have become more compact, affordable, and user-friendly, making them a popular choice for homeowners looking to boost their security measures. In this guide, we will delve into the various aspects of hiding a trail cam to ensure maximum effectiveness and minimal detection.
Whether you’re a seasoned trail cam user or new to the game, this guide will provide you with the knowledge and techniques needed to discreetly position and camouflage your trail cam. By the end, you’ll be well-equipped to protect your home and capture any suspicious activity that may occur.
From selecting the right trail cam for your needs and finding the perfect hiding spot to camouflaging techniques, concealment tips, and securing your device, we will cover every step of the process. Additionally, we’ll address common troubleshooting issues and offer solutions to ensure your trail cam operates smoothly.
Now, let’s dive into the world of hiding trail cams for home security and discover the secrets to safeguarding your property with this innovative technology.
Choosing the Right Trail Cam for Home Security
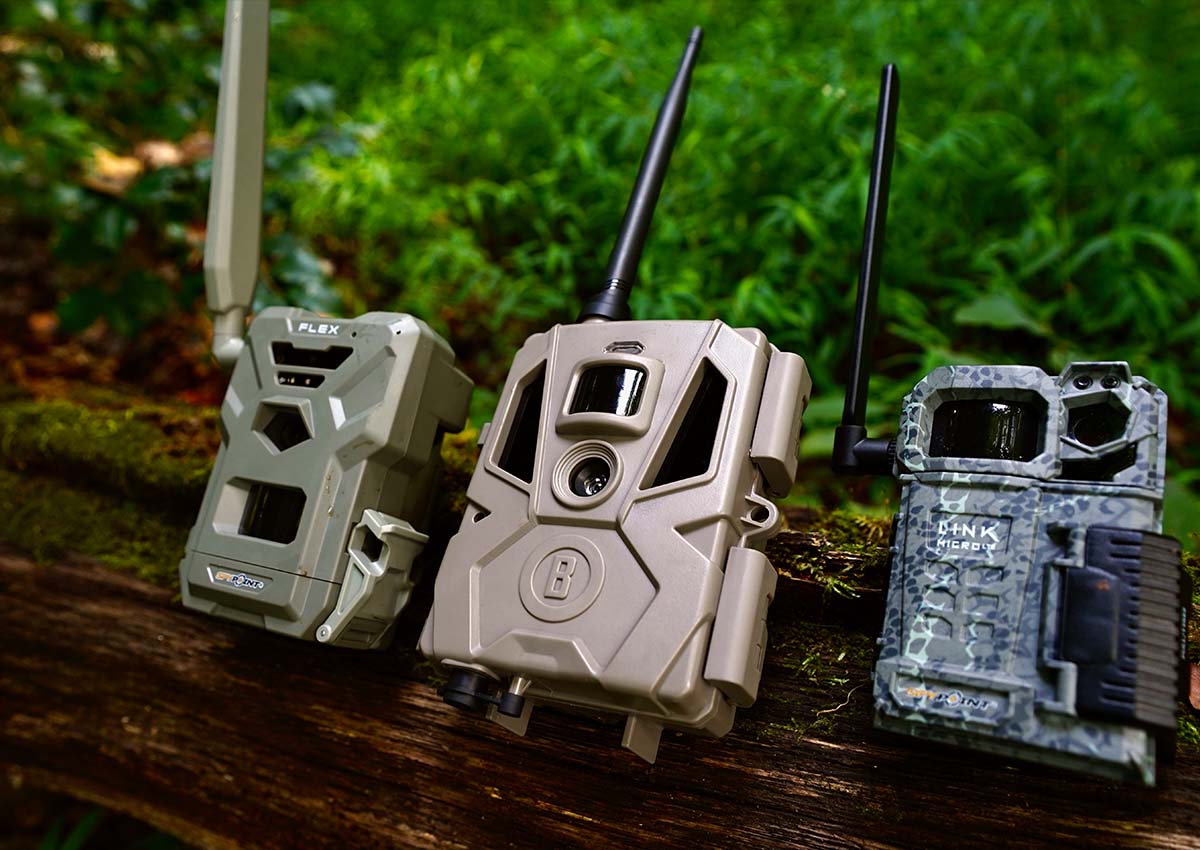
When it comes to home security, selecting the right trail cam is crucial. With numerous options available on the market, it’s important to consider specific factors to ensure you choose a camera that best suits your needs.
First, determine your budget. Trail cameras vary in price, and setting a budget will help narrow down your choices. Remember, investing in a high-quality camera will yield better results in capturing clear images or videos.
Next, assess the desired features. Look for cameras with essential functions such as high-resolution imaging, fast trigger speed, and reliable battery life. Additionally, considering night vision capabilities is vital for monitoring activities that may occur in low-light conditions.
Consider the storage options available on trail cams. Some cameras come with built-in memory, while others require external memory cards. Ensure you choose a camera with sufficient storage capacity to store the images or videos captured over extended periods.
Another crucial factor is the camera’s detection range. Opt for a camera with a wide detection range to cover a larger area of your property and effectively capture any movement or activity.
Lastly, assess the ease of use and user interface. Look for cameras with intuitive menus and simple setup procedures. This will save you time and frustration when it comes to configuring your camera for home security use.
By considering these factors, you can make an informed decision and select a trail cam that meets your requirements and provides optimal performance for your home security needs.
Location, Location, Location: Finding the Perfect Spot to Hide Your Trail Cam
The success of your trail cam for home security greatly depends on finding the ideal location to hide it. Here are some key considerations to help you determine the perfect spot:
- Strategic Placement: Identify areas around your home that are vulnerable to trespassing or suspicious activities, such as entrances, driveways, or secluded corners. These are prime locations to position your trail cam for maximum coverage.
- Line of Sight: Ensure that the camera has an unobstructed view of the target area. Clearing away any foliage or debris that may block the camera’s field of view will enhance its effectiveness.
- Height and Angle: Position the camera at an optimal height and angle to capture the desired area. Mounting the camera at eye level or slightly higher will provide the best viewing angle and minimize the risk of tampering.
- Power Source Accessibility: Consider the availability of a power source or the need for battery-powered cameras. If using battery-powered cameras, ensure they are easily accessible for maintenance and replacement.
- Legal Considerations: Familiarize yourself with local regulations regarding the placement of surveillance cameras. Ensure your camera placement adheres to laws regarding privacy and surveillance activities.
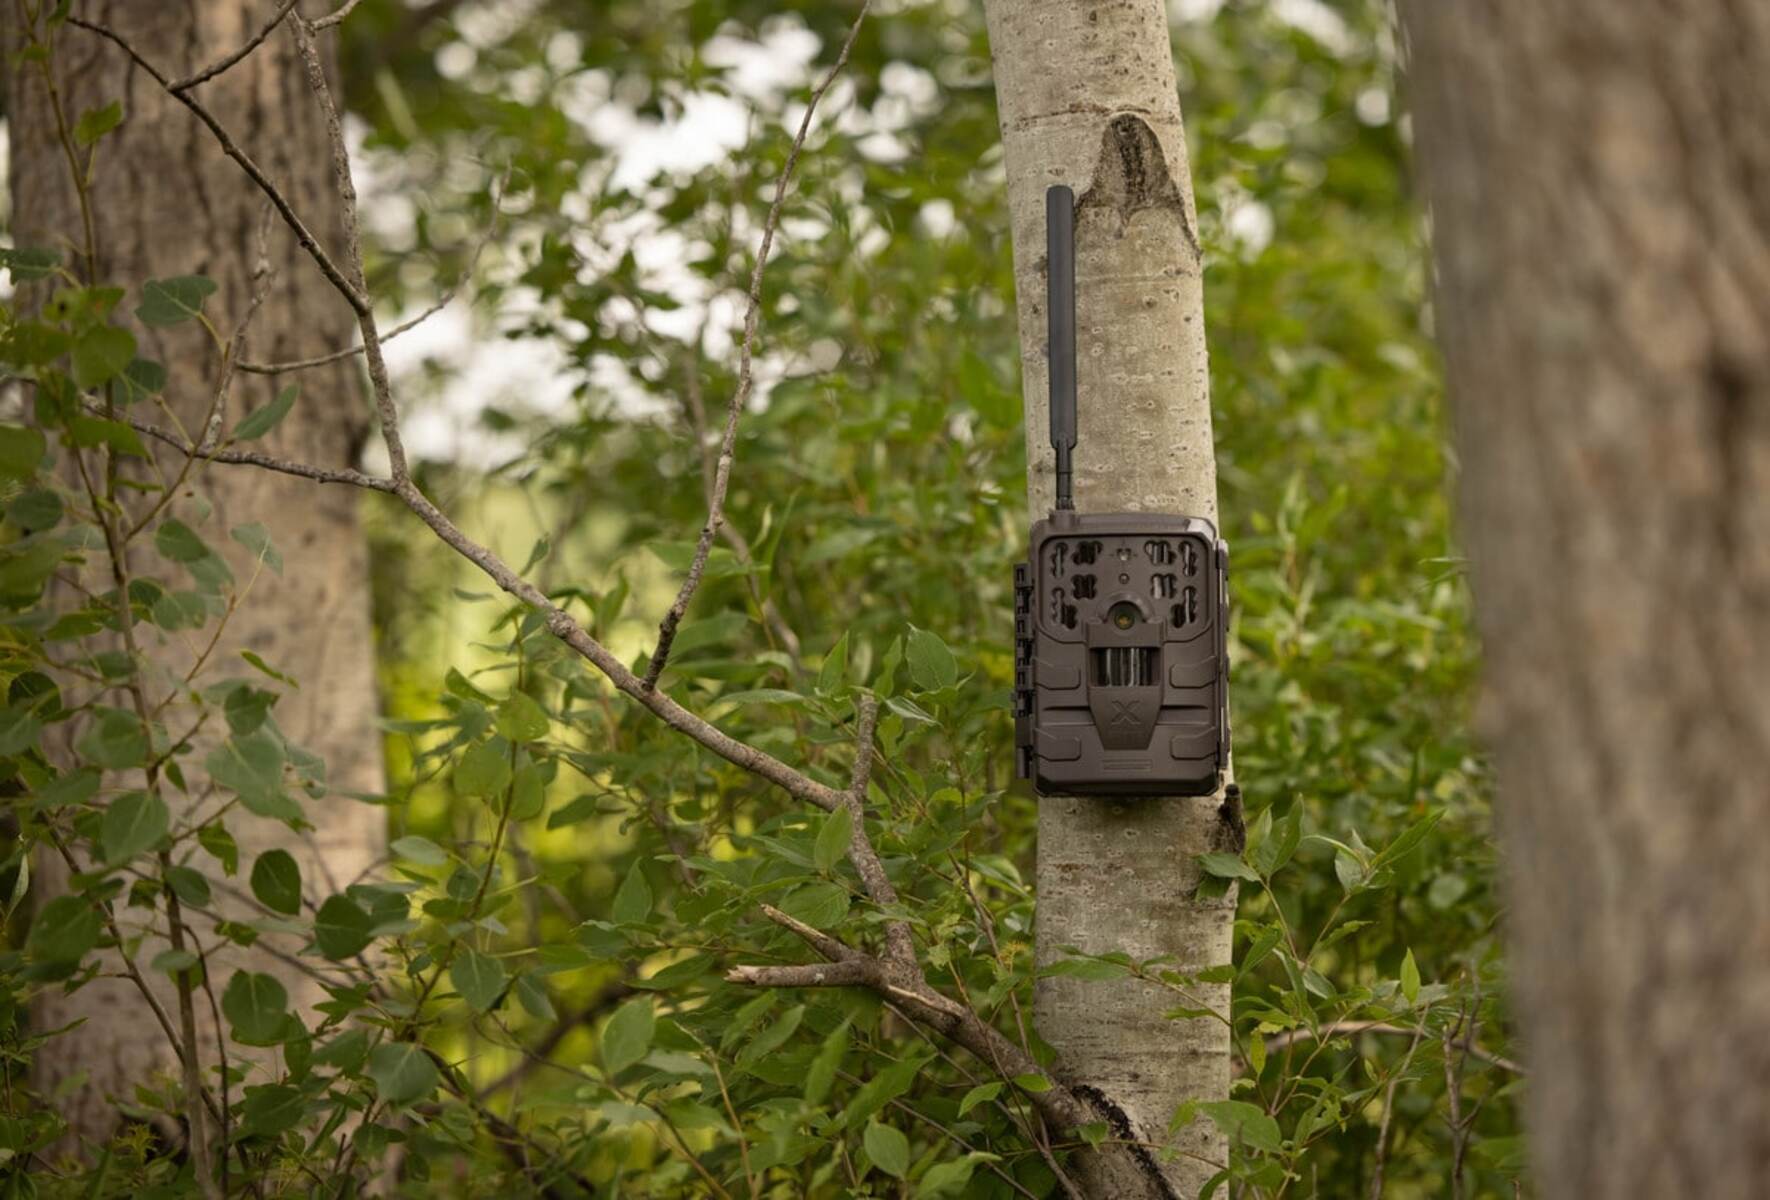
Remember to conceal the camera in a discreet manner to prevent potential intruders from detecting its presence. Camouflaging the camera with natural surroundings, such as tree bark, foliage, or rocks, can help it blend seamlessly and avoid suspicion.
Regularly assess and adjust the location of your trail cam as needed. Monitor and analyze the captured footage to identify any blind spots or areas that require additional coverage. By fine-tuning the placement of your trail cam, you can optimize its performance and enhance your home security measures.
Camouflaging Techniques: Blending Your Trail Cam with its Surroundings
One of the key factors in effectively hiding a trail cam for home security is camouflaging it to seamlessly blend with its surroundings. By employing these camouflage techniques, you can minimize the chances of your camera being detected:
- Natural Camouflage: Utilize natural elements such as tree bark, branches, leaves, or rocks to conceal your trail cam. Attach these materials to the camera or use them to construct a camouflage cover. This will help the camera blend in with the environment.
- Purpose-Built Camouflage: Many trail cameras come with camouflage casing or skins designed to mimic the patterns and colors of vegetation or wildlife. These purpose-built covers enhance the camera’s ability to remain hidden.
- Positioning and Placement: Carefully consider the camera’s placement within its environment. Choose a location where the camera can naturally blend in, such as behind bushes, near tree trunks, or against natural structures.
- Disguise the Lens: The camera’s lens is often the most vulnerable part that can reveal its presence. Use lens covers, lens extensions, or foliage to conceal the lens and further camouflaging the camera.
- Consider the Season: Adjust your camouflaging techniques according to the season. Different seasons bring different colors and foliage patterns. Ensure your trail cam blends in with the current surroundings to maintain its stealthy presence.
Regularly check and maintain your camouflaging materials to ensure they remain intact and effective. High winds, rain, or animal activity can disturb the camouflage, revealing the camera. Replace or repair any damaged or displaced camouflage materials promptly.
Remember, always strike a balance between effective camouflage and maintaining the camera’s functionality. Ensure that your camouflage techniques do not obscure the lens or interfere with the camera’s sensors, triggering mechanisms, or image quality.
By implementing these camouflaging techniques, you can successfully hide your trail cam and increase the chances of capturing any suspicious activities while maintaining the integrity of your home security system.
Concealment Tips: How to Keep Your Trail Cam from Being Discovered
While camouflaging your trail cam is important, taking additional measures to ensure it remains concealed from prying eyes is equally crucial. Here are some concealment tips to help keep your trail cam hidden:
- Use Elevated Mounts: Mounting your trail camera higher up, such as on branches or posts, can help deter potential intruders from noticing its presence. This also provides a wider and less obstructed field of view for capturing activities.
- Utilize Existing Structures: Incorporate your trail cam into existing outdoor fixtures, such as birdhouses, mailboxes, or garden decorations. This disguises the camera and makes it blend in seamlessly with its surroundings.
- Custom Enclosures: Consider using camouflage enclosures specifically designed to house trail cameras. These enclosures provide an added layer of concealment and protection for your camera.
- Secure the Camera: Use sturdy, tamper-resistant mounts or locks to securely fasten your trail cam in place. This not only prevents theft but also deters individuals from removing or tampering with the camera.
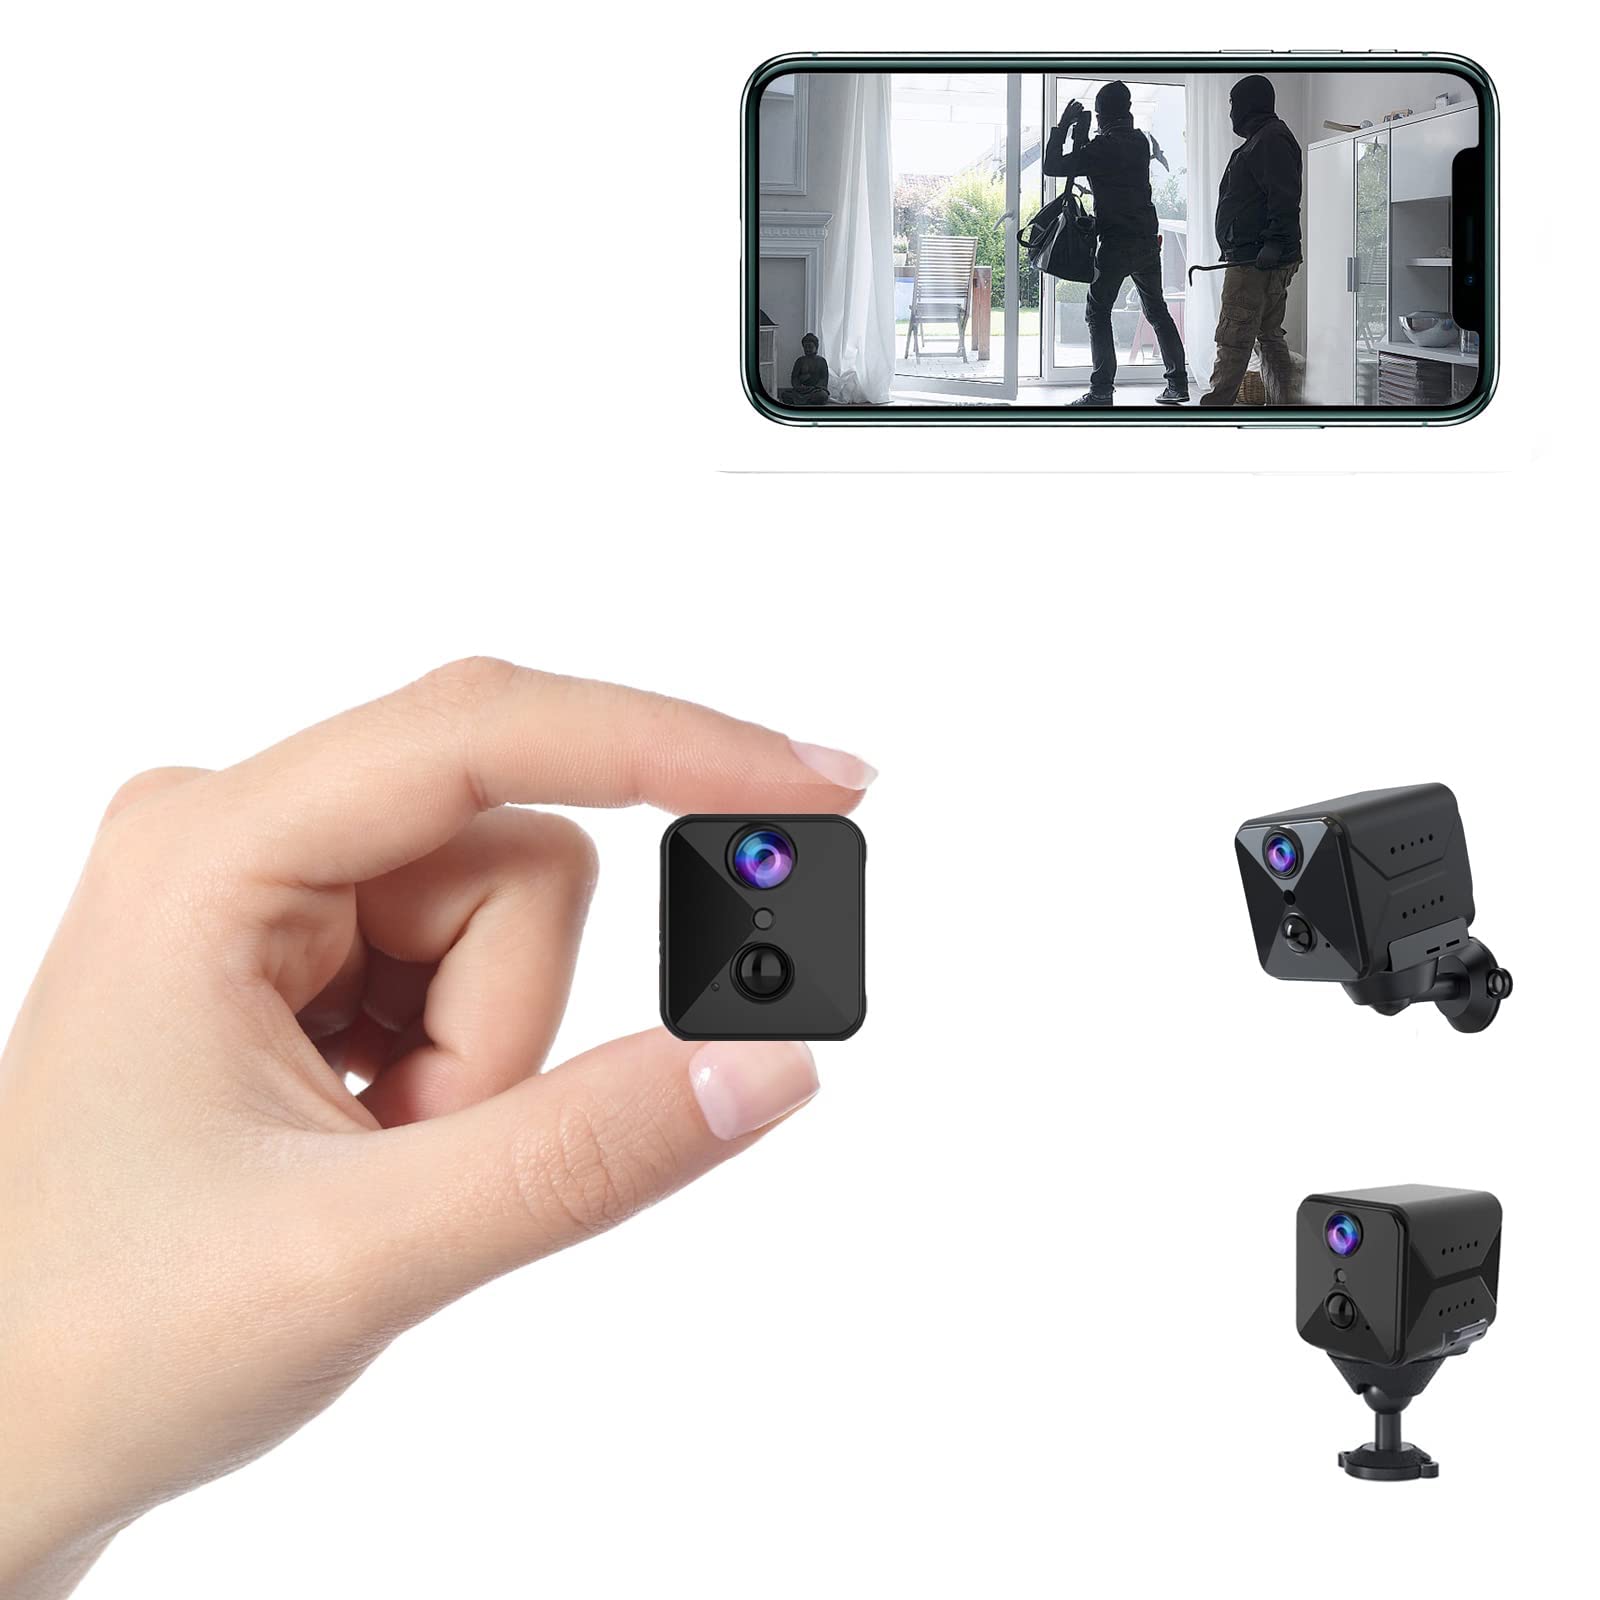
- Choose Wireless Options: Wireless trail cameras eliminate the need for visible wires or cables, making them less conspicuous. By opting for a wireless model, you can keep your camera well-hidden.
- Think Outside the Box: Get creative with your concealment techniques. Consider using decoys, natural objects, or even dummy cameras placed strategically to divert attention from the actual trail cam.
Regularly inspect your trail cam to ensure it remains hidden and undisturbed. Check for any loose or visible components that may need to be readjusted or covered to maintain its camouflage.
Additionally, educate your family members or anyone living on the property about the presence and location of the trail cam. This prevents accidental detection or tampering by those who are unaware of its purpose.
By implementing these concealment tips, you can greatly reduce the risk of your trail cam being discovered, maximizing its effectiveness in capturing any suspicious activities and enhancing your overall home security.
Securing Your Trail Cam: Protecting it from Theft or Damage
Ensuring the security and protection of your trail cam is essential to maintain its effectiveness and longevity. Here are some tips to help secure your trail cam from theft or damage:
- Choose Hidden Mounting Locations: Select inconspicuous areas that are less likely to attract unwanted attention. Avoid obvious spots or easily accessible locations that increase the risk of theft or vandalism.
- Use Locking Mechanisms: Invest in locks or security boxes specifically designed for trail cameras. These tamper-resistant accessories provide an extra layer of protection against theft and deter potential thieves.
- Check for Vandalism: Regularly inspect your trail cam for signs of interference or tampering. Look for unusual marks, scratches, or damage that may indicate an attempt to steal or sabotage the camera.
- Secure with Cables or Chains: Use sturdy cables or chains to secure your trail camera to a fixed object, such as a tree or post. This adds an additional physical barrier against theft or unauthorized removal.
- Install GPS Tracking: Consider using GPS tracking devices specifically designed for trail cams. These devices can help locate and recover your camera in case of theft or loss.
- Notify Authorities: If your trail camera is stolen, promptly report the theft to the authorities. Provide them with any identifying information, such as serial numbers or unique markings, to assist in the recovery process.
It’s important to note that no security measure is foolproof, but by taking these precautions, you can greatly minimize the risk of theft or damage to your trail cam.
Finally, ensure that you have proper insurance coverage for your trail cam to protect yourself financially in case of theft, damage, or loss.
By implementing these security measures, you can have peace of mind knowing that your trail cam is well-protected and secure, allowing it to fulfill its role in providing home security.
Testing and Fine-Tuning: Ensuring Proper Functioning of Your Trail Cam
Once you have installed and hidden your trail cam for home security, it is crucial to thoroughly test and fine-tune its functionality to ensure it operates optimally. Here are important steps to take in this process:
- Testing the Detection Range: Activate the trail cam and walk through the detection zone to confirm that it accurately captures any movement within its range. Adjust the camera’s position if necessary to ensure maximum coverage.
- Adjusting Sensitivity Settings: Trail cameras often come with adjustable sensitivity settings to avoid capturing unnecessary footage, such as vegetation movements or small animals. Test different sensitivity levels to find the ideal setting that captures relevant activities without triggering false alarms.
- Verifying Trigger Speed: A fast trigger speed is crucial in capturing critical moments. Perform tests to ensure that your trail cam reacts quickly to activity within its field of view, reducing the risk of missing important events.
- Checking Battery Life: Monitor the battery life regularly to ensure that your trail cam has sufficient power for continuous operation. Replace or recharge the batteries as needed to maintain consistent performance.
- Reviewing Image Quality: Examine captured images or videos to assess the quality and clarity. Adjust camera settings, such as resolution and picture quality, to achieve the desired results for identification or monitoring purposes.
- Testing Night Vision: If your trail cam is equipped with night vision capabilities, conduct tests in low-light conditions to ensure that it provides clear and usable footage in darker settings.
Periodically review and analyze the captured footage to assess the effectiveness of your trail cam’s performance. Make adjustments as necessary based on the results to enhance its functionality and improve home security.
Additionally, keep an eye out for any software or firmware updates released by the manufacturer. Regularly updating your trail cam’s software can provide bug fixes, performance improvements, and new features to enhance its overall functionality.
By thoroughly testing and fine-tuning your trail cam, you can ensure that it functions properly and reliably, giving you peace of mind knowing that your home security is well-monitored.
Troubleshooting: Common Issues and Solutions with Trail Cams for Home Security
While trail cameras for home security are designed to be reliable and efficient, there may be instances where you encounter common issues. Here are some troubleshooting tips to help resolve these problems:
- Image Quality Problems: If you notice blurry or distorted images, check the camera lens for any dirt, smudges, or moisture. Clean the lens using a soft, lint-free cloth. Adjust the camera settings, such as resolution or picture quality, to improve image clarity.
- False Triggers: False triggers occur when the camera is activated by non-target movements, such as tree branches swaying in the wind. Adjust the sensitivity settings to reduce the chances of false triggers. Ensure that there are no obstructions, such as vegetation or debris, directly in front of the camera’s detection zone.
- Battery Drain: If you experience rapid battery drain, check for device malfunctions or power-consuming settings. Ensure that the camera is not in constant recording mode or capturing excessive footage. Consider using high-quality batteries or an external power source for extended battery life.
- Memory Card Issues: If your trail cam is not saving or reading data from the memory card, check that the card is properly inserted and formatted. Try using a different memory card to isolate the issue. Ensure that the card is compatible with the camera’s specifications.
- Inconsistent Night Vision: If the night vision function is not delivering clear images or videos, check for obstructions in front of the camera lens, such as spider webs or dirt. Adjust the camera’s night vision settings, if available, to improve visibility in low-light conditions.
- Connectivity Problems: For wireless trail cameras, connectivity issues may arise. Ensure that the camera is within the range of the network or has a strong signal. Verify that the network settings, username, and password are entered correctly. Consider restarting the camera or the network router if necessary.
If you encounter persistent issues that cannot be resolved through troubleshooting, refer to the manufacturer’s instructions or customer support for further assistance. They can provide tailored solutions or offer repairs or replacements if the camera is under warranty.
Regular maintenance, periodic checks, and staying updated with the latest firmware or software releases can prevent or resolve many common issues, ensuring that your trail cam continues to serve its purpose in safeguarding your home.
Conclusion
Congratulations! You have now gained valuable insights on how to effectively hide a trail cam for home security. By carefully selecting the right camera, finding strategic hiding spots, employing camouflage techniques, and taking necessary security measures, you can enhance the protection of your property and capture any suspicious activities.
Remember to test, fine-tune, and troubleshoot your trail cam regularly to ensure optimal functionality. Adjusting settings, securing the camera, and addressing common issues will help maintain its performance and reliability.
Always adhere to local regulations and respect the privacy of others when using trail cams for home security. Communicate the presence of the cameras to residents and visitors to avoid misunderstandings.
With proper deployment and maintenance, your trail cam will serve as a valuable tool in keeping your home safe and giving you peace of mind. Stay vigilant, stay informed, and continue to explore innovative ways to enhance your home security measures.
Now, it’s time to put your knowledge into action and start hiding your trail cam for ultimate home security. Remember, the key is to blend functionality with stealth, allowing your trail cam to be your silent sentinel in protecting your loved ones and property.