Introduction
Knowing which graphics card you have installed on your Windows 10 computer can be useful for various reasons. Whether you want to upgrade your system, troubleshoot graphics-related issues, or simply satisfy your curiosity, identifying your graphics card is essential. In this article, we will explore different methods to help you determine what graphics card you have on your Windows 10 system.
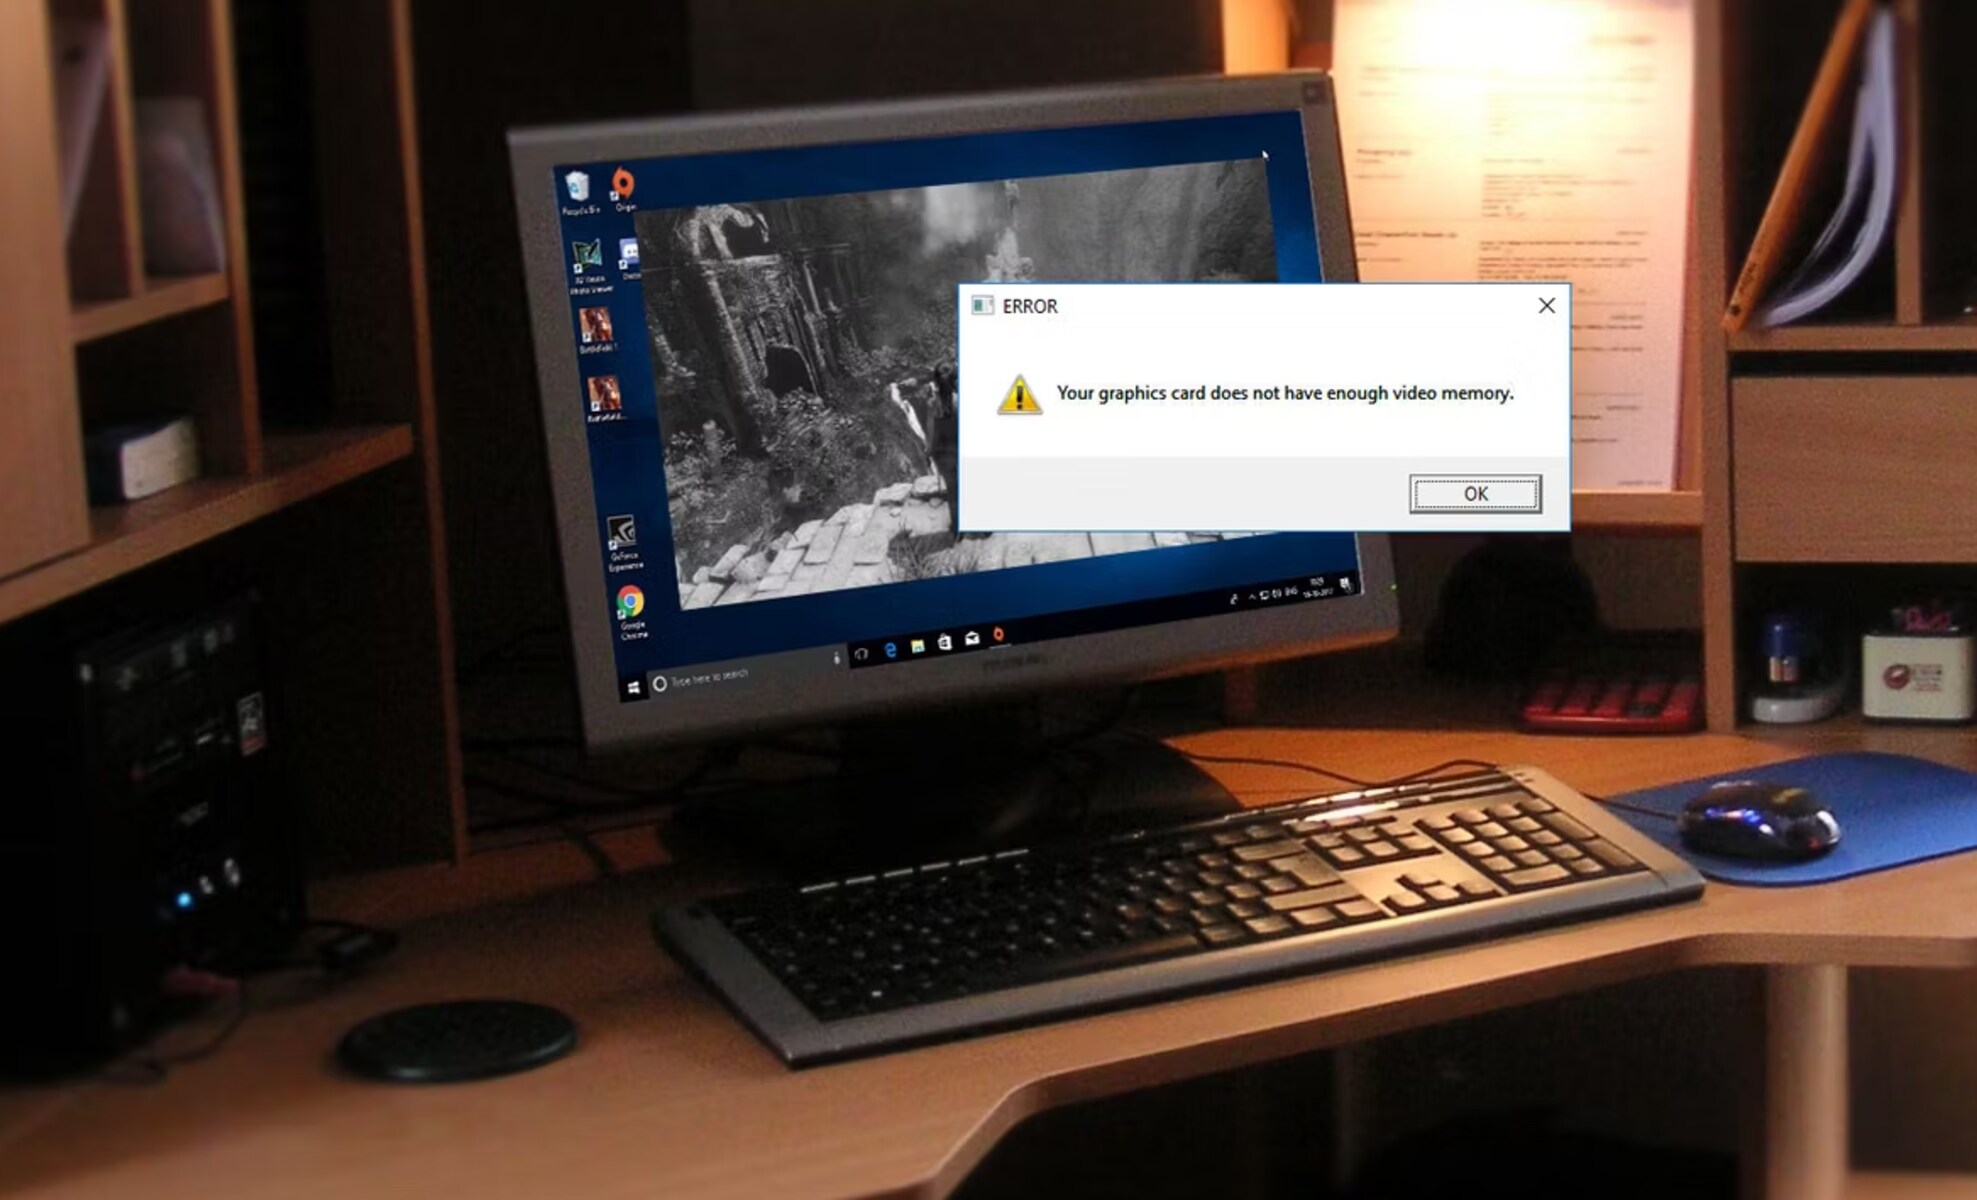
Having this knowledge is especially important if you are a gamer or use graphics-intensive software. It allows you to ensure that your system meets the minimum requirements for running specific applications or games. Additionally, it enables you to keep up with driver updates and troubleshoot any performance issues that may arise.
We will cover five different methods for identifying your graphics card, ranging from the built-in tools provided by Windows to the use of third-party software. Each method has its own advantages, so you can choose the one that suits your preferences and needs the best.
Before we dive into the different methods, it’s worth noting that these steps are applicable for Windows 10 systems. However, some methods may also work on previous versions of Windows, with slight variations in the steps.
Now, let’s get started and explore the various ways to see what graphics card you have on your Windows 10 computer!
Method 1: Using Device Manager
One of the easiest and most straightforward ways to determine your graphics card on Windows 10 is by using the built-in Device Manager. Here’s how you can do it:
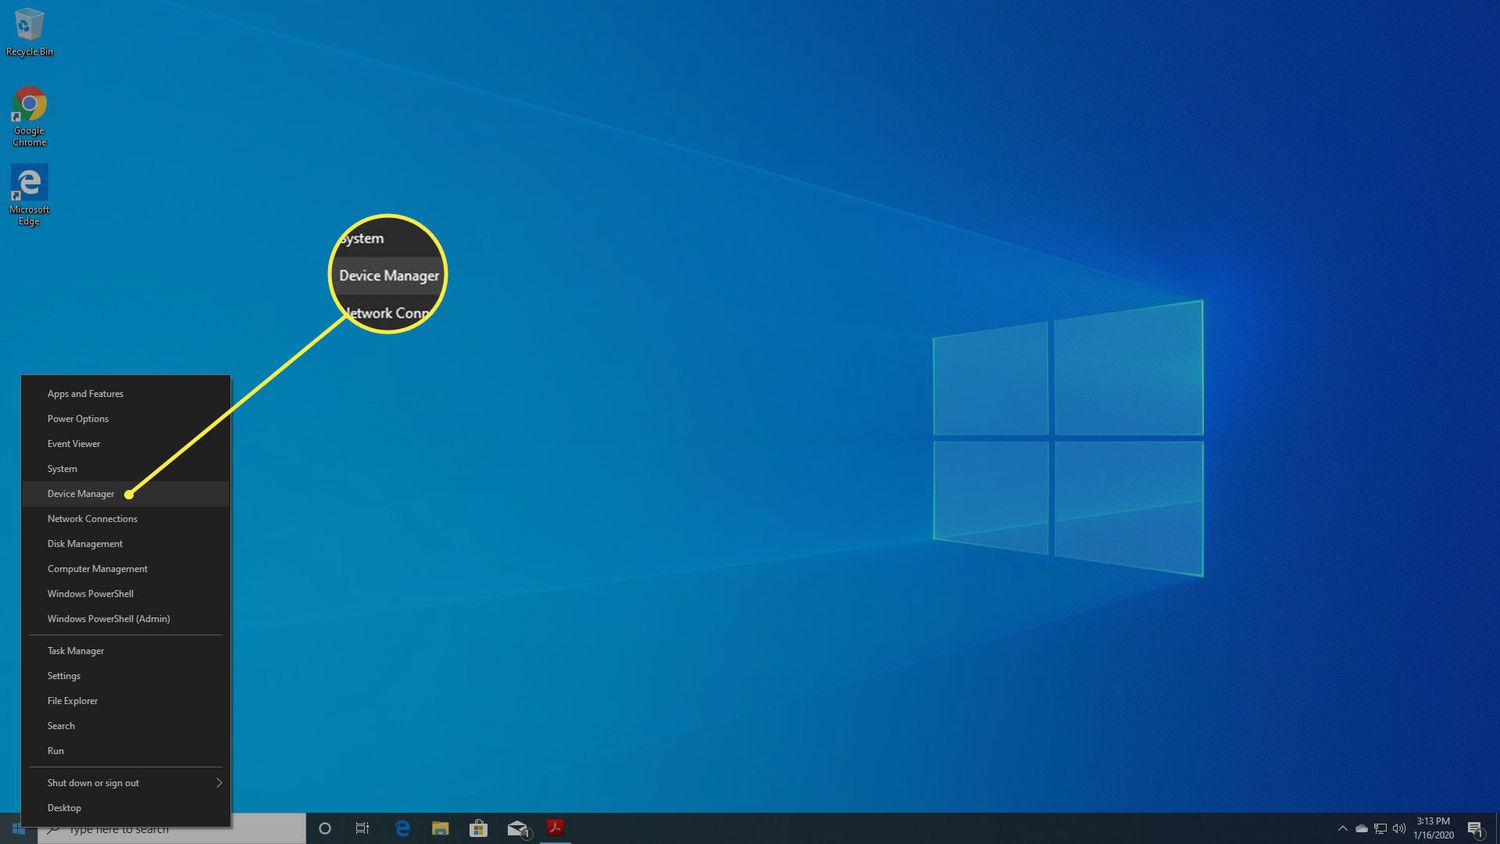
- Press the Windows key + X on your keyboard to open the Power User menu.
- Select “Device Manager” from the list.
- In the Device Manager window, expand the “Display adapters” category by clicking on the arrow next to it.
- You should now see the name of your graphics card listed under “Display adapters.” It may appear as the manufacturer’s name followed by the model number, such as “NVIDIA GeForce GTX 1080.”
If you’re unsure which entry represents your graphics card, you can right-click on the listed device and select “Properties.” In the Properties window, navigate to the “Details” tab, and select “Hardware Ids” from the drop-down menu. The value listed should provide further information about your graphics card.
The Device Manager method is a quick and easy way to identify your graphics card without the need for any additional software. However, it may not provide detailed information about the specifications or capabilities of your graphics card.
Now that you know how to use Device Manager to find your graphics card, let’s explore another method using a diagnostic tool built into Windows 10.
Method 2: Using DirectX Diagnostic Tool
The DirectX Diagnostic Tool is a powerful built-in utility in Windows that provides detailed information about your system’s hardware and software, including your graphics card. Here’s how you can use it to identify your graphics card on Windows 10:
- Press the Windows key + R on your keyboard to open the Run dialog box.
- Type “dxdiag” in the text field and press Enter.
- The DirectX Diagnostic Tool window will open. It may take a few moments to gather system information.
- Navigate to the “Display” tab.
- Under the “Device” section, you will find the name of your graphics card listed. It usually appears under the “Name” field.
- Additional information such as the manufacturer, driver version, and memory size may also be displayed in the DirectX Diagnostic Tool window.
The DirectX Diagnostic Tool offers more detailed information about your graphics card compared to the Device Manager method. It provides insights into driver versions, GPU memory, and other technical specifications that may be helpful for troubleshooting or upgrading purposes.
With the DirectX Diagnostic Tool, you can also perform tests and diagnose graphics-related issues by clicking on the “Test Direct3D” and “Test DirectDraw” buttons. This can help you identify any problems with your graphics card or its compatibility with certain applications.
Now that you have learned how to use the DirectX Diagnostic Tool to identify your graphics card on Windows 10, let’s move on to another method using the Windows Settings.
Method 3: Using Windows Settings
Windows 10 provides a user-friendly interface for managing and viewing hardware information, including your graphics card. Here’s how you can use the Windows Settings to identify your graphics card:
- Press the Windows key + I on your keyboard to open the Windows Settings.
- Click on the “System” option.
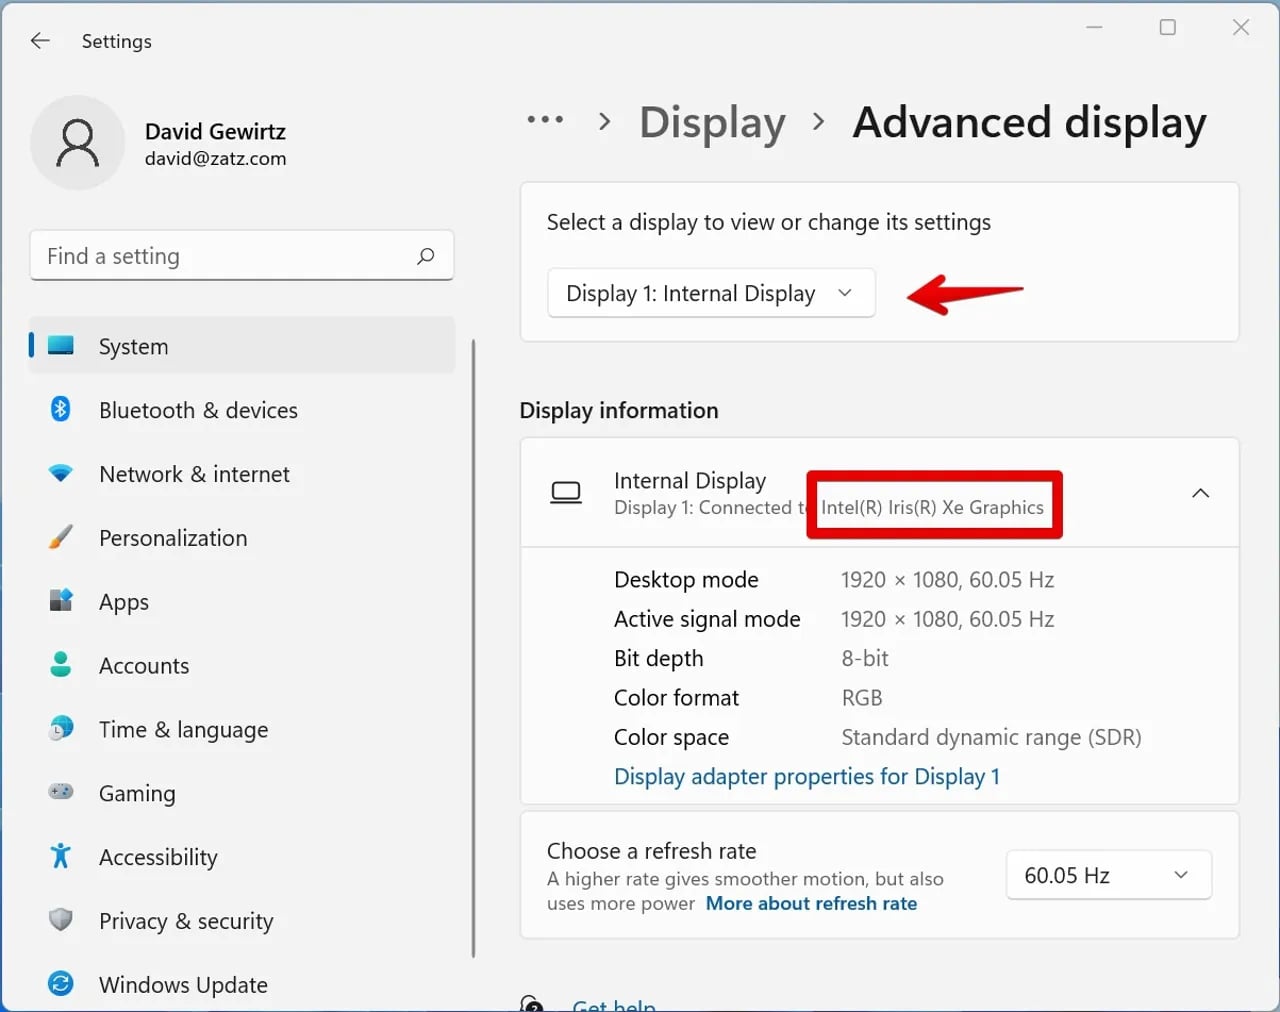
- In the System settings, select the “Display” tab from the left menu.
- Scroll down to the bottom of the Display settings and click on the “Graphics settings” link.
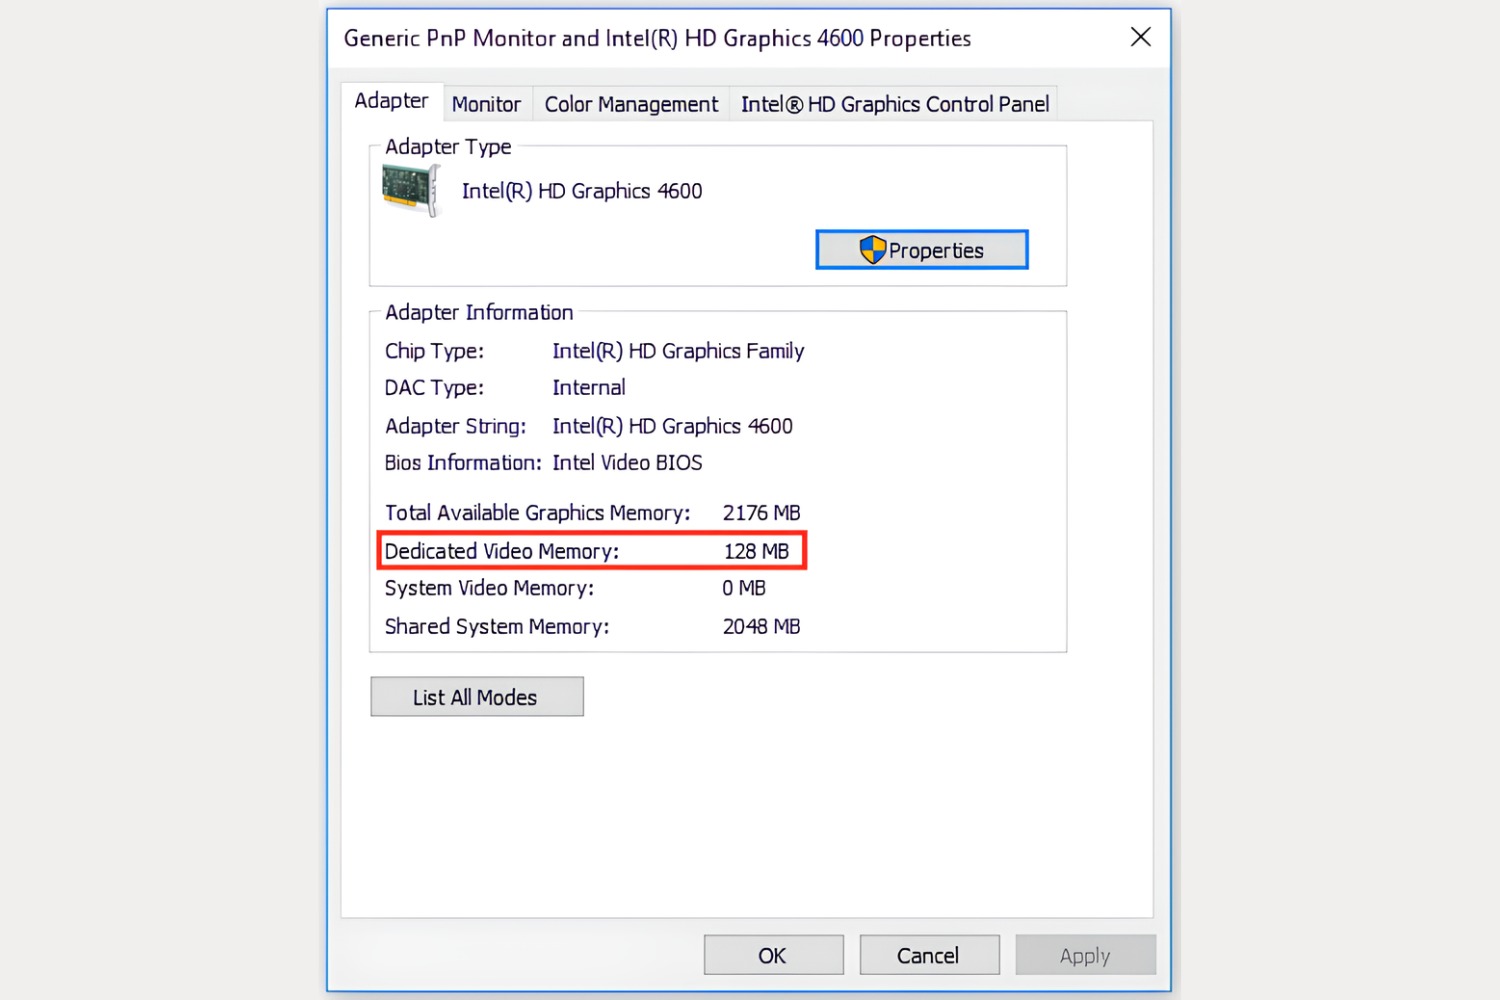
- In the Graphics settings window, you will find detailed information about your graphics card under the “Display adapter properties” section. The name of your graphics card should be listed in the “Adapter Type” field.
Using the Windows Settings method allows you to quickly access information about your graphics card without the need to open any additional tools or utilities. It provides a convenient way to view your graphics card specifications along with other display-related settings.
In addition to identifying your graphics card, the Windows Settings also allow you to modify display settings, customize resolution and orientation, and configure multiple monitors if needed.
Now that you know how to use the Windows Settings to find your graphics card, let’s explore another method using the Command Prompt.
Method 4: Using Command Prompt
If you prefer working with the Command Prompt, you can also use it to identify your graphics card on Windows 10. Here’s how:
- Press the Windows key + R on your keyboard to open the Run dialog box.
- Type “cmd” in the text field and press Enter or click OK.
- The Command Prompt window will open.
- Type the following command and press Enter:
wmic path win32_VideoController get name - After executing the command, you will see the name of your graphics card displayed in the Command Prompt window.
The Command Prompt method provides a quick way to identify your graphics card using a simple command. It is particularly useful if you prefer working with command-line interfaces or need to automate certain processes.
Using the Command Prompt, you can also retrieve additional information about your graphics card, such as the manufacturer or driver version. Simply modify the command by replacing “name” with the relevant property name, like “manufacturer” or “driverversion”.
Now that you have learned how to use the Command Prompt to identify your graphics card, let’s explore another method using third-party software.
Method 5: Using Third-Party Software
If you prefer a more comprehensive and detailed analysis of your graphics card, you can turn to third-party software specifically designed to provide in-depth information. There are several popular options available, such as GPU-Z and Speccy. Here’s how you can use third-party software to identify your graphics card:
- Download and install the third-party software of your choice. GPU-Z and Speccy are highly recommended, both of which are available for free.
- Launch the software once it is installed on your computer.
- The software will automatically detect and display information about your graphics card, including its model, clock speed, memory size, driver version, and more.
Using third-party software offers the most detailed and comprehensive information about your graphics card. It provides advanced features and detailed specifications that can be useful for gaming, overclocking, or troubleshooting purposes.
Additionally, some third-party software allows you to monitor the temperature, fan speed, and usage of your graphics card in real-time. This can help you ensure optimal performance and detect any potential issues.
While third-party software provides the most detailed information, it is important to download and install such software from reliable sources to ensure the safety of your system. Always choose reputable software vendors and be cautious of any potential malware or adware bundled with the installation package.
Now that you know how to use third-party software to identify your graphics card, you have multiple methods at your disposal to determine what graphics card you have on your Windows 10 system.
Conclusion
Identifying your graphics card on a Windows 10 system is important for various reasons, whether it’s for upgrading, troubleshooting, or ensuring compatibility with gaming or graphics-intensive software. In this article, we explored five different methods to help you determine what graphics card you have.
We started with the simple and built-in methods like using Device Manager and the DirectX Diagnostic Tool. These methods quickly provide basic information about your graphics card without the need for any additional software.
Next, we looked at using the Windows Settings to view detailed information about your graphics card, along with other display-related settings that can be conveniently managed from one place.
For those who prefer working with the Command Prompt, we showed how to use a simple command to retrieve the name of your graphics card quickly. This method can be particularly useful for automating processes or working with command-line interfaces.
Lastly, we discussed the option of using third-party software like GPU-Z and Speccy. These programs offer the most detailed and comprehensive information about your graphics card, including advanced features for monitoring and overclocking.
With these five methods at your disposal, you can now easily identify your graphics card on a Windows 10 system. Whether you prefer a simple built-in tool or a third-party software with advanced features, there is a method that suits your preferences and needs.
Remember to choose reliable sources when downloading and installing third-party software to ensure the safety of your system. Keep your graphics card drivers up to date to ensure optimal performance and compatibility with the latest applications and games.
Now that you have identified your graphics card, you can make informed decisions about upgrading, troubleshooting, or optimizing your system for the best gaming and graphics experience.