Introduction
Windows 11 is the latest operating system from Microsoft, offering exciting features and a modern user interface. However, like any operating system, it requires a certain amount of RAM (Random Access Memory) to run smoothly. RAM plays a crucial role in the overall performance of your computer, as it acts as temporary storage for the data and applications you are actively using.
Having insufficient RAM can lead to sluggish performance, lagging applications, and even system crashes. Therefore, it is essential to optimize and save RAM in Windows 11 to ensure a smooth and efficient computing experience.
In this article, we will explore various methods to save RAM in Windows 11. These methods range from managing background apps and disabling unnecessary startup programs to adjusting visual effects settings and upgrading your hardware. By implementing these strategies, you can effectively optimize your RAM usage and enhance the overall performance of your Windows 11 system.
Before we delve into the specific techniques, it is important to note that saving RAM does not mean compromising the functionality or performance of your system. The objective is to prioritize the resources and allocate them wisely to ensure that the essential programs and tasks run seamlessly.
So, if you are ready to improve the efficiency of your Windows 11 system and make the most out of your available RAM, let’s explore the methods to save RAM and enhance performance.
Close Unnecessary Programs and Processes
One of the simplest and most effective ways to save RAM in Windows 11 is to close unnecessary programs and processes running in the background. When you have multiple programs running simultaneously, they consume valuable memory resources even if you are not actively using them.
To close programs, simply click the ‘X’ button on the top right-hand corner of each program’s window. Alternatively, you can right-click the program in the taskbar and select ‘Close’ or use the keyboard shortcut Alt + F4. Regularly closing programs that you are not using can free up significant amounts of RAM.
In addition to closing programs, it is also essential to identify and terminate unnecessary background processes. These processes may consume memory resources without your knowledge. To manage processes, you can use the Windows Task Manager. Press Ctrl + Shift + Esc or right-click the taskbar and select ‘Task Manager’ to open it.
In the Task Manager, navigate to the ‘Processes’ or ‘Details’ tab, where you can see a list of all active processes. Look for processes that are consuming a significant amount of memory. Select the process and click ‘End task’ to terminate it. However, exercise caution when ending processes, as terminating essential system processes can cause system instability.
By closing unnecessary programs and terminating resource-intensive processes, you can free up valuable RAM and ensure that the memory resources are utilized efficiently for essential tasks. This simple step can have a significant impact on the overall performance of your Windows 11 system.
Disable Startup Programs
When you start your computer, certain programs automatically launch in the background. These startup programs consume RAM and can significantly slow down your system’s performance. Disabling unnecessary startup programs can help save RAM and improve the boot time of your Windows 11 system.
To disable startup programs in Windows 11, follow these steps:
- Right-click on the taskbar and select ‘Task Manager’ from the context menu.
- In the Task Manager, click on the ‘Startup’ tab.
- You will see a list of programs that launch during startup.
- Select the programs that you don’t need to launch at startup and click on the ‘Disable’ button.
Disabling startup programs doesn’t uninstall the applications; it simply prevents them from automatically launching at startup. You can still manually launch them when needed.
It is important to note that you should exercise caution when disabling startup programs. Some programs, such as antivirus software or system utilities, may be necessary for the proper functioning of your system. It is recommended to research the programs before disabling them to ensure that they are not essential for your computer’s security or stability.
By disabling unnecessary startup programs, you can significantly reduce the amount of RAM consumed during system startup. This allows your computer to allocate more memory resources for active programs and tasks, resulting in improved overall performance.
Manage Background Apps
Windows 11 allows certain apps to run in the background even when you are not actively using them. These background apps can consume RAM and impact system performance. Managing and limiting the number of background apps can help save precious memory resources and optimize your Windows 11 system.
To manage background apps in Windows 11, follow these steps:
- Go to the Start menu and select ‘Settings’ (the gear icon).
- In the Settings window, click on ‘Privacy’.
- In the left sidebar, select ‘Background apps’.
- You will see a list of apps that are allowed to run in the background.
- Toggle off the switch for the apps that you don’t want running in the background.
By disabling unnecessary background apps, you can optimize your system’s memory usage and reduce the strain on your RAM. Only keep background apps enabled if they are essential for your workflow or if you want to receive notifications from them in the background.
Additionally, some apps may have options to customize their background behavior. You can explore the settings of individual apps to further limit their background activities.
It is important to strike a balance between managing background apps and ensuring that the apps you need are running smoothly. Be mindful of the apps you disable in the background to avoid impacting their functionality or responsiveness.
By effectively managing your background apps, you can reclaim valuable RAM and improve the overall performance and responsiveness of your Windows 11 system.
Use the Windows Task Manager
The Windows Task Manager is a powerful tool that provides detailed information about the processes and applications running on your Windows 11 system. It can help you identify resource-intensive programs, track CPU and RAM usage, and manage system performance efficiently.
To access the Windows Task Manager, you can use the following methods:
- Press Ctrl + Shift + Esc on your keyboard.
- Right-click on the taskbar and select ‘Task Manager’ from the context menu.
- Press Ctrl + Alt + Delete and select ‘Task Manager’ from the options.
Once the Task Manager is open, you will see several tabs providing different views and information about the running processes, performance, and more. The ‘Processes’ or ‘Details’ tab shows a list of all active processes along with their corresponding resource usage.
In the Task Manager, you can:
- End tasks or processes that are consuming high amounts of memory.
- Sort processes by their memory usage to identify the most resource-intensive ones.
- Monitor CPU usage, memory usage, disk usage, and network activity in real-time.
- View the startup impact of programs to identify resource-heavy startup applications.
The Task Manager provides valuable insights into the resource allocation and usage of your Windows 11 system. By regularly monitoring and managing the processes and applications using the Task Manager, you can identify and resolve any memory-related issues, ultimately optimizing your system’s performance.
However, exercise caution when ending processes or applications in the Task Manager. Terminating essential system processes or applications can lead to system instability. Ensure that you are terminating only resource-intensive or unnecessary processes.
The Windows Task Manager is a powerful tool for managing and optimizing system performance. Familiarize yourself with its features and utilize it to efficiently allocate system resources and save RAM in your Windows 11 system.
Adjust Visual Effects Settings
The visual effects in Windows 11, such as animations and transparency effects, can enhance the overall aesthetics of the operating system. However, these visual effects also consume system resources, including RAM. Adjusting the visual effects settings can help save RAM and improve the performance of your Windows 11 system.
To adjust the visual effects settings in Windows 11, follow these steps:
- Go to the Start menu and select ‘Settings’ (the gear icon).
- In the Settings window, click on ‘System’.
- In the left sidebar, select ‘Display’.
- In the main window, click on ‘Advanced display settings’.
- Under the ‘Appearance’ section, click on ‘Advanced graphics settings’.
- Click on ‘Adjust the appearance and performance of Windows’.
- In the ‘Visual Effects’ tab, choose between ‘Adjust for best performance’ or ‘Custom’ to customize individual visual effects.
By selecting ‘Adjust for best performance’, Windows 11 will automatically disable or reduce the visual effects to save system resources, including RAM. This option provides the most significant RAM savings but sacrifices some visual appeal. If you prefer a balance between performance and visuals, you can select ‘Custom’ and choose specific visual effects to enable or disable.
Reducing or disabling unnecessary visual effects can free up RAM and improve the responsiveness of your Windows 11 system. However, keep in mind that the impact on performance may vary depending on your system’s hardware capabilities.
Experiment with different visual effects settings to find a balance that suits your preferences and system performance needs. You can adjust the settings based on your specific requirements, whether you prioritize aesthetics or want to maximize performance by minimizing RAM usage.
Adjusting the visual effects settings is a great way to optimize your Windows 11 system by reducing the strain on your RAM and improving overall performance. Find the right balance that allows you to enjoy a visually appealing operating system while ensuring efficient resource allocation.
Use the Windows Memory Diagnostics Tool
The Windows Memory Diagnostics Tool is a built-in feature in Windows 11 that helps you identify and troubleshoot memory-related issues. It scans your computer’s RAM for any errors or problems and provides recommendations for resolving them.
To use the Windows Memory Diagnostics Tool in Windows 11, follow these steps:
- Press the Start button and type “Windows Memory Diagnostic” in the search bar.
- Click on the “Windows Memory Diagnostic” app from the search results.
- In the Windows Memory Diagnostic Tool window, you can choose between two options: “Restart now and check for problems” or “Check for problems the next time I start my computer.”
- Select the option that best suits your needs.
- If you choose the first option, your computer will restart, and the diagnostic tool will run automatically.
- If you choose the second option, make sure to save any unsaved work and restart your computer manually later.
- During the diagnostic process, the tool will scan and analyze your computer’s RAM for any issues.
Once the tool completes the scan, it will display the results, indicating whether any problems were found. If errors are detected, it is recommended to consult the manufacturer’s instructions for your computer or seek technical assistance to rectify the memory-related issues.
The Windows Memory Diagnostics Tool eliminates the need for third-party memory testing software and provides a convenient way to identify and resolve memory-related problems in your Windows 11 system.
Running the Windows Memory Diagnostics Tool periodically can help ensure the stability and reliability of your computer’s RAM. By identifying and addressing memory issues promptly, you can prevent system crashes, application errors, and other performance-related problems caused by faulty memory.
Remember to save any unsaved work before running the diagnostic tool, as it may require a system restart. It is also advisable to back up your important data regularly to avoid any potential loss during the diagnostic process or subsequent troubleshooting steps.
By using the Windows Memory Diagnostics Tool, you can proactively detect and address memory-related issues, leading to improved system stability and performance in your Windows 11 operating system.
Disable Windows Features and Services
Windows 11 comes with a range of built-in features and services that are enabled by default. While these features enhance the functionality of the operating system, they also consume system resources, including valuable RAM. Disabling unnecessary Windows features and services can help save RAM and optimize the performance of your Windows 11 system.
To disable Windows features and services, follow these steps:
- Press the Start button and click on “Settings” (the gear icon).
- In the Settings window, select “Apps” or “Apps & features”.
- Click on “Optional features” or “Manage optional features”.
- You will see a list of optional features installed on your system.
- Select the features that you don’t need and click on “Uninstall” or “Disable”.
Disabling unnecessary Windows features can vary depending on your personal usage and requirements. For example, if you do not use certain language packs or accessibility features, you can disable them to free up memory resources.
Similarly, you can manage Windows services to optimize RAM usage. Here’s how:
- Press the Start button and type “services” in the search bar.
- Click on the “Services” app from the search results.
- In the Services window, you will see a list of services running on your system.
- Find the services that you don’t need and right-click on them.
- Select “Stop” to stop the service immediately or “Properties” to disable the service from startup.
Take caution when disabling or stopping services, as some services are essential for the proper functioning of your system. Research the services before making any changes and ensure that you are disabling only non-essential ones.
Disabling unnecessary Windows features and services can significantly reduce RAM usage and improve overall system performance. By evaluating and fine-tuning these settings, you can optimize your Windows 11 system to match your specific needs and preferences.
Limit System Restore Points
System Restore Points are a valuable feature in Windows 11 that allow you to revert your computer back to a previous state in case of system issues or software conflicts. However, these restore points consume disk space, including the allocation of RAM. Limiting the number of system restore points can help save RAM and optimize the storage space on your Windows 11 system.
To limit system restore points in Windows 11, follow these steps:
- Press the Start button and type “Create a restore point” in the search bar.
- Click on the “Create a restore point” app from the search results.
- In the System Protection tab, click on the “Configure” button.
- In the new window, you will see the “Disk Space Usage” section with a slider.
- Move the slider to the desired percentage of disk space to be allocated for system restore points.
- Click on the “Apply” button and then on “OK” to save the changes.
By limiting the disk space allocated to system restore points, you can effectively control the number of restore points that Windows creates. This helps prevent excessive consumption of RAM and ensures that valuable system resources are available for active tasks and applications.
However, keep in mind that reducing the disk space allocated for system restore points may limit the number of available restore points. It is recommended to strike a balance between the number of restore points and the available disk space based on your individual needs and the importance of system restore functionality.
Regularly monitoring and managing your system restore points can help optimize system resources and prevent excessive RAM usage. It is also advisable to create manual restore points before making significant system changes, as they can serve as specific checkpoints to revert your system to a known stable state.
By limiting the number of system restore points and being mindful of the disk space allocated for them, you can optimize your Windows 11 system’s RAM usage while still maintaining the benefits of this important system recovery feature.
Clear Temporary Files and Cache
Temporary files and cache accumulate over time as you use your Windows 11 system. These files serve a temporary purpose and are meant to be discarded after their intended use. However, if not regularly cleared, they can take up valuable space on your disk and contribute to RAM usage. Clearing temporary files and cache can help save both disk space and optimize the performance of your Windows 11 system.
To clear temporary files and cache in Windows 11, follow these steps:
- Press the Start button and click on “Settings” (the gear icon).
- In the Settings window, select “System”.
- In the left sidebar, click on “Storage”.
- In the main window, click on “Temporary files”.
- You will see a list of temporary files that can be deleted.
- Select the types of files you want to remove, such as temporary files, temporary internet files, or system error memory dump files.
- Click on the “Remove files” button to delete the selected files.
In addition to removing temporary files, clearing browser cache is also crucial for optimizing system performance. Here’s how you can clear the cache in popular web browsers:
- Google Chrome: Press Ctrl + Shift + Delete on your keyboard, then select the cache and other browsing data you want to clear, and click on the “Clear data” button.
- Mozilla Firefox: Press Ctrl + Shift + Delete on your keyboard, then select the cache and other data you want to clear, and click on the “Clear Now” button.
- Microsoft Edge: Press Ctrl + Shift + Delete on your keyboard, then select the cache and other browsing data you want to clear, and click on the “Clear” button.
Regularly clearing temporary files and cache can free up disk space and help prevent performance issues caused by excessive RAM usage. It is recommended to perform this maintenance task periodically or when you notice a significant decrease in system performance.
Keep in mind that clearing temporary files and cache will remove files that are no longer needed, but it will not delete any essential or personal files stored on your computer. It is always a good practice to review the file types before deleting them to ensure that no important data is removed inadvertently.
By regularly clearing temporary files and cache, you can optimize both your disk space and RAM usage, resulting in improved performance and a smoother usage experience on your Windows 11 system.
Upgrade Your Hardware
If you have tried various software optimizations and are still experiencing performance issues and high RAM usage on your Windows 11 system, it may be time to consider upgrading your hardware. Upgrading certain hardware components can significantly improve the overall performance and RAM management capabilities of your computer.
Here are some hardware upgrades you may consider:
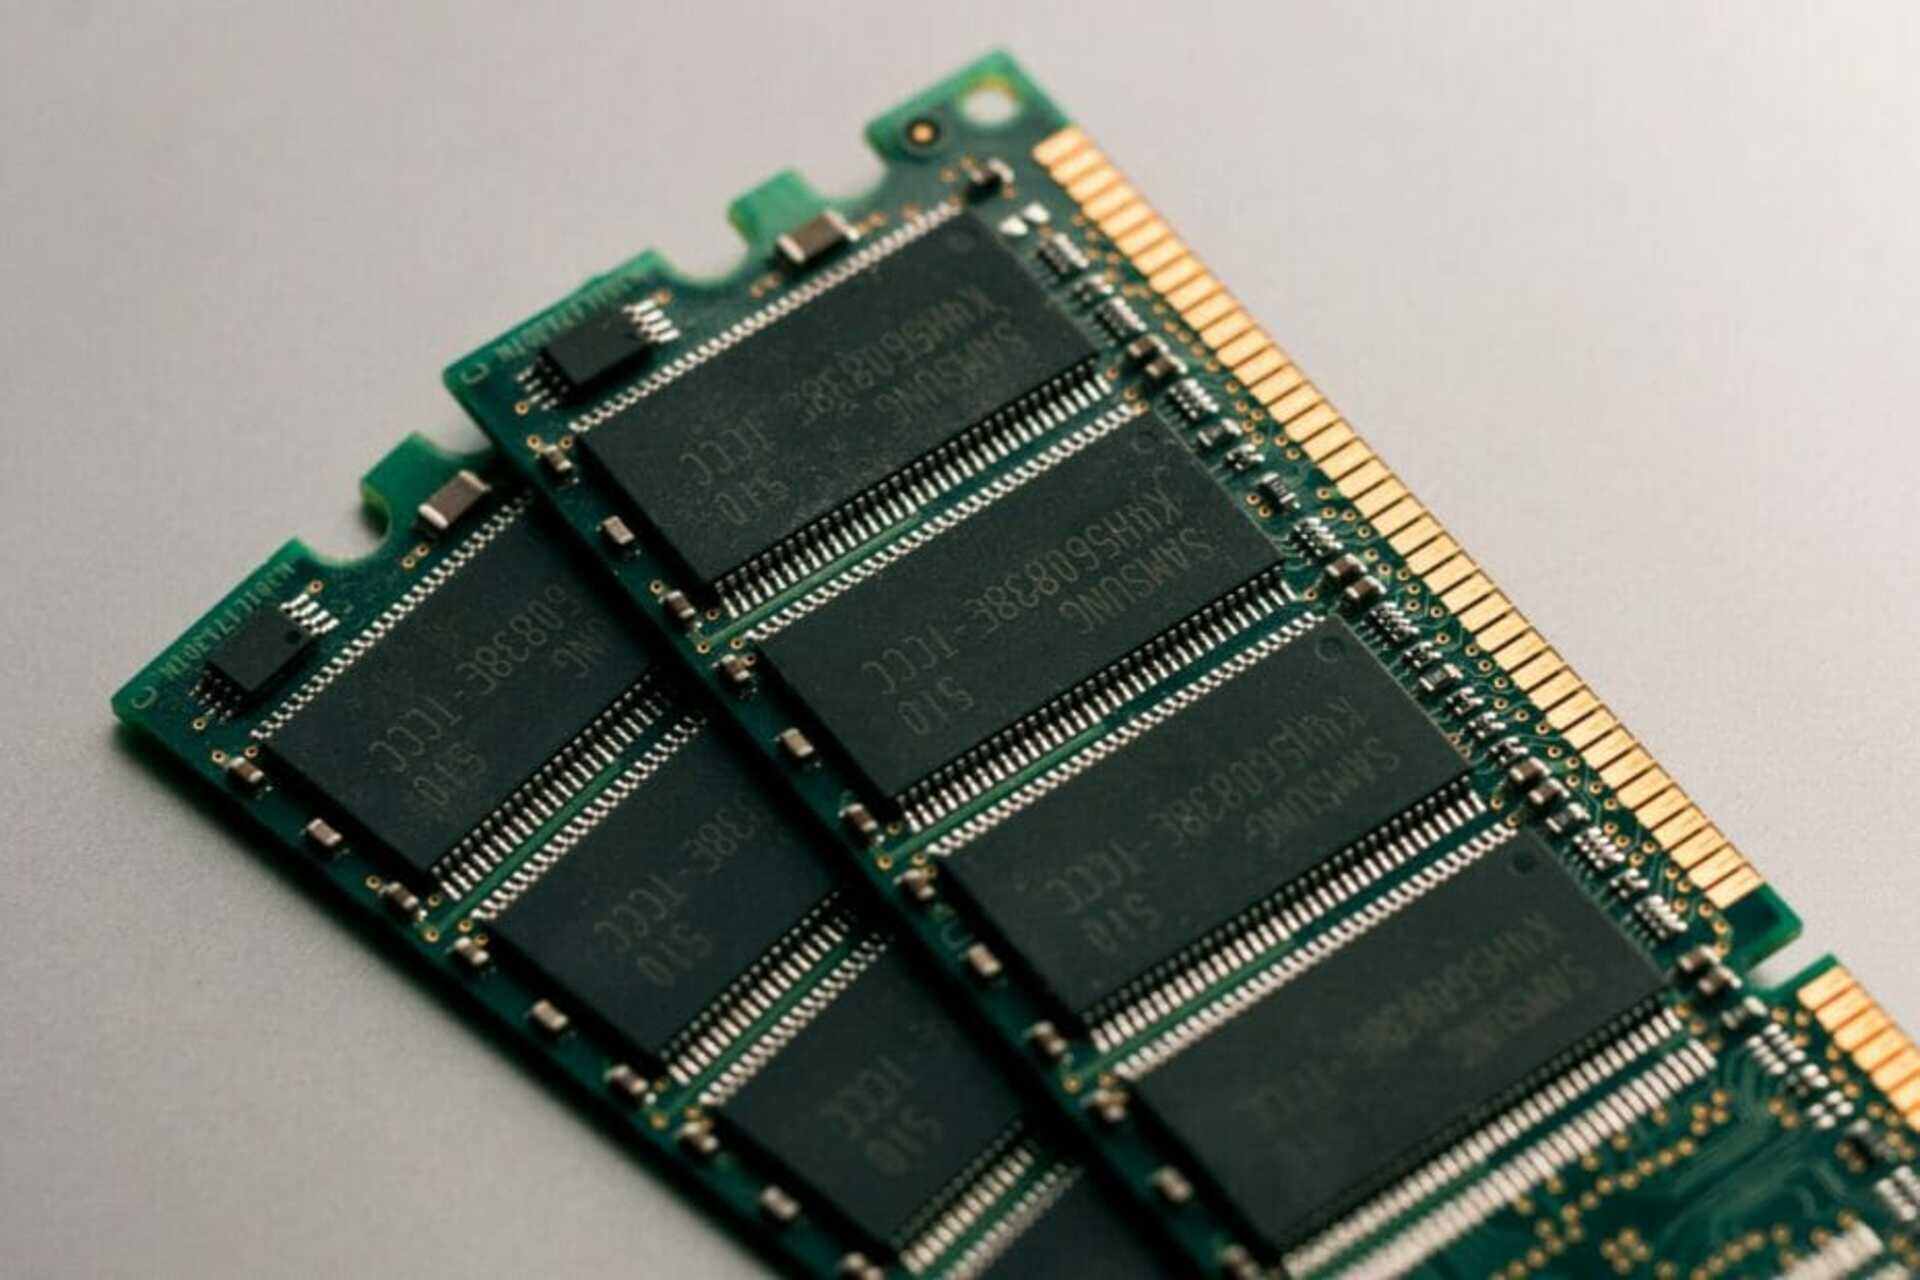
- RAM: Adding more RAM is one of the most effective ways to increase the available memory and improve system performance. Upgrading to a higher RAM capacity allows your computer to handle multitasking and memory-intensive tasks more efficiently.
- SSD: Upgrading to a Solid-State Drive (SSD) can significantly improve the system’s response time and reduce the load on your RAM. SSDs are faster than traditional hard drives, which can enhance overall system performance by reducing data access and retrieval times.
- Processor: Upgrading to a faster and more capable processor can enhance overall system performance, including better RAM management. A faster processor can handle more tasks simultaneously and process data more efficiently, leading to improved performance and reduced RAM usage.
- Graphics Card: If you use resource-intensive applications or play graphic-intensive games, upgrading your graphics card can offload some of the processing tasks from the CPU and RAM. A more powerful graphics card can handle graphics-related tasks more efficiently and reduce the strain on your system’s memory resources.
Before upgrading your hardware, it is important to check the compatibility of your system and the hardware components you plan to upgrade. Consider consulting with a computer hardware professional or referring to the manufacturer’s documentation to ensure smooth integration of new hardware into your system.
Additionally, upgrading hardware can be a more costly option compared to software optimizations. Evaluate your budget and needs before deciding to upgrade any hardware components.
Upgrading your hardware is a long-term investment that can provide significant improvements to your Windows 11 system’s performance and RAM management. It allows your computer to handle more demanding tasks effectively and ensures that you have the necessary resources for a smooth computing experience.
Conclusion
Optimizing and saving RAM in Windows 11 is essential for achieving smooth and efficient system performance. By implementing the strategies discussed in this article, you can optimize your RAM usage and enhance the overall performance of your Windows 11 system.
Start by closing unnecessary programs and terminating resource-intensive processes running in the background. This will free up valuable memory resources for active tasks. Additionally, disabling startup programs and managing background apps can further save RAM and improve boot times.
Adjusting visual effects settings allows you to find a balance between aesthetics and performance. By limiting system restore points, you can save disk space and prevent excessive RAM usage. Clearing temporary files and cache regularly reduces clutter and optimizes system resources.
If software optimizations are not sufficient, upgrading hardware components such as RAM, SSD, processor, or graphics card can significantly enhance system performance and improve RAM management.
Remember that each system is unique, and the effectiveness of these strategies may vary depending on your specific hardware configuration and usage patterns. It is recommended to experiment with different optimizations and monitor the impact on your system’s performance.
By incorporating a combination of these strategies, you can effectively save RAM, optimize system resources, and ensure a seamless and efficient computing experience on your Windows 11 system.


