Introduction
Have you ever experienced issues with your internet connection, like slow speeds or difficulty accessing certain websites? One possible solution to these problems is to reset your IP address. In this article, we will explore what an IP address is, why you might need to reset it, and various methods you can use to do so.
An IP address, short for Internet Protocol address, is a unique numerical label assigned to every device connected to a computer network. It serves as an identifier for devices to communicate with each other and send and receive data over the internet.
There are two types of IP addresses: IPv4 and IPv6. The former consists of four sets of numbers separated by periods, while the latter uses eight groups of four hexadecimal digits separated by colons. Despite the differences in format, the purpose of both types of IP addresses remains the same.
There are several situations where resetting your IP address can be beneficial. For instance, if you are experiencing connectivity issues, resetting your IP address can help resolve conflicts between your device and the network. It can also provide a fresh start when troubleshooting network problems.
Resetting your IP address can be done using various methods, depending on your specific situation and the type of device you are using. In the following sections, we will explore some common methods for resetting an IP address.
What is an IP Address?
An IP address, or Internet Protocol address, is a unique identifier assigned to a device connected to a computer network. It serves as a means for devices to communicate and exchange data over the internet. Similar to how a physical address identifies the location of a house, an IP address identifies the location of a device on a network.
IP addresses come in two versions: IPv4 and IPv6. IPv4 addresses consist of four sets of numbers separated by periods, while IPv6 addresses use eight groups of four hexadecimal digits separated by colons. Each IP address identifies a specific device on a network, making it possible for data to be sent to and received from that device.
IP addresses play a crucial role in enabling online communication and ensuring that data reaches its intended destination. When you request a website or send an email, your device uses its IP address to communicate with the correct server and receive the requested information.
IP addresses are assigned by Internet Service Providers (ISPs) to their customers. This allows ISPs to correctly route data to and from customer devices. The assignment can be either static, where the IP address remains the same, or dynamic, where the IP address changes periodically.
Additionally, IP addresses are divided into different classes based on their range. This classification helps in organizing and managing IP addresses efficiently. Public IP addresses are globally unique and are used to identify devices on the internet. On the other hand, private IP addresses are used within local networks and are not accessible from the internet.
Understanding the concept of IP addresses is essential for troubleshooting network issues, configuring network settings, and ensuring smooth internet connectivity. Now that we have a clear understanding of what an IP address is, let us explore why you might need to reset it when facing certain technical problems.
Why Would You Need to Reset Your IP Address?
There can be several situations where resetting your IP address can be beneficial. Let’s explore some common scenarios:
- Network Connectivity Issues: If you are experiencing problems connecting to the internet, resetting your IP address can help resolve connectivity issues. It can clear any conflicts or errors that may be present, allowing your device to establish a fresh connection with the network.
- Network Conflicts: Sometimes, multiple devices on the same network may end up with conflicting IP addresses, causing disruptions in connectivity. Resetting your IP address can help resolve these conflicts by assigning a new unique identifier to your device.
- Slow Internet Speeds: If your internet connection seems slower than usual, it could be due to a congested or overloaded IP address. By resetting your IP address, you can change your network route and potentially improve your internet speeds.
- Firewall and Security Issues: In some cases, your IP address may get blocked by firewalls or encounter security restrictions, preventing you from accessing certain websites or online services. Resetting your IP address can help bypass these restrictions and regain access to blocked content.
- Refreshing Network Settings: When troubleshooting network-related problems, resetting your IP address can serve as a starting point. By resetting the IP address, you can ensure that you are working with a clean and fresh network configuration.
It’s worth noting that while resetting your IP address can help resolve certain network issues, it might not be a solution for all problems. If you are facing persistent connectivity issues, it may be best to contact your Internet Service Provider (ISP) for assistance.
Now that we understand why you might need to reset your IP address, let’s explore some methods you can use to reset it in the next section.
How to Reset Your IP Address
Resetting your IP address can be done through various methods depending on your device and network configuration. Here are some common methods you can try:
- Method 1: Power Cycling Your Router
- Turn off your router by unplugging it from the power source.
- Wait for about 30 seconds.
- Plug the router back in and wait for it to restart.
- Method 2: Release and Renew IP through Command Prompt
- Press the Windows key + R to open the Run dialog box.
- Type “cmd” and press Enter to open the Command Prompt.
- In the Command Prompt window, type “ipconfig /release” and press Enter.
- Wait for the command to complete, then type “ipconfig /renew” and press Enter.
- Wait for the command to complete, then close the Command Prompt.
- Method 3: Disable and Enable Network Adapter
- Right-click on the network icon in the system tray and select “Open Network & Internet settings.”
- In the Network settings, scroll down and click on “Change adapter options.”
- Right-click on your network adapter and select “Disable.”
- Wait for a few seconds, then right-click on the adapter again and select “Enable.”
- Method 4: Contact Your Internet Service Provider
One simple and effective way to reset your IP address is by power cycling your router. To do this, follow these steps:
This process will force your router to acquire a new IP address from your ISP, effectively resetting your IP address.
If you are using a Windows computer, you can reset your IP address using the Command Prompt. Follow these steps:
By releasing and renewing your IP address, you force your computer to request a new IP address from the network, thereby resetting it.
Another way to reset your IP address is by disabling and enabling your network adapter. Here’s how to do it:
Disabling and enabling the network adapter forces your device to acquire a new IP address, effectively resetting it.
If the previous methods do not work or you are facing persistent issues, it may be necessary to contact your Internet Service Provider (ISP). They can help troubleshoot the issue and potentially reset your IP address from their end.
These are just a few methods you can use to reset your IP address. Remember, the specific steps might vary depending on your device and operating system. If none of the methods work or you are unsure about making changes to your network settings, it’s recommended to seek assistance from a technical professional or your ISP.
Now that we have explored different methods to reset your IP address, let’s move on to some additional tips and considerations for resetting your IP.
Method 1: Power Cycling Your Router
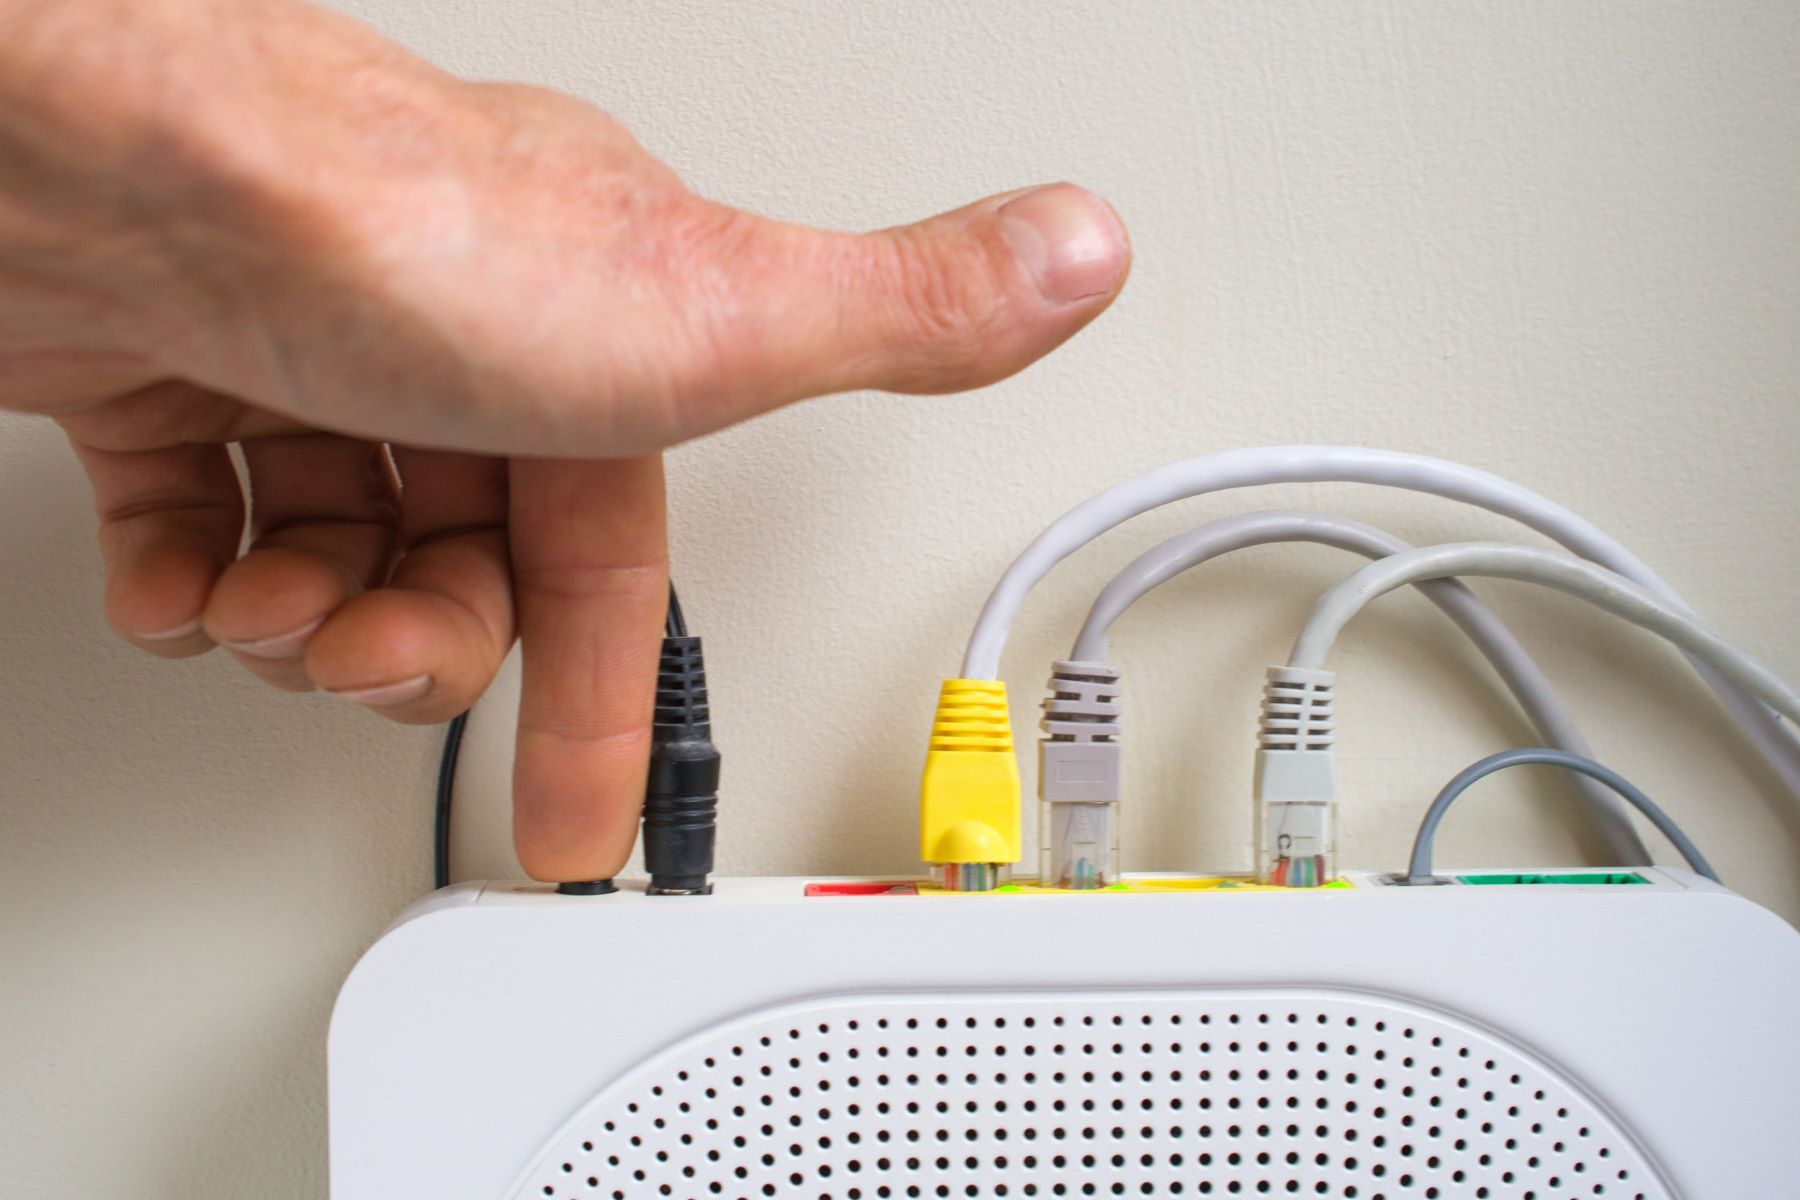
One simple and effective way to reset your IP address is by power cycling your router. This method is suitable for both wired and wireless routers. Power cycling involves turning off your router, allowing it to rest for a short period, and then turning it back on. This process can refresh the network connection and assign a new IP address to your device. Follow these steps to power cycle your router:
- Locate the power cable connected to your router.
- Unplug the power cable from the router. You may need to locate the power button or switch on your router and turn it off if it has one.
- Wait for approximately 30 seconds. This waiting period allows any residual power to discharge from the router.
- Plug the power cable back into the router and turn it on if you had switched it off.
- Wait for the router to fully boot up and establish a connection with your Internet Service Provider (ISP).
Once the router is powered back on, it will go through the connection process and obtain a new IP address from the ISP. This new IP address will be assigned to your device, effectively resetting your IP address.
Power cycling your router not only resets your IP address but can also help resolve other connectivity issues. It clears temporary network glitches, refreshes your network settings, and improves the overall stability of your internet connection. It’s a simple and quick method that is often effective in resolving minor network problems.
If you are using a modem-router combo, you can power cycle the device by following the same steps. However, if you have a separate modem and router, make sure to power cycle both devices. Start by powering off the modem, then follow the steps above for your router. Once both devices are powered back on, they will establish a new connection and assign fresh IP addresses.
Power cycling the router is generally a safe process and does not involve any complex configurations. However, it’s always a good idea to consult your router’s documentation or contact your ISP for specific instructions if you are unsure. Additionally, keep in mind that power cycling your router will temporarily interrupt your internet connection, so it’s best to perform this method during a time when internet access is not critical.
Now that you know how to reset your IP address by power cycling your router, let’s move on to the next method: releasing and renewing your IP address through the Command Prompt.
Method 2: Release and Renew IP through Command Prompt
If you are using a Windows computer, you can reset your IP address using the Command Prompt. This method involves releasing your current IP address and requesting a new one from the network. Here’s how you can do it:
- Press the Windows key + R on your keyboard to open the Run dialog box.
- Type “cmd” and press Enter. This will open the Command Prompt.
- In the Command Prompt window, type “ipconfig /release” and press Enter. This command will release your current IP address.
- Wait for the command to complete. You will see a message indicating that the IP address has been successfully released.
- Next, type “ipconfig /renew” and press Enter. This command will request a new IP address from the network.
- Wait for the command to complete. The Command Prompt will display information about the renewed IP address, subnet mask, and other network configuration details.
By releasing and renewing your IP address through the Command Prompt, you force your computer to obtain a new IP address from your Internet Service Provider (ISP). This process effectively resets your IP address and can help resolve network connectivity issues.
It’s important to note that you should run the Command Prompt with administrative privileges to execute these commands. To do this, right-click on the Command Prompt shortcut and select “Run as administrator.”
If you have multiple network adapters, such as an Ethernet adapter and a Wi-Fi adapter, you can specify which adapter to release and renew the IP address for by using the following commands:
ipconfig /release [adapter_name]: Releases the IP address for a specific adapter.ipconfig /renew [adapter_name]: Renews the IP address for a specific adapter.
Replace [adapter_name] with the name of the adapter you want to release or renew the IP address for. You can find the names of your adapters by running the ipconfig command without any additional parameters.
Using the Command Prompt to release and renew your IP address is a quick and efficient method, especially for Windows users. However, if you are not comfortable working with the Command Prompt or encounter any issues, it is advisable to seek assistance from a technical professional.
Now that you know how to release and renew your IP address through the Command Prompt, let’s explore another method: disabling and enabling the network adapter.
Method 3: Disable and Enable Network Adapter
Another method to reset your IP address is by disabling and enabling your network adapter. This method is applicable to both wired and wireless network connections. Disabling and enabling the network adapter will force your device to acquire a new IP address from the network. Here’s how you can do it:
- Right-click on the network icon located in the system tray of your taskbar.
- Select “Open Network & Internet settings” from the menu that appears. This will open the Network settings window.
- Scroll down and click on “Change adapter options.” This will open the Network Connections window, displaying all the available network adapters on your computer.
- Right-click on the network adapter you are currently using and select “Disable” from the context menu. This will deactivate the selected network adapter.
- Wait a few seconds, then right-click on the same network adapter and select “Enable” from the context menu. This will reactivate the network adapter.
By disabling and enabling the network adapter, your device will establish a new connection with the network and acquire a new IP address, effectively resetting your IP address.
It’s important to note that the process may vary slightly depending on your operating system and network configuration. The steps mentioned above are applicable to Windows 10, but similar options are available in previous versions of Windows as well.
If you are using a wired connection, make sure to disable and enable the correct Ethernet adapter. Similarly, if you are using a wireless connection, disable and enable the appropriate Wi-Fi adapter.
Disabling and enabling the network adapter can also help resolve other network-related issues such as driver conflicts or connectivity problems. It is a simple and effective method to refresh the network connection and ensure a stable connection to the network.
If you are unsure about disabling and enabling the network adapter or encounter any difficulties, it is recommended to consult the documentation provided by your device manufacturer or seek assistance from a technical professional.
Now that you are familiar with the method of disabling and enabling the network adapter, let’s move on to the next method: contacting your Internet Service Provider (ISP) for assistance in resetting your IP address.
Method 4: Contact Your Internet Service Provider
If the previous methods do not work or you are facing persistent issues with your IP address, it may be necessary to reach out to your Internet Service Provider (ISP) for assistance. ISPs have the capability to reset your IP address from their end and troubleshoot any network-related problems. Here’s what you can do:
- Identify the contact information for your ISP. This can typically be found on their website, your account information, or in the documentation provided by your ISP.
- Call or email your ISP’s support team and explain the issues you are experiencing. Provide them with details about the problems you are facing, such as slow internet speeds, frequent disconnections, or any other network-related issues.
- Follow any instructions or troubleshooting steps provided by the ISP’s support team. They may guide you through specific troubleshooting procedures or initiate a reset of your IP address from their end.
When contacting your ISP, it is helpful to provide them with relevant information such as the make and model of your modem or router, your current IP address (if available), and any other pertinent network details. This will assist them in diagnosing the problem more efficiently and provide you with the appropriate solution.
It’s important to keep in mind that resolving network-related issues may require the involvement of your ISP, as they have control over the IP address assigned to your connection. They may need to reset your IP address or troubleshoot other aspects of your network setup to restore proper connectivity.
By contacting your ISP for assistance, you can leverage their expertise and access to network resources to help diagnose and resolve your IP address issues. They can guide you through any necessary steps and ensure that your connection is restored and functioning optimally.
If you are unsure about how to contact your ISP or require additional assistance, do not hesitate to reach out to their customer support team. They are there to help you and ensure that you have a reliable and stable internet connection.
Now that you are aware of the various methods available for resetting your IP address let’s move on to some additional tips and considerations to keep in mind.
Additional Tips for Resetting Your IP Address
When it comes to resetting your IP address, here are some additional tips and considerations to keep in mind:
- Restart your device: Before attempting any specific methods to reset your IP address, it’s always a good idea to start by simply restarting your device. This can help resolve minor network issues and may automatically assign a new IP address.
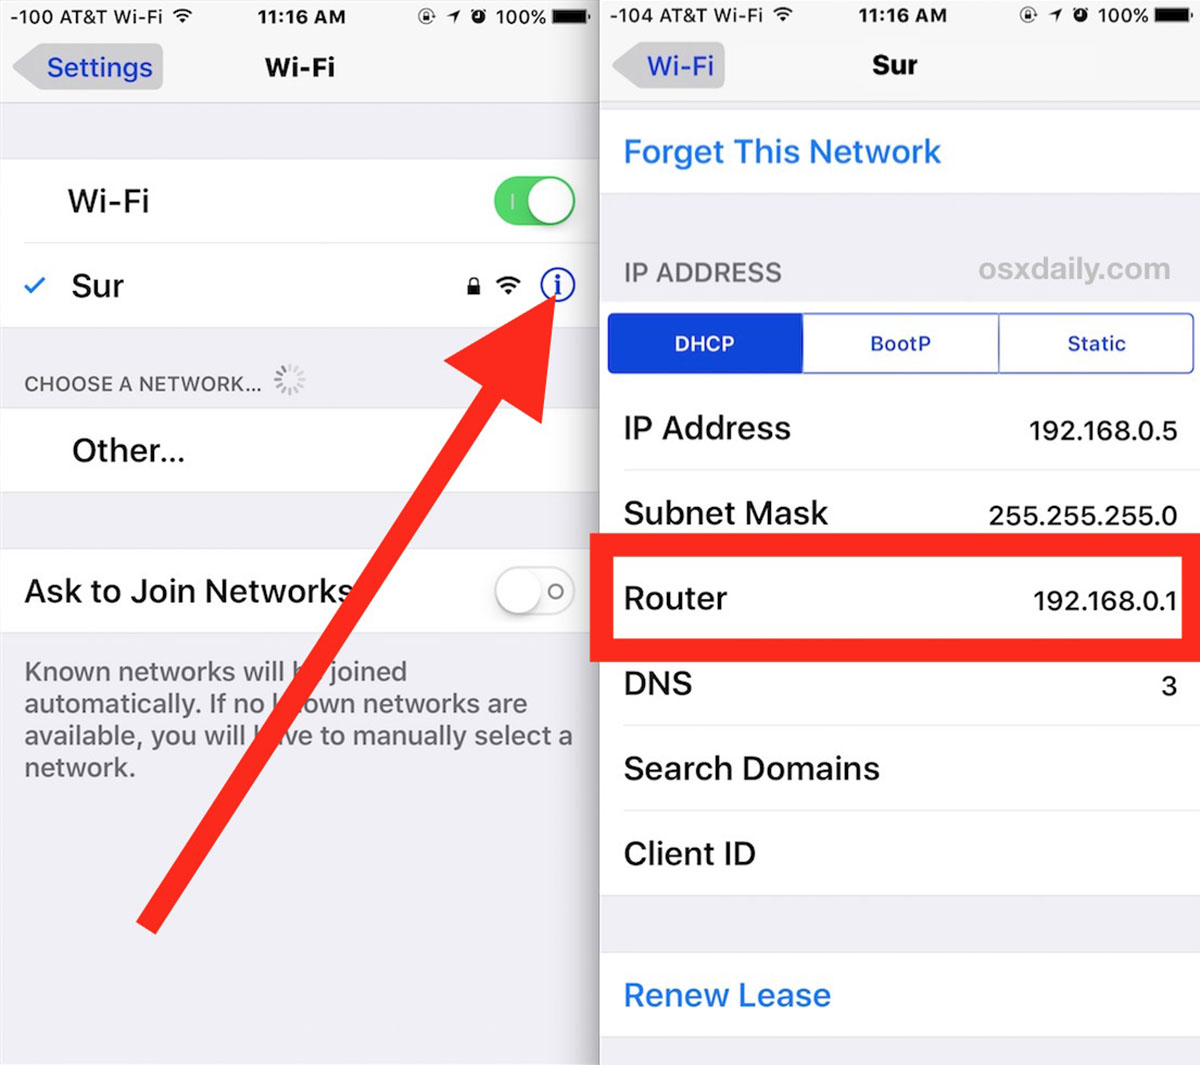
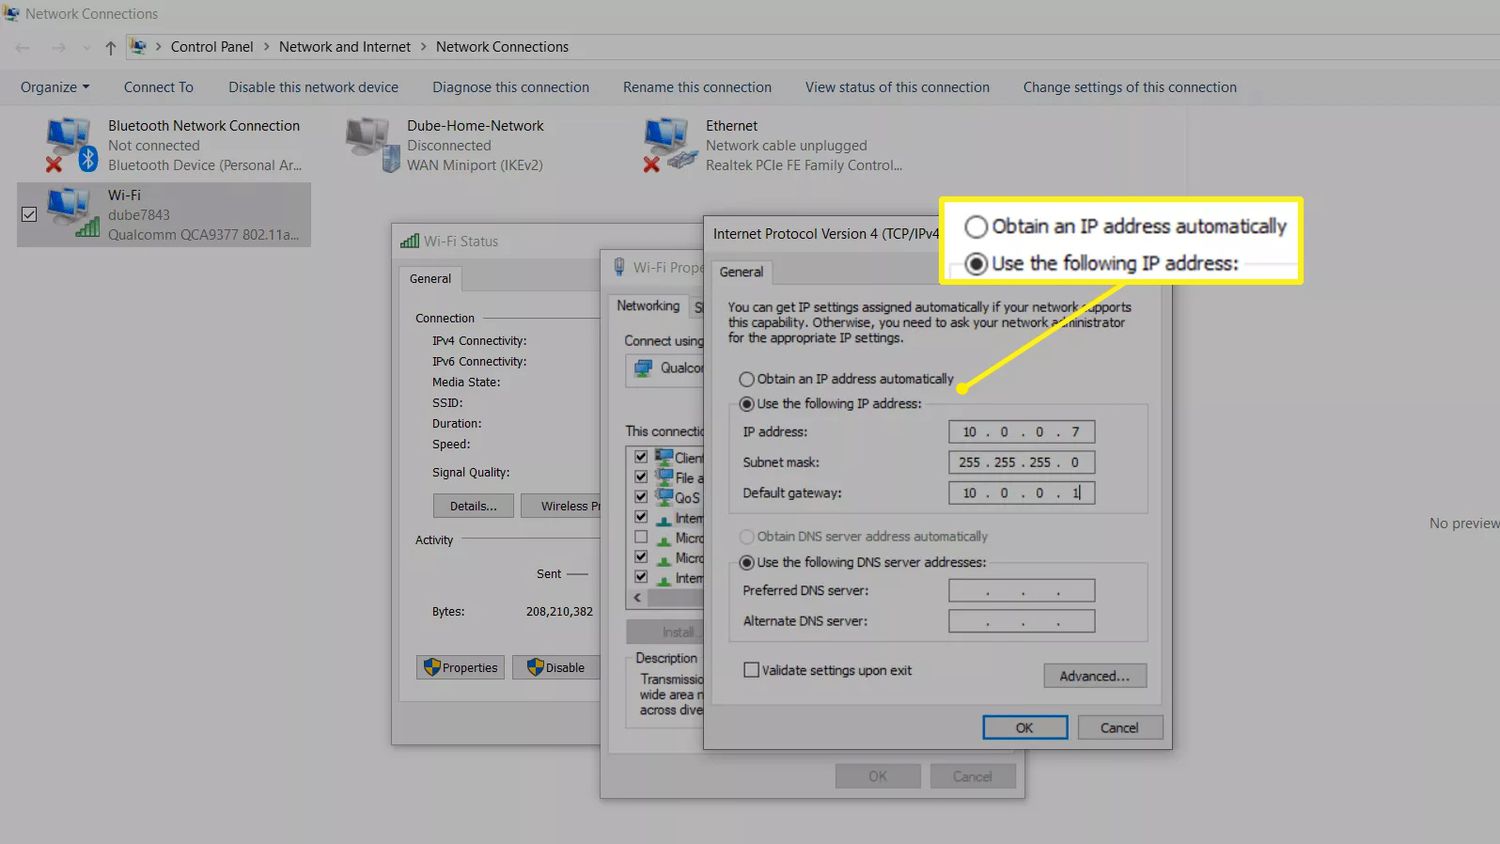
- Double-check your network settings: Sometimes, incorrect network settings or misconfigured IP addresses can cause connectivity problems. Ensure that your device is set to obtain an IP address automatically (via DHCP) unless you have specific requirements that necessitate manual configuration.
- Use a different network: If you have access to multiple networks, such as a mobile hotspot or a neighbor’s Wi-Fi, try connecting to a different network to see if the issue persists. This can help determine if the problem is specific to your network or device.
- Update your router firmware: Outdated router firmware can sometimes lead to network issues. Check the manufacturer’s website for any available firmware updates and follow their instructions to update your router’s firmware. This can improve the performance and stability of your network connection.
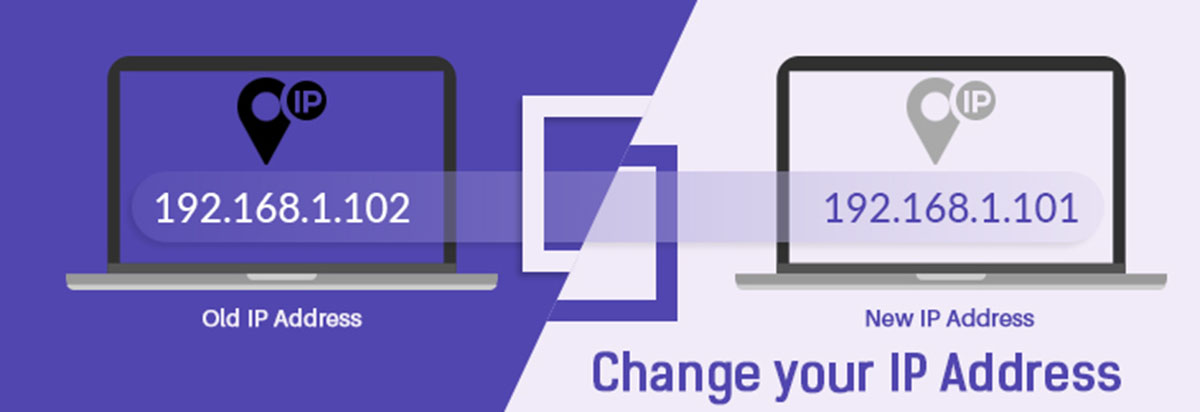
- Resetting vs. Changing your IP address: Resetting your IP address involves obtaining a new IP address from your ISP or network, while changing your IP address involves manually configuring a different IP address. In most cases, resetting the IP address is sufficient to resolve network issues. Changing your IP address should only be done if you have a specific reason to do so, such as troubleshooting or accessing region-restricted content.
It’s worth noting that resetting your IP address is typically a simple process, but it may not always solve complex network problems. If you are experiencing persistent issues or need assistance with network troubleshooting, it is recommended to consult a technical professional or contact your Internet Service Provider (ISP) for support.
Always exercise caution while making changes to your network settings and follow the appropriate instructions for your specific device and operating system. Incorrectly modifying network settings can lead to further connectivity issues or potential security vulnerabilities.
By following these tips and considerations, you can effectively reset your IP address and resolve common network connectivity problems. Remember that maintaining a reliable and stable internet connection is crucial for seamless online activities.
Now that we have covered additional tips for resetting your IP address, let’s briefly recap what we have discussed in this article.
Conclusion
In this article, we have explored various methods for resetting your IP address to resolve network connectivity issues. We started by understanding what an IP address is and why you might need to reset it.
We discussed common methods for resetting your IP address, including power cycling your router, releasing and renewing your IP through the Command Prompt, disabling and enabling your network adapter, and seeking assistance from your Internet Service Provider (ISP).
Power cycling your router can help refresh your network connection and assign a new IP address. Releasing and renewing your IP address through the Command Prompt is a quick method, especially for Windows users. Disabling and enabling your network adapter can also force a new IP address assignment. Finally, contacting your ISP can provide further assistance and resolve persistent network issues.
Additionally, we provided some additional tips such as restarting your device, double-checking network settings, using a different network, and updating router firmware to ensure a stable and reliable connection.
It’s important to remember that resetting your IP address may not always solve complex network problems. If you continue to experience difficulties or require further assistance, it is advisable to consult a technical professional or reach out to your ISP for support.
By following the methods and tips outlined in this article, you can effectively reset your IP address and improve your network connectivity. Having a stable internet connection is crucial for seamless online activities, whether it be browsing the web, streaming content, or engaging in online work or communication.
We hope that this article has provided you with valuable insights and guidance on resetting your IP address. Now, armed with this knowledge, you can troubleshoot and resolve network issues efficiently, ensuring a smooth and uninterrupted online experience.