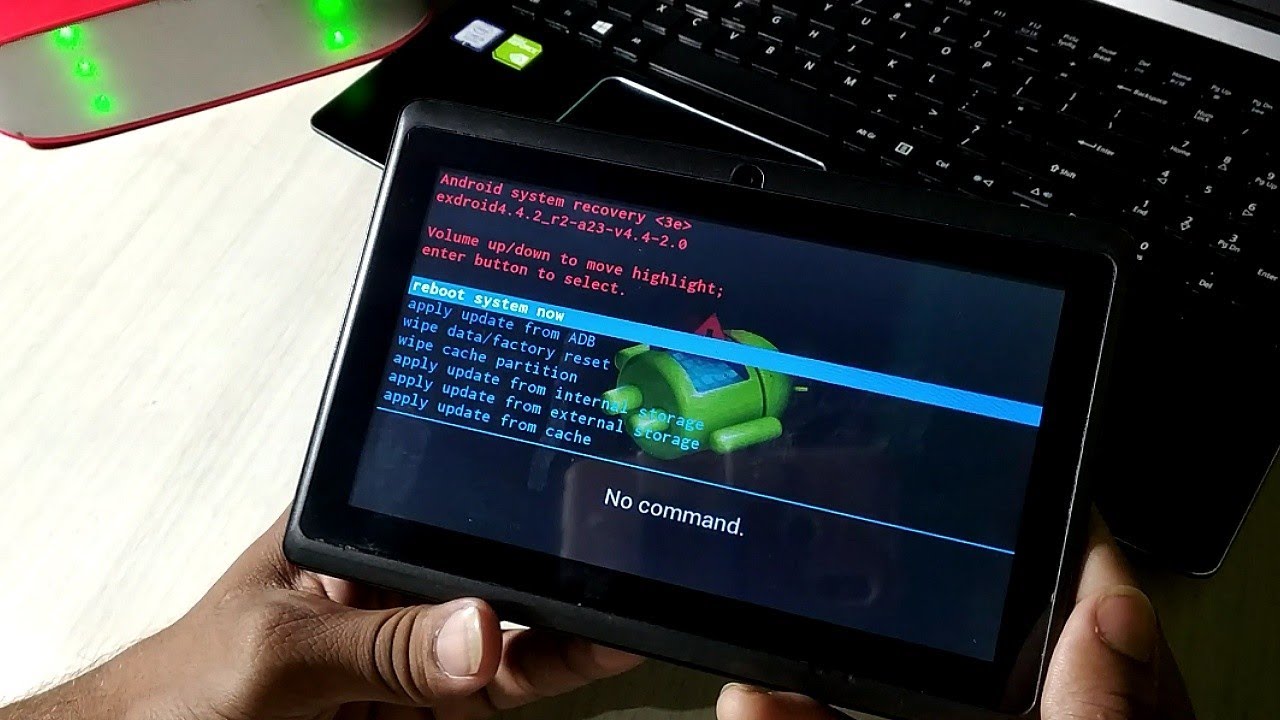
Before you reset your Android tablet with computer: Critical preparatory steps
To reset android tablet with computer, you need a reliable method that works even when the device is locked or unresponsive. The two proven approaches are Google's Find My Device service for remote erasure and ADB (Android Debug Bridge) commands for a direct wired connection. Before choosing either path, you must protect your data and prepare the device properly.
A factory reset permanently erases all data on your Android tablet, including apps, photos, videos, contacts, and personal files, restoring it to its original factory state. This is why backing up important information to cloud storage or your computer is non-negotiable, once the reset begins, there is no recovery. Additionally, ensure your tablet has at least 50% battery charge before starting any reset method to prevent the device from powering off mid-process, which could cause system corruption. If you are dealing with unlocking a locked tablet, the remote method may be your only option since you cannot access settings. For situations where you need to hard reset an Android tablet when locked out, ADB commands require USB debugging to already be enabled, so check that first before proceeding. If your device is a Samsung, you can also hard reset Samsung tablet without password using a simple button combination.
Method 1: Reset remotely with Find My Device (easier)
This method allows you to remotely erase an Android tablet using a computer's web browser, making it ideal for locked, lost, or inaccessible devices. The prerequisites are strict: your tablet must be powered on, signed into a Google Account, connected to the internet (Wi-Fi or mobile data), have Location services enabled, and have Find My Device turned on in settings. If all these conditions are met, you can wipe the device from anywhere without needing physical access.
On your computer, open a web browser and go to android.com/find. Sign in with the Google account linked to the tablet, the same account that is currently active on the device. From the device list at the top of the page, select your tablet. Google will attempt to locate it, showing its approximate position on a map. Then click "Erase device" or "Factory reset device" and follow the on-screen confirmation prompts. This action immediately wipes all data, including the screen lock, and you can then set up the tablet as new. Note that if the tablet is offline, the erase command will execute automatically the next time it connects to the internet. This method is significantly easier than ADB because it requires no drivers, cables, or command-line knowledge, just a browser and your Google credentials.
Method 2: Reset using ADB commands on your computer
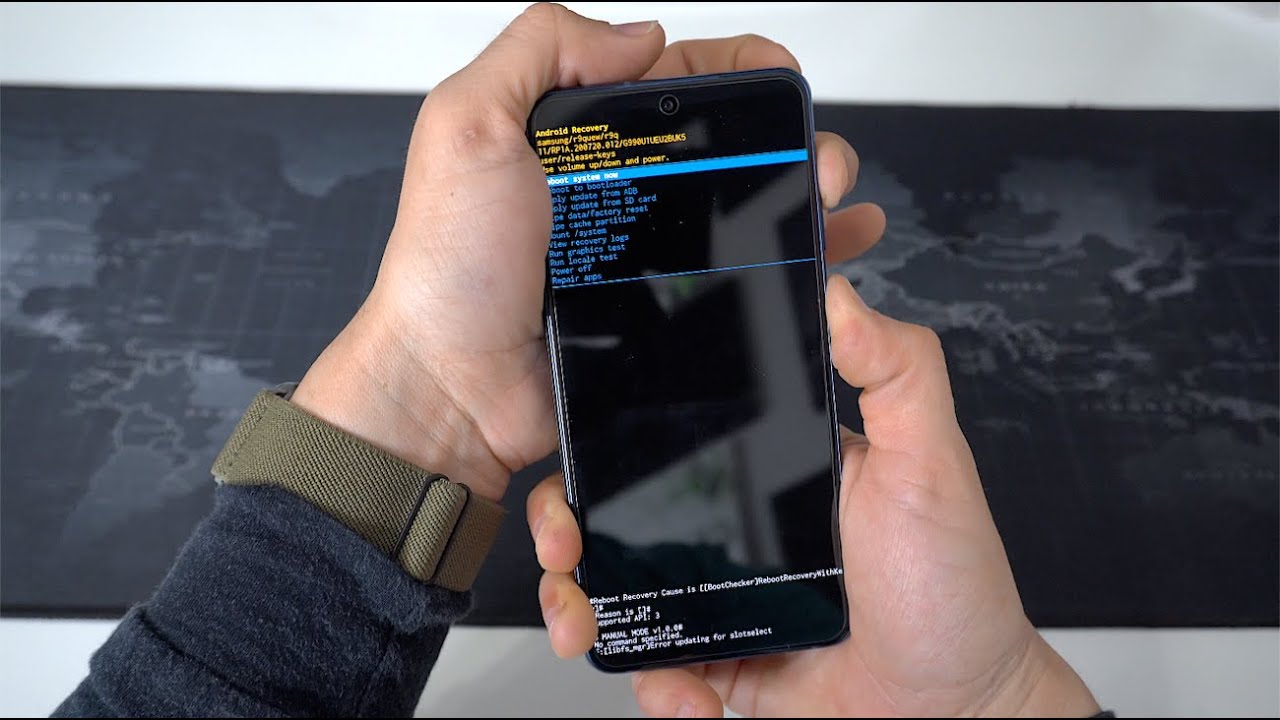
The ADB method provides a direct, wired connection between your computer and tablet, giving you full command-line control over the reset process. This approach requires a functional tablet where USB debugging can be enabled, meaning the device must boot into Android and you must have access to the Settings app. If your tablet is completely dead, stuck in a boot loop, or has a broken screen, this method will not work; you would need to use hardware key combinations to enter recovery mode instead. However, for tablets that are slow, glitchy, or partially responsive, ADB offers a reliable reset path.
Before starting, you need to install the Android Debug Bridge software and the correct USB drivers for your tablet model on your computer. ADB is a versatile command-line tool that allows communication between your computer and Android device, and it works on Windows, macOS, and Linux. The USB drivers ensure your computer recognizes the tablet as a valid device, these are manufacturer-specific, so visit your tablet brand's official website (Samsung, Lenovo, Google, etc.) to download them. Once ADB and drivers are installed, you can establish a verified connection and execute the factory reset commands.
Step 1: Install ADB and USB drivers on your computer
Go to the Android Developer website and download the platform-tools ZIP file for your operating system. Extract the contents to a folder you can easily remember, such as C:\adb on Windows or ~/adb on Mac/Linux. Inside this folder, you will find the adb.exe executable (Windows) or the adb binary (Mac/Linux). Next, visit your tablet manufacturer's website, locate the USB drivers section, and download the driver package specific to your tablet model. Install the drivers by running the setup file and following the on-screen instructions. After installation, restart your computer to ensure all driver components load correctly. To make ADB accessible from any command prompt location, add the platform-tools folder to your system's PATH environment variable, this saves you from typing the full path every time you run a command.
Step 2: Enable USB debugging and connect your tablet
This unlocks the hidden Developer Options menu. Go back to Settings, scroll down, and open "Developer Options." Locate "USB Debugging" and toggle the switch to enable it. If prompted, confirm that you want to allow USB debugging.
Now connect your tablet to your computer using a USB cable. On your tablet, a notification will appear asking you to choose the USB connection mode, select "File Transfer" or "MTP" to allow data communication. If this is your first time connecting, a dialog will appear on the tablet asking you to authorize the computer's RSA key fingerprint. On your computer, open a Command Prompt (Windows) or Terminal (Mac/Linux) window in the platform-tools folder. Type adb devices and press Enter. If the connection is successful, you will see your tablet's device ID listed as "device" in the output. If no device appears, try a different USB port or cable, and ensure the drivers are correctly installed.
Step 3: Execute the factory reset command
With the ADB connection verified, you can now issue the reset command. In the Command Prompt or Terminal, type adb shell and press Enter, this opens a shell session that gives you direct access to your tablet's system interface. Once you see the shell prompt (typically a $ symbol), enter the following command exactly:
wipe data or wipe data/factory reset
This command instructs your tablet to erase all data, including apps, accounts, and system configurations, reverting it to its original factory state. The tablet may display a confirmation message on its screen, review the information and confirm the reset if prompted. The reset process will begin, which may take several minutes depending on the storage capacity of your tablet. Do not disconnect the USB cable during this time. Once the reset completes, you will see a confirmation message on the tablet's screen. To exit the ADB shell, type exit and press Enter, then type adb reboot to restart the tablet. The device will boot up with a clean slate, ready for initial setup.
What to do after resetting your tablet
After your tablet reboots, it will display the Android setup wizard, the same screen you saw when you first unboxed the device. You will need to select your language, connect to a Wi-Fi network, and sign in with a Google account. If you performed the reset to fix a performance issue, you should now notice faster operation and smoother multitasking since all bloatware and corrupted data have been removed. Take this opportunity to restore your backed-up data from cloud storage or your computer, and reinstall your essential apps from the Google Play Store.
If you reset the tablet because you forgot your Google account credentials, you may encounter Factory Reset Protection (FRP), a security feature that requires you to verify the previous Google account before allowing access. If you cannot remember the account details, you will need to follow a dedicated guide on bypassing Google account verification, which typically involves using recovery mode or manufacturer-specific tools. For most users, however, the reset is the final step, and your tablet will feel like new again, optimized, clean, and ready for years of reliable use.
For the wider topic, see unlocking a locked tablet.