Introduction
Replacing the power supply unit (PSU) in a computer is a task that every PC owner may need to tackle at some point. The PSU is a critical component responsible for supplying power to all the internal hardware of the computer. Over time, PSUs can become faulty or insufficient to meet the power demands of high-performance systems. In such cases, it’s important to know how to replace the PSU to avoid potential damage to your computer.
In this step-by-step guide, we will walk you through the process of replacing the PSU in your PC. Whether you’re upgrading to a more powerful PSU or replacing a malfunctioning one, these instructions will help you safely and efficiently complete the task.
Before we begin, it’s vital to note that working with computer components involves handling delicate and sensitive equipment. To ensure your safety and to prevent damage to your computer, be sure to follow these instructions carefully and take necessary precautions such as grounding yourself by touching a metal object before working inside your computer case.
Now, let’s dive into the process of replacing the PSU in your PC and get your system up and running smoothly.
Step 1: Turn off the computer and disconnect the power cord
The first and most important step in replacing the PSU is to turn off your computer and disconnect the power cord from the wall outlet. This is crucial to ensure your safety and prevent any potential damage to the computer components.
To turn off the computer, click on the “Start” button in the lower-left corner of the screen and select “Shutdown” from the power options. Wait for the computer to completely shut down before proceeding.
Next, locate the power cord connected to the back of the computer. It is usually a thick cable with a three-pronged plug. Gently unplug the power cord from the wall outlet and disconnect it from the computer.
Remember to never pull the power cord forcefully or yank it out as this can damage the cord or the power socket on the computer. Instead, grip the plug firmly and pull it straight out.
Once the power cord is disconnected, it’s a good idea to press the power button on the front of the computer for a few seconds. This will help discharge any remaining power in the system. Although modern computers have power surge protection, it’s better to be safe than sorry.
By turning off the computer and disconnecting the power cord, you ensure that there is no active power running through the system, creating a safe working environment for the PSU replacement process.
Step 2: Open the computer case
With the computer turned off and the power cord disconnected, it’s time to open the computer case to access the internal components, including the PSU.
The exact process of opening the computer case may differ depending on the type of computer you have. In general, most desktop computers have a side panel that can be easily removed to provide access to the internal components.
Begin by locating the screws or latches that secure the side panel of your computer case. These are typically located on the back of the case. Use a screwdriver or your hands to loosen the screws or release the latches, allowing you to remove the side panel.
Once the screws or latches are undone, gently slide or lift off the side panel. Take care not to force or apply excessive pressure, as this could damage the panel or other components inside the case.
Depending on the design of your computer case, the side panel may slide towards the back or front of the case before being lifted off. If you are unsure, consult the user manual or manufacturer’s instructions for your specific computer model.
After removing the side panel, you will have a clear view of the internal components, including the PSU. Take a moment to familiarize yourself with the layout and placement of the components to make it easier to locate and disconnect the PSU in the next steps.
Opening the computer case provides access to the internal components and allows you to proceed with the PSU replacement process. Remember to handle the case and components with care to avoid any damage or accidental disconnection of other components.
Step 3: Locate the power supply unit (PSU)
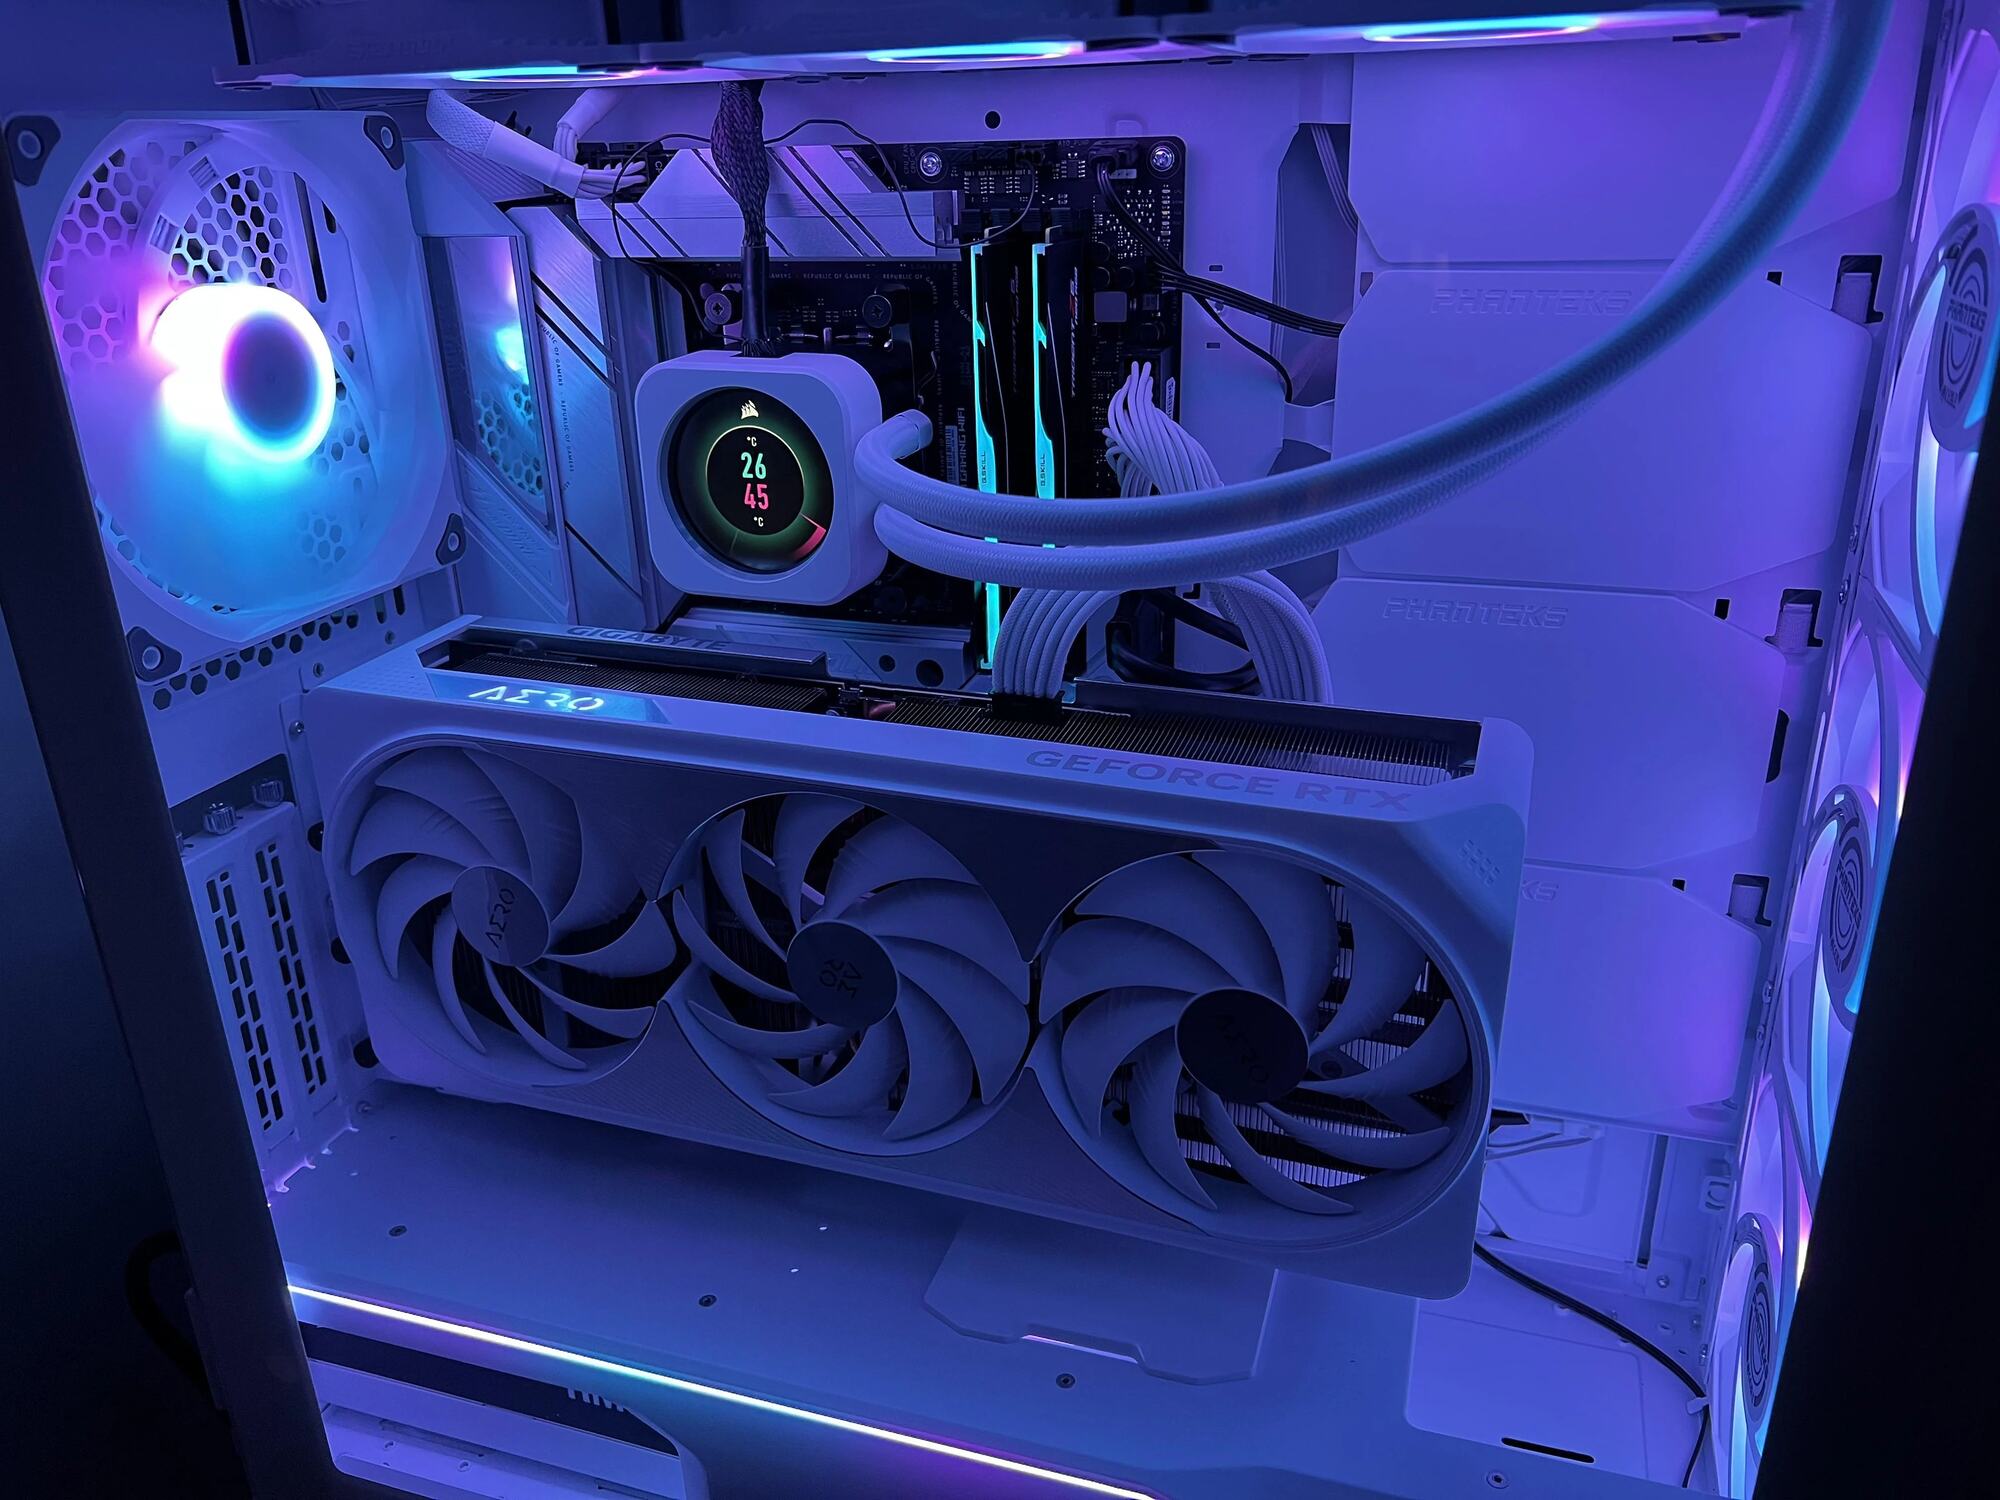
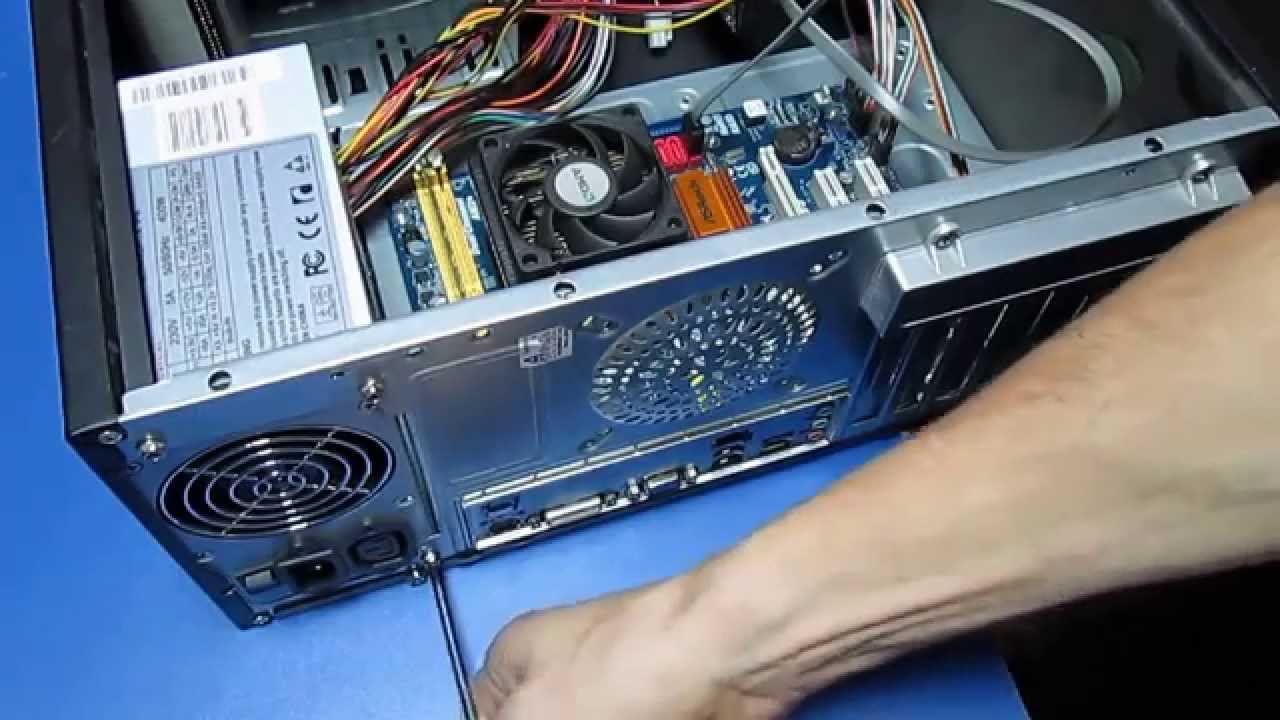
Now that you have opened the computer case, the next step is to locate the power supply unit (PSU). The PSU is a rectangular metal box usually positioned at the top or bottom of the case.
Look for a box-shaped component with a fan mounted on one side. This fan helps dissipate heat generated by the PSU during operation. The PSU is typically situated at the rear of the case, where the power cord plugs into it.
If you are having trouble identifying the PSU, you may refer to the user manual or manufacturer’s instructions for your computer model. Additionally, you can search online for images of PSUs that match your computer’s specifications.
When identifying the PSU, take note of any cables connected to it. The PSU will have various cables running from it to other components inside the computer, such as the motherboard, hard drives, and graphics card. These cables will need to be disconnected later in the process.
It’s essential to locate and identify the PSU accurately to ensure that you are working with the correct component during the replacement process. Once you have located the PSU, proceed to the next step to begin the disconnection process.
Step 4: Disconnect the cables from the PSU
Now that you have located the power supply unit (PSU), it’s time to disconnect the cables connected to it. Before removing any cables, it’s important to handle them with care and avoid tugging or pulling forcefully, as this could damage the connectors or the components they are attached to.
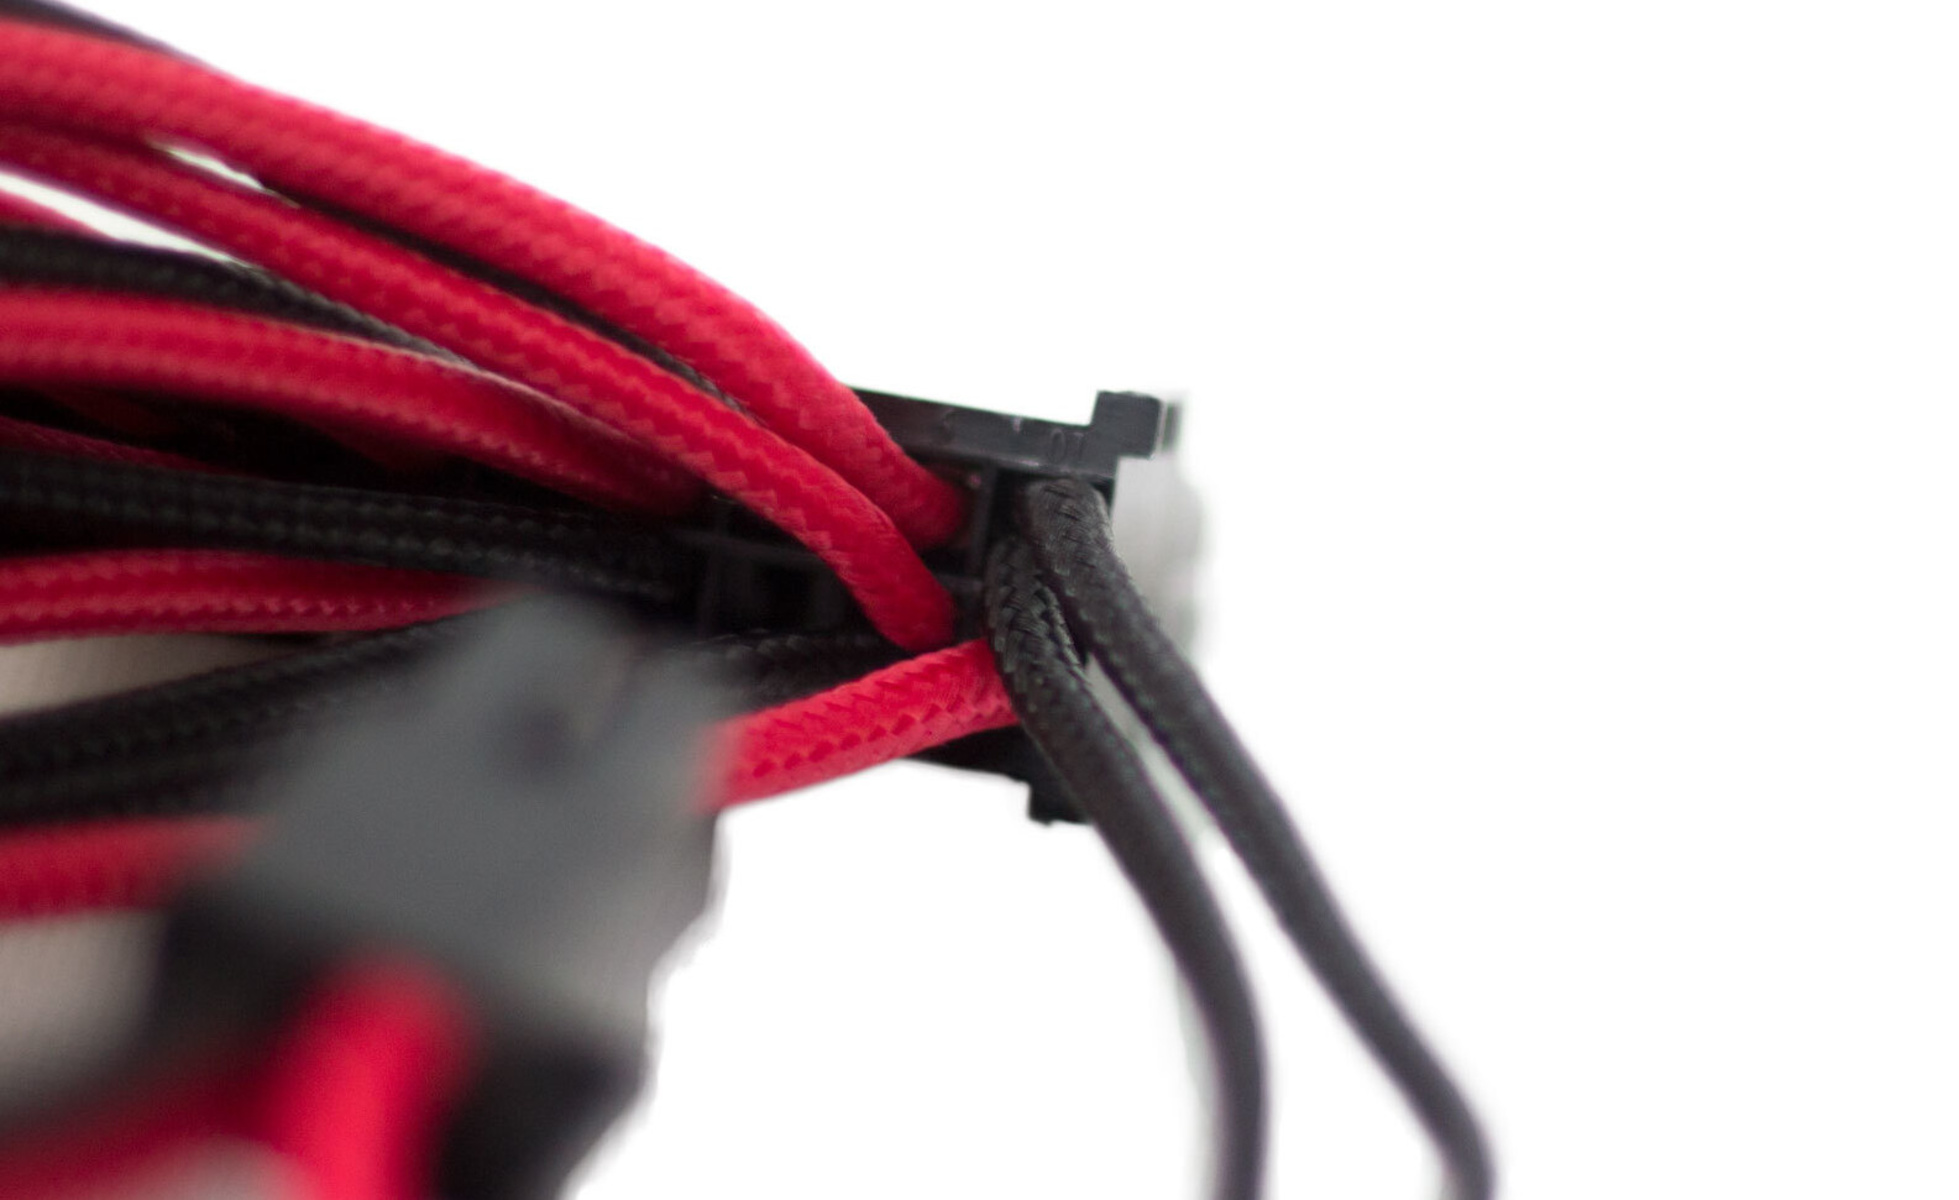
Start by examining the cables connected to the PSU. Depending on your computer’s configuration, there may be several cables, including the main motherboard power cable, CPU power cable, SATA power cables for storage devices, and PCIe power cables for graphics cards.
Begin by disconnecting the main motherboard power cable. This is a large, thick cable that supplies power to the motherboard. To disconnect it, locate the connector on the motherboard and gently press down on the retention clip or latch. This will release the connector, allowing you to remove it from the PSU.
Next, disconnect any other cables attached to the PSU. Follow the cables from the PSU to their respective components and carefully unplug them. Take note of where each cable is connected so that you can easily reconnect them to the new PSU later.
As you disconnect each cable, you may encounter connectors with different shapes or sizes. It’s important to pay attention to the specific connectors used and not force a cable into the wrong slot, as this can damage the connector or the component it is connected to.
Once all the cables are disconnected, gently route them away from the PSU to ensure they don’t interfere with the removal of the old PSU or the installation of the new one.
By disconnecting the cables from the PSU, you are preparing to remove the old unit and make way for the installation of a new one. Take your time to ensure all the cables are detached properly before moving on to the next step.
Step 5: Remove the mounting screws
With the cables disconnected from the power supply unit (PSU), the next step is to remove the mounting screws that secure the PSU in place. These screws are responsible for holding the PSU firmly to the computer case, preventing it from shifting or vibrating during operation.
Take a close look at the back of the computer case where the PSU is located. You should see several screws securing the PSU to the case. The number of screws may vary depending on the case and PSU design.
Using a screwdriver that matches the type of screws used, carefully unscrew and remove each of the mounting screws. It’s essential to keep track of the screws you remove so that you can reassemble the new PSU later.
As you remove the screws, take note of any additional brackets or supports that may be attached to the PSU. These may be secured by screws as well and will need to be removed along with the mounting screws.
While removing the screws, be sure to support the weight of the PSU to prevent it from shifting or falling out. Some PSUs can be quite heavy, and allowing it to drop could damage other components or the PSU itself.
Once all the mounting screws and any additional brackets or supports are removed, set them aside in a safe place. You will need them when installing the new PSU later.
By removing the mounting screws, you are preparing to remove the old PSU from the computer case. With the screws out of the way, you can proceed to the next step and take out the old PSU.
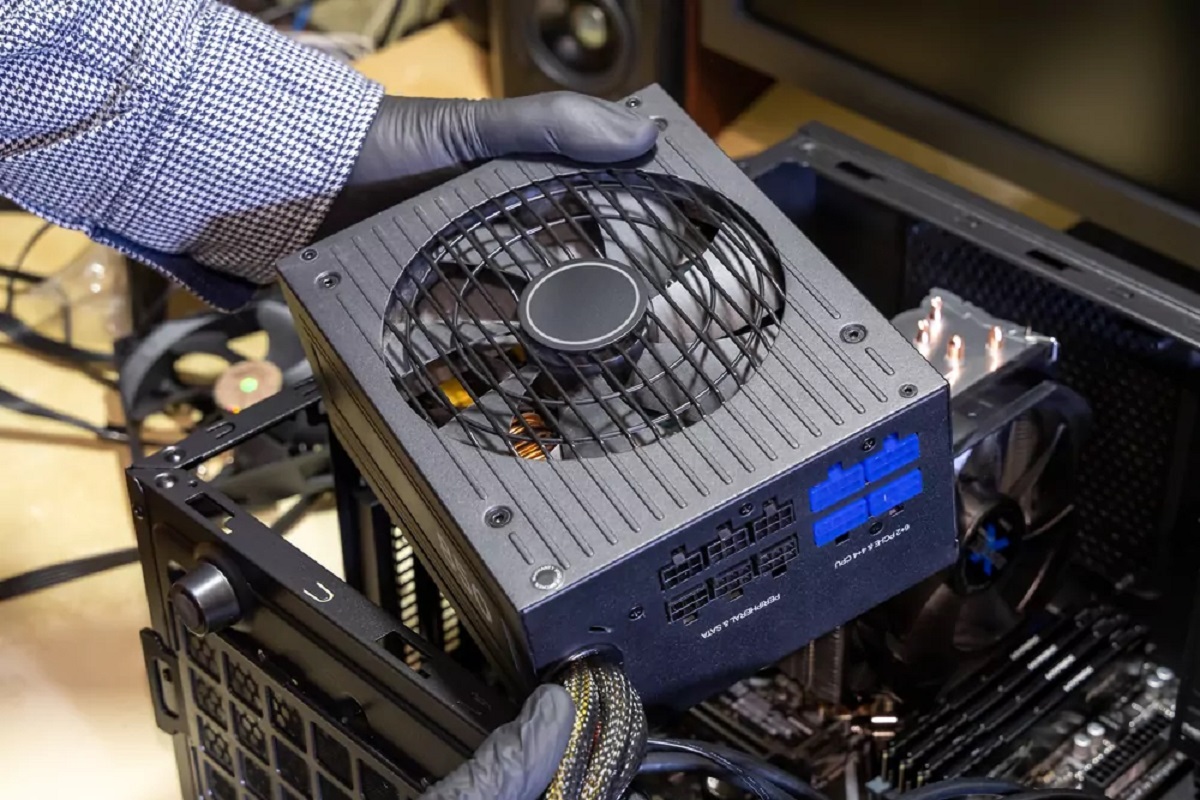
Step 6: Take out the old PSU
Now that the mounting screws have been removed, it’s time to take out the old power supply unit (PSU) from the computer case. Removing the old PSU allows you to make room for the installation of the new one.
With the screws out, gently pull the old PSU towards you while supporting its weight. Be cautious not to snag any cables or components inside the case as you remove the PSU.
If the PSU feels stuck or difficult to remove, double-check to ensure that all the mounting screws have been removed. Sometimes, residual tension from the screws can keep the PSU in place.
Once the old PSU is free from the case, carefully place it in a safe location. It’s a good idea to keep the old PSU as a backup or dispose of it properly following local regulations and guidelines.
Remember to handle the old PSU with care, as it may still contain residual charge even when disconnected from power. Avoid touching any exposed circuitry and try to hold the PSU by its edges to prevent any accidental damage.
With the old PSU removed, you now have a clear space in the computer case to proceed with the installation of the new PSU. Take a moment to ensure that there are no loose screws or debris inside the case that could interfere with the new PSU’s installation.
By carefully taking out the old PSU, you’re one step closer to upgrading or replacing it with a new and more efficient unit. Now, let’s move on to installing the new PSU in the next step.
Step 7: Install the new PSU
With the old power supply unit (PSU) removed from the computer case, it’s time to install the new PSU. Follow these steps to ensure a secure and proper installation:
- Take the new PSU and align it with the mounting holes on the back of the computer case. Make sure the fan is facing the correct direction to allow for proper airflow. Each hole on the PSU should align with a corresponding hole on the case.
- Gently slide the PSU into position, ensuring that it fits snugly. Be cautious not to force the PSU or apply excessive pressure. The PSU should align flush with the back of the case.
- Once the PSU is in place, retrieve the mounting screws that were removed in Step 5. Insert the screws through the mounting holes on the back of the case and into the corresponding holes on the PSU. Use a screwdriver to tighten the screws, but be careful not to overtighten them, as this can damage the PSU or the case threads.
- Double-check that all the screws are securely fastened, ensuring that the PSU is tightly attached to the case. A properly mounted PSU will minimize vibrations and keep it stable during operation.
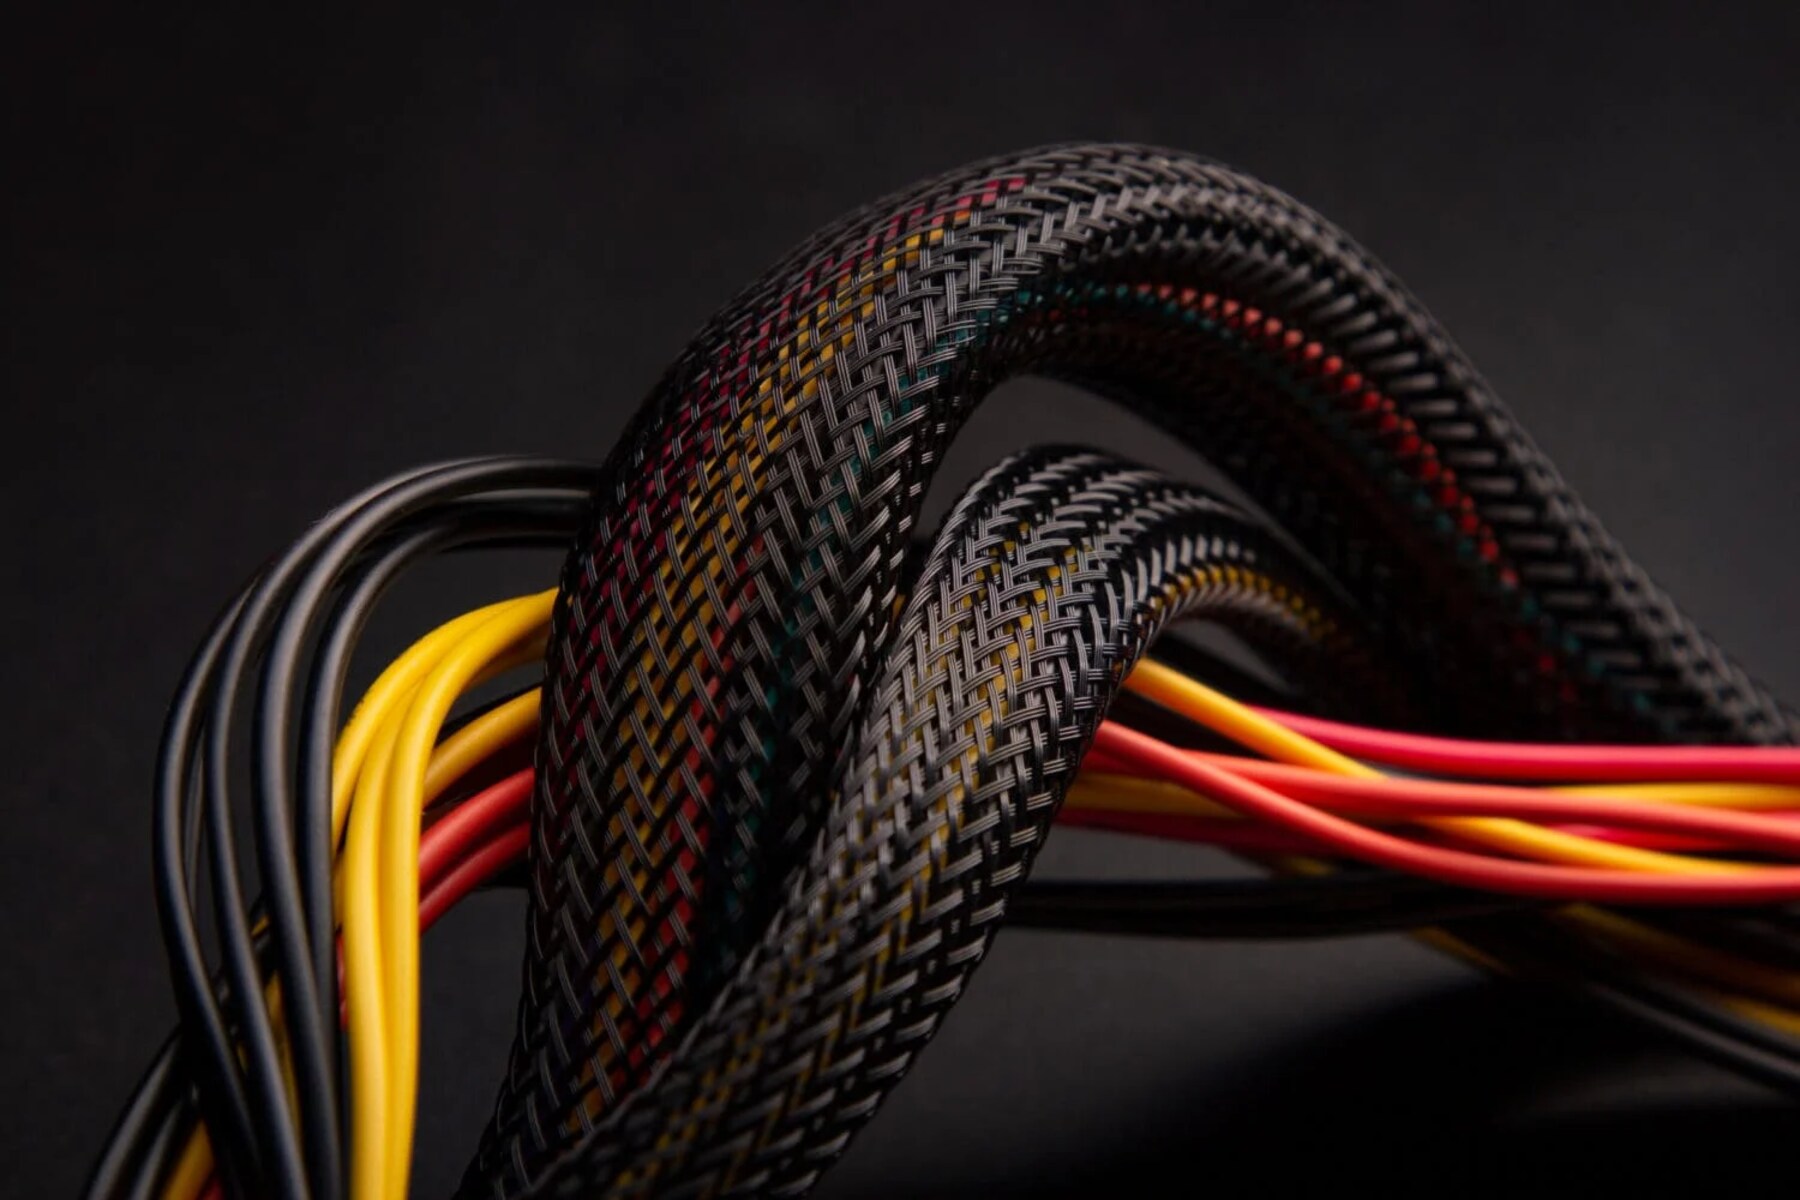
- Take a final look inside the case to make sure that there are no loose cables or debris that could obstruct the PSU or interfere with other components. Arrange any stray cables neatly and secure them with cable ties or clips to maintain proper airflow and organization.
With the new PSU securely installed, you’re one step closer to powering up your computer with a fresh and reliable power source. In the next step, we will reconnect the necessary cables to the new PSU.
Step 8: Connect the cables to the new PSU
Now that the new power supply unit (PSU) is securely installed in the computer case, it’s time to reconnect the necessary cables to the PSU. This step ensures that power is properly distributed to all the components of your computer.
Begin by gathering the cables that were disconnected from the old PSU in Step 4. Take note of their specific connectors and where they need to be plugged into the new PSU. It’s helpful to refer to your computer’s manual or the manufacturer’s instructions for proper cable placement.
Start by connecting the main motherboard power cable to the corresponding connector on the new PSU. Align the connector with the socket on the PSU and firmly push it in until it clicks into place. Ensure that the connection is secure, as a loose or weakly connected cable may cause power instability.
Next, connect the CPU power cable to the appropriate socket on the new PSU. This cable provides power to the CPU and is essential for proper functioning. Again, align the connector with the socket and firmly insert it until it clicks into place.
Continue by reconnecting the other cables, such as the SATA power cables for storage devices and the PCIe power cables for the graphics card. Take care to connect each cable to its respective socket on the new PSU, double-checking the connectors for proper alignment.
As you connect each cable, ensure that they are not tangled or obstructing airflow within the case. Neatly route the cables to their appropriate locations, using cable ties or clips to secure them and maintain a clean and organized internal environment.
Take a final look to verify that all cables are securely connected and properly seated in their respective sockets. A secure connection ensures that power is efficiently distributed to the components, minimizing the risk of power loss or overheating.
By reconnecting the cables to the new PSU, you’re close to completing the replacement process. In the next step, we will secure the new PSU with the mounting screws.
Step 9: Secure the new PSU with mounting screws
After connecting all the necessary cables to the new power supply unit (PSU), the next step is to secure it in place using the mounting screws. Properly securing the PSU ensures that it remains stable within the computer case, preventing any unnecessary movement or vibrations.
Retrieve the mounting screws that were removed in Step 5. Insert each screw into the corresponding mounting hole on the back of the computer case and align it with the holes on the PSU. Use a screwdriver to tighten the screws gently, ensuring they are snug but not overly tight.
As you tighten the screws, be mindful of the PSU’s position and alignment within the case. Ensure that it is straight and properly seated, ensuring a flush fit against the back of the case. Avoid overtightening, as it may damage the PSU or strip the threads on the case.
Double-check that all the screws are securely fastened, ensuring that the PSU is firmly attached to the case. A properly mounted PSU will minimize vibrations and maintain stability during operation.
As a final inspection, examine the area around the PSU to ensure that no loose cables or debris are obstructing the unit. Arrange any cables neatly and secure them with cable ties or clips to maintain good cable management and optimum airflow.
With the new PSU securely fastened and the cables neatly arranged, you have completed the installation process. Now, you’ll move on to the final steps of closing the computer case and powering on the system again.
Step 10: Close the computer case
Now that the new power supply unit (PSU) is securely in place and all cables are properly connected, it’s time to close the computer case. Closing the case ensures that all components are protected and secure, and it helps maintain proper airflow within the system.
Begin by aligning the side panel with the edges of the computer case. Take care to line up any tabs or grooves on the panel with their corresponding slots on the case.
Once properly aligned, gently slide or press the side panel back into its original position. Apply even pressure to ensure that the panel is fully seated and flush with the rest of the case.
Depending on the type of case you have, there may be screws or latches that need to be tightened or engaged to secure the side panel in place. If applicable, use a screwdriver or follow the case manufacturer’s instructions to properly fasten the screws or engage the latches.
Take a moment to ensure that the side panel is securely closed before moving on to the final step. A properly closed case contributes to the overall stability and protection of your computer’s internal components.
With the computer case closed, you’re almost ready to power on your system once again. In the final step, we will plug in the power cord and turn on the computer, ensuring that the new PSU is functioning correctly.
Step 11: Plug in the power cord and turn on the computer
After closing the computer case, the final step is to plug in the power cord and turn on the computer. This step will test the functionality of the newly installed power supply unit (PSU) and ensure that the system powers on successfully.
Locate the power cord that came with your computer or the one you had previously disconnected. Insert one end of the power cord into the power socket on the back of the new PSU. Ensure that the connection is secure and fits snugly.
Next, plug the power cord into a surge protector or directly into a wall outlet. Make sure the outlet is switched on, and if using a surge protector, ensure it is turned on as well.
With everything connected, press the power button on the front of your computer case to turn on the system. Listen for any startup sounds and check for any lights that indicate the system is receiving power.
If your computer doesn’t power on, double-check all cable connections to ensure they are properly seated in their respective sockets. Also, make sure the power switch on the back of the PSU is in the “on” position.
If the system still does not power on after verifying the connections, it’s possible that there may be other issues unrelated to the PSU replacement. In such cases, it may be advisable to seek further assistance from a computer technician or the manufacturer’s support department.
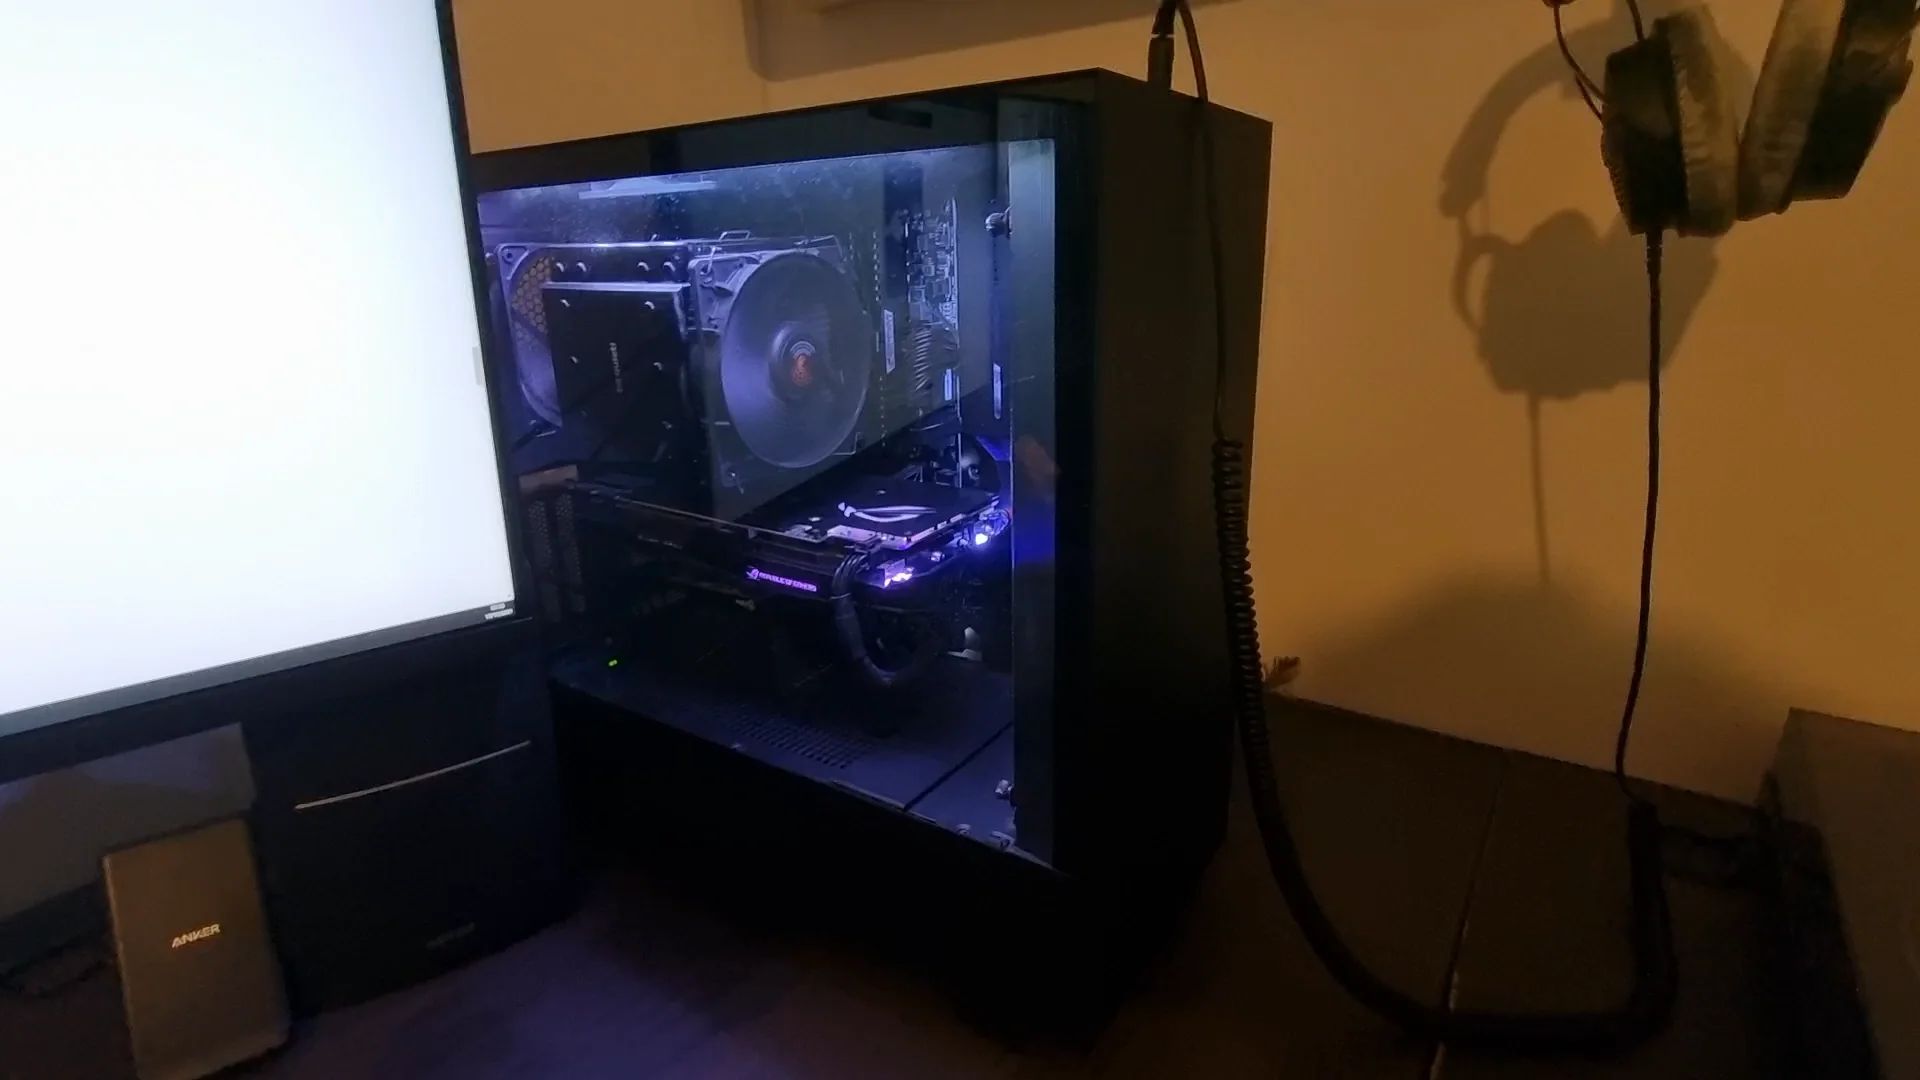
Assuming the computer powers on successfully, you have successfully replaced the PSU and restored power to your system. Take a moment to ensure that all components and fans are functioning properly.
Congratulations! You have successfully replaced the power supply unit in your computer. With a new and reliable PSU, you can now enjoy a stable and efficient power supply to support your computing needs.
Conclusion
Replacing the power supply unit (PSU) in your computer is a crucial task that ensures the reliable and efficient delivery of power to your system’s components. By following the step-by-step guide outlined above, you have successfully learned how to replace a PSU in your PC.
Throughout the process, you have learned important steps such as turning off the computer and disconnecting the power cord, opening the computer case, locating the PSU, disconnecting and reconnecting the necessary cables, and securing the new PSU with mounting screws. Finally, you closed the computer case, plugged in the power cord, and turned on the computer, ensuring everything is functioning properly.
Remember to handle your computer and its components with care throughout the process, following safety precautions to prevent any damage. Take your time to understand the layout and connections of your specific computer model, referring to the user manual or manufacturer’s instructions as needed.
With a new PSU in place, you can enjoy a stable power supply that meets the demands of your system. Whether you have replaced a faulty PSU or upgraded to a more powerful unit, your computer’s overall performance and reliability are likely to improve.
Should you encounter any issues during the process or if you are unsure about any step, it is always recommended to seek assistance from a professional technician or contact the manufacturer for support.
Now that you have successfully completed the PSU replacement process, you have acquired a valuable skill that can help you maintain and upgrade your computer in the future. By taking care of your computer’s power supply, you can ensure a smooth and efficient performance for years to come.