Introduction
Welcome to this step-by-step guide on how to replace the battery in your MacBook Pro. Over time, battery performance can degrade, resulting in shorter battery life and the need for a replacement. Fortunately, replacing the battery in a MacBook Pro is a relatively straightforward process that you can do yourself, saving you time and money.
Before you begin, it’s important to note that Apple recommends having your battery replaced by an authorized service provider. However, if your MacBook Pro is out of warranty or you prefer to tackle the task on your own, this guide will provide you with the necessary instructions.
Replacing the battery in a MacBook Pro requires a few tools and careful handling to ensure a smooth and successful installation. In this guide, we will walk you through each step, providing detailed explanations and tips to make the process easier for you.
It’s crucial to gather all the necessary tools beforehand to avoid disruptions during the replacement. Some of the tools you will need include a Pentalobe screwdriver, a Phillips screwdriver, and a spudger tool. These tools are readily available online or from electronics stores, ensuring that you have everything you need to complete the battery replacement.
Before proceeding, make sure your MacBook Pro is powered off to avoid any potential harm. Additionally, it is advisable to work on a non-conductive surface, such as a rubber mat or a wooden table, to prevent accidental damage from static electricity or metal contact.
In the next step, we will guide you through removing the bottom case of your MacBook Pro, allowing access to the internal components and ultimately, the battery itself. Stay tuned!
Step 1: Gather the necessary tools
Before beginning the battery replacement process, it’s vital to gather all the necessary tools. Having these tools on hand will ensure a smooth and efficient battery replacement. Here are the tools you will need:
- Pentalobe screwdriver: This specialized screwdriver, with a five-pointed star-shaped tip, is used to remove the screws that secure the back cover of your MacBook Pro.
- Phillips screwdriver: You will need a Phillips screwdriver to remove the screws that hold the battery connector in place.
- Spudger tool: A spudger tool is a handy instrument for safely disconnecting and reconnecting various connectors within your MacBook Pro, including the battery connector.
- Replacement battery: Ensure you have a compatible replacement battery specifically designed for your MacBook Pro model. It’s recommended to purchase a genuine Apple battery or a reliable third-party battery from a reputable source.
- Anti-static wristband (optional but recommended): If you have an anti-static wristband, it’s advisable to wear it to prevent static discharge and protect your MacBook Pro from potential damage.
These tools are readily available online or at electronics stores. Make sure you have all the necessary tools before proceeding with the battery replacement.
As an additional precaution, it’s recommended to keep a small container or a magnetic mat handy to hold the screws you remove. This ensures that you don’t misplace any screws and makes the reassembly process smoother.
With the necessary tools at your disposal, you’re now ready to power off your MacBook Pro and begin the battery replacement process. Remember, taking the time to gather the right tools will make the process much easier and more efficient. So let’s move on to the next step and power off your MacBook Pro.
Step 2: Power off your MacBook Pro
Before you dive into the battery replacement process, it’s crucial to power off your MacBook Pro. This not only prevents any potential harm to you or your device but also ensures a safer working environment.
To power off your MacBook Pro, follow these steps:
- Save any open files and close all applications you’re currently using.
- Click on the Apple menu located in the top-left corner of your screen.
- From the drop-down menu, select “Shut Down” to initiate the shutdown process.
- Wait for your MacBook Pro to completely power down. You can confirm that it has shut down by ensuring that the screen is no longer displaying any active content and that the indicator lights are off.
It’s important to note that you should never attempt to perform any internal repairs or modifications on your MacBook Pro while it is powered on or in sleep mode. Doing so can lead to electric shock or damage to the internal components. So make sure your MacBook Pro is completely powered off before moving on to the next step.
Once your MacBook Pro is powered off, you can proceed to the next step, which involves removing the bottom case to gain access to the internal components. By following these step-by-step instructions, you’ll be well on your way to successfully replacing your MacBook Pro’s battery.
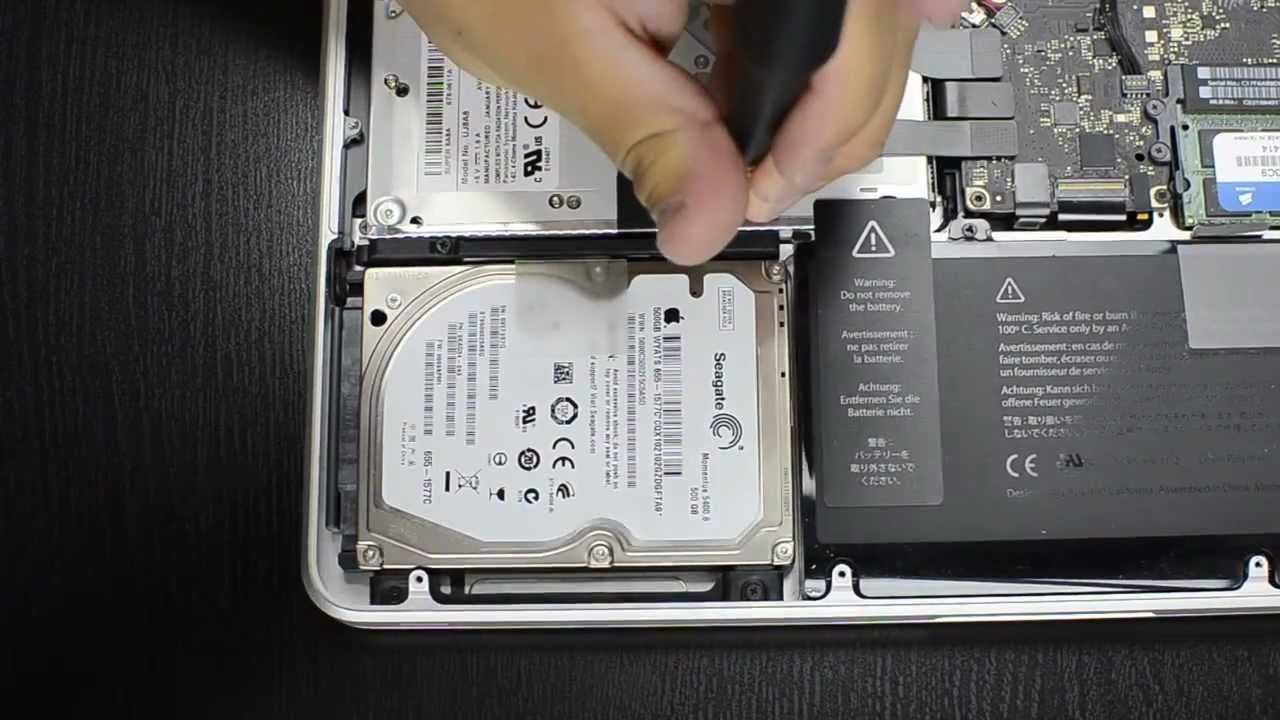
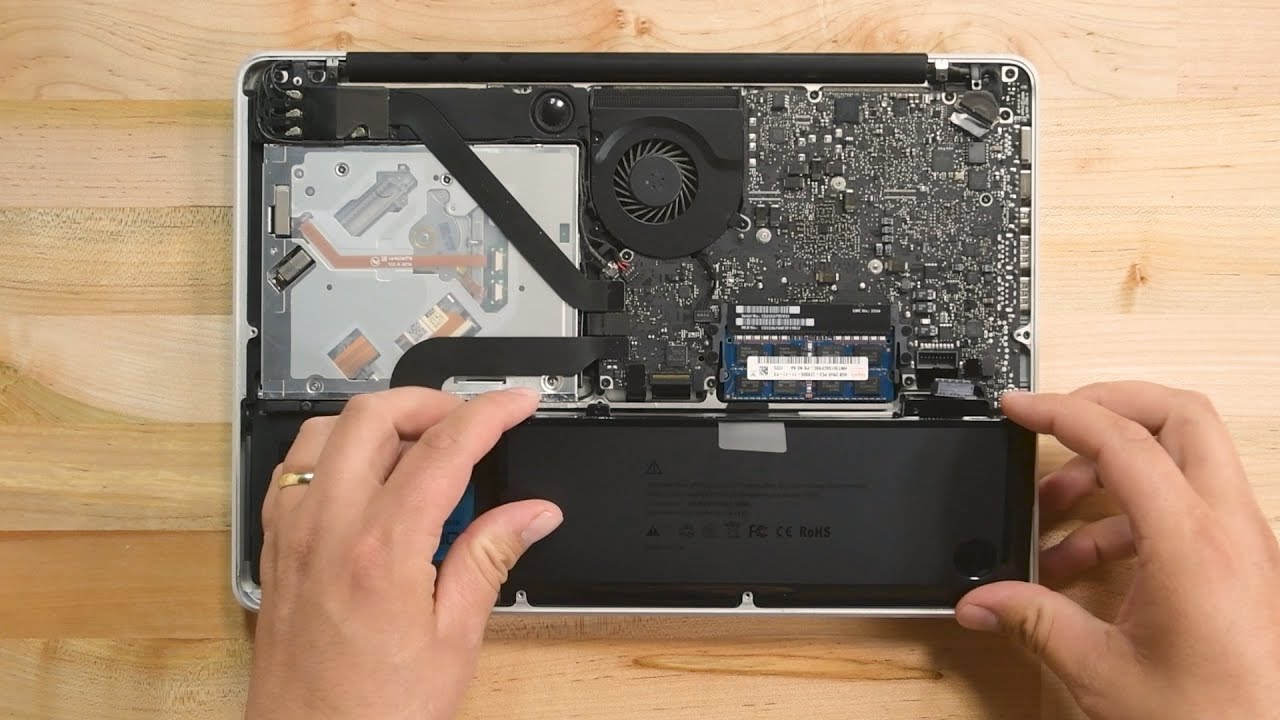
Step 3: Remove the bottom case
Now that your MacBook Pro is powered off, it’s time to remove the bottom case to gain access to the internal components. Removing the bottom case requires careful handling and the use of a screwdriver. Follow these instructions to remove the bottom case:
- Place your MacBook Pro on a soft, non-abrasive surface to prevent any scratches or damage to the device.
- Locate the ten screws that secure the bottom case. These screws are called Pentalobe screws and require a Pentalobe screwdriver to remove them.
- Using the Pentalobe screwdriver, carefully unscrew all ten screws in a counterclockwise direction.
- Set aside the screws in a safe location or on a magnetic mat to ensure they don’t get lost during the process.
- Once all the screws are removed, gently lift the bottom case from the back end, starting from the center and working your way towards the edges.
- Be cautious of any cables or connectors that may still be attached to the bottom case. If you encounter resistance while lifting the case, check for any remaining connections and gently disconnect them using a spudger tool.
- Set the bottom case aside in a safe place so it doesn’t get damaged.
With the bottom case removed, you now have access to the internal components of your MacBook Pro, including the battery. Take a moment to familiarize yourself with the layout and positioning of the various components within your device.
Proceed to the next step, which involves disconnecting the battery connector, as we continue our battery replacement guide and bring you closer to a fully rejuvenated MacBook Pro.
Step 4: Disconnect the battery connector
Now that the bottom case has been removed, it’s time to disconnect the battery connector. Disconnecting the battery connector ensures that your MacBook Pro is completely powered off and eliminates any risks of electric shock during the battery replacement process. Follow these steps to disconnect the battery connector:
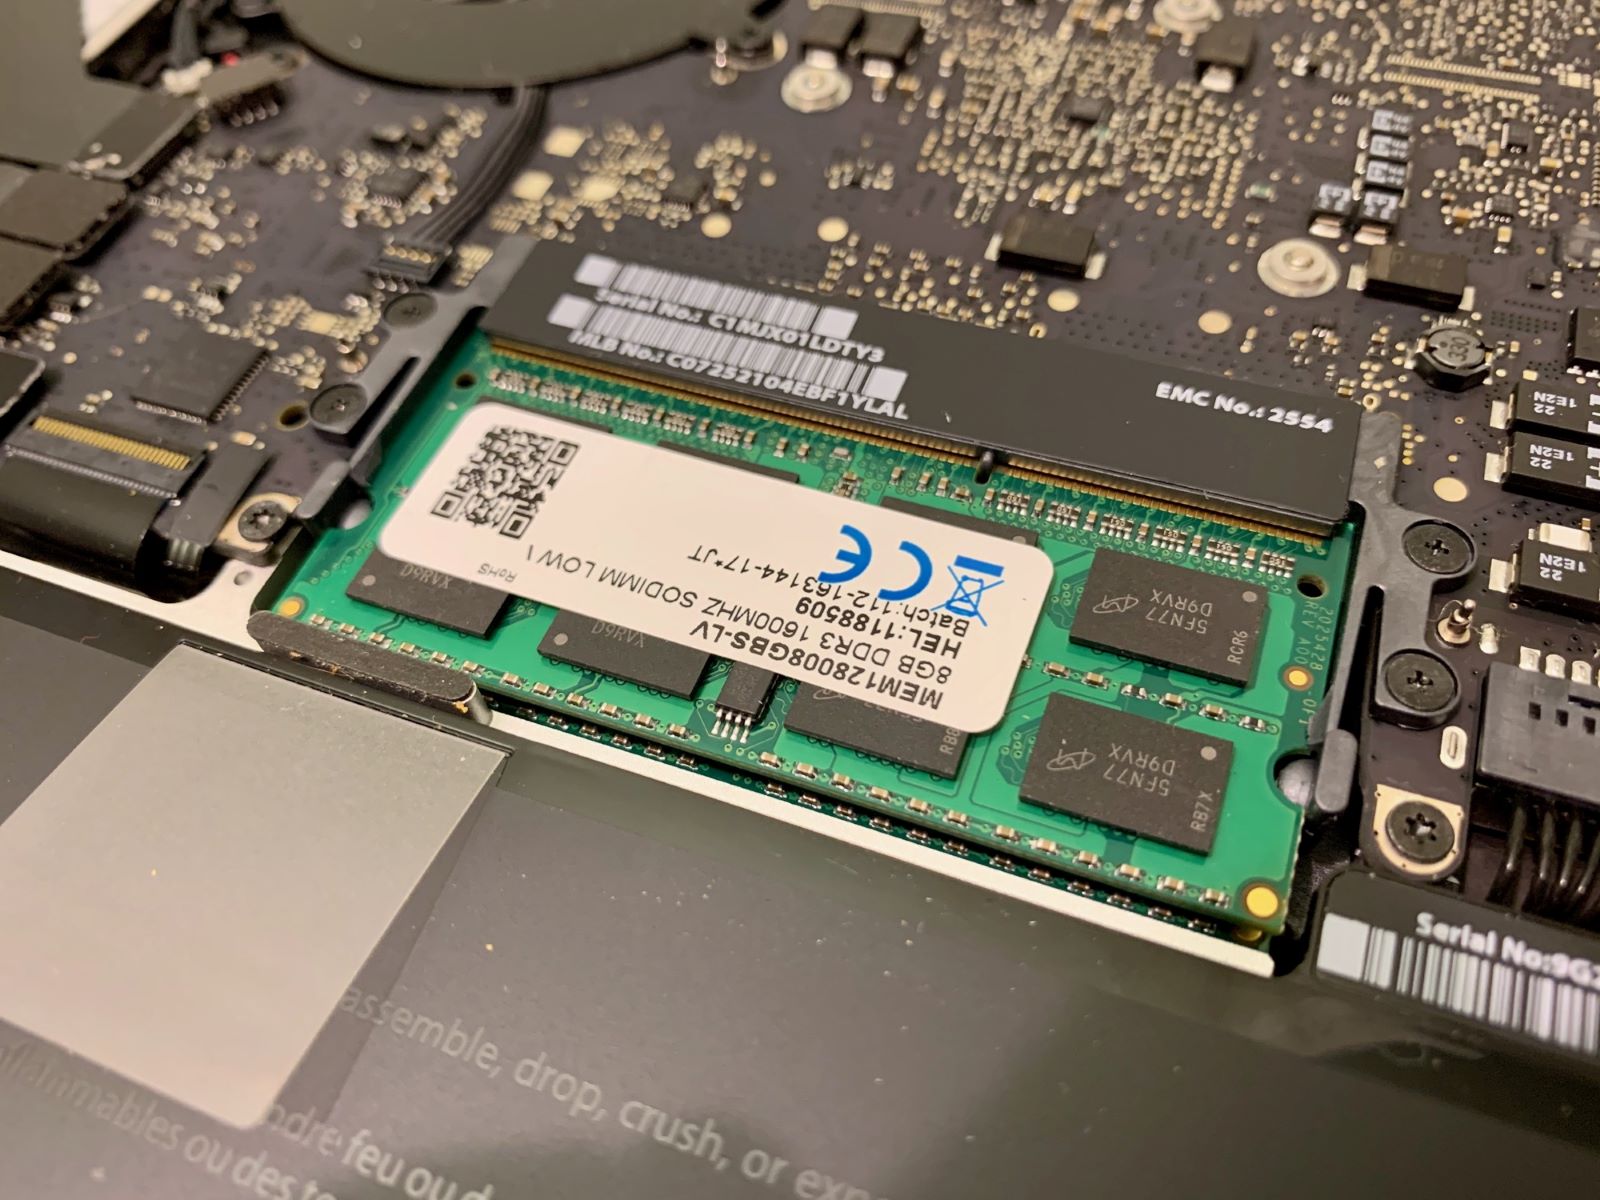
- Locate the battery connector, which is a rectangular-shaped connector near the center of the internal components.
- Use a spudger tool to gently lift the connector like a lever. Apply gentle pressure from underneath the connector to release it from the socket.
- Ensure that you lift the connector straight up and avoid any lateral movement to prevent damaging the connector or the socket.
- Once the connector is disconnected, carefully fold it back and away from the socket, ensuring it doesn’t make contact and reconnect accidentally.
Disconnecting the battery connector effectively isolates the power supply, making it safe to proceed with the battery replacement process. With the battery connector disconnected, you can confidently move on to the next step, which involves removing the old battery from your MacBook Pro.
It’s essential to handle the battery and its connectors with care throughout the process. Avoid applying excessive force or bending the connector or the wires, as this can lead to damage or compromise the battery’s functionality.
With the battery connector successfully disconnected, you’re now ready to remove the old battery and make way for the installation of a brand new one. Let’s move on to the next step and guide you through the process of removing the old battery from your MacBook Pro.
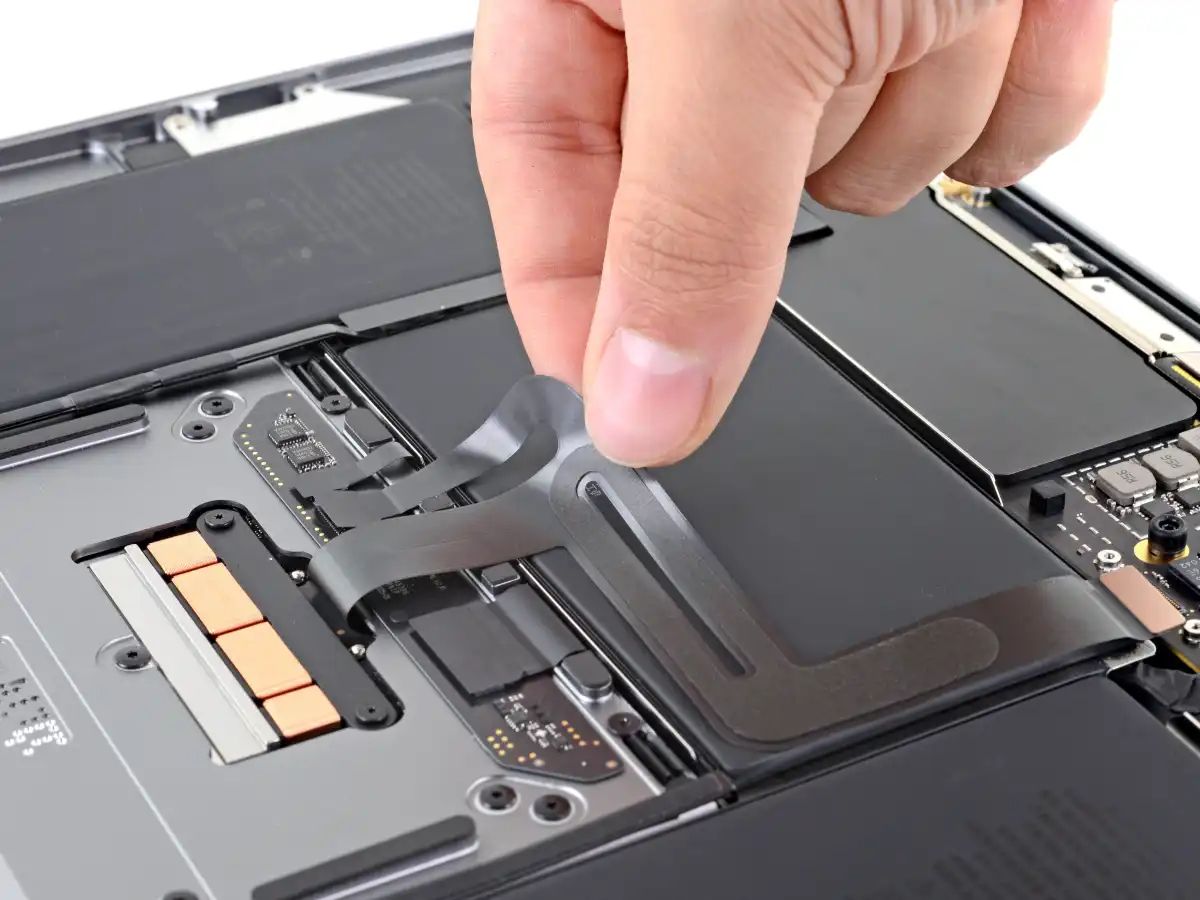
Step 5: Remove the old battery
Now that the battery connector has been safely disconnected, it’s time to remove the old battery from your MacBook Pro. Removing the old battery requires careful handling and attention to detail. Follow these steps to remove the old battery:
- Locate the battery, which is a rectangular-shaped component secured to the bottom case with adhesive strips.
- Using a spudger tool or your fingers, carefully lift one side of the battery to release it from the adhesive.
- Apply gentle and even pressure to gradually release the battery from the adhesive strips.
- Once one side of the battery is free, repeat the process on the other side until the battery is completely lifted from the bottom case.
- Be cautious not to apply excessive force or bend the battery, as it may cause damage or compromise its integrity.
- Carefully lift the battery out of the MacBook Pro and set it aside in a safe location.
It’s essential to handle the old battery with care as it contains chemicals and may present some level of risk if mishandled or damaged. If the old battery is damaged or swollen, exercise caution and refer to appropriate battery disposal guidelines.
With the old battery successfully removed, you’re one step closer to completing the battery replacement process. Properly disposing of the old battery and installing a new battery will ensure improved battery performance and extended battery life for your MacBook Pro.
Continue reading to the next step, where we will guide you through the installation process of the new battery, rejuvenating your MacBook Pro and enhancing its portability and usability.
Step 6: Install the new battery
With the old battery removed, it’s time to install the new battery and give your MacBook Pro a fresh power source. The installation process requires precise handling and following the correct orientation. Follow these steps to install the new battery:
- Take the new battery out of its packaging and ensure it matches the specifications of your MacBook Pro model.
- Position the new battery in the same orientation as the old battery.
- Carefully align the new battery with the slots on the bottom case where the adhesive strips were previously located.
- Gently press down on the battery to secure it in place. Apply even pressure to ensure it adheres properly.
- Confirm that the battery is firmly in position and doesn’t move or shift when lightly tapped.
It’s important to note that each MacBook Pro model may have a slightly different battery installation process. Therefore, it’s recommended to refer to the specific instructions provided by the manufacturer or consult the user manual for your particular model.
Once the new battery is installed and securely in place, you’re one step away from completing the battery replacement process. In the next step, we will guide you through reconnecting the battery connector, ensuring that your MacBook Pro is ready for use.
Continue reading to the next step, where we will guide you through the process of reconnecting the battery connector, bringing your MacBook Pro one step closer to full functionality with its new battery.
Step 7: Reconnect the battery connector
Now that the new battery is securely installed in your MacBook Pro, it’s time to reconnect the battery connector. By reconnecting the battery connector, you will restore the power supply and ensure that your MacBook Pro functions properly. Follow these steps to reconnect the battery connector:
- Locate the battery connector on the motherboard of your MacBook Pro.
- Take the battery connector that you previously disconnected and carefully align it with the socket on the motherboard.
- Gently press the battery connector straight down into the socket until it is firmly seated.
- Ensure that the connector is fully inserted and that there are no visible gaps between the connector and the socket.
- Once the battery connector is securely attached, do a visual check to ensure that no other cables or connectors are obstructing the path or making contact with the battery connector.
It’s crucial to handle the battery connector with care during this process. Avoid applying excessive force or bending the connector or motherboard pins, as this can cause damage to the connector or the motherboard itself.
With the battery connector successfully reconnected, you’re almost done with the battery replacement process. In the next step, we will guide you through replacing the bottom case of your MacBook Pro, enclosing the internal components and ensuring a secure fit for your battery.
Continue reading to the next step, where we will walk you through the reassembly process of your MacBook Pro, culminating in a fully functional and revamped device.
Step 8: Replace the bottom case
Now that you have successfully connected the battery connector, it’s time to put the bottom case back on your MacBook Pro. Replacing the bottom case will enclose the internal components, protect them, and provide a secure housing for the battery. Follow these steps to replace the bottom case:
- Align the bottom case with the edges of your MacBook Pro, ensuring that all the screw holes line up correctly.
- Gently press down on the bottom case to ensure it is properly seated and flush with the edges of the device.
- Once aligned, begin screwing in the Pentalobe screws that you previously removed, starting from the center and working your way towards the edges.
- Tighten the screws in a clockwise direction, ensuring a firm but not overly tight fit. Be cautious not to overtighten them, as this may cause damage to the threads or strip the screw heads.
It’s important to ensure that all the screws are securely fastened to prevent the bottom case from coming loose or shifting over time. However, be careful not to apply excessive force, as this may damage the screws or the internal components.
With the bottom case replaced, your MacBook Pro is now one step closer to being fully operational with its new battery. In the final step, we will guide you through the process of powering on your MacBook Pro and ensuring that everything is functioning as expected.
Read on to the next step, where we will assist you in powering on your MacBook Pro and confirming that the battery replacement has been successful.
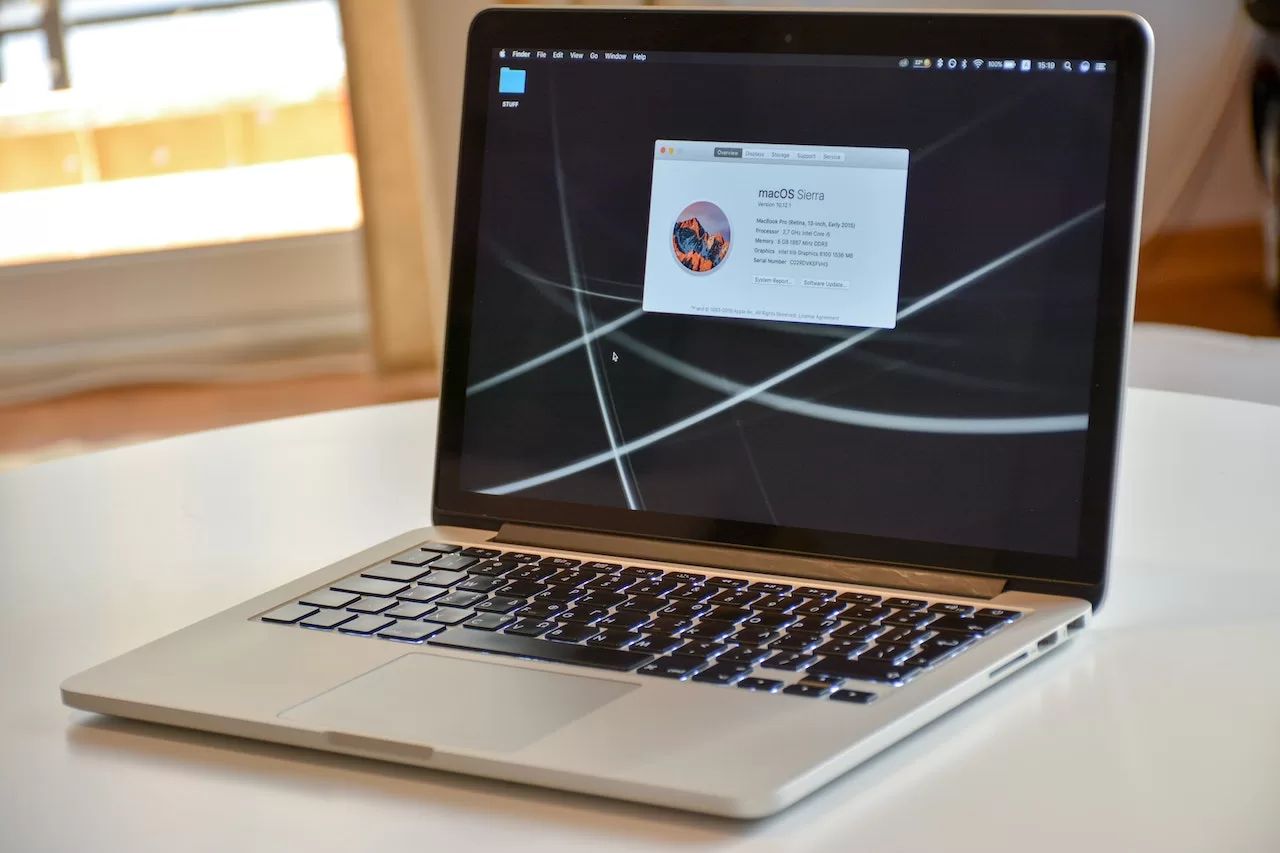
Step 9: Power on your MacBook Pro
Now that you have completed the battery replacement and reassembled your MacBook Pro, it’s time to power it on and ensure that everything is functioning as intended. Follow these steps to power on your MacBook Pro:
- Ensure that your MacBook Pro is connected to a power source, either through the power adapter or a fully charged battery.
- Press the power button located at the top-right corner of the keyboard.
- Observe the screen for any visual signs of activity, such as the Apple logo or the spinning loading indicator.
- If your MacBook Pro powers on successfully, you will be greeted by the login screen or your desktop environment.
- Enter your login credentials, and once you have logged in, check that the battery icon in the menu bar displays the correct battery level and that the battery is charging if connected to a power source.
If your MacBook Pro doesn’t power on or if you encounter any issues, double-check the battery connector and the screws to ensure they are properly connected and tightened. If the problem persists, it may be necessary to seek professional assistance or consult Apple support for further troubleshooting.
Congratulations! You have successfully replaced the battery in your MacBook Pro. With a new battery installed, you can enjoy extended battery life and enhanced portability, allowing you to work or play on the go with confidence.
Remember to properly dispose of the old battery in an environmentally-friendly manner. Many electronic retailers or recycling centers accept used batteries for safe disposal.
We hope that this step-by-step guide has been helpful in your battery replacement journey. If you have any further questions or concerns, consult the official documentation or reach out to Apple support for additional assistance.
Thank you for following this guide, and best of luck with your newly rejuvenated MacBook Pro!
Conclusion
Replacing the battery in your MacBook Pro is a manageable task that can help extend the lifespan and improve the performance of your device. Throughout this step-by-step guide, we have walked you through the process of replacing the battery, from gathering the necessary tools to reassembling your MacBook Pro.
By following each step carefully and paying attention to detail, you can successfully replace the battery and enjoy the benefits of enhanced battery life and increased portability. Remember to handle all components with care and to work on a non-conductive surface to prevent static damage.
If at any point you encounter difficulties or have concerns, it is advisable to seek professional assistance or consult Apple support for guidance. They can provide further troubleshooting or address any specific issues related to your MacBook Pro model.
Properly disposing of the old battery is also important to protect the environment. Be sure to follow appropriate guidelines for battery disposal and consider recycling options available in your area.
We hope that this guide has been informative and helpful in guiding you through the battery replacement process. By taking the time to replace your MacBook Pro’s battery, you are investing in its longevity and ensuring that it continues to provide reliable performance for years to come.
Thank you for following this guide, and we wish you all the best with your MacBook Pro and its newly replaced battery!