Introduction
Are you looking to remove the Grammarly extension from your Chrome browser? Grammarly is undoubtedly a fantastic tool for checking grammar and spelling errors, but there might be instances when you want to remove it for personal reasons or to troubleshoot any conflicts with other extensions. Whatever the reason may be, this step-by-step guide will walk you through the process of removing Grammarly from Google Chrome.
Grammarly is a popular writing assistance tool that provides grammar and spell checking features to help users improve their writing. The Grammarly extension is compatible with various browsers, including Chrome, and it seamlessly integrates into the browser’s interface, providing real-time suggestions and corrections as you type.
However, there could be scenarios where you no longer wish to use Grammarly or want to test if certain issues you’re experiencing are related to the extension. Removing Grammarly from Chrome is a straightforward process that can be completed in a matter of minutes.
In the following steps, we will guide you through the process of removing the Grammarly extension from your Chrome browser. Whether you’re looking for a temporary break from the tool or want to completely uninstall it, this guide will help you achieve your goal. So, let’s get started!
Step 1: Open Chrome Settings
The first step in removing the Grammarly extension from your Chrome browser is to open the Chrome settings. To do this, follow the steps outlined below:
-
Launch the Google Chrome browser on your computer by double-clicking on its icon from the desktop or by searching for it in the Start menu.
-
Once Chrome is open, locate the three vertical dots in the upper-right corner of the browser’s window. Click on these dots to open the Chrome menu.
-
In the dropdown menu that appears, scroll down and click on the “Settings” option. This will open the Chrome settings page.
Alternatively, you can directly access the Chrome settings page by typing “chrome://settings/” in the address bar of the browser and pressing Enter.
After following these steps, you should now have the Chrome settings page open and ready for the next steps in removing the Grammarly extension from your browser. Keep reading to find out what to do next.
Step 2: Go to Extensions
Once you have the Chrome settings page open, the next step is to navigate to the Extensions section. The Extensions page allows you to manage all the extensions installed in your Chrome browser. To find it, follow the steps outlined below:
-
In the Chrome settings page, look for the “Extensions” option in the left-hand sidebar. Click on it to access the Extensions page.
-
Alternatively, you can directly access the Extensions page by typing “chrome://extensions/” in the address bar of the browser and pressing Enter.
By following these steps, you will be taken to the Extensions page, where you can see a list of all the installed extensions in your Chrome browser. The next section will guide you on how to locate the Grammarly extension specifically.
Note: If you don’t see the “Extensions” option in the Chrome settings page, it may be because you are using an older version of Chrome. In that case, you might need to update your browser to access this feature, or you can use the direct method mentioned above by typing “chrome://extensions/” in the address bar.
Now that you have successfully reached the Extensions page, let’s move on to the next step to find the Grammarly extension.
Step 3: Find Grammarly Extension
With the Extensions page open, it’s time to locate the Grammarly extension in order to remove it from your Chrome browser. Follow the instructions below to find the Grammarly extension:
-
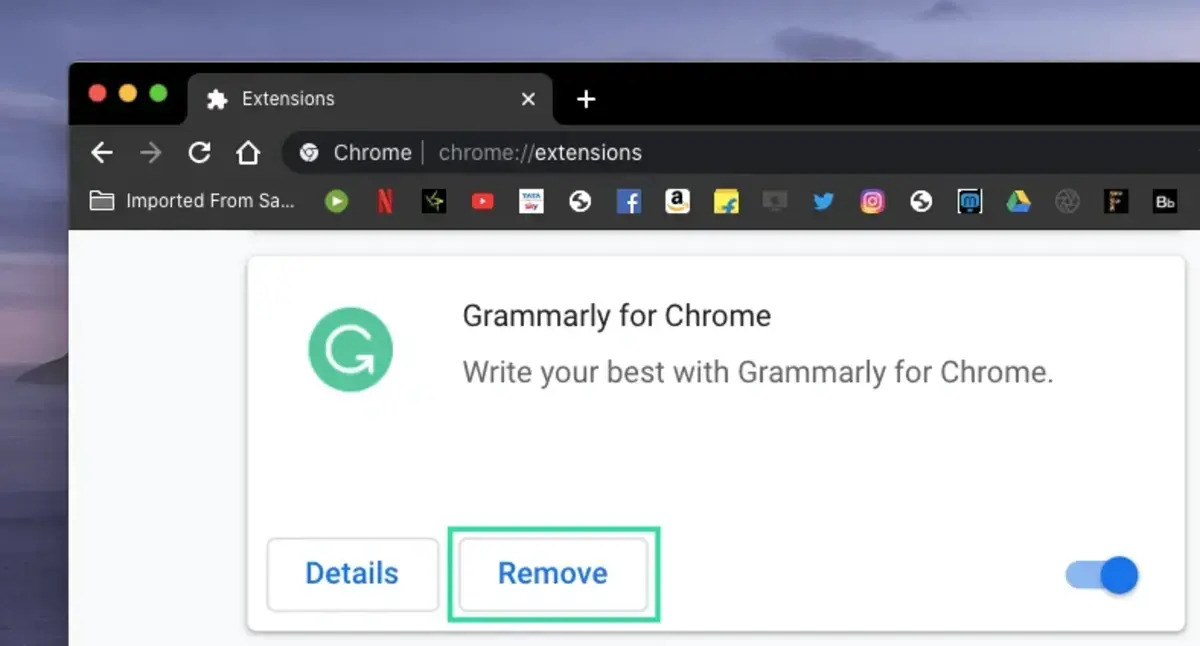
On the Extensions page, you will see a list of all the installed extensions in your Chrome browser. Scroll through the list and look for the entry that says “Grammarly”.
-
If you have a large number of extensions installed, you can use the search bar located at the top-right corner of the page to quickly find the Grammarly extension. Simply type “Grammarly” into the search bar and the list will automatically update to show any matching results.
Once you have located the Grammarly extension on the Extensions page, you are ready to proceed to the next step, which involves removing the extension from your Chrome browser. Continue reading to learn how to do this.
Note: If you are unable to find the Grammarly extension on the Extensions page, it could mean that the extension has already been uninstalled or disabled. In that case, you can skip the remaining steps in this guide.
Step 4: Remove Grammarly Extension
Now that you have located the Grammarly extension on the Extensions page, it’s time to remove it from your Chrome browser. Follow the steps below to successfully remove the Grammarly extension:
-
On the Extensions page, find the Grammarly extension in the list or search for it using the search bar if necessary.
-
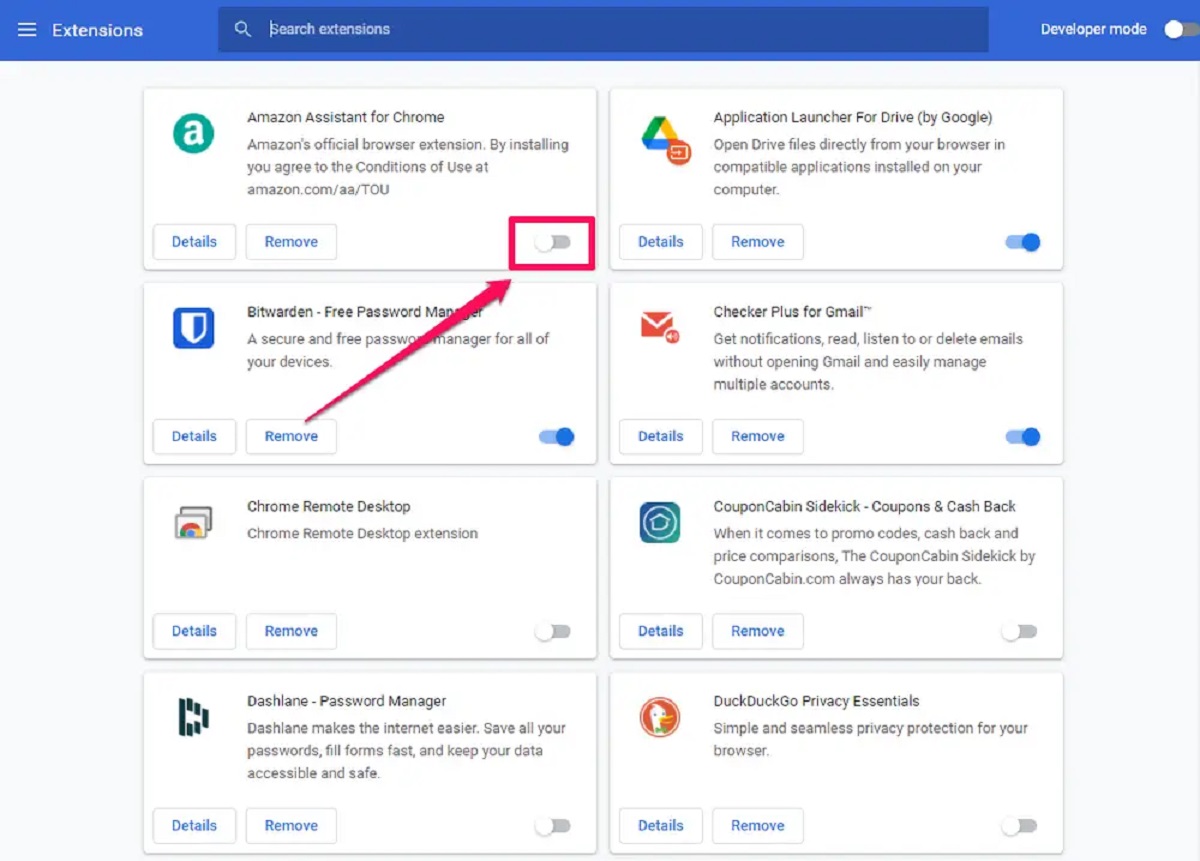
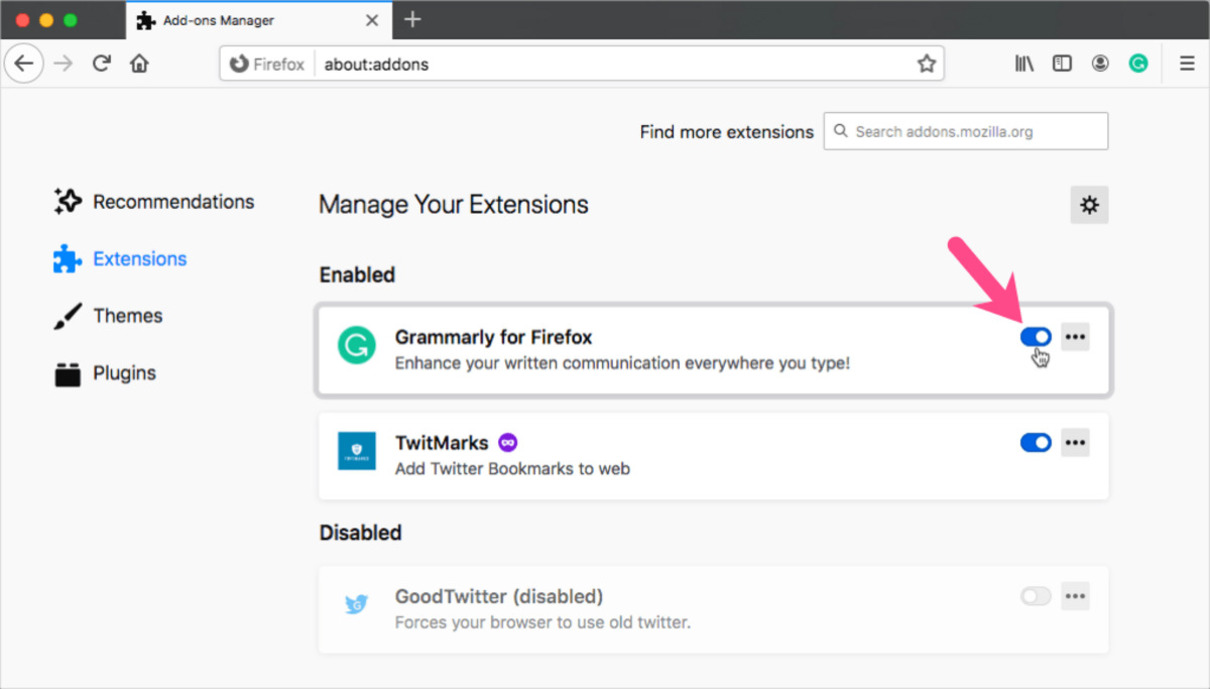
Once you have located the Grammarly extension, you will see a toggle switch next to it. Click on the toggle switch to disable the extension.
-
A pop-up dialog box will appear, asking you to confirm the removal of the extension. Click on the “Remove” button to proceed.
After clicking on the “Remove” button, the Grammarly extension will be removed from your Chrome browser. You will no longer see it in the list of installed extensions on the Extensions page.
It’s important to note that disabling the Grammarly extension will deactivate it, but it will still be present in your browser. To completely remove it, you need to follow the steps above to remove the extension.
Now that you have successfully removed the Grammarly extension from your Chrome browser, let’s move on to the next step, which involves confirming the removal.
Step 5: Confirm Removal
After removing the Grammarly extension from your Chrome browser, it’s essential to confirm that the removal was successful. Follow the steps below to ensure that the extension has been completely removed:
-
Go back to the Chrome settings page by either clicking on the back arrow in the top-left corner or by typing “chrome://settings/” in the address bar and pressing Enter.
-
Once you are on the Chrome settings page, navigate to the Extensions section as explained in Step 2.
-
On the Extensions page, check if the Grammarly extension is still listed. If not, it means that the removal was successful, and the extension is no longer installed in your Chrome browser.
If you can no longer find the Grammarly extension in the list of installed extensions, you can be confident that it has been successfully removed. However, if you still see the Grammarly extension listed, try disabling it again by following Step 4 and then check if it disappears from the list.
By confirming the removal of the Grammarly extension, you can ensure that all traces of it have been removed from your Chrome browser. Now, let’s move on to the final step, which involves restarting your Chrome browser.
Step 6: Restart Chrome
After removing the Grammarly extension and confirming its removal, it’s recommended to restart Chrome to ensure all changes take effect. Here’s how you can do it:
-
On your computer, click on the Chrome icon to relaunch the browser.
By restarting Chrome, you allow the browser to reset its settings and ensure that the removal of the Grammarly extension is fully implemented.
Once Chrome has restarted, you can verify that the Grammarly extension is no longer active by navigating to the Extensions page again and confirming its absence from the list of installed extensions.
Congratulations! You have successfully removed the Grammarly extension from your Chrome browser and restarted it to complete the process.
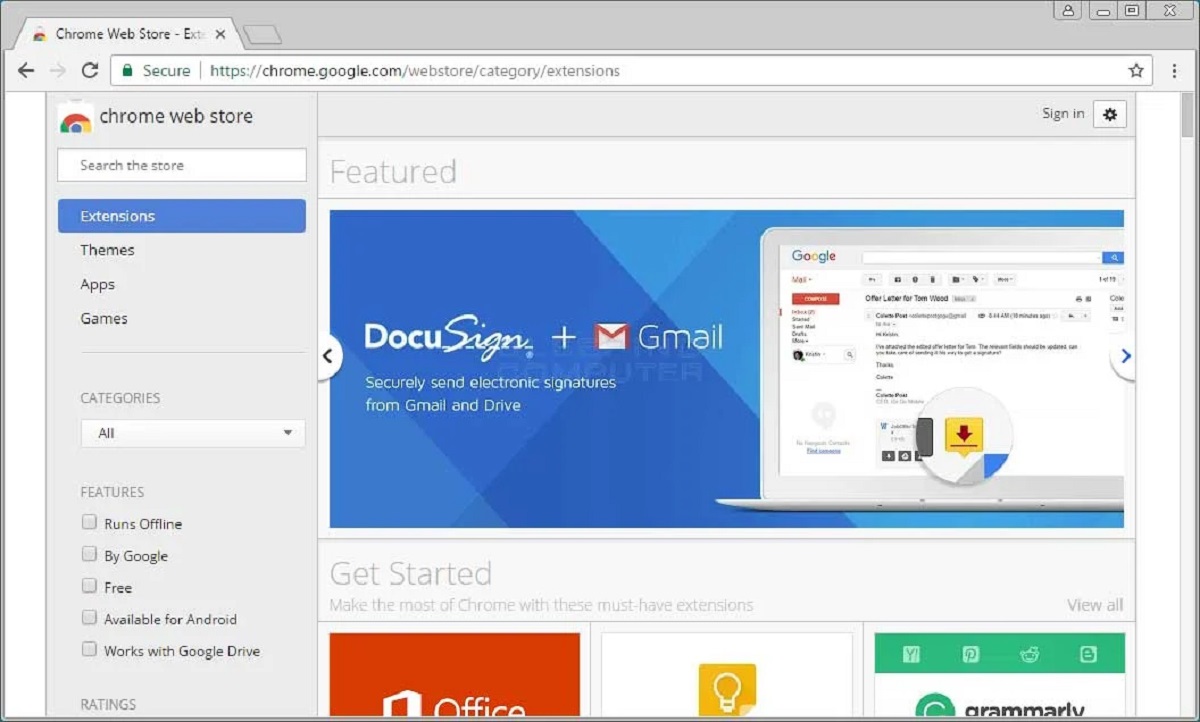
Removing extensions can help optimize your browsing experience by reducing any conflicts or performance issues that may arise. However, if you decide you want to re-install Grammarly or explore other extensions in the future, you can easily do so by revisiting the Chrome Web Store.
Thank you for following this step-by-step guide. We hope it has been helpful in removing the Grammarly extension from your Chrome browser. If you have any questions or need further assistance, feel free to reach out. Happy browsing!
Conclusion
Removing the Grammarly extension from your Chrome browser is a simple process that can be completed in a few easy steps. Whether you want to take a break from the tool, troubleshoot conflicts with other extensions, or simply want to explore other options, this step-by-step guide has provided you with the necessary instructions.
In this guide, we covered the process of removing the Grammarly extension from Chrome, starting with opening the Chrome settings and navigating to the Extensions section. We then guided you on finding the Grammarly extension specifically and showed you how to remove it from your browser. After confirming the removal, we recommended restarting Chrome to ensure all changes take effect.
By following these steps, you can successfully remove the Grammarly extension from your Chrome browser and optimize your browsing experience. Removing extensions that are no longer needed can help improve browser performance and reduce any potential conflicts that may occur.
If you ever decide to reinstall Grammarly or explore other extensions in the future, you can easily do so by visiting the Chrome Web Store. The process of installing and managing extensions in Chrome is straightforward, allowing you to tailor your browsing experience to suit your needs.
We hope this guide has been helpful and informative in assisting you with the removal of the Grammarly extension from your Chrome browser. If you have any questions or need further assistance, don’t hesitate to reach out. Happy browsing!