Introduction
Welcome to the digital era where entertainment is just a click away! With streaming services gaining popularity, it’s no surprise that Disney+ has become a must-have for many households. As a Disney lover, you might be wondering how to enjoy your favorite Disney movies and shows on your Smart TV. Look no further! In this article, we will guide you through the process of putting Disney+ on your Smart TV.
Disney+ is a streaming service that offers a vast library of Disney, Pixar, Marvel, Star Wars, and National Geographic content. Whether you’re a fan of animated classics, superhero adventures, or engaging documentaries, Disney+ has something for everyone.
Before we dive into the steps, it’s important to note that not all Smart TVs are compatible with Disney+. You’ll need to check if your Smart TV meets the system requirements to ensure a seamless streaming experience.
In the following sections, we’ll walk you through the process of checking compatibility, connecting your Smart TV to the internet, downloading and installing the Disney+ app, setting up your Disney+ account, and finally, signing in to Disney+ on your Smart TV. So, let’s get started and bring the magic of Disney to your big screen!
Step 1: Check if your Smart TV is compatible with Disney+
Before you can start enjoying Disney+ on your Smart TV, it’s important to ensure that your device is compatible with the streaming service. Here’s how you can check:
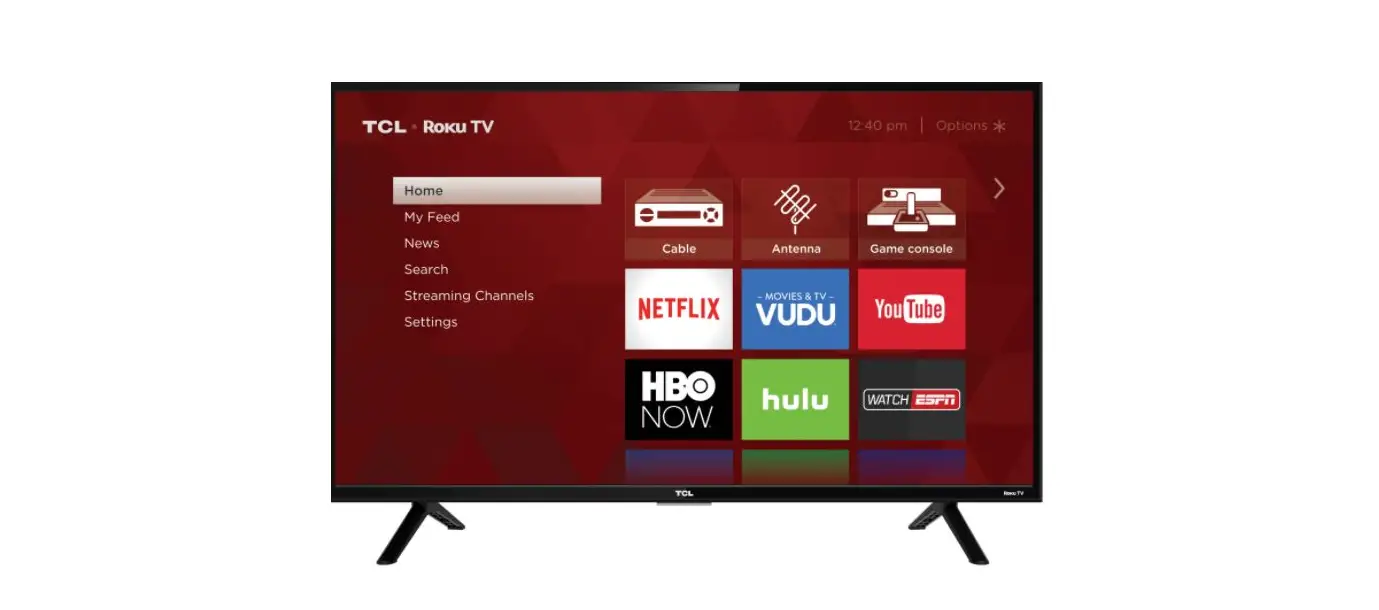
1. Check for the Disney+ app: Start by searching for the Disney+ app in your Smart TV’s app store or content store. Look for the Disney+ logo or search for “Disney+” in the app search bar. If you find the app, it means that your Smart TV is compatible, and you can skip to the next step.
2. Check for system requirements: If you couldn’t find the Disney+ app in your Smart TV’s app store, it’s time to check the system requirements. Visit the Disney+ official website and look for the “Supported Devices” or “Compatible Devices” section. Here, you’ll find a list of Smart TVs and other devices that are compatible with Disney+. Look for your specific TV model or brand to see if it is supported. If your Smart TV is listed, you’re good to go.
3. Check for firmware updates: Sometimes, even if your Smart TV is compatible, it might require a firmware update to run the Disney+ app smoothly. Check your TV’s settings menu for any available firmware updates. If there is an update available, follow the instructions to install it. Once the update is complete, you should be able to find and install the Disney+ app.
4. Consider alternative options: If your Smart TV isn’t compatible with Disney+, don’t worry! There are alternative ways to enjoy Disney+ on your TV. One option is to use a streaming device such as a Google Chromecast, Amazon Fire Stick, or Apple TV. These devices can be connected to your TV’s HDMI port and allow you to stream content from Disney+ and other streaming services.
By following these steps, you can determine whether your Smart TV is compatible with Disney+. If it is, you’re ready to move on to the next steps and start enjoying the magical world of Disney right from the comfort of your own home.
Step 2: Ensure your Smart TV is connected to the internet
Now that you’ve confirmed your Smart TV’s compatibility with Disney+, the next step is to ensure that it is connected to the internet. Streaming services like Disney+ require a stable and reliable internet connection to deliver high-quality content. Follow these steps to connect your Smart TV to the internet:
1. Check your network connection: Start by accessing the network settings on your Smart TV. This can usually be done through the settings menu or by pressing a dedicated network button on the remote control. Once in the network settings, check whether your TV is connected to a wireless network or if it requires a wired Ethernet connection. Choose the option that suits your setup.
2. Connect wirelessly: If you’re connecting wirelessly, select your home Wi-Fi network from the available networks list. Enter your Wi-Fi password if prompted. Make sure the TV is within range of your Wi-Fi router for a strong and stable connection. Once connected, the TV should display a confirmation message or an indicator showing that it is now connected to the internet.
3. Connect via Ethernet: If you prefer a wired connection, ensure that your Smart TV has an Ethernet port. Connect one end of the Ethernet cable to the Ethernet port on your TV and the other end to your router or modem. The TV should automatically detect the wired connection and establish an internet connection.
4. Test the connection: After connecting your Smart TV to the internet, it’s a good idea to test the connection. Most Smart TVs have a built-in network test or speed test feature that allows you to check the strength and speed of your internet connection. Use this feature to ensure that your internet connection is stable and sufficient for streaming Disney+ content.
By following these steps, you can ensure that your Smart TV is connected to the internet. A stable internet connection is essential for a seamless streaming experience on Disney+. Once you’ve confirmed the connection, you’re ready to move on to the next step: downloading and installing the Disney+ app.
Step 3: Download and Install the Disney+ app
Now that your Smart TV is connected to the internet, it’s time to download and install the Disney+ app. Here’s how you can do it:
1. Access the app store: Using your Smart TV’s remote control, navigate to the app store or content store on your TV. This is where you can find and download various applications, including the Disney+ app.
2. Search for Disney+: Once you’re in the app store, use the search function to look for the Disney+ app. Type “Disney+” in the search bar and press enter. The app store will display search results related to Disney+.
3. Select and install: Look for the official Disney+ app in the search results and select it. This will take you to the app’s details page. Here, you can read more about the app, check user ratings and reviews, and view screenshots or previews. When you’re ready, select the “Install” or “Download” button to start the installation process.
4. Wait for installation: Your Smart TV will begin downloading and installing the Disney+ app. The time it takes to complete the installation may vary depending on your internet connection speed and the size of the app. During this process, it’s important to keep your TV connected to the internet and avoid interrupting the installation.
5. Launch the app: Once the installation is complete, you can launch the Disney+ app directly from your Smart TV’s app menu or content library. Simply navigate to the Disney+ app icon and select it to open the application.
6. Sign in to Disney+: When you launch the Disney+ app for the first time, you will be prompted to sign in or create a new account. If you already have a Disney+ account, enter your login credentials to access your account. If you don’t have an account, follow the on-screen instructions to create one.
By following these steps, you can easily download and install the Disney+ app on your Smart TV. Once the installation is complete and you’ve signed in to your Disney+ account, you’re ready to enjoy a world of magical entertainment right on your big screen.
Step 4: Set up your Disney+ account
In order to access the incredible content available on Disney+, you’ll need to set up an account. Follow these steps to get your Disney+ account up and running:
1. Go to the Disney+ website: Using a computer or mobile device, navigate to the official Disney+ website. You can easily find it by searching for “Disney+” in your preferred search engine.
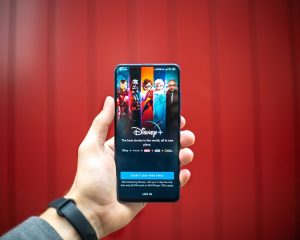
2. Click on “Sign up”: On the Disney+ website, locate the “Sign up” or “Start Free Trial” button and click on it. This will take you to the account creation page.
3. Choose a subscription plan: Disney+ offers different subscription plans, including monthly or yearly options. Select the plan that best suits your preferences and budget. Take into consideration any offers or promotions that may be available at the time.
4. Enter your email and create a password: Provide a valid email address that you have access to, as this will be used for account verification and communication. Create a strong password, ensuring it meets the specified requirements.
5. Set up your billing information: Disney+ requires valid payment information to process your subscription. Enter your preferred payment method, such as credit card or PayPal, and provide the necessary details requested.
6. Agree to the terms and conditions: Carefully review the terms and conditions of the Disney+ service. Once you have read and understood them, check the box to indicate your agreement and acceptance.
7. Complete the sign-up process: After verifying that all the information provided is accurate, click on the “Agree & Subscribe” or similar button to complete the sign-up process. Disney+ may require additional information, such as your name and date of birth, to personalize your account and ensure appropriate content access.
8. Verify your email address: Check the email inbox associated with the email address you used to sign up. Disney+ will send a verification email with a link to confirm your account. Click on the verification link to activate your Disney+ account.
By following these steps, you can set up your Disney+ account and gain access to the extensive collection of movies, TV shows, and documentaries available on the platform. Once your account is activated, you can proceed to the next step of signing in to Disney+ on your Smart TV.
Step 5: Sign in to Disney+ on your Smart TV
Now that you have your Disney+ account set up, it’s time to sign in to the service on your Smart TV. Follow these steps to access the magical world of Disney on your big screen:
1. Launch the Disney+ app: Using your Smart TV’s remote control, navigate to the Disney+ app in your app menu or content library. Select the Disney+ app icon to launch the application.
2. Choose “Sign In”: Once the Disney+ app is open, you will be presented with a welcome screen or a login prompt. Look for the “Sign In” or “Login” button and select it to proceed.
3. Enter your login credentials: On the sign-in screen, you will need to provide your Disney+ account credentials. Use the on-screen keyboard or your remote control to enter your email address and password associated with your Disney+ account. Take care to enter the information accurately to avoid any login issues.
4. Select “Sign In” or similar: After entering your login credentials, locate the “Sign In,” “Login,” or similar button on the screen. Select it to sign in to your Disney+ account on your Smart TV. The app will verify your credentials and, if successful, grant you access to the full Disney+ library.
5. Explore and enjoy Disney+ content: Congratulations! You’re now signed in to Disney+ on your Smart TV. Browse through the vast catalog of movies, TV shows, and documentaries available on the service. Use the navigational controls on your remote to search for specific titles, discover recommendations, or explore various genres.
6. Set up profiles (optional): If you have multiple members in your household, you can create individual profiles on Disney+ to personalize the viewing experience. This allows each member to have their own watchlist, recommendations, and viewing history. You can set up profiles through the account settings within the Disney+ app.
By following these steps, you can easily sign in to Disney+ on your Smart TV and start streaming your favorite Disney content. Sit back, relax, and immerse yourself in the magical stories and unforgettable characters that Disney+ has to offer!
Conclusion
Congratulations! You have successfully learned how to put Disney+ on your Smart TV. By following the steps outlined in this guide, you can now enjoy an extensive library of Disney, Pixar, Marvel, Star Wars, and National Geographic content right from the comfort of your own home.
In the introductory section, we discussed the rising popularity of streaming services and the appeal of Disney+. We then went through the step-by-step process of checking if your Smart TV is compatible with Disney+, connecting your Smart TV to the internet, downloading and installing the Disney+ app, setting up your Disney+ account, and signing in to Disney+ on your Smart TV.
It’s important to note that if your Smart TV is not compatible with Disney+, there are alternative options available, such as using a streaming device like Google Chromecast, Amazon Fire Stick, or Apple TV. These devices allow you to access Disney+ and other streaming services on your TV.
Remember to always ensure a stable internet connection for a seamless streaming experience, and don’t forget to explore the various features offered by Disney+, such as personalized profiles for individual family members.
Now that you have the knowledge and tools, it’s time to immerse yourself in the magical world of Disney. Grab some popcorn, gather your loved ones, and get ready to embark on unforgettable journeys, experience heartwarming stories, and create treasured memories with Disney+ on your Smart TV.