Introduction
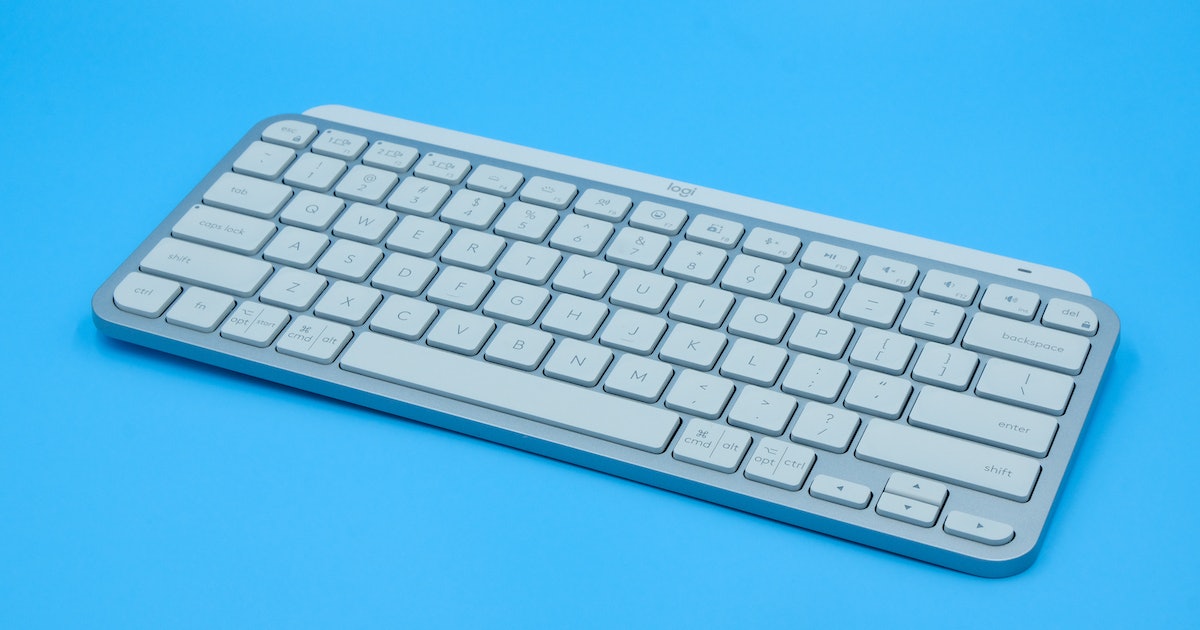
Printing screen captures can be a useful tool for various purposes, such as capturing important information, saving images, or sharing content with others. If you’re using the Logitech MX Keys keyboard, you might be wondering how to perform a print screen. While the Logitech MX Keys does not have a dedicated print screen key like traditional keyboards, there are a few methods you can use to achieve the same result.
In this article, we will explore three methods to print screen on Logitech MX Keys. The first method involves using the print screen key on your keyboard, the second method utilizes Logitech Options software, and the third method requires third-party software. Whether you’re a beginner or an advanced user, these methods will help you capture and save your screen effortlessly.
Before we dive into the details of each method, it’s essential to note that these instructions apply specifically to Logitech MX Keys. While the methods discussed may be similar for other keyboards, the specific steps might vary. With that in mind, let’s explore the three methods to print screen on Logitech MX Keys.
Method 1: Using the Print Screen Key
The most straightforward method to print screen on Logitech MX Keys is by using the print screen key on your keyboard. While Logitech MX Keys does not have a dedicated print screen key, you can still achieve the same result by using a combination of keys.
Follow these steps to capture your screen using the print screen key:
- Make sure the content you want to capture is displayed on your screen.
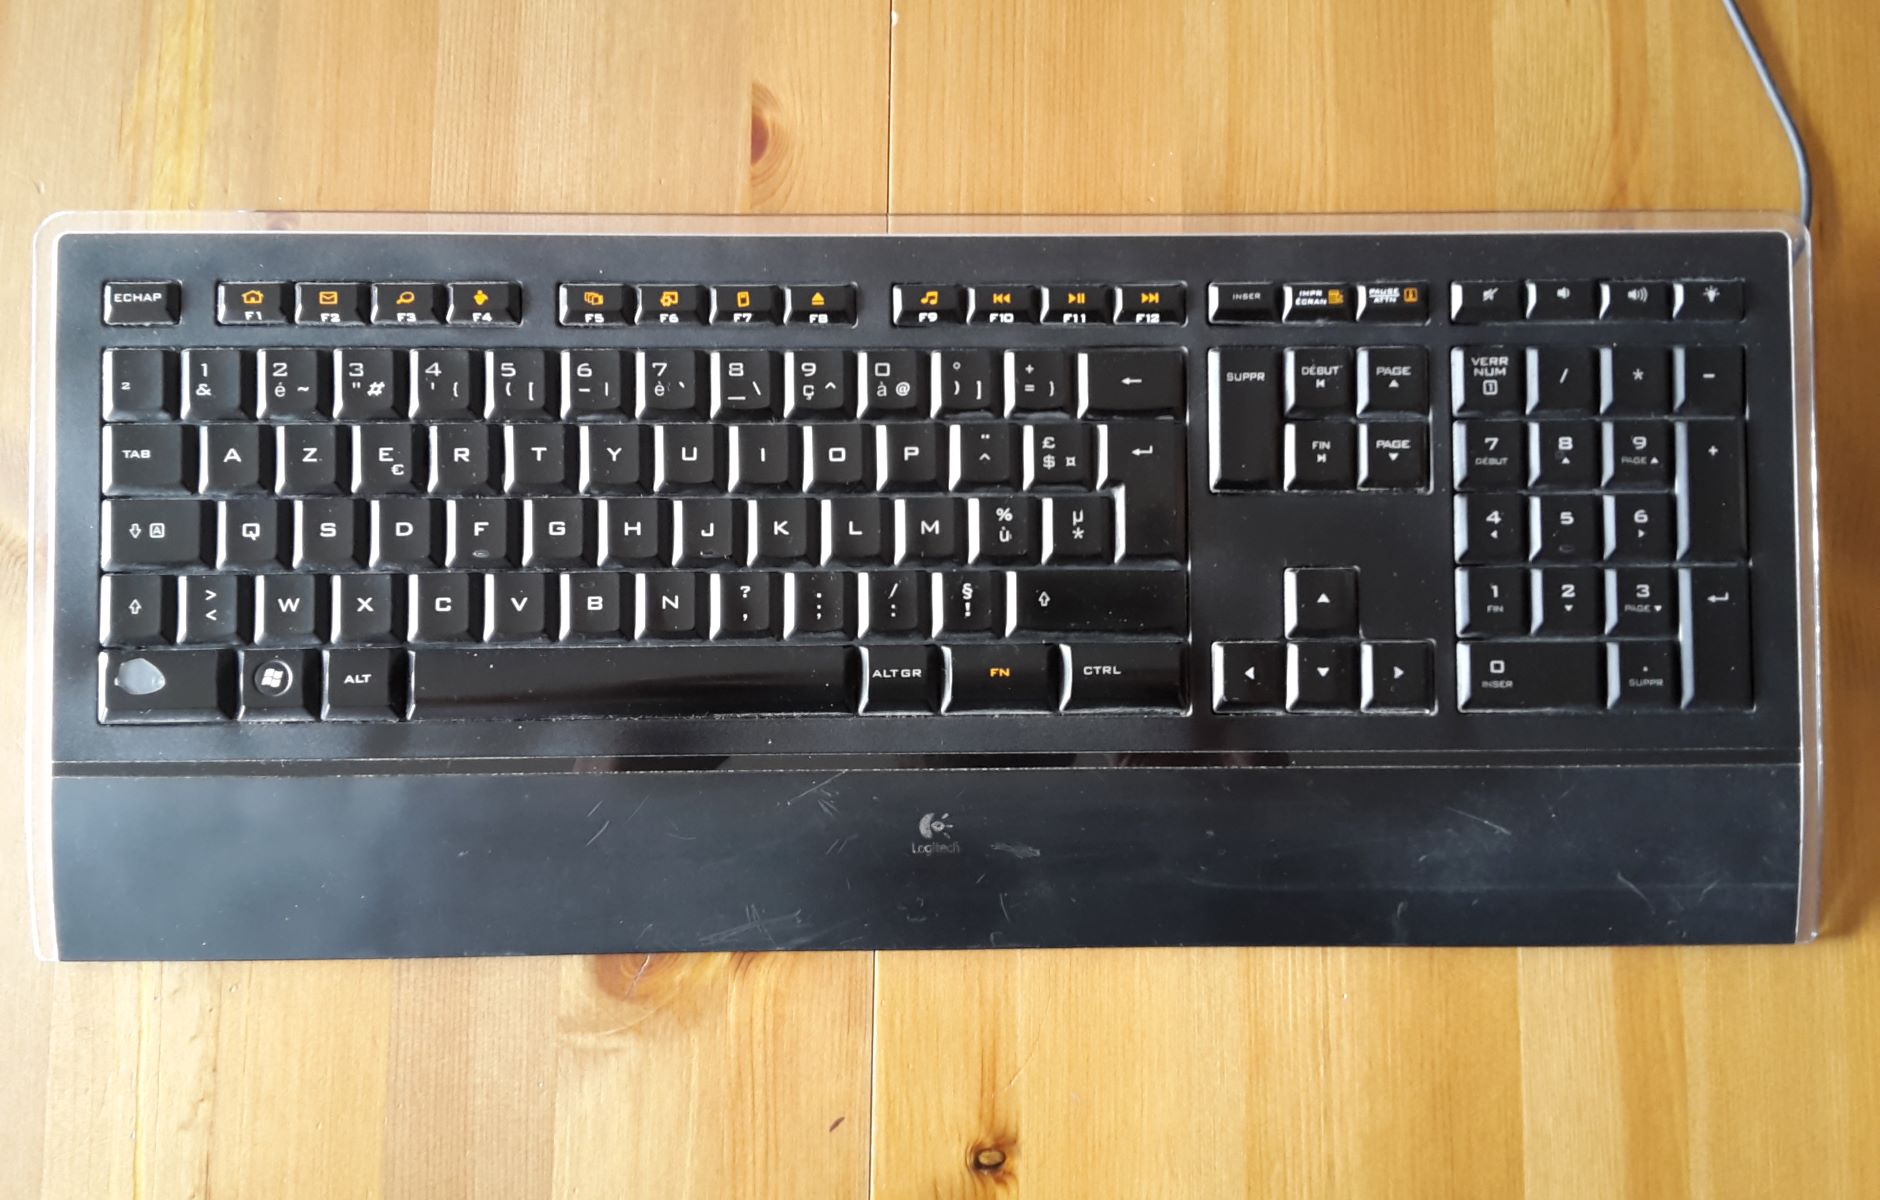
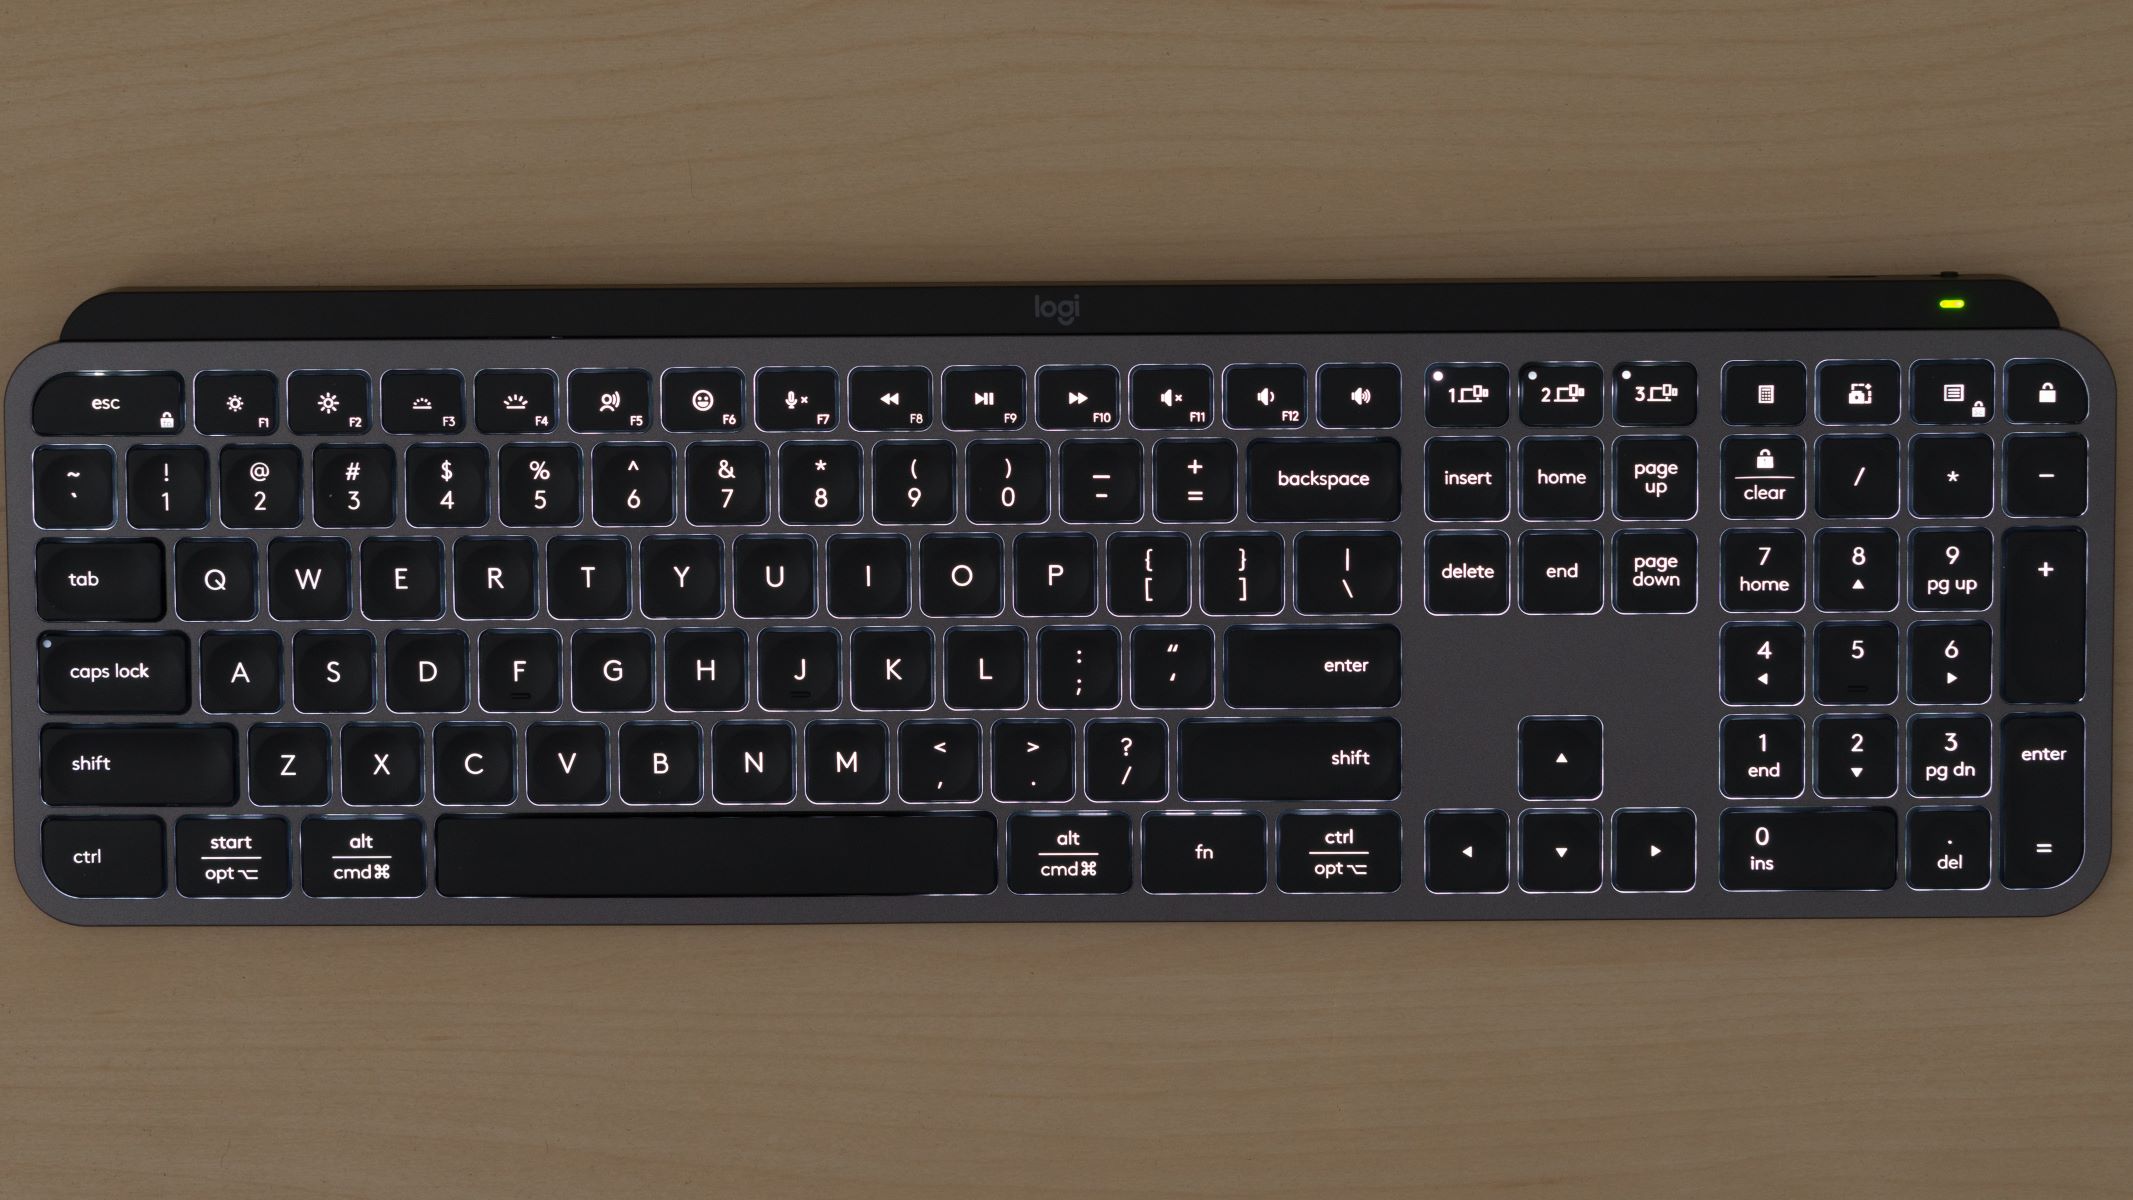
- Locate the “Fn” (function) key on your Logitech MX Keys. It is usually located in the bottom left corner of the keyboard.
- Press and hold the “Fn” key.
- While holding the “Fn” key, locate the “Insert” key on your Logitech MX Keys. The “Insert” key is typically located in the top right corner of the keyboard, above the “Delete” key.
- Press the “Insert” key while still holding down the “Fn” key.
By following these steps, you have successfully captured a screenshot of your screen. The captured screenshot is now stored in your clipboard. To view and edit the screenshot, you can paste it into an image editing software or a document editing program.
It’s worth mentioning that the specific keys and their locations may vary slightly depending on the keyboard model. If you’re using a different Logitech keyboard, make sure to refer to the user manual or documentation provided by Logitech to locate the corresponding keys.
This method is simple and convenient for users who prefer to use the physical keys on their keyboards. However, if using the print screen key combination feels cumbersome or if you need more advanced screenshot capabilities, you can consider using Logitech Options software or third-party software, which will be discussed in the following sections.
Method 2: Using Logitech Options Software
If you’re looking for a more versatile and customized approach to print screen on Logitech MX Keys, you can take advantage of the Logitech Options software. Logitech Options is a powerful software that allows you to configure and customize various features of your Logitech device, including screen capture options.
Here’s how to use Logitech Options software to capture your screen:
- Make sure you have Logitech Options software installed on your computer. If you don’t have it installed, you can download it from the Logitech Support website and follow the installation instructions.
- Open the Logitech Options software from your computer’s start menu or system tray.
- Once the software is open, select your Logitech MX Keys from the list of connected devices.
- Navigate to the “Point & Scroll” tab or a similar tab within the Logitech Options software.
- Look for an option related to screen capture or screenshot, such as “Screen Capture” or “Customize Function Keys.”
- Click on the assigned key or button for screen capture and configure it according to your preference. You can assign a specific key or create a custom shortcut combination.
- Save the changes and exit the Logitech Options software.
Once you’ve configured the screen capture key or button, you can use it to capture your screen. Simply press the assigned key or button while the content you want to capture is on your screen, and Logitech Options will capture the screenshot for you.
The advantage of using Logitech Options software is that it allows you to customize the screen capture functionality to suit your needs. You can assign a specific key, define a custom shortcut combination, or even configure other advanced settings related to screen capture. This method provides a more tailored approach for users who prefer more control over their screenshot options.
Now that you’re familiar with using Logitech Options software for screen capture, let’s explore another method that involves using third-party software.
Method 3: Using Third-Party Software
If you’re looking for additional features and functionalities beyond what the built-in options provide, you can opt to use third-party software for capturing screenshots on your Logitech MX Keys. There are several reliable third-party software options available that offer advanced screenshot capabilities.
Here are the general steps to use third-party software for capturing screenshots:
- Research and identify a suitable third-party software for capturing screenshots. Examples of popular options include Snagit, Greenshot, and Lightshot, among others. Make sure to choose a software that is compatible with your operating system.
- Download the software from the official website of the vendor.
- Install the software on your computer by following the provided instructions.
- Launch the software once it is installed.
- Configure any necessary settings or preferences, such as the output file format, destination folder, or shortcut keys.
- Ensure that the software is running in the background while you’re working on your computer.
- When you’re ready to capture a screenshot, activate the software either by using a designated shortcut key or by clicking on the software icon in the system tray.
- Select the desired capture mode (e.g., full screen, selected area) and capture the screenshot.
- Review the captured screenshot and make any necessary modifications or annotations using the software’s editing tools (if available).
- Save the screenshot to your desired location.
Using third-party software for capturing screenshots allows you to benefit from additional features, such as editing tools, annotation capabilities, and various output options. These software packages usually offer more flexibility and customization compared to built-in methods.
Remember to follow the instructions provided by the specific third-party software you choose, as the steps may vary slightly depending on the software’s interface and features.
With the third method covered, we have explored three different methods to capture screenshots on Logitech MX Keys. Each method offers its own advantages and is suitable for different preferences and requirements. Choose the method that best suits your needs and start capturing high-quality screenshots effortlessly.
Conclusion
In this article, we have explored three different methods to print screen on Logitech MX Keys. Whether you prefer using the print screen key on your keyboard, customizing screen capture options through Logitech Options software, or utilizing third-party software with advanced features, there is a method that will suit your needs.
Method 1, using the print screen key, is ideal for users who prefer a simple and straightforward approach. By holding the “Fn” key and pressing the “Insert” key, you can quickly capture a screenshot on your Logitech MX Keys.
Method 2, utilizing Logitech Options software, provides customization options for screen capture. By assigning a specific key or button within the software, you can have more control over your screenshot capabilities.
Method 3, using third-party software, allows for advanced features and functionalities beyond the built-in options. By downloading and installing a reliable third-party software, you can enjoy additional editing tools, annotation capabilities, and various output options.
With these methods at your disposal, you can easily capture and save screenshots on your Logitech MX Keys for various purposes, such as sharing information, saving images, or documenting important content.
Remember to refer to the user manual or documentation provided by Logitech for specific instructions tailored to your keyboard model.
Explore the different methods discussed in this article and choose the one that best suits your preferences and requirements. Start capturing high-quality screenshots effortlessly with your Logitech MX Keys.