Introduction
Welcome to this guide on how to pair JVC Gumy True Wireless Earbuds! If you’re the proud owner of these sleek and convenient earbuds, you’re likely eager to start enjoying your favorite music or podcasts without the constraints of wires. In this tutorial, we’ll walk you through the simple steps to connect and pair your JVC Gumy True Wireless Earbuds with your device.
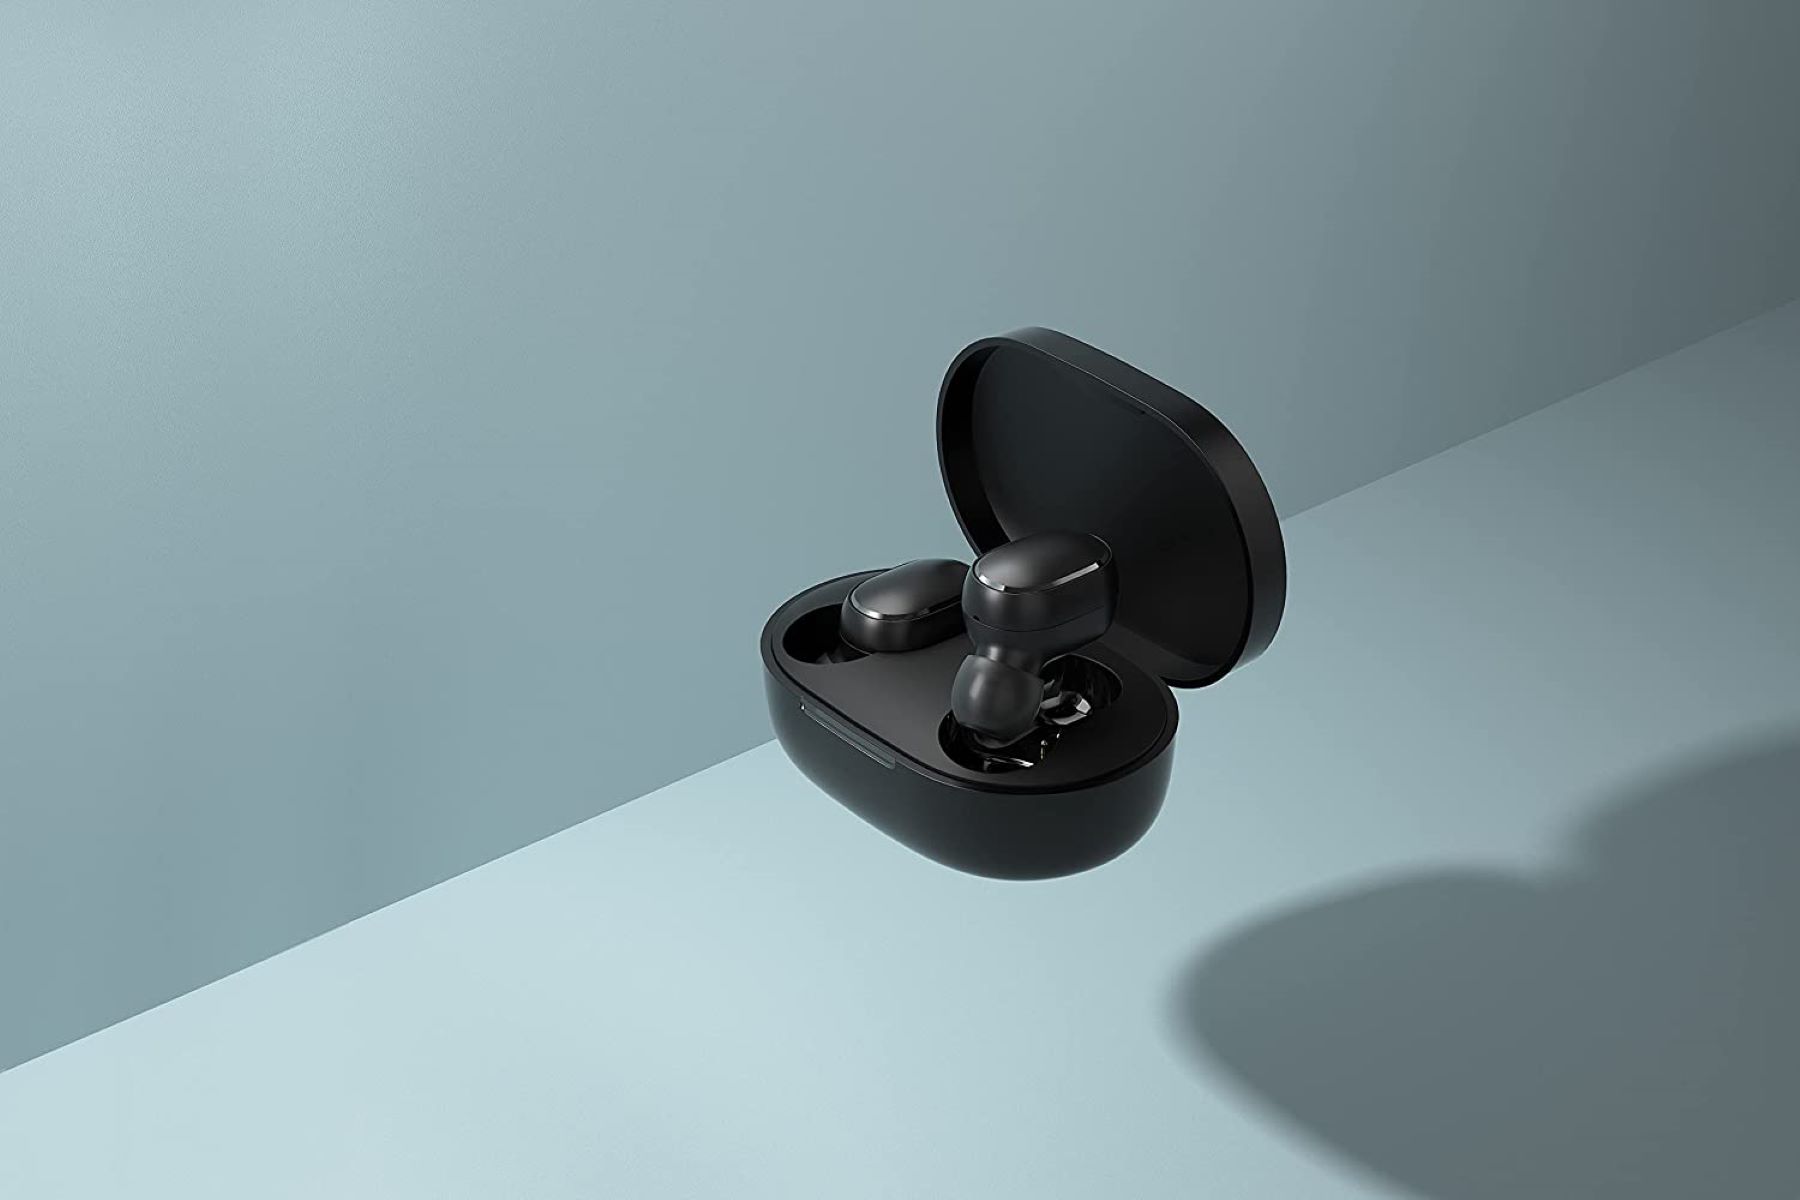
The JVC Gumy True Wireless Earbuds provide a seamless and hassle-free listening experience. With their Bluetooth connectivity, you can effortlessly connect them to your smartphone, tablet, or any other Bluetooth-enabled device. Once the pairing is complete, you’ll be able to enjoy high-quality audio and freedom of movement, making them perfect for workouts, commuting, or simply relaxing at home.
Whether you’re a tech-savvy individual or someone who’s new to wireless earbuds, fear not! This guide will provide you with clear and concise instructions to ensure a smooth and successful pairing process. So, let’s dive right in and get your JVC Gumy True Wireless Earbuds connected to your device!
Step 1: Turn on the earbuds
The first step in pairing your JVC Gumy True Wireless Earbuds is to ensure they are turned on. The earbuds come with a built-in power button that is usually located on the side or underneath the earpiece. Locate the power button and press and hold it for a few seconds until you see a light indicator or hear a chime, indicating that the earbuds are turned on.
It’s important to note that some models of JVC Gumy True Wireless Earbuds may have specific instructions for turning them on. You can refer to the user manual that came with your earbuds or visit the JVC website for more information on your specific model.
Once the earbuds are turned on, they are ready to be paired with your device. Keep in mind that the pairing process may vary depending on the device you are using, such as a smartphone, tablet, or laptop. In the following steps, we will guide you through the general process of pairing the JVC Gumy True Wireless Earbuds with your device.
Step 2: Enable Bluetooth on your device
Before you can pair your JVC Gumy True Wireless Earbuds with your device, you need to ensure that Bluetooth is enabled on your device. Bluetooth is a wireless technology that allows devices to communicate with each other over short distances.
To enable Bluetooth on your device, follow these general steps:
- Open the settings menu on your device. This can typically be done by tapping on the gear icon.
- Look for the “Bluetooth” option in the settings menu. It is often represented by a Bluetooth symbol.
- Tap on the “Bluetooth” option to access the Bluetooth settings.
- Toggle the switch to enable Bluetooth. The switch may be located at the top or bottom of the Bluetooth settings page.
Once you have enabled Bluetooth on your device, it will start searching for nearby Bluetooth devices to connect to. Keep in mind that the exact steps to enable Bluetooth may vary slightly depending on the operating system of your device. If you’re unsure how to enable Bluetooth, you can refer to the user manual or the support documentation for your specific device model.
Now that Bluetooth is enabled on your device, you are one step closer to pairing your JVC Gumy True Wireless Earbuds. In the next step, we will guide you through opening the Bluetooth settings on your device to initiate the pairing process.
Step 3: Open the Bluetooth settings
With Bluetooth enabled on your device, the next step is to open the Bluetooth settings to prepare for the pairing process. Opening the Bluetooth settings will allow your device to search for and recognize the JVC Gumy True Wireless Earbuds for pairing.
The process of accessing Bluetooth settings may vary depending on the device you are using. However, here are some general steps to follow:
- Go to the settings menu on your device. This can usually be accessed by tapping on the gear icon.
- Look for the “Bluetooth” option in the settings menu and tap on it. You may need to navigate through different categories or submenus to find it.
- The Bluetooth settings screen will open, displaying a list of Bluetooth-enabled devices that are available for pairing.
Once you have opened the Bluetooth settings, your device will start scanning for nearby Bluetooth devices. It may take a few moments to detect the JVC Gumy True Wireless Earbuds.
If you are having trouble finding the Bluetooth settings on your device, refer to the user manual or seek online resources specific to your device model and operating system.
Now that you have successfully opened the Bluetooth settings on your device, you are ready to move on to the next step: connecting the JVC Gumy True Wireless Earbuds to your device through the pairing process.
Step 4: Connect the earbuds to your device
Once you have opened the Bluetooth settings on your device, it’s time to connect your JVC Gumy True Wireless Earbuds to your device. This process involves identifying the earbuds in the list of available Bluetooth devices and initiating the connection.
Follow these steps to connect the earbuds to your device:
- In the Bluetooth settings on your device, look for the name of your JVC Gumy True Wireless Earbuds in the list of available devices. The name of the earbuds may vary depending on the model.
- Tap on the name of your JVC Gumy True Wireless Earbuds to select them.
- Your device will start establishing a connection with the earbuds. This process may take a few moments. You may see a loading or connecting indicator on your device.
- Once the connection is established, you will see a notification confirming the successful pairing of your JVC Gumy True Wireless Earbuds with your device.
It’s important to note that some devices may require you to enter a pin or confirm a pairing code when connecting to a Bluetooth device for the first time. If prompted, follow the on-screen instructions to complete the pairing process. Refer to the user manual or online resources for your specific device model if you encounter any difficulties during this step.
Congratulations! You have successfully connected your JVC Gumy True Wireless Earbuds to your device. In the next step, we will explore how to pair the earbuds, ensuring a seamless audio experience.
Step 5: Pair the earbuds
After connecting your JVC Gumy True Wireless Earbuds to your device, the next step is to pair them. Pairing allows your device to establish a secure and stable connection with the earbuds, enabling you to enjoy uninterrupted audio.
Here’s how to pair your JVC Gumy True Wireless Earbuds with your device:
- Open the Bluetooth settings on your device.
- If your device supports automatic pairing, it should automatically pair with the earbuds. In this case, you can skip the next step.
- If automatic pairing is not supported, select the name of your JVC Gumy True Wireless Earbuds from the list of connected Bluetooth devices.
- Your device will display a confirmation prompt or ask for a pairing code. Follow the instructions on your device’s screen to complete the pairing process.
- Once the pairing is complete, you will see a notification or a pop-up message confirming the successful pairing of your JVC Gumy True Wireless Earbuds with your device.
It’s worth noting that some JVC Gumy True Wireless Earbuds models may have additional features or settings that you can customize through a companion app or by using physical buttons on the earbuds. You can refer to the user manual or online resources specific to your model for more information on these advanced features.
Now that you have successfully paired your JVC Gumy True Wireless Earbuds with your device, you can enjoy the freedom of wire-free listening. In the next step, we will explore how to adjust the earbud settings to optimize your audio experience.
Step 6: Adjust earbud settings
Once you have successfully paired your JVC Gumy True Wireless Earbuds with your device, you have the option to adjust various settings to personalize your audio experience. These settings can enhance the sound quality, control playback, and manage other features of the earbuds.
Here are some common settings that you can explore:
- Volume control: Adjust the volume of the audio playback using the volume buttons on your device or the volume control feature available on the earbuds themselves.
- Equalizer settings: JVC Gumy True Wireless Earbuds might have built-in equalizer settings that allow you to customize the sound according to your preferences. Look for an equalizer option in the companion app or check the earbuds’ user manual for instructions on accessing and adjusting the equalizer settings.
- Playback controls: Depending on the model of your JVC Gumy True Wireless Earbuds, you may be able to control playback functions such as play, pause, skip tracks, and answer or end calls using the physical buttons on the earbuds themselves.
- Noise cancellation: If your JVC Gumy True Wireless Earbuds come equipped with noise cancellation technology, you can activate or adjust this feature to minimize external environmental sounds and enjoy a more immersive audio experience.
- Customizable features: Some models may offer customizable features through a companion app, allowing you to personalize the functionality of the earbuds according to your preferences. Check the user manual or website for your specific model to see if this option is available.
Remember to consult the user manual or online resources specific to your JVC Gumy True Wireless Earbuds model for detailed instructions on accessing and adjusting these settings. This will ensure you can optimize the earbud settings to suit your preferences and enjoy an immersive audio experience.
Now that you have adjusted the earbud settings, it’s time to put them to the test. In the next step, we will guide you on how to test the functionality of your JVC Gumy True Wireless Earbuds.
Step 7: Test the earbuds’ functionality
After connecting, pairing, and adjusting the settings of your JVC Gumy True Wireless Earbuds, it’s important to test their functionality to ensure everything is working as expected. Testing the earbuds will help you verify the audio quality, the functionality of buttons or touch controls, and any additional features they offer.
Follow these steps to test the functionality of your JVC Gumy True Wireless Earbuds:
- Play your favorite song or audio content on your device.
- Ensure that the sound is coming through the earbuds by checking that there is no sound coming from the device’s speaker.
- Adjust the volume of the audio playback using the volume controls on the earbuds or through your device’s settings.
- If your earbuds have playback controls, test them by pausing, resuming, and skipping tracks as needed. Verify that the playback controls are responsive and function correctly.
- If your earbuds have a built-in microphone, you can test it by making a phone call or using a voice recording app to ensure that the microphone is working properly.
- If your earbuds have noise cancellation capabilities, test them in a noisy environment to see if the external sounds are effectively blocked or reduced.
- Finally, test the battery life of your JVC Gumy True Wireless Earbuds by using them for an extended period of time and monitoring their battery level. This will help you gauge the expected battery performance and plan accordingly.
If you encounter any issues during the testing process, consult the user manual or online resources specific to your JVC Gumy True Wireless Earbuds model. Troubleshooting steps and solutions may be provided to help you resolve any functionality problems.
Once you have tested the earbuds and ensured that they are functioning properly, you can now enjoy your favorite audio content with the convenience and freedom of your JVC Gumy True Wireless Earbuds!
Conclusion
Congratulations! You have successfully learned how to pair and connect your JVC Gumy True Wireless Earbuds to your device. By following the simple steps outlined in this guide, you can now enjoy your favorite music, podcasts, or other audio content without the restrictions of wires.
We began by turning on the earbuds and ensuring that Bluetooth was enabled on your device. Then, we opened the Bluetooth settings and connected the earbuds to your device. After that, we paired the earbuds to establish a secure connection. We also explored how to adjust the earbud settings to customize your audio experience, and finally tested the functionality of the earbuds.
Remember, each model of the JVC Gumy True Wireless Earbuds may have specific features and settings, so consult the user manual or the JVC website for detailed instructions and information regarding your specific model.
Now that you’re equipped with the knowledge of how to pair and use your JVC Gumy True Wireless Earbuds, enjoy the freedom of wire-free listening experiences wherever you go. Whether you’re working out, commuting, or simply relaxing, these earbuds will enhance your audio experience and provide convenience.
Thank you for choosing JVC Gumy True Wireless Earbuds, and we hope this guide has been helpful in assisting you with the setup and usage. Happy listening!