Introduction
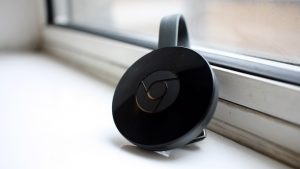
Welcome to our guide on how to pair a new Chromecast remote! The Chromecast is a brilliantly compact device that allows you to stream your favorite movies, TV shows, and videos from your smartphone, tablet, or laptop straight to your TV. With the remote control, you can easily navigate through your content and control all the functions of your Chromecast.
However, there may be instances where you need to pair a new remote with your Chromecast. This could be because your existing remote is damaged, lost, or you simply want to have a spare one handy. Whatever the reason may be, the process of pairing a new Chromecast remote is simple and can be done in just a few easy steps.
In this guide, we will walk you through the step-by-step process of pairing a new Chromecast remote. Whether you have a Chromecast with Google TV or a regular Chromecast device, the process remains virtually the same. So, if you’re ready, let’s get started!
Step 1: Make sure your Chromecast and remote are in pairing mode
Before you begin the pairing process, it’s essential to ensure that both your Chromecast device and the new remote are in pairing mode. This is important for them to establish a connection and communicate effectively. Here’s how you can put them into pairing mode:
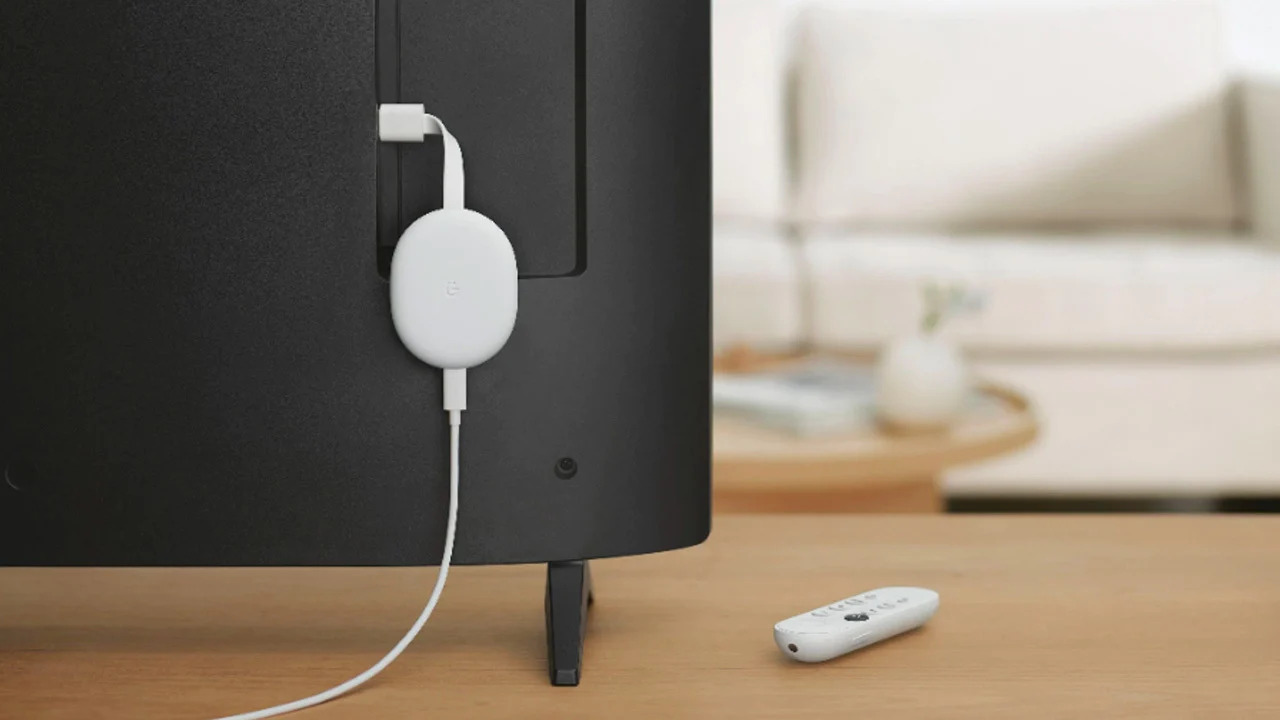
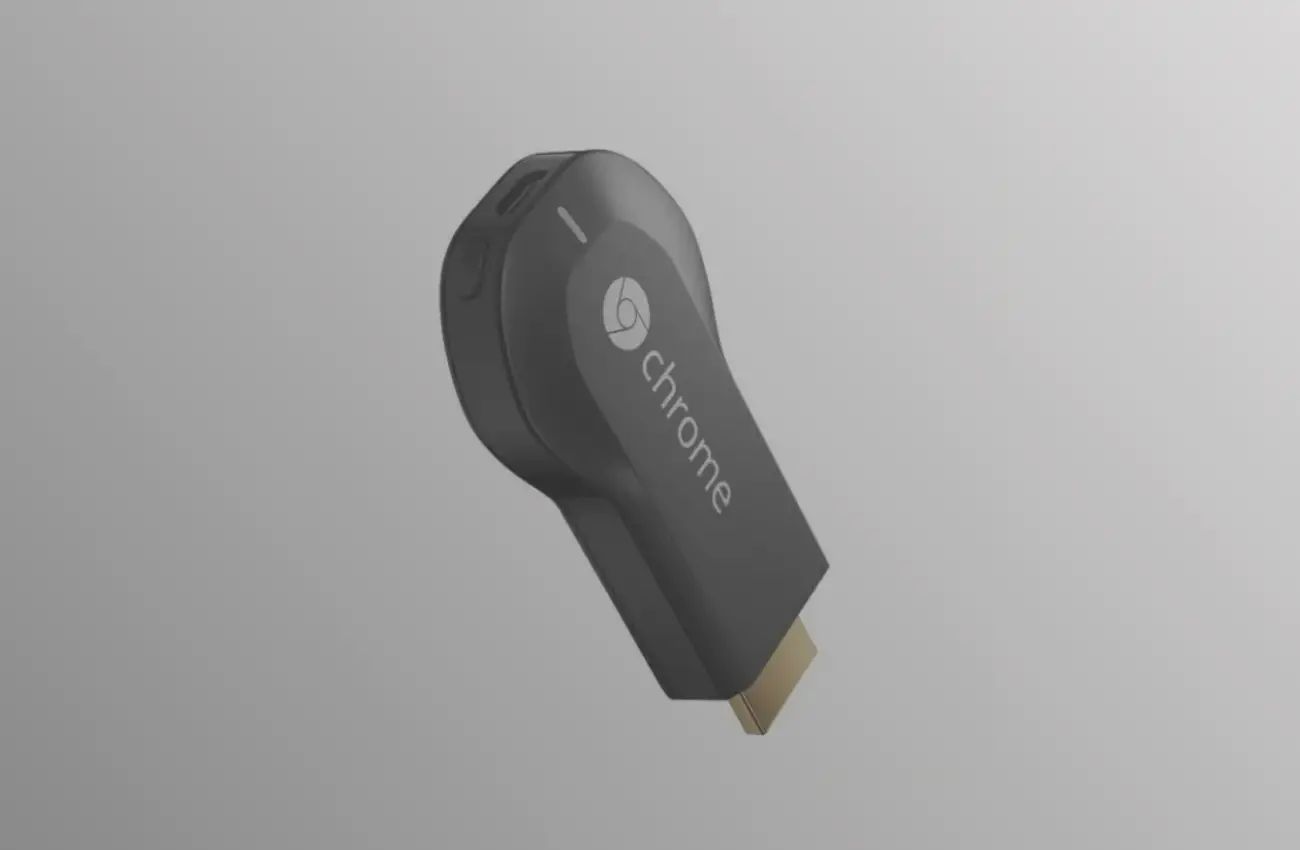
- Make sure your Chromecast is plugged into the HDMI port of your TV and is connected to a power source.
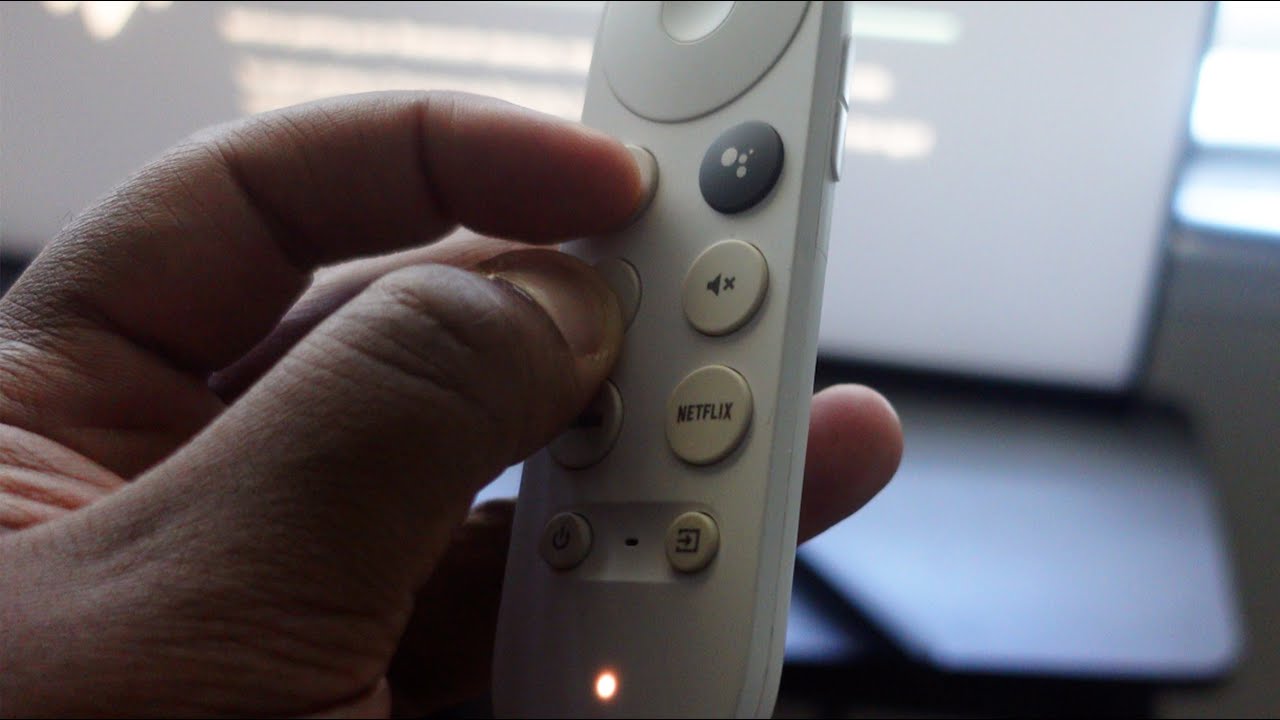
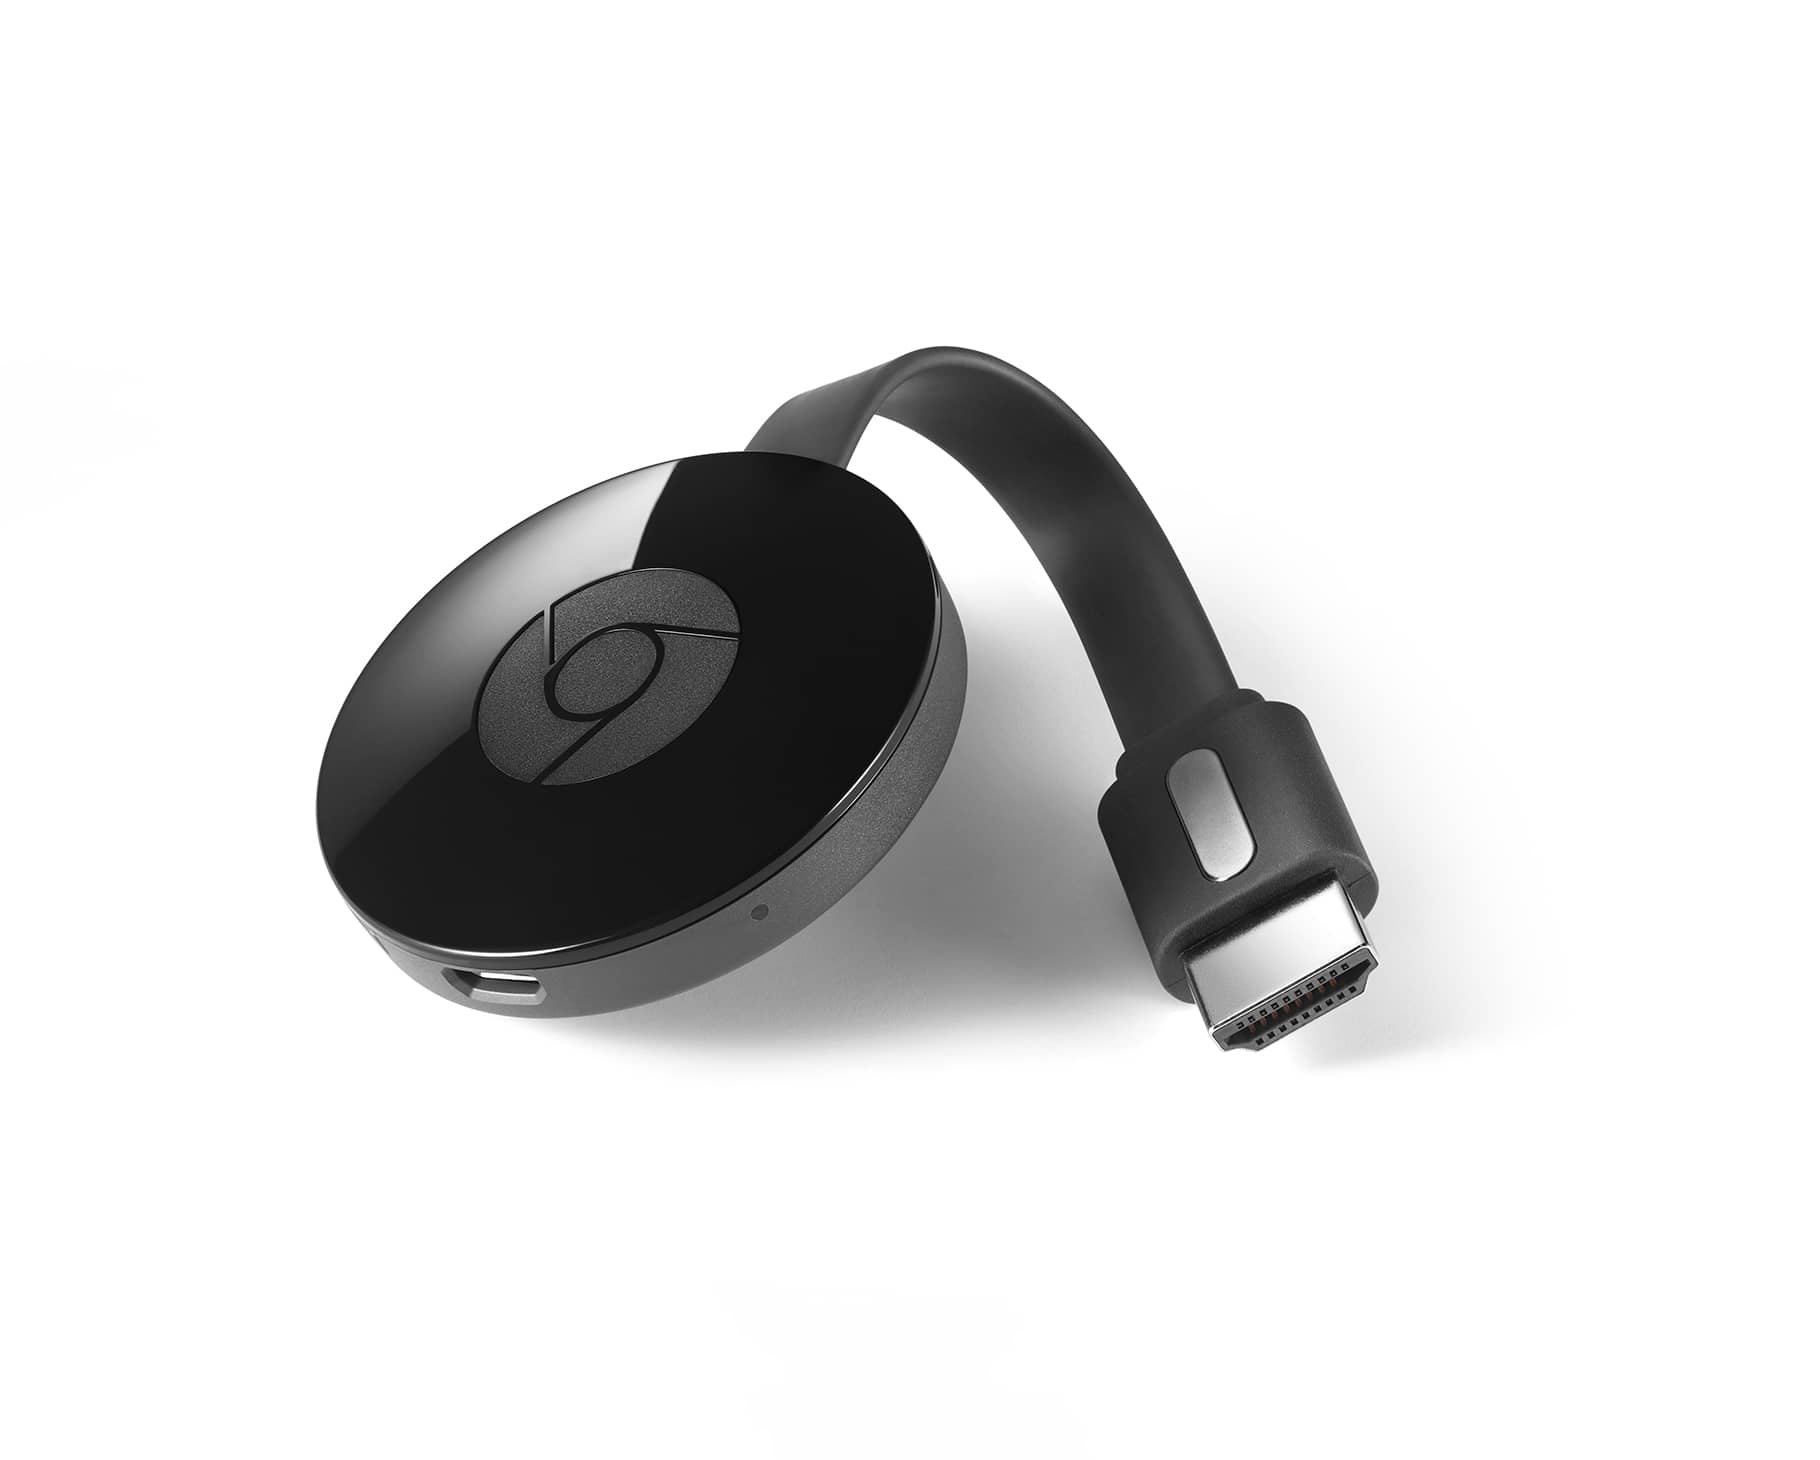
- If your Chromecast has a physical reset button, press and hold it for around 25 seconds until the LED indicator starts flashing.
- If your Chromecast doesn’t have a physical reset button, you can perform a factory reset using the Google Home app. Open the app, tap on your Chromecast device, and go to the settings. From there, find the option to perform a factory reset.
- Once your Chromecast is in pairing mode, grab your new remote and remove the battery tab or ensure it has fresh batteries.
- Check the user manual for the specific instructions for your remote model, as some may have additional steps to put them into pairing mode.
- Ensure that there are no obstacles between the remote and the Chromecast, as it may hinder the pairing process.
By following these simple steps, you will ensure that both your Chromecast and the new remote are ready to be paired. Now, let’s move on to the next step to continue the pairing process smoothly.
Step 2: Open the Google Home app on your mobile device
Once you have put your Chromecast and new remote into pairing mode, it’s time to open the Google Home app on your mobile device. The Google Home app is available for both Android and iOS devices, and it is the central hub for managing your Chromecast and other connected devices.
If you haven’t already installed the Google Home app, you can find it on the Google Play Store for Android devices or the App Store for iOS devices. Once installed, follow these steps to open the app:
- Locate the Google Home app icon on your home screen or app drawer.
- Tap on the icon to launch the app.
- If prompted, sign in to your Google account. This step might be necessary to access and manage your Chromecast devices.
- Once you’re successfully signed in, you’ll be greeted with the Google Home app’s main screen.
The Google Home app is a powerful tool that allows you to set up and manage various aspects of your Chromecast, including pairing a new remote. With the app open and your Chromecast in pairing mode, you’re now ready to proceed to the next step in the process.
Step 3: Select your Chromecast device
After opening the Google Home app on your mobile device, it’s time to select your Chromecast device for the pairing process. This step allows the app to establish a direct connection with your Chromecast and facilitate the pairing of the new remote. Follow these steps to select your Chromecast device:
- On the main screen of the Google Home app, you should see a list of available devices. Look for the icon representing your Chromecast device.
- If you have multiple Chromecast devices, ensure you select the one you want to pair the new remote with.
- Tap on your Chromecast device to access its settings and options.
By selecting your Chromecast device within the Google Home app, you are indicating that you want to perform actions and configurations specifically for that device. This selection is crucial for the pairing process, as it establishes a direct connection between the app and your Chromecast.
Once you have successfully selected your Chromecast device, you’re ready to proceed to the next step, where we will delve further into the settings menu to pair the new remote.
Step 4: Tap on the Settings icon
Now that you have selected your Chromecast device within the Google Home app, it’s time to access the settings menu. Within the settings, you will find the necessary options to pair the new remote. Follow these steps to tap on the Settings icon:
- On the screen of the Google Home app, look for the Settings icon. It is usually represented by an icon with three vertical dots or lines.
- Tap on the Settings icon to open the settings menu for your Chromecast device.
By tapping on the Settings icon, you are gaining access to various configuration options for your Chromecast. This menu allows you to customize settings, manage devices, and pair new remotes.
Once you have successfully tapped on the Settings icon, you’re now ready to explore the settings menu further and proceed to the next step, where we will specifically focus on pairing the new remote.
Step 5: Choose “Remote” from the menu
After tapping on the Settings icon in the Google Home app, the settings menu for your Chromecast device will be displayed. Now, it’s time to navigate to the specific option to pair the new remote. Follow these steps to choose “Remote” from the menu:
- Within the settings menu, scroll down until you find the option labeled “Remote.” It may also be labeled as “Remote Control” or similar.
- Tap on the “Remote” option to access the remote control settings.
Choosing the “Remote” option from the menu signals that you want to manage the remote control functionality of your Chromecast. This menu allows you to enable or disable remote control, pair new remotes, and customize remote control settings.
Once you have successfully chosen “Remote” from the menu, you’re now ready to proceed to the next step, where we will specifically focus on pairing the new remote with your Chromecast.
Step 6: Tap on “Pair Remote”
Now that you have accessed the remote control settings within the Google Home app, it’s time to initiate the pairing process for the new remote. Follow these steps to tap on “Pair Remote”:
- Within the remote control settings menu, look for the option labeled “Pair Remote.” This option is typically located at the top or near the top of the menu.
- Tap on the “Pair Remote” option to begin the pairing process.
Tapping on “Pair Remote” signifies your intent to connect a new remote control to your Chromecast. This action prompts the Chromecast to enter pairing mode, actively searching for a new remote to establish a connection.
Once you have successfully tapped on “Pair Remote,” you’re now ready to move on to the next step, where we will guide you through the necessary on-screen instructions to complete the pairing process.
Step 7: Follow the on-screen instructions
After tapping on “Pair Remote,” the Chromecast device will display a set of on-screen instructions to guide you through the pairing process. It is crucial to carefully follow these instructions to ensure a successful pairing. Here’s what you need to do:
- Read and understand the on-screen instructions provided by the Chromecast device.
- Follow the prompts to complete the pairing process. This may involve pressing specific buttons on the new remote or performing certain actions as directed.
- Continue following any additional on-screen instructions until the pairing process is complete.
The on-screen instructions presented by the Chromecast device are designed to make the pairing process as seamless as possible. They may vary slightly depending on the model of your Chromecast and the remote control you are trying to pair. Therefore, it is essential to carefully read and follow each step to ensure a successful connection.
Once you have followed all the on-screen instructions and completed the pairing process, you’re now ready to proceed to the final step, where we will test the new remote to ensure it is paired correctly.
Step 8: Test the remote to ensure it is paired correctly
After successfully completing the pairing process, it’s time to test the newly paired remote control to ensure it is working correctly with your Chromecast. Follow these steps to test the remote:
- Hold the new remote in your hand and point it towards the Chromecast device.
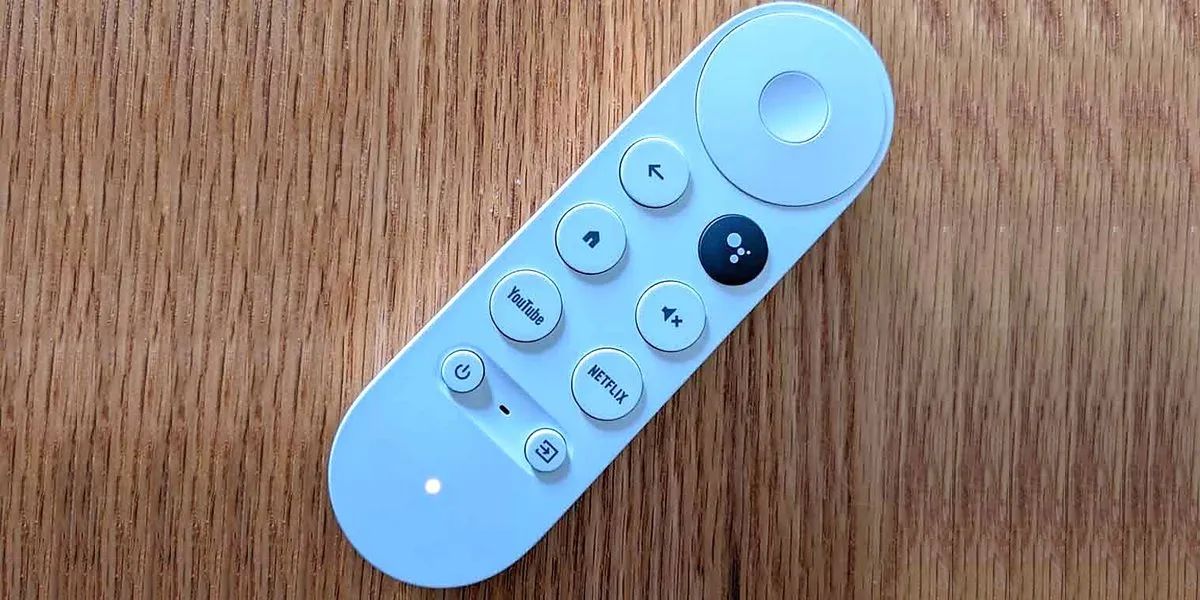
- Press different buttons on the remote to navigate through the menus and control the playback of content on your TV.
- Observe the response of the Chromecast device to ensure that the remote commands are being registered correctly.
- Test various functions of the remote, including volume control, play/pause, rewind, and any additional features specific to your remote model.
By testing the remote after pairing, you can verify that it is functioning properly and able to control your Chromecast device as intended. If you notice any issues during the testing phase, such as unresponsiveness or incorrect button mappings, you may need to repeat the pairing process or troubleshoot the remote control.
If the remote works seamlessly and all commands are registered correctly, congratulations! You have successfully paired and tested the new remote with your Chromecast.
Remember, the steps outlined in this guide apply to most Chromecast models and remote control configurations. However, there might be slight differences depending on your specific setup. In case you encounter any difficulties during the pairing process, refer to the user manual or consult the support resources provided by Google or the manufacturer of your remote control.
Conclusion
Congratulations on successfully pairing your new Chromecast remote! In this guide, we have walked you through the step-by-step process of pairing a new remote control with your Chromecast device. By following these simple instructions, you can enjoy seamless control over your Chromecast and enhance your streaming experience.
Remember, before starting the pairing process, ensure that your Chromecast and the new remote are in pairing mode. Open the Google Home app on your mobile device, select your Chromecast device, and access the settings menu. From there, choose the “Remote” option and tap on “Pair Remote” to initiate the pairing process. Follow the on-screen instructions provided by your Chromecast device and test the new remote to ensure it is working correctly.
By taking these steps, you can easily pair a new remote control with your Chromecast and enjoy effortless navigation and control over your favorite content. Whether you’re watching movies, TV shows, or videos, the new remote will allow you to conveniently navigate through menus, adjust volume, and control playback.
If you encounter any difficulties during the pairing process, consult the user manual or seek support from Google or the manufacturer of your remote control. They can provide further guidance and troubleshooting for your specific setup.
We hope this guide has been helpful and that you are now enjoying the convenience of your newly paired Chromecast remote. Sit back, relax, and enjoy your favorite content with ease!