Introduction
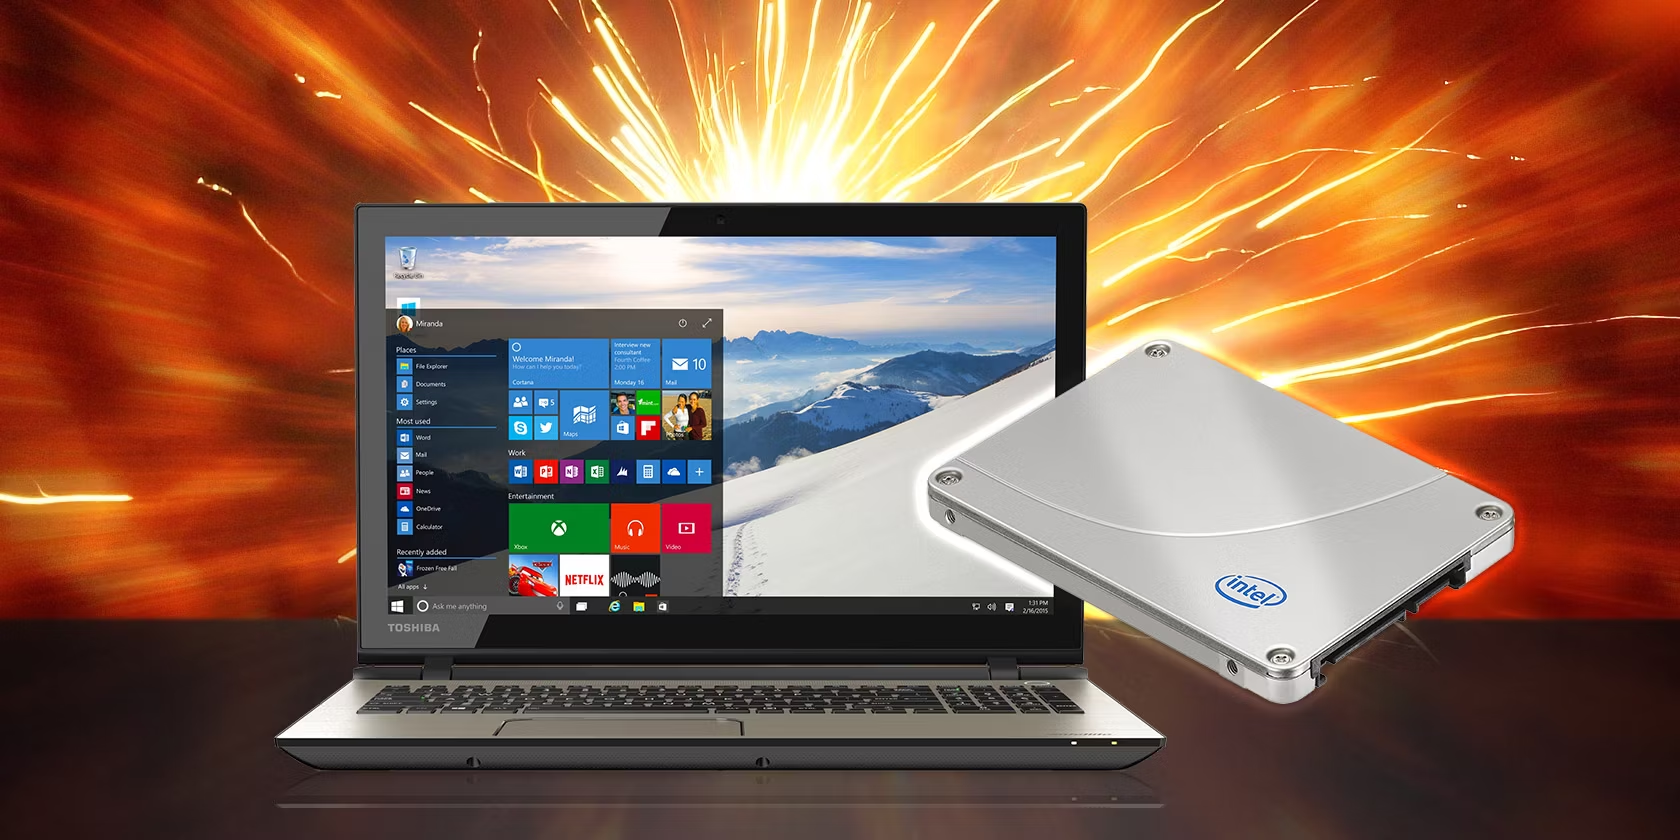
Welcome to our step-by-step guide on how to move your Windows 8.1 installation to an SSD. Upgrading to a solid-state drive (SSD) can significantly enhance the performance and speed of your computer, making it a worthwhile investment.
Whether you’re looking to boost your gaming experience, improve your productivity, or simply enjoy faster load times, migrating your Windows 8.1 operating system to an SSD is a relatively straightforward process. However, it does require some careful planning and execution to ensure a smooth transition.
In this guide, we will walk you through each step of the process, from preparing for the migration and backing up your data to choosing the right SSD and cloning your existing Windows 8.1 installation. We will also cover the installation and setup of your new SSD, as well as provide troubleshooting tips in case you encounter any issues along the way.
Before we dive into the technical details, it’s important to note that moving your Windows 8.1 installation to an SSD can offer substantial performance improvements. SSDs are faster, more durable, and quieter than traditional hard disk drives (HDDs), thanks to their use of flash memory instead of spinning disks. This allows for quicker boot times, shorter application load times, and smoother overall system operation.
To ensure a successful migration, it’s crucial to follow the steps outlined in this guide carefully. This includes backing up your data, choosing an appropriate SSD, and using cloning software to transfer your Windows 8.1 installation seamlessly. We provide detailed instructions for each stage, so even if you’re not highly tech-savvy, you can still complete the process confidently.
Ready to give your Windows 8.1 a performance boost? Let’s get started by preparing for the migration and backing up your important data.
Preparing for the Migration
Migrating your Windows 8.1 installation to an SSD requires some careful preparation to ensure a smooth transition. Follow these steps to ensure a successful migration:
- Backup Your Data: Before beginning the migration process, it’s crucial to back up all your important data. This includes documents, photos, videos, and any other files you want to keep. You can use external storage devices, cloud services, or backup software to create a copy of your data. This step is crucial to protect against any potential data loss during the migration process.
- Take Inventory of Your Software: Make a list of all the software programs installed on your current Windows 8.1 system. This will help you know which programs need to be reinstalled after the migration. Take note of any software licenses or product keys you may need for reinstallation.
- Deactivate Software Licenses: If you have any software licenses tied to your current Windows 8.1 installation, it’s important to deactivate them before the migration. This will prevent any licensing issues when reinstalling the software on your new SSD. Check the documentation or contact the software vendor for guidance on deactivating licenses.
- Check Hardware Compatibility: Ensure that your computer’s hardware is compatible with an SSD. Most modern desktops and laptops are compatible, but it’s always a good idea to double-check. Check your computer’s user manual or visit the manufacturer’s website for information on SSD compatibility.
- Free Up Space: SSDs typically have smaller storage capacities compared to traditional hard drives. To ensure a smooth migration, it’s recommended to free up space on your current hard drive before cloning it to the SSD. Delete any unnecessary files or programs and consider moving larger files to an external storage device.
By following these steps, you can ensure that your system is well-prepared for the migration process. Taking the time to back up your data, document your software, and ensure compatibility will lay the foundation for a successful transition. In the next section, we will delve into the process of backing up your data before proceeding with the migration.
Backing Up Your Data
Before proceeding with the migration of your Windows 8.1 installation to an SSD, it is crucial to back up your data to ensure its safety. Follow these steps to create a backup of your important files:
- Identify Important Data: Take the time to identify the files and folders that you want to back up. This may include documents, photos, videos, music, and any other files that are significant to you. Make a list or create a separate folder to keep track of what you need to back up.
- Choose a Backup Method: There are several methods you can use to back up your data. One option is to manually copy and paste your files to an external storage device, such as a USB drive or an external hard drive. Another option is to use backup software, which provides more comprehensive backup and scheduling options.
- External Storage Devices: Connect your chosen external storage device to your computer. Open the file explorer or the backup software and navigate to the files and folders you wish to back up. Select them and copy them to the external storage device. It may take some time, depending on the size of your data.
- Cloud Storage Services: Another method is to utilize cloud storage services, such as Google Drive, Dropbox, or Microsoft OneDrive. These services allow you to upload your files to the cloud and access them from any device with an internet connection. Sign up for a cloud storage service, install the necessary software or app, and upload your files to the cloud.
- Verify the Backup: After the backup process is complete, take the time to verify that your files have been successfully backed up. Open the external storage device or access the cloud storage service and ensure that all the files are present and intact.
Backing up your data is essential to protect against any potential data loss during the migration process. By following these steps and creating a backup of your important files, you can proceed with the migration confidently, knowing that your data is safely stored and ready to be transferred to the new SSD.
In the next section, we will discuss the importance of choosing the right SSD for your Windows 8.1 migration, as well as provide guidance on selecting the most suitable SSD for your specific needs.
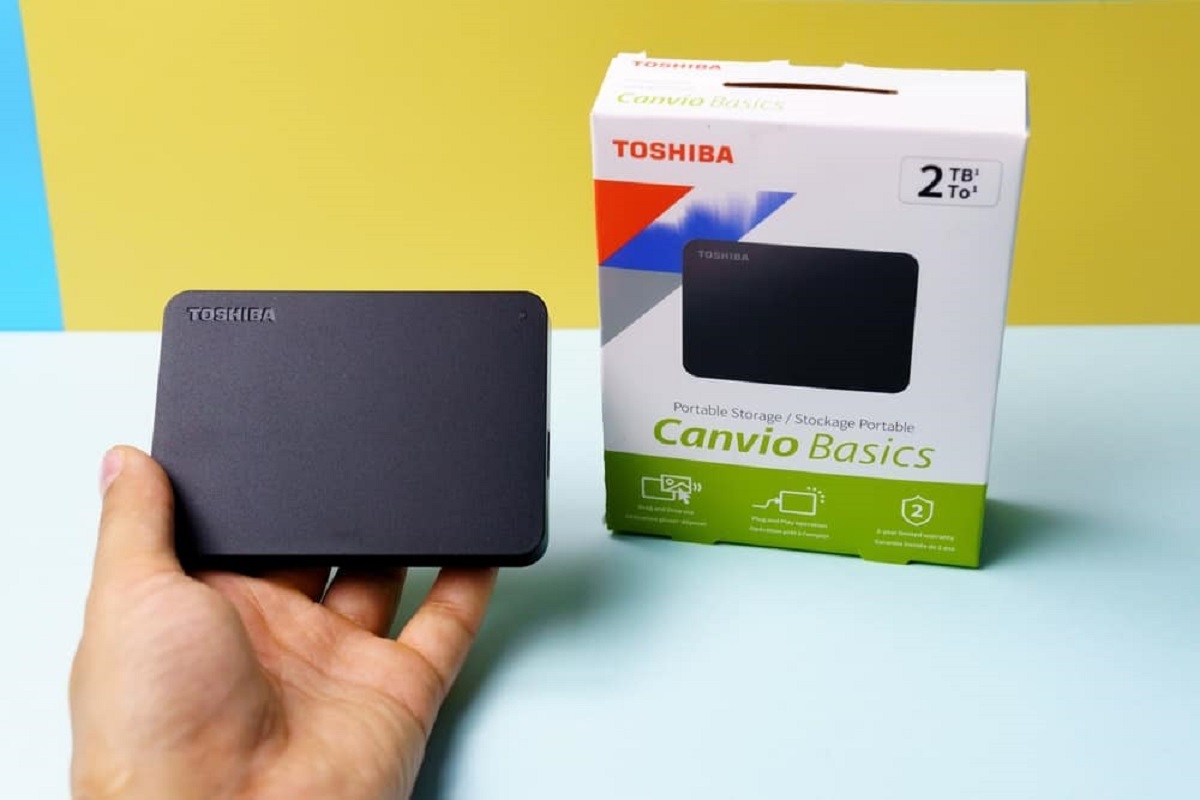
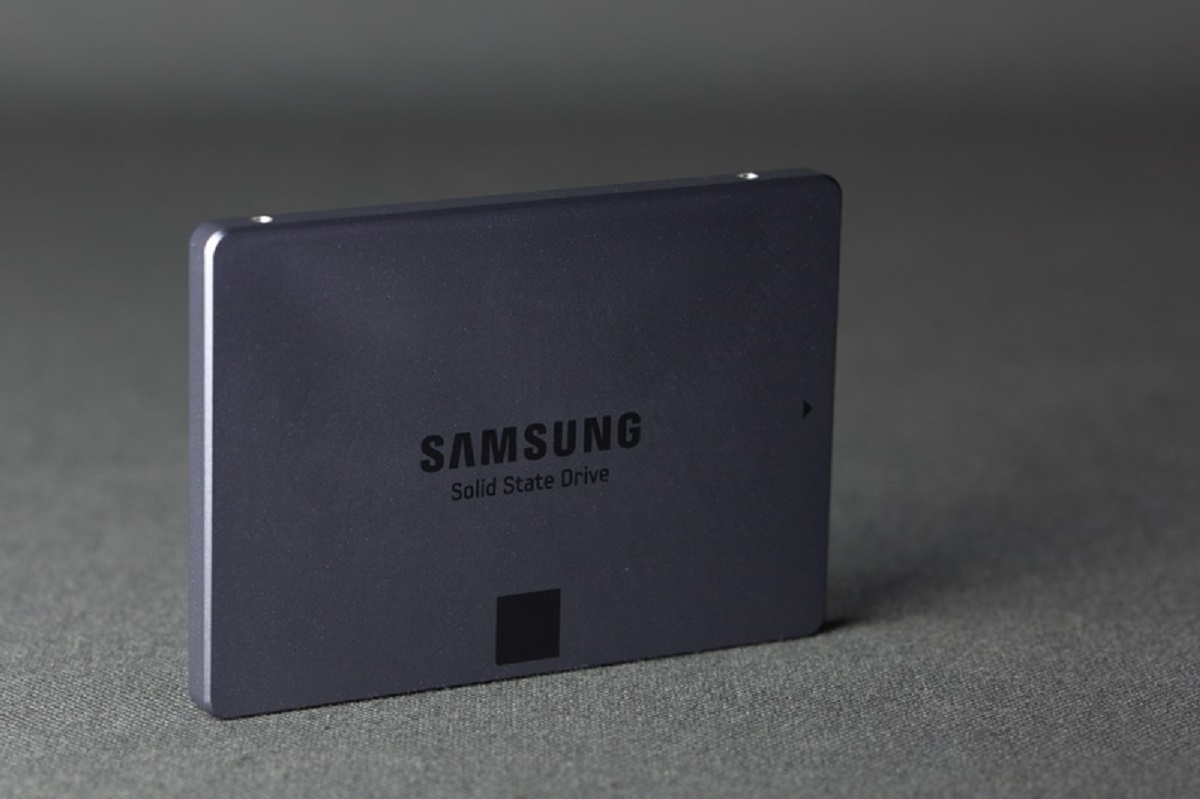
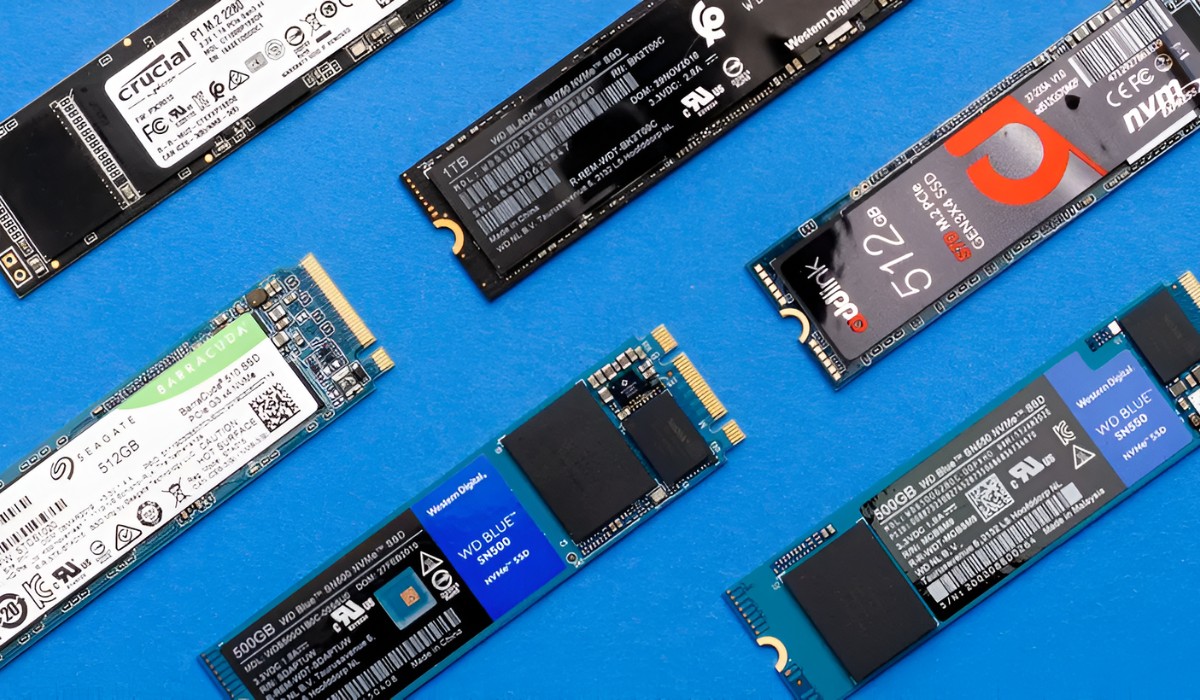
Choosing an SSD
When it comes to selecting an SSD for your Windows 8.1 migration, there are a few key factors to consider to ensure optimal performance and compatibility. Here are some important considerations to keep in mind:
- Storage Capacity: Determine the amount of storage space you require for your needs. SSDs come in various capacities, so consider the size of your current hard drive and the amount of data you need to transfer. It’s recommended to choose an SSD with a capacity that meets your needs and allows for future expansion.
- Form Factor: Check the form factor of your current hard drive to ensure compatibility. Most SSDs come in the standard 2.5-inch form factor, which can fit into most laptops and desktops. However, if you have a smaller form factor, such as mSATA or M.2, make sure to choose an SSD that matches the appropriate form factor.
- Read and Write Speeds: SSDs offer faster data transfer speeds compared to traditional hard drives. Look for SSDs with high read and write speeds to maximize performance. Faster speeds will result in quicker boot times, faster application launches, and improved overall system responsiveness.
- Interface: Another important consideration is the interface of the SSD. SATA is the most common interface, offering good performance and compatibility. However, if your computer supports it, consider opting for a faster interface like PCIe or NVMe for even better speed and performance.
- Reliability and Endurance: It’s important to choose an SSD from a reputable manufacturer known for reliability and endurance. Check for warranties, endurance ratings (TBW – Terabytes Written), and customer reviews to ensure that you are investing in a high-quality and durable SSD.
Be sure to research and compare different SSD options to find the one that best suits your needs and budget. Take note of the specific requirements of your computer and ensure compatibility with the chosen SSD.
Choosing the right SSD is crucial for a successful Windows 8.1 migration and optimal performance. With a well-selected SSD, you can enjoy faster boot times, quicker application launches, and overall improved system responsiveness once the migration is complete.
In the next section, we will walk you through the process of cloning your Windows 8.1 installation to the new SSD, ensuring a seamless transition of your operating system and files.
Cloning Your Windows 8.1 Installation
One of the most efficient ways to migrate your Windows 8.1 operating system to the new SSD is by cloning it. Cloning allows you to create an exact replica of your current installation, including the operating system, applications, and files. Follow these steps to clone your Windows 8.1 installation to the new SSD:
- Choose Cloning Software: Find reliable cloning software that supports Windows 8.1 migration. There are many options available, both free and paid, such as Macrium Reflect, Acronis True Image, and Clonezilla. Download and install the cloning software on your computer.
- Connect the SSD: Connect the new SSD to your computer. You can use an external USB enclosure or connect it directly to the motherboard if there’s an available slot. Ensure that the SSD is recognized by your computer before proceeding.
- Open the Cloning Software: Launch the cloning software and follow the prompts to begin the cloning process. Select the option to clone your system or disk, and choose your current Windows 8.1 installation as the source drive.
- Select the Target Drive: Choose the newly connected SSD as the target drive for the cloning process. Double-check to ensure that you select the correct SSD, as this process will overwrite all data on the target drive. Any existing data on the SSD will be erased, so make sure you have backed it up.
- Start the Cloning Process: Review the cloning settings and configurations to make sure everything is set correctly. Once you’re ready, start the cloning process. The time it takes to clone the drive will depend on the size of your current Windows 8.1 installation and the speed of your hardware.
- Verify the Cloning: After the cloning process is complete, verify that the cloned data on the SSD is an exact replica of your original Windows 8.1 installation. You can do this by comparing file sizes, checking for any errors or missing files, and ensuring that all applications and settings are intact.
Once you have successfully cloned your Windows 8.1 installation to the new SSD, you are ready to proceed with the physical installation of the SSD into your computer. The cloning process ensures that your operating system and files are transferred seamlessly, allowing for a smooth transition from your old hard drive to the faster, more efficient SSD.
In the next section, we will guide you through the process of physically installing the new SSD into your computer, ensuring that it is properly connected and ready for use.
Installing the SSD
After successfully cloning your Windows 8.1 installation to the new SSD, it’s time to physically install the SSD into your computer. Follow these steps to ensure a proper and secure installation:
- Power Off and Disconnect: Shut down your computer completely and disconnect the power cord. This step is crucial to prevent any electrical accidents during the installation process.
- Prepare the Computer: Open your computer case or access the appropriate compartment for installing the SSD. Consult your computer’s user manual or manufacturer’s instructions for guidance if needed.
- Locate an Available Slot: Identify an available slot for installing the SSD. Most modern desktops and laptops have dedicated SSD mounting points, such as 2.5-inch drive bays or M.2 slots. If necessary, use mounting brackets or adapters to secure the SSD in the appropriate slot.
- Connect the Cables: Depending on the SSD interface, connect the appropriate cables to the SSD and the motherboard. SATA SSDs require a SATA data cable and a SATA power cable, while M.2 SSDs may require different types of connectors like M.2 or PCIe connections.
- Secure the SSD: Once the connections are made, securely fasten the SSD in place using screws or any other mounting mechanisms provided with your computer or SSD. Ensure that the SSD is firmly secured, preventing any movement or vibration that could cause damage.
- Close the Computer Case: Carefully close the computer case, ensuring that all cables are properly routed and no components are obstructed. Use any necessary screws or latches to secure the case.
- Reconnect and Power On: Reconnect the power cord to your computer and power it on. The computer should detect the new SSD automatically. If not, you may need to access the BIOS settings to ensure proper recognition of the SSD.
By following these steps, you can safely install the new SSD into your computer, ensuring that it is properly connected and ready for use. Once the SSD is installed, you can proceed with setting up your new SSD and configuring it for optimal performance, as we will discuss in the next section.
Remember to handle the SSD and other computer components with care, avoiding static electricity and ensuring a clean and dust-free environment. These measures will help to prevent damage and ensure a successful installation.
In the next section, we will guide you through the process of setting up your new SSD and configuring it to maximize its performance and functionality.
Setting Up Your New SSD
Once you have successfully installed the new SSD into your computer, it’s time to set it up and configure it for optimal performance. Follow these steps to get your new SSD up and running:
- Boot into Windows: Power on your computer and boot into the Windows operating system. The computer should recognize the new SSD as a storage device.
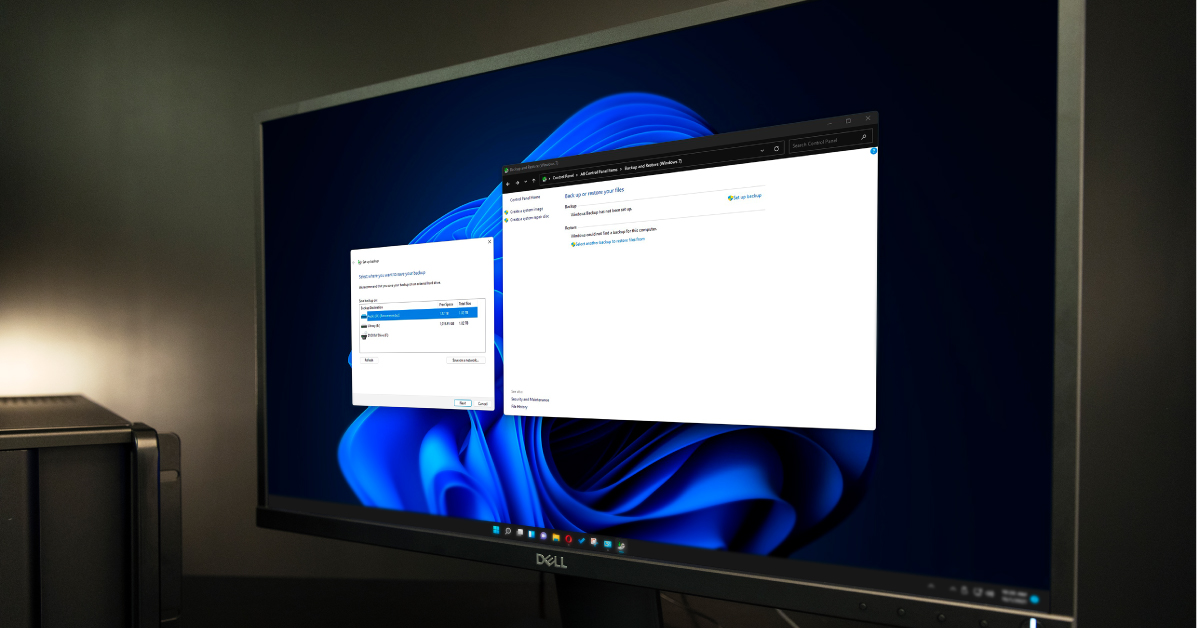
- Initialize the SSD: Open the Disk Management utility in Windows by right-clicking on the Start menu and selecting “Disk Management.” Locate the new SSD in the list of drives, right-click on it, and select “Initialize Disk.” Follow the prompts to complete the initialization process.
- Create Partitions: After initializing the disk, right-click on the unallocated space of the SSD and select “New Simple Volume.” Follow the wizard to create partitions on the SSD. You can choose to create a single partition to use the entire SSD or divide it into multiple partitions based on your needs.
- Format the Partitions: Once the partitions are created, right-click on each partition and select “Format.” Choose the desired file system (usually NTFS) and assign a drive letter to each partition. Formatting the partitions will prepare them for data storage.
- Assign Drive Letters: If the SSD partitions do not have assigned drive letters, right-click on each partition, select “Change Drive Letter and Paths,” and assign a letter to each partition. Drive letters allow you to access the SSD partitions through File Explorer.
- Restore Data: If you backed up your data to an external storage device or cloud service, you can now restore your files to the new SSD. Simply copy and paste the files from the backup location to the appropriate partitions on the SSD.
- Reinstall Programs and Drivers: Depending on the cloning software used, you may need to reinstall some programs and drivers on the new SSD. Refer to your software documentation and the list you created during the backup process to identify and reinstall any necessary software.
By following these steps, you can set up your new SSD, create partitions, format them, assign drive letters, and restore your data. It’s important to ensure that all necessary programs and drivers are reinstalled on the new SSD for proper functionality.
Remember to regularly back up your data on the SSD to prevent loss in case of hardware failure or other unforeseen circumstances. Additionally, consider enabling TRIM support for your SSD to ensure optimal performance and longevity.
In the next section, we will provide troubleshooting tips to help you overcome common issues that may arise during the Windows 8.1 migration process.
Troubleshooting Tips
While migrating your Windows 8.1 installation to an SSD is generally a smooth process, you may encounter some issues along the way. Here are some troubleshooting tips to help you overcome common problems:
- Verify Cable Connections: Double-check all cable connections, including the data and power cables connecting the SSD to the motherboard. Ensure that they are securely connected and properly seated.
- Check BIOS Settings: Access the BIOS settings and verify that the SSD is recognized by the system. If it’s not detected, check if there are any BIOS updates available or try using a different SATA port or cable.
- Ensure Proper Cloning: If you’re experiencing issues with a cloned Windows 8.1 installation, verify that the cloning process was completed successfully. Check for any error messages during the cloning process and consider redoing the process with different cloning software if necessary.
- Verify Partition Alignment: During the cloning process, ensure that the partitions on the SSD are aligned properly. Misaligned partitions can lead to decreased performance. Use disk optimization tools or refer to SSD manufacturer guidelines to align the partitions correctly.
- Update Firmware and Drivers: Check for any firmware updates for the SSD and install them if available. Also, ensure that you have the latest drivers installed for your SSD and other hardware components to ensure compatibility and performance.
- Disable Power Saving Settings: Some power saving features, such as “Link Power Management,” may cause instability or performance issues with SSDs. Consider disabling or adjusting these settings in your power management options to see if it resolves any issues.
- Run Disk Check and System Updates: Perform a disk check on your new SSD to identify and fix any errors. Additionally, ensure that your Windows 8.1 operating system is up to date with the latest updates and patches to avoid compatibility issues.
If you encounter persistent problems during the Windows 8.1 migration process or afterwards, you may consider seeking further assistance from technical support or forums dedicated to SSD and Windows migrations. They can provide specific advice tailored to your situation.
By following these troubleshooting tips, you can address common issues and ensure a smooth transition to your new SSD, where you can enjoy the improved performance and responsiveness it offers.
With the Windows 8.1 migration complete and any issues resolved, you are now ready to experience the enhanced performance and efficiency of your new SSD.
Conclusion
Congratulations! You have successfully migrated your Windows 8.1 installation to an SSD, unlocking its full potential and enjoying faster speeds, improved performance, and increased efficiency. By following the step-by-step guide in this article, you have taken the necessary steps to ensure a smooth transition and a successful installation process.
Throughout the migration, you learned about the importance of backing up your data, selecting the right SSD, cloning your Windows 8.1 installation, and physically installing and setting up the new SSD. You also discovered troubleshooting tips to address common issues that may arise during the process.
By upgrading to an SSD, you have significantly improved the overall functionality and responsiveness of your computer. You can now experience faster boot times, quicker application launches, and smoother multitasking, enhancing your productivity and enjoyment of using your Windows 8.1 system.
Remember to regularly back up your important data and ensure that your SSD firmware and drivers are up to date. This will help maintain the performance and longevity of your SSD.
We hope that this guide has been helpful in your journey to move Windows 8.1 to an SSD. If you encounter any difficulties or have further questions, never hesitate to seek assistance from technical support or forums dedicated to SSD installations and Windows migrations.
Thank you for choosing to upgrade to an SSD and for taking the time to follow this guide. Enjoy the improved performance and efficiency that your new SSD brings to your Windows 8.1 experience!