Introduction
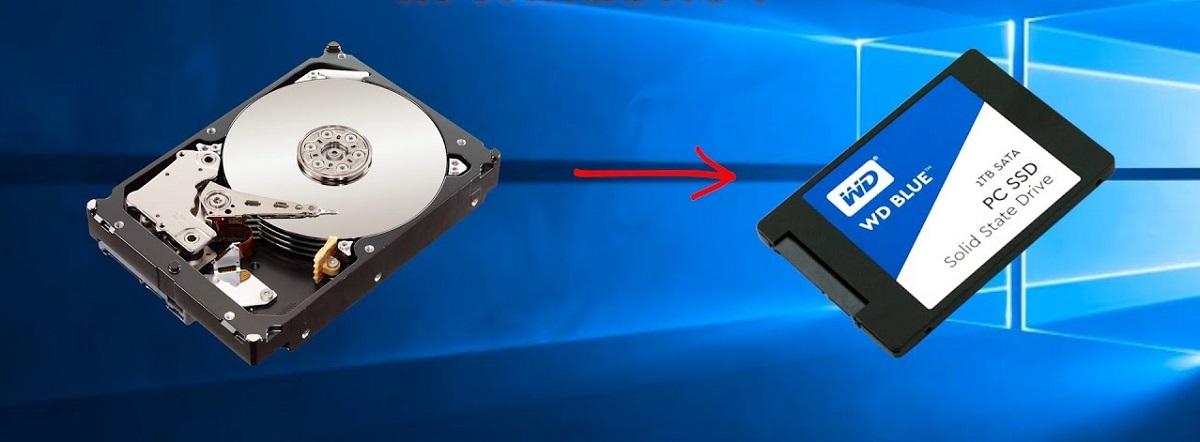
Are you tired of waiting for your computer to boot up or applications to load? One effective solution to improve system performance is to move your Windows 7 operating system from a traditional hard drive (HDD) to a solid-state drive (SSD). The speed and performance enhancements offered by an SSD are well worth the investment.
In today’s fast-paced digital world, we rely heavily on our computers to complete tasks efficiently. However, as time goes on, our computers tend to slow down due to the accumulation of files, programs, and other data. This can lead to frustratingly slow boot times and sluggish performance.
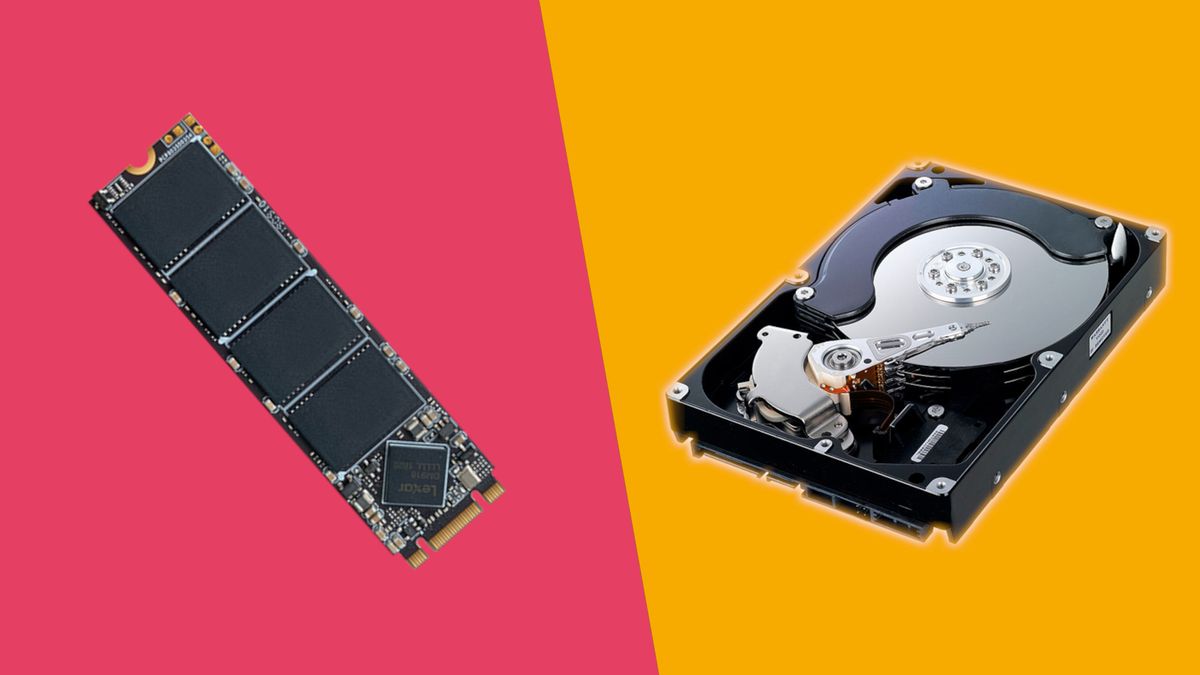
Moving your Windows 7 operating system to an SSD can significantly improve your computer’s overall performance. Unlike traditional HDDs, SSDs utilize flash memory technology, which provides faster data access speeds. This translates to quicker boot times, faster application launches, and improved overall responsiveness.
Additionally, SSDs are more durable and reliable compared to HDDs, as they have no moving parts. This not only decreases the risk of mechanical failure but also reduces noise and energy consumption. Investing in an SSD can breathe new life into your aging system, allowing you to work more efficiently and enjoy a smoother computing experience.
In this guide, we will walk you through the process of moving your Windows 7 operating system from an HDD to an SSD. We will cover everything from preparing your SSD, backing up your data, cloning your hard drive, to swapping the SSD with your current HDD. By following these steps, you can successfully migrate your Windows 7 operating system and start enjoying the benefits of improved speed and performance on your computer.
Reasons to Move Windows 7 to SSD
Migrating your Windows 7 operating system from a traditional HDD to an SSD offers numerous benefits that can greatly enhance your computing experience. Here are some compelling reasons why you should consider making the switch:
- Improved Performance: One of the most significant advantages of using an SSD is the dramatic improvement in performance. With faster boot times, quicker application launches, and improved file access speeds, your overall computing experience will be smoother and more enjoyable.
- Reduced Load Times: SSDs eliminate the need for mechanical components, resulting in faster data access. This means that your system will load and process files much more quickly, resulting in reduced waiting times and increased productivity.
- Enhanced Durability: Unlike HDDs, which have moving parts that can fail over time, SSDs are built with solid-state technology. This makes them more durable and resistant to physical damage, ensuring a longer lifespan for your storage device.
- No Noise: HDDs generate noise due to the mechanical components that are constantly in motion. SSDs, on the other hand, are completely silent since they do not have any moving parts. This can make your computing environment more peaceful and enjoyable.
- Energy Efficiency: SSDs consume less power compared to HDDs, which can lead to energy savings and contribute to a greener computing environment. Moreover, lower power consumption means that your laptop’s battery life will be extended, allowing you to work for longer periods without needing to recharge.
- Compact and Lightweight: SSDs are designed to be compact and lightweight, making them ideal for laptops and ultrabooks. By swapping your HDD for an SSD, you can reduce the weight of your device and enjoy increased portability without sacrificing storage capacity.
- Better Reliability: SSDs have no moving parts, which means they are less susceptible to mechanical failure. This improves the reliability and stability of your system, reducing the risk of data loss and system crashes.
With these compelling reasons in mind, it’s clear that migrating your Windows 7 operating system to an SSD is a worthwhile investment. You’ll experience a significant boost in performance, increased durability, improved power efficiency, and a quieter computing environment. So, let’s move on to the next section to learn how to prepare your SSD for the migration process.
Preparing Your SSD
Before you can migrate your Windows 7 operating system to an SSD, it’s essential to properly prepare the SSD for the process. Follow these steps to ensure a smooth and successful migration:
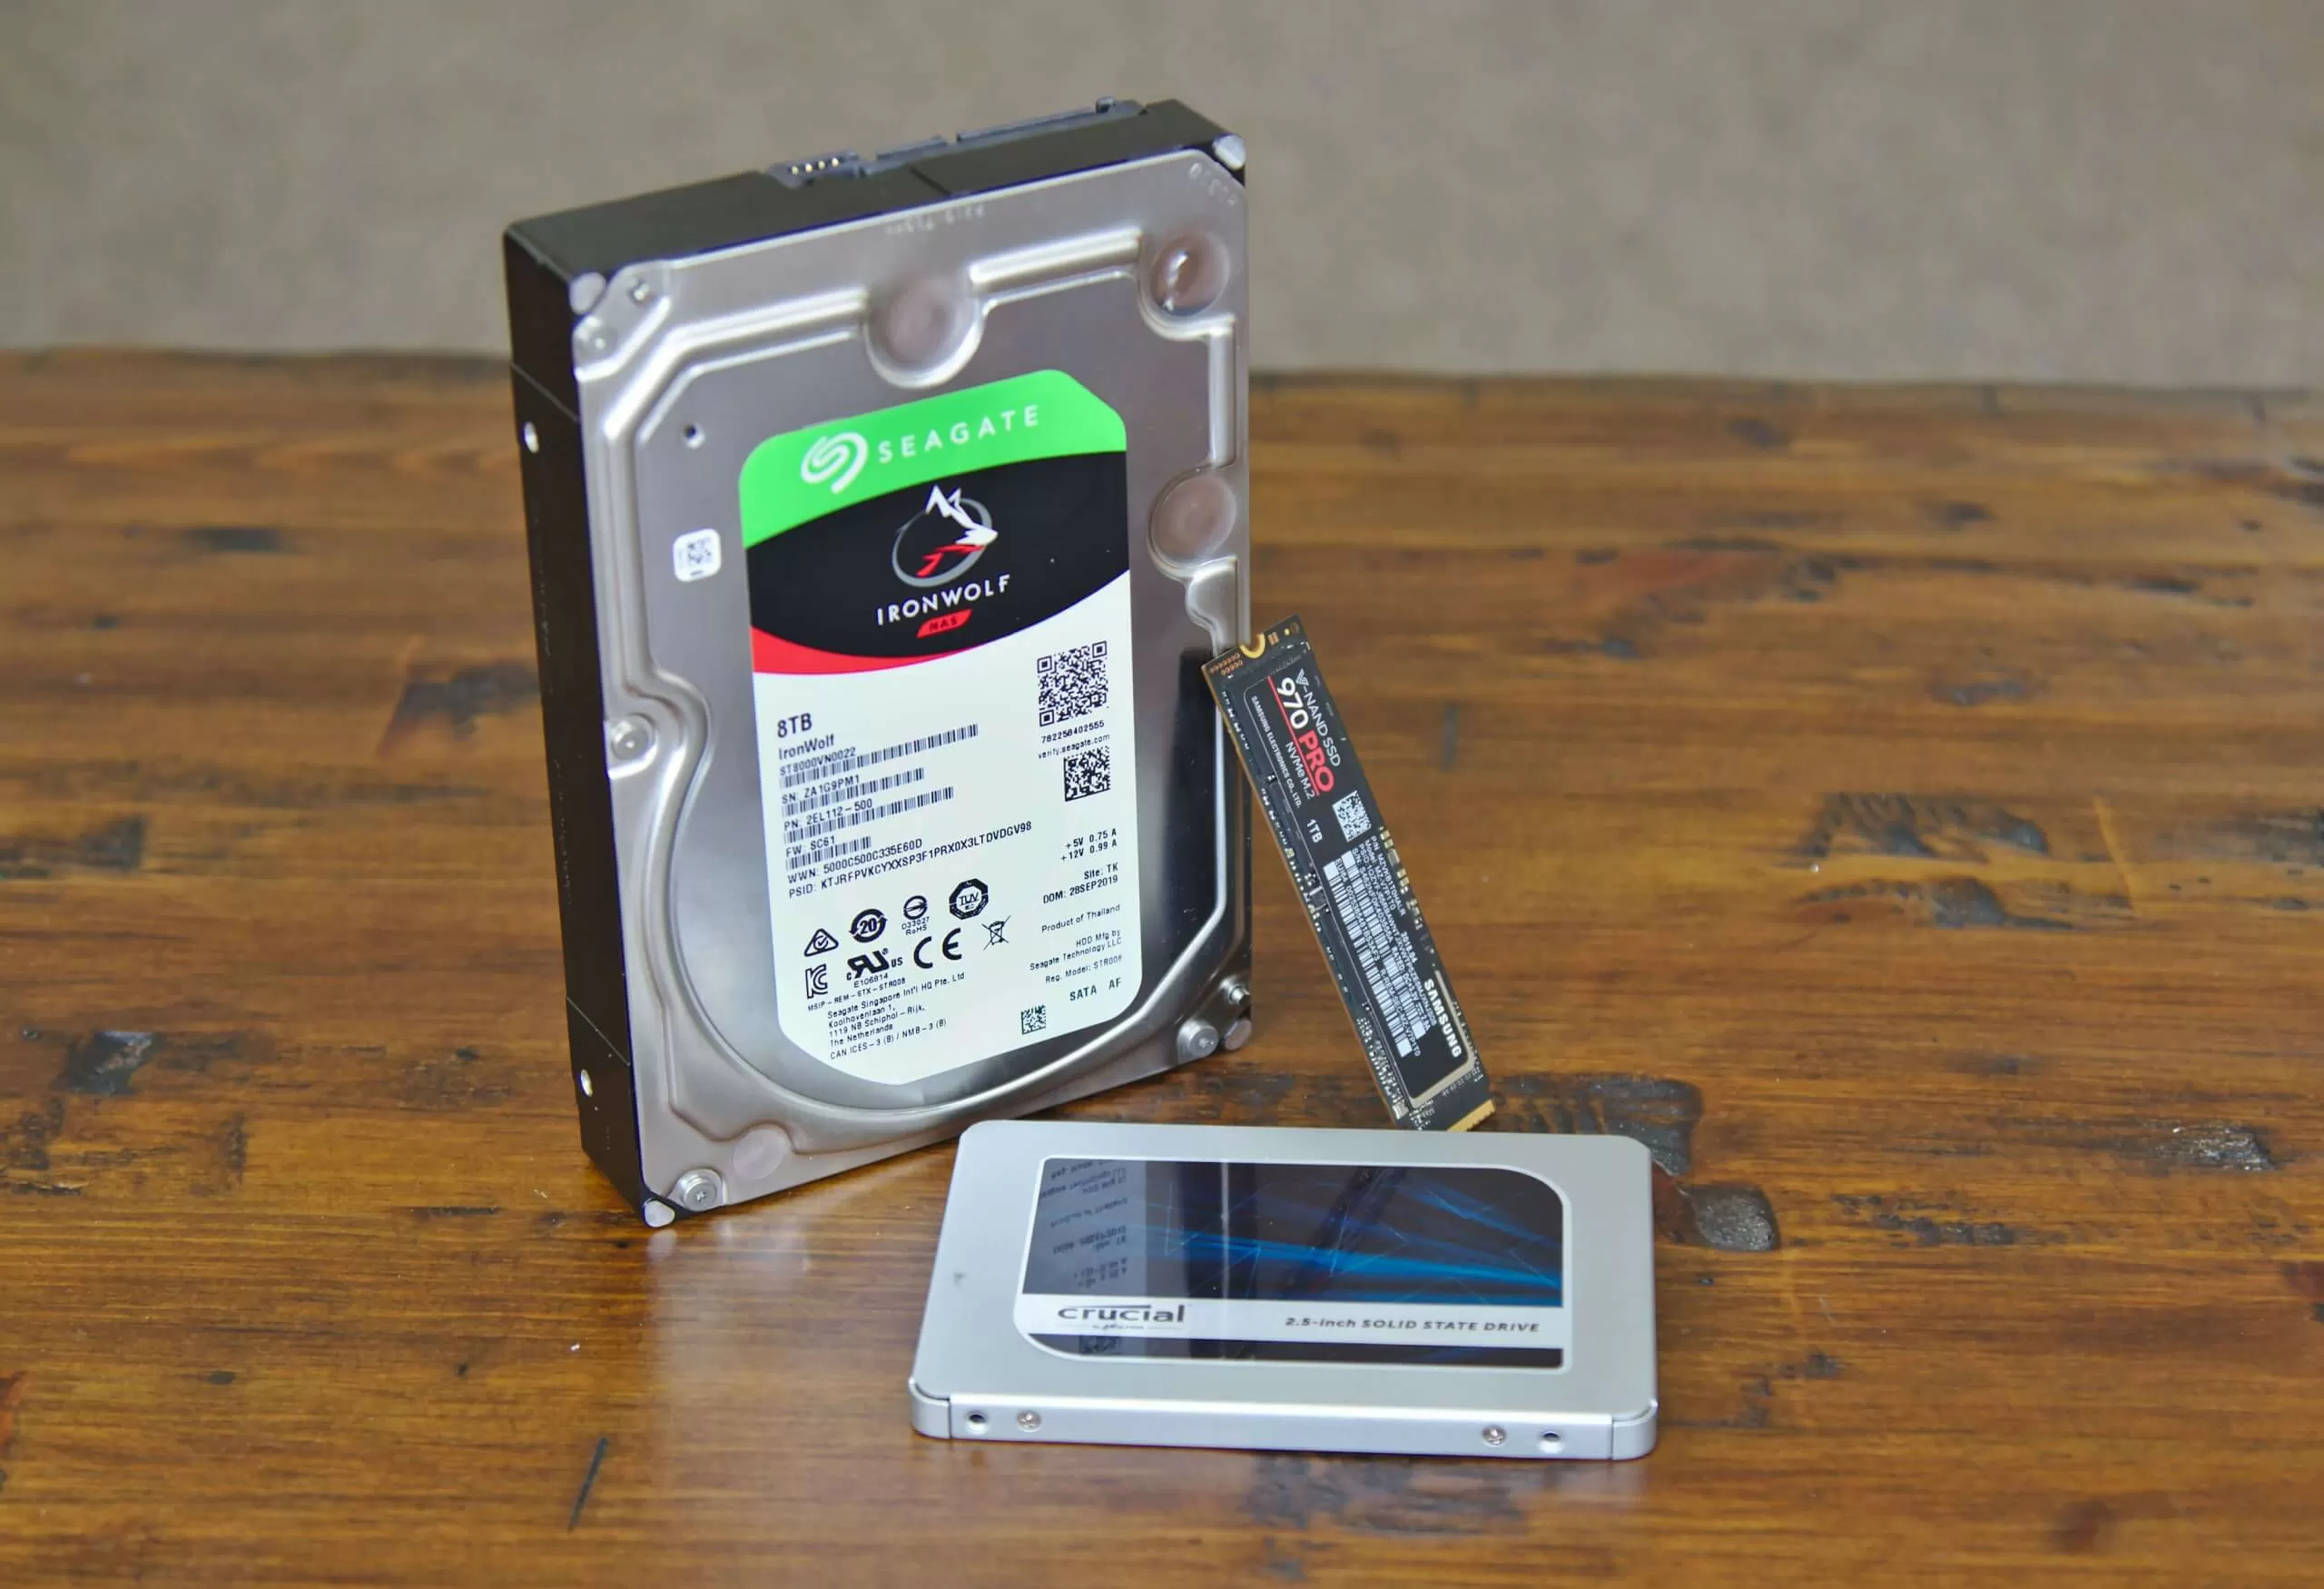
- Check Compatibility: Ensure that your SSD is compatible with your computer’s hardware and operating system. Check the manufacturer’s specifications and verify that your computer has an available connection slot for the SSD (e.g., SATA or M.2).
- Choose the Right SSD: Consider the storage capacity and performance needs when selecting an SSD. It’s recommended to choose an SSD with ample space to accommodate your operating system and frequently used applications.
- Update SSD Firmware: Visit the manufacturer’s website and check if there are any available firmware updates for your SSD. Updating the firmware can enhance compatibility, reliability, and overall performance.
- Backup Data: Before proceeding with the migration, it’s crucial to back up all your important data. This ensures that you have a copy of your files in case of any unforeseen issues during the migration process.
- Remove Unnecessary Files: To optimize the migration process, it’s a good idea to delete any unnecessary files and applications from your current HDD. This will reduce the amount of data that needs to be migrated and can help free up space on your new SSD.
- Prepare Installation Media: If you’re planning to perform a fresh installation of Windows 7 on your SSD, create a bootable USB drive with the Windows 7 installation files. This will allow you to easily install the operating system on the SSD.
- Gather Necessary Tools: Ensure that you have all the necessary tools for the physical installation of the SSD. This may include a screwdriver, SATA cables, and any additional mounting brackets or adapters required.
By following these preparatory steps, you’ll be ready to proceed with the migration process smoothly. Remember, proper preparation is essential to ensure a successful transition from your existing HDD to the new SSD. Let’s move on to the next section, where we’ll discuss the importance of backing up your data before the migration.
Backing Up Your Data
Before proceeding with the migration of your Windows 7 operating system to an SSD, it is crucial to back up all your important data. This ensures that you have a copy of your files in case of any unexpected issues during the migration process. Here are some essential steps to follow when backing up your data:
- Identify Important Data: Take some time to identify and prioritize the important files and folders that you want to back up. This includes documents, photos, videos, music, and any other personal or work-related files that you cannot afford to lose.
- Choose a Backup Location: Decide where you want to store your backup data. This can be an external hard drive, a network-attached storage (NAS) device, or cloud storage. Make sure the selected backup location has enough space to accommodate all your important data.
- Select a Backup Method: There are various methods you can use to back up your data, such as manual file copy, using built-in backup utilities in Windows 7, or third-party backup software. Choose a method that suits your preferences and provides the level of automation and convenience you require.
- Perform a Full Backup: It’s recommended to perform a full backup of your entire system to ensure that no essential files are missed. This includes not only your personal data but also the system files, settings, and installed applications.
- Verify Backup Integrity: After the backup process is complete, take the time to verify the integrity of your backup files. Double-check that all the necessary files and folders are successfully backed up and accessible from the chosen backup location.
- Regularly Update Your Backup: Backing up your data should not be a one-time task. It’s crucial to establish a regular backup routine to ensure that your important files are continuously protected. Set up automatic backups or schedule regular manual backups to stay up-to-date.
By following these steps and ensuring that your data is safely backed up, you can proceed with peace of mind to migrate your Windows 7 operating system to the new SSD. Remember, data loss can happen unexpectedly, so taking the time to back up your important files is a critical step in the migration process. In the next section, we will guide you through the process of cloning your hard drive to the SSD using specialized software.
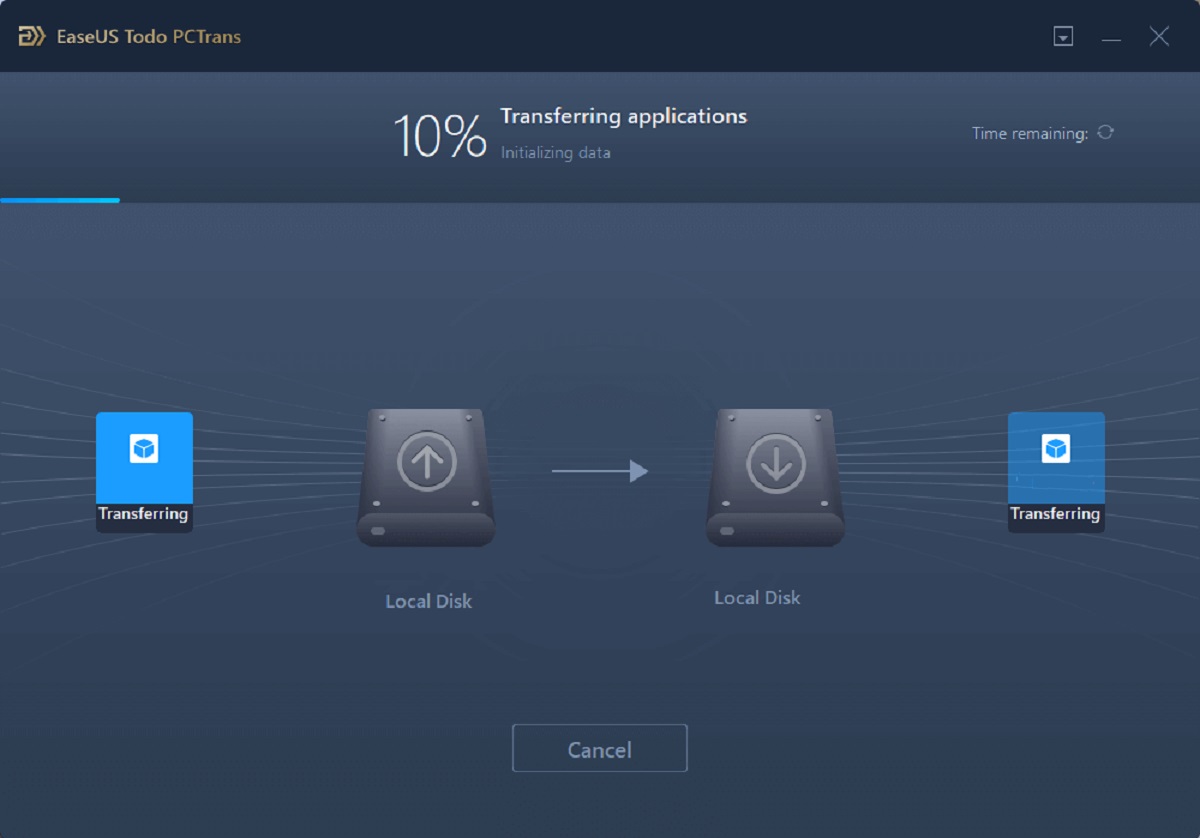
Clone Your Hard Drive to the SSD Using Software
Once you have prepared your SSD and backed up your data, you are now ready to clone your Windows 7 operating system from your current hard drive (HDD) to the solid-state drive (SSD) using specialized software. Follow these steps to successfully clone your hard drive:
- Select the Right Software: Choose a reliable and user-friendly disk cloning software. There are several options available, such as EaseUS Todo Backup, Acronis True Image, or Clonezilla. Make sure the software supports disk cloning and is compatible with your HDD and SSD.
- Connect the SSD: Connect the SSD to your computer using the appropriate connection method, such as a SATA cable or an M.2 slot. Ensure that the SSD is recognized by your computer’s BIOS or UEFI firmware.
- Open the Cloning Software: Launch the disk cloning software and follow the instructions provided to start the cloning process. Generally, you will be prompted to select the source disk (your HDD) and the destination disk (your SSD).
- Choose Clone Options: Depending on the software, you may have the option to select specific partitions or the entire hard drive to clone. Ensure that you select the Windows 7 system partition and other necessary partitions for a complete migration.
- Start the Cloning Process: Once you have confirmed the source and destination disks and selected the appropriate clone options, start the cloning process. The software will begin copying the data from your HDD to the SSD. This process may take some time, depending on the size of your data.
- Verify Cloning Completion: Once the cloning process is complete, the software will display a notification. Double-check that all the files and partitions have been successfully cloned to the SSD. It’s recommended to compare the sizes and content of the source and destination drives to ensure accuracy.
Cloning your hard drive to the SSD using specialized software allows you to replicate your Windows 7 operating system, along with all your files and settings, onto the new SSD. This ensures a seamless transition and avoids the need for a fresh installation of the operating system and your applications. In the next section, we will guide you through the process of swapping out your HDD with the newly cloned SSD.
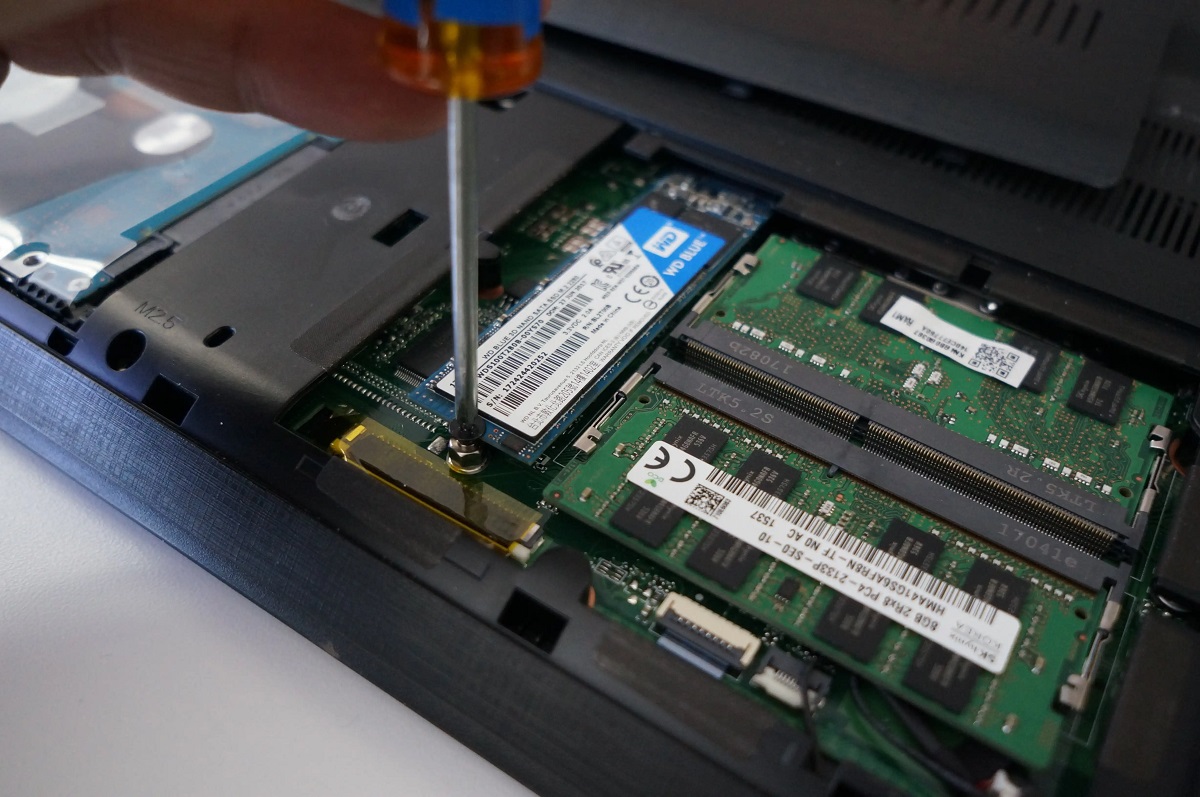
Swap the SSD with Your Current Hard Drive
Now that you have successfully cloned your Windows 7 operating system from your current hard drive (HDD) to the solid-state drive (SSD), it’s time to physically swap out your HDD with the newly cloned SSD. Follow these steps to complete the swap:
- Power Off Your Computer: Shut down your computer and ensure it is fully powered off. This will prevent any potential damage to your hardware during the swapping process.
- Disconnect Power and Cables: Unplug your computer from the power source and remove any connected cables, including the power cord, monitor cable, and any other peripherals.
- Open Your Computer Case: Remove the cover of your computer case to gain access to the internal components. Refer to your computer’s user manual or manufacturer’s instructions if you are unsure how to remove the case.
- Locate the HDD: Identify the current HDD in your computer. It is usually positioned in a drive bay and connected to the motherboard via a SATA cable. Remove any screws or brackets holding the HDD in place.
- Replace with the SSD: Carefully remove the HDD from the drive bay and disconnect the SATA cable. Replace it with the newly cloned SSD and connect the SATA cable securely.
- Secure the SSD: Use screws or brackets to secure the SSD in the drive bay, ensuring it is firmly in place. Avoid applying excessive pressure to the SSD during this process.
- Close Your Computer Case: Put the cover back on your computer case and secure it with the appropriate screws or fasteners. Make sure it is properly aligned and closed to prevent any dust or damage.
- Reconnect Power and Cables: Plug your computer back into the power source and reconnect all necessary cables, including the power cord, monitor cable, and peripherals.
By following these steps, you have successfully swapped out your HDD with the newly cloned SSD. This physical swap allows your computer to boot directly from the SSD, providing you with the performance and speed benefits of solid-state technology. In the next section, we will guide you through the process of booting up your system and verifying the success of the migration.
Booting and Verifying Your System
After swapping out your HDD with the newly cloned SSD, it’s time to boot up your computer and verify the success of the migration process. Follow these steps to ensure a smooth transition:
- Power On Your Computer: Press the power button to start your computer. As it boots up, pay attention to the initial screen, which displays your computer’s manufacturer logo and a prompt to enter the BIOS or UEFI firmware settings.
- Enter the BIOS or UEFI Settings: Press the key indicated on the screen to access the BIOS or UEFI firmware settings. Typically, this is the DEL or F2 key, but it can vary depending on your computer’s manufacturer. Refer to your computer’s manual or manufacturer’s website for specific instructions.
- Check Boot Order: Once in the BIOS or UEFI settings, navigate to the Boot or Startup tab. Ensure that the SSD is set as the primary boot device. If necessary, rearrange the boot order to prioritize the SSD over other devices.
- Save and Exit: Save the changes you made in the BIOS or UEFI settings and exit the menu. Your computer will restart.
- Windows 7 Boot-up: As your computer restarts, Windows 7 should start to boot from the SSD. Pay attention to the Windows logo and loading progress. The boot time should be noticeably faster compared to when your operating system was on the HDD.
- Login and Verify: Once you reach the Windows 7 login screen, enter your credentials and proceed to log in. After logging in, take a moment to verify that everything is working as it should. Open some applications, browse files, and test the overall system performance.
- Data Migration Validation: To further validate the success of the migration, verify that all your files and settings from the HDD are present on the SSD. Check the integrity of your data, ensure that all your applications are functioning correctly, and confirm that any customizations or preference settings have been retained.
If everything is functioning as expected and your data has been migrated successfully, congratulations! You have successfully moved your Windows 7 operating system to the SSD, experiencing the improved performance and efficiency that comes with solid-state technology. In the next section, we will provide some tips for optimizing your SSD for the best performance.
Optimizing Your SSD for Best Performance
Once you have migrated your Windows 7 operating system to an SSD, it’s important to optimize the drive for the best performance. Here are some tips and steps to follow:
- Enable TRIM: TRIM is a command that allows the operating system to inform the SSD which blocks of data are no longer in use. Ensure that TRIM is enabled in your Windows 7 operating system to maintain optimal performance and longevity of the SSD.
- Update SSD Firmware: Check the manufacturer’s website for any available firmware updates for your SSD. Updating the firmware can fix potential bugs, enhance performance, and improve compatibility with the operating system.
- Disable Indexing and Defragmentation: SSDs do not benefit from file indexing or defragmentation, as they have near-instantaneous access times. Disable these features to prevent unnecessary wear and tear on the SSD.
- Enable AHCI Mode: Ensure that your SSD is operating in Advanced Host Controller Interface (AHCI) mode in the BIOS or UEFI settings. AHCI mode provides superior performance compared to IDE or RAID mode.
- Allocate Space for Overprovisioning: Overprovisioning is a technique that reserves a portion of the SSD’s capacity for background operations. Allocate a small percentage of your SSD’s total capacity for overprovisioning to enhance performance and extend the lifespan of the drive.
- Minimize Write Operations: SSDs have a finite number of write cycles. Minimize unnecessary write operations by redirecting temporary files, browser caches, and other write-intensive operations to a secondary storage device or RAM disk.
- Maintain Adequate Free Space: To prevent performance degradation, ensure that you maintain adequate free space on your SSD. Aim to keep at least 10-20% of the drive’s total capacity free to allow for efficient wear leveling and garbage collection.
- Regularly Update Drivers and Firmware: Keep your system up to date by regularly updating drivers and firmware for your SSD, motherboard, and other hardware components. This helps ensure compatibility and stability, and may include performance improvements.
- Monitor Health and Performance: Utilize SSD management software provided by the manufacturer to monitor the health and performance of your SSD. Keep an eye on factors such as drive temperature, SMART attributes, and wear leveling to address any potential issues promptly.
By following these optimization steps, you can maximize the performance and lifespan of your SSD. Your Windows 7 operating system, running on the SSD, will deliver faster boot times, improved application responsiveness, and an overall smooth computing experience. Enjoy the benefits of your optimized SSD for years to come.
Conclusion
Throughout this guide, we have explored the process of moving your Windows 7 operating system from a traditional hard drive (HDD) to a solid-state drive (SSD). By making this migration, you can enjoy significant improvements in performance, speed, and overall system responsiveness.
We began by discussing the reasons to move to an SSD, highlighting benefits such as improved performance, reduced load times, increased durability, and energy efficiency. These advantages make the investment in an SSD well worth it, especially for those looking to optimize their computing experience.
Next, we covered the preparatory steps, including checking compatibility, selecting the right SSD, updating firmware, backing up data, and preparing the installation media. These steps ensure a smooth transition and minimize the risk of data loss or system instability.
We then moved on to the process of cloning the hard drive to the SSD using specialized software, providing step-by-step instructions to make the migration a success. Following the cloning process, we discussed how to swap the SSD with the current HDD, physically installing the SSD into your computer.
Once the hardware swap was complete, we guided you through the process of booting up your system and verifying the success of the migration. Ensuring that Windows 7 boots from the SSD and validating data migration are crucial steps to confirm a successful transition.
Lastly, we explored the importance of optimizing your SSD for the best performance. Through enabling TRIM, updating firmware, disabling unnecessary features, allocating space for overprovisioning, and maintaining adequate free space, you can maximize the performance and lifespan of your SSD.
In conclusion, migrating your Windows 7 operating system to an SSD offers significant benefits in terms of speed, performance, and efficiency. By following the steps outlined in this guide, you have successfully moved your operating system to an SSD and optimized it for the best possible performance. Embrace the enhanced computing experience and enjoy the faster boot times, improved application responsiveness, and smoother overall system performance that come with the power of an SSD.