Introduction
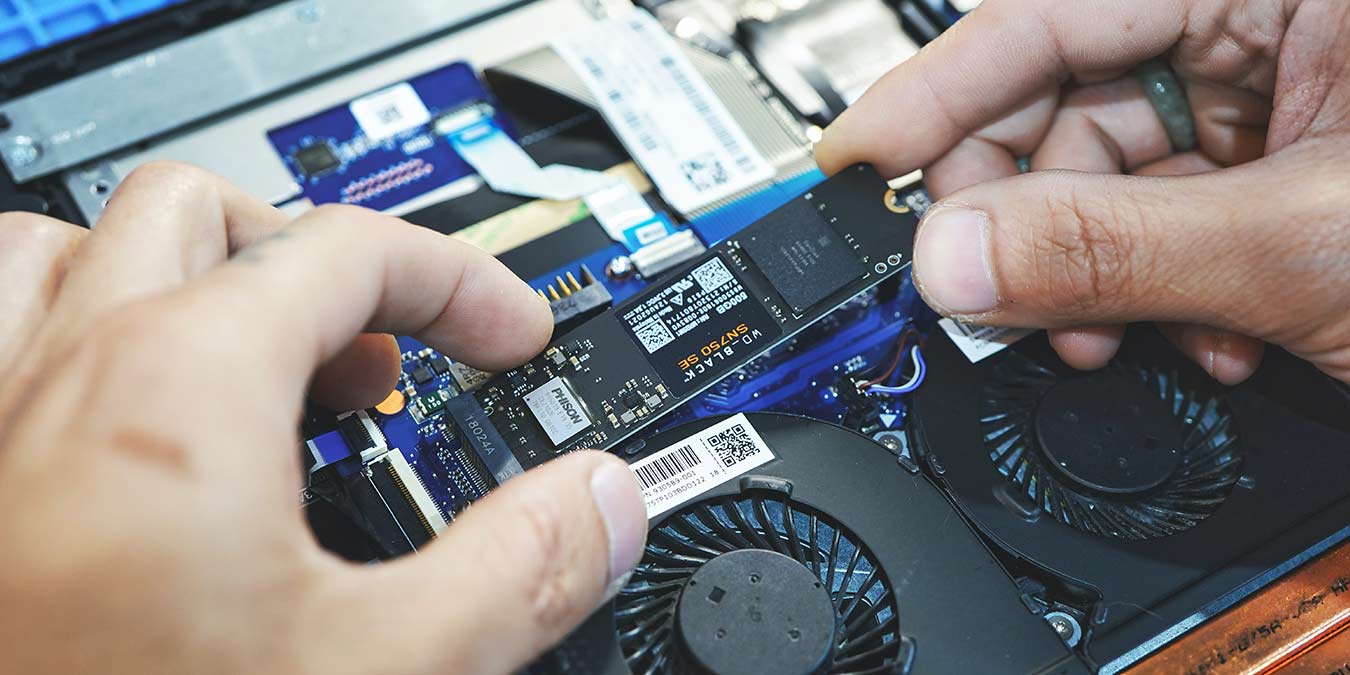
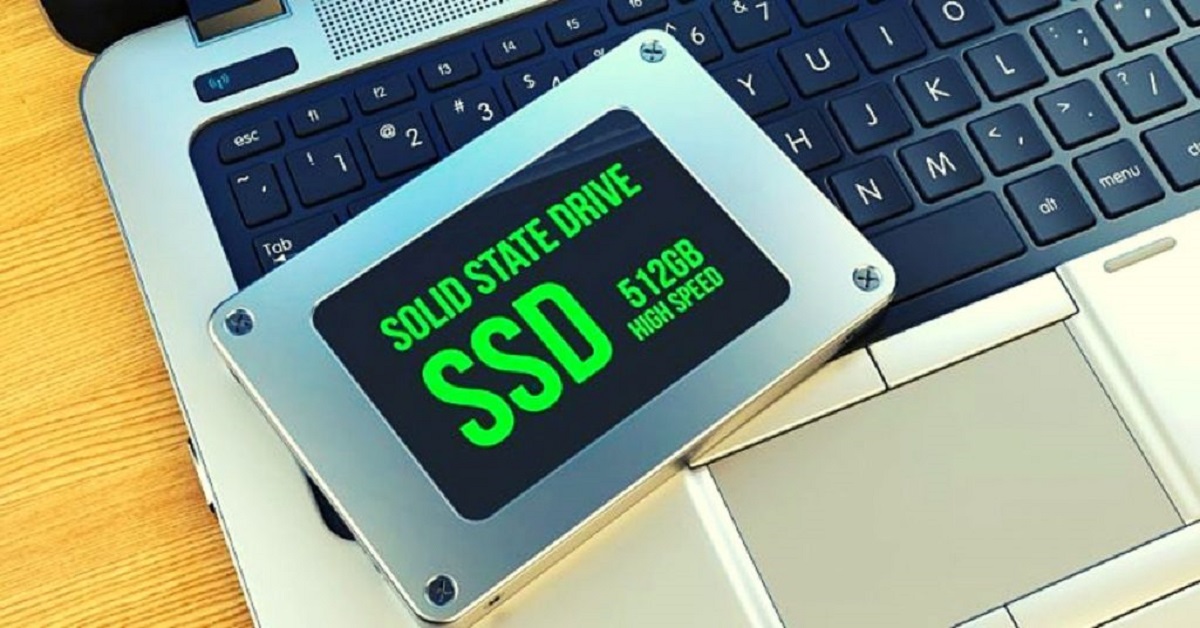
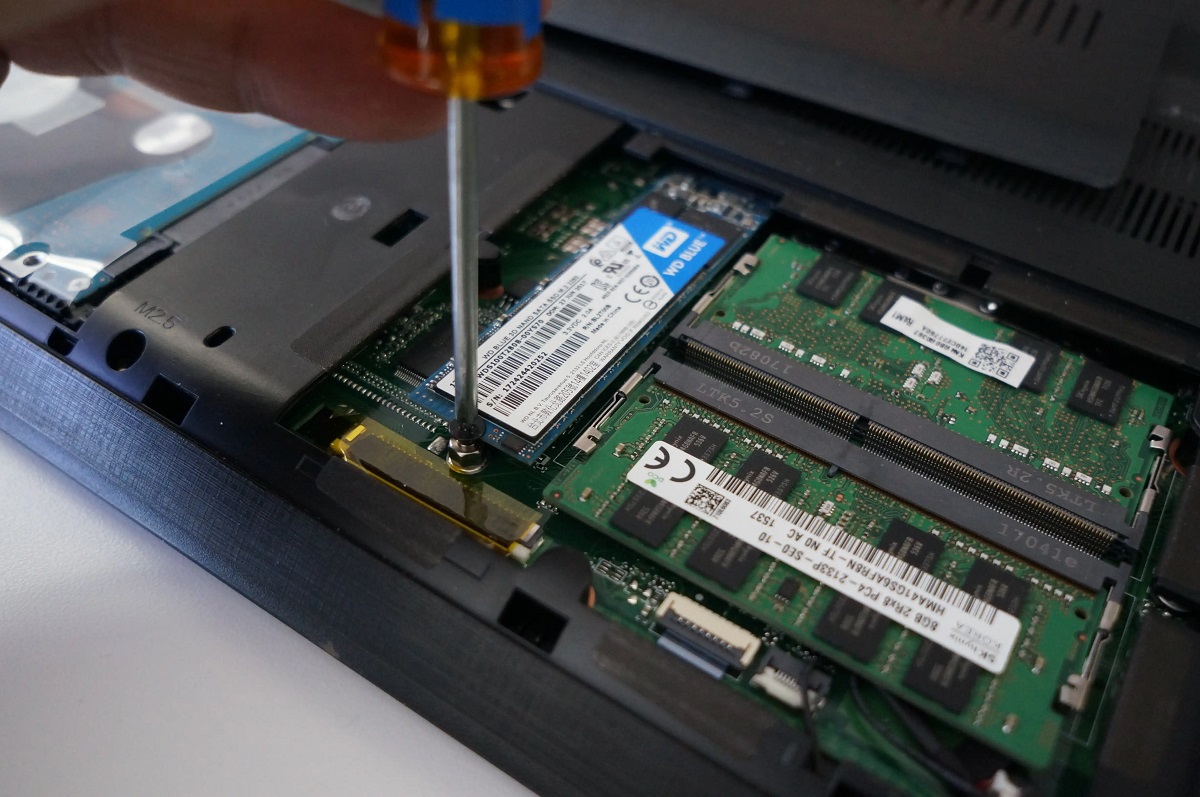
When it comes to enhancing the performance and speed of your computer, one of the most effective upgrades you can make is swapping your traditional hard disk drive (HDD) for a solid-state drive (SSD). An SSD can significantly improve the overall responsiveness of your system, reducing boot times, and accelerating the loading of applications. However, simply installing the operating system and files onto the SSD might not be enough to fully optimize your computer’s performance. To truly harness the power of your SSD, it is essential to move your frequently used applications from the HDD to the SSD.
By moving your applications from the HDD to the SSD, you allow them to access data faster, resulting in quicker launch times and smoother overall operation. The improved random access speeds of an SSD make it the ideal storage medium for your most-used programs, ensuring that you benefit from their enhanced performance.
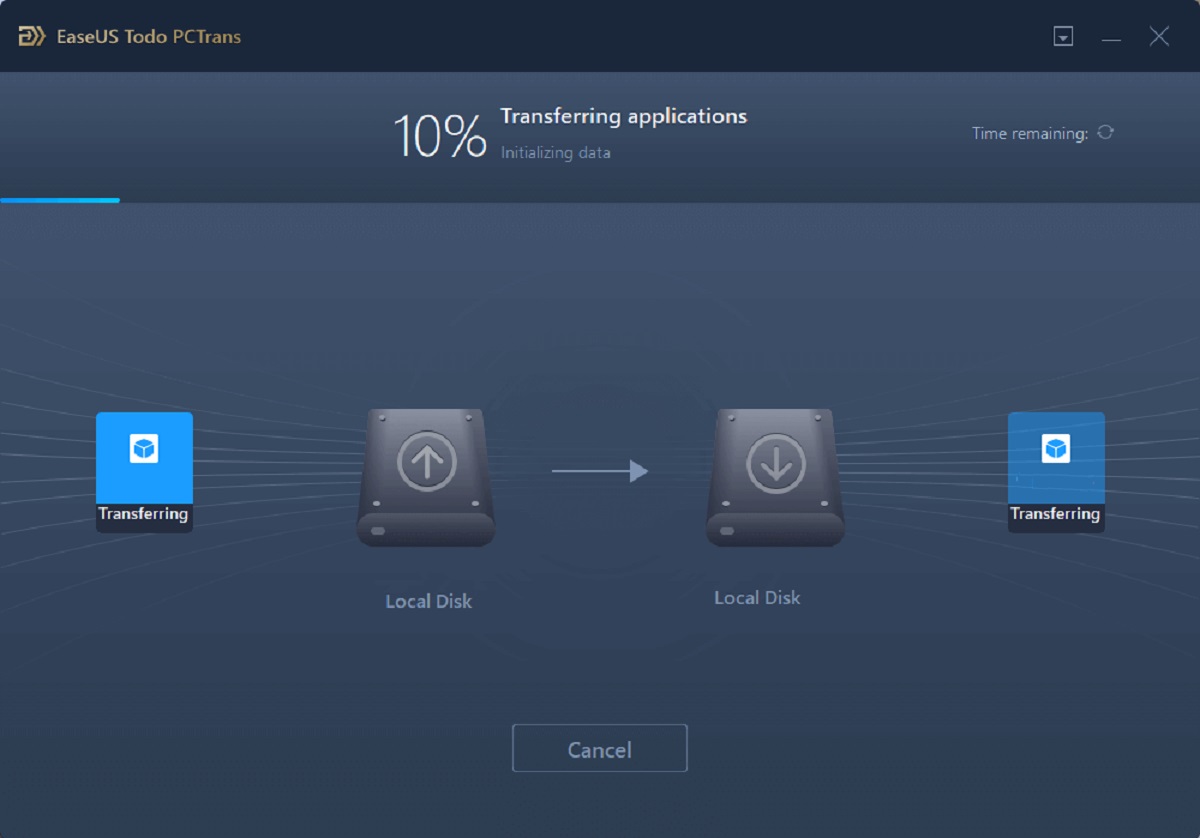
In this guide, we will walk you through the process of moving apps from your HDD to your newly installed SSD. We will provide you with step-by-step instructions and tips to ensure a smooth and successful transition. By following these steps, you will be able to optimize your system’s performance and enjoy the benefits of faster app loading times.
Before we delve into the steps, it’s essential to note that the process may vary slightly depending on your operating system and the specific applications you want to transfer. However, the general principles remain the same, and with the right guidance, you can easily move your applications from HDD to SSD regardless of your setup.
So, without further ado, let’s dive into the process of moving apps from your HDD to your SSD and unlock the full potential of your computer.
Why should you move apps from HDD to SSD?
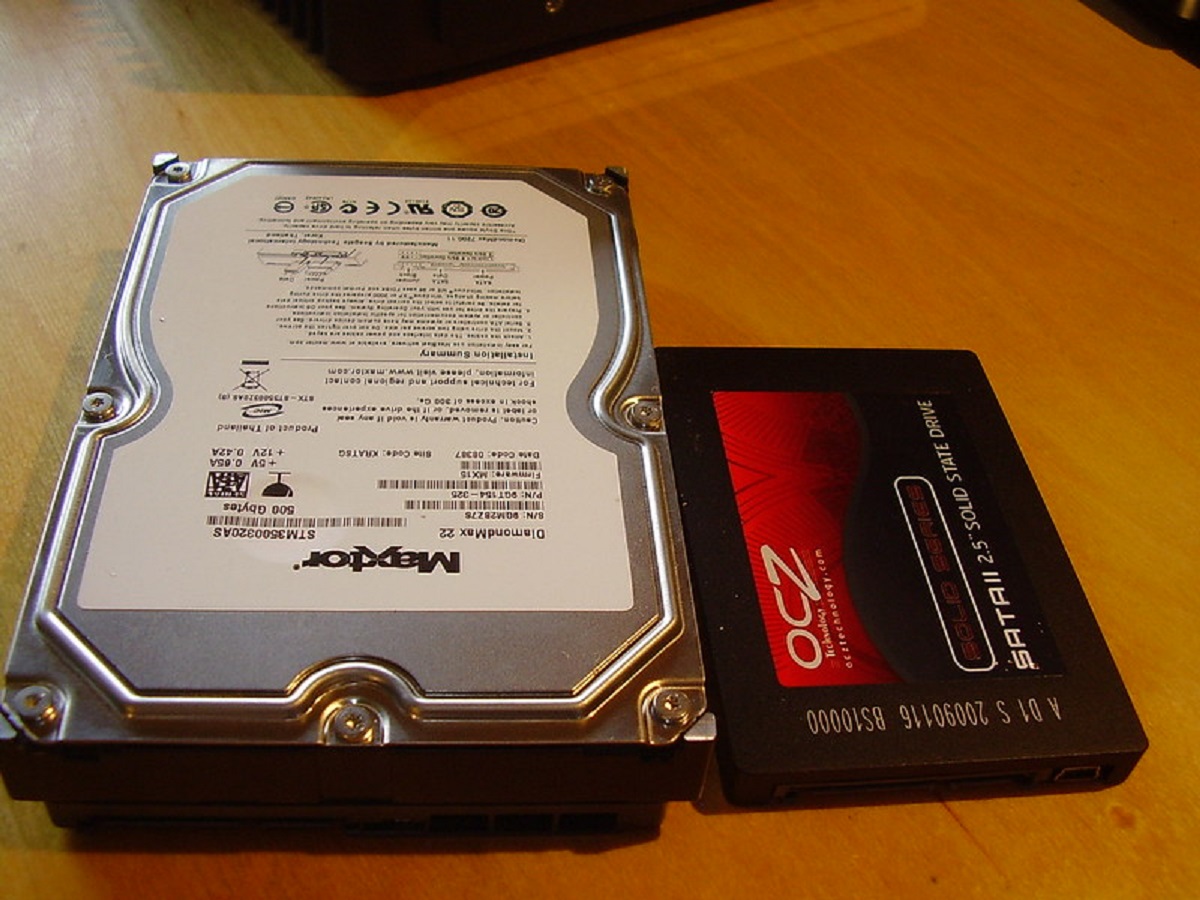
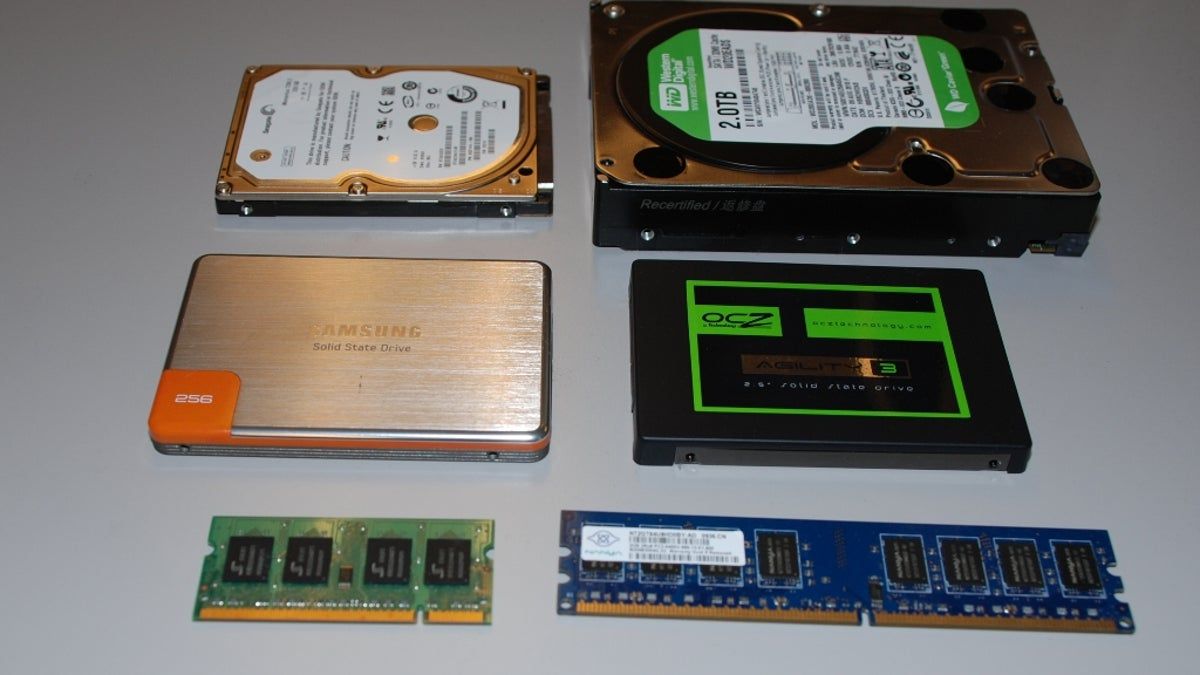
The primary reason for moving apps from your HDD to your SSD is to take advantage of the SSD’s faster read and write speeds. Unlike traditional HDDs, which rely on mechanically spinning disks to access data, SSDs use flash memory technology, resulting in significantly faster data retrieval and application loading times.
Here are a few compelling reasons why you should consider moving your apps from HDD to SSD:
1. Improved Performance: The speed of an SSD can drastically improve the performance of applications. You will experience faster app launch times, quicker data access, and overall smoother operation.
2. Faster Boot Times: By moving essential applications, such as your operating system and frequently used programs, to the SSD, you can significantly reduce your computer’s boot-up time. This means you can start using your computer and applications almost instantly.
3. Reduced Lag: Applications stored on an SSD can handle large files and processes more efficiently, reducing lag and improving responsiveness, especially for resource-intensive applications like video editing software or graphic design tools.
4. Increased Productivity: With faster access to your applications, you can complete tasks more quickly, increasing your overall productivity. Whether you’re working on complex projects or simply browsing the web, quicker application load times can make a noticeable difference in your workflow.
5. Extended SSD Lifespan: Constantly reading and writing data can put stress on an SSD, potentially shortening its lifespan. By moving non-essential applications to an HDD, you can reduce the workload on your SSD and increase its longevity.
6. Optimized Storage Space: SSDs generally have smaller storage capacities compared to HDDs. By moving apps that require quicker access times to the SSD, you can free up valuable space on your HDD for storing larger files and less critical applications.
Overall, moving your frequently used apps from your HDD to your SSD can significantly enhance your computing experience. You’ll enjoy faster performance, reduced loading times, and increased productivity. Whether you’re a casual user or a power user, the benefits of moving apps to your SSD make it a worthwhile endeavor.
Step 1: Check if your SSD has enough space
Before proceeding with the process of moving your apps from your HDD to your SSD, it’s crucial to ensure that your SSD has enough available space to accommodate the applications you intend to transfer. This will prevent any issues or limitations during the migration process.
Here’s how you can check if your SSD has sufficient space:
1. Check the free space on your SSD: Open File Explorer (Windows) or Finder (Mac) and locate your SSD drive. Right-click on the drive and select “Properties” (Windows) or “Get Info” (Mac) to view the drive’s details. Look for the available free space and compare it to the size of the applications you want to move.
2. Calculate the size of the applications: Determine the size of the applications you intend to transfer by right-clicking on the application’s folder (usually located in the “Program Files” or “Applications” directory) and selecting “Properties” (Windows) or “Get Info” (Mac). Take note of the total size of the application.
3. Ensure enough free space: Ensure that the available free space on your SSD is greater than or equal to the total size of the applications you plan to transfer. It’s recommended to have some additional free space for future application installations, updates, and system operations.
If your SSD doesn’t have enough space, you have a few options:
– Consider removing any unnecessary files or applications from your SSD to free up space.
– Upgrade to a larger capacity SSD that can accommodate all your desired applications.
– Prioritize which applications are most critical to move to the SSD based on your usage patterns and performance requirements.
By ensuring that your SSD has enough free space, you can proceed confidently with the app migration process, knowing that you have sufficient capacity to accommodate your desired applications. This will help you avoid any potential issues and ensure a smooth transition to your SSD.
Step 2: Identify the apps you want to move
Once you have confirmed that your SSD has enough available space, the next step is to identify the applications that you want to transfer from your HDD to your SSD. It’s important to selectively choose the apps that will benefit the most from the improved speed and performance of the SSD.
Here’s how you can identify the apps you want to move:
1. Assess your usage: Take some time to analyze your computer usage and identify the applications you regularly use. Focus on those that you depend on for work, productivity, or entertainment. These are the apps that will benefit the most from the increased speed of the SSD.
2. Consider the app’s size: Some applications are larger in size and may consume a significant amount of storage space on your SSD. Take into account the size of the apps you intend to move and ensure that the total size does not exceed the available space on your SSD.
3. Prioritize performance-critical apps: Pay attention to applications that heavily rely on fast data access, such as video editing software, photo editing tools, or gaming applications. These types of apps can benefit greatly from the faster read and write speeds of an SSD.
4. Examine frequently used apps: Identify the applications that you use on a daily or regular basis. These are the apps that you want to prioritize for the move to your SSD, as they will be the ones you notice the biggest performance improvement with.
5. Consider system-related apps: In addition to user-installed applications, take into account system-related apps such as the operating system itself, drivers, and system utilities. Moving these critical components to the SSD can significantly enhance overall system performance.
By carefully identifying the apps you want to move, you can ensure that you make the most out of your SSD’s capabilities. Focusing on the applications that will benefit the most from the improved speed and performance will enhance your overall computing experience and productivity.
Step 3: Uninstall the apps from HDD
Before you can move your apps to the SSD, you need to uninstall them from your HDD. By removing them from the HDD, you make way for a clean installation on the SSD, ensuring that there are no conflicts or duplicate files during the migration process. Here’s how you can uninstall the apps:
1. Access the Control Panel (Windows) or Applications folder (Mac): Open the Control Panel on Windows or go to the Applications folder on Mac to access the list of installed applications.
2. Select the app to uninstall: Locate the app you want to move to the SSD and select it from the list. On Windows, click on “Uninstall” or “Remove” to proceed. On Mac, drag the app to the Trash.
3. Follow the uninstallation process: Depending on the app and the operating system, you may be prompted to confirm the uninstallation or provide your administrator password. Follow the instructions provided by the uninstaller wizard to complete the process.
4. Repeat for other apps: Repeat the uninstallation process for all the apps you intend to move to the SSD. Take note of any specific instructions or options provided by each app’s uninstaller.
5. Restart your computer (optional): Although not always necessary, it can be beneficial to restart your computer after uninstalling the apps. This ensures that any residual files or settings tied to the uninstalled apps are completely removed.
It’s important to ensure that you are uninstalling the apps correctly and completely. This includes removing any associated files, folders, and registry entries, if applicable. Some applications may offer dedicated uninstaller utilities or detailed instructions on their official websites, so be sure to consult those resources if necessary.
By uninstalling the apps from your HDD, you prepare them for a fresh installation on the SSD, ensuring a clean and optimized transfer process. Once you have uninstalled the apps, you are ready to proceed to the next step of installing them on your SSD.
Step 4: Install the apps on the SSD
Now that you have successfully uninstalled the applications from your HDD, it’s time to install them on your SSD. This step involves reinstalling the apps onto the new storage location to take advantage of the improved performance offered by the SSD. Follow these steps to install the apps on the SSD:
1. Prepare for installation: Locate the installation files or setup executable for the app you want to install on your SSD. This might be a downloaded file, an installation disc, or a file provided by the app’s developer.
2. Choose the SSD as the installation location: During the installation process, you will be prompted to specify the installation destination. Select your SSD as the location for the installation. The SSD should appear as a separate drive and be labeled accordingly.
3. Follow the installation wizard: Proceed with the installation by following the instructions provided by the installation wizard. This includes accepting the terms and conditions, selecting the desired installation options, and customizing any preferences or settings as necessary.
4. Repeat for each app: Repeat the installation process for each app you want to transfer to the SSD. Ensure that you select the SSD as the installation location for each app to ensure a smooth transition.
5. Customize installation options: Depending on the application, you may have the option to customize the installation folder, create shortcuts, or specify additional settings. Take advantage of these options to optimize the installation to suit your needs.
6. Verify successful installation: After the installation is complete, verify that the app is functioning correctly on the SSD. Launch the app and ensure that it runs smoothly and recognizes any necessary files or settings.
It’s important to note that certain applications may require the input of license keys or activation codes during the installation process. Make sure you have these necessary credentials on hand to complete the installation smoothly.
By installing the apps directly on the SSD, you are leveraging the improved speed and performance capabilities of the solid-state drive. The new installation location will ensure faster app launch times and overall smoother operation. Once you have successfully installed the apps on the SSD, you’re ready to proceed to the next step of transferring app data and settings.
Step 5: Transfer app data and settings
After successfully installing the apps on your SSD, it’s time to transfer the app data and settings from your old HDD to the new SSD. This step ensures that you retain any customizations, preferences, and saved data associated with the applications. Follow these steps to transfer app data and settings:
1. Locate app data: Identify the location on your HDD where the app data and settings are stored. This can vary depending on the application and operating system. Common locations include the “Documents,” “AppData,” or “Library” folders.
2. Create a backup: Before transferring the app data, it’s crucial to create a backup to avoid any data loss. Copy the entire app data folder or relevant files to an external storage device or a separate location on your computer.
3. Copy the app data to the SSD: On your SSD, create a new folder or locate the appropriate directory where the app data and settings should be stored. Paste the backed-up app data from your HDD into this location on your SSD.
4. Update file paths: Some applications store file paths in their settings or preferences. If the application does not automatically recognize the new location of the app data, you may need to manually update the file paths to point to the new SSD location. Consult the application’s documentation or support resources for guidance on updating file paths.
5. Import preferences or configurations: Certain applications allow you to export or import preferences or configurations. If applicable, use these features to import your customized settings from the backup you created earlier. This will ensure that your app functions and appears as it did on the HDD.
6. Verify data transfer: Once you have transferred the app data and updated the necessary file paths, launch the application from the SSD and verify that the data and settings are intact. Check for any missing files, settings, or preferences that may require further adjustment.
It’s important to note that not all applications provide a straightforward method for transferring app data and settings. In some cases, you may need to consult the application’s documentation or support resources for specific instructions. Additionally, some apps may require you to reconfigure certain settings or preferences manually.
By transferring the app data and settings to the SSD, you ensure a seamless transition without losing any important information or customization. The apps on your SSD will function as they did on the HDD, but with the added benefit of improved speed and performance.
Step 6: Update file paths and shortcuts
After transferring the app data and settings to your SSD, it’s important to update the file paths and shortcuts to ensure seamless functionality and easy access to your applications. This step involves making the necessary adjustments to file references and shortcuts to reflect the new location on the SSD. Here’s how you can update file paths and shortcuts:
1. Update file references: Some applications store file references or pointers to specific files or folders. If the application does not automatically recognize the new location of these files on the SSD, you may need to update the file references manually. Look for options within the application’s settings or preferences to update file paths. Alternatively, you may need to browse for and select the new file location manually.
2. Recreate desktop shortcuts: If you had shortcuts to your applications on your desktop, you’ll need to recreate them to point to the new application location on the SSD. Right-click on the application executable file, select “Create Shortcut,” and then drag the shortcut to your desktop.
3. Update Start menu or Dock shortcuts: On Windows, you can update the shortcuts in the Start menu by right-clicking on the app in the Start menu, selecting “More,” and then choosing “Open file location.” From there, you can create a new shortcut and place it in the Start menu. On Mac, you can drag and drop the application from the Applications folder to the Dock to create a new shortcut.
4. Update any other custom shortcuts: If you have created any custom shortcuts or added the applications to third-party launchers or taskbar, update those shortcuts to reflect the new location on the SSD.
5. Verify shortcut functionality: Test the updated shortcuts to ensure they launch the applications from the SSD correctly. Verify that the applications open smoothly and that any associated files or settings are recognized without issues.
Updating the file paths and shortcuts ensures that your applications can be easily accessed and launched from the SSD without any confusion or errors. By making these adjustments, you’ll have a streamlined experience when using the applications transferred to the SSD.
Step 7: Test the moved apps
After completing the previous steps of moving, installing, and updating your apps on the SSD, it’s crucial to thoroughly test them to ensure they are functioning correctly and taking full advantage of the enhanced speed and performance. This final step allows you to verify that the transfer process was successful and that there are no issues or compatibility problems. Follow these steps to test the moved apps:
1. Launch the apps: Open each of the moved apps from the SSD and ensure they launch without any errors or delays. Pay attention to any loading times and compare them to the previous performance on the HDD.
2. Navigate within the apps: Use various features and functions within each app to ensure that all components and functionalities are working as expected. Test common tasks or actions you frequently perform to assess the overall performance.
3. Check data and settings: Verify that the app data and settings have been properly transferred to the SSD. Confirm that any customizations, preferences, or saved files associated with each application are intact.
4. Perform routine tasks: Use the applications for your regular tasks, whether it’s editing documents, working on projects, or playing games. Monitor the speed, responsiveness, and overall performance of the apps on the SSD.
5. Monitor system resources: Keep an eye on system resource usage, such as CPU and memory usage, while using the moved apps. Ensure that the SSD is providing improved performance in terms of resource utilization and efficiency.
6. Test compatibility with other software: If you use other software or tools that interact with the moved apps, test their compatibility. Verify that there are no conflicts or issues when using them together.
7. Address any issues: If you encounter any issues or errors while testing the moved apps, troubleshoot and address them accordingly. Consult the application’s support resources or online communities for possible solutions.
Testing your moved apps is essential to ensure a smooth transition and to identify any potential issues early on. By thoroughly investigating and verifying the functionality and performance of the apps on the SSD, you can enjoy the full benefits of the improved speed and responsiveness offered by the solid-state drive.
Conclusion
Moving your apps from your HDD to your SSD can significantly enhance the performance and speed of your computer. By following the step-by-step process outlined in this guide, you can optimize your system and take full advantage of the improved read and write speeds offered by an SSD.
In this guide, we started by checking if your SSD had enough space to accommodate the apps you wanted to transfer. Then, we moved on to identifying the apps that would benefit the most from the increased speed of the SSD. After that, we uninstalled the apps from the HDD and installed them on the SSD. We also transferred the app data and settings, updated file paths and shortcuts, and thoroughly tested the moved apps to ensure their proper functioning on the SSD.
By moving your frequently used apps to an SSD, you can experience faster boot times, reduced lag, and increased productivity. The improved performance of the SSD allows for quicker access to applications and smoother overall operation, making your computing experience more enjoyable and efficient.
It’s important to note that while the process of moving apps from HDD to SSD can greatly enhance your computer’s performance, it’s crucial to regularly maintain and optimize your system. This includes performing regular backups, updating drivers and software, and managing storage space to ensure optimal functionality.
With the steps outlined in this guide, you can confidently move your apps to an SSD and unlock the full potential of your computer’s speed and performance. By following these steps, you can enjoy faster application loading times, improved system responsiveness, and a more efficient workflow.
Take the time to evaluate your needs and prioritize the apps that will benefit the most from the migration. By carefully selecting and moving your applications to an SSD, you can greatly enhance your computing experience and optimize your system’s performance.


