Introduction
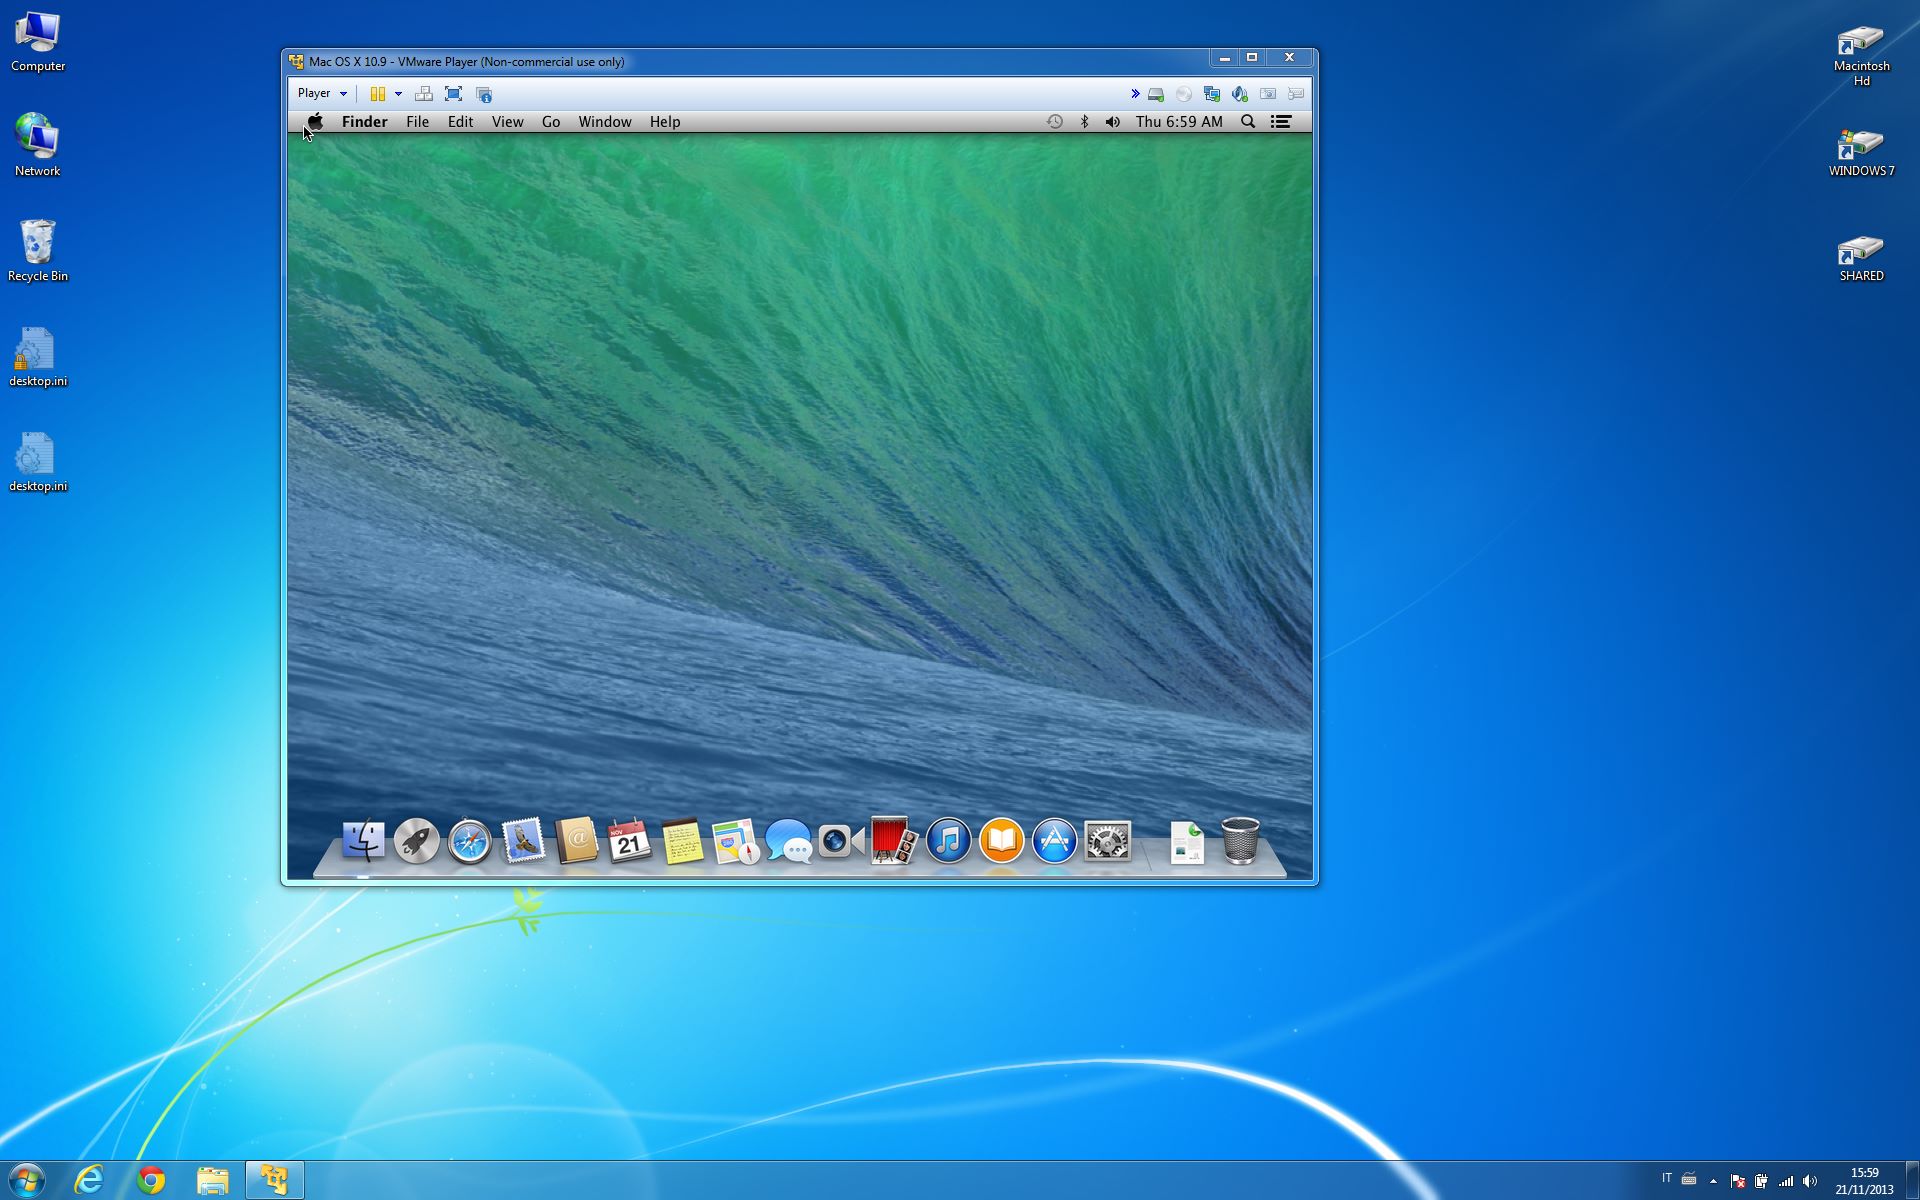
Virtual machines have revolutionized the way we work and test software by creating an isolated and flexible environment within a single physical machine. They allow us to emulate different operating systems and setups without the need for separate hardware. However, as the complexity of the virtual environment increases, it can sometimes lead to performance issues and sluggishness.
In this article, we will explore various techniques and optimizations to make your virtual machine run smoother, ensuring a seamless and efficient experience. By following these tips and tricks, you can maximize the performance of your virtual machine, whether you are running it for development, testing, or any other purpose.
Before we dive into the specific optimizations, it is crucial to ensure that your computer meets the necessary system requirements to run virtual machines smoothly. Virtual machines typically require a significant amount of resources, including CPU, RAM, and disk space. Checking your system specifications will help you identify any hardware limitations that may affect performance.
Check System Requirements
Before optimizing your virtual machine, it is essential to verify that your computer meets the necessary system requirements. Virtual machines demand a considerable amount of resources to function efficiently. Here are some key components to consider:
- CPU: Ensure that your CPU supports virtualization technology such as Intel VT-x or AMD-V. This feature enables your CPU to handle virtualization tasks more effectively.
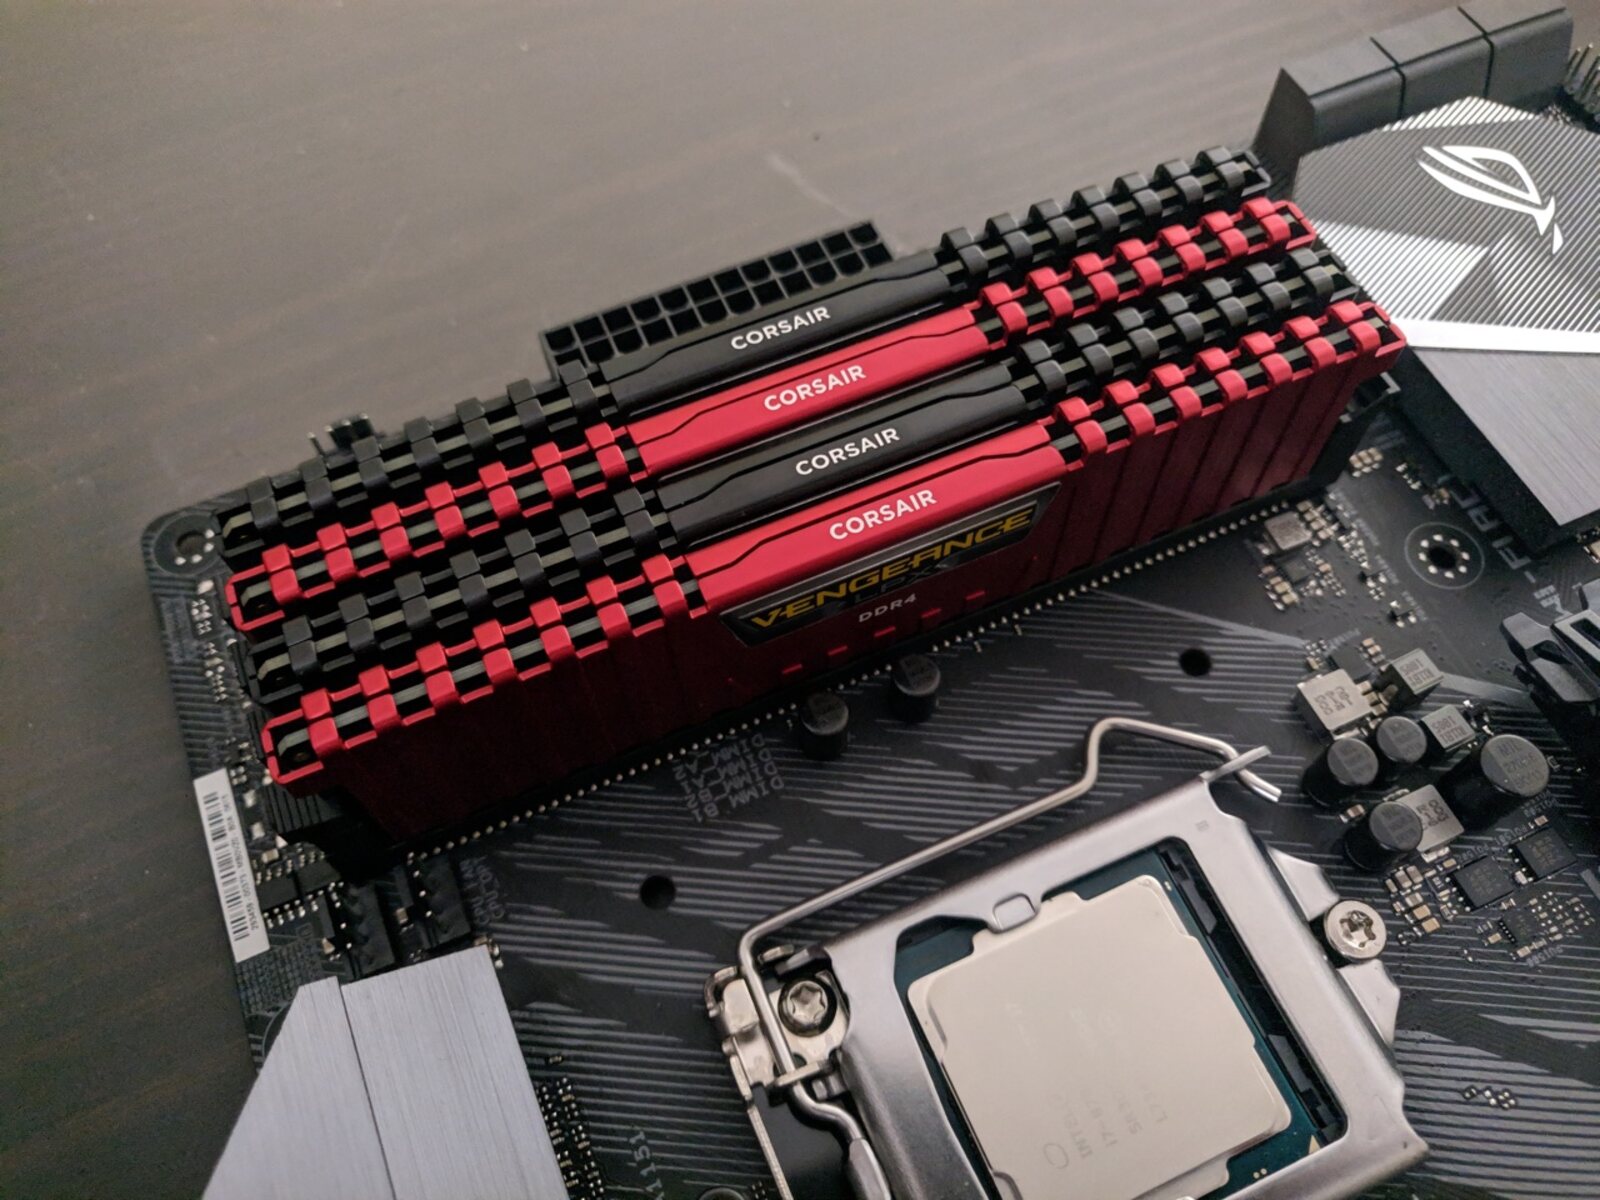
- RAM: Check if you have sufficient RAM to allocate to your virtual machine. Ideally, allocate at least 4GB or more, depending on your specific requirements.
- Hard Disk Space: Virtual machines require disk space to store the operating system, applications, and data. Make sure you have enough free space on your hard drive to accommodate the virtual machine.
- Host Operating System: Ensure that your host operating system is compatible with the virtualization software you are using. This will guarantee smooth integration between the host and guest operating systems.
It’s important to stress that inadequate system requirements can severely impact the performance of your virtual machine. Insufficient resources can result in slow processing, lag, and overall decreased efficiency. Therefore, if your system does not meet the recommended specifications, consider upgrading your hardware or adjusting your virtual machine’s settings accordingly to optimize performance.
Increase RAM and CPU Allocation
One of the most effective ways to improve the performance of your virtual machine is to allocate more resources, such as RAM and CPU, to it. By increasing the amount of memory available to the virtual machine, you can enhance its ability to handle multitasking and run resource-intensive applications smoothly. Here are the steps to increase the allocation:
- Shut down the virtual machine: Before making any changes to the allocation, ensure that the virtual machine is powered off.
- Access the virtual machine settings: Open your virtual machine software and navigate to the settings or configuration panel for the specific virtual machine.
- Adjust the memory allocation: Locate the memory or RAM section and increase the allocated memory. Depending on your system capabilities and requirements, consider assigning at least 4GB or more of RAM to the virtual machine.
- Modify the CPU allocation: Find the CPU or processor settings and increase the number of processor cores assigned to the virtual machine. Allocating more cores can improve the virtual machine’s ability to execute tasks in parallel.
- Save and apply the changes: Once you have adjusted the RAM and CPU allocations, save the settings and start the virtual machine to apply the new resource allocations.
Increasing the RAM and CPU allocation can significantly enhance the performance and responsiveness of your virtual machine. However, it’s important to strike a balance when allocating resources, as excessive allocations may impact the host operating system’s performance. Monitor the performance of your virtual machine after making these adjustments to ensure optimal results.
Disable Unnecessary Services and Startup Programs
Disabling unnecessary services and startup programs can help optimize the performance of your virtual machine and reduce resource usage. Many applications and utilities tend to run in the background, consuming valuable RAM and CPU power. By selectively disabling these services and programs, you can free up system resources for your virtual machine. Here’s how you can do it:
- Identify unnecessary services: Open the task manager or system configuration utility in your host operating system to identify unnecessary services that are running in the background.
- Disable services: Once you’ve identified the services, right-click on them and choose “Stop” or “Disable” to prevent them from running automatically during system startup.
- Manage startup programs: Similarly, access the startup tab in the task manager or system configuration utility to view a list of programs that start automatically when your computer boots up.
- Disable startup programs: Disable unnecessary startup programs by right-clicking on them and selecting “Disable” or by using the application’s built-in settings.
By disabling unnecessary services and startup programs, you can reduce the load on your system’s resources and allocate more power to your virtual machine. This can lead to improved performance and a smoother virtual machine experience. However, exercise caution when disabling services or programs, as some may be essential for the proper functioning of your computer. If you’re unsure about a specific service or program, research it before disabling it.
Optimize Virtual Machine Settings
Optimizing the settings of your virtual machine can significantly improve its performance and responsiveness. Here are some key optimizations to consider:
- Hardware virtualization: Enable hardware virtualization in the BIOS settings of your computer. This feature allows your virtual machine to work more efficiently with the underlying hardware.
- Virtual machine version: Ensure that you are using the latest version of your virtual machine software. Newer versions often come with performance enhancements and bug fixes.
- Guest additions/tools: Install the guest additions or tools provided by your virtualization software. These tools enhance the integration between the host and guest operating systems, improving performance and enabling additional features.
- Video memory: Allocate sufficient video memory to your virtual machine. This is particularly beneficial if you are running graphics-intensive applications or using a visual-heavy operating system.
- Network settings: Adjust the network settings of your virtual machine to optimize performance. For example, configure the network adapter to use bridge mode for faster network connectivity.
- Virtual disk settings: Optimize the virtual disk settings by enabling features such as disk caching and using fixed-size disks instead of dynamically expanding disks. This can improve disk I/O performance.
These optimizations can vary depending on the virtualization software you are using. It is recommended to consult the documentation or support resources provided by your virtualization software provider for specific instructions on optimizing virtual machine settings.
By implementing these optimizations, you can fine-tune your virtual machine to deliver better performance and a smoother user experience. Remember to save and restart your virtual machine after making any changes to apply the optimizations effectively.
Update Virtual Machine Software
Keeping your virtual machine software up to date is crucial for ensuring optimal performance and compatibility with the latest features and enhancements. Software updates often include bug fixes, security patches, and performance improvements. Here are the steps to update your virtual machine software:
- Check for updates: Open your virtual machine software and navigate to the settings or preferences section.
- Look for software updates: Locate the option to check for software updates within the settings or preferences section.
- Check for updates: Initiate the software update check. The software will connect to the server and search for any available updates.
- Download and install updates: If updates are available, download and install them following the software’s instructions. This may require restarting the virtual machine or the virtualization software itself.
- Verify the update: After updating, ensure that the software is functioning correctly and check for any noticeable performance improvements.
Regularly updating your virtual machine software is essential for staying current with critical system improvements and security fixes. It can help address any bugs or issues that may be hindering performance and enhance compatibility with new technologies.
Additionally, it is a good practice to check for updates for any additional software installed within your virtual machine, such as applications and drivers. Keeping all software up to date ensures that your virtual machine is running smoothly and efficiently.
Please note that the specific steps for updating your virtual machine software may vary depending on the software you are using. Refer to the documentation or support resources for your virtualization software for detailed instructions on updating the software.
Install Virtual Machine Additions or Tools
Installing virtual machine additions or tools is a critical step in optimizing your virtual machine’s performance and functionality. These additions or tools, provided by your virtualization software, improve integration between the host and guest operating systems and offer additional features and enhancements. Here’s how you can install them:
- Start the virtual machine: Ensure that your virtual machine is powered on and running.
- Launch the virtual machine software: Open the virtualization software and select the running virtual machine from the list of available machines.
- Access the virtual machine menu: In the virtual machine window, navigate to the menu bar or toolbar and find the “Devices” or “Tools” menu.
- Install virtual machine additions or tools: Within the “Devices” or “Tools” menu, you will find an option to install the virtual machine additions or tools. Click on this option to initiate the installation process.
- Follow the installation wizard: An installation wizard will guide you through the process. Follow the prompts and instructions provided to complete the installation.
- Restart the virtual machine: After the installation is complete, it is recommended to restart the virtual machine to apply the changes.
Virtual machine additions or tools typically offer features like better graphics and audio support, improved mouse integration, clipboard sharing, and enhanced network connectivity. These tools optimize performance, increase efficiency, and enhance the overall user experience within the virtual machine.
Remember to keep your virtual machine additions or tools updated to leverage the latest enhancements and bug fixes provided by your virtualization software. You can often find an option to check for updates within the virtual machine additions or tools menu.
It is worth noting that the process of installing virtual machine additions or tools may vary depending on the virtualization software you are using. Consult the documentation or support resources provided by your virtualization software vendor for detailed instructions specific to your software.
Clean up Disk Space
Regularly cleaning up disk space in your virtual machine is vital for maintaining optimal performance and efficiency. Over time, unnecessary files and data can accumulate, leading to decreased disk space and potentially slowing down your virtual machine. Here are some steps to clean up disk space:
- Delete temporary files: Use the built-in disk cleanup utility in your guest operating system to remove temporary files, cache files, and other unnecessary data.
- Remove unused applications: Uninstall any unused or unnecessary applications within your virtual machine. This will free up disk space and reduce resource usage.
- Delete unnecessary files: Go through your files and folders to identify and remove any unnecessary or outdated files, such as old documents, downloads, or media files that are no longer needed.
- Empty the recycle bin: Empty the recycle bin or trash folder within your virtual machine to permanently delete any files that are no longer needed.
- Compress virtual machine disk: If your virtualization software provides the option, consider compressing the virtual machine disk to reduce its size and reclaim unused space.
Regularly performing disk cleanup in your virtual machine helps to optimize storage space, improve performance, and ensure efficient operation. It is recommended to establish a routine for disk cleanup to prevent the accumulation of unnecessary files and data.
In addition to manual cleaning, you can automate the disk cleanup process by utilizing disk cleaning utilities or software tools designed specifically for virtual machines. These tools can efficiently scan and remove unnecessary files, helping you reclaim valuable disk space with ease.
By periodically cleaning up disk space, you can maintain a lean and efficient virtual machine environment, ensuring optimal performance and improved overall functionality.
Defragment Virtual Machine Disk
Defragmenting the disk of your virtual machine can have a significant impact on its performance by optimizing file organization and storage efficiency. As files are created, modified, and deleted within the virtual machine, they can become fragmented, leading to slower read and write speeds. Defragmentation rearranges the files on the disk, placing them in contiguous blocks, which improves access times and overall performance. Here’s how you can defragment the disk of your virtual machine:
- Ensure appropriate permissions: Ensure that you have the necessary permissions to perform disk defragmentation within the guest operating system of your virtual machine.
- Close unnecessary applications: Before initiating the disk defragmentation process, close any unnecessary applications running within the virtual machine to avoid any potential conflicts.
- Launch the appropriate utility: Use the built-in disk defragmentation utility in your guest operating system, such as Disk Defragmenter in Windows or a similar tool for other operating systems.
- Select the virtual machine disk: In the defragmentation utility, select the virtual machine disk that you wish to defragment. This is typically labeled with the disk volume or drive letter.
- Initiate the defragmentation process: Start the defragmentation process within the utility. The software will analyze the disk and rearrange the fragmented files for optimal organization.
- Monitor the progress: Observe the progress indicator in the defragmentation utility to track the completion of the process. Depending on the size of the disk and the level of fragmentation, this may take some time to complete.
Defragmenting the disk of your virtual machine can lead to faster disk access times and improved performance overall. It is recommended to perform disk defragmentation regularly or as needed, especially if you frequently work with large files or if you notice a significant decrease in disk performance.
Please note that some virtualization software may provide built-in disk optimization or defragmentation features. These tools are specifically designed to optimize the disk performance of virtual machines and may offer additional benefits or options for defragmentation.
As always, it’s essential to back up your virtual machine before performing any disk-related operations to ensure the safety of your data in case of any unforeseen issues.
Scan and Remove Malware
Protecting your virtual machine from malware is crucial to maintain its performance, security, and overall integrity. Malicious software can significantly impact the performance of your virtual machine by consuming resources, compromising sensitive data, and causing system instability. Here are steps you can take to scan and remove malware from your virtual machine:
- Install antivirus software: Install a reputable antivirus software within your virtual machine that is specifically designed to detect and remove malware. Ensure that the antivirus software is regularly updated with the latest virus definitions.
- Perform a full system scan: Initiate a comprehensive scan of your virtual machine using the antivirus software. This scan will examine all files and directories within the virtual machine’s storage for any signs of malware.
- Quarantine or remove detected threats: If the antivirus software identifies any malware or suspicious files, follow the recommended actions provided by the software. Typically, you can choose to quarantine or remove the detected threats.
- Scan compressed files and email attachments: Enable settings in your antivirus software to scan compressed files and email attachments for potential malware. These files are common carriers for malicious software.
- Update your operating system and applications: Keep your virtual machine’s operating system and applications updated with the latest security patches and bug fixes. Regular updates can close potential vulnerabilities that malware may exploit.
- Exercise caution with downloads and email attachments: Be vigilant when downloading files or opening email attachments within your virtual machine. Only download files from trusted sources, and scan them for malware before opening or executing them.
Regularly scanning and removing malware from your virtual machine is essential for maintaining a secure and high-performing environment. It helps safeguard your data, minimize the risk of security breaches, and ensure the smooth operation of your virtual machine.
Remember to schedule regular scans with your antivirus software and enable real-time protection to detect and prevent malware in real-time. These proactive measures will help keep your virtual machine protected and running smoothly.
It is also recommended to implement a robust backup strategy for your virtual machine so that in the event of a malware infection, you can restore your virtual machine to a clean state.
Update Host Operating System and Drivers
Updating your host operating system and drivers is essential for maintaining the performance, stability, and security of your virtual machine. The host operating system and drivers serve as the foundation for running virtualization software and provide critical functionality for virtual machine performance. Here are the steps to update your host operating system and drivers:
- Check for updates: Open the settings or preferences section of your host operating system and look for options to check for updates.
- Install operating system updates: If updates are available, follow the prompts to install the operating system updates. These updates typically include bug fixes, security patches, and performance enhancements.
- Update drivers: Visit the website of your computer manufacturer or the hardware component manufacturers to check for the latest driver updates for your system.
- Download and install driver updates: Download the appropriate driver updates for your system and install them following the provided instructions. Updating drivers can improve hardware compatibility and performance.
- Restart the host operating system: After installing the updates, it is often necessary to restart the host operating system to apply the changes and ensure proper functioning.
Updating the host operating system and drivers can address performance issues, security vulnerabilities, and compatibility problems that may affect your virtual machine’s performance. It is recommended to regularly check for updates and install them promptly to keep your system up to date.
In addition to the host operating system, it is crucial to keep virtualization software up to date as well. Regularly check for updates or enable automatic updates for your virtualization software to ensure you have the latest features, improvements, and bug fixes.
By updating the host operating system and drivers, you can provide a stable and optimized environment for your virtual machine, resulting in improved performance and a seamless user experience.
Disable Visual Effects
Disabling visual effects in your virtual machine can help enhance its performance by reducing resource consumption and improving responsiveness. While visual effects can add aesthetic appeal to the user interface, they can also consume valuable system resources that can be better utilized for running applications and processes. Here are the steps to disable visual effects:
- Access System Properties: Right-click on the “Start” button and select “System” or “System Properties” from the context menu.
- Open Performance Options: In the System Properties window, click on the “Advanced system settings” link, and in the Performance section, click on the “Settings” button.
- Adjust Visual Effects: In the Performance Options dialog box, select the “Adjust for best performance” option to disable all visual effects. Alternatively, you can choose custom settings and manually deselect specific visual effects that you want to disable.
- Apply and Save Changes: Click “Apply” and then “OK” to save the changes and disable the visual effects.
Disabling visual effects can significantly improve the performance of your virtual machine, especially in resource-intensive activities such as running graphics-heavy applications or multitasking. By reducing the strain on system resources, your virtual machine can operate more efficiently and responsively.
It’s worth noting that disabling visual effects may lead to a less visually appealing user interface within the virtual machine. However, the trade-off in favor of improved performance can be worth it, especially for resource-constrained systems or when running multiple virtual machines simultaneously.
Remember to reassess the visual effects settings if your system or virtual machine configuration changes in the future. Adjusting the visual effects based on your specific needs and available resources can help you strike the right balance between visual aesthetics and virtual machine performance.
Reboot the Host Operating System
Rebooting the host operating system is a simple yet effective way to improve the performance and stability of your virtual machine. Over time, software updates, driver installations, and other system changes can impact the overall performance of the host operating system. Restarting the system helps clear temporary files, close unnecessary background processes, and refresh system resources. Here’s how you can reboot the host operating system:
- Save and close running applications: Before initiating a system reboot, save your work and close any running applications within the host operating system.
- Access the start menu or power options: Click on the “Start” button or equivalent on your operating system, and choose the option to restart the system. Alternatively, you can access the power options through the control panel or system tray.
- Select restart: In the restart dialog box or power options menu, select the option to restart the host operating system.
- Wait for the reboot: The host operating system will shut down, and the system will automatically restart. Allow the system sufficient time to complete the reboot process.
- Launch the virtual machine: Once the host operating system has fully restarted, open your virtualization software and start the virtual machine as usual.
Rebooting the host operating system clears out temporary files, releases system resources, and resolves any issues that may be affecting the performance of your virtual machine. It provides a fresh start and can help optimize the virtualization environment.
It is especially beneficial to reboot the host operating system if you have recently made significant changes, such as software installations or updates. Restarting the system ensures that all system changes take effect and can potentially resolve any lingering performance issues.
Make it a habit to periodically restart the host operating system to maintain optimal performance and stability for both the host and virtual machines. By doing so, you can avoid performance degradation, ensure efficient resource allocation, and provide a smooth experience for your virtual machine.
Conclusion
Optimizing the performance of your virtual machine is essential to ensure a smooth and efficient computing experience. By following the strategies outlined in this article, you can maximize the performance and responsiveness of your virtual machine:
First, check that your system meets the recommended system requirements, including CPU, RAM, and disk space. Increasing the allocation of RAM and CPU to the virtual machine can provide a significant performance boost. Disabling unnecessary services and startup programs helps free up system resources for the virtual machine.
Optimizing virtual machine settings, such as enabling hardware virtualization and installing guest additions or tools, enhances integration and allows for additional features. Regularly updating your virtual machine software and the host operating system, along with the drivers, ensures compatibility, security, and performance improvements.
Cleaning up disk space, defragmenting the virtual machine’s disk, and scanning for and removing malware help maintain a lean and efficient virtual machine environment. Disabling visual effects minimizes resource consumption, and rebooting the host operating system clears out temporary files and refreshes system resources.
By implementing these techniques, you can significantly improve the performance and responsiveness of your virtual machine, whether it is used for development, testing, or any other purpose.
Remember, each virtual machine and system configuration may be unique, so it’s important to evaluate and adjust these strategies based on your specific needs and resources. Regular maintenance, updates, and monitoring will help ensure your virtual machine continues to run smoothly and efficiently.
Follow these optimization tips to create a virtual machine experience that is both powerful and seamless, allowing you to work and experiment with ease within your virtualized environment.


