Introduction
Creating PDFs on your Android device is a useful and convenient way to store and share documents, images, and other files. Whether you need to convert a text document to a PDF, capture an image and save it as a PDF, or merge multiple PDFs into a single file, there are several options available to you. In this article, we will walk you through the step-by-step process of creating and manipulating PDFs on your Android device.
With the advancements in mobile technology, Android devices have become powerful tools that can handle a wide range of tasks. Thanks to various apps and built-in features, you can now create, edit, and share PDFs directly from your Android device, eliminating the need for a computer or external software.
This guide will cover everything you need to know to get started with PDF creation on Android. We will explore different methods, including installing a PDF printer app, converting text documents to PDF, saving images as PDFs, merging multiple PDFs into one, and even editing and annotating existing PDF files.
By the end of this article, you will have a comprehensive understanding of how to make a PDF on your Android device, giving you the ability to manage and share documents effortlessly. So, let’s dive into the exciting world of PDF creation on Android devices and unleash the full potential of your device.
Step 1: Installing a PDF Printer App
The first step to creating PDFs on your Android device is to install a PDF printer app. These apps function as virtual printers that allow you to save any document or file as a PDF. There are several PDF printer apps available on the Google Play Store, each with its own set of features and capabilities.
To begin, open the Google Play Store on your Android device and search for “PDF printer.” You will be presented with a list of apps to choose from. Take some time to read the reviews and compare the features of different apps to find one that suits your needs.
Once you have selected an app, tap on the “Install” button to download and install it on your device. The installation process may take a few moments depending on your internet connection speed.
Once the app is installed, open it and follow the on-screen instructions to set it up. Most PDF printer apps will require you to grant certain permissions, such as access to your files and documents. Make sure to read and understand the permissions requested by the app before granting them.
After the initial setup, the PDF printer app will be ready to use. It will appear as an option whenever you want to print or save a document as a PDF. Some apps may also provide additional features, such as the ability to password protect your PDFs or adjust the quality and size of the output file.
Installing a PDF printer app on your Android device is a crucial step in creating PDFs. It provides you with a convenient and efficient way to convert various file types to PDF format. With this app installed, you can move on to the next steps and explore the different methods of creating PDFs on your Android device.
Step 2: Creating a PDF from a Text Document
Creating a PDF from a text document on your Android device is a straightforward process. Whether you have a Word document, a plain text file, or any other text-based format, you can easily convert it to a PDF using the PDF printer app you installed in the previous step. Here’s how:
1. Open the text document you wish to convert to a PDF on your Android device. You can use any text editor or word processing app that supports file sharing.
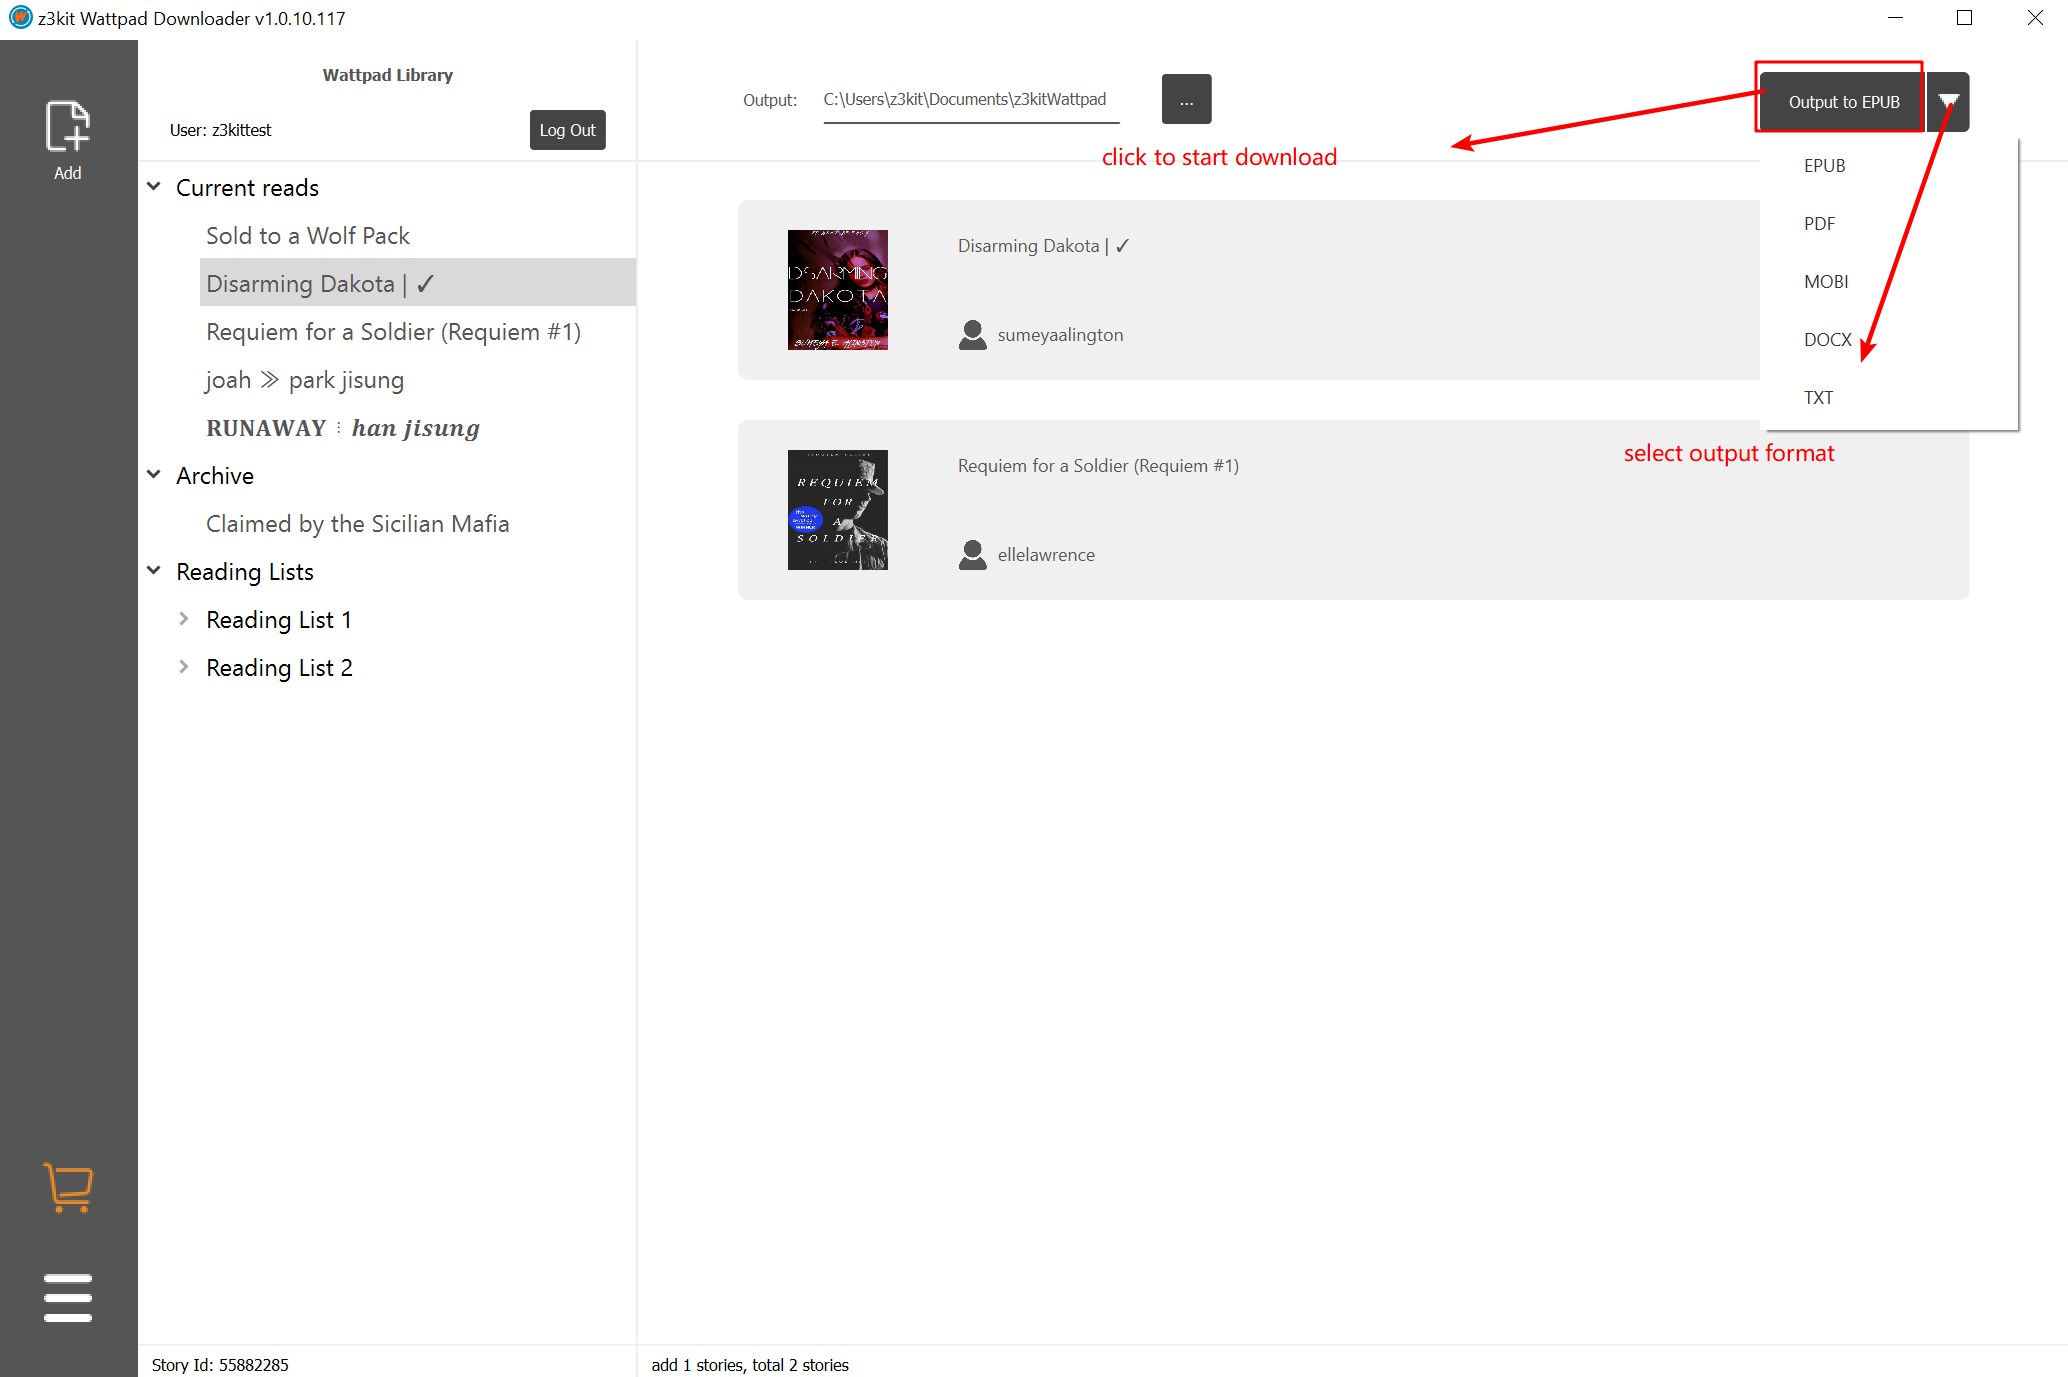
2. Once you have the document open, tap on the “Share” or “Export” option within the app. This will bring up a list of available sharing options on your device.
3. Look for the PDF printer app you installed in Step 1. It may appear as “Print to PDF” or have a similar name. Tap on the app to select it as your sharing option.
4. The PDF printer app will then convert your text document into a PDF file. You may be prompted to specify the file name and location for saving the PDF. Choose a suitable name and folder, then tap on the “Save” or “Export” button.
5. Depending on the size of your document and the settings of the PDF printer app, the conversion process may take a few moments. Once the process is complete, you will have a PDF version of your text document.
Creating a PDF from a text document on your Android device allows you to easily share and distribute your files in a universally compatible format. Whether you’re sending out important business documents, sharing notes with classmates, or preserving a personal journal, converting documents to PDF provides a professional and consistent format for easy viewing and printing. With this method, you can effortlessly convert any text document to PDF directly from your Android device.
Step 3: Creating a PDF from an Image
Converting images to PDFs on your Android device is a useful way to store and share visual content. Whether you have scanned documents, photographs, or screenshots, you can easily create a PDF file from an image using the PDF printer app installed on your device. Here’s a step-by-step guide:
1. Open the image you want to convert to a PDF on your Android device. You can use any image viewer or gallery app that allows you to share or export images.
2. Once the image is open, tap on the “Share” or “Export” option within the app. This will bring up a list of sharing options available on your device.
3. Look for the PDF printer app you installed in Step 1. It should be listed as one of the sharing options. Tap on the app to select it.
4. The PDF printer app will convert your image into a PDF file. You may be prompted to specify the file name and location for saving the PDF. Choose a suitable name and folder, then tap on the “Save” or “Export” button.
5. Depending on the size of your image and the settings of the PDF printer app, the conversion process may take a few moments. Once the process is complete, you will have a PDF version of your image.
Creating a PDF from an image on your Android device allows you to preserve the visual content, making it easy to share or archive. This is particularly useful when dealing with documents, such as receipts, contracts, or certificates that need to be digitally stored or shared. By converting images to PDF format, you ensure that the content is preserved in a compact, secured, and universally accessible file. With this method, you can effortlessly convert any image into a PDF directly from your Android device.
Step 4: Merging Multiple PDFs into One
If you have multiple PDF files that you want to combine into a single document, your Android device allows you to do so with ease. By using the PDF printer app and a file manager app, you can merge multiple PDFs into one cohesive file. Follow these steps to accomplish this:
1. Open your file manager app on your Android device. This app allows you to navigate through your device’s storage and manage files and folders.
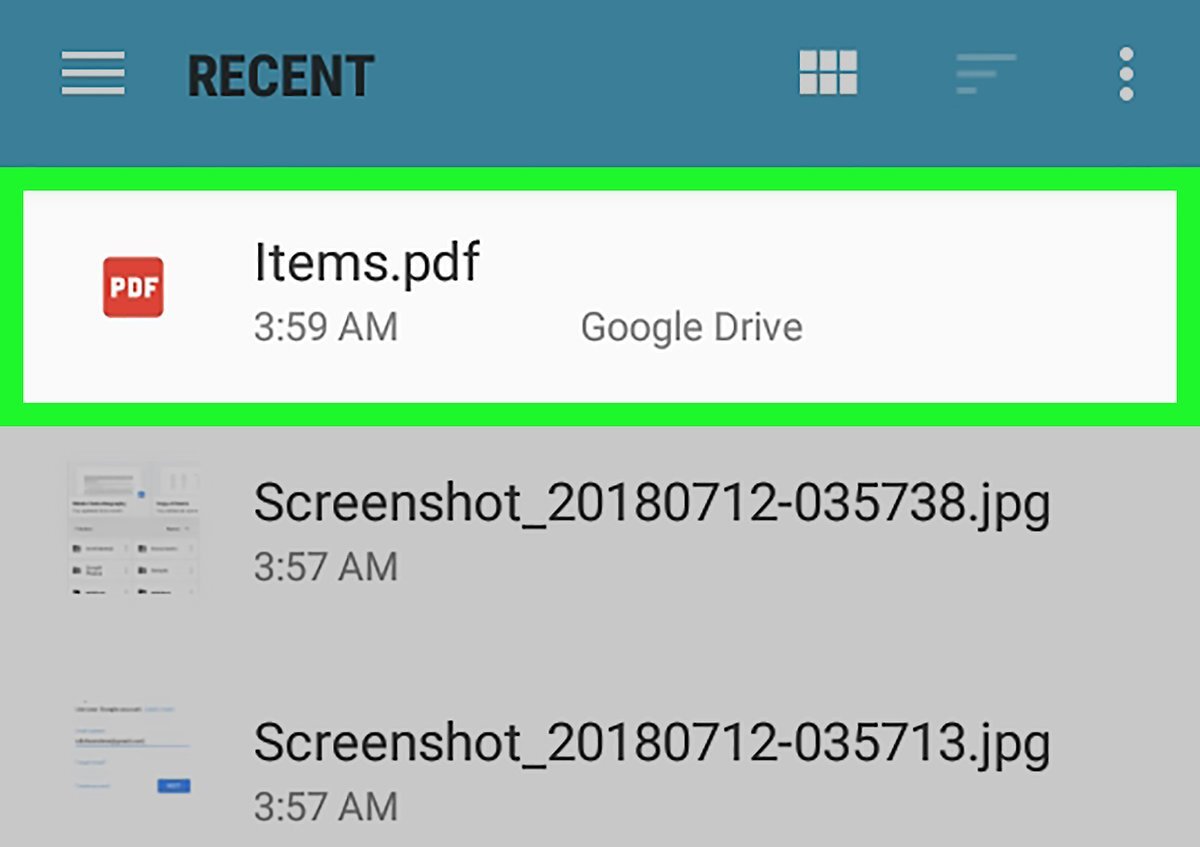
2. Locate the PDF files you want to merge. They can be in different folders or on different storage locations.
3. Select the first PDF file by long-pressing on it. This will activate the selection mode of your file manager app.
4. While still in selection mode, tap on the other PDF files you want to merge. You will see a checkmark or a similar indicator next to the selected files.
5. Once you have selected all the PDF files you want to merge, look for the “Share” or “Combine” option in your file manager app. This option may appear as an icon or be available in the app’s menu.
6. Tap on the “Share” or “Combine” option and choose the PDF printer app you installed previously as the sharing option.
7. The PDF printer app will then merge the selected PDF files into a single document. You may be prompted to specify the file name and location for the merged PDF. Select a suitable name and folder, and tap on the “Save” or “Export” button.
8. Depending on the size and number of the PDF files, the merging process may take a few moments. Once the process is complete, you will have a single PDF file that contains all the merged documents.
Merging multiple PDFs into one allows you to consolidate related documents and create a comprehensive file. This is especially useful when dealing with multiple chapters of a book, reports with separate sections, or various invoices or receipts. By merging PDFs on your Android device, you can reduce clutter and simplify document management. With this method, you can effortlessly merge multiple PDF files into one directly from your Android device.
Step 5: Editing and Annotating PDFs
In addition to creating and merging PDFs, you can also edit and annotate existing PDF files directly on your Android device. With the help of PDF editing apps, you can make changes to the content, add notes, highlight important sections, and even fill out forms digitally. Follow these steps to edit and annotate PDFs on your Android device:
1. Open the PDF file you want to edit or annotate on your Android device. You can use any PDF viewer or editor app that supports these features.
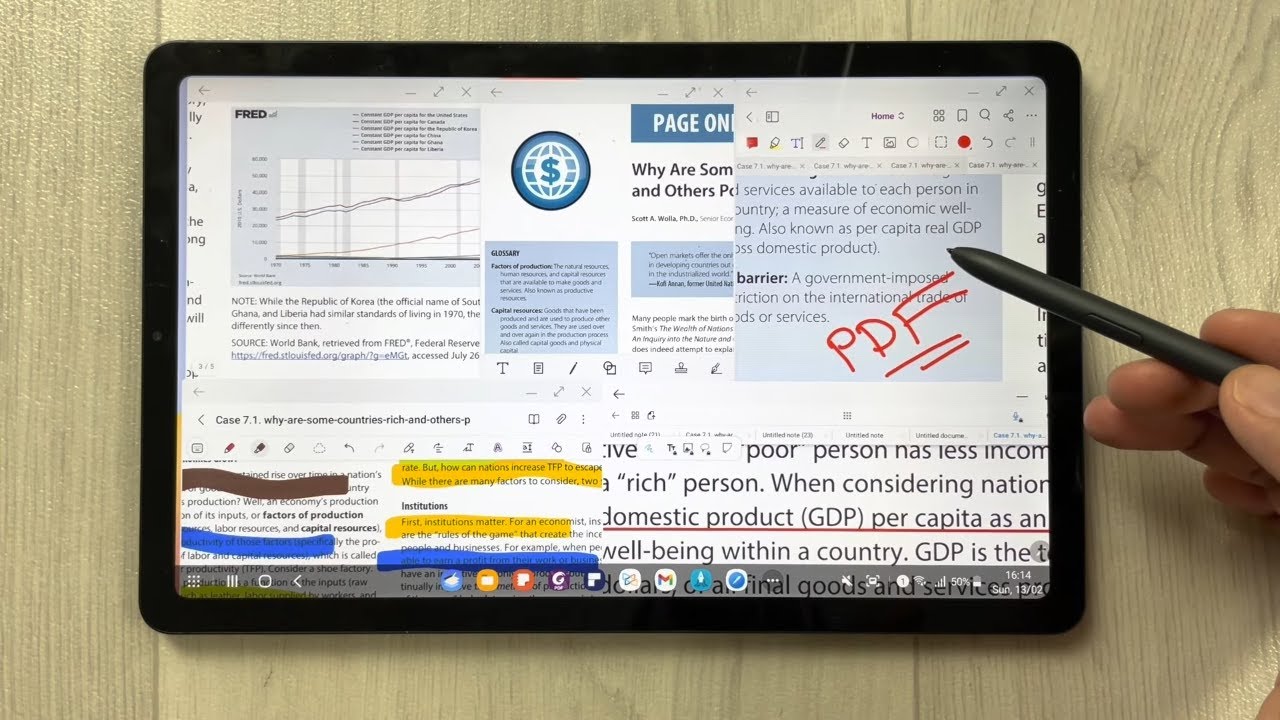
2. Once the file is open, look for the editing or annotating tools within the app. These tools are usually accessible through icons or options located at the top or bottom of the screen.
3. Depending on the app you are using, you will have various editing and annotation options to choose from. Common tools include text editing, highlighting, underlining, drawing, adding shapes, and adding comments or sticky notes.
4. Select the tool you want to use and apply it to the desired section of the PDF. You can adjust the size, color, and other properties of the tool, depending on your preference and the app’s capabilities.
5. Continue applying edits and annotations throughout the PDF document as needed. Most apps allow you to navigate through the document, zoom in and out, and make precise adjustments.
6. Once you have finished editing and annotating the PDF, save your changes. The app will prompt you to save the modified file, usually with a new name to avoid overwriting the original document.
Editing and annotating PDFs on your Android device provides a convenient way to make changes or add notes without the need for a computer or external software. Whether you need to correct errors in a document, highlight important information, fill out forms, or collaborate with others, this capability empowers you to work efficiently on the go. With this method, you can effortlessly edit and annotate PDFs directly from your Android device.
Step 6: Sharing and Exporting PDFs
Once you have created, edited, and annotated your PDFs on your Android device, you may need to share or export them to others. Luckily, Android offers several options for sharing and exporting PDF files, making it easy to send them via email, messaging apps, or cloud storage services. Follow these steps to share and export your PDFs:
1. Open the PDF file you want to share or export on your Android device using a file manager or PDF viewer app.
2. Once the file is open, look for the sharing or exporting option within the app. This option may be in the form of an icon or be accessible through the app’s menu.
3. Tap on the sharing or exporting option, and you will be presented with a list of available sharing options on your device.
4. Choose the method of sharing or exporting that best suits your needs. You can select a messaging or email app to send the PDF directly to a contact, or use a cloud storage service like Google Drive or Dropbox to upload and share the file with others.
5. Depending on the method you choose, follow the prompts to complete the sharing or exporting process. You may need to select recipients, specify file locations, or adjust other settings.
6. Once the sharing or exporting process is complete, the PDF file will be sent to the desired recipients or saved in the designated location. You can also choose to save a copy of the PDF on your device for future reference.
Sharing and exporting PDFs on your Android device provides a seamless way to collaborate with others or distribute important documents. Whether you’re sending a report to your colleagues, sharing a presentation with your clients, or submitting an application form, leveraging the sharing and exporting options ensures that your PDF files reach the intended recipients effortlessly. With this method, you can effortlessly share and export your PDFs directly from your Android device.
Conclusion
Creating, editing, and sharing PDFs on your Android device has never been easier. With the help of PDF printer apps, you can convert text documents, images, and other files into PDF format directly from your device. Additionally, you can merge multiple PDFs into a single document, making it convenient to manage related files. Furthermore, by using PDF editing and annotating tools, you can make changes, add notes, and highlight important sections within your PDFs.
The ability to share and export PDFs enables you to easily distribute your documents to colleagues, clients, or other recipients. Whether you choose to send PDFs via email, messaging apps, or store them in cloud storage services, the options available on your Android device ensure a seamless and efficient sharing process.
By mastering the steps outlined in this guide, you have unlocked the full potential of your Android device to handle PDF creation and manipulation tasks. From creating professional documents to managing important files, the ability to work with PDFs on your Android device empowers you to be productive and organized on the go.
So, embrace the power of PDFs on your Android device and make the most out of this versatile format. Whether you’re a student, professional, or simply someone who needs to handle various types of documents, having these tools at your disposal will streamline your workflow and enhance your document management capabilities.
Enjoy the convenience and flexibility of creating, editing, and sharing PDFs right from your Android device, and take your productivity to new heights.