Introduction
In today’s fast-paced digital world, having a reliable and efficient storage solution is essential. If you are seeking to enhance the performance of your computer, upgrading to a solid-state drive (SSD) can make a significant difference. Among the leading brands in the market, Samsung is renowned for producing high-quality SSDs that deliver superior speed and reliability.
Installing a Samsung SSD is a straightforward process that can be done by anyone with a basic understanding of computer hardware. Whether you are a tech enthusiast looking to take on a DIY project or simply want to boost your computer’s performance, this guide will take you through each step of the installation process.
By replacing your traditional hard drive with a Samsung SSD, you can expect faster boot times, quicker access to files, and a more responsive overall computing experience. With the growing demand for faster and more efficient storage solutions, upgrading to an SSD has become a popular choice for both casual users and professionals.
In this step-by-step guide, we will walk you through the installation process for a Samsung SSD, providing detailed instructions to help you successfully complete the upgrade. From gathering the necessary tools and equipment, to opening the computer case and connecting the SSD, each step will be clearly explained to ensure a smooth installation process.
Before we dive into the installation process, make sure you have all the required tools and equipment ready. It’s always a good idea to read through the entire guide before getting started to familiarize yourself with the process. Now, let’s get started with Step 1: Gathering the necessary tools and equipment for the installation.
Step 1: Gathering the necessary tools and equipment
Before you begin the installation process, it’s important to gather all the tools and equipment you will need. Having everything prepared and within reach will make the installation process smoother and more efficient.
Here is a list of the required tools and equipment:
- Screwdriver: Make sure you have a screwdriver that fits the screws on your computer case. Most cases use Phillips head screws, but some may require a different type.
- Anti-static wrist strap: This is an optional but highly recommended tool to help protect your computer components from static electricity. If you don’t have an anti-static wrist strap, make sure to discharge any static electricity by touching a grounded metal object before working inside your computer.
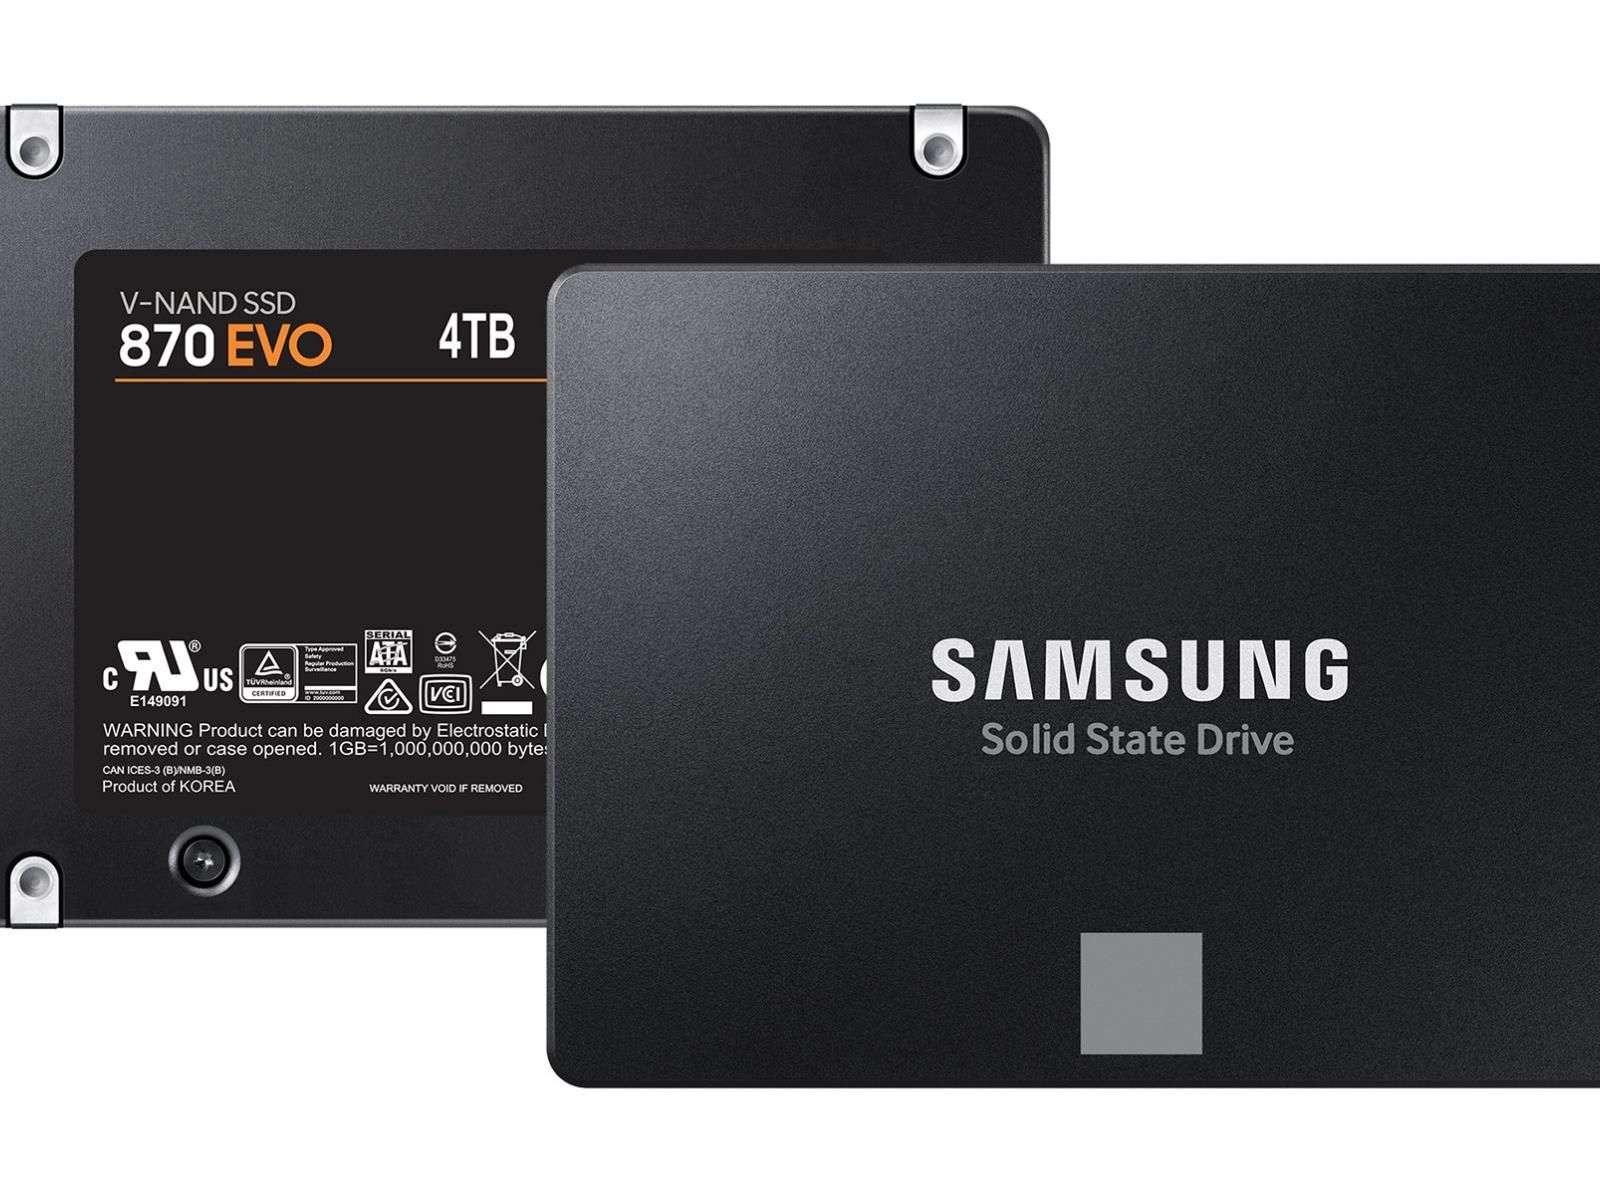
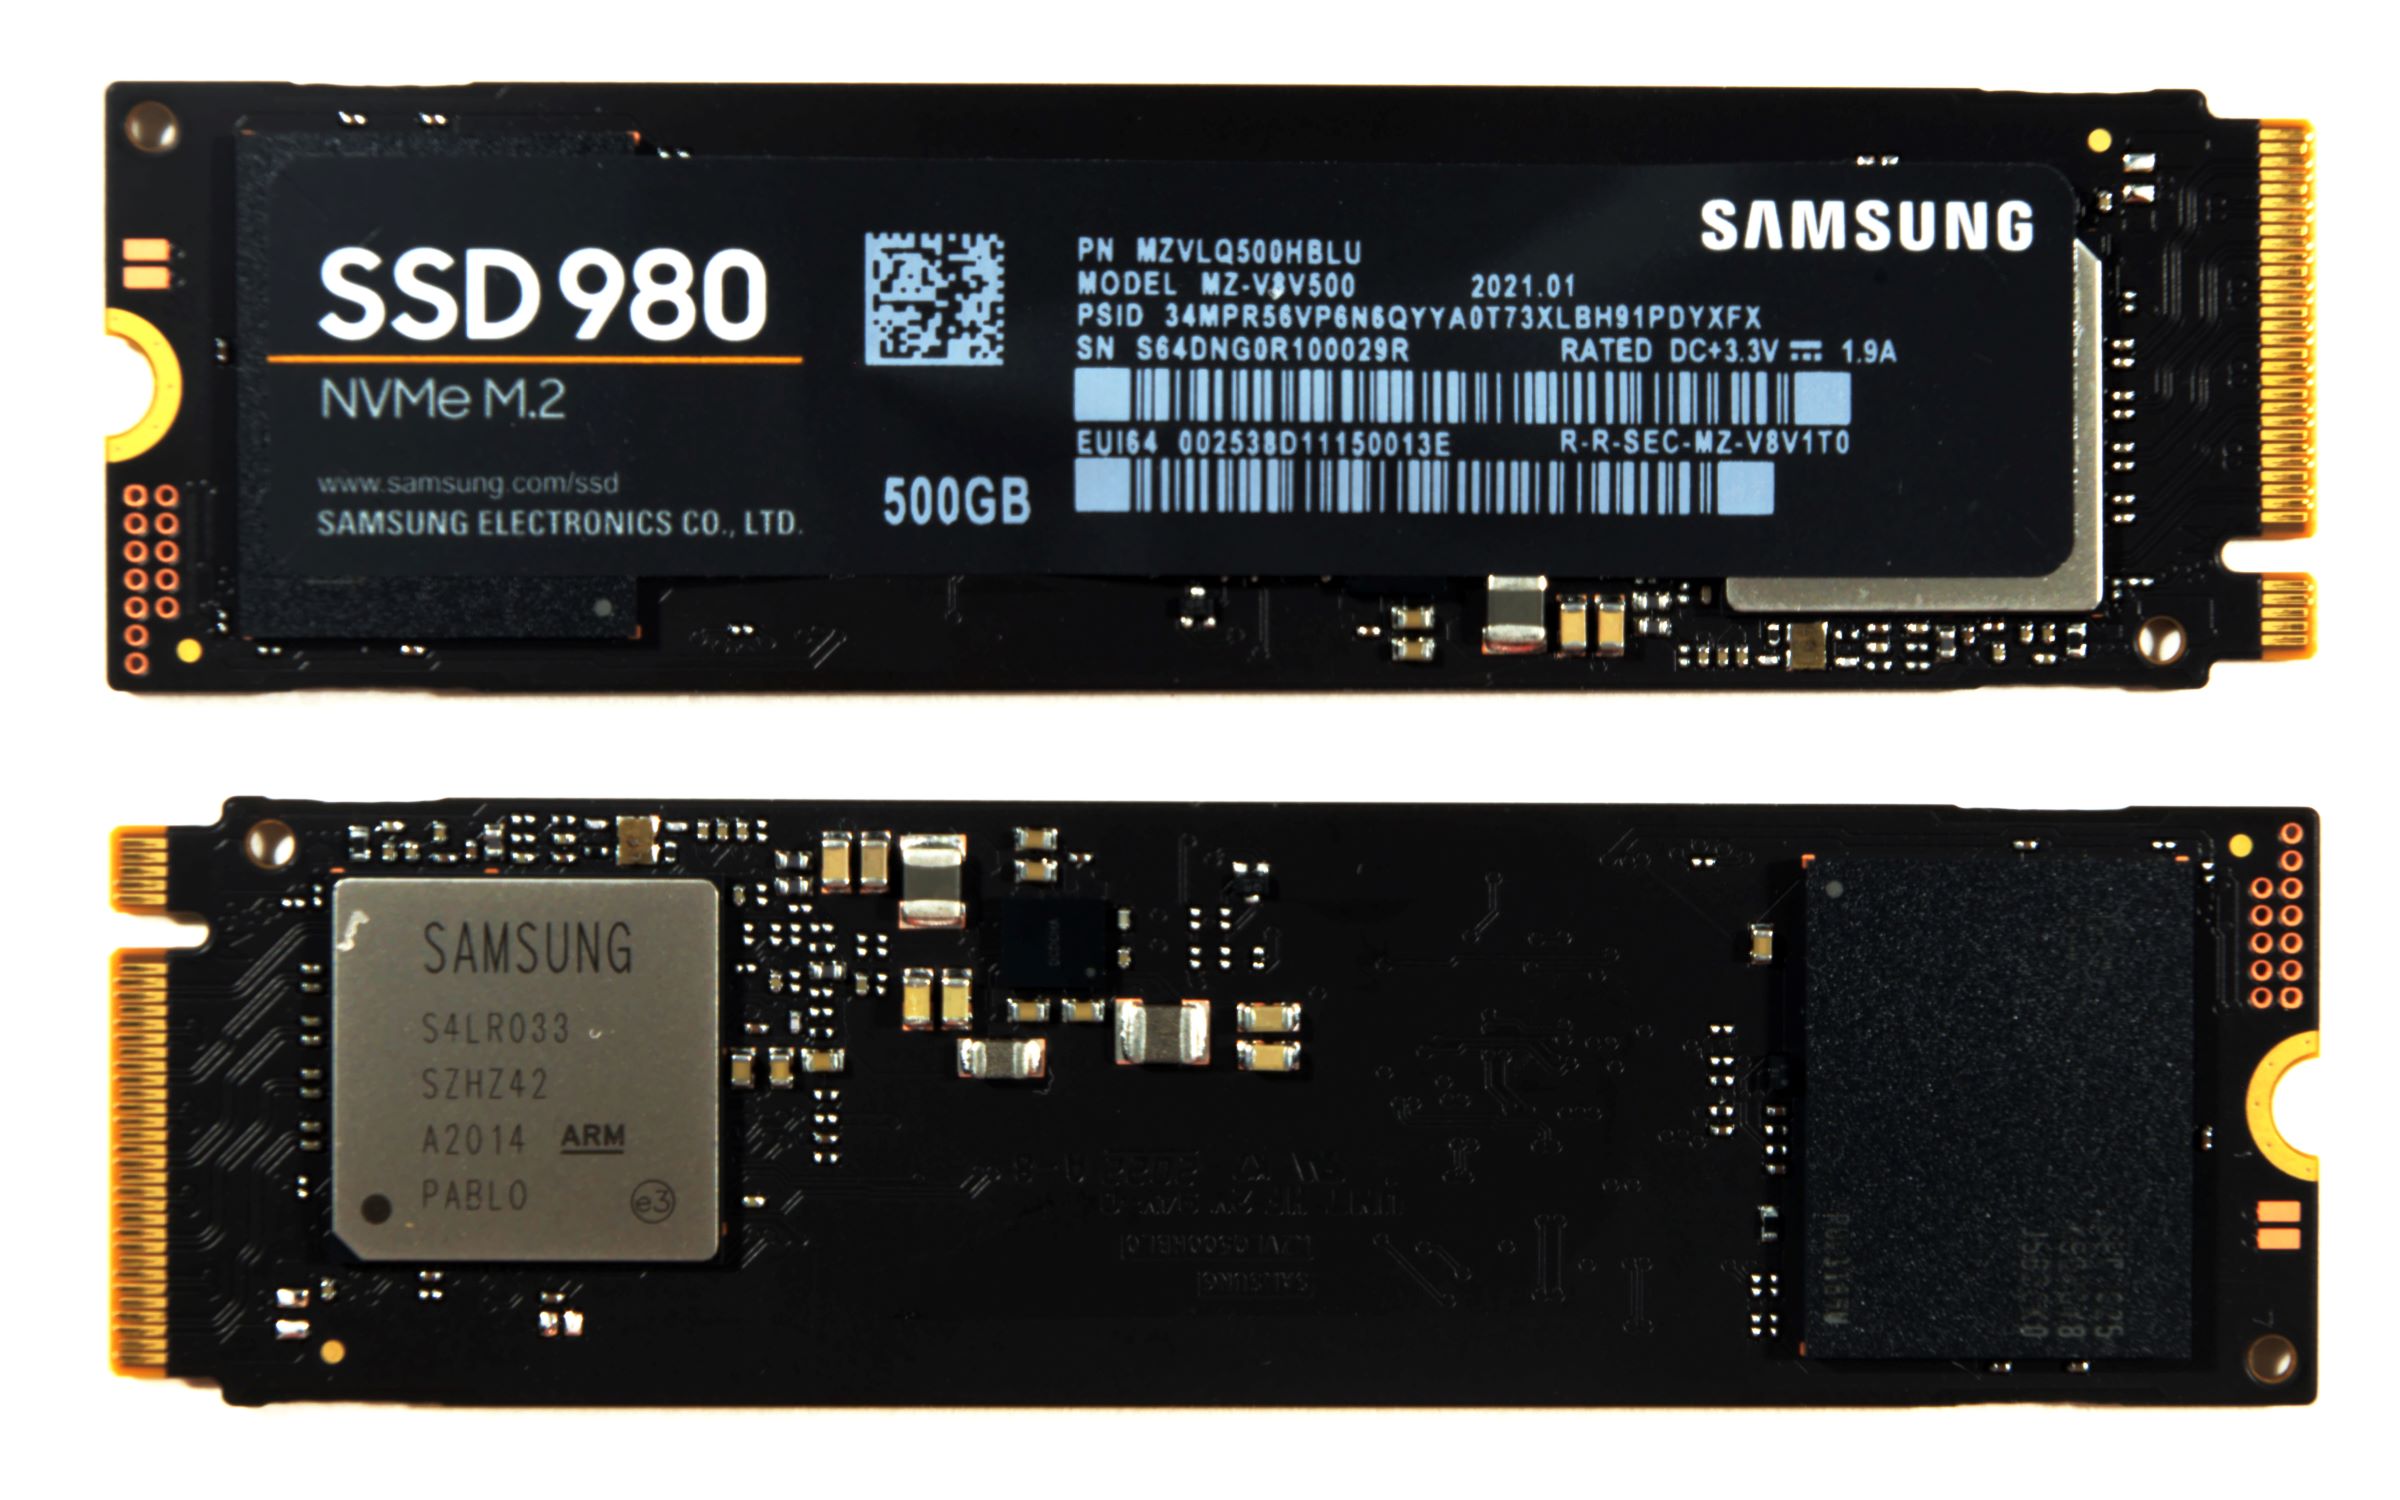
- Samsung SSD: Of course, you will need the Samsung SSD that you will be installing. Ensure that you have the correct model and capacity for your needs.
- SATA data cable: This cable will be used to connect the Samsung SSD to your motherboard. Make sure it is long enough to reach from the SSD to the motherboard.
- SATA power cable: This cable will provide power to the Samsung SSD. Check if your power supply has an available SATA power connector or consider purchasing a SATA power adapter if needed.
Once you have gathered all the necessary tools and equipment, you are ready to move on to the next step: preparing the computer for installation.
Step 2: Preparing the computer for installation
Before diving into the installation process, it’s important to prepare your computer for the Samsung SSD installation. This step will help ensure a smooth and successful upgrade.
Here are the key tasks to complete in this step:
- Backup your data: It’s essential to safeguard your data before making any hardware changes. Back up your important files and ensure you have a current backup of your entire system. This precautionary measure will prevent any data loss that could occur during the installation process.
- Turn off your computer: Shut down your computer and unplug it from the power source. This will prevent any electrical mishaps and ensure your safety while working on the internal components.
- Ground yourself: It’s crucial to discharge any static electricity from your body to avoid damaging the sensitive computer components. Use an anti-static wrist strap if you have one, or touch a grounded metal object like a doorknob before proceeding.
- Clear workspace: Choose a clean, well-lit, and static-free area to work on your computer. Clear any clutter and ensure you have enough space to freely maneuver during the installation process.
Following these preparation steps will help maintain your data’s integrity and help prevent any damage to your computer system. It’s always better to be safe than sorry when it comes to working with computer hardware.
With your computer now prepared, you’re ready to move on to the next step: opening the computer case.
Step 3: Opening the computer case
Now that you have prepared your computer for the Samsung SSD installation, it’s time to open the computer case. Opening the case will grant access to the internal components necessary for the installation process.
Follow these steps to safely open your computer case:
- Refer to your computer’s user manual: Different computer cases have different mechanisms for opening. Consult your computer’s user manual or manufacturer’s website for specific instructions on how to open the case. Alternatively, you can search online for guides and videos specific to your computer model.
- Power off the computer and unplug it: Before working on your computer’s internals, be sure to power off the computer and unplug it from the power source. This will prevent any potential electrical accidents and ensure your safety.
- Ground yourself: Just as in the previous step, ground yourself to discharge any static electricity. Use an anti-static wrist strap if available, or touch a grounded metal object.
- Remove the side panel: Depending on your computer case, you may need to unscrew the side panel or release latches to remove it. Carefully remove the side panel, being mindful of any cables or connectors attached to it. Set the panel aside in a safe place.
Once you have successfully opened the computer case, you will gain access to the inner components. Take a moment to familiarize yourself with the internal layout of your computer before moving on to the next step.
Note: If you have difficulty opening the computer case or are unsure about any step in this process, it is recommended to seek assistance from a professional or consult the manufacturer’s support.
You are now ready to locate the current hard drive, which will be covered in Step 4 of the installation process.
Step 4: Locating the current hard drive
Now that you have successfully opened your computer case, it’s time to locate the current hard drive. Identifying the current hard drive is an essential step as it will help you determine the placement of the Samsung SSD and facilitate the installation process.
Follow these steps to locate the current hard drive:
- Observe the internal components: Take a look inside your computer case and familiarize yourself with the various components. Look for a rectangular-shaped device that is connected with cables.
- Identify the current hard drive: The current hard drive is typically located in the drive bay, usually positioned towards the front or middle of the case. It might be secured with screws or held in place by drive rails.
- Take note of the cable connections: Examine the cables connected to the current hard drive. There are two types of cables you need to identify – the SATA data cable and the SATA power cable. Take note of their positions and how they are connected to the current hard drive.
Identifying the current hard drive and its cable connections will help you understand how the Samsung SSD will be installed and connected. It’s important to carefully locate and examine the current hard drive before proceeding to the next steps.
Note: If you are unsure about any component or have difficulty locating the current hard drive, refer to your computer’s user manual or consult the manufacturer’s support for guidance and assistance.
With the current hard drive located, you are now ready to proceed to Step 5: Disconnecting the current hard drive, which will be covered in the next section.
Step 5: Disconnecting the current hard drive
Now that you have located the current hard drive, it’s time to disconnect it from the computer. This step is crucial in order to remove the existing hard drive and make room for the Samsung SSD.
Follow these steps to safely disconnect the current hard drive:
- Identify the cable connections: As mentioned in the previous step, take note of the cable connections to the current hard drive. There should be two cables – the SATA data cable and the SATA power cable.
- Disconnect the SATA data cable: Gently pull the SATA data cable connector away from the current hard drive. Avoid pulling on the actual cable itself. The connector should come off easily but may require a slight wiggle to remove it.
- Disconnect the SATA power cable: Locate the SATA power cable connected to the current hard drive. Press the release latch (if present) and carefully pull out the power cable from the drive.
- Remove any mounting screws or brackets: If the current hard drive is secured with screws or brackets, use a screwdriver to remove them. Take note of the position and number of screws as you may need them later when installing the Samsung SSD.
- Take out the current hard drive: Once all cables and screws have been detached, gently slide the current hard drive out of the drive bay. Be mindful of any other components or cables in the surrounding area to avoid accidental damage.
Once the current hard drive has been disconnected and removed, you can set it aside as a backup or repurpose it as needed. Your computer is now ready to accommodate the Samsung SSD in the upcoming installation steps.
Note: If you are unsure about any step in disconnecting the current hard drive or encounter any difficulties, refer to your computer’s user manual or consult the manufacturer’s support for guidance.
In the next section, Step 6, we will cover the process of installing the Samsung SSD into the computer.
Step 6: Installing the Samsung SSD
With the current hard drive disconnected and removed, it’s time to install the Samsung SSD. Installing the SSD will involve securing it in the drive bay and connecting the necessary cables.
Follow these steps to successfully install the Samsung SSD:
- Position the Samsung SSD: Carefully position the Samsung SSD in an available drive bay. Make sure it aligns with the mounting holes in the case.
- Secure the SSD with screws: If necessary, use the screws that were removed from the previous hard drive to securely fasten the Samsung SSD to the drive bay. Tighten the screws enough to ensure stability, but avoid overtightening to prevent any damage.
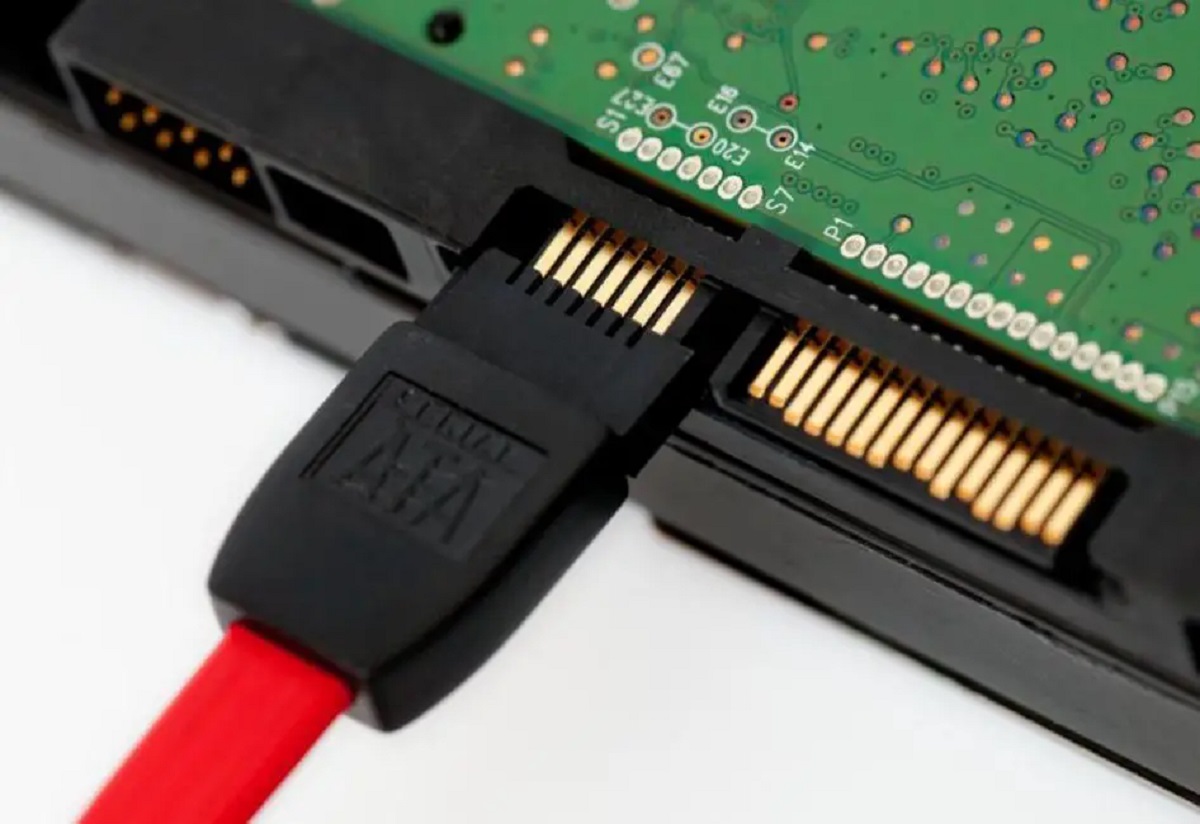
- Connect the SATA data cable: Take the SATA data cable that came with your Samsung SSD or use a compatible one. Connect one end to the SATA data port on the Samsung SSD and the other end to an available SATA port on the motherboard. Ensure a secure connection on both ends.
- Connect the SATA power cable: Take the SATA power cable and connect one end to the SATA power port on the Samsung SSD. Connect the other end to an available SATA power connector from the power supply. Ensure a firm connection on both ends.
Once you have completed these steps, the Samsung SSD is successfully installed in your computer. Take a moment to double-check all connections and ensure that the SSD is securely mounted in the drive bay.
Note: If you encounter any difficulties during the installation process or are unsure about any step, refer to the user manual of your computer or the documentation provided with the Samsung SSD. Consulting professional assistance is also an option if further guidance is needed.
In the next section, Step 7, we will cover the process of connecting the Samsung SSD to complete the installation.
Step 7: Connecting the Samsung SSD
Now that the Samsung SSD is securely installed in your computer, it’s time to connect it to ensure proper functionality. This step involves connecting the necessary cables to establish a data and power connection for the SSD.
Follow these steps to successfully connect the Samsung SSD:
- Locate an available SATA port on the motherboard: Inspect the motherboard and identify an available SATA port. This port will be used to establish the data connection between the motherboard and the Samsung SSD.
- Connect the SATA data cable: Take the SATA data cable, which should already be connected to the Samsung SSD, and connect the other end to the identified SATA port on the motherboard. Ensure a secure connection on both ends.
- Connect the SATA power cable: Take the SATA power cable that is connected to the power supply and connect the other end to the SATA power port on the Samsung SSD. Ensure a firm connection on both ends.
Once all the necessary cables are connected, double-check the connections to ensure they are secure. Ensure that the SATA data cable is securely plugged into both the Samsung SSD and the motherboard, and the SATA power cable is firmly connected to both the SSD and the power supply.
With the Samsung SSD now connected, you are one step closer to experiencing the improved performance and speed it offers. Take a moment to admire your work and appreciate the progress made in upgrading your computer’s storage solution.
Note: It’s crucial to handle the cables with care and avoid unnecessary strain or tension on the connections. Keeping cables organized and neatly routed will not only ensure a clean-looking installation but also minimize the risk of accidental disconnections or cable damage.
In the next step, Step 8, we will cover the process of closing the computer case and preparing for the final stages of the installation process.
Step 8: Closing the computer case
Now that you have successfully connected the Samsung SSD, it’s time to close the computer case. Closing the case will ensure that all components are protected and secure, providing a safe operating environment for your upgraded system.
Follow these steps to properly close the computer case:
- Check for any loose cables: Before closing the case, double-check all cable connections inside your computer. Ensure that all connections are secure and properly seated to avoid any potential issues or disruptions.
- Position the side panel: Take the side panel that was previously removed and align it with the case. Slowly and carefully slide the panel back into position, making sure it fully engages with the case.
- Secure the side panel: If your case uses screws to secure the side panel, use the appropriate screwdriver to fasten them in place. Tighten the screws just enough to ensure a snug fit without over-tightening.
With the side panel securely fastened, your computer case is closed and ready for the final steps of the installation process.
Before proceeding, take a moment to observe the closed case and ensure that everything appears to be in order. Check for any loose cables, ensure the side panel is flush with the rest of the case, and verify that all components are intact.
Note: It’s essential to ensure that the computer case is properly closed and secured to maintain optimal airflow and prevent dust or debris from entering the system. A properly closed case also protects your computer’s internal components from accidental damage.
In the next step, Step 9, we will cover the process of powering on the computer and configuring the Samsung SSD to complete the installation process.
Step 9: Powering on the computer and configuring the Samsung SSD
With the computer case securely closed, it’s time to power on the computer and configure the Samsung SSD. This final step will ensure that the SSD is recognized by the system and can be utilized for optimal performance.
Follow these steps to power on the computer and configure the Samsung SSD:
- Reconnect and power on the computer: Plug in the power cable and any other necessary cables, such as the monitor cable. Once everything is connected, press the power button to turn on your computer.
- Enter BIOS/UEFI settings: During the boot-up process, depending on your computer’s manufacturer and model, you may need to press a specific key or combination of keys (such as F2, Delete, or Esc) to enter the BIOS or UEFI settings.
- Locate the storage settings: Once inside the BIOS/UEFI settings, navigate to the storage settings. Look for options such as “Boot Order,” “Boot Priority,” or “Storage Configuration.”
- Set the Samsung SSD as the boot drive: In the storage settings, set the Samsung SSD as the primary boot drive. This will ensure that your computer boots from the SSD and takes advantage of its improved speed and performance.
- Save and exit the BIOS/UEFI settings: After making the necessary changes, save the settings and exit the BIOS/UEFI interface. Your computer will then restart.
Once your computer restarts, it should now be utilizing the Samsung SSD as the primary boot drive. You can verify this by checking the system information or examining the boot times, which should be significantly faster compared to the previous hard drive.
Congratulations! You have successfully installed and configured the Samsung SSD in your computer. Your system now enjoys the benefits of improved speed, responsiveness, and overall performance.
Take a moment to appreciate your accomplishment and enjoy the seamless experience provided by the Samsung SSD.
Note: If you encounter any issues during the boot-up process or are unsure about any step, consult your computer’s user manual or refer to the manufacturer’s support for assistance.
With the installation and configuration process complete, you can now fully enjoy the enhanced performance and reliability offered by your newly installed Samsung SSD.
Conclusion
Congratulations on successfully installing the Samsung SSD into your computer! By following the step-by-step guide provided, you have transformed your system with improved speed, responsiveness, and overall performance. Upgrading to an SSD provides numerous benefits, such as faster boot times, quicker file access, and a more efficient computing experience.
Throughout the installation process, you learned how to gather the necessary tools and equipment, prepare your computer for the installation, open the computer case, locate and disconnect the current hard drive, install and connect the Samsung SSD, close the computer case, and finally power on and configure the SSD.
Remember, proper handling and care of computer hardware are essential to avoid any damage or mishaps. Always consult the user manual or seek professional assistance if you are unsure or encounter any difficulties during the installation process.
Now that you have successfully completed the Samsung SSD installation, take the time to fully explore and enjoy the improved performance of your computer. Notice the difference in boot times, the increase in application speed, and the improved overall responsiveness of your system.
If you have any questions or concerns about your Samsung SSD or any other aspect of your computer, don’t hesitate to refer to the product documentation, reach out to Samsung’s customer support, or seek assistance from knowledgeable professionals in the field.
Thank you for choosing Samsung and taking the initiative to enhance your computer’s performance. We hope that this guide has been helpful in making the installation process smooth and enjoyable. Here’s to a faster and more efficient computing experience with your new Samsung SSD!