Introduction
Welcome to this comprehensive guide on how to install the Ring Home Security System. In today’s fast-paced world, keeping our homes and loved ones safe is a top priority. With the advancement of technology, home security systems have become more accessible, affordable, and user-friendly. The Ring Home Security System is one such solution that provides peace of mind, allowing you to monitor and protect your home from anywhere.
Whether you’re a tech-savvy individual or new to the world of smart home devices, this guide will walk you through the step-by-step process of setting up and installing your Ring Home Security System. From unboxing the components to connecting them to your Wi-Fi network and configuring the Ring app, we’ll cover it all.
Before we proceed, it’s important to note that the Ring Home Security System comprises various devices, including the Ring base station, Ring doorbell, and optional security cameras. The installation process may vary slightly depending on the specific components you’ve opted for. However, this guide will provide you with a general overview to help you get started.
So, let’s dive in and learn how to install the Ring Home Security System to protect what matters most to you.
Step 1: Unboxing the Ring Home Security System
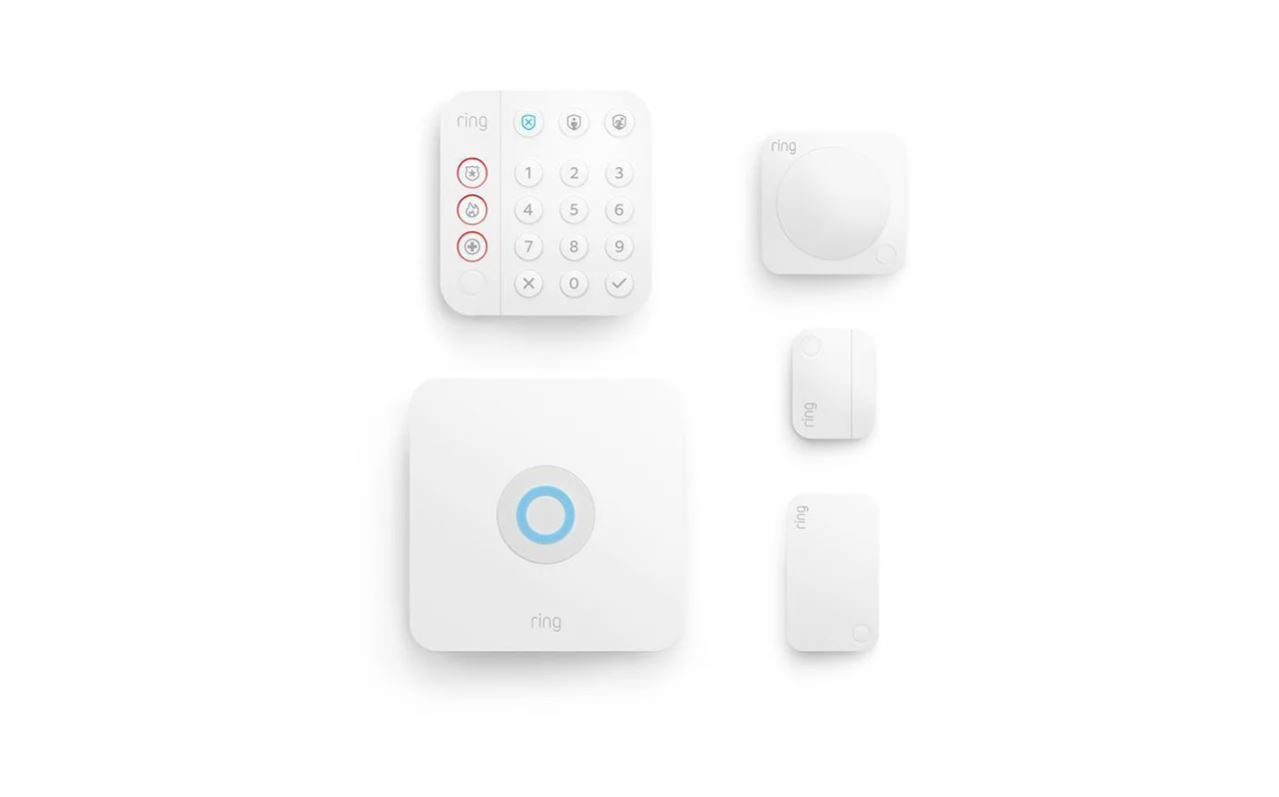
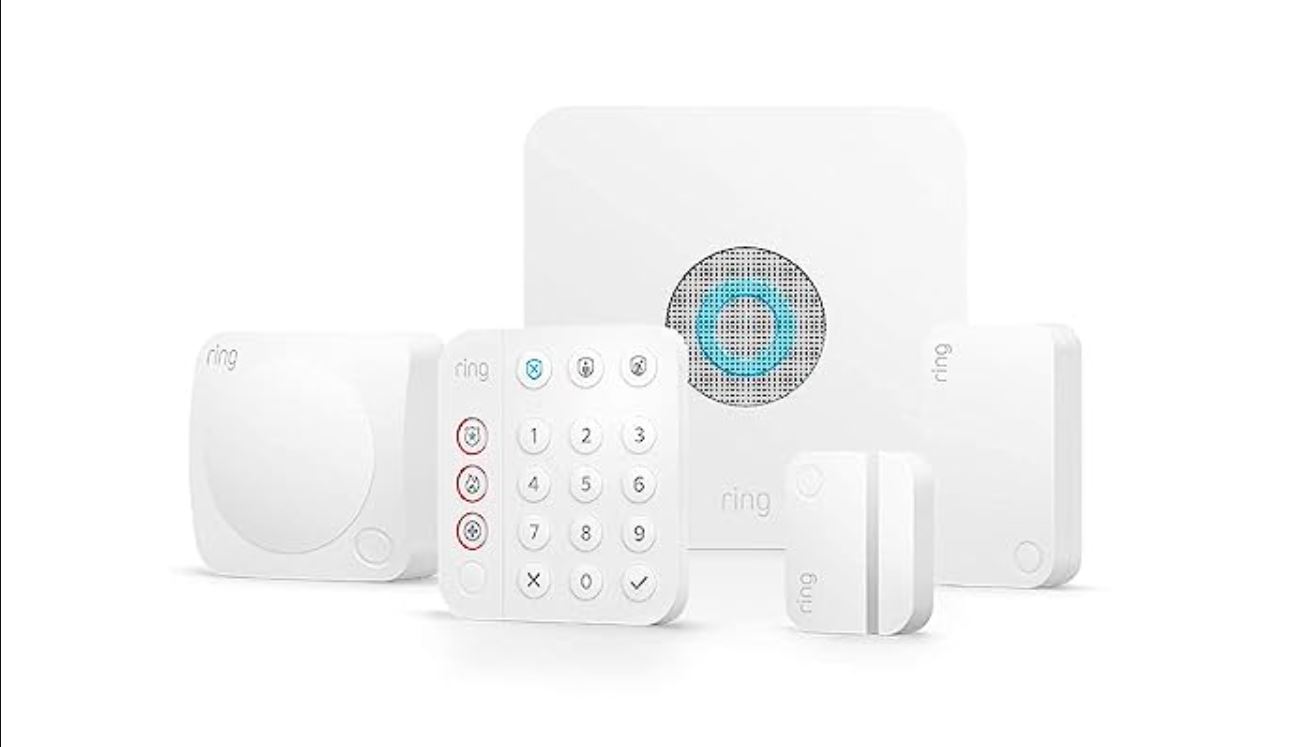
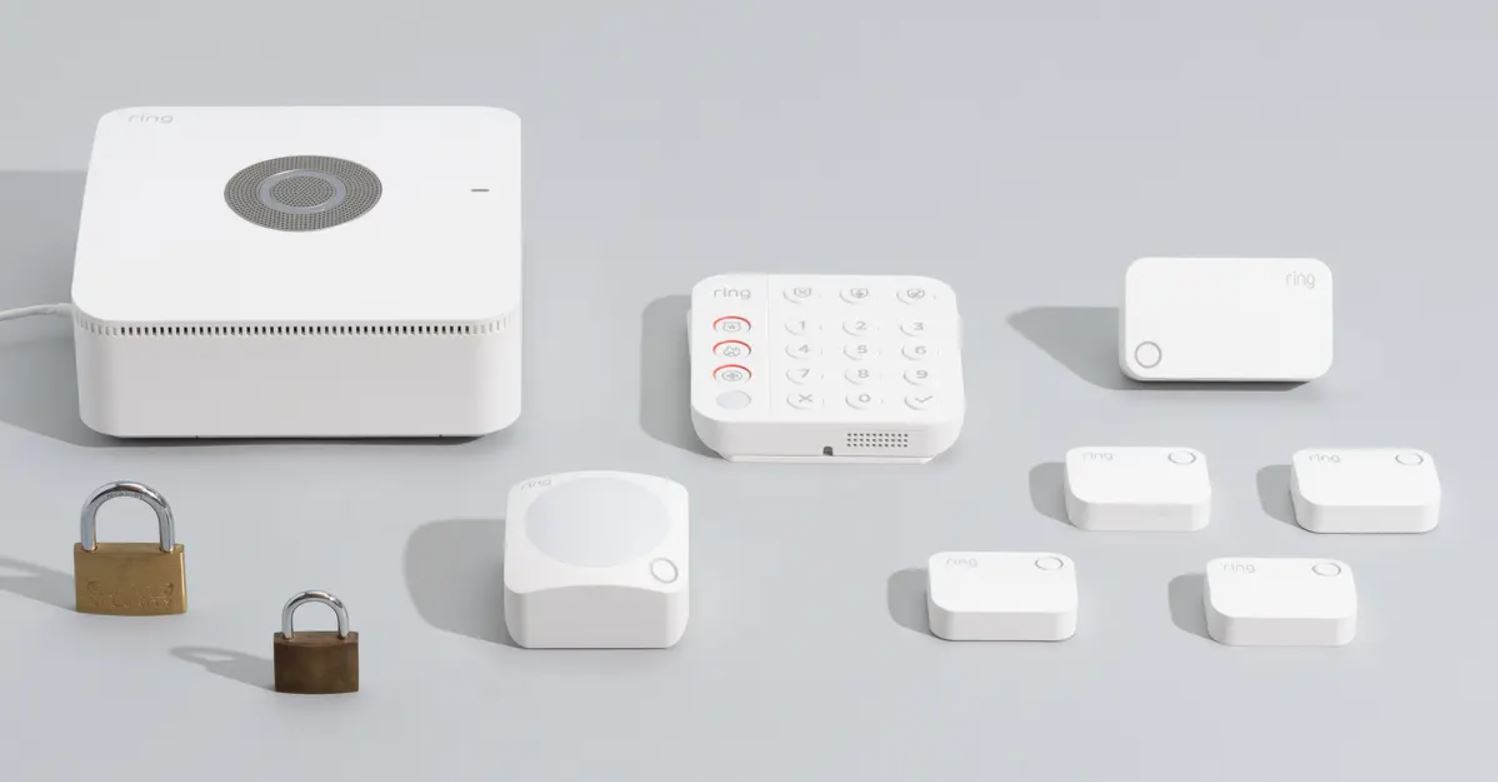
The first step in installing the Ring Home Security System is unboxing the components. This exciting process not only allows you to familiarize yourself with the equipment but also ensures that you have received all the necessary items.
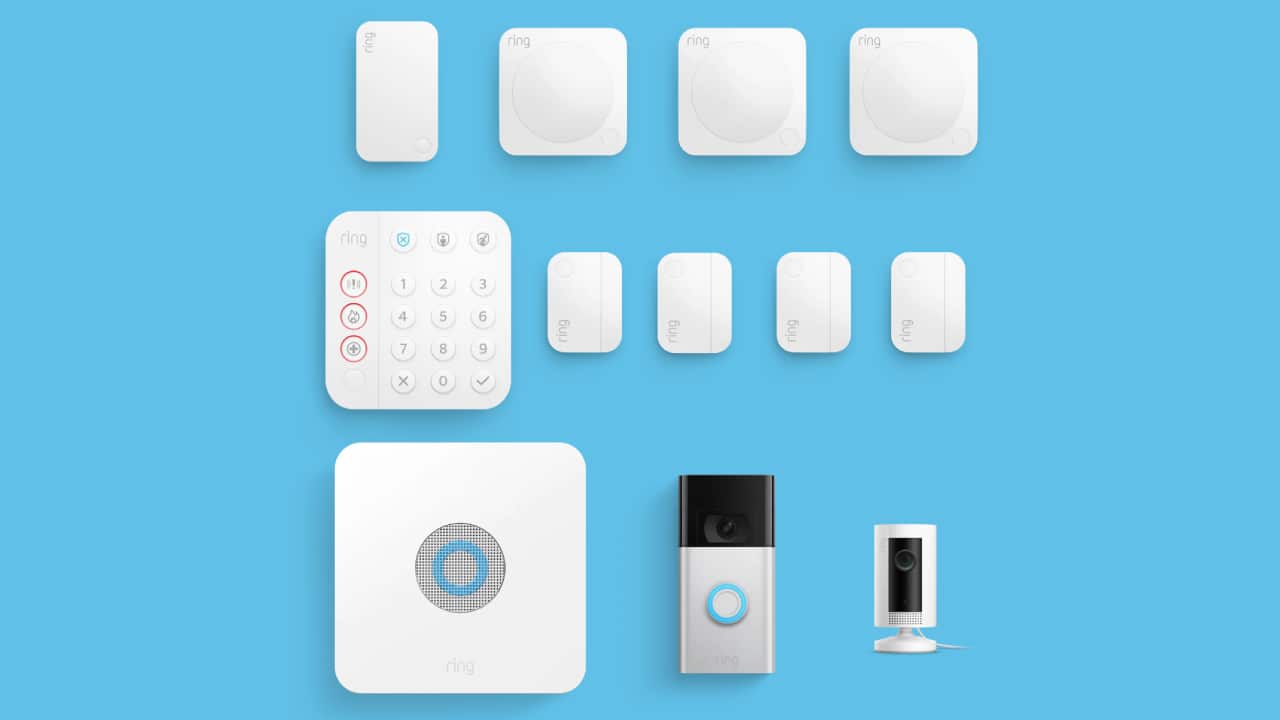
Upon opening the package, you will find the main components of the Ring Home Security System, including the Ring base station, Ring doorbell, and optional security cameras if you’ve chosen to include them. It’s crucial to carefully unpack and inspect each item to ensure they are in good condition and free from any damage caused during shipping.
Once you’ve confirmed that all components are present and intact, it’s time to gather the necessary tools for installation. Depending on the specific components you’re installing, you may need a screwdriver, screws, wall anchors, and a drill. Make sure you have these tools readily available before proceeding.
Before moving forward, take a moment to familiarize yourself with the user manuals and installation guides that accompany each component. These resources provide important instructions and guidelines specific to each device and will be invaluable throughout the installation process.
Unboxing the Ring Home Security System not only sets the stage for a successful installation but also allows you to envision where each component will be placed. Take a few moments to plan out the installation, considering the optimal locations for the base station, doorbell, and security cameras. This planning phase will streamline the installation process and ensure that each device is positioned correctly to maximize security coverage.
By carefully unboxing the Ring Home Security System and preparing yourself with the necessary tools and resources, you’re now ready to move on to the next step—setting up the Ring base station.
Step 2: Setting up the Ring Base Station
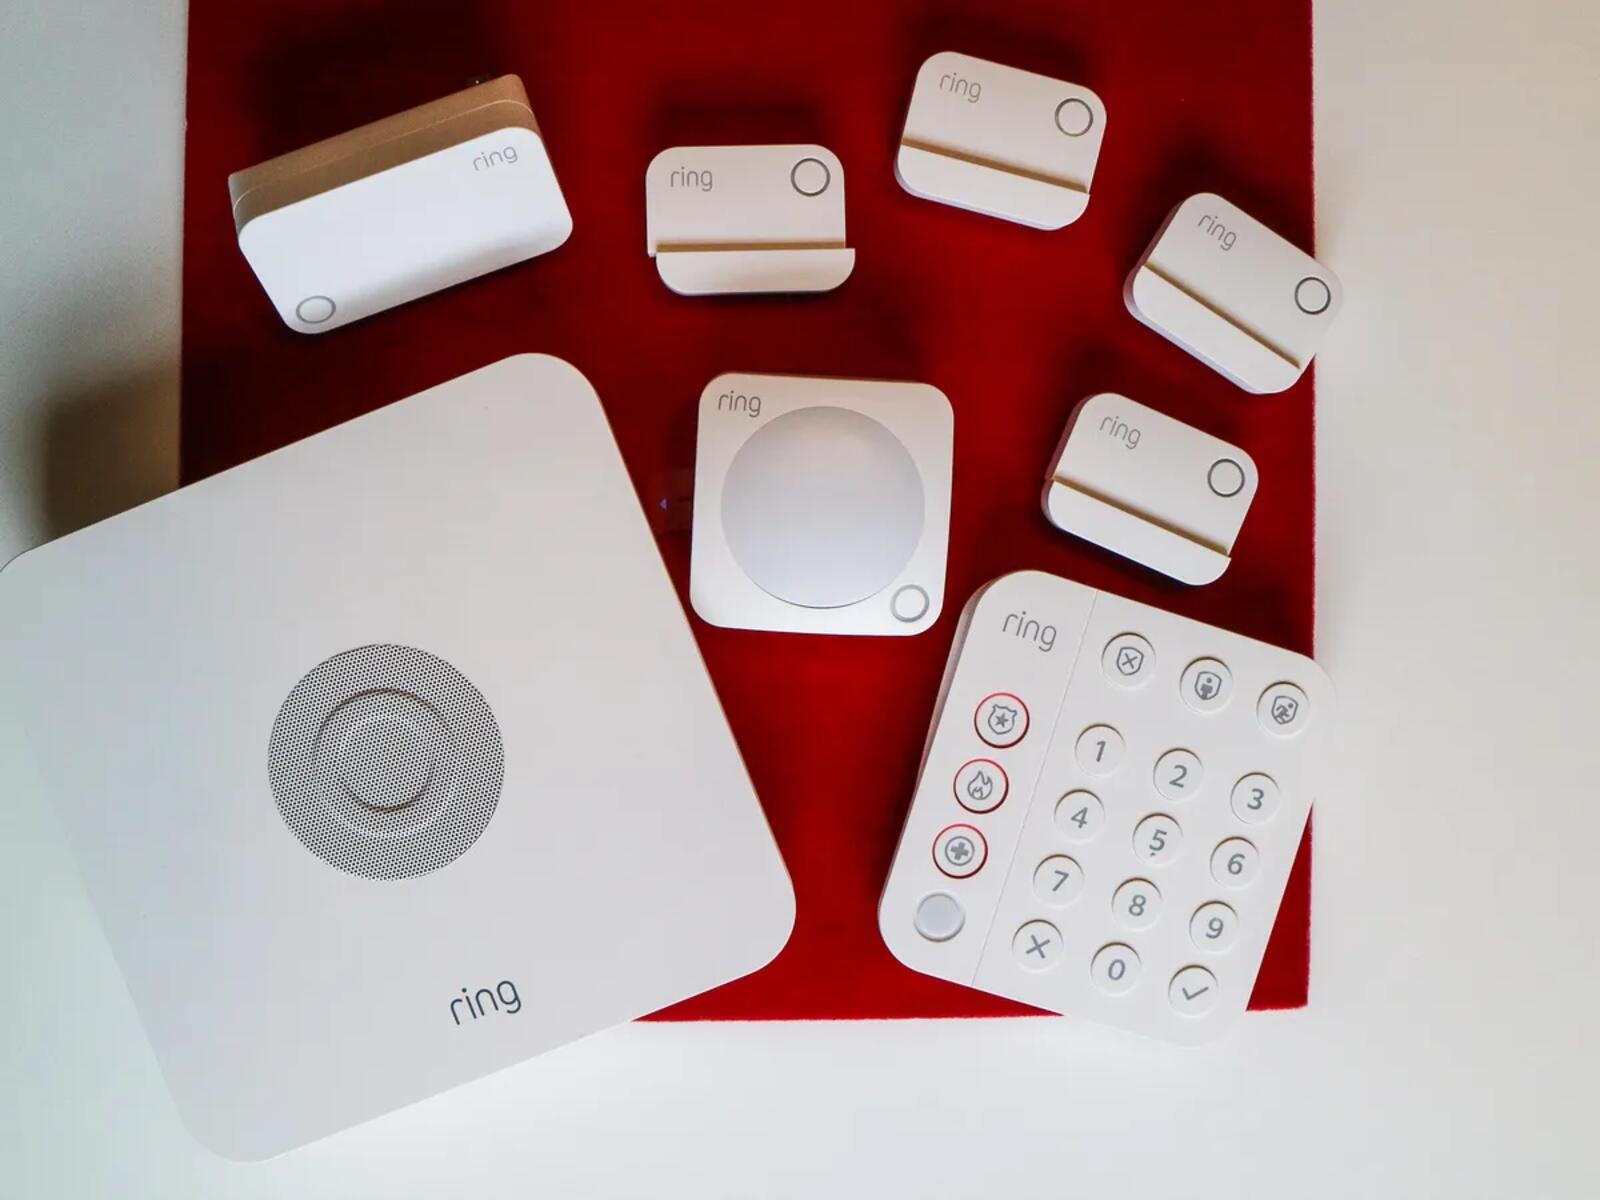
Once you have unboxed the Ring Home Security System, it’s time to set up the central hub of your system—the Ring base station. This base station serves as the communication center for all your Ring devices, allowing them to connect to your home’s Wi-Fi network and the Ring app.
Begin by finding an ideal location for the Ring base station. It’s best to choose a central area in your home, preferably near your router, to ensure a strong and reliable Wi-Fi connection. Keep in mind that the base station requires a power outlet for its operation, so plan accordingly.
Once you have identified the perfect spot, plug in the power adapter to the base station and connect it to a power outlet. The base station will automatically power on and initiate the setup process. Be patient as this may take a few moments.
Next, using a computer or smartphone connected to the same Wi-Fi network, open a web browser and visit the Ring website or download the Ring app. If you haven’t already created a Ring account, you will need to do so now.
Follow the on-screen instructions to add a Ring device and select “Base Station” as the device type. The app may prompt you to enter the serial number or scan the QR code located on the base station. This will link the base station to your Ring account.
During the setup process, you will be asked to name your base station and select your home’s Wi-Fi network from the available options. Enter your Wi-Fi network password when prompted to establish a secure connection. Ensure that you have a strong Wi-Fi signal in the area where the base station is placed to avoid any connectivity issues.
Once the base station is successfully connected, the Ring app will guide you through any necessary firmware updates. These updates are crucial for enhancing the performance and security of your Ring Home Security System, so it’s important to allow the process to complete.
Congratulations! You have now successfully set up your Ring base station. It is now ready to connect and communicate with your other Ring devices, including the doorbell and security cameras. In the next step, we will guide you through connecting the base station to your Wi-Fi network.
Step 3: Connecting the Ring Base Station to your Wi-Fi
With the Ring base station set up, the next step is to connect it to your home’s Wi-Fi network. Establishing a stable and secure wireless connection is crucial for seamless communication between the base station and your Ring devices.
To connect the Ring base station to your Wi-Fi, open the Ring app on your smartphone or visit the Ring website on your computer. Navigate to the settings menu and select the option to add a new device. Choose the base station as the device you want to connect.
The app will guide you through the process of connecting the base station to your Wi-Fi network. You’ll be asked to select your home’s Wi-Fi network from the available options. Make sure to choose the correct network to avoid any connectivity issues.
After selecting your Wi-Fi network, you will need to enter the network password. Double-check the password to ensure its accuracy and click on the “Connect” or “Join” button to establish the connection. The base station will now attempt to connect to your Wi-Fi network.
During the connection process, it’s essential to keep the base station in close proximity to your router to ensure a strong signal. This will help avoid any dropout or lag issues during operation. Once the base station successfully connects to your Wi-Fi network, you will be notified in the app.
If the base station fails to connect to your Wi-Fi network, you may need to move the base station closer to the router or consider troubleshooting any network issues. In such cases, refer to the Ring app’s troubleshooting guide or contact Ring’s customer support for assistance.
Connected to your home’s Wi-Fi network, the Ring base station is now ready to communicate with other Ring devices, enabling seamless monitoring and control through the Ring app. In the next step, we will guide you through the installation process of the Ring doorbell.
Step 4: Installing Ring Doorbell
The Ring doorbell is a key component of your Ring Home Security System, providing you with a visual and audio connection to your front door. Installing the Ring doorbell involves a few simple steps to ensure proper positioning and functionality.
Before you begin, make sure you have the necessary tools, including a screwdriver, screws, and wall anchors. Additionally, ensure that your Ring doorbell is fully charged or connected to a power source.
Start by selecting an appropriate location for your Ring doorbell. Ideally, it should be positioned near your front door, providing a clear view of anyone approaching. Ensure that the doorbell is mounted at a height where it is easily accessible but also out of reach from potential tampering.
Using the mounting bracket provided with the Ring doorbell, hold it against the wall or door frame in the desired position. Mark the screw holes with a pencil or marker, as these will serve as the anchor points for the installation.
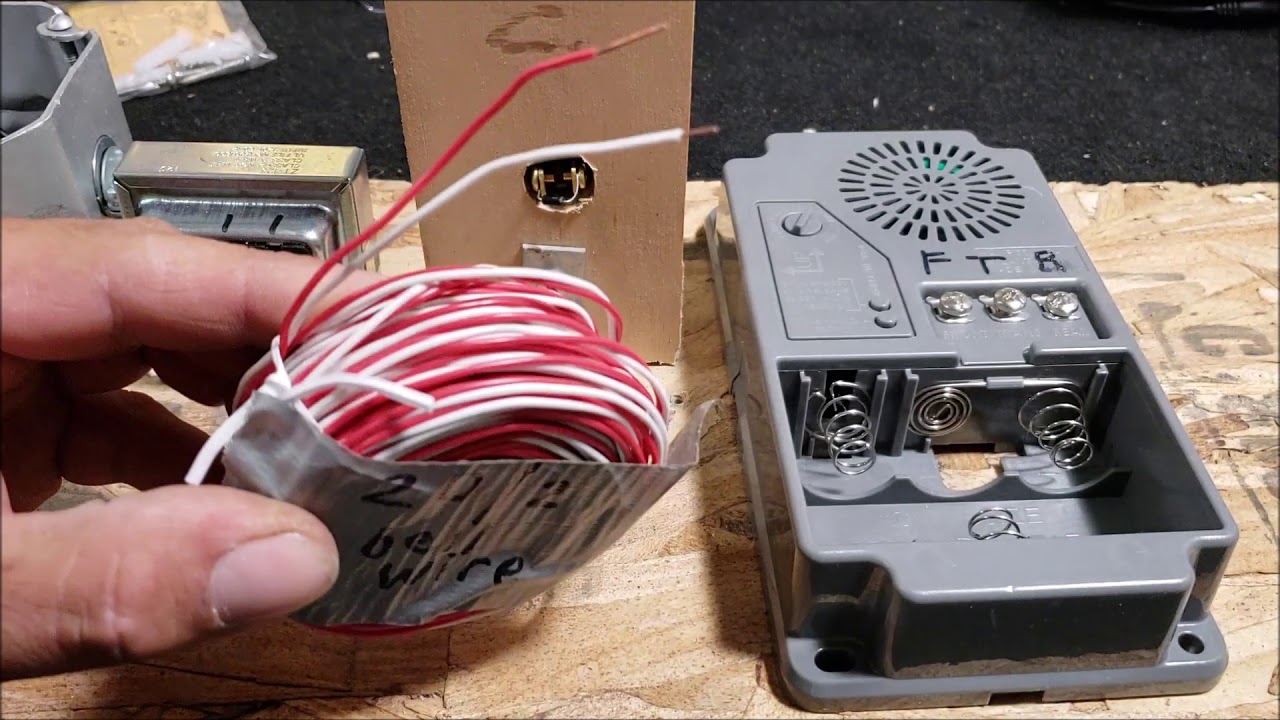
If your doorbell requires wiring for power, consult the Ring doorbell’s installation guide or seek professional assistance to properly connect it to your existing doorbell wiring. This will ensure a continuous power supply without the need for frequent battery changes.
If you’re using the battery-powered option, remove the faceplate of the Ring doorbell and insert the charged battery. Now, align the screw holes on the mounting bracket with the corresponding holes on the Ring doorbell.
With the mounting bracket aligned, gently press the Ring doorbell onto the bracket until it clicks into place. Ensure that it fits securely and doesn’t wobble or move excessively.
Using the provided screws and a screwdriver, tightly secure the Ring doorbell to the mounting bracket. Make sure the screws are firmly in place to ensure stability and prevent any accidental dislodging.
Once the Ring doorbell is securely installed, replace the faceplate to protect it from the elements. Check that it is properly aligned and fits snugly.
After installation, you can use the Ring app to complete the setup process for your Ring doorbell. Follow the prompts in the app to connect the doorbell to your Ring base station and customize its settings, such as motion detection sensitivity and notification preferences.
Congratulations! You have successfully installed your Ring doorbell. It is now ready to provide you with enhanced security and convenience at your front door. In the next step, we will discuss how to install Ring security cameras to further expand your surveillance coverage.
Step 5: Installing Ring Security Cameras
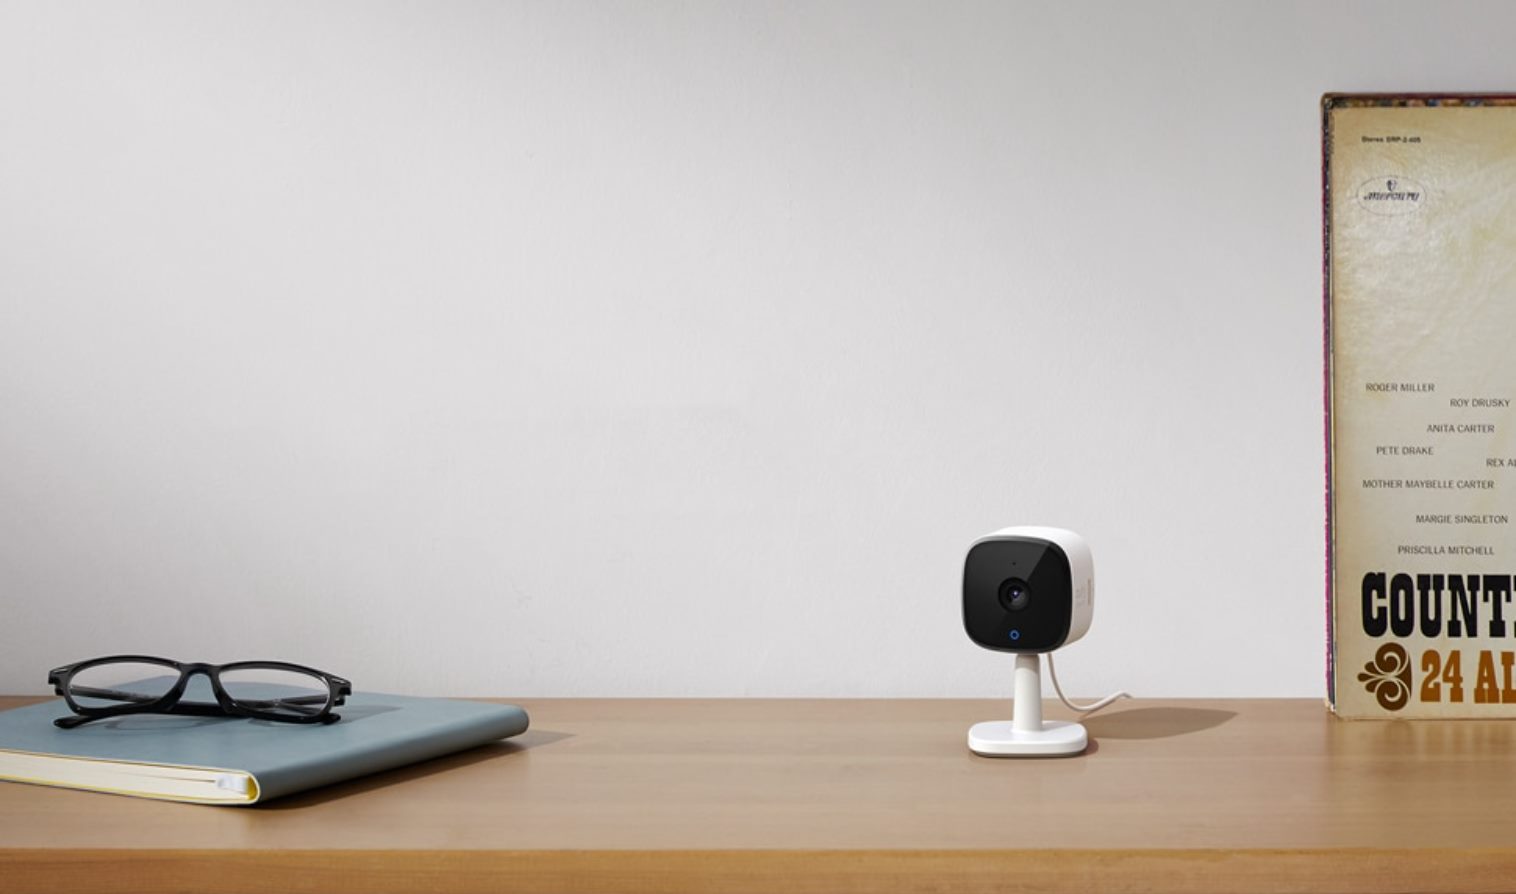
Expanding the surveillance coverage of your Ring Home Security System, installing Ring security cameras adds an extra layer of protection to your property. These cameras provide you with a visual deterrent and a means to monitor specific areas, both indoors and outdoors.
Before you begin the installation process, ensure that you have selected suitable locations for your Ring security cameras. Consider areas where you want to monitor activity, such as entrances, driveways, or common areas inside your home.
Start by choosing the first location for your Ring security camera. Ensure that it is within reach of a power outlet if you have a plug-in camera or that it is compatible with your chosen power option (plug-in, battery-powered, or solar-powered). If using a battery-powered camera, make sure the battery is fully charged.
With the location in mind, mark the spots where the camera will be mounted and the corresponding holes for the screws or anchors. Use a level to ensure that the camera will be straight and aligned correctly.
If using a plug-in camera, connect it to a nearby power outlet and route the power cord neatly along the wall or through a protective conduit. Be mindful of aesthetics and safety when routing the cord.
For battery-powered cameras, securely attach the mounting bracket to the marked spots on the wall using the provided screws and wall anchors if necessary. Ensure that the bracket is level and stable.
Once the mounting bracket is in place, attach the Ring security camera to the bracket. For certain models, this involves aligning the camera with the bracket and twisting it into place until it is firmly secured. For other models, follow the specific instructions provided with the camera.
If your Ring security camera requires Wi-Fi connection, make sure it is within range of your router or a Ring range extender. This ensures a strong signal for reliable performance and seamless integration with the Ring app.
After the camera is securely mounted, use the Ring app to complete the setup process. Add the camera to your Ring account, select your desired settings, and customize features such as motion detection, recording options, and alerts.
Repeat the above steps for each additional Ring security camera you wish to install in and around your property, considering the specific positioning requirements and ensuring a consistent power supply or connection to your home’s Wi-Fi network.
Congratulations! You have successfully installed your Ring security cameras. These cameras will provide you with an increased level of surveillance and peace of mind, allowing you to monitor activity around your home. In the next step, we will guide you through setting up the Ring app for seamless control and management of your Ring Home Security System.
Step 6: Setting up the Ring App
The Ring app is a central hub for managing and controlling your entire Ring Home Security System. Setting up the app is crucial for monitoring your devices, receiving notifications, and accessing advanced features and settings.
To begin, download the Ring app from the App Store or Google Play Store on your smartphone or tablet. Once installed, open the app and sign in to your Ring account using your registered email address and password. If you don’t have a Ring account, you can create one within the app.
After signing in, the app will prompt you to add your Ring devices. Tap on the “Set Up Device” option and select the type of device you want to add, such as the Ring base station, doorbell, or security cameras.
Follow the on-screen instructions to connect each device to your Ring account. This typically involves scanning the device’s QR code using your smartphone’s camera or manually entering the device’s serial number. The app will guide you through the process step-by-step.
Once your devices are successfully added, you can customize their settings, such as motion detection sensitivity, recording preferences, and notification alerts. Explore the app’s interface to familiarize yourself with its features, such as live view, event history, and the ability to arm or disarm your security system.
The Ring app also allows you to set up different user profiles and access levels. You can grant access to family members or trusted individuals, allowing them to monitor and control the Ring devices. This is particularly useful for shared living spaces or when you need to provide temporary access to caregivers or house guests.
Additionally, the Ring app provides integration with other smart home devices and services. You can connect it to compatible voice assistants, such as Amazon Alexa or Google Assistant, to control your Ring devices with voice commands. Explore the app’s settings to enable and personalize these integrations.
It’s important to regularly update the Ring app to ensure you have the latest features and security enhancements. Check for app updates in your device’s app store and enable automatic updates if available.
With the Ring app set up and personalized to your preferences, you can now enjoy seamless control and management of your Ring Home Security System. Utilize the app to monitor your devices, receive alerts, and stay connected with your home’s security at all times.
Conclusion
Congratulations! You have successfully learned how to install the Ring Home Security System. By following the step-by-step instructions in this guide, you have set up the Ring base station, connected it to your Wi-Fi, installed the Ring doorbell, and added security cameras to your system. Additionally, you have set up the Ring app, allowing you to control and monitor your entire Ring Home Security System from the convenience of your smartphone.
The Ring Home Security System provides you with the peace of mind and convenience of monitoring and protecting your home, whether you are inside or away. With features such as live view, motion detection, and event recording, you can stay aware of what’s happening around your property at all times.
Remember to regularly check for firmware updates for your Ring devices and keep the Ring app up to date to ensure optimal performance and access to the latest features. Familiarize yourself with the various settings and customizations available in the app to tailor it to your specific needs.
Installing the Ring Home Security System is just the beginning. It’s important to maintain good security practices, such as regularly checking the battery level of your devices, testing motion detection sensitivity, and ensuring your Wi-Fi network is secure. In doing so, you can maximize the effectiveness of your Ring Home Security System.
We hope this guide has been helpful in assisting you with the installation process. Please refer to the user manuals and additional resources provided by Ring for more detailed instructions specific to your devices. By taking the time to set up and install your Ring Home Security System properly, you can enjoy a safer and more secure home environment.
Thank you for choosing the Ring Home Security System, and we wish you peace of mind and security for years to come.