Introduction
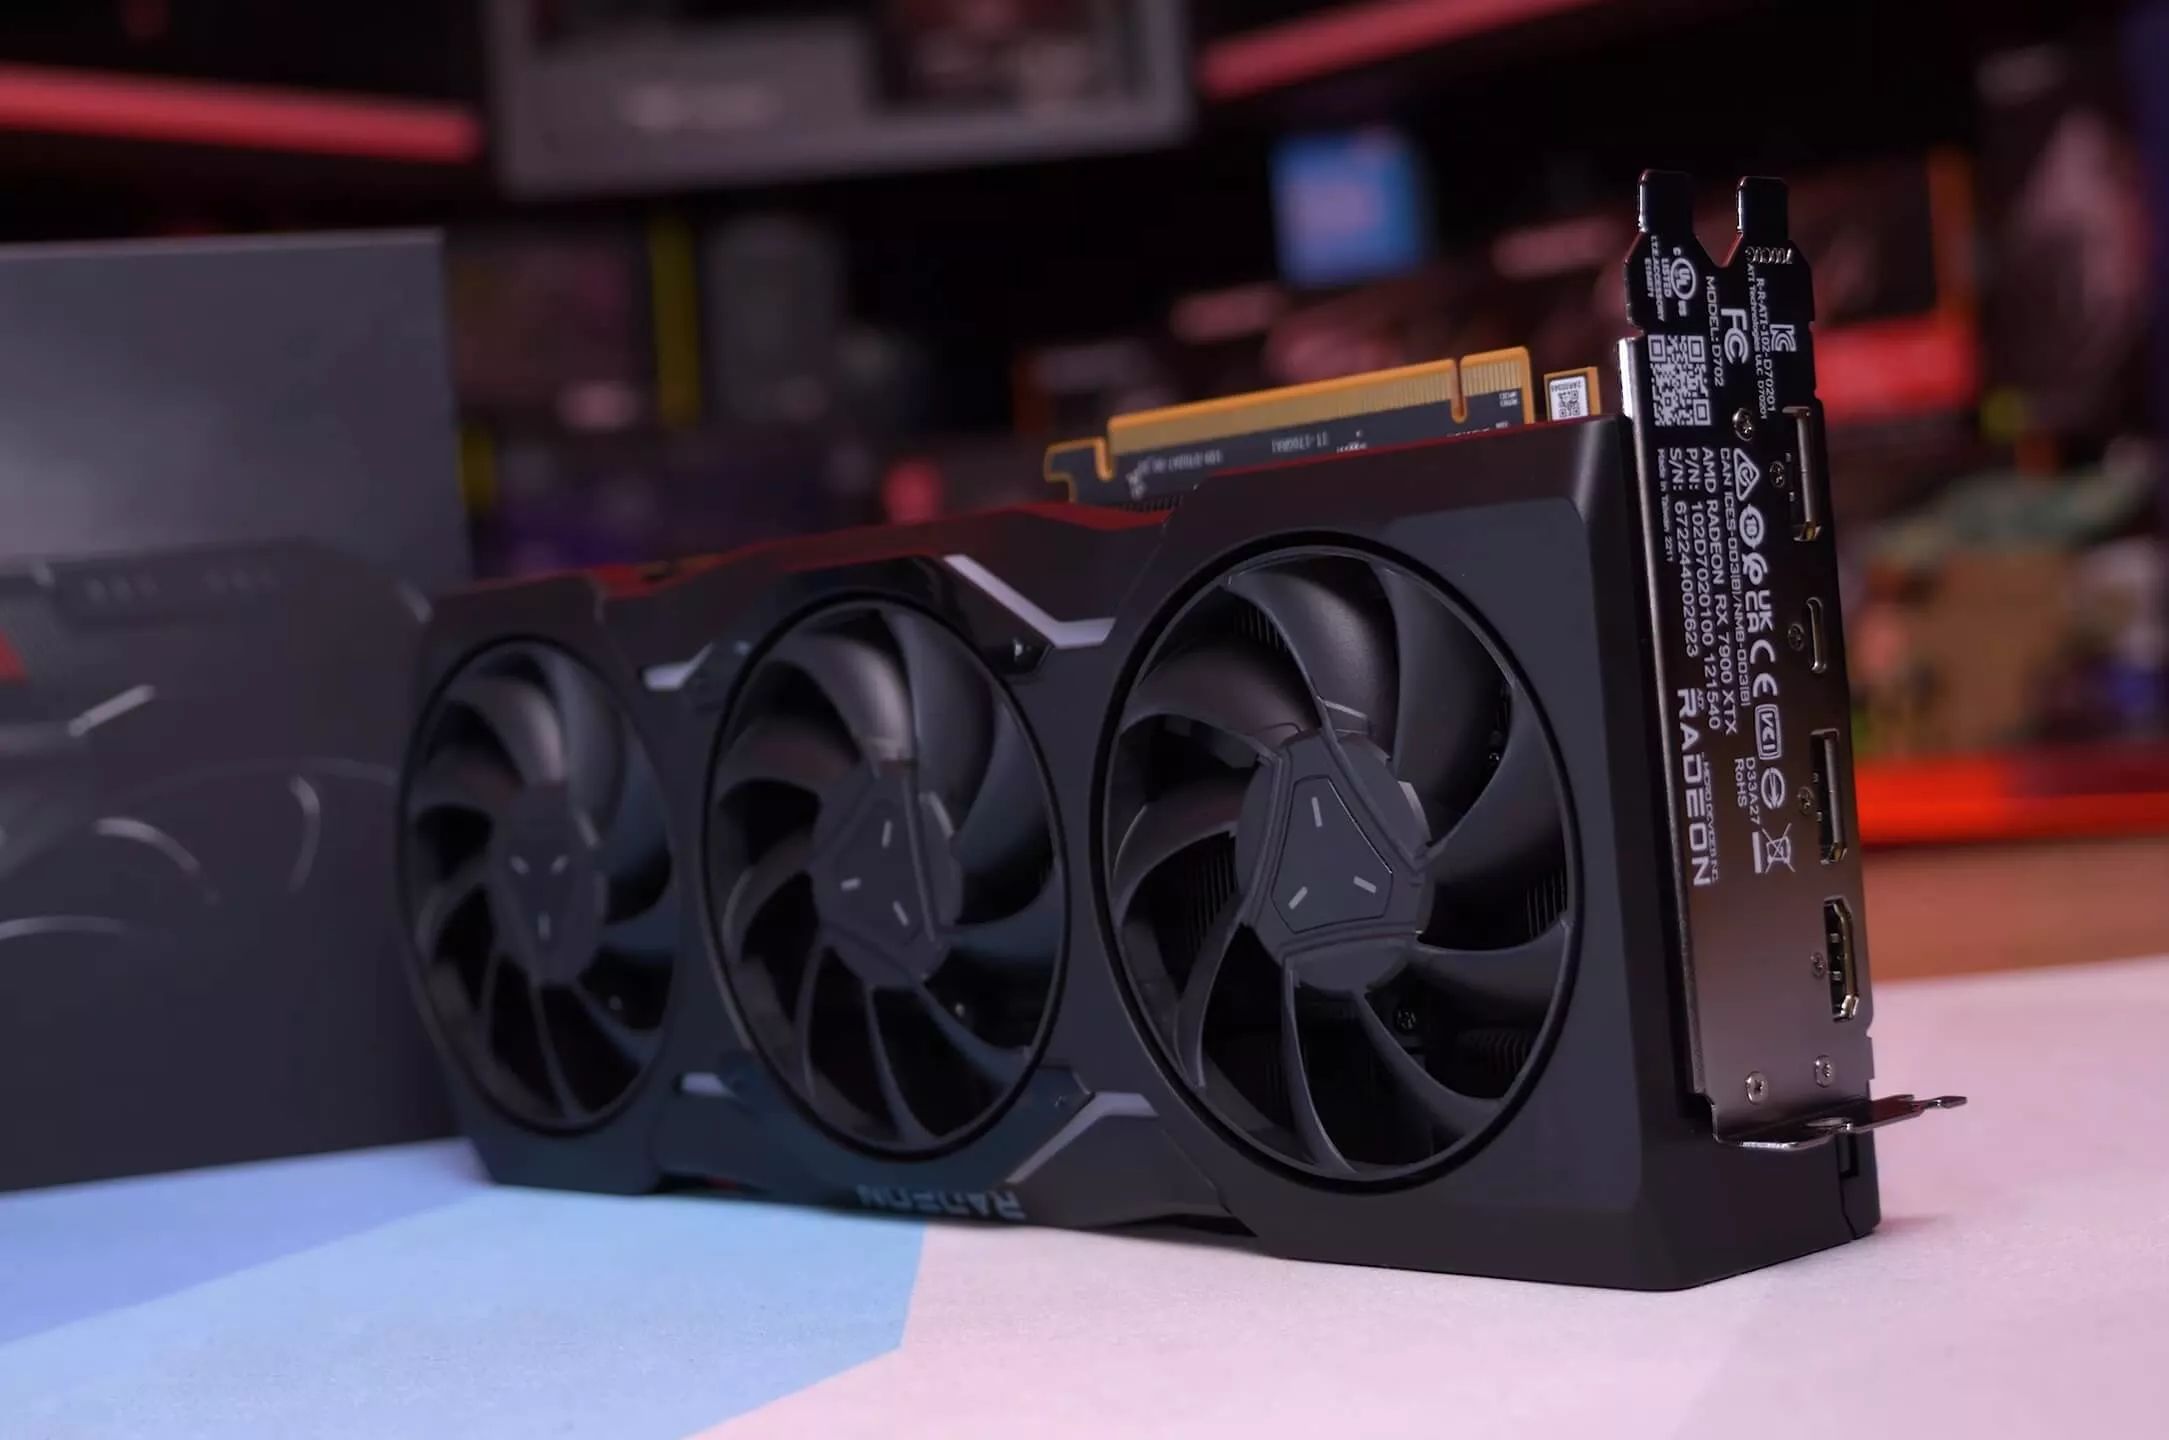
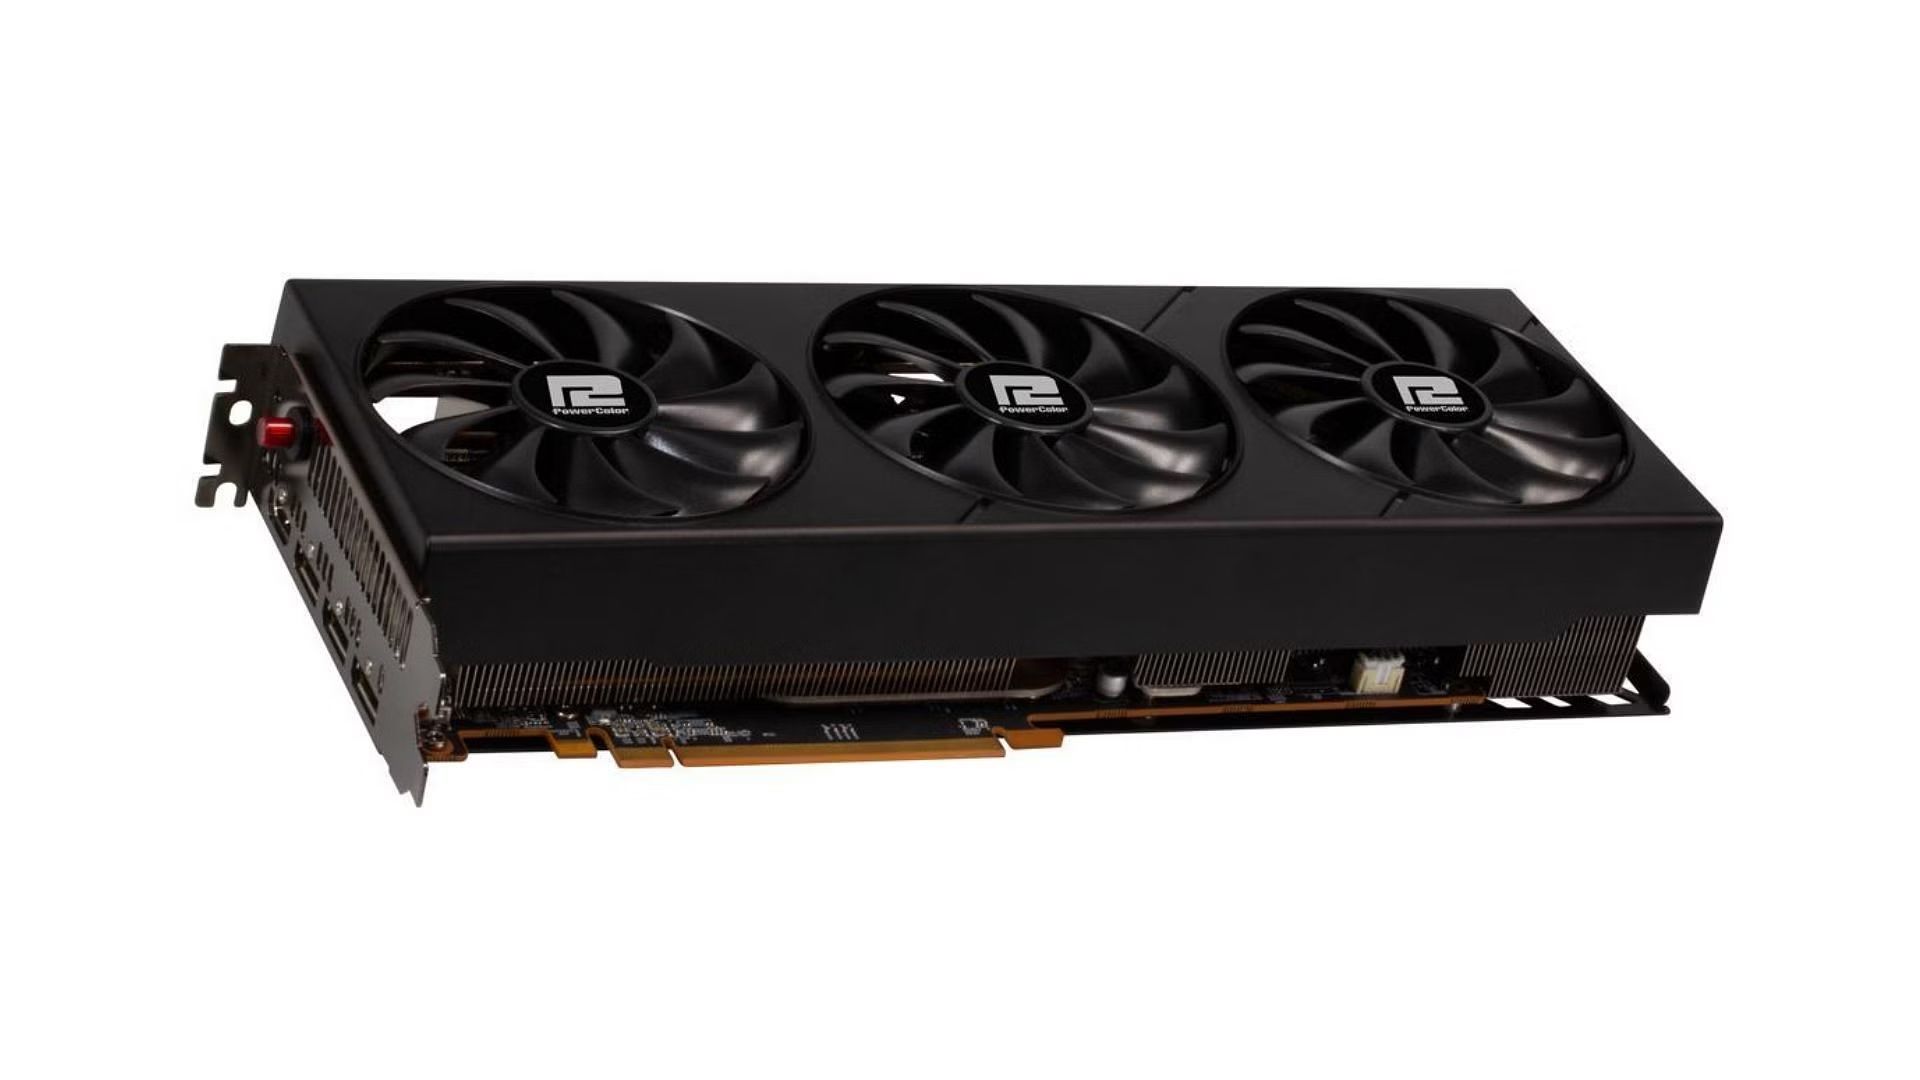
Welcome to our step-by-step guide on how to install a Radeon graphics card. Whether you’re a gaming enthusiast looking to boost your gaming performance or a professional in need of better graphics capabilities, installing a new graphics card can greatly enhance your computer’s visual processing power. With the Radeon graphics card series being a popular choice among users, we’ll walk you through the installation process to ensure a smooth and successful upgrade.
Before diving into the installation steps, it’s important to note that the process might vary slightly depending on your computer’s specific hardware and operating system. However, the general procedure outlined in this guide should apply to most systems.
Installing a new graphics card involves physically removing the existing one, connecting the new card, and ensuring proper driver installation. Each of these steps requires careful handling and attention to detail to prevent any hardware damage or compatibility issues. By following this guide, you can confidently install your Radeon graphics card and enjoy improved graphical performance in no time.
Throughout this guide, we will provide clear instructions and tips to make the installation process as user-friendly as possible. We’ll also address common issues you may encounter and offer troubleshooting solutions. So, let’s dive in and get started with checking the system compatibility before proceeding with the installation process.
System Compatibility
Before embarking on the installation process, it is crucial to ensure that your system is compatible with the Radeon graphics card you intend to install. This will help prevent issues such as hardware incompatibility or insufficient power supply.
First, check the specifications of your graphics card and compare them with your computer’s specifications. Make sure that your computer meets the minimum requirements specified by the graphics card manufacturer. This typically includes the motherboard compatibility, available PCIe slots, and minimum power supply wattage.
Next, take note of the power requirements of the graphics card. High-performance graphics cards often require their dedicated power supply connections in addition to the power supplied through the PCI Express slot. Make sure your power supply unit has sufficient connectors and wattage to support the new graphics card.
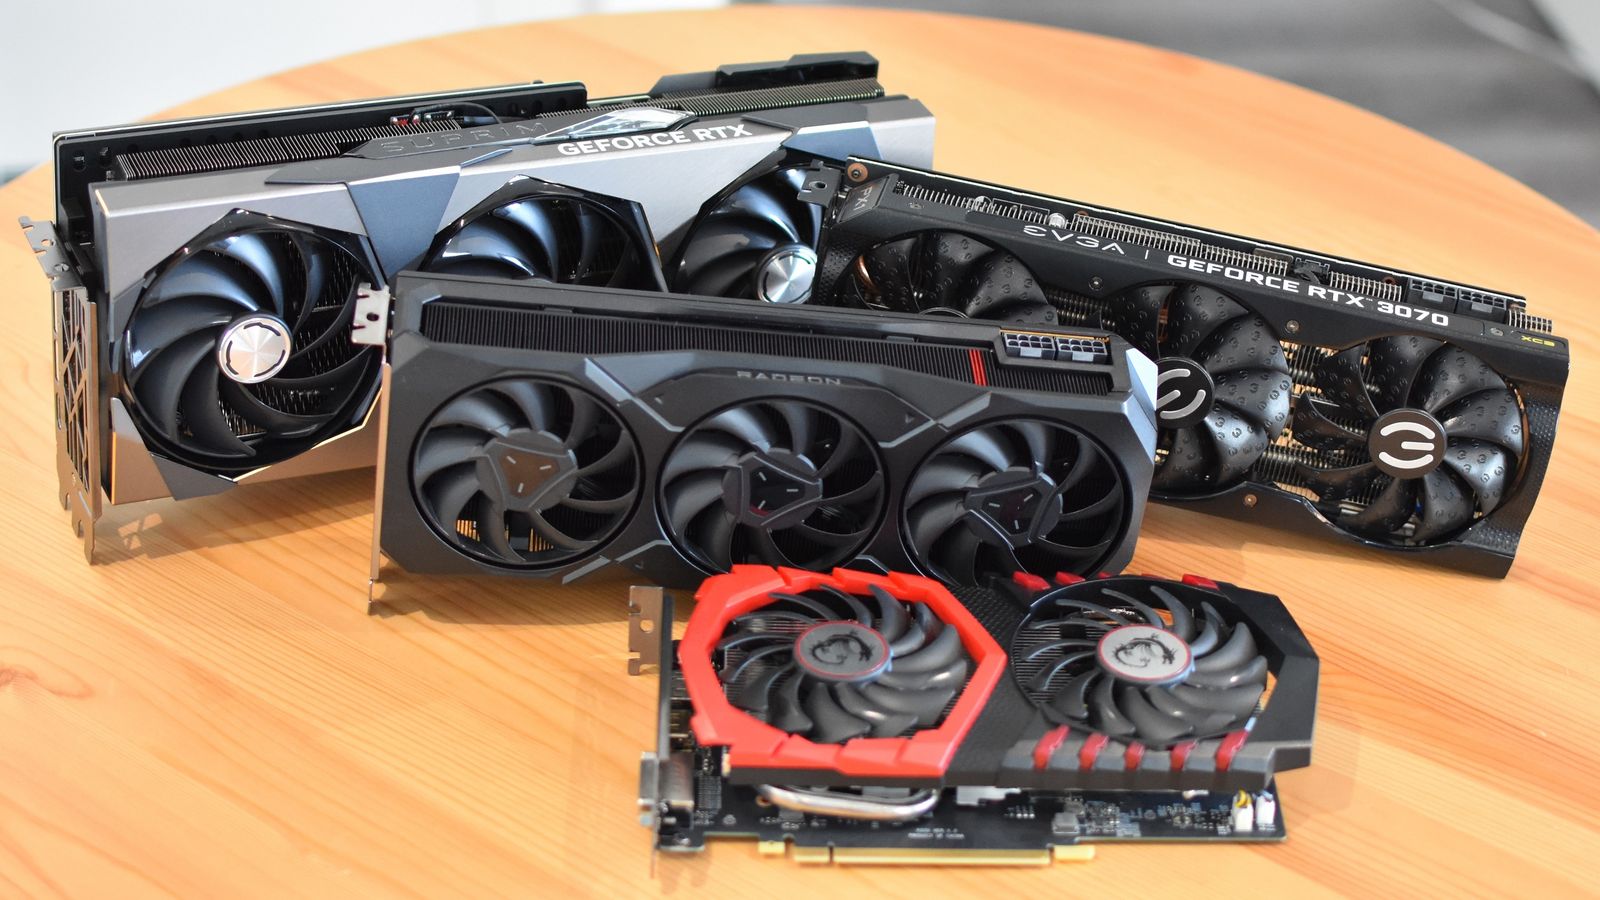
Additionally, consider the physical dimensions of the card and whether it will fit into your computer’s case. Some high-end graphics cards can be sizeable and may not fit in small form-factor cases. Check your computer’s manual or measure the available space inside the case to ensure compatibility.
Lastly, ensure that your operating system is compatible with the graphics card driver. Visit the manufacturer’s website and check for available drivers that are compatible with your operating system version. Failure to install the correct drivers can lead to compatibility issues and prevent your graphics card from functioning optimally.
By verifying system compatibility before proceeding, you’ll save yourself the headache of encountering major compatibility issues during the installation process. If your system meets the requirements and is compatible with the Radeon graphics card you wish to install, you can confidently move on to preparing your computer for the installation.
Preparing the Computer
Before you begin the installation process, there are a few preparatory steps to take to ensure a smooth and hassle-free experience. These steps will help ensure your safety and the integrity of your computer components.
First, power off your computer completely and unplug it from the wall socket. This step is essential to prevent any electrical mishaps or damage to your hardware.
Next, open up your computer case. The method for doing this will vary depending on the case model, but it typically involves removing screws or sliding off side panels. Consult your computer’s manual or do a quick search online for instructions specific to your model.
Once the case is open, ground yourself to remove any static electricity that could damage sensitive components. You can do this by touching a grounded metal object or wearing an anti-static wrist strap.
Now, take a moment to locate the current graphics card inside your computer. It should be easily identifiable as the component connected to the monitor. Take note of any screws or clips holding the card in place.
Before moving on, check if there are any driver software or utilities associated with your current graphics card. It’s a good practice to uninstall them to avoid any conflicts once you install the new Radeon graphics card.
With your computer prepared and the existing graphics card identified, you’re ready to move on to the next step: removing the old graphics card. Stick around as we guide you through this process step-by-step, making sure you handle everything correctly.
Removing the Old Graphics Card
Now that your computer is prepped, it’s time to remove the old graphics card. Follow these steps carefully to ensure a smooth removal process:
- Locate the screws or clips securing the graphics card to the motherboard. These are typically found at the rear of the card, where it connects to the motherboard.
- Using a screwdriver or your fingers, carefully remove the screws or unclip the card from its slot. Take note of any plastic tabs that may be holding the card in place.
- Gently pull the card straight out of the slot, applying even pressure to avoid bending or damaging any components.
- Once the card is free from the slot, place it in an anti-static bag or on a soft, non-conductive surface to prevent any damage.
- If your old graphics card required any power connections, unplug them from the card to fully remove it from your system.
With the old graphics card removed, take a moment to inspect the PCIe slot for any dust or debris. If necessary, use compressed air or a can of compressed air to clean out the slot, ensuring a clean and secure connection for the new graphics card.
You are now ready to move on to the exciting part: installing the new Radeon graphics card. Stay with us as we guide you through the process, step by step, to ensure a successful upgrade.
Installing the New Graphics Card
With the old graphics card safely removed, it’s time to install your new Radeon graphics card. Follow these steps carefully to ensure a successful installation:
- Align the new graphics card with the PCIe slot on the motherboard. Note that the PCIe slot may have a latch or a clip that needs to be pushed aside or opened before inserting the card.
- Gently push the card into the slot, applying even pressure until you feel it securely seated in the slot. Be sure not to force the card or angle it while inserting.
- If there are any screws or clips provided with the graphics card, use them to secure the card to the computer case. This will help prevent any unwanted movement or damage to the card.
- Ensure that the new graphics card is properly aligned with the back panel of the case to allow for easy access to the display ports.
- Double-check that all connections are securely in place, including any power connectors required by the new graphics card.
Once the new Radeon graphics card is installed and secured, you’re almost ready to power on your computer. However, before you do so, it’s essential to ensure that the card is properly powered and connected to your display. Let’s move on to the next step and take care of these connections.
Connecting Power and Cables
Now that you have installed the new Radeon graphics card in your computer, it’s time to connect the necessary power and cables to ensure proper functionality. Follow these steps to make sure everything is correctly connected:
- Locate the power connectors on the new graphics card. Most modern graphics cards require additional power beyond what is supplied through the PCIe slot.
- Connect the appropriate power cables from your power supply unit to the power connectors on the graphics card. Ensure that the connectors match the ones on the card and that they are fully inserted and secure.
- Check that your computer’s display is connected to the graphics card. If you were previously using integrated graphics, you may need to switch the cable from the motherboard’s video output to the new graphics card’s output.
- Connect your display cable (HDMI, DisplayPort, DVI, etc.) to the corresponding port on the new graphics card. Ensure a firm connection by tightening any screws or locking mechanisms.
- Double-check that all connectors are secure and properly seated.
Connecting the power and cables properly is crucial for the new graphics card to function optimally. With the power and display connections established, you are now ready to install the necessary graphics card drivers.
Installing Graphics Card Drivers
Installing the appropriate graphics card drivers is essential to ensure optimal performance and compatibility with your new Radeon graphics card. Follow these steps to install the necessary drivers:
- Start by inserting the installation disc that came with your graphics card into your computer’s optical drive. If your computer does not have an optical drive, you can download the latest drivers from the manufacturer’s website.
- Run the driver installation program from the disc or the downloaded file. Follow the on-screen instructions to proceed with the installation.
- During the installation process, you may be prompted to select driver components or choose installation options. Select the recommended options for a standard installation.
- Once the installation is complete, restart your computer to finalize the driver installation.
- After restarting, check the graphics card manufacturer’s website for any driver updates. Download and install any available updates to ensure that you have the latest drivers for optimal performance and compatibility.
It’s worth noting that Windows operating systems may automatically install basic drivers when the new graphics card is detected. While these drivers allow the card to function, it is still crucial to install the manufacturer’s drivers for the best performance and features.
With the graphics card drivers successfully installed, you’re now ready to test your new Radeon graphics card and ensure everything is functioning as expected. Let’s move on to the next section and run some tests to verify the installation.
Testing the New Graphics Card
Now that you have successfully installed the drivers for your new Radeon graphics card, it’s time to test its performance and ensure everything is working as intended. Follow these steps to test your new graphics card:
- Restart your computer to ensure that all changes take effect.
- Once your computer has booted up, open up your favorite graphics-intensive applications or games. This could include demanding games, creative software, or benchmarking tools.
- Launch the application or game and observe the graphics card’s performance. Check for any graphical glitches, artifacts, or performance issues.
- Play a graphics-intensive game for some time to observe the performance and smoothness of gameplay. Ensure that the graphics card can handle the game without overheating or causing any crashes.
- If you notice any issues, such as graphical artifacts, crashes, or performance degradation, consider updating your drivers to the latest version. Visit the graphics card manufacturer’s website and download the most up-to-date drivers for your specific model.
Additionally, you can run benchmarking software to assess the performance of your new graphics card. These programs provide detailed information about your graphics card’s capabilities and can give you an idea of how it compares to other cards in terms of performance.
By thoroughly testing your new graphics card, you can ensure that it is functioning correctly and taking full advantage of its capabilities. If you encounter any issues during testing, refer to the troubleshooting section for common solutions.
With the new Radeon graphics card installed, drivers updated, and successful performance testing, you can now enjoy improved graphics performance in your favorite applications and games. However, before concluding, let’s take a look at some common issues that users may encounter during the installation process and how to troubleshoot them effectively.
Troubleshooting Common Issues
Although the installation process generally goes smoothly, there are a few common issues that users may encounter when installing a new Radeon graphics card. Here are some troubleshooting tips to help resolve these issues:
1. No display or black screen: If you experience no display or a black screen after installing the new graphics card, first ensure that the card is securely seated in the PCIe slot. Double-check the power connections and display cable connections. If the issue persists, try connecting the display to a different port on the graphics card. If all else fails, revert to the previous graphics card and update the drivers before attempting the installation again.
2. Driver conflicts: In some cases, conflicts between the new graphics card’s drivers and existing drivers can cause issues. To resolve this, uninstall the old graphics card drivers before installing the new ones. Use a driver uninstallation tool or software like Display Driver Uninstaller to remove any residual files. Reboot your computer and reinstall the latest drivers for your Radeon graphics card.
3. Incompatible drivers or software: If you encounter compatibility issues or software conflicts, check the graphics card manufacturer’s website for any updated drivers or software patches. Install the latest updates and ensure compatibility with your specific operating system version.
4. Overheating or fan issues: If you notice your new graphics card running hot or experiencing fan issues, make sure that the fans are properly connected and functioning. Ensure that the graphics card has adequate airflow within your computer case. You can also adjust fan settings and GPU performance using third-party software or the manufacturer’s software suite.
5. Error messages or system crashes: If you experience error messages or system crashes after installing the new graphics card, it may be due to faulty drivers or conflicting hardware. Restart your computer in safe mode and uninstall the graphics card drivers. Reboot again and install the latest drivers from the manufacturer’s website. If the issue persists, seek further assistance from customer support or forums specific to Radeon graphics cards.
Remember that these troubleshooting tips are general solutions to common issues and may not resolve all problems. If you encounter persistent issues or are unsure of how to proceed, it’s recommended to consult with the manufacturer’s support or seek assistance from a professional.
With these troubleshooting tips, you are equipped to address common issues that may arise during the installation process. Now you can enjoy the enhanced graphics performance and immersive visual experience that your new Radeon graphics card brings to your computer.
Conclusion
Congratulations! You have successfully learned how to install a Radeon graphics card in your computer. By following the step-by-step guide provided, you should now have a better understanding of the installation process, from system compatibility checks to driver installation and troubleshooting common issues.
Upgrading your graphics card to a Radeon model can greatly enhance your computer’s visual performance, whether you’re a gaming enthusiast, a creative professional, or simply someone looking for smoother graphics and improved display capabilities. With the right hardware, proper installation techniques, and up-to-date drivers, you can unlock the full potential of your new graphics card.
Remember to always ensure system compatibility before proceeding with the installation and to handle your components with care. Additionally, make sure to follow the manufacturer’s instructions and refer to their website for the latest drivers and software updates.
If you encounter any issues during the installation process or while using your new graphics card, don’t panic. Troubleshoot the problem using the tips provided or reach out for assistance from the manufacturer’s support team or relevant online forums.
Now that you have successfully installed your new Radeon graphics card and verified its performance, it’s time to enjoy the improved visual experience it brings to your computer. Whether you’re gaming, creating artwork, or tackling graphics-intensive tasks, your new graphics card will provide you with enhanced visuals and smoother performance.
We hope this guide has been helpful in your journey to install a Radeon graphics card. Embrace the power of your new graphics card, and enjoy the immersive visual experience it offers!


