Introduction:
Welcome to this step-by-step guide on how to install a new battery in your Toshiba Ultrabook. If you find that your Ultrabook’s battery life has been dwindling or it’s not holding a charge anymore, it’s time to replace the battery.
Replacing the battery doesn’t have to be a daunting task. With the right tools and a little patience, you’ll have your Ultrabook up and running with a new battery in no time.
Before we dive into the steps, it’s essential to ensure that you have the correct battery for your Toshiba Ultrabook model. Consult your laptop’s user manual or Toshiba’s website to identify the compatible battery. Once you have the right battery on hand, you’re ready to begin.
In this guide, we will walk you through the process of installing a new battery in your Toshiba Ultrabook. We’ll cover everything from powering off the device to securing the new battery in place. By following these steps carefully, you can extend the life of your Ultrabook and ensure that it continues to function optimally.
Before we get started, make sure you have the necessary tools handy. It’s always a good idea to gather all the required tools before you begin any DIY project. In the next section, we’ll take a look at the tools you’ll need to complete this battery replacement.
Step 1: Gather the Necessary Tools:
Before you begin the battery replacement process, it’s vital to have all the necessary tools at hand to ensure a smooth and efficient procedure. Here are the tools you’ll need:
- Screwdriver: Depending on your Toshiba Ultrabook model, you may require either a Phillips or a Torx screwdriver to remove the screws holding the battery compartment in place. Check the user manual or the laptop’s bottom panel for the appropriate screwdriver type.
- New Battery: Ensure you have the correct replacement battery for your Toshiba Ultrabook model. Verify the compatibility and specifications to avoid any compatibility issues.
- Clean Cloth: A soft, lint-free cloth is essential to clean the battery contacts and the surrounding area before inserting the new battery. This will help maintain good conductivity and prevent any dirt or debris from interfering with the battery performance.
- Anti-static wrist strap (optional): If you have an anti-static wrist strap, it’s advisable to wear it during the battery replacement process. This strap helps prevent static electricity buildup, reducing the risk of damage to sensitive electronic components.
- Work surface: Find a clean and well-lit work area where you can comfortably perform the battery replacement. Make sure you have ample space to keep the tools and the removed screws without misplacing them.
- Container for screws: It’s a good practice to have a small container or a magnetic tray to safely store the screws and avoid losing them during the process.
With these tools ready, you are now well-prepared to proceed with the battery replacement. In the next step, we will guide you on how to power off your Toshiba Ultrabook safely.
Step 2: Power Off the Ultrabook:
Before starting any hardware-related task, it’s crucial to power off your Toshiba Ultrabook to avoid any potential damage or electrical hazards. Follow these steps to safely power off your device:
- Save your work: Double-check that you’ve saved all your open files and closed any running applications to prevent any data loss.
- Disconnect external devices: Unplug any external devices, such as USB drives or headphones, from your Ultrabook.
- Shut down the Ultrabook: Click on the “Start” button in the bottom left corner of your screen and select “Shut Down” from the options. Wait for your Ultrabook to fully power down before proceeding to the next step.
- Disconnect the power cord: Unplug your Ultrabook from its power source by carefully removing the power cord connection.
Ensuring that your Ultrabook is powered off and disconnected from any power source is essential for your safety and the success of the battery replacement process. Now that your device is turned off, we can move on to the next step of locating the battery release latch.
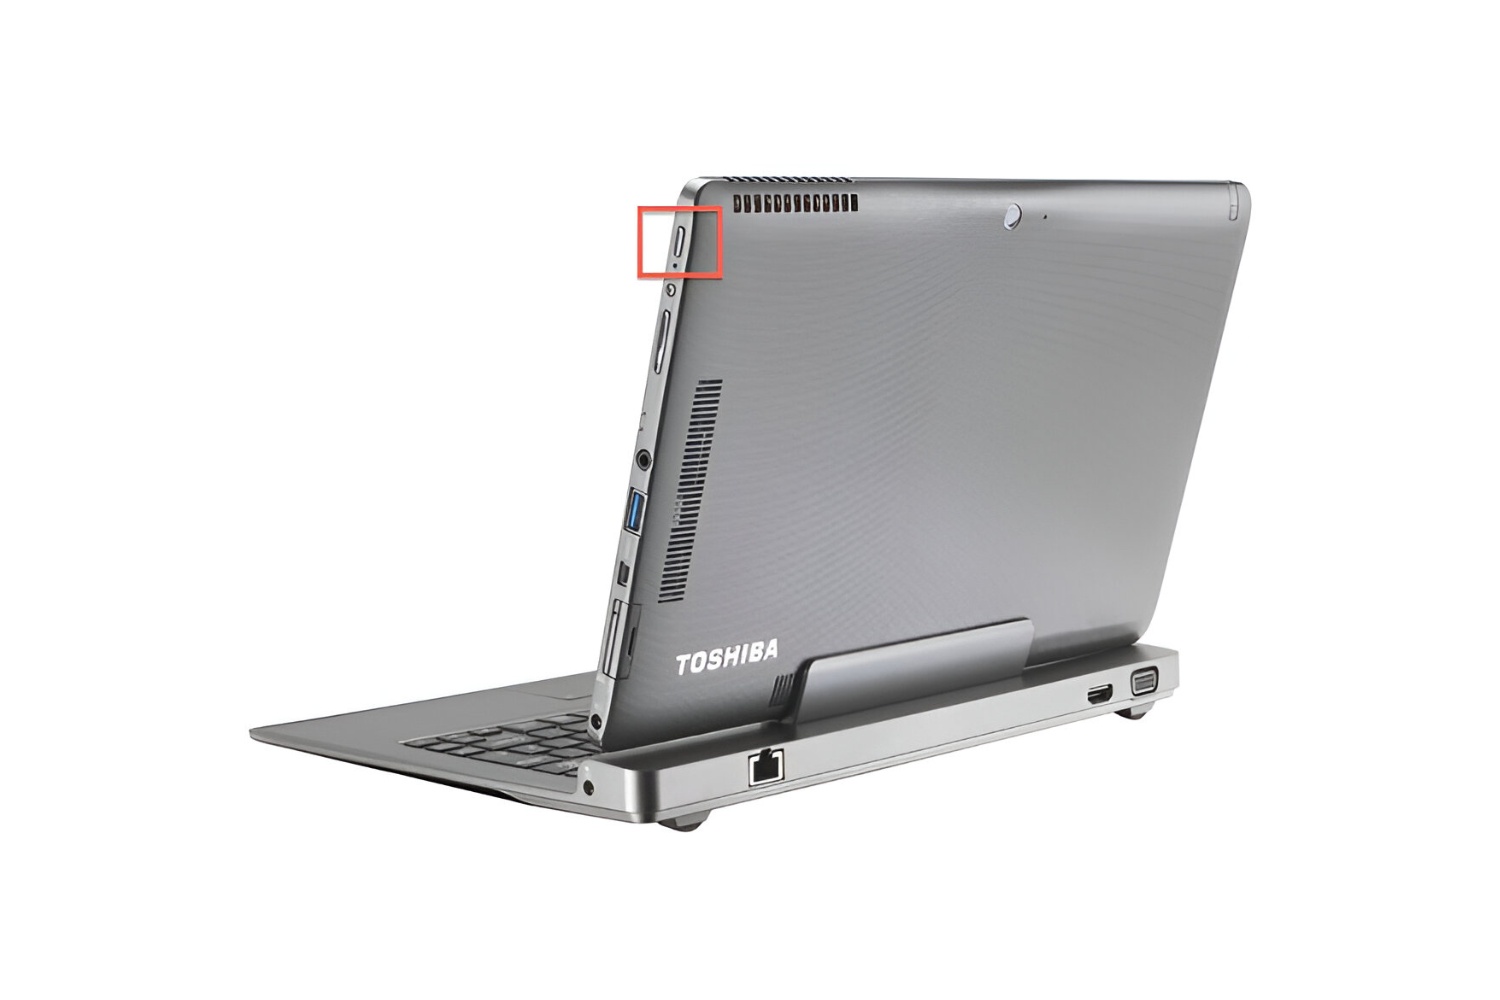
Step 3: Locate the Battery Release Latch:
Locating the battery release latch is the next important step in the battery replacement process. Follow these instructions to find the latch on your Toshiba Ultrabook:
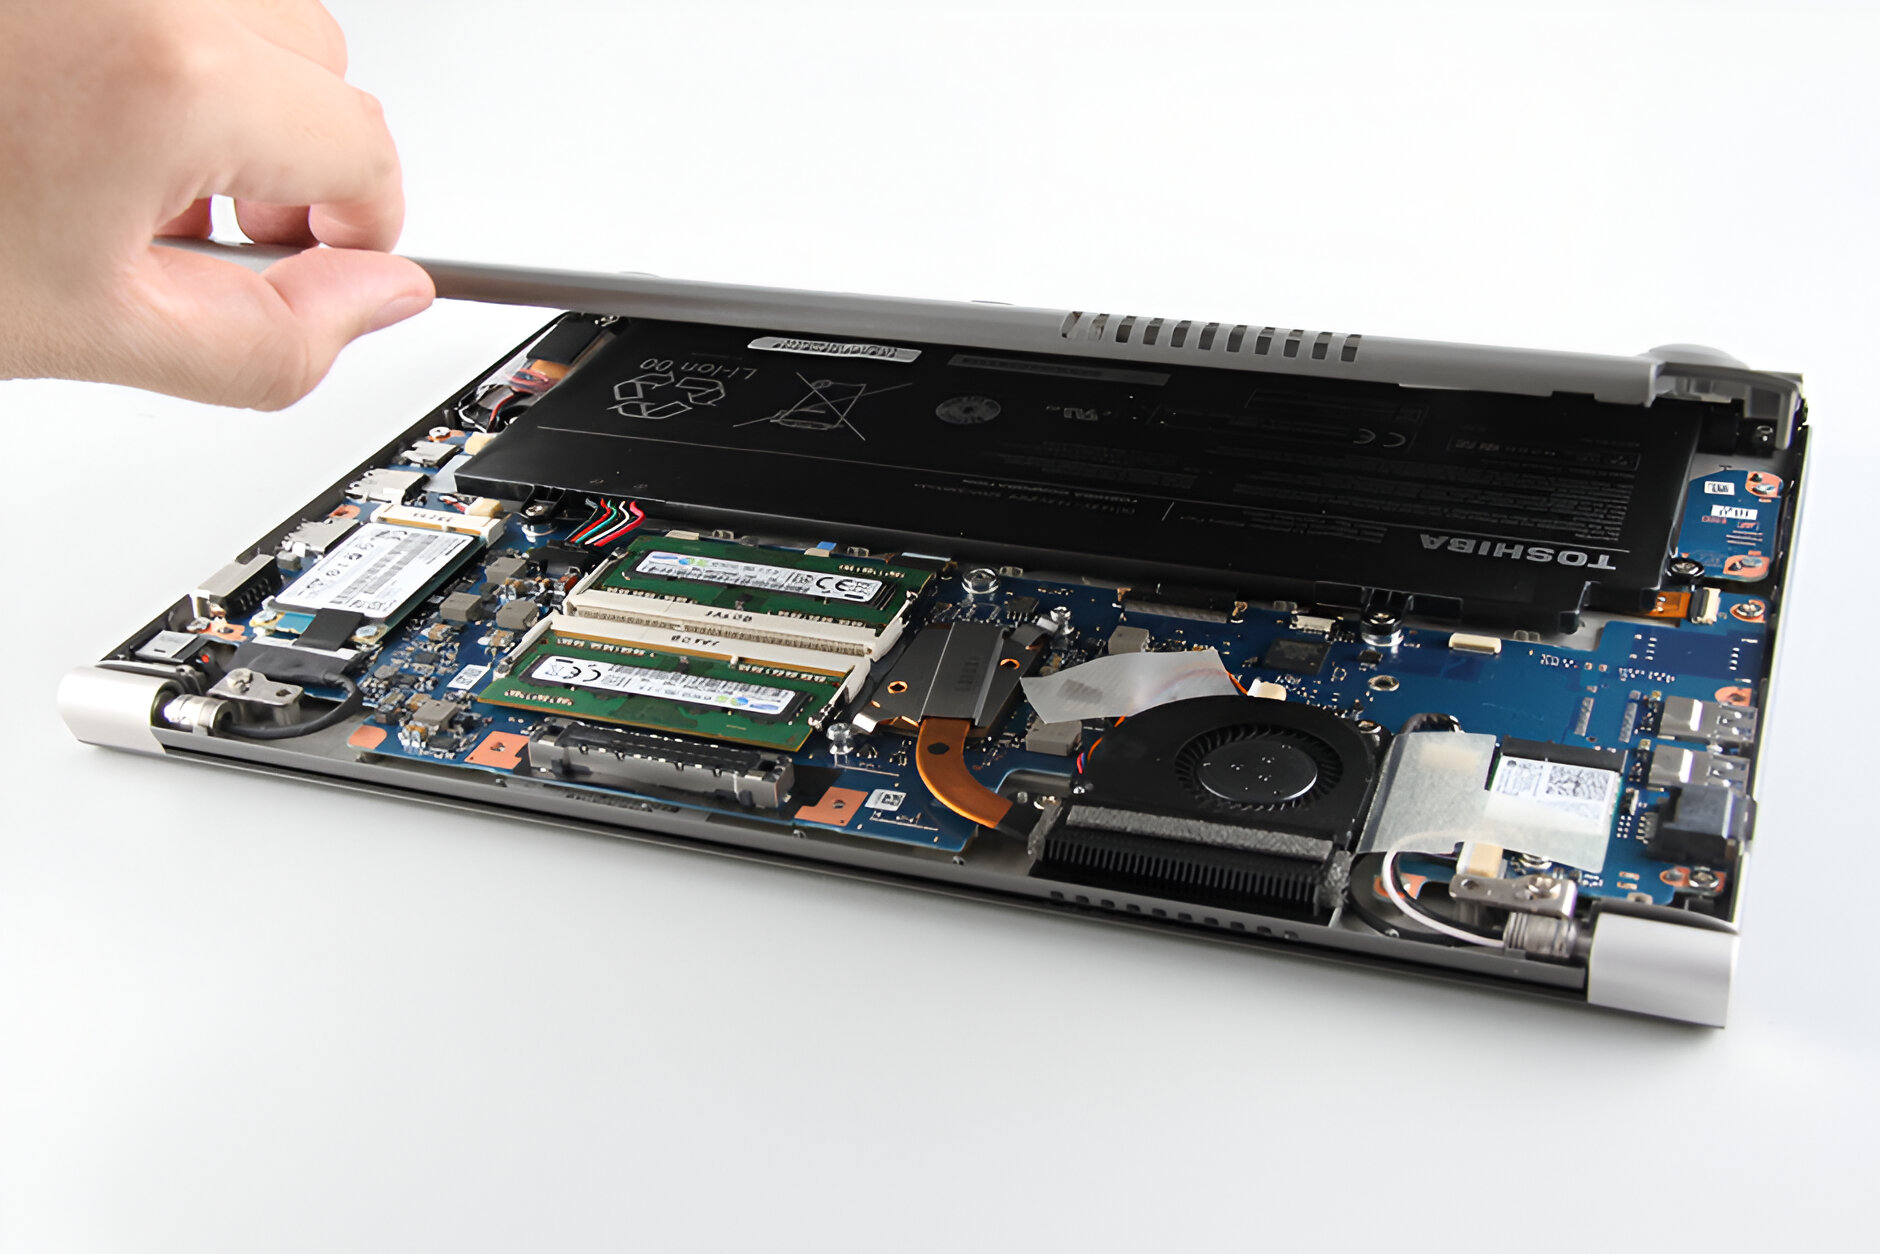
- Position your Ultrabook: Place your Toshiba Ultrabook in a comfortable position with the bottom panel facing up. This will allow you to access the battery compartment easily.
- Identify the battery compartment: Look for a small rectangular or square panel on the bottom of your Ultrabook. This panel is typically marked with battery icons or the word “battery.”
- Inspect for release latch: Examine the edges and corners of the battery compartment for a small latch or lever. This release latch is usually located near one of the longer sides of the compartment.
- Check user manual if necessary: If you’re having trouble locating the release latch, refer to your Toshiba Ultrabook’s user manual. The manual will provide detailed diagrams and instructions for finding the latch specific to your model.
Once you have successfully identified the battery release latch, it’s time to move on to the next step and release the latch to remove the old battery from your Toshiba Ultrabook.
Step 4: Release the Battery Latch:
Releasing the battery latch is a crucial step in the battery replacement process. Follow these instructions to safely release the latch and prepare for removing the old battery from your Toshiba Ultrabook:
- Position your Ultrabook: Keep your Toshiba Ultrabook in the same position with the bottom panel facing up, as you did in the previous step.
- Locate the battery release latch: Based on the information from the previous step, locate the battery release latch on your Ultrabook. It is typically a small lever or switch.
- Release the latch: Gently slide or flip the battery release latch to the unlocked position. You may need to apply slight pressure or use a small tool, like a flathead screwdriver, to assist in releasing the latch. Ensure that you follow the manufacturer’s instructions and avoid using excessive force to prevent any damage to the latch or the Ultrabook.
- Confirm battery release: Once the latch is released, you may hear a click or feel a slight movement indicating that the battery is now free to be removed. Some Ultrabook models may have additional locking mechanisms, such as screws, that need to be loosened before removing the battery.
By releasing the battery latch, you have successfully prepared your Toshiba Ultrabook for removing the old battery. In the next step, we will guide you through the process of safely removing the old battery from your Ultrabook.
Step 5: Remove the Old Battery:
Now that you’ve released the battery latch, it’s time to remove the old battery from your Toshiba Ultrabook. Follow these steps carefully to ensure a smooth battery removal process:
- Detach any connectors: Before removing the battery, check if there are any connectors or cables attached to it. Carefully disconnect these connectors by gently pulling them away from the battery. Take note of the connector types and their positions for easier reassembly later.
- Remove any securing screws: Some Ultrabook models may have screws securing the battery in place. If there are any visible screws, use the appropriate screwdriver to carefully remove them. Remember to keep these screws in a safe place to avoid misplacing them.
- Handle with care: The battery is a sensitive component, so it’s important to handle it with care. Hold the battery by its edges and avoid touching any exposed circuitry or connectors to prevent any damage.
- Gently slide out the battery: With a firm yet gentle grip, carefully slide the old battery out of its compartment. Take your time and ensure that you maintain a steady and controlled movement to prevent any accidental drops or damage to the surrounding components.
- Place the old battery aside: Once the old battery is completely removed, place it aside in a safe location. It’s a good practice to dispose of old batteries in accordance with local regulations or recycle them responsibly.
By following these steps, you have successfully removed the old battery from your Toshiba Ultrabook. In the next step, we will guide you on how to insert the new battery into your Ultrabook.
Step 6: Insert the New Battery:
With the old battery now removed, it’s time to insert the new battery into your Toshiba Ultrabook. Follow these steps carefully to ensure a proper and secure insertion of the new battery:
- Align the battery: Take the new battery and orient it correctly, aligning the connectors on the battery with the corresponding slots in the battery compartment. Ensure that the battery is correctly oriented by matching any notches or latches on the battery with the corresponding features in the compartment.
- Gently slide in the battery: With a steady hand, carefully slide the new battery into the compartment. Make sure it is inserted fully and snugly, taking care not to apply excessive force or tilt the battery at an angle.
- Reinstall securing screws (if applicable): If your Ultrabook model had screws securing the battery, now is the time to reinstall them. Align the screw holes on the battery compartment with the corresponding holes on the battery, and use the screwdriver to tighten the screws gently. Be cautious not to overtighten the screws.
- Reconnect any connectors: If you disconnected any connectors in the previous step, now is the time to reconnect them. Align the connectors on the new battery with the corresponding ports or cables, and firmly push them into place until they are securely attached.
By following these steps, you have successfully inserted the new battery into your Toshiba Ultrabook. In the next step, we will guide you on how to secure the battery in place.
Step 7: Secure the Battery in Place:
Now that you’ve inserted the new battery into your Toshiba Ultrabook, it’s important to secure it in place to ensure proper functioning and avoid any accidental dislodging. Follow these steps to securely fasten the battery:
- Double-check alignment: Before proceeding with securing the battery, ensure that it is properly aligned within the compartment. The connectors, notches, and latches should fit snugly with their corresponding features.
- Confirm battery stability: Gently test the stability of the inserted battery by applying light pressure to its top surface. It should not move or shift significantly. If you notice any movement, carefully remove the battery and reinsert it, ensuring a proper fit.
- Replace any securing screws: If your Ultrabook model requires securing screws for the battery compartment, make sure to reinstall them. Align the screw holes and use the screwdriver to tighten the screws, but be careful not to overtighten and risk damaging the components.
- Verify connector stability: Ensure that any connectors or cables attached to the battery are securely fastened. Give them a gentle tug to confirm that they are firmly connected and will not easily come loose.
- Inspect the battery seating: Take a moment to visually inspect the battery seating. Ensure that it is flush with the bottom of the compartment and does not protrude or have any gaps. This will help ensure a stable and reliable connection.
By following these steps, you have successfully secured the new battery in place within your Toshiba Ultrabook. In the next step, we will guide you on how to power on the Ultrabook and test the new battery.
Step 8: Power On and Test:
After securely installing the new battery in your Toshiba Ultrabook, it’s time to power it on and ensure that everything is functioning as expected. Follow these steps to power on your Ultrabook and test the new battery:
- Ensure the power source: Connect your Ultrabook to a power source using the power cord or charger. This will provide the necessary power for the initial startup.
- Power on the Ultrabook: Press the power button to turn on your Toshiba Ultrabook. Wait for it to boot up and reach the login screen or desktop.
- Monitor battery status: Look for the battery icon on your Ultrabook’s taskbar or status bar. It should indicate that the battery is charging or show an appropriate battery level percentage if the battery is already charged.
- Verify battery functionality: Disconnect the power cord or charger briefly to test the battery’s functionality. Observe if the battery level decreases at an expected rate, indicating that the new battery is working correctly.
- Reconnect the power cord: Once you have verified the battery’s functionality, reconnect the power cord or charger to continue charging the battery while using your Ultrabook.
- Check battery life: Use your Toshiba Ultrabook for a period of time and monitor the battery’s performance. Ensure that it holds a charge adequately and provides sufficient battery life for your needs.
- Repeat testing if needed: If you notice any abnormal behavior or if the battery performance does not meet your expectations, repeat the testing process or consult the user manual for troubleshooting steps.
By following these steps, you have successfully powered on your Toshiba Ultrabook with the new battery installed and performed basic testing. Congratulations on completing the battery replacement process!
Conclusion:
Congratulations on successfully installing a new battery in your Toshiba Ultrabook! By following the step-by-step guide outlined in this article, you have taken an important step towards improving the performance and longevity of your device.
Replacing the battery in your Ultrabook is a relatively simple process that can have a significant impact on its overall functionality. With a fresh battery, you can enjoy longer battery life and uninterrupted usage of your Ultrabook without the need to constantly connect it to a power source.
Remember to always refer to your device’s user manual for specific instructions and compatibility guidelines. Additionally, exercising caution and patience throughout the battery replacement process is essential to avoid any damage to your Ultrabook or its components.
Now that you have successfully completed the battery replacement process, take some time to fully charge your new battery and observe its performance. If you experience any issues or have further questions, consider reaching out to the manufacturer’s support or an authorized service center for assistance.
By taking proactive steps to maintain and upgrade your Toshiba Ultrabook, you can continue to enjoy a seamless and reliable computing experience for years to come. We hope this guide has been helpful, and we wish you the best of luck with your newly installed battery!