Introduction
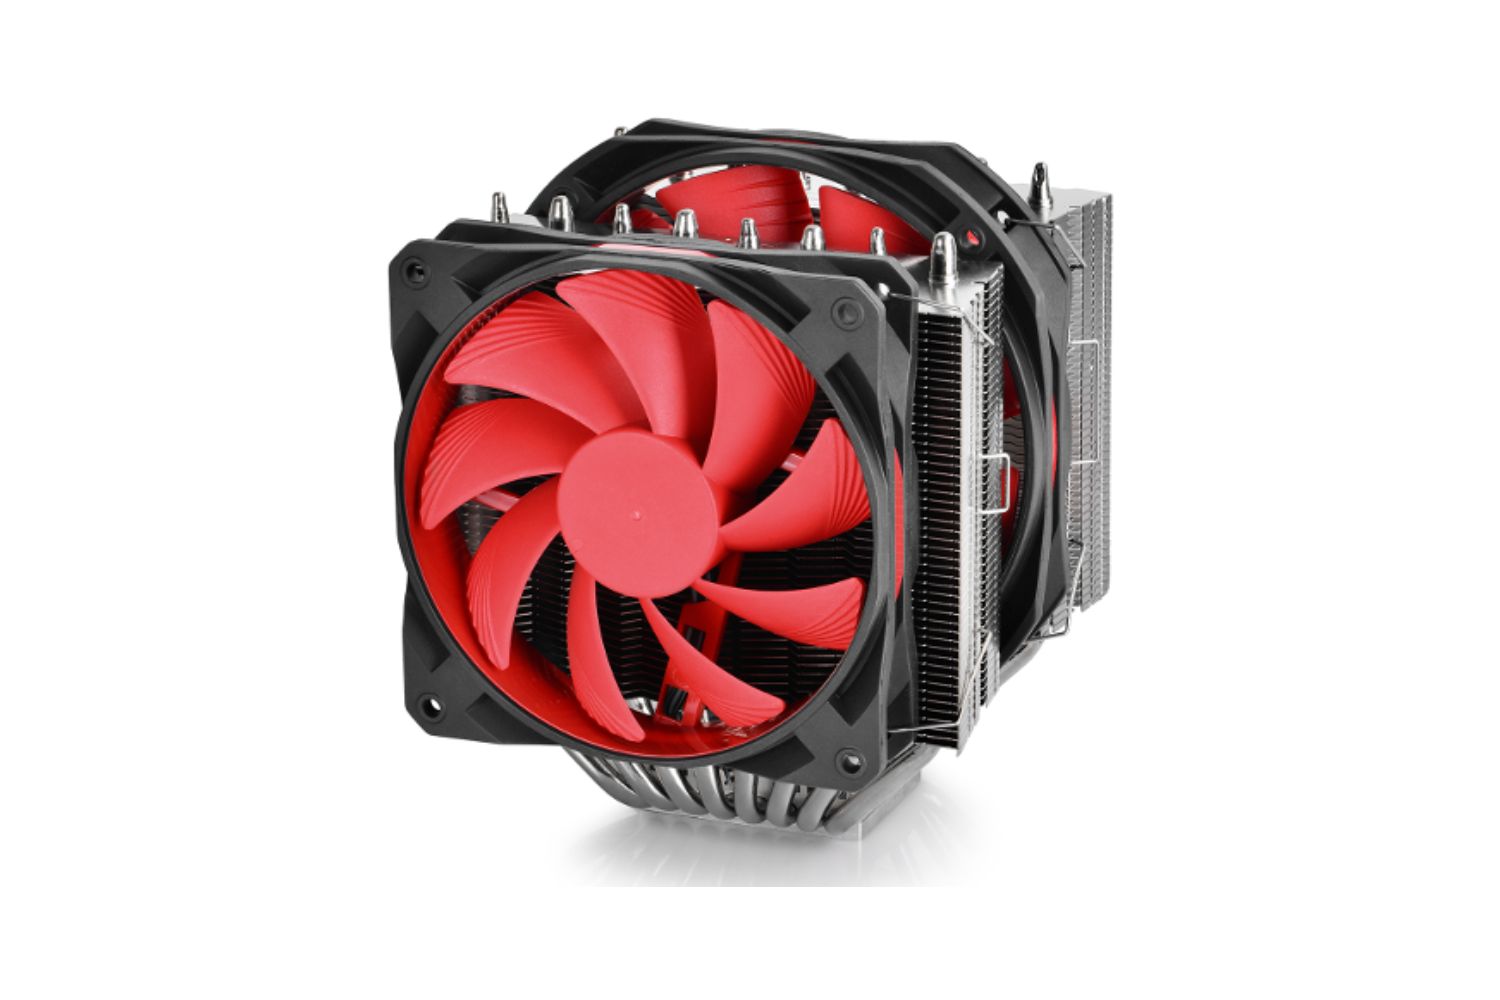
Welcome to our guide on how to install the DeepCool GamerStorm Assassin II CPU Cooler! If you’re looking to improve the cooling performance of your PC and enhance its overall performance, installing an aftermarket CPU cooler is a great place to start. The DeepCool GamerStorm Assassin II is a high-performance cooler designed to keep your CPU running at optimal temperatures, even during intense gaming sessions or heavy workloads.
With its sleek design and advanced cooling technology, the GamerStorm Assassin II is the perfect choice for gamers, overclockers, and PC enthusiasts. The installation process may seem daunting at first, but with the right tools and a little patience, you can easily install this CPU cooler and enjoy its benefits.
In this guide, we will provide you with step-by-step instructions on how to install the DeepCool GamerStorm Assassin II CPU Cooler. We will walk you through each stage of the process, from removing the old cooler to securing the new one in place. Whether you’re a beginner or have some experience with PC building, this guide will help you install the GamerStorm Assassin II with confidence.
Keep in mind that before you begin the installation process, it’s important to have all the necessary tools and materials ready. This will ensure a smooth and efficient installation. So, without further ado, let’s dive into the world of CPU cooler installation and get your PC running cooler and faster!
Tools and Materials Needed
Before you begin installing the DeepCool GamerStorm Assassin II CPU Cooler, make sure you have the following tools and materials ready:
- Screwdriver set: A screwdriver set with various sizes and types of screwdrivers will be needed to remove the old cooler and secure the new one.
- Thermal paste: High-quality thermal paste is essential for ensuring proper heat transfer between the CPU and the cooler. Make sure to have a tube of thermal paste ready.
- CPU cleaner and lint-free cloth: It’s important to clean the CPU surface thoroughly before applying the thermal paste. Use a CPU cleaner and a lint-free cloth to remove any dirt or residue.
- Isopropyl alcohol: Isopropyl alcohol is used to clean the CPU surface effectively. Make sure to have a bottle of isopropyl alcohol ready.
- CPU socket cover: Some CPU coolers come with a socket cover to protect the CPU socket during installation. Check if the GamerStorm Assassin II includes a socket cover and have it on hand if needed.
- Anti-static wrist strap: To prevent any electrostatic discharge and protect your components from damage, it’s recommended to use an anti-static wrist strap while working inside your PC.
- Additional fans (optional): The GamerStorm Assassin II CPU cooler comes with its own fans, but if you want to maximize airflow, you may consider adding extra case fans.
Having these tools and materials ready before you start the installation process will ensure a smooth and hassle-free experience. Make sure to gather everything in one place for easy access during the installation.
Step 1: Remove the Old Cooler
The first step in installing the DeepCool GamerStorm Assassin II CPU Cooler is to remove the old cooler from your motherboard. Follow these steps to safely remove the old cooler:
- Power off your PC: Before working on any internal components, ensure that your PC is powered off and unplugged from the power source.
- Disconnect the fan cables: Locate the fan cables connected to the old cooler and gently disconnect them from the motherboard. Take note of how they are connected for easy reinstallation later.
- Remove the screws or mounting brackets: Depending on the type of cooler you have, you may need to remove screws or unscrew mounting brackets to detach the cooler from the motherboard. Carefully remove these using a screwdriver.
- Carefully detach the cooler: Gently lift the old cooler off the CPU surface. Be cautious not to apply too much force or tilt the cooler excessively, as this can damage the CPU or socket.
- Clean the CPU surface: Once the old cooler is removed, use a CPU cleaner and a lint-free cloth to clean the CPU surface. Remove any thermal paste residue, dirt, or debris to ensure a clean and smooth surface for the new cooler.
Removing the old cooler can vary depending on the specific model and manufacturer. It’s always a good idea to consult the manual or documentation that came with your cooler for specific instructions relevant to your setup.
Now that you have successfully removed the old cooler and cleaned the CPU surface, you are ready to move on to the next step of the installation process.
Step 2: Prepare the CPU
Before installing the DeepCool GamerStorm Assassin II CPU Cooler, it’s crucial to prepare the CPU properly. This step ensures a clean and secure connection between the CPU and the cooler. Follow these steps to prepare the CPU:
- Double-check compatibility: Ensure that the GamerStorm Assassin II CPU cooler is compatible with your specific CPU socket. Refer to the manufacturer’s documentation or website to confirm compatibility.
- Apply thermal paste: Squeeze a small pea-sized amount of thermal paste onto the center of the CPU. Use a plastic card or a thermal paste applicator to spread the paste evenly over the CPU surface. Be careful not to use too much paste, as it can cause overheating.
- Place the CPU socket cover (if applicable): Some CPU coolers come with a socket cover to protect the CPU socket during installation. If your GamerStorm Assassin II includes a socket cover, gently place it over the CPU socket area.
- Remove any plastic or protective covers: Check for any plastic or protective covers on the CPU cooler base or the CPU socket itself. Remove them carefully before proceeding.
Preparing the CPU ensures that the thermal paste is applied correctly and that any protective covers are removed. This step is essential for achieving optimal heat transfer and secure installation of the GamerStorm Assassin II CPU cooler.
Once you have prepared the CPU, you are now ready to move on to the next step of the installation process.
Step 3: Attach the Backplate
In this step, we will attach the backplate of the DeepCool GamerStorm Assassin II CPU Cooler. The backplate provides stability and support to the cooler on the motherboard. Follow these steps to attach the backplate:
- Identify the correct orientation: Check the manual or documentation provided with the GamerStorm Assassin II CPU Cooler to determine the correct orientation of the backplate for your specific CPU socket.
- Place the backplate: Align the holes on the backplate with the mounting holes located at the back of your motherboard. Carefully place the backplate on the rear side of the motherboard, ensuring that it sits flush against the surface.
- Secure the backplate: In most cases, the backplate will be held in place by plastic washers and screws. Insert the screws through the mounting holes on the motherboard and thread the plastic washers onto the screws on the back of the motherboard. Use a screwdriver to tighten the screws until the backplate is securely fastened. Be cautious not to over-tighten, as it may damage the motherboard.
Attaching the backplate is an essential step as it provides a stable foundation for the GamerStorm Assassin II CPU cooler. Make sure to follow the instructions provided in the manual or documentation to ensure correct orientation and proper attachment.
Now that the backplate is securely attached, you are ready to move on to the next step in the installation process.
Step 4: Apply Thermal Paste
In this step, we will apply thermal paste to ensure optimal heat transfer between the CPU and the DeepCool GamerStorm Assassin II CPU Cooler. Proper application of thermal paste is crucial for effective cooling. Follow these steps to apply thermal paste:
- Clean the CPU surface: Before applying thermal paste, make sure the CPU surface is clean and free from any residue. Use isopropyl alcohol and a lint-free cloth to carefully clean the surface.
- Squeeze a small amount of thermal paste: Take the thermal paste tube and gently squeeze a small dot onto the center of the CPU. The amount should be approximately the size of a pea.
- Spread the thermal paste: Using a plastic card or a thermal paste applicator, carefully spread the thermal paste evenly over the CPU surface. Ensure that the entire surface is covered, but avoid applying too much paste as it can interfere with heat transfer.
Applying thermal paste correctly is essential for creating a thin, consistent layer that fills any microscopic gaps between the CPU and the cooler. This ensures optimal heat transfer, preventing overheating and maintaining the efficiency of the cooling system.
With the thermal paste applied, you are now ready to move on to the next step of the installation process.
Step 5: Install the CPU Cooler
Now it’s time to install the DeepCool GamerStorm Assassin II CPU Cooler onto your motherboard. Follow these steps to ensure a secure and proper installation:
- Align the cooler with the mounting holes: Position the CPU cooler carefully over the CPU, aligning the mounting holes on the cooler with the screws on the backplate.
- Gently press down: Apply even pressure and gently press down on the cooler to make contact with the thermal paste and CPU surface. Make sure it is seated properly and aligned with the mounting holes.
- Secure the cooler: After aligning the cooler, use the screws provided with your cooler to attach it to the backplate. Begin tightening the screws in a diagonal pattern – tightening one screw slightly, then moving to the opposite corner and tightening that screw, and so on. This method ensures even pressure is applied and prevents any warping of the cooler.
It’s important to note that different CPU coolers may have slightly different installation methods. Refer to the manual or documentation that came with your GamerStorm Assassin II cooler for any specific instructions related to its installation.
With the GamerStorm Assassin II CPU Cooler properly installed, you are now one step closer to achieving optimal cooling performance for your PC.
Step 6: Secure the CPU Cooler
After installing the DeepCool GamerStorm Assassin II CPU Cooler onto your motherboard, it’s important to ensure that it is securely fastened in place. Follow these steps to properly secure the CPU cooler:
- Check the tightness of the screws: Once you have installed the CPU cooler, double-check the tightness of the screws that hold it in place. Make sure they are snug and secure, but avoid overtightening, as it may damage the motherboard or the cooler.
- Confirm stability: Gently wiggle the CPU cooler to ensure that it is stable and firmly attached to the motherboard. There should be no excessive movement or wobbling.
- Verify clearance: Check for any clearance issues with other components in your PC, such as RAM modules or nearby motherboard components. Ensure that the CPU cooler does not obstruct or touch any other parts.
- Final adjustments: If necessary, make any final adjustments to the position of the CPU cooler. Ensure that it is properly aligned and centered over the CPU.
Securing the CPU cooler is crucial for optimal performance and longevity. A properly secured cooler ensures that heat is effectively dissipated, preventing thermal throttling and maintaining stable CPU temperatures.
Once you have confirmed the secure installation of the CPU cooler, you are now ready to move on to the next step in the installation process.
Step 7: Connect the Fans and Cables
In this step, we will connect the fans and cables of the DeepCool GamerStorm Assassin II CPU Cooler. Properly connecting the fans and cables ensures optimal cooling performance. Follow these steps to complete this important step:
- Locate the fan headers: Identify the fan headers on your motherboard where you will connect the CPU cooler fans. These headers are usually labeled as CPU_FAN or SYS_FAN, and their locations may vary depending on your motherboard model.
- Connect the CPU cooler fans: Take the cables coming from the CPU cooler fans and plug them into the appropriate fan headers on the motherboard. Ensure that the connectors are aligned correctly and pushed in securely.
- Connect the CPU cooler power cable: The CPU cooler may have a separate power cable that needs to be connected to a power source. Usually, this cable connects to a 3 or 4-pin connector on the motherboard labeled as CPU_PWR or CPU_FAN. Refer to your motherboard manual for the correct connector.
- Manage the cables: Once all the cables are connected, take a moment to carefully manage and route the cables to prevent any obstruction or tangling. Use zip ties or cable management clips to secure and tidy up the cables.
Properly connecting the fans and cables ensures that the CPU cooler functions correctly and that the fans receive the necessary power and control signals from the motherboard. It also helps maintain a clean and organized internal PC layout for improved airflow.
With the CPU cooler fans and cables successfully connected, you are now ready to move on to the final step in the installation process.
Step 8: Test and Final Touches
Congratulations! You’re in the final step of installing the DeepCool GamerStorm Assassin II CPU Cooler. Now it’s time to test the cooler and make final adjustments. Follow these steps to complete the installation:
- Power on your PC: Plug in your PC and power it on. The CPU cooler fans should start spinning, indicating that it is receiving power.
- Enter BIOS/UEFI: Access your computer’s BIOS/UEFI by pressing the designated key during boot (usually F2, Del, or F12). Check the CPU temperature and fan speed readings in the BIOS to ensure that everything is functioning properly.
- Monitor temperatures: Once your computer has booted into the operating system, use monitoring software to check the CPU temperatures under various loads. Make sure the temperatures are within safe limits and that the cooler is effectively cooling your CPU.
- Make any final adjustments: If you notice any issues, such as excessively high temperatures or abnormal fan behavior, double-check the installation and make any necessary adjustments. This may involve reseating or tightening the CPU cooler or reapplying thermal paste.
- Cable management: Take a final look at the cable management inside your PC. Ensure that all cables are neatly routed and secured, allowing for optimal airflow and aesthetics.
Testing the CPU cooler and making final adjustments ensures that it is functioning correctly and providing efficient cooling for your CPU. Monitoring temperatures and fine-tuning any issues will help optimize your computer’s performance and stability.
With the installation process complete and everything functioning as expected, you can now enjoy the benefits of the DeepCool GamerStorm Assassin II CPU Cooler and experience improved cooling performance for your PC.
Conclusion
Congratulations on successfully installing the DeepCool GamerStorm Assassin II CPU Cooler! By following this step-by-step guide, you have improved the cooling performance of your PC and set the foundation for optimal performance, especially during demanding tasks such as gaming or heavy workloads.
Throughout the installation process, you learned how to remove the old cooler, prepare the CPU, attach the backplate, apply thermal paste, install and secure the CPU cooler, connect the fans and cables, and perform the necessary tests. Each step was crucial in ensuring the proper installation and functionality of the GamerStorm Assassin II CPU Cooler.
Remember, maintaining proper cooling is essential for the longevity and performance of your CPU. The DeepCool GamerStorm Assassin II provides advanced cooling technology to help you achieve optimal temperatures and improve overall system stability.
Now that the installation is complete, take a moment to admire your work and enjoy the benefits that the GamerStorm Assassin II CPU Cooler brings. Keep in mind that periodically cleaning the cooler and ensuring proper airflow in your PC case will help maintain its performance over time.
If you encountered any difficulties during the installation process or have any questions, refer to the documentation or reach out to DeepCool’s support for assistance. They will be able to provide further guidance and address any concerns you may have.
Your PC is now ready to handle even the most demanding tasks while keeping your CPU cool and running at its best. Enjoy the improved performance and temperature management with the DeepCool GamerStorm Assassin II CPU Cooler!