Introduction
Welcome to the world of Philips Smart TV! With its impressive features and connectivity options, you can now access a wide range of entertainment channels and apps right from the comfort of your living room. Whether you’re a movie buff, sports enthusiast, or simply looking for some family-friendly content, installing channels on your Philips Smart TV is a quick and easy process.
In this guide, we’ll walk you through the step-by-step instructions for installing channels on your Philips Smart TV. By following these simple steps, you’ll be able to expand your viewing options and customize your TV experience to suit your interests.
But before we dive into the installation process, there are a few prerequisites to ensure a seamless channel installation on your Philips Smart TV. Firstly, make sure that your TV is connected to the internet. A stable internet connection will ensure smooth streaming and downloading of channels. Additionally, keep your TV’s firmware updated to enjoy the latest features and optimizations.
Now, let’s get started with the installation process of channels on your Philips Smart TV. Follow the steps below to enhance your entertainment options and discover a world of content at your fingertips.
Step 1: Connect your Philips Smart TV to the Internet
Before you can start installing channels on your Philips Smart TV, you need to ensure that it is connected to the internet. Here’s how you can do it:
- Turn on your Philips Smart TV and press the “Menu” button on your remote control.
- Navigate to the “Network” or “Settings” option using the arrow keys, and then press the “OK” button.
- Select the “Network Settings” option and choose the type of network connection you prefer – Wi-Fi or Ethernet.
- If you choose the Wi-Fi option, select your home Wi-Fi network from the list of available networks. Enter your Wi-Fi password and wait for your TV to establish a connection.
- If you prefer a wired connection, connect one end of an Ethernet cable to your TV’s LAN port and the other end to your router or modem.
- Once your TV is connected to the internet, select the “Test Connection” option to ensure that your TV is successfully connected to the network.
Once your Philips Smart TV is connected to the internet, you’re now ready to access the App Gallery and begin installing channels on your TV.
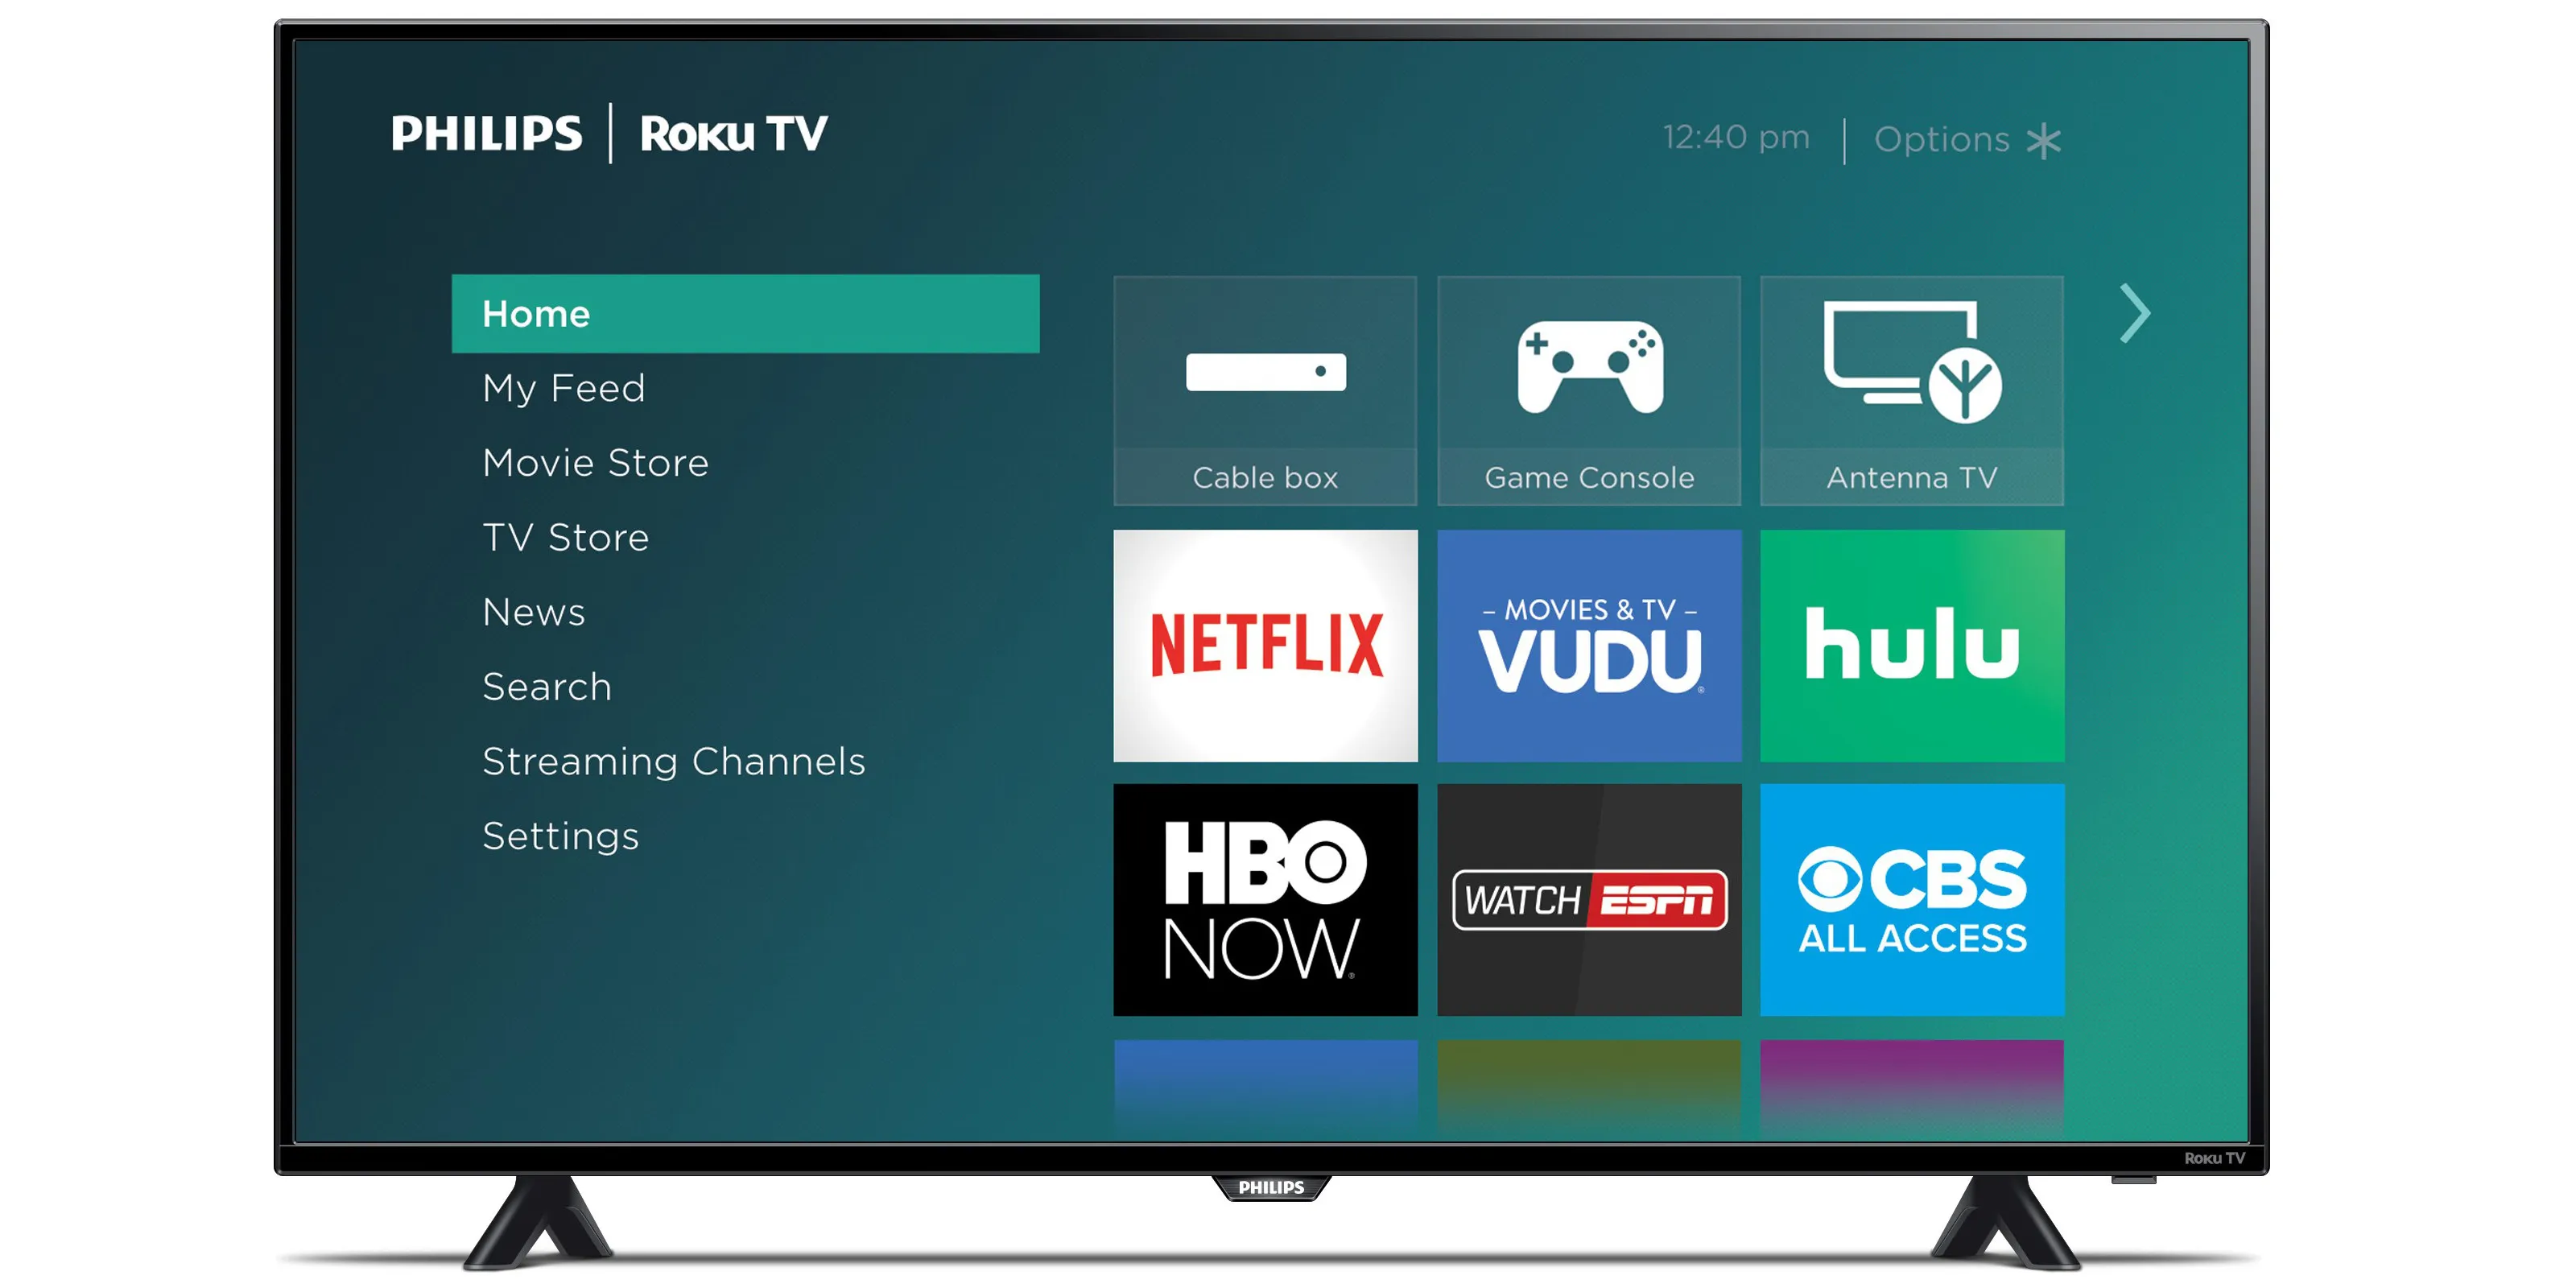
Step 2: Access the App Gallery
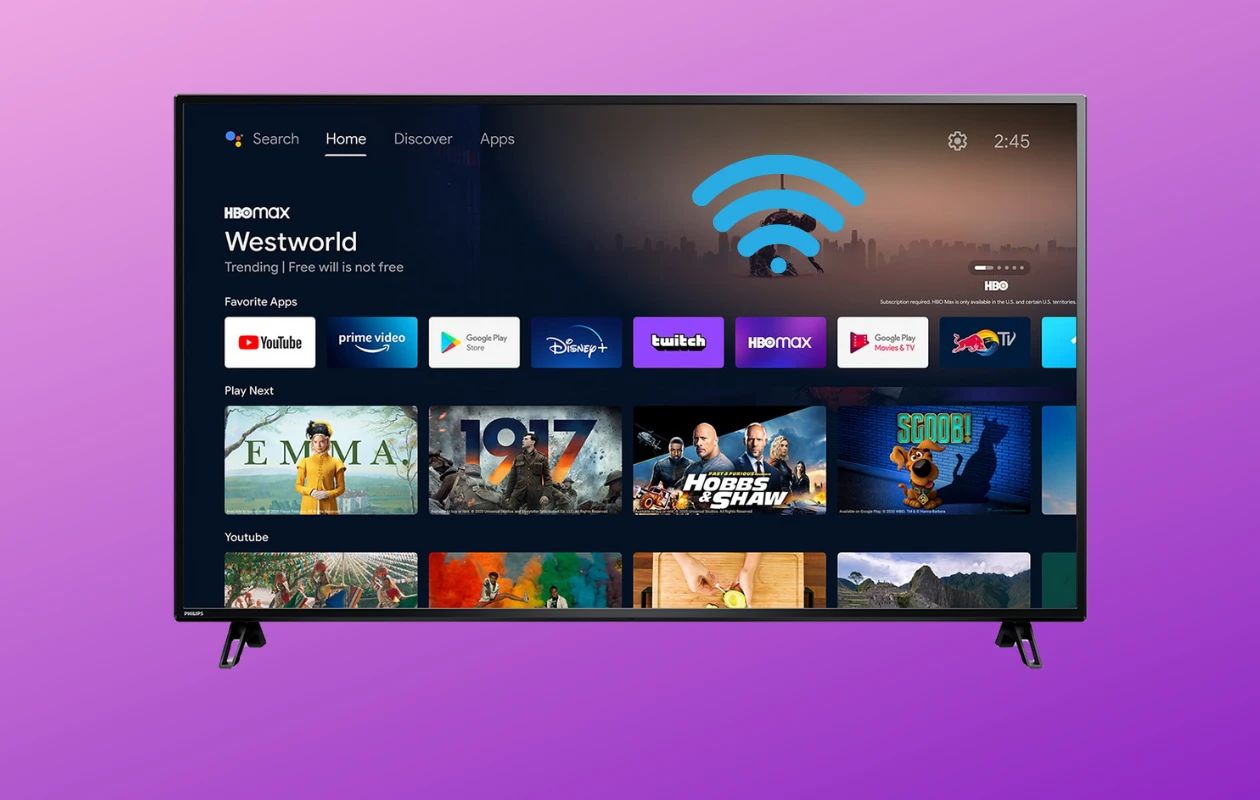
After successfully connecting your Philips Smart TV to the internet, the next step is to access the App Gallery. The App Gallery is a hub where you can find a variety of channels and apps that you can install on your TV. Follow these steps to access the App Gallery:
- On your Philips Smart TV remote, press the “Home” button.
- Using the arrow keys, navigate to the “Apps” or “App Gallery” option and press the “OK” button.
- You will now be on the App Gallery page, where you can browse through the available channels and apps.
- Depending on your TV model, you may have different sections within the App Gallery, such as “Recommended”, “Most Popular”, or “Categories”.
- Explore the different sections or use the search function to find specific channels that you want to install on your TV.
- Once you’ve found a channel that interests you, select it to see more details and options.
The App Gallery provides a wide range of channels and apps from various genres, such as movies, TV shows, sports, news, and more. Take your time to explore the available options and select the channels that appeal to you. Once you have identified the channels you want to install, proceed to the next step to learn how to install them on your Philips Smart TV.
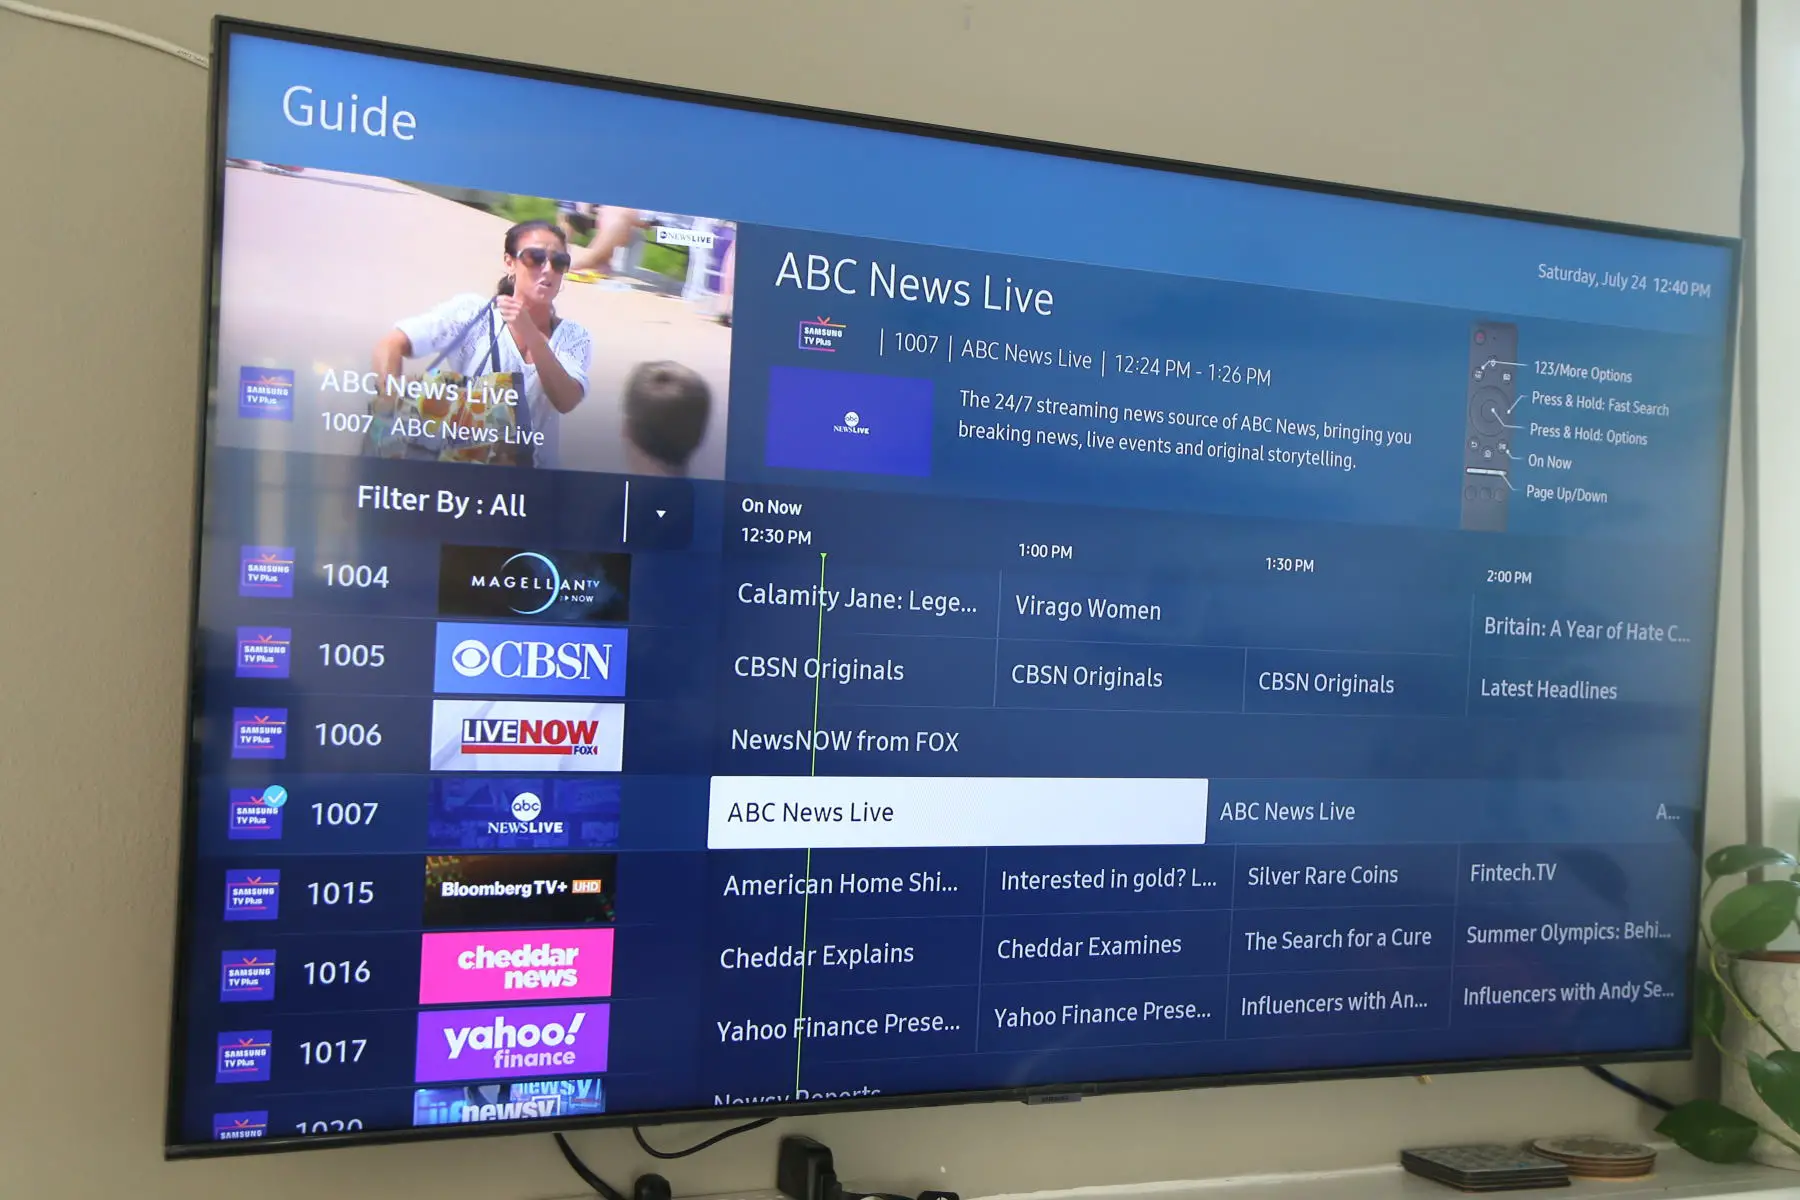
Step 3: Browse and Search for Channels
Now that you’re on the App Gallery page of your Philips Smart TV, it’s time to start browsing and searching for the channels you want to install. Here’s how you can do it:
- Using the arrow keys on your remote control, navigate through the different sections of the App Gallery, such as “Recommended”, “Most Popular”, or “Categories”.
- If you have a specific channel in mind, you can use the search function. Look for the search icon or the option to enter keywords.
- Enter the name of the channel you are looking for using the alphanumeric keypad on your remote. As you type, the TV will show suggestions based on your input.
- Select the search result that matches the channel you want to install.
- If you prefer to explore different categories, choose a specific genre or topic of interest, such as “Movies”, “Sports”, “News”, “Family”, or “Music”.
- Browse through the available channels within the selected category by using the arrow keys to scroll horizontally or vertically.
- Read the descriptions and reviews of the channels to get a better idea of what they offer.
- If you find a channel that you want to install, select it to proceed to the installation process.
Take your time to explore and search for channels that match your preferences and interests. The App Gallery offers a diverse range of options, ensuring that you find content that suits your taste. Once you have identified the channels you want to install, let’s move on to the next step to learn how to install them on your Philips Smart TV.
Step 4: Install the Desired Channel
Now that you’ve explored and selected the channels you want to install on your Philips Smart TV, it’s time to proceed with the installation process. Follow these steps to install your desired channel:
- On the channel’s details page, you will typically find an “Install” or “Add” button. Select this button to initiate the installation process.
- Depending on the size of the channel and your internet speed, the installation may take a few seconds to a few minutes. Be patient and wait for the installation to complete.
- Once the channel is successfully installed, you will usually see a notification or confirmation message on your screen. Some channels may also provide additional setup instructions or prompts.
- If you want to install more channels, repeat the same process for each channel you wish to add to your Philips Smart TV.
Congratulations! You have successfully installed your desired channels on your Philips Smart TV. The channel will now be accessible from the home screen or the App Gallery. Enjoy exploring the content and features that each channel brings.
Note that some channels may require a subscription or a separate account to access their full content. Make sure to follow any additional instructions provided by the channel during the installation process.
Now that you’ve installed your desired channels, let’s move on to the final step: launching and enjoying your newly installed channels.
Step 5: Launch and Enjoy Your Newly Installed Channels
After successfully installing your desired channels on your Philips Smart TV, it’s time to launch them and start enjoying the content they offer. Follow these steps to launch and access your newly installed channels:
- From the home screen or the App Gallery, navigate to the channel you want to access. Some channels may have their own dedicated section or shortcut.
- Select the channel to open it. The loading time may vary depending on the channel and your internet connection.
- Once the channel is loaded, you will be presented with its interface and content options.
- Use your TV remote or any accompanying devices to navigate through the channel’s menus and features.
- Explore the available content, whether it’s movies, TV shows, sports events, news, or any other type of programming offered by the channel.
- Enjoy watching your favorite shows, discovering new content, and immersing yourself in the entertainment experience provided by the installed channels.
Remember to keep your Philips Smart TV firmware updated to ensure compatibility with the latest channel versions and features. Check for updates regularly to enhance your viewing experience.
By successfully launching and accessing your newly installed channels, you have unlocked a world of entertainment options right at your fingertips. Embrace the convenience and versatility of your Philips Smart TV and immerse yourself in the content that appeals to you.
Now that you’re familiar with the installation and access process, you can continue exploring and installing more channels to further personalize your TV experience.
Conclusion
Congratulations! You have successfully learned how to install channels on your Philips Smart TV. By following the step-by-step instructions provided in this guide, you have expanded your entertainment options and customized your TV experience to suit your interests.
Connecting your Philips Smart TV to the internet and accessing the App Gallery allowed you to explore a wide range of channels and apps. Through browsing and searching, you were able to find and install the channels that match your preferences and interests.
Launching and enjoying your newly installed channels opens up a world of content right from the comfort of your living room. Whether you’re into movies, TV shows, sports, news, or any other genre, the installed channels offer a variety of options to keep you entertained.
Remember to keep your Philips Smart TV firmware updated to ensure compatibility with the latest channel versions and features. Explore further, install more channels, and personalize your TV experience to make the most out of your Philips Smart TV.
Thank you for following this guide, and we hope you enjoy countless hours of entertainment with your newly installed channels on your Philips Smart TV!