Introduction
Installing case fans with rubber mounts is an essential step in keeping your computer cool and preventing hardware damage caused by excessive heat. Case fans not only improve airflow but also help dissipate heat generated by the CPU, GPU, and other components.
In this guide, we will walk you through the step-by-step process of installing case fans with rubber mounts. Rubber mounts are a great alternative to traditional screws, as they minimize vibrations and keep your system running quietly and smoothly.
Whether you are a seasoned PC builder or a beginner, this tutorial will provide you with all the necessary information to successfully install case fans with rubber mounts and optimize the cooling performance of your computer.
Before we dive into the installation process, it’s important to gather the necessary materials. Make sure you have the following items ready:
- Case fans with rubber mounts
- Computer case with mounting points for case fans
- Screwdriver
- The motherboard manual (for locating fan headers)
With all the materials on hand, let’s proceed to the next section to prepare the computer case for the installation.
Step 1: Gather the necessary materials
Before you start installing the case fans with rubber mounts, it’s important to gather all the necessary materials. Having everything ready will ensure a smooth installation process and save you from any interruptions or delays.
Here are the essential items you will need:
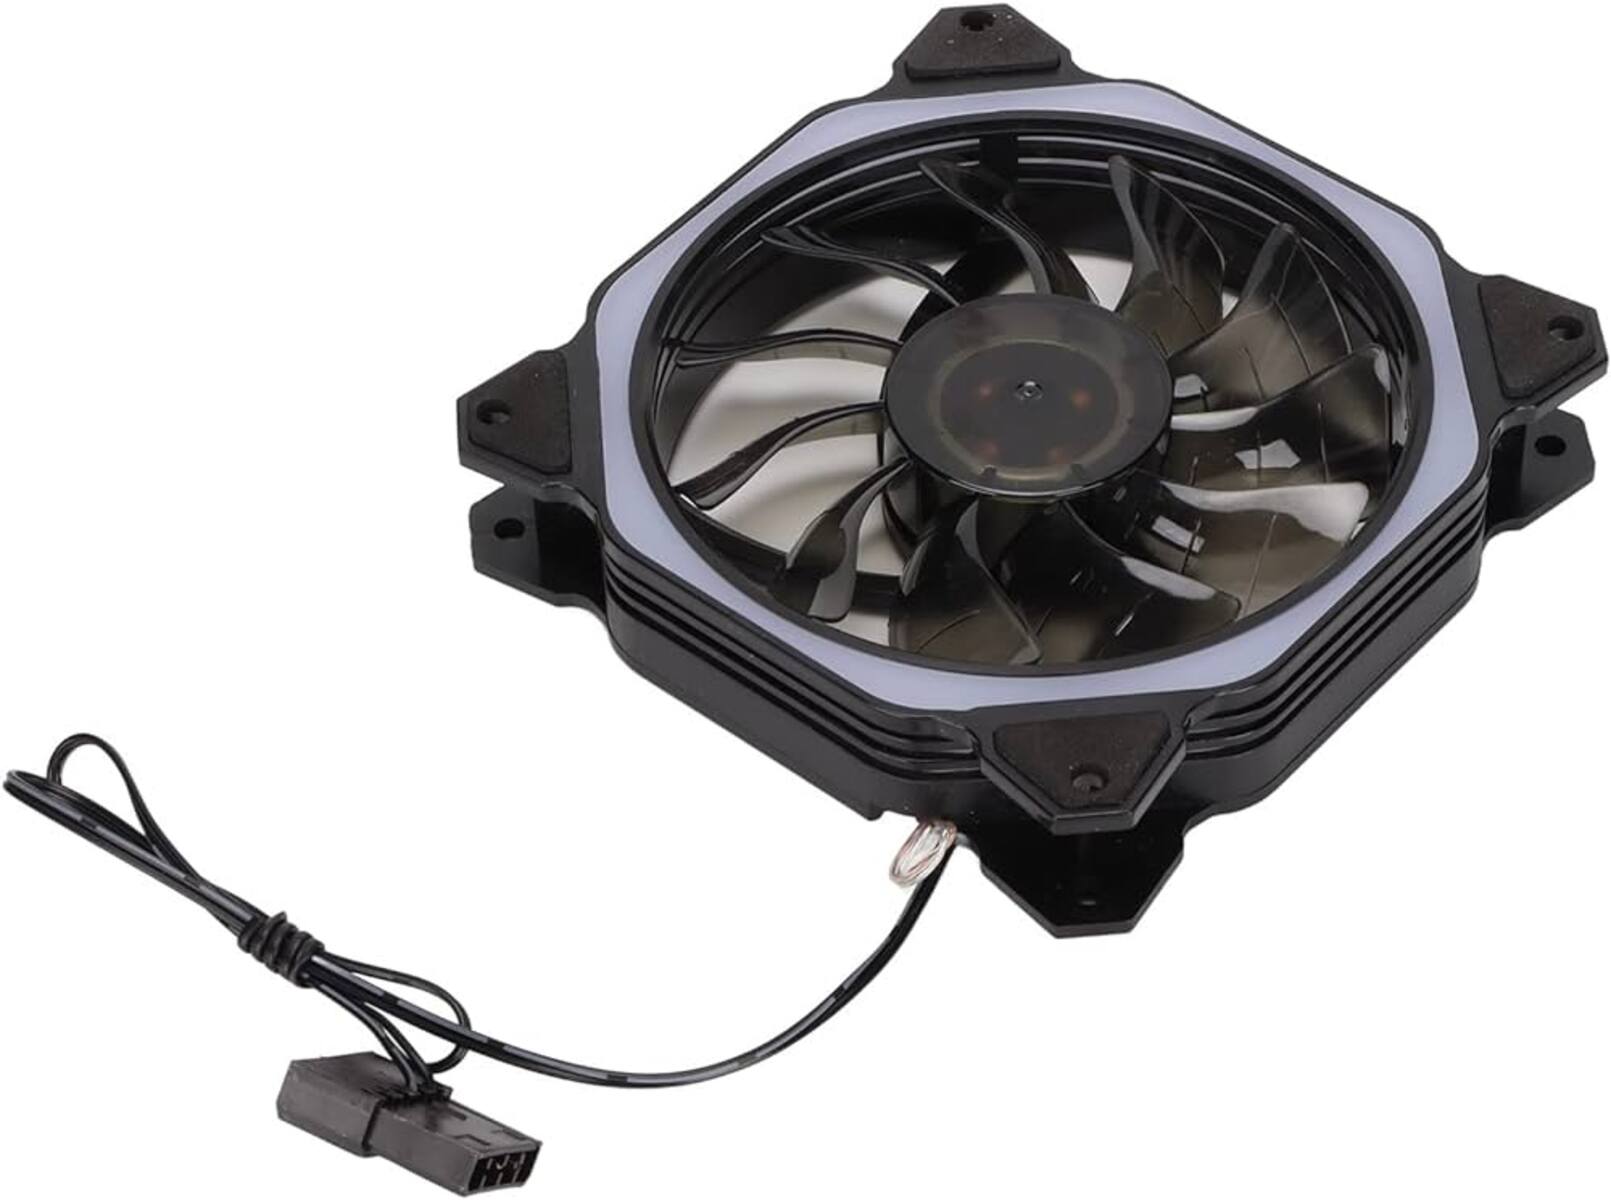
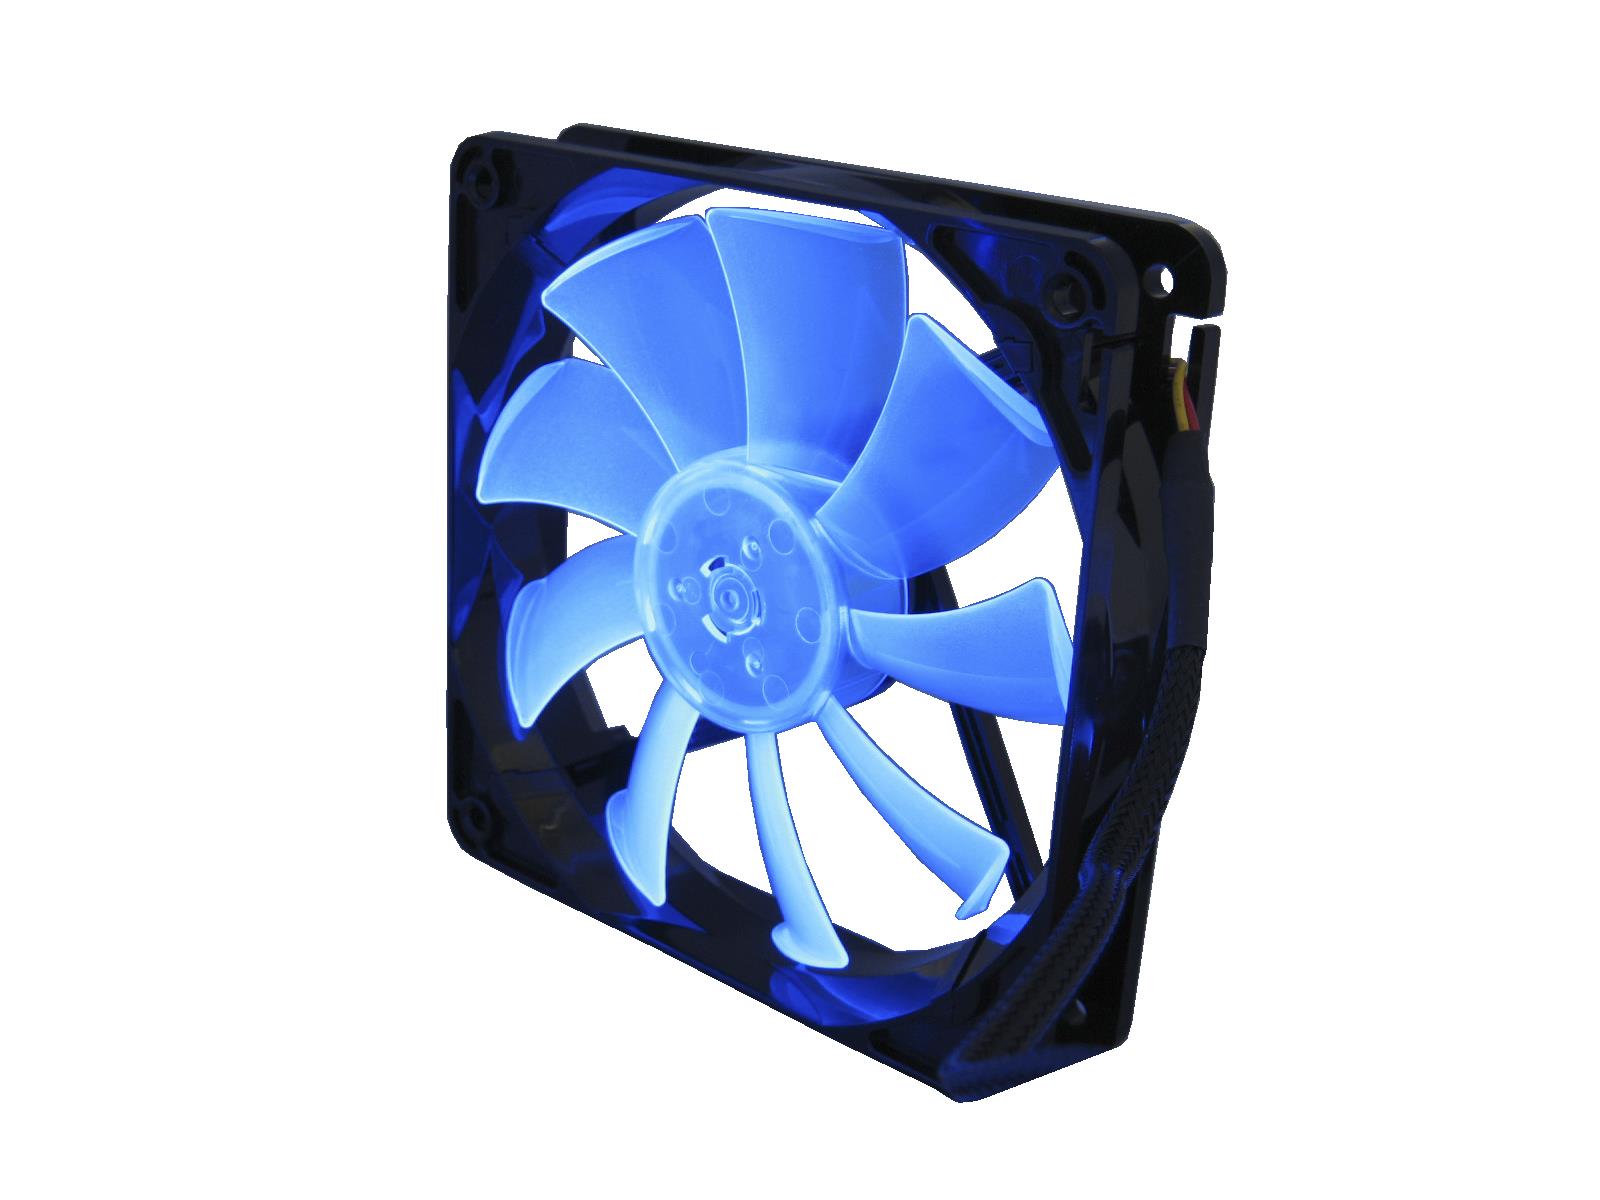
- Case fans with rubber mounts: Choose high-quality case fans that fit your computer case and provide the desired airflow for efficient cooling. Make sure they come with rubber mounts, as these will help reduce vibrations and noise.
- Computer case with mounting points for case fans: Ensure that your computer case has designated spots or mounting points for case fans. These mounting points are usually located on the front, rear, or side panels of the case.
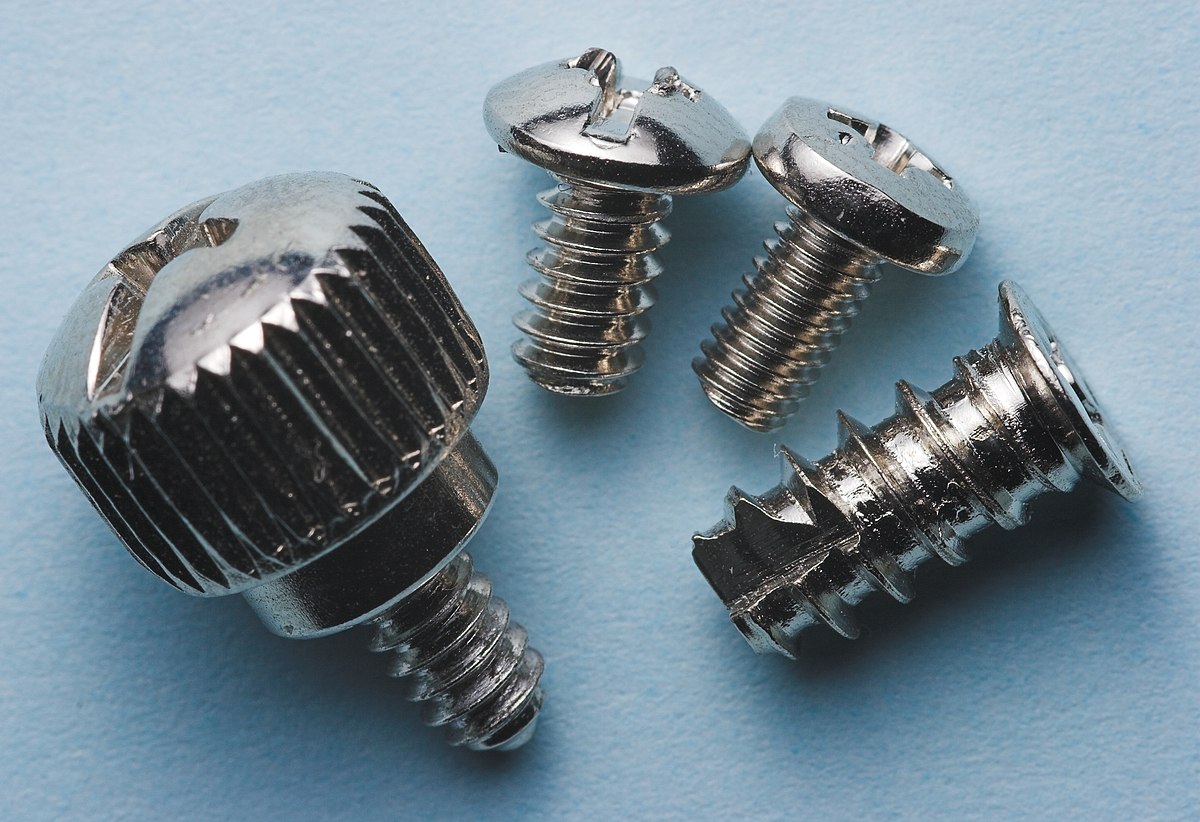
- Screwdriver: A small to medium-sized screwdriver will be required to tighten the screws on the case fans and secure them in place.
- The motherboard manual: This will come in handy when locating the fan headers on your motherboard, which you will need to connect the case fans to.
Once you have gathered these materials, double-check to make sure you have everything you need. This will prevent any delays or frustration during the installation process.
Now that you are equipped with the necessary materials, let’s move on to the next section, where we will prepare the computer case for the installation of the case fans with rubber mounts.
Step 2: Prepare the computer case
Before you begin installing the case fans with rubber mounts, it’s important to prepare the computer case for the installation. This involves identifying the mounting points, removing any obstacles, and ensuring proper ventilation.
Here’s a step-by-step guide to preparing your computer case:
- Locate the mounting points: Look for the designated spots where the case fans will be installed. These mounting points are typically located on the front, rear, or side panels of the case. Refer to the user manual or the manufacturer’s website to identify the specific locations.
- Remove any obstacles: Check for any obstructions, such as cables or brackets, that may hinder the installation of the case fans. Carefully move or detach them to create enough space for the fans to fit properly.
- Clean the case: Dust and debris can accumulate inside the computer case, affecting the airflow and overall cooling performance. Use compressed air or a soft cloth to clean the case and remove any dust or dirt.
- Ensure proper ventilation: Proper airflow is essential for efficient cooling. Make sure that there is enough clearance around the mounting points to allow the case fans to circulate air effectively. Also, check if the case has any additional vents or filters that need to be cleaned or removed.
By properly preparing the computer case, you will create an optimal environment for the case fans to do their job effectively. Once you have completed these preparations, you are ready to move on to the next step, which is attaching the rubber mounts to the case fans.
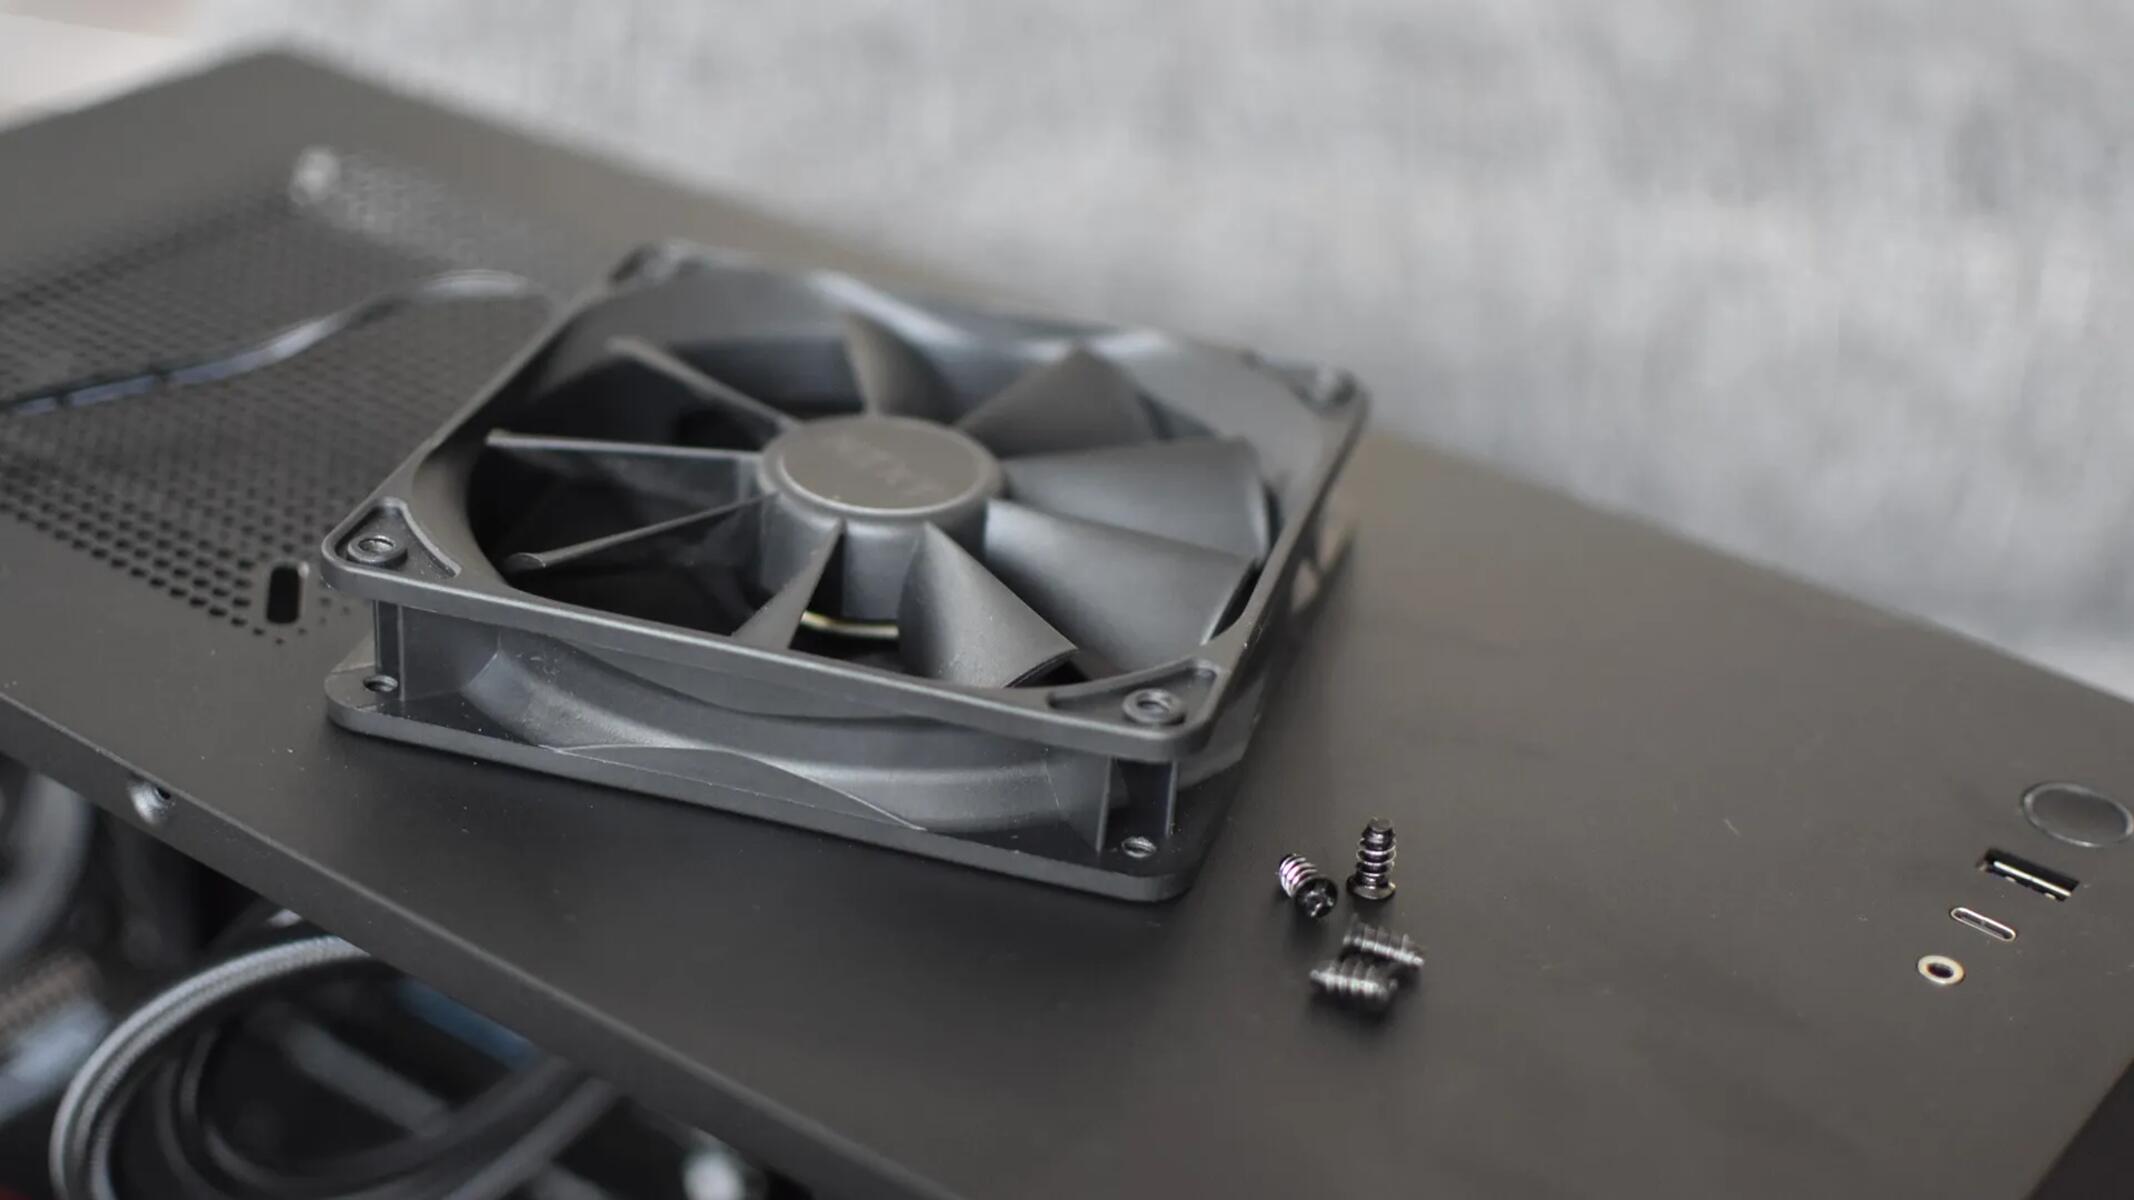
Step 3: Attach the rubber mounts to the case fans
Attaching the rubber mounts to the case fans is a crucial step in the installation process. These rubber mounts will not only securely hold the fans in place but also dampen any vibrations, resulting in quieter operation.
Follow these steps to attach the rubber mounts to the case fans:
- Align the rubber mounts: Take one rubber mount and align it with the corresponding mounting hole on the case fan. The rubber mount will have two ends – one with a screw hole and the other with a flange.
- Insert the screw through the rubber mount: Insert a screw through the screw hole of the rubber mount and into the mounting hole on the case fan. It should be a snug fit – not too loose or too tight.
- Repeat the process for all corners: Repeat the previous step for the remaining corners of the case fan. Make sure each rubber mount is snugly attached to the fan, providing stability and minimizing vibrations.
It’s important to note that different case fans may have varying attachment mechanisms. Some fans may come with pre-attached rubber mounts, while others may require separate rubber mounts to be installed. Follow the manufacturer’s instructions provided with your specific case fans for the most accurate guidance.
Once all the rubber mounts are securely attached to the case fans, you’re ready to proceed to the next step: positioning the case fans in the desired location.
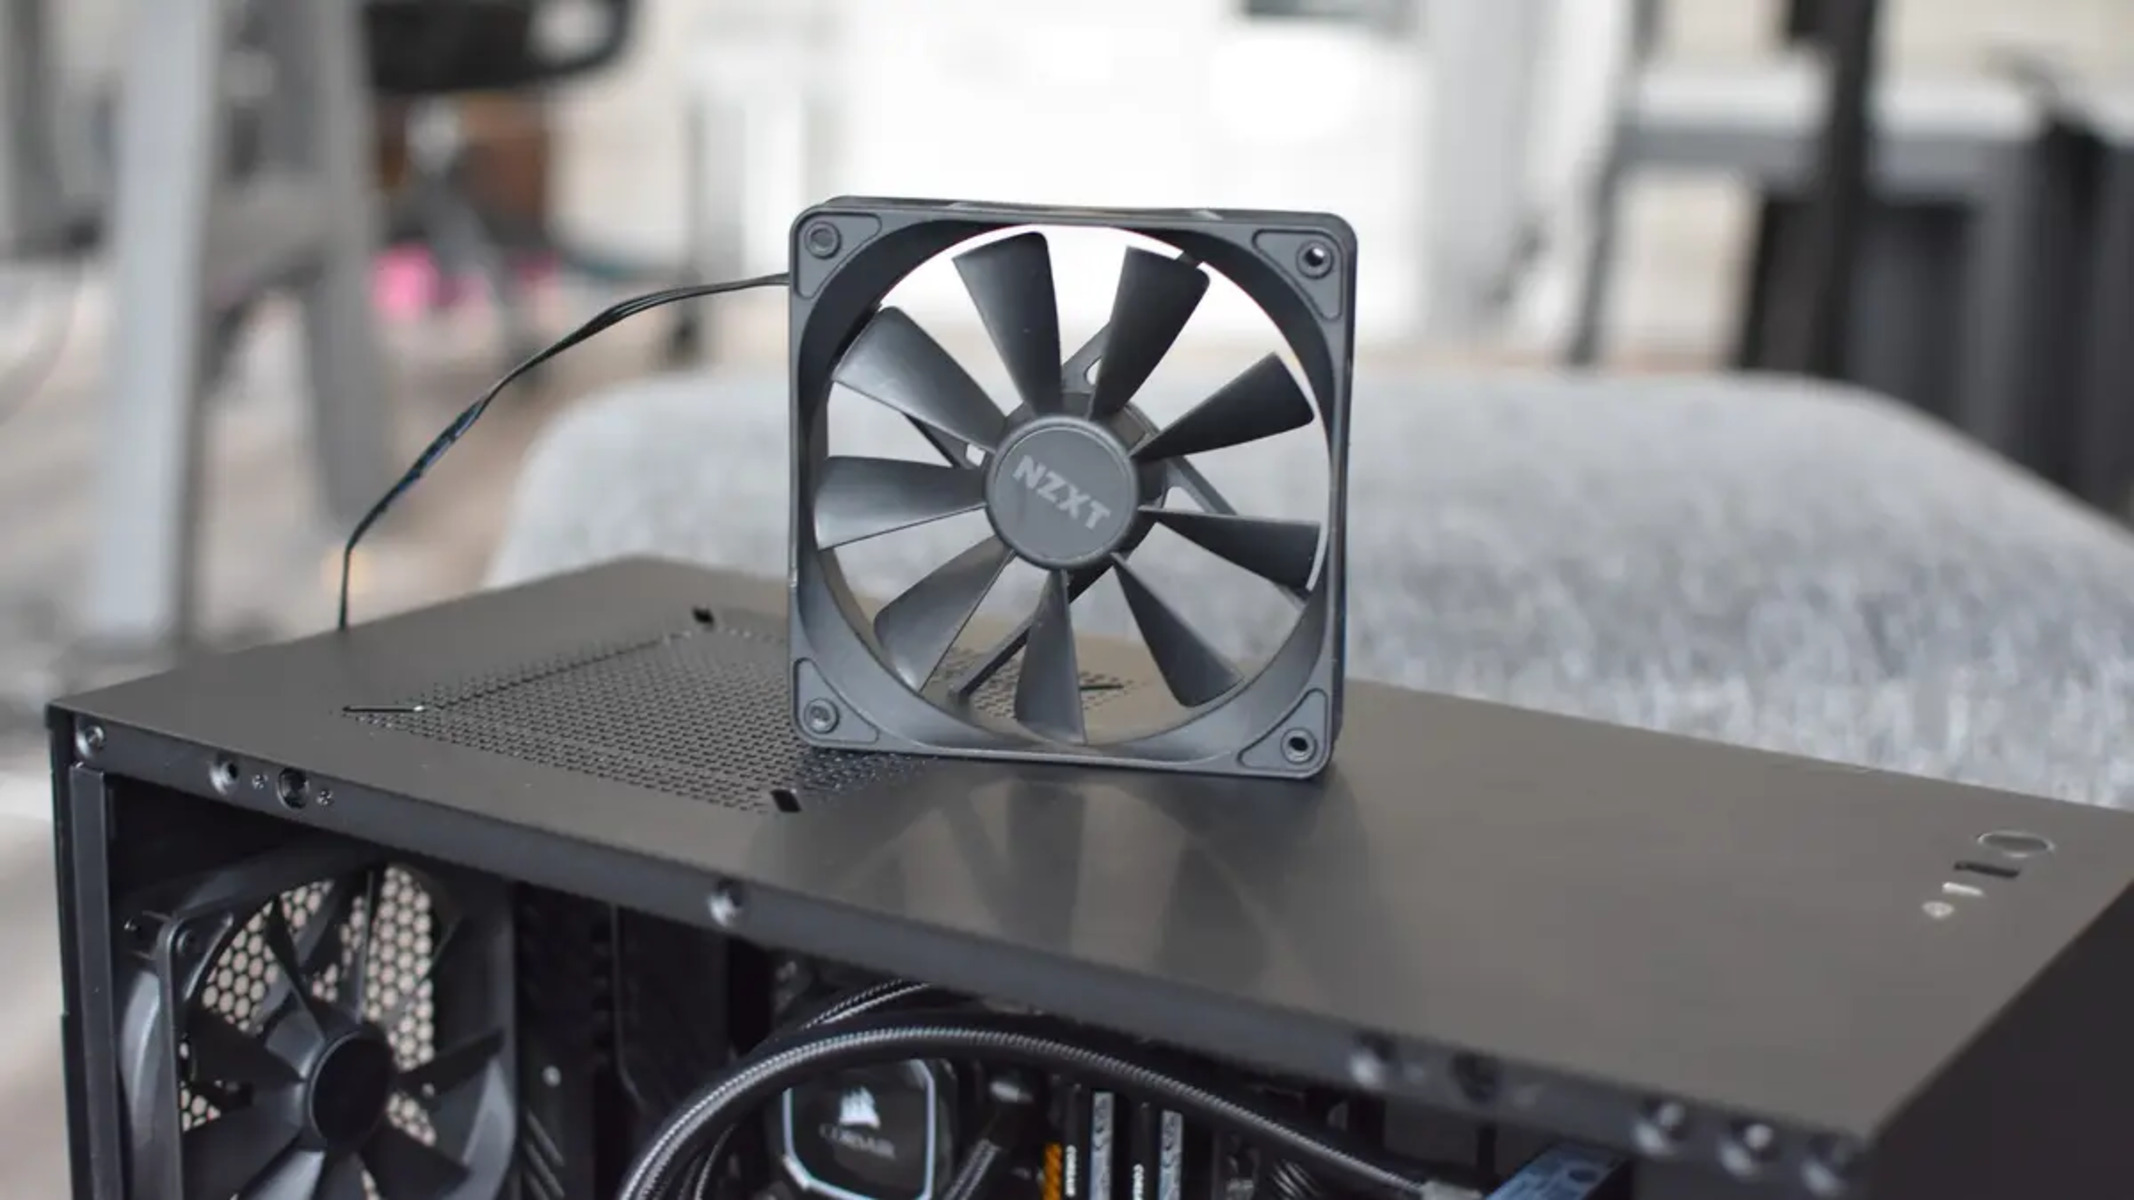
Step 4: Position the case fans in the desired location
Now that you have attached the rubber mounts to the case fans, it’s time to position them in the desired location within your computer case. Proper placement of the case fans will ensure optimal airflow and cooling performance for your system.
Follow these steps to position the case fans:
- Identify the mounting points: Determine where the mounting points are located on your computer case. These are the areas where the case fans will attach to the case. Refer to the user manual or the manufacturer’s website for specific guidelines.
- Align the case fan with the mounting points: Hold the case fan with the rubber mounts facing outward and align it with the corresponding mounting points on the computer case. Ensure that the rubber mounts are firmly in place within the mounting holes.
- Consider airflow direction: Determine the desired airflow direction for your system. Most case fans are designed to intake cool air from the front or side panels and exhaust hot air out of the rear or top panels. Position the fans accordingly to achieve the most efficient airflow pattern.
- Plan for multiple case fans: If you are installing multiple case fans, consider their placement to create a balanced and effective cooling setup. Distribute the fans evenly throughout the case, taking into account the intake and exhaust airflow patterns.
It’s important to note that each computer case may have different options for mounting case fans. Some cases may have removable panels with pre-installed fan slots, while others may require you to remove the front or side panels to install the fans. Consult your case manual or manufacturer’s website for specific instructions.
Once you have positioned the case fans in the desired location, you’re ready to move on to the next step: securing the case fans with rubber mounts.
Step 5: Secure the case fans with rubber mounts
With the case fans positioned in the desired location, it’s time to secure them in place using the rubber mounts. This step will ensure that the fans remain stable and firmly attached to the computer case, providing efficient cooling and minimizing vibrations.
Follow these steps to secure the case fans with rubber mounts:
- Tighten the screw on one corner: Starting with one corner, use a screwdriver to tighten the screw that is inserted through the rubber mount and into the mounting hole on the case fan. Be careful not to overtighten, as this can damage the rubber mount or the case fan.
- Repeat for the remaining corners: Moving clockwise or counterclockwise, tighten the screw on each corner of the case fan. Make sure to tighten each mount equally to ensure even pressure distribution.
- Check for stability: After securing all the rubber mounts, gently shake the case fan to ensure it is securely attached. If there is any wobbling or instability, adjust the rubber mounts as necessary or double-check the tightness of the screws.
It’s important to note that rubber mounts provide a more forgiving and cushioned attachment compared to traditional screws. This helps minimize vibrations and noise, resulting in a quieter operation.
If you are installing multiple case fans, repeat these steps for each fan, ensuring that they are properly secured and stable.
Once you have secured all the case fans with rubber mounts, you’re ready to move on to the next step: connecting the case fan cables to the motherboard.
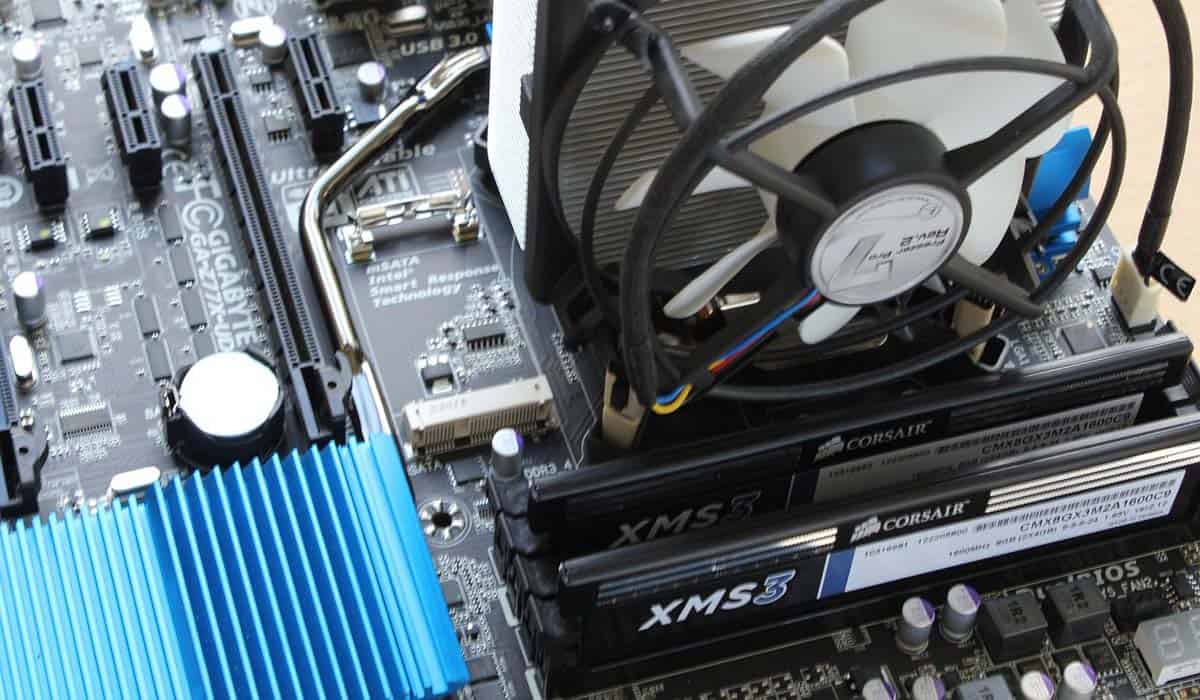
Step 6: Connect the case fan cables to the motherboard
Now that the case fans are securely attached to the computer case, it’s time to connect their cables to the motherboard. This step allows the motherboard to control the speed and operation of the case fans, ensuring efficient cooling and optimal performance.
Follow these steps to connect the case fan cables to the motherboard:
- Locate the fan headers on the motherboard: Consult the motherboard manual to locate the fan headers. These are usually labeled as “CHA_FAN” or “SYS_FAN” and are typically located near the CPU socket or along the edges of the motherboard.
- Identify the fan cables: Each case fan will have a cable with a small connector at the end. The connector may have three or four pins, depending on the type of fan and motherboard.
- Align the fan cable with the fan header: Align the small connector of the fan cable with the corresponding pins on the fan header. Make sure the alignment is correct, as forcing the connector in the wrong direction can damage the pins.
- Secure the connection: Gently press down on the fan cable connector to secure it onto the fan header. The connection should be snug and secure, ensuring proper communication between the motherboard and the case fan.
- Repeat for the remaining case fans: If you have multiple case fans, repeat the previous steps for each fan, connecting their cables to available fan headers on the motherboard.
It’s important to note that some modern motherboards have dedicated fan control software that allows you to adjust fan speeds and customize their behavior. Consult your motherboard’s manual or the manufacturer’s website for more information on using the fan control features.
Once all the case fan cables are connected to the motherboard, you have completed the essential steps of installing case fans with rubber mounts. The final step is to test the installed case fans, ensuring that they are functioning properly and providing the desired cooling performance.
Step 7: Test the installed case fans
After successfully installing the case fans with rubber mounts and connecting their cables to the motherboard, it’s crucial to test their functionality to ensure they are operating effectively. Testing the case fans will allow you to verify that they are spinning correctly, producing the expected airflow, and providing adequate cooling for your system.
Follow these steps to test the installed case fans:
- Power on the computer: Start by powering on your computer. Ensure that all the necessary connections are secure and that the case fans have power.
- Monitor fan speed and temperature: Open your computer’s BIOS or use third-party software to monitor the fan speeds and system temperatures. Check if the fan speed readings align with the desired settings and if the temperatures are within normal operating limits.
- Observe fan operation: As the system starts and operates, visually inspect the case fans. Ensure that all the case fans are spinning and that the airflow is noticeable.
- Listen for abnormal noises: Pay attention to any unusual or excessive noise coming from the case fans. While some noise is expected, loud or grinding sounds may indicate a problem with the fan or its mounting.
- Run a stress test: Execute a stress test or run resource-intensive tasks on your computer to push the system’s performance. Monitor the temperatures and fan speeds during this test to ensure that the case fans effectively dissipate heat and maintain optimal cooling.
If any issues or abnormalities are noticed during the testing phase, double-check the connections and ensure that the case fans are installed correctly with proper airflow direction. If the issues persist, consider consulting professional assistance or contacting the manufacturer for further troubleshooting.
Once you have tested the installed case fans and verified their proper functioning, you have completed the installation process. Your computer is now equipped with effective cooling to ensure the optimal performance and longevity of your components.
Conclusion
Congratulations! You have successfully installed case fans with rubber mounts, enhancing the cooling performance and airflow in your computer. This essential process helps maintain lower temperatures, ultimately safeguarding your hardware and maximizing its lifespan.
Throughout this guide, we covered the step-by-step process of installing case fans with rubber mounts. From gathering the necessary materials to testing the fans, each step plays a crucial role in ensuring a successful installation.
Remember, proper preparation of the computer case, attachment of rubber mounts to the fans, positioning the fans strategically, and securely connecting the fan cables to the motherboard are all key elements of a successful installation process. Testing the functioning and performance of the fans ensures that everything is working optimally.
With the case fans installed, your computer will benefit from improved airflow, reduced temperatures, and better overall cooling efficiency. This can result in more stable performance, longer lifespan for your components, and a quieter operating environment.
Should you ever need to modify or replace the case fans, you can refer back to this guide for a quick refresher. Remember to consider the specific requirements of your computer case and components when selecting new fans.
By following this guide and taking the necessary precautions, you have empowered yourself with the knowledge to enhance your computer’s cooling system. Enjoy your improved airflow, reduced temperatures, and better overall performance!