Introduction
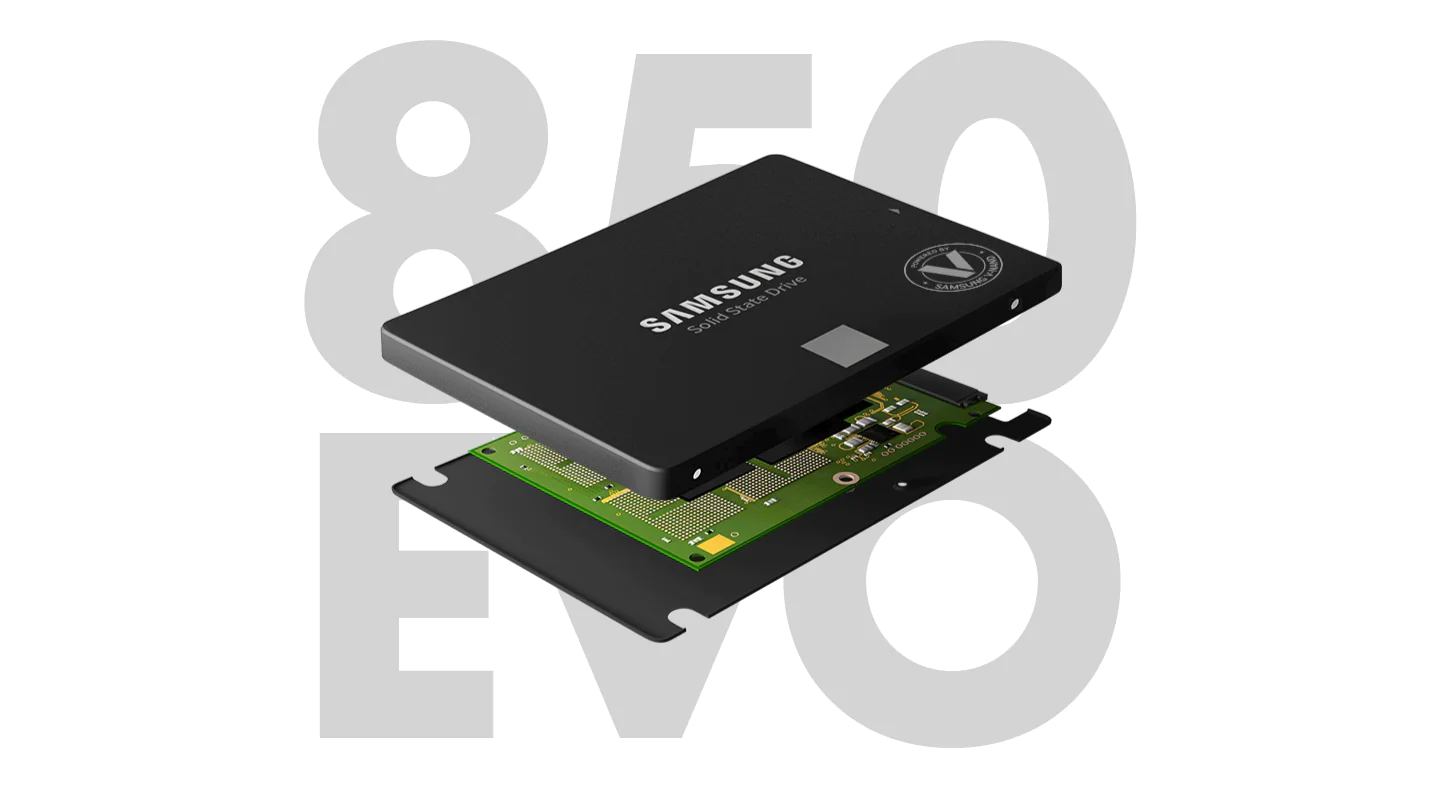
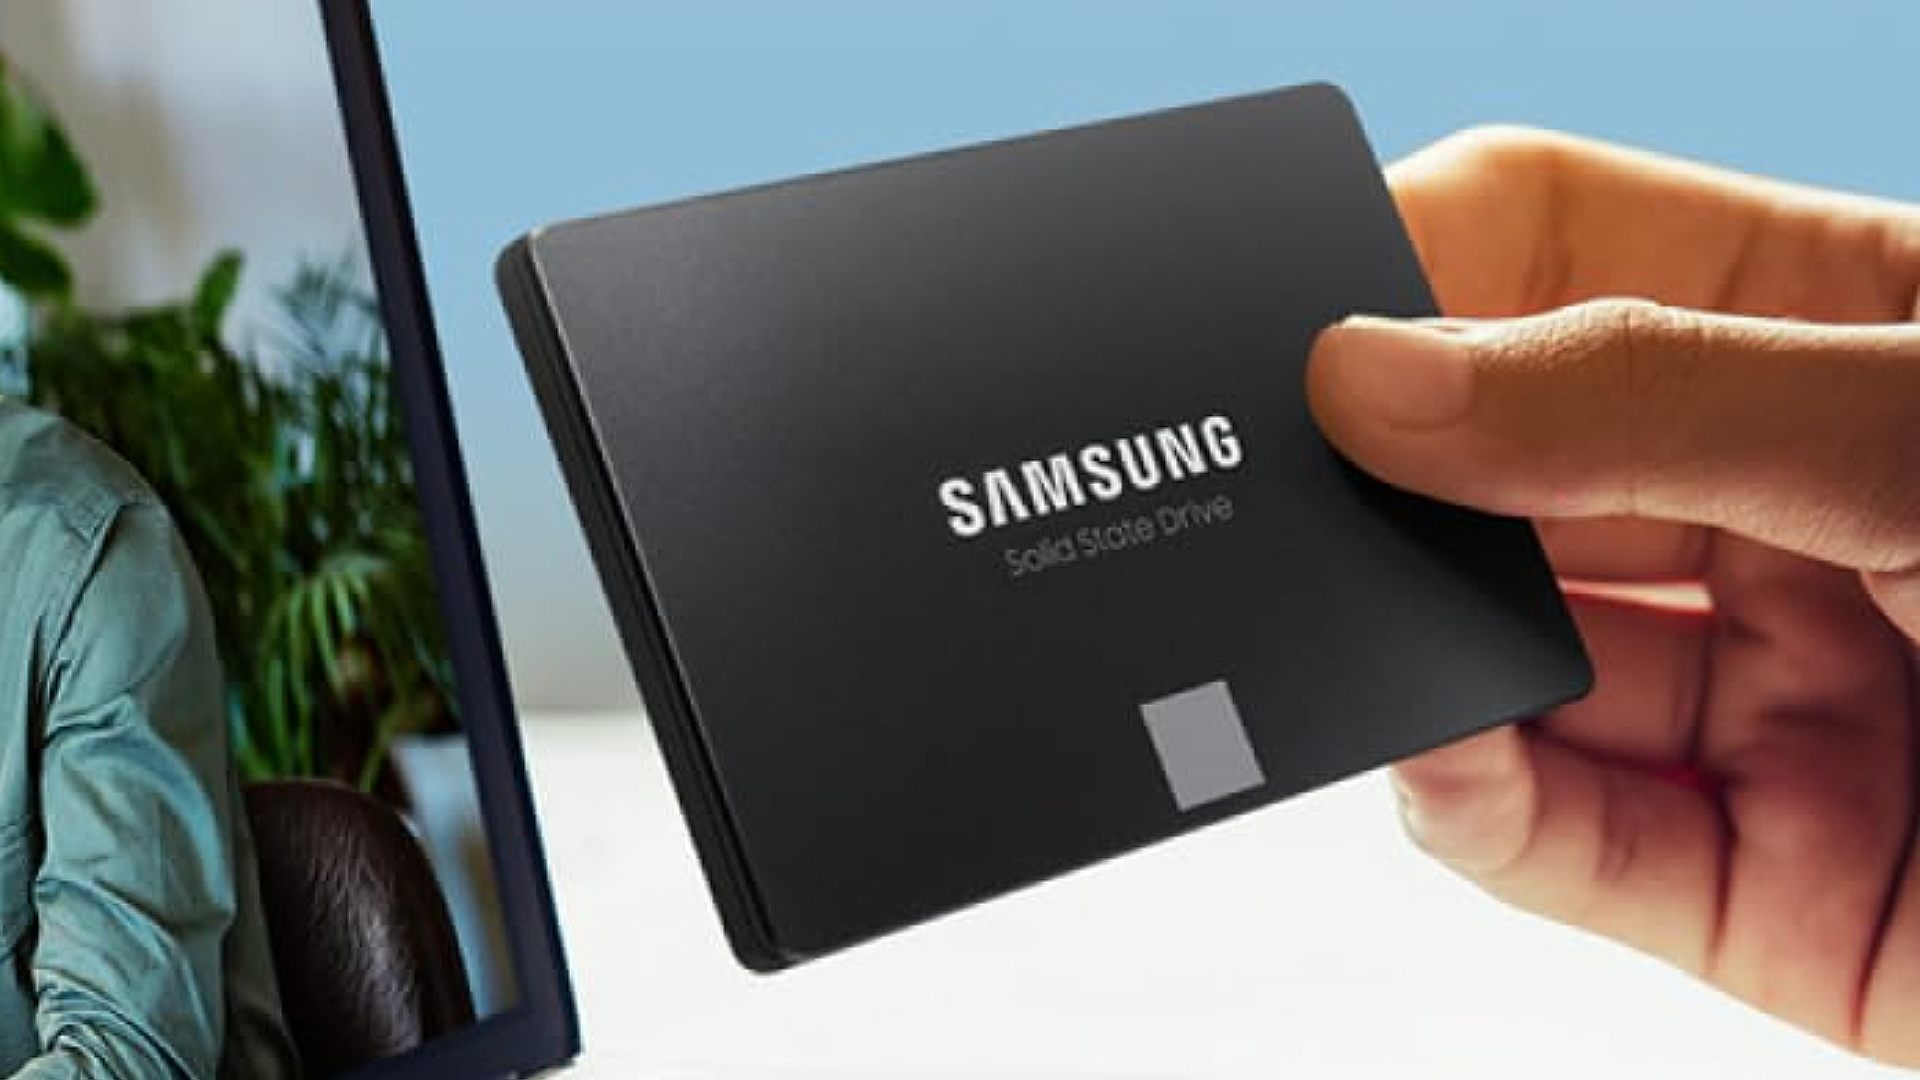
Are you tired of slow boot times and sluggish performance on your computer? Upgrading your storage drive to a solid-state drive (SSD) can significantly improve your computer’s speed and responsiveness. In this guide, we’ll take you through the step-by-step process of installing a Samsung SSD 850 Evo, one of the most popular and reliable SSDs on the market.
With its blazing-fast read and write speeds, the Samsung SSD 850 Evo offers a significant performance boost compared to traditional hard drives. Whether you’re a gamer, a creative professional, or a regular computer user, upgrading to an SSD can make a world of difference in your computing experience.
But don’t worry if you’re not a computer expert. This installation guide is designed for beginners and will walk you through each step of the process. You’ll learn how to open your computer case, locate the storage drive bay, remove the old storage drive, and install the Samsung SSD 850 Evo. By the end of this guide, you’ll have a faster and more efficient storage solution for your computer.
Before we dive into the installation process, let’s take a moment to gather the necessary materials. You’ll need a few basic tools and components to successfully complete the installation, so make sure you have everything on hand before getting started. Once you have everything ready, power off your computer and let’s begin the installation process.
Step 1: Gather the necessary materials
Before you begin the installation process, it’s important to gather all the necessary materials. Having everything ready will make the installation smoother and more efficient. Here’s a list of the items you’ll need:
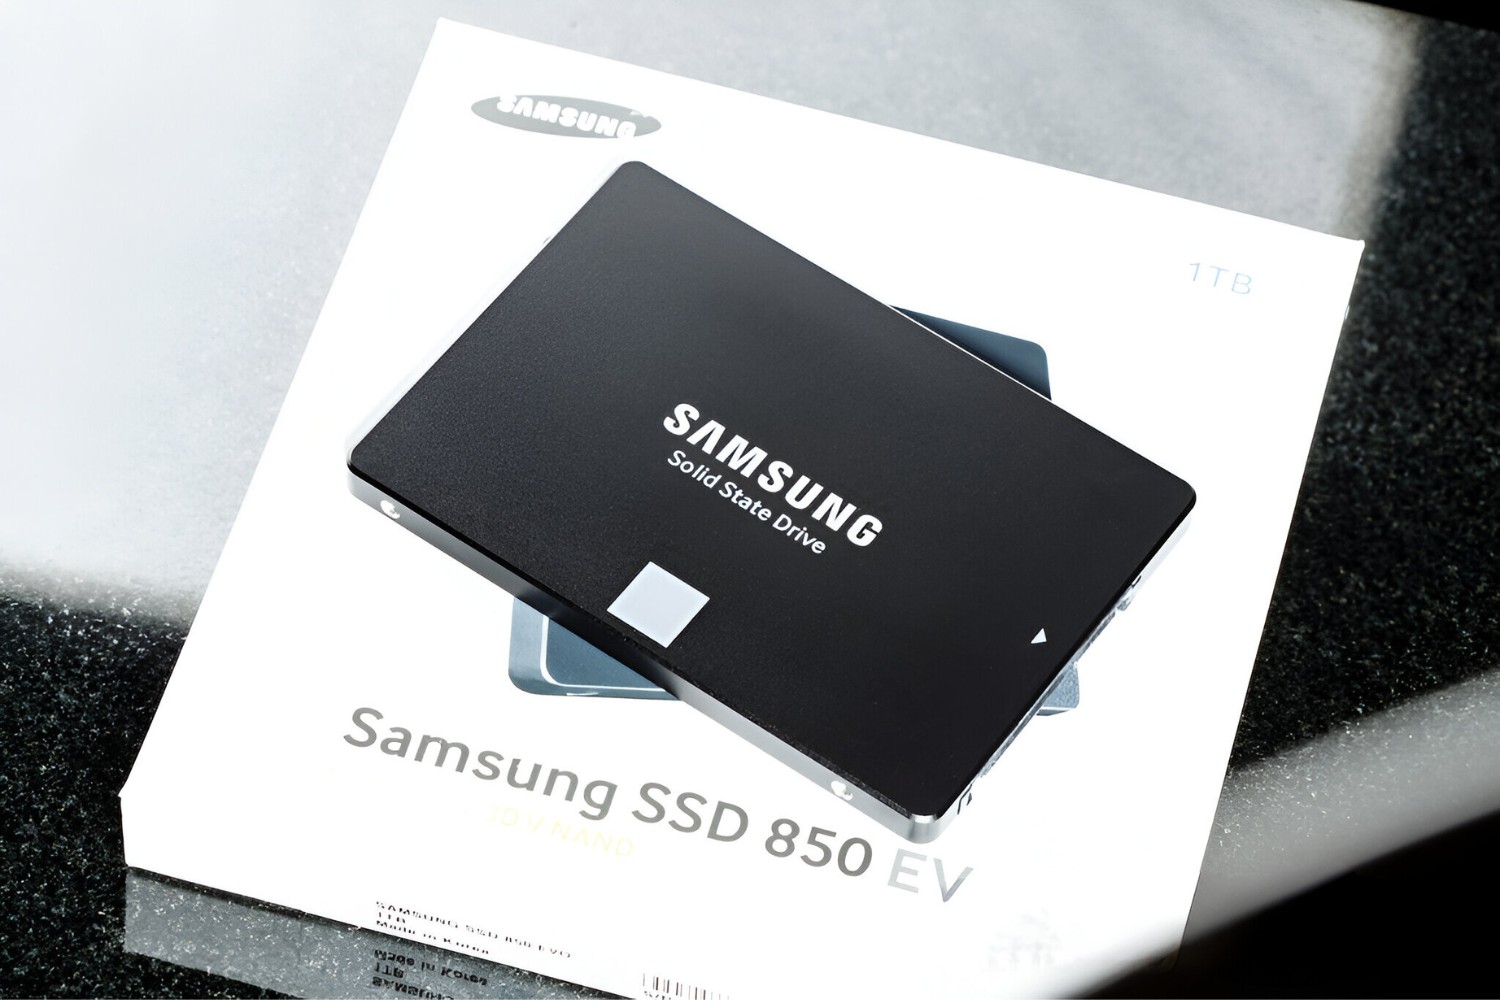
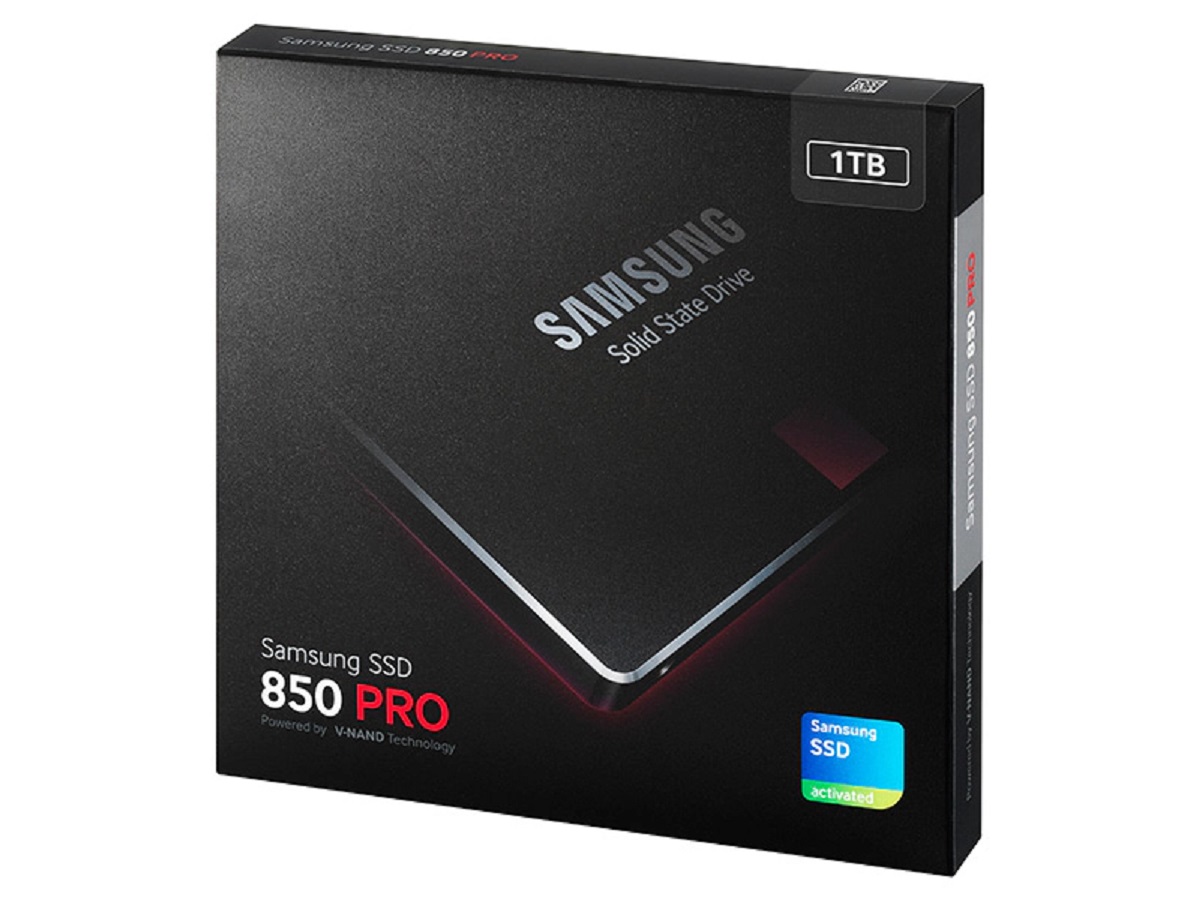
- Samsung SSD 850 Evo
- Computer case
- SATA cables
- Screwdriver
- Antistatic wrist strap (optional, but recommended)
The Samsung SSD 850 Evo is the star of the show – ensure you have this high-performance SSD on hand. It’s available in different storage capacities, so choose one that suits your needs. The computer case is where you’ll be installing the SSD, so make sure it’s easily accessible and openable. SATA cables are required to connect the SSD to your motherboard. Check if you have spare cables or purchase new ones if needed.
A screwdriver is essential for opening the computer case and securing the SSD in place. You may also need it to disconnect and reconnect other cables inside. Finally, consider using an antistatic wrist strap to protect your components from static electricity. While it’s optional, it’s a good practice to minimize any potential damage that static electricity can cause.
Once you have all these materials ready, you’re one step closer to installing your Samsung SSD 850 Evo. Next, we’ll proceed to power off your computer to ensure a safe installation process. So, let’s turn off your computer and get started!
Step 2: Power off your computer
Before you begin working on your computer’s internals, it’s crucial to power off the system completely. This will prevent any accidental damage and ensure your safety throughout the installation process.
To power off your computer, follow these steps:
- Save any open files and close all running programs. This will prevent any data loss or corruption when you shut down your computer.
- Click on the “Start” button in the bottom left corner of your screen and select “Shut down” from the menu. This will initiate the shutdown process.
- Wait for your computer to completely shut down. You can tell that it’s powered off when the screen turns black, the fans stop spinning, and any indicator lights on the front panel are off.
- Unplug the power cord from the back of your computer or from the power outlet. This will ensure that no electricity is flowing through the system, minimizing the risk of electrical shock.
It’s essential to fully power off your computer rather than simply putting it in sleep or hibernate mode. This ensures that all components, including the SSD and motherboard, are completely powered down and ready for the installation process.
Once you’ve powered off your computer and disconnected the power cord, we can move on to the next step: opening your computer case. This step will give us access to the internals of your computer, allowing us to locate the storage drive bay and proceed with the installation of the Samsung SSD 850 Evo.
Step 3: Open your computer case
In order to install the Samsung SSD 850 Evo, you’ll need to open your computer case to access the internals. Opening the case may vary depending on the design of your computer, but the general process remains the same.
Follow these steps to open your computer case:
- Place your computer on a stable and secure surface, ensuring that it won’t accidentally tip over or fall during the process.
- Locate the screws or fasteners securing the side panel of your computer case. These are usually situated on the backside of the case.
- Use a screwdriver to loosen or remove the screws holding the side panel in place. Set the screws aside in a safe location for reassembly later.
- Gently slide or lift off the side panel of the case, being mindful of any cables that may be connected to it.
Once you have successfully removed the side panel, you’ll have a clear view of the internals of your computer. At this point, it’s a good idea to ground yourself to discharge any static electricity. You can do this by touching a metal part of the case or, if available, using an antistatic wrist strap.
Opening your computer case provides access to the motherboard and other components, making it easier to install the SSD. With the case open, we can proceed to the next step – locating the storage drive bay. This is where we’ll install the Samsung SSD 850 Evo for optimal performance and storage capacity.
Step 4: Locate the storage drive bay
The storage drive bay is the dedicated area inside your computer case where storage drives, such as hard drives and SSDs, are typically installed. Locating the drive bay is essential before you can proceed with installing the Samsung SSD 850 Evo.
Follow these steps to locate the storage drive bay:
- Take a closer look inside your computer case and identify the area where the storage drives are mounted. This is usually located in the front or bottom part of the case.
- Look for a metal or plastic cage or bracket that holds the storage drives in place. This cage may have slots or trays where the drives can be inserted.
- If you’re unsure, consult your computer’s user manual or search online for the specific model of your computer to determine the exact location and design of the drive bay.
Now that you have located the storage drive bay, take note of its design and dimensions. This will be helpful when installing the Samsung SSD 850 Evo, ensuring a proper fit and alignment within the bay.
It’s important to remember that some cases may have multiple storage drive bays, allowing for the installation of multiple drives. If you have other drives already installed, take note of their positions and connections to avoid any confusion or accidental disconnection during the installation process.
With the storage drive bay located, we’re ready to move on to the next step: disconnecting the cables from the old storage drive. Properly disconnecting the cables will ensure a smooth transition to the Samsung SSD 850 Evo.
Step 5: Disconnect the cables from the old storage drive
Before we can remove the old storage drive from the bay, we need to disconnect the cables connected to it. This step is crucial to ensure a smooth and hassle-free installation of the Samsung SSD 850 Evo.
Follow these steps to disconnect the cables from the old storage drive:
- Identify the cables connected to the old storage drive. There are typically two cables: the power cable and the data cable.
- Starting with the power cable, locate the connector that is attached to the drive. It is a rectangular-shaped connector with multiple pins.
- Gently pull the power cable connector straight out of the drive, using a firm but gentle grip. Be careful not to pull too hard to avoid damaging the cable or the drive.
- Next, locate the data cable, also known as the SATA cable, which is connected to the drive. It is a thin, flat cable with a small L-shaped connector at each end.
- Hold the side of the SATA cable connector closest to the drive and gently wiggle it back and forth while pulling it straight out of the drive. Again, exercise caution to avoid putting too much force on the cable or the drive.
Once you have successfully disconnected both cables from the old storage drive, set them aside for reuse or store them in a safe place. You may need these cables later when connecting the Samsung SSD 850 Evo.
With the cables disconnected, we can now proceed to remove the old storage drive from the bay. This will make way for the installation of the Samsung SSD 850 Evo, which will bring enhanced speed and performance to your computer.
Step 6: Remove the old storage drive from the bay
Now that we have disconnected the cables from the old storage drive, it’s time to physically remove it from the drive bay. Removing the old drive will make space for the installation of the Samsung SSD 850 Evo.
Follow these steps to remove the old storage drive:
- Locate the mounting screws or fasteners that secure the old storage drive within the drive bay.
- Using a screwdriver, carefully remove the screws from the sides or bottom of the drive. Set the screws aside in a safe place for later use.
- Gently slide the old storage drive out of the bay, ensuring that you don’t force or damage any other components within the case. If the drive feels firmly stuck, double-check for any additional screws or fasteners that may be holding it in place.
- Once the drive is free from the bay, place it aside or store it in an anti-static bag for safekeeping or future use.
With the old storage drive removed, take a moment to clean up any dust or debris inside the drive bay. You can use compressed air or a soft brush to gently remove any accumulated dirt.
It’s important to note that removing the old storage drive may affect the data stored on it. Make sure you have backed up any important files and transferred them to a separate storage device before proceeding. The Samsung SSD 850 Evo offers reliable and efficient storage, so you’ll be able to securely store your data once it is installed.
Now that the old storage drive has been successfully removed, we can move on to the exciting part – installing the Samsung SSD 850 Evo into the drive bay. This will unlock the full potential of your computer, providing faster boot times and improved performance.
Step 7: Install the Samsung SSD 850 Evo into the bay
With the old storage drive removed, it’s time to install the star of the show – the Samsung SSD 850 Evo. Follow these steps to successfully install the SSD into the drive bay:
- Take the Samsung SSD 850 Evo out of its packaging, being careful not to touch the gold connectors on the bottom. These connectors are sensitive, and any damage can potentially affect the performance of the SSD.
- Align the Samsung SSD 850 Evo with the empty slot in the drive bay, ensuring that the connectors and screw holes on the SSD align with the corresponding slots in the bay.
- Gently slide the SSD into the drive bay until it is fully inserted. Apply light pressure if needed, but avoid forcing it or bending any connectors.
- If your drive bay uses screws to secure the storage drives, use the screws you set aside earlier to fasten the Samsung SSD 850 Evo in place. Tighten the screws just enough to hold the SSD securely without over-tightening.
Once the Samsung SSD 850 Evo is securely installed in the drive bay, take a moment to ensure that it is properly aligned and seated. Make sure the connectors are firmly connected to both the SSD and the drive bay slots.
It’s important to note that if your computer case does not have a dedicated drive bay for the SSD, there are alternative installation methods. These may include using a drive adapter or securing the SSD in an available mounting location with screws or brackets. Always refer to your computer case manual or consult online resources for specific instructions on alternative installation methods.
With the Samsung SSD 850 Evo successfully installed, we can now move on to the next step – connecting the necessary cables to the SSD to ensure it is powered and functioning properly.
Step 8: Connect the cables to the new SSD
Now that the Samsung SSD 850 Evo is securely installed in the drive bay, it’s time to connect the necessary cables to ensure it receives power and is properly recognized by your computer. Follow these steps to connect the cables to the SSD:
- Locate the power cable that you disconnected from the old storage drive. It is a multi-pin connector that supplies power to the drive.
- Gently insert the power cable connector into the corresponding power port on the Samsung SSD 850 Evo. The connector should fit snugly and align properly with the port.
- Next, locate the SATA data cable that you disconnected earlier. It is a thin and flat cable with an L-shaped connector on each end.
- Connect one end of the SATA data cable to the SATA data port on the Samsung SSD 850 Evo. The port should be clearly marked on the SSD.
- Connect the other end of the SATA data cable to an available SATA data port on your motherboard. The port on the motherboard may be labeled, or you can refer to your motherboard manual for guidance.
Ensure that both the power and data cables are securely connected to the Samsung SSD 850 Evo. Double-check the connections to make sure they are properly aligned without any bending or loose connections.
If your computer case has cable management features, use them to tidy up the cables and keep them organized. This will not only improve airflow and reduce cable clutter but also make future maintenance and upgrades easier.
With the cables connected, you have successfully completed the final hardware step of installing the Samsung SSD 850 Evo. In the next step, we’ll close the computer case and prepare for the software configuration of the SSD.
Step 9: Close the computer case
With the Samsung SSD 850 Evo installed and the cables connected, it’s time to close the computer case to ensure everything is secure and protected. Follow these steps to close the case:
- Ensure that all cables and components inside the case are properly aligned and organized.
- Taking care not to pinch any cables, position the side panel of your computer case back onto the chassis.
- Slide or press the side panel into place, making sure it fits snugly against the case’s edge.
- Secure the side panel with the screws or fasteners that you previously removed. Use a screwdriver to tighten the screws just enough to hold the panel securely in place.
Double-check that all screws or fasteners are tightened properly, but avoid overtightening, as this can damage the case or strip the screw threads.
Once the computer case is closed, take a moment to ensure that all cable connections and components are secure and properly seated. Check for any loose cables that may have become disconnected during the installation process.
With the computer case closed, you’re almost ready to power on your computer and configure the newly installed Samsung SSD 850 Evo. But before doing so, make sure to clean up your workspace and remove any tools or unnecessary items.
Now that the hardware installation is complete, it’s time to power on your computer and move on to the final step: configuring the Samsung SSD 850 Evo for optimal performance.
Step 10: Power on your computer and configure the SSD
With the Samsung SSD 850 Evo securely installed and the computer case closed, it’s time to power on your computer and configure the SSD for optimal performance. Follow these steps to complete the installation process:
- Connect the power cord to the back of your computer and plug it into a power outlet.
- Press the power button on your computer to turn it on.
- As your computer boots up, enter the BIOS or UEFI settings by pressing the appropriate key. The key to access these settings varies depending on your computer’s manufacturer and model. Common keys include Del, F2, F12, or Esc.
- In the BIOS or UEFI settings, navigate to the “Boot” or “Startup” section.
- Set the Samsung SSD 850 Evo as the primary boot device in the boot order. This will ensure that your computer boots from the SSD rather than the old storage drive or any other connected devices.
- Save the changes and exit the BIOS or UEFI settings. This will restart your computer.
- Once your computer has rebooted, it should now be using the Samsung SSD 850 Evo as the primary storage device.
Next, you’ll need to initialize and format the Samsung SSD 850 Evo if it’s a new drive. This can be done through your computer’s operating system. Depending on your operating system, the exact steps may vary, but typically you’ll need to locate the drive in the Disk Management utility and follow the prompts to initialize and format it.
If you’re replacing an existing drive, you may need to transfer your data from the old drive to the Samsung SSD 850 Evo. This can be done using backup and migration tools or by manually copying files to the new drive.
Finally, install any necessary drivers or software provided by Samsung for optimal performance and functionality of the SSD.
With the Samsung SSD 850 Evo properly configured and recognized by your computer, you can now benefit from faster boot times, improved performance, and increased storage capacity.
Congratulations! You have successfully completed the installation process of the Samsung SSD 850 Evo. Enjoy the enhanced speed and reliability that the SSD brings to your computer.
Conclusion
Congratulations on successfully installing the Samsung SSD 850 Evo into your computer! By following the step-by-step process outlined in this guide, you have upgraded your storage solution to one of the most reliable and high-performance SSDs available.
The Samsung SSD 850 Evo offers impressive read and write speeds, enhancing the overall speed and responsiveness of your computer. Whether you’re a gamer, a creative professional, or simply a regular computer user, the SSD will significantly improve your computing experience.
Throughout the installation process, you learned how to gather the necessary materials, power off your computer, open the case, and locate the storage drive bay. You discovered how to disconnect the cables from the old storage drive and remove it from the bay. Then, you installed the Samsung SSD 850 Evo, connected the necessary cables, and closed the computer case.
Finally, you powered on your computer, configured the SSD in the BIOS or UEFI settings, initialized, formatted the SSD, and installed any required software or drivers. Now, you’re ready to enjoy the enhanced performance and storage capacity that the Samsung SSD 850 Evo provides.
Remember to perform regular backups of your data to ensure its safety and consider utilizing the full potential of the SSD by implementing best practices for file organization and management.
Thank you for choosing the Samsung SSD 850 Evo and following this installation guide. We hope this upgrade brings you greater productivity, faster load times, and an overall improved computing experience.
Enjoy your new SSD-powered computer!