Why is Increasing Memory Important?
Memory is a fundamental component of any computer system. It enables the computer to store and retrieve information quickly, ensuring a smooth and efficient operation. As technology advances, software applications and operating systems become more demanding, requiring larger amounts of memory to perform optimally. Therefore, increasing memory is crucial for several reasons.
First and foremost, increasing memory can significantly enhance the overall performance of your PC. When your computer runs out of memory, it relies on the hard drive, which is considerably slower than RAM, to store and retrieve data. This can lead to a noticeable slowdown in the system speed and responsiveness. By increasing memory, you provide the computer with more space to store and access data, resulting in improved performance and reduced lag times.
Furthermore, increasing memory allows you to run more programs and applications simultaneously without experiencing performance bottlenecks. With more memory available, your PC can easily handle multitasking, allowing you to browse the internet, stream videos, edit documents, and run resource-intensive software smoothly and seamlessly. This is especially beneficial for professionals who rely on complex software tools for graphic design, video editing, or 3D rendering.
In addition, increasing memory is crucial for gaming enthusiasts. Modern video games are notorious for their high system requirements, often demanding large amounts of memory to run smoothly. By upgrading your PC’s memory, you can ensure an immersive and lag-free gaming experience, with faster loading times, smoother frame rates, and enhanced graphics.
Additionally, increasing memory can have a positive impact on your productivity. With more memory, your computer can cache more data, resulting in faster access to frequently used files and applications. This means reduced waiting times and improved workflow efficiency, allowing you to complete your tasks more quickly and effectively.
Last but not least, increasing memory can prolong the lifespan of your computer. As software requirements continue to evolve, older systems with minimal memory may become incompatible with the latest operating systems and applications. By upgrading your memory, you future-proof your PC, ensuring it remains capable of running the most demanding software updates.
In summary, increasing memory is essential for optimizing your PC’s performance, enabling smoother multitasking, enhancing gaming experiences, boosting productivity, and future-proofing your computer. So, if you want to unlock the full potential of your system and avoid frustrating slowdowns, upgrading your memory is a wise investment.
Determining Your Current Memory Needs
Before you proceed with increasing the memory on your PC, it is important to understand your current memory needs. This will help you determine the amount of additional memory required to meet your specific requirements. Here are some key factors to consider:
- Current RAM Usage: To assess your current memory usage, you can open the task manager or a system monitoring tool. Look for the “Memory” or “RAM” section and note how much memory is being utilized while running your typical workload. If you frequently see your memory usage near or reaching its maximum capacity, it may be an indication that you need more memory.
- Type of Applications: Consider the type of applications you use on a regular basis. If you primarily use lightweight applications like web browsers, word processors, and email clients, you may not require as much memory compared to users who rely on resource-intensive software such as video editing programs, virtual machines, or 3D design tools. Determine the RAM requirements of the applications you use most frequently to get an estimate of the ideal memory capacity.
- Future Upgrades: Think about your future plans for your PC. Are you planning to upgrade to a newer version of your operating system? Do you anticipate using more demanding software or increasing your workload in the near future? If so, it’s a good idea to factor in these future requirements when determining your current memory needs. It is always better to have some room for growth to avoid the need for another memory upgrade too soon.
- Budget Considerations: While it’s important to have enough memory to meet your needs, it’s equally vital to stay within your budget. Take into account the cost of memory modules and consider what you can comfortably afford. Balancing your desired memory capacity with your budget can help you make an informed decision.
By considering these factors, you can determine the amount of memory you need to increase. It’s crucial to ensure you’re investing in the right amount of memory to avoid spending unnecessarily on excessive memory that won’t be utilized effectively or falling short of the required memory for optimal performance.
Remember, this assessment is specific to your individual needs and usage patterns. It’s recommended to consult with a professional or refer to your computer’s documentation for further guidance on the maximum memory capacity supported by your system.
Check if You Can Upgrade Your Existing Memory
Before you go ahead and purchase new memory modules, it’s important to ascertain whether your computer’s existing memory can be upgraded. Here are a few steps to help you determine if an upgrade is possible:
- Check your computer’s documentation: Start by consulting the documentation that came with your computer or motherboard. Look for information on the maximum memory capacity and compatible memory types. This will give you an idea of the upgrade potential of your system.
- Use system information tools: If you don’t have access to the documentation, you can use system information tools to gather information about your computer’s hardware. On Windows, you can use the built-in System Information tool or third-party applications like CPU-Z or Speccy. On Mac, you can use the “About This Mac” feature. These tools will provide you with details about your current memory configuration and maximum supported memory.
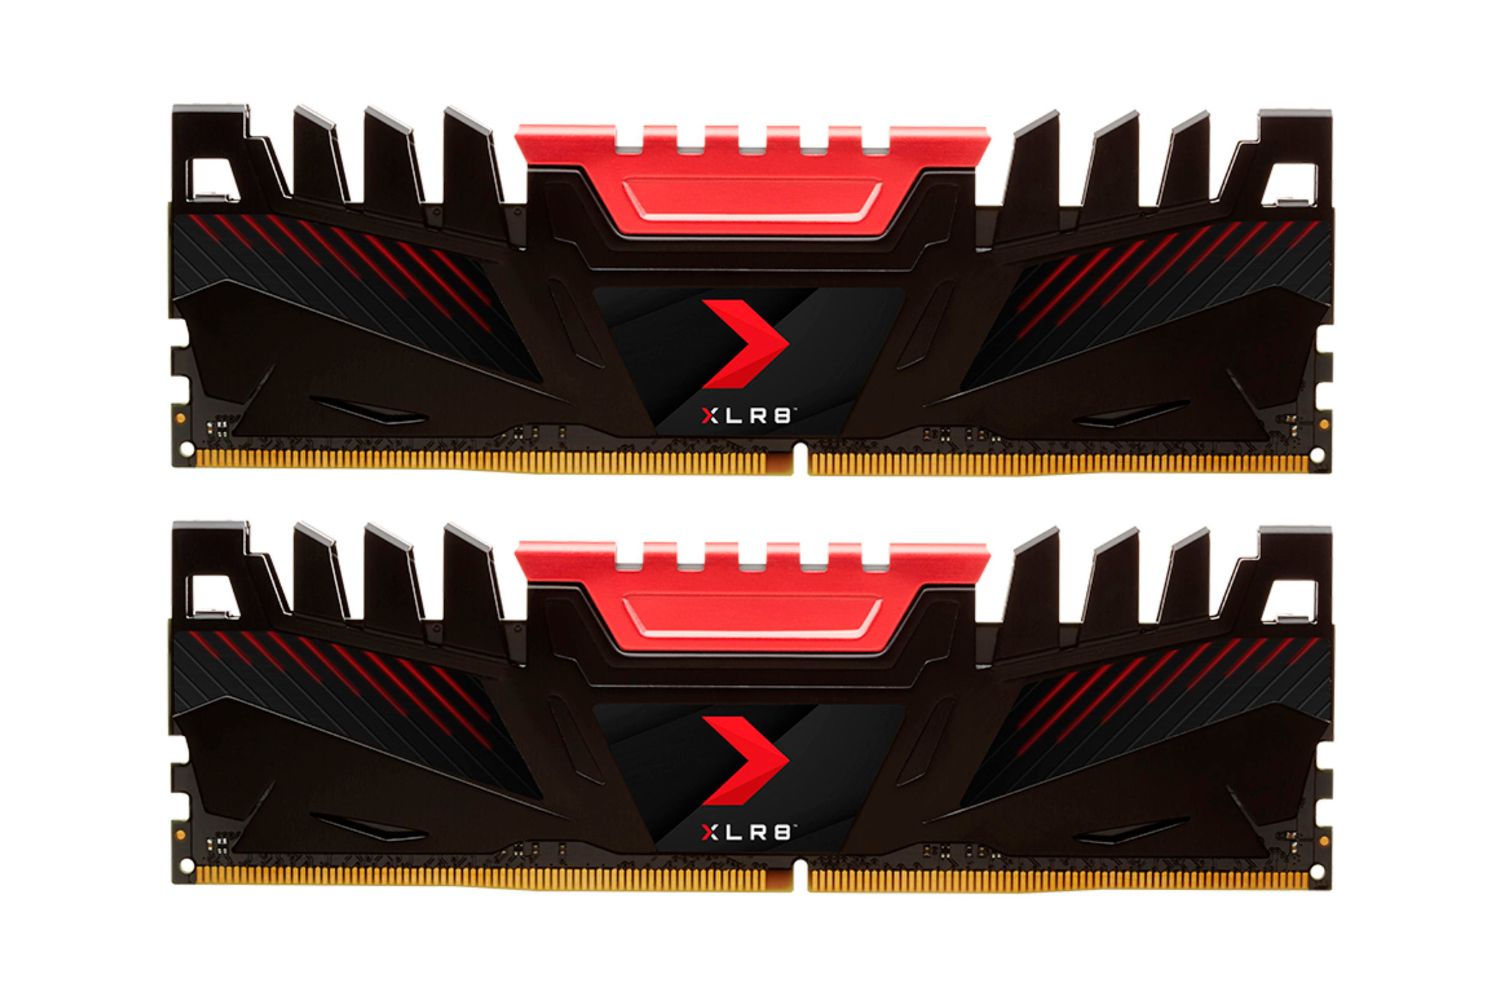
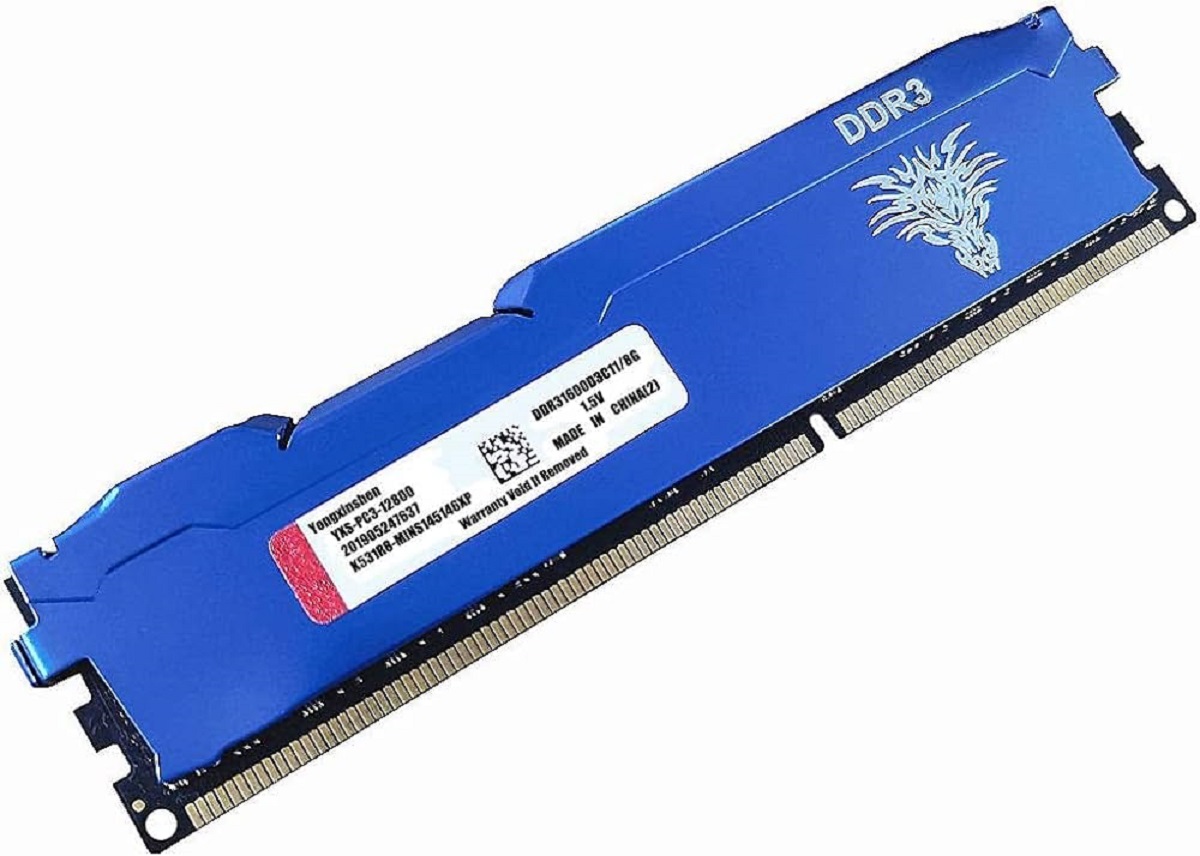
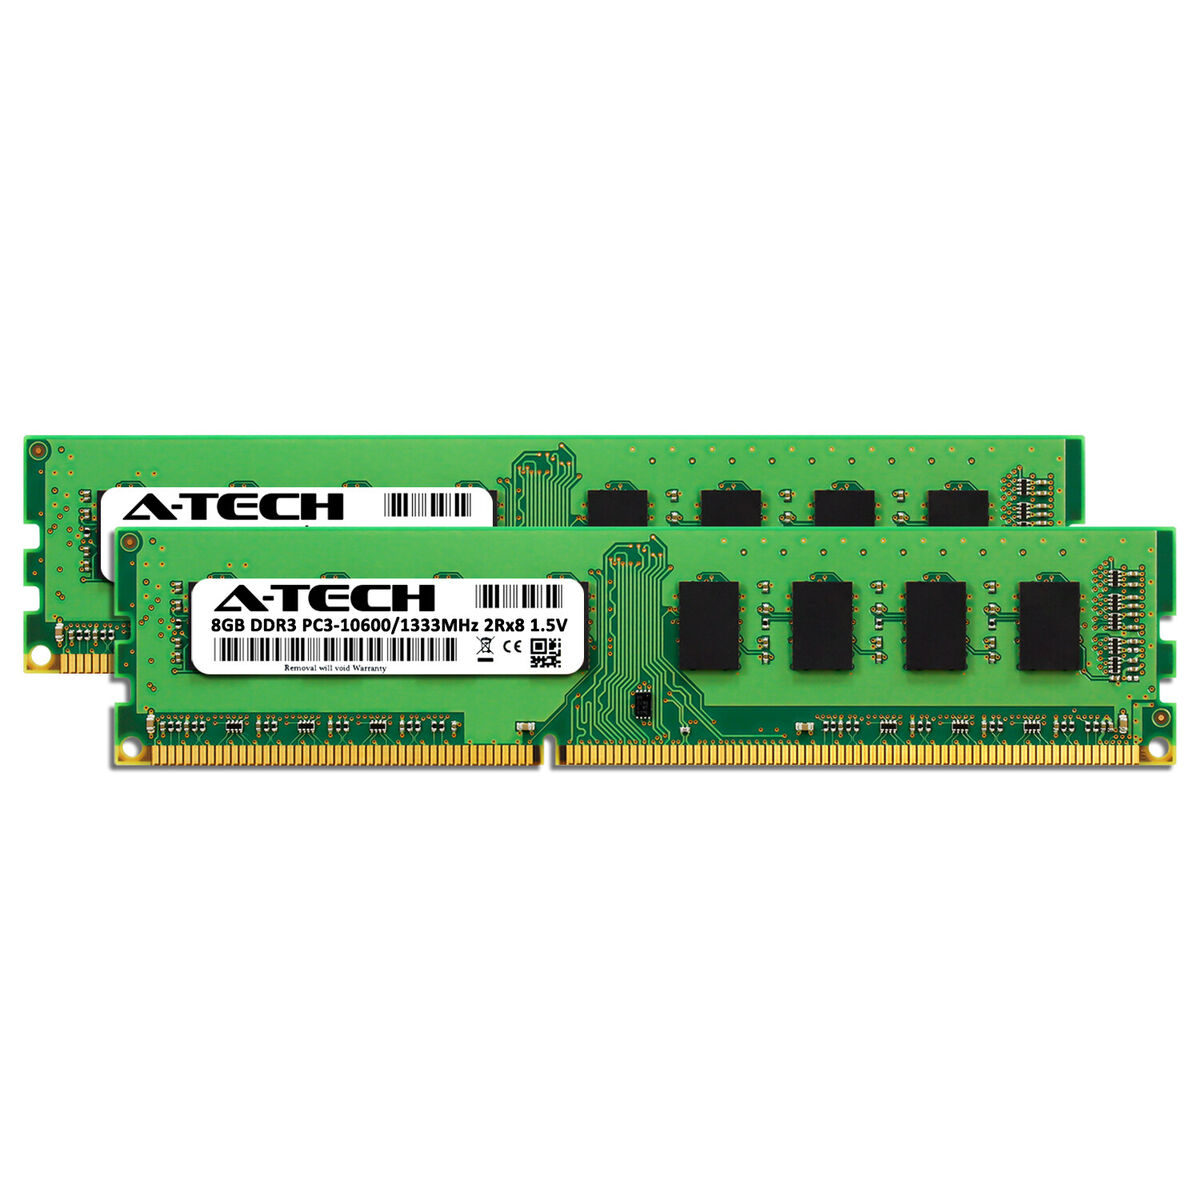
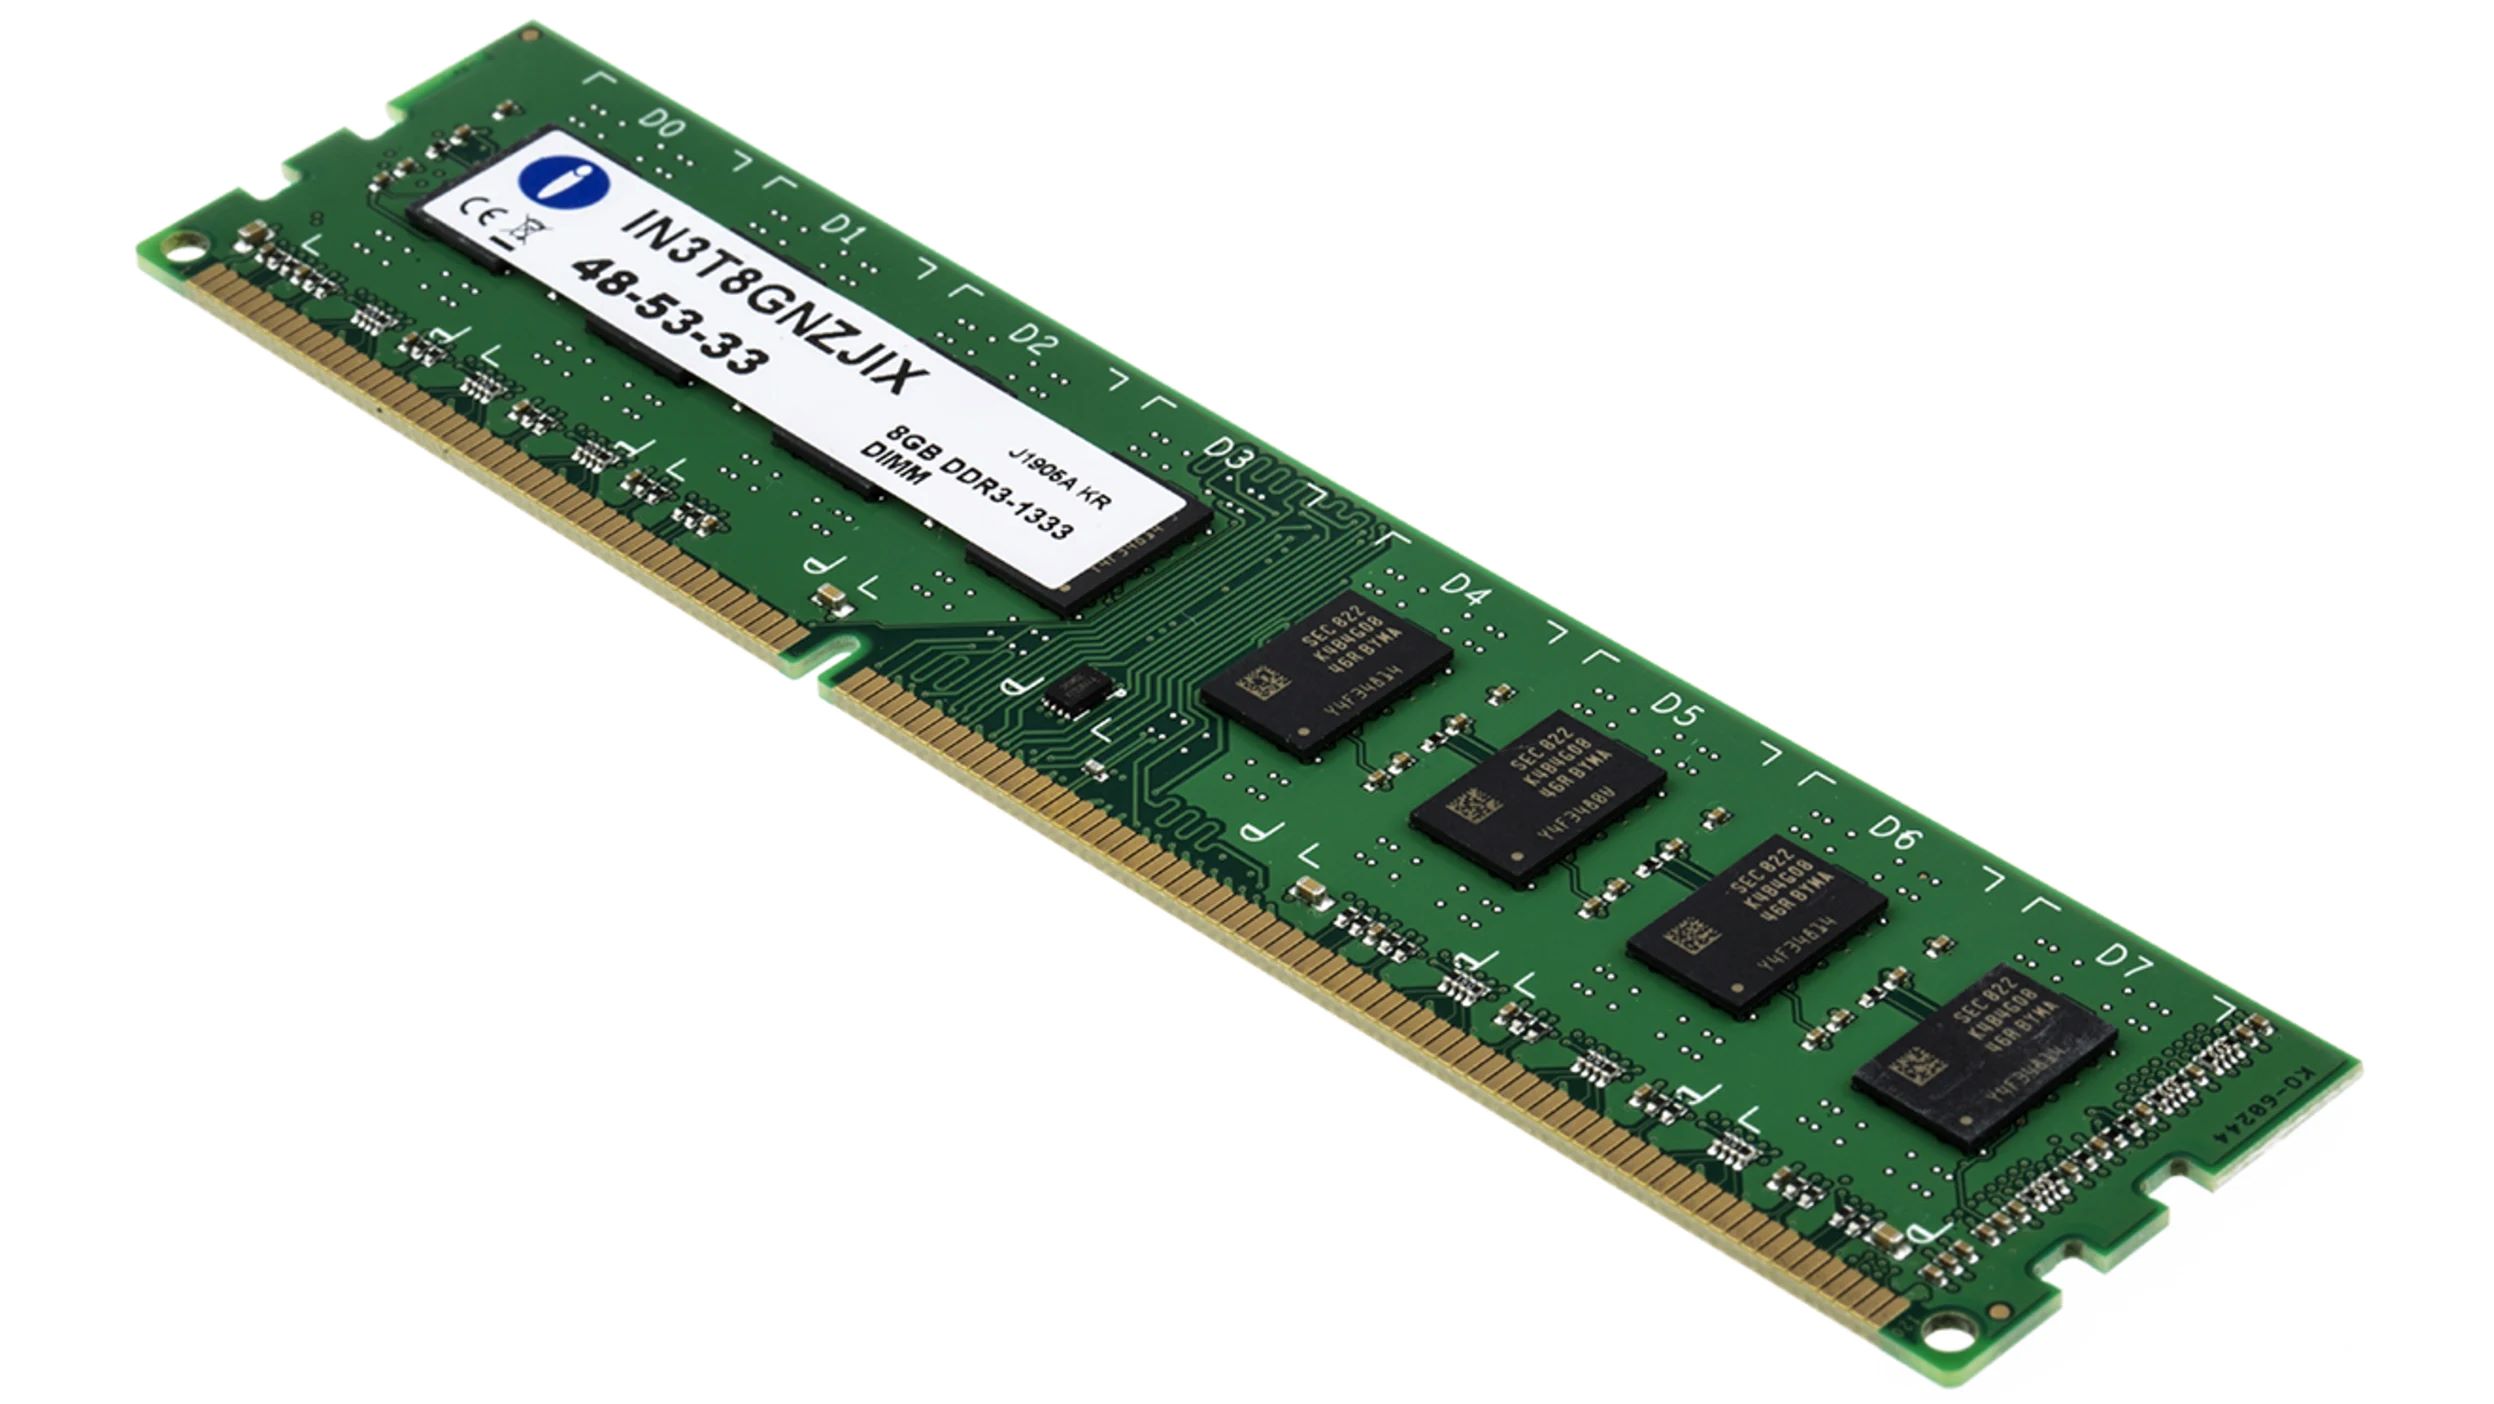
- Identify the type of memory used: Once you have determined the maximum supported memory, you need to identify the type of memory modules currently installed in your computer. This information can also be found in the system information tools or by physically inspecting the memory modules. Look for specifications like DDR4, DDR3, or DDR2, as well as the speed (e.g., 2400 MHz) and the number of pins.
- Research compatibility: After identifying the current memory type, research compatible memory modules that can be used as an upgrade. Check the specifications provided by memory manufacturers or use online tools provided by memory retailers to find compatible memory options for your computer. Pay attention to factors like speed, capacity, and compatibility with your motherboard.
- Consider slot availability: Apart from the maximum supported memory, also check the number of memory slots available on your motherboard. If all the slots are already occupied, you will need to remove existing modules to make room for new ones or replace them with higher capacity modules.
By following these steps, you can determine if upgrading your existing memory is a viable option for your computer. Keep in mind that some systems, particularly older ones, may have limitations on memory upgrades due to chipset or BIOS restrictions. If this is the case, you may need to consider upgrading your motherboard to unlock higher memory capacities. It’s always a good idea to consult with an expert or refer to the manufacturer’s guidelines for specific compatibility and upgrade options for your system.
How to Choose the Right Type of Memory
Choosing the right type of memory for your computer is essential to ensure compatibility and optimal performance. Here are some factors to consider when selecting the right memory for your system:
- Check your computer’s specifications: Start by checking your computer’s documentation or manufacturer’s website for information on compatible memory types. Look for specifics like DDR4, DDR3, or DDR2 memory, as well as the maximum supported speed and capacity. This will give you a basis to narrow down your options.
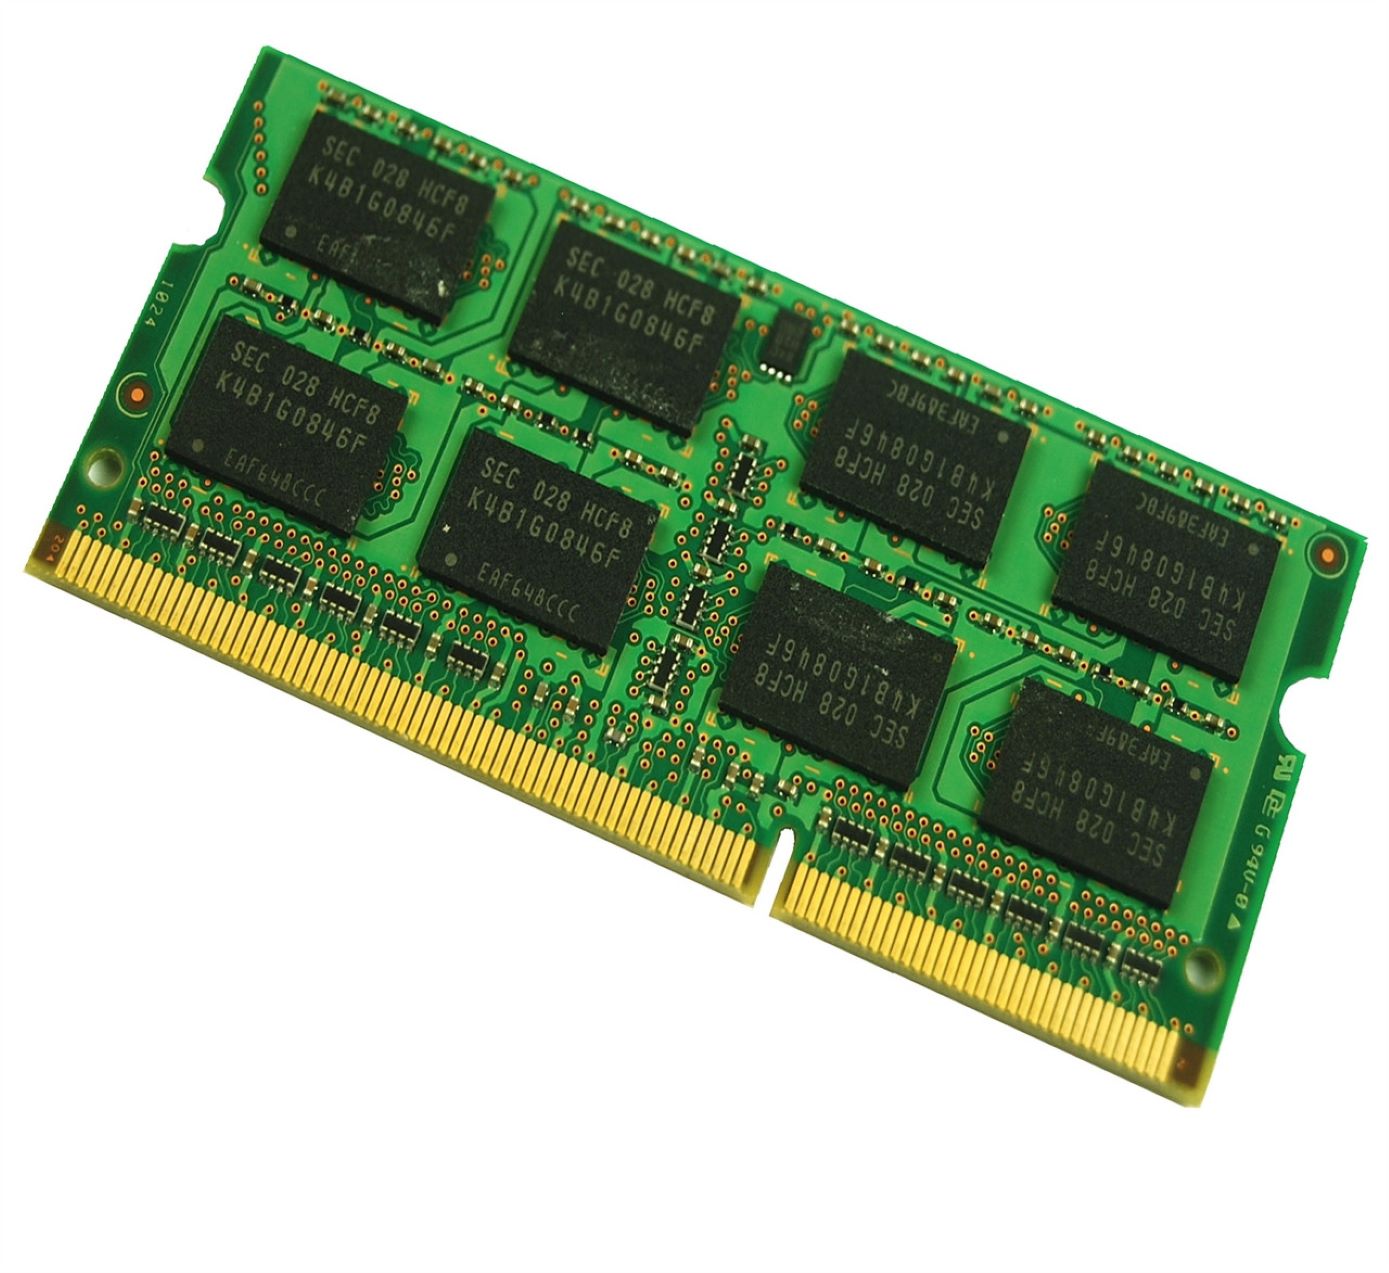
- Consider the motherboard compatibility: The memory you choose must be compatible with your computer’s motherboard. Check for compatibility based on factors like the memory module’s form factor (e.g., DIMM or SO-DIMM), the number of pins, and voltage requirements. Refer to your motherboard’s documentation or consult with an expert to ensure compatibility.
- Decide on the memory capacity: Determine how much memory you need based on your computing needs. Consider the types of applications you use, the multitasking requirements, and any future plans for using more demanding software. It’s generally recommended to have a minimum of 8GB of memory for smooth multitasking and general computing needs, but heavy users or gamers may benefit from 16GB or more.
- Consider the memory speed: Memory speed, measured in megahertz (MHz), affects the data transfer rate between the memory and the processor. Higher-speed memory can improve performance, especially in tasks that involve large data transfers, such as video editing or gaming. Check your computer’s specifications to determine the optimal memory speed supported by your system.
- Budget considerations: Cost is a crucial factor when choosing memory. Set a budget for your upgrade and compare prices from reputable memory manufacturers. Consider the balance between price and performance to find the best option within your budget. Keep in mind that higher capacity and faster memory will typically come at a higher cost.
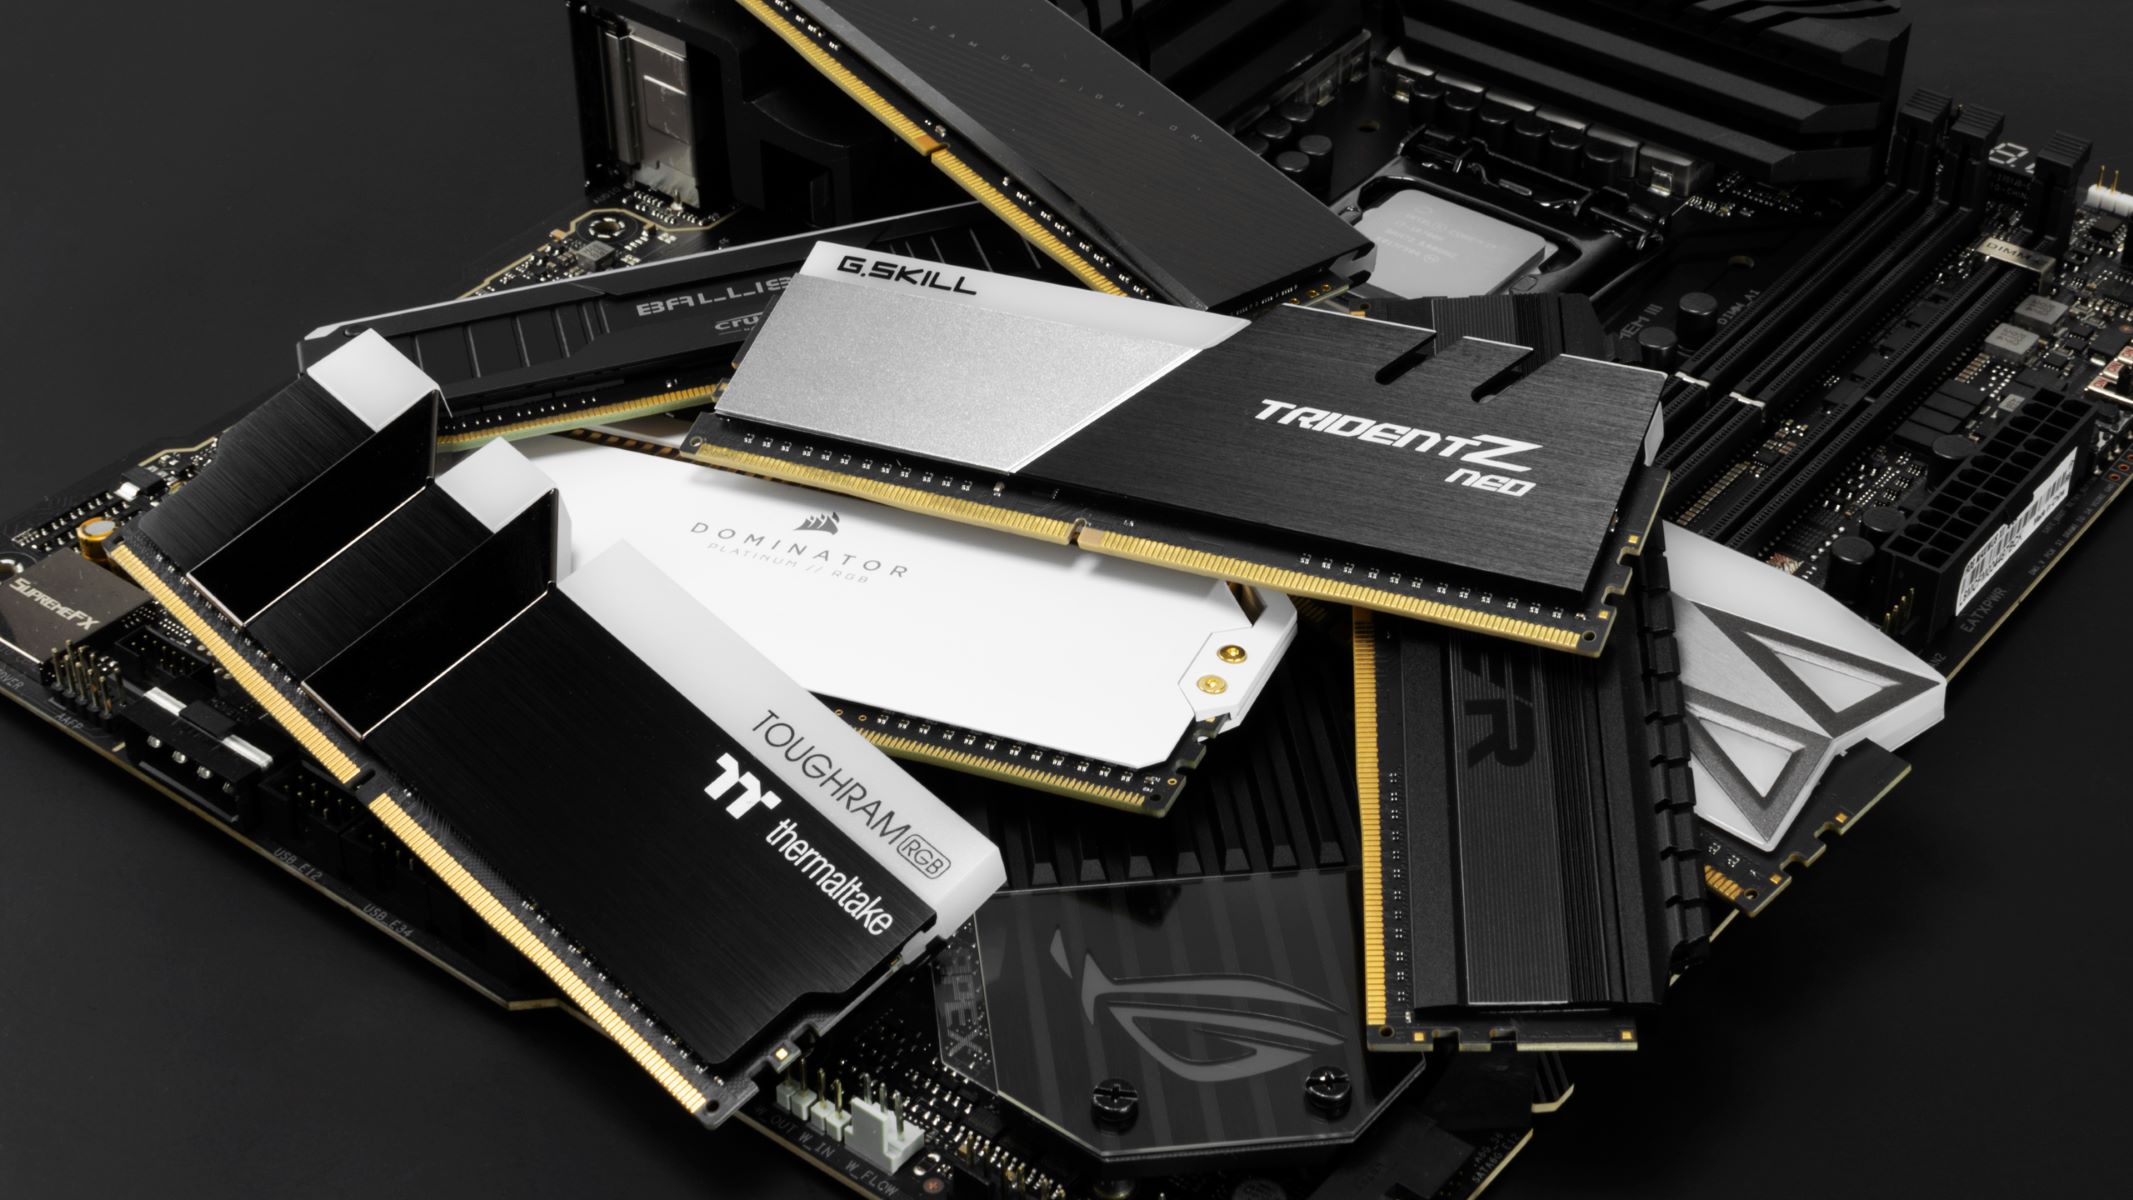
- Consider reputable brands: Stick to well-known and reputable memory manufacturers to ensure reliability and compatibility. Brands like Corsair, Crucial, Kingston, and G.SKILL have a solid reputation for producing high-quality memory modules.
- Read customer reviews: Before making a final decision, read customer reviews and testimonials to gain insights into the reliability and performance of the memory modules you are considering. Look for feedback from users with similar systems or usage requirements to get a better idea of how well the memory performs in real-world scenarios.
By considering these factors and doing thorough research, you can choose the right type of memory that meets both your system’s requirements and your budget. Remember to double-check compatibility with your motherboard and consult with experts if needed. With the right memory, you can enhance your computer’s performance and enjoy a smoother computing experience.
Step-by-step Guide to Installing New Memory
Installing new memory modules in your computer is a relatively straightforward process. Follow these step-by-step instructions to ensure a successful installation:
- Gather the necessary tools: Before you begin, make sure you have a screwdriver, an anti-static wrist strap, and the new memory modules that you will be installing.
- Power off your computer: Shut down your computer and unplug it from the power source. This is to ensure your safety and to prevent any damage to the components.
- Ground yourself: Attach the anti-static wrist strap to your wrist and connect the other end to a metal object, such as the computer case. This will help discharge any static electricity and prevent damage to the sensitive components of your computer.
- Open the computer case: Depending on your computer model, you may need to remove screws or slide a panel to access the internal components. Consult your computer’s documentation for specific instructions.
- Locate the memory slots: Look for the memory slots on your computer’s motherboard. They are typically long, rectangular slots and may be color-coded to indicate the appropriate memory channels.
- Remove the old memory (if applicable): If you are replacing existing memory modules, gently push down on the tabs on either side of the module to release it. Carefully remove the module from the slot.
- Insert the new memory: Take the new memory module and align it with the slot, ensuring that the notch on the module matches the key in the slot. Press firmly but gently until the module is fully seated and the tabs lock into place.
- Repeat the process for additional modules (if applicable): If you are installing multiple memory modules, repeat steps 6 and 7 for each module.
- Close the computer case: Securely put the computer case back together, ensuring that all screws, clips, or panels are properly aligned and in place.
- Power on your computer: Reconnect the power cable and turn on your computer. It should automatically recognize the new memory and adjust the settings accordingly.
- Verify the new memory is recognized: To confirm that the new memory is working correctly, you can check the system information in your operating system or use system monitoring tools to verify the installed memory capacity.
Following these steps will help you successfully install new memory modules in your computer. Remember to consult your computer’s documentation for any specific instructions and precautions. If you encounter difficulties or are unsure about any step, it’s always advisable to seek assistance from a professional or consult the manufacturer’s support resources.
Optimizing Your PC’s Memory Usage
Once you have upgraded your PC’s memory, it’s important to optimize its usage to ensure maximum efficiency and performance. Here are some tips to help you optimize your PC’s memory:
- Close unnecessary programs: Close any unused programs or background processes that are consuming memory. You can use the Task Manager on Windows or Activity Monitor on Mac to identify and close these programs.
- Remove unnecessary startup programs: Disable or remove programs that automatically launch on startup. These programs consume memory and can slow down your computer’s boot time.
- Check for memory-intensive apps: Identify applications that are known to be memory-intensive, such as web browsers with multiple tabs, photo or video editing software, or virtual machines. Consider closing or minimizing the number of instances to free up memory.
- Manage browser tabs and extensions: Browsers, especially if you have multiple tabs open or numerous extensions installed, can consume a significant amount of memory. Limit the number of tabs open and disable unnecessary extensions to reduce memory usage.
- Perform regular maintenance: Regularly clean up your computer by removing temporary files, emptying the recycle bin, and uninstalling unused programs. This helps free up storage space and indirectly improves memory performance.
- Update your operating system and drivers: Keeping your operating system and drivers up to date ensures compatibility, stability, and performance improvements that can positively impact memory usage.
- Disable unnecessary visual effects: Disable or reduce visual effects like transparency, animations, and shadows in your operating system’s settings. These effects can consume system resources, including memory.
- Scan for malware and viruses: Malware or viruses can cause excessive memory usage. Run regular scans using reliable security software to detect and remove any threats.
- Manage virtual memory settings: Adjust your virtual memory settings to ensure optimal use of both physical and virtual memory. Set the virtual memory size to the recommended amount or let the system manage it automatically.
- Consider upgrading other hardware components: Upgrading other hardware components like your hard drive to a solid-state drive (SSD) can significantly improve overall system performance, including memory operations.
- Reboot your computer regularly: Restarting your computer helps clear the memory cache and refresh system processes, resulting in improved memory usage.
By following these optimization techniques, you can make the most of your upgraded memory and ensure efficient utilization of system resources. Remember to periodically monitor your PC’s memory usage to identify any potential issues and make adjustments as needed.
Common Mistakes to Avoid When Increasing Memory
Increasing memory can greatly improve your computer’s performance, but it’s important to avoid common mistakes that can hinder the effectiveness of the upgrade. Here are some common mistakes to avoid when increasing memory:
- Not checking compatibility: Before purchasing new memory modules, thoroughly research and ensure compatibility with your computer’s motherboard. Check the maximum supported memory, type, speed, and voltage requirements to ensure a seamless upgrade.
- Installing mismatched memory modules: Mixing different brands, speeds, or capacities of memory modules can lead to incompatibility issues and system instability. It’s best to install memory modules that are identical in terms of specifications.
- Forgetting to verify maximum supported memory: Some older computers or budget models may have limitations on the amount of memory they can support. Check your computer’s documentation or manufacturer’s website to verify the maximum supported memory before purchasing.
- Not properly grounding yourself: Failing to ground yourself properly can lead to electrostatic discharge (ESD), potentially damaging sensitive computer components. Always wear an anti-static wrist strap or touch a grounded object to discharge any static electricity before handling memory modules.
- Incorrect installation: Improperly inserting memory modules can result in system errors or failure to recognize the new memory. Ensure that the modules are firmly seated in the slots and that the locking tabs snap into place properly.
- Overlooking BIOS settings: After installing new memory, it’s important to check the BIOS settings to ensure that the system recognizes the upgraded memory capacity. Adjust any necessary settings to properly configure the memory.
- Not conducting thorough testing: After installing new memory, conduct thorough testing to ensure stability and proper functioning. Run diagnostic tools or stress tests to verify that the memory modules are performing correctly.
- Forgetting to update drivers and firmware: Updated drivers and firmware can provide optimizations and improve compatibility with new memory modules. Make sure to install the latest updates from the manufacturer’s website.
- Ignoring warranty and return policies: Always check the warranty and return policies of the memory modules before purchasing. This provides you with a recourse in case of any issues or compatibility problems.
- Skipping regular maintenance: Increasing memory should not lead to neglecting regular system maintenance. Continue to perform routine maintenance tasks such as cleaning up temporary files, scanning for malware, and keeping the operating system and drivers up to date.
By avoiding these common mistakes and taking the necessary precautions, you can ensure a successful memory upgrade and enjoy the improved performance and efficiency that additional memory brings to your computer.
Final Tips for Maximizing Your PC’s Memory
Now that you have increased your PC’s memory, here are some final tips to help you maximize its performance and get the most out of your upgrade:
- Regularly clean up your disk: Removing unnecessary files and optimizing your storage can free up space and contribute to overall system performance.
- Keep your system updated: Install updates for your operating system, drivers, and installed software to ensure compatibility and security, which can indirectly impact memory performance.
- Avoid running too many programs simultaneously: While increased memory can handle multitasking, it’s still important to avoid running an excessive number of programs simultaneously to prevent unnecessary memory usage.
- Monitor memory usage: Keep an eye on your memory usage through system monitoring tools to identify any abnormal behavior or potential memory leaks that might impact performance.
- Utilize hibernation or sleep mode: When not in use, use hibernation or sleep mode to save power and reduce memory usage. This allows for quick resume times without consuming excess memory.
- Consider upgrading other hardware components: Upgrading components like your CPU or graphics card can further enhance your system’s performance, working in conjunction with the increased memory.
- Regularly restart your computer: Restarting your computer helps clear the memory cache, refresh system processes, and resolve any memory leaks that might have occurred.
- Optimize your virtual memory settings: Adjust your virtual memory settings to ensure it’s set to the optimal size and properly distributed across physical and virtual memory.
- Keep your computer physically clean: Dust and debris can impact your computer’s performance and potentially lead to overheating, which can impact memory operations. Regularly clean your computer to maintain optimal functioning.
- Consider upgrading to a 64-bit operating system: If you haven’t already, upgrading to a 64-bit operating system allows for increased memory support and utilization, maximizing the benefits of your upgraded memory capacity.
By following these final tips, you can ensure that your PC’s memory upgrade is utilized to its fullest potential, resulting in improved performance, smoother multitasking, and an overall enhanced computing experience.