Introduction
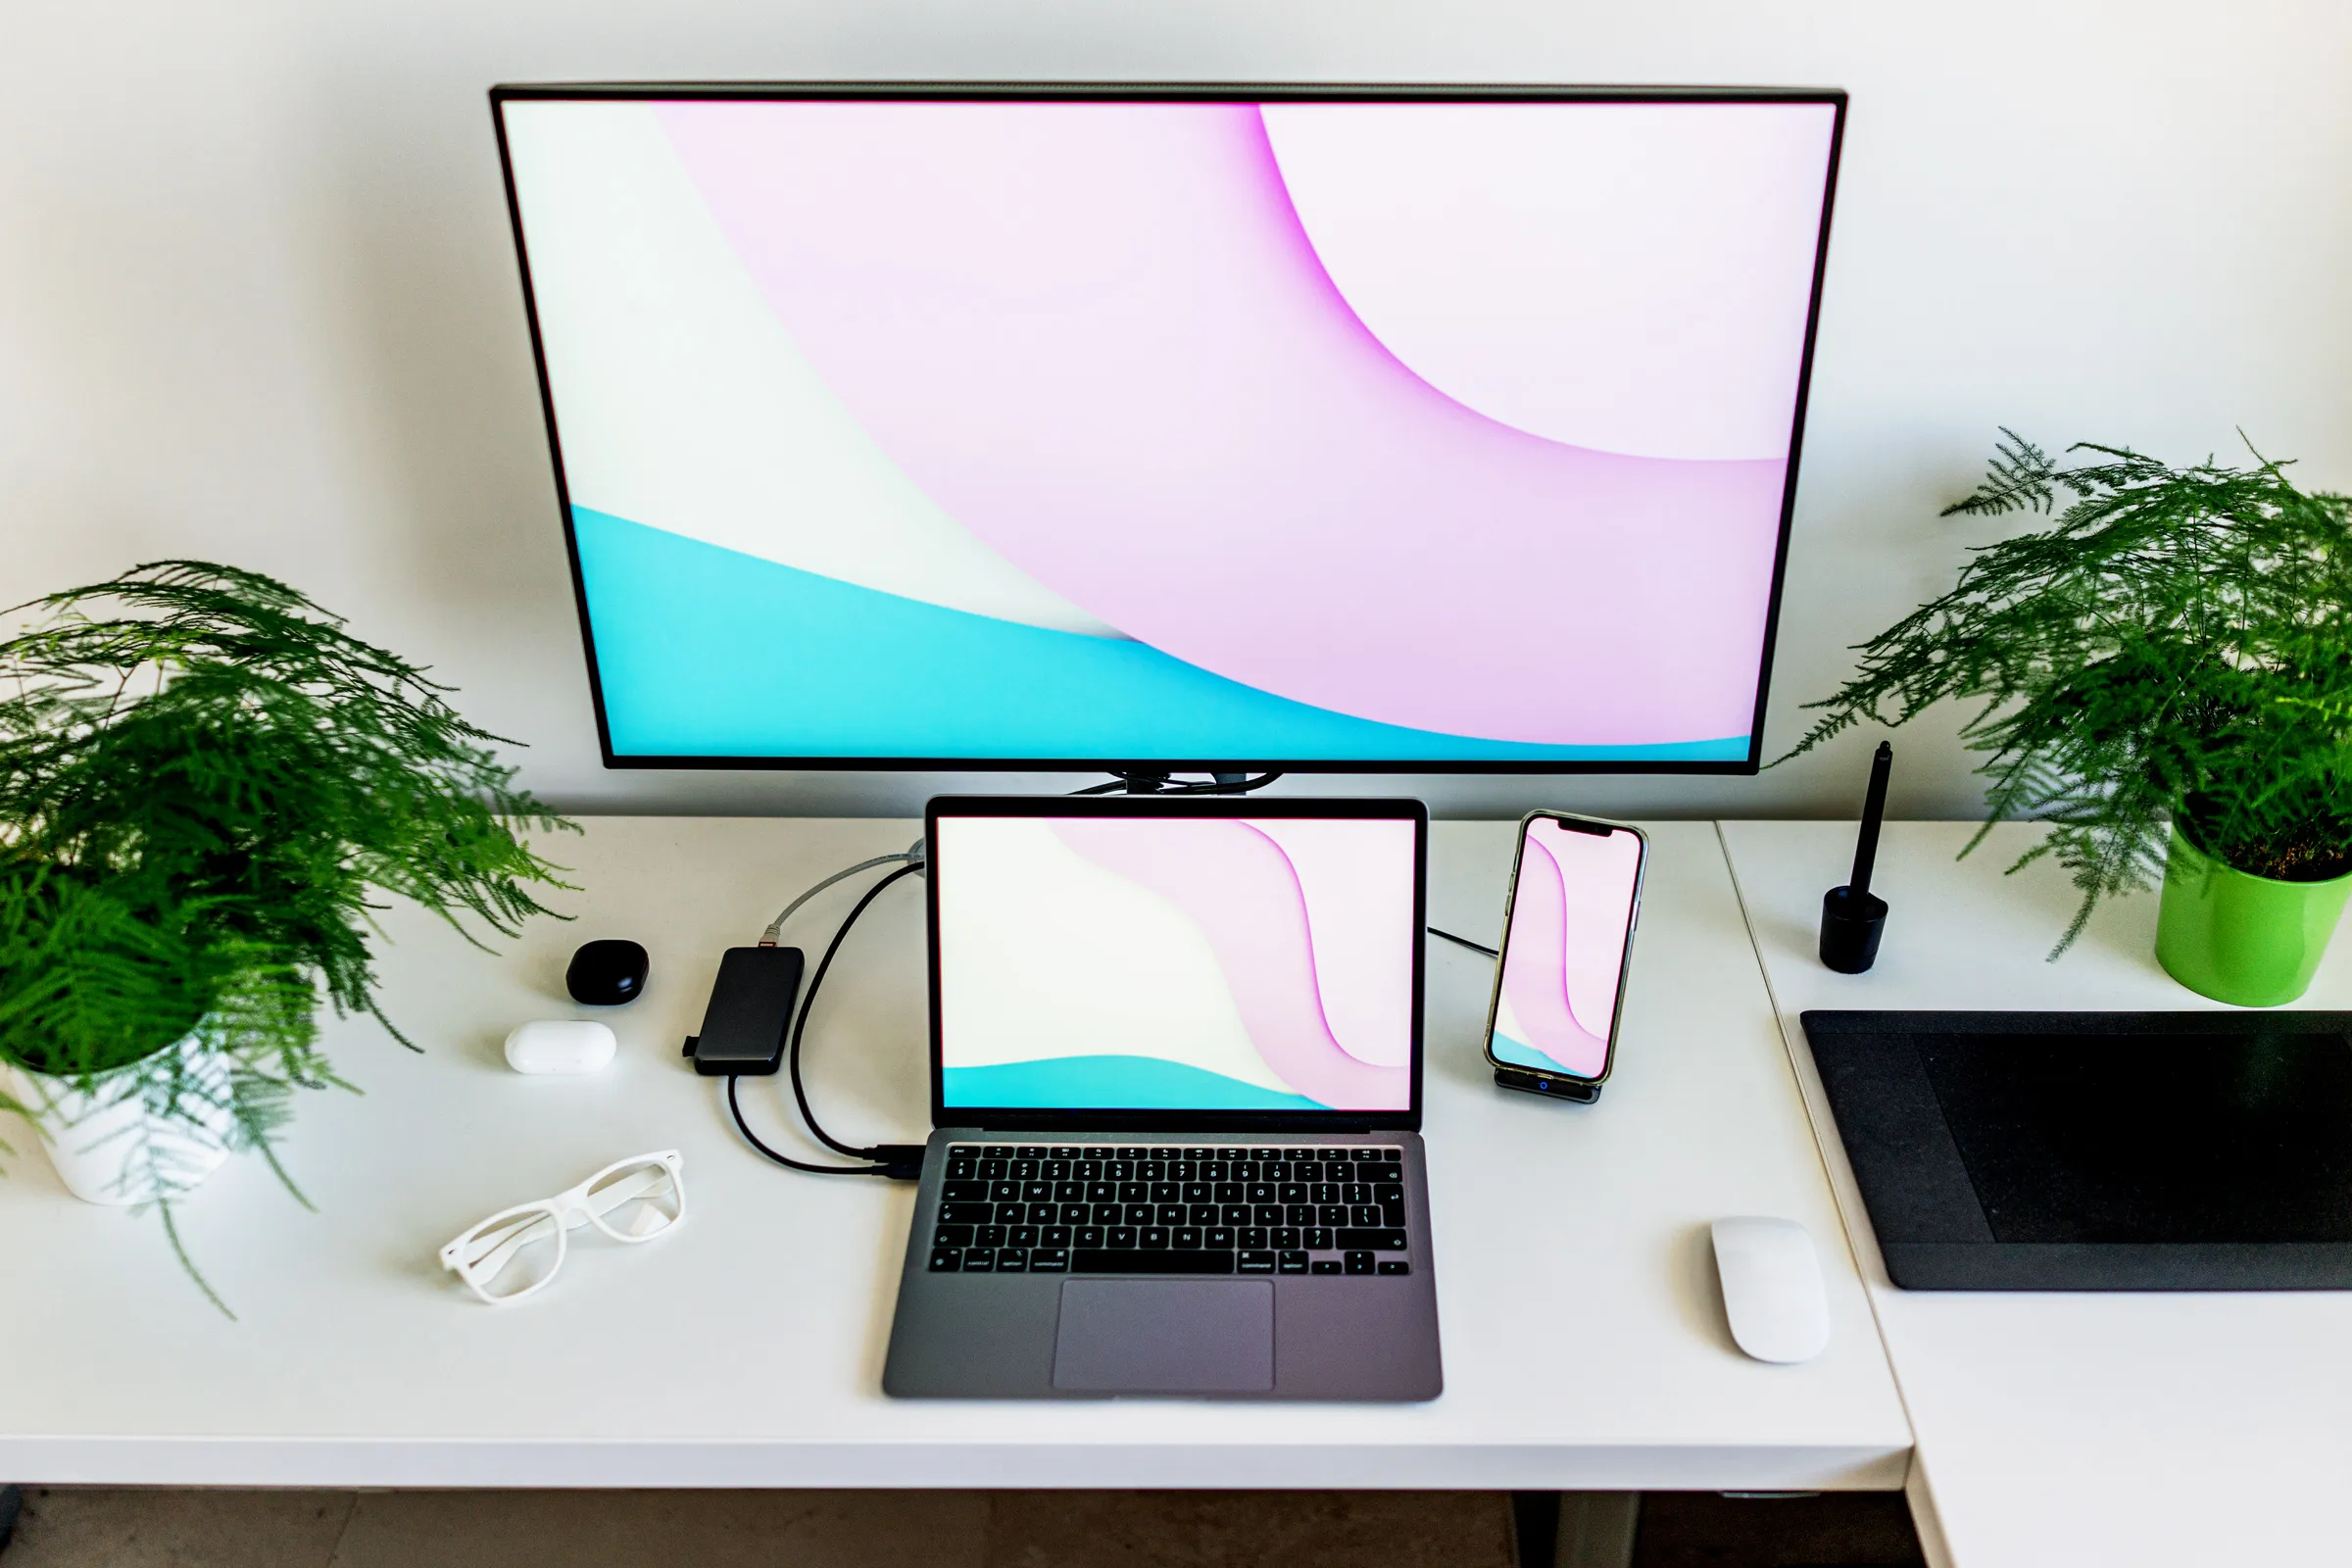
Welcome to our guide on how to hook up a monitor to your laptop! In today’s digital age, a laptop is an essential tool that allows us to work, play, and connect with others. However, sometimes the small screen of a laptop may not be enough. That’s where an external monitor comes in handy.
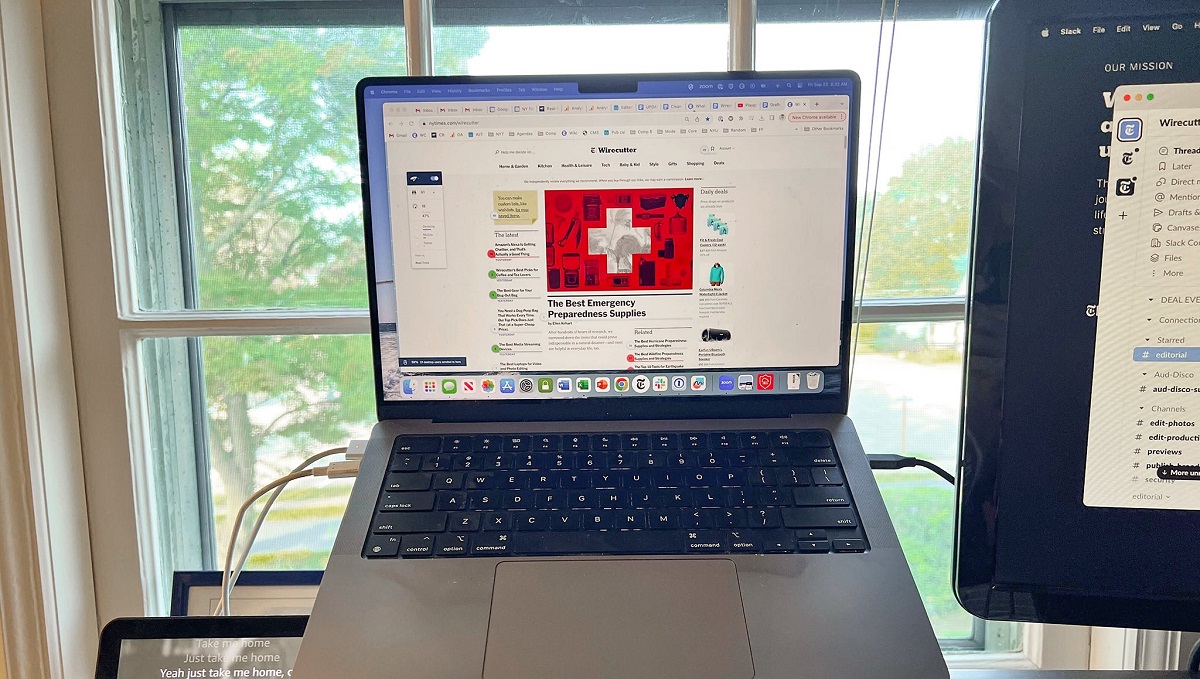
Adding an external monitor to your laptop can enhance your productivity, give you a larger viewing area, and improve your overall computing experience. Whether you’re a professional in need of a second screen for multitasking, a gamer looking for a more immersive display, or simply want a bigger screen for streaming your favorite shows, connecting a monitor to your laptop is a straightforward process that anyone can master.
Before we dive into the steps, it’s important to note that the method for connecting a monitor to a laptop may vary depending on the available ports and the compatibility of your devices. In this guide, we’ll cover the most common connections, including HDMI, VGA, and USB-C/Thunderbolt.
Now that you understand the benefits of hooking up a monitor to your laptop and the different connection options, let’s get started with the step-by-step process. Whether you’re a tech-savvy individual or a beginner, this guide will walk you through the process and have you enjoying the benefits of a larger screen in no time.
Step 1: Check the Compatibility of your Laptop
Before you begin connecting a monitor to your laptop, it’s important to check the compatibility of your devices. Not all laptops support external monitors, and even if they do, they may have limitations such as the maximum resolution or refresh rate supported.
The first thing you’ll want to do is consult your laptop’s user manual or visit the manufacturer’s website to determine if your laptop supports external displays. Look for information about connecting external monitors or the available display ports on your laptop.
Next, identify the type of video output ports on your laptop. The most common types include HDMI, VGA, DisplayPort, and USB-C/Thunderbolt. You’ll need to ensure that your laptop has at least one of these ports for connecting the monitor.
Keep in mind that if your laptop has multiple video output ports, you may have more flexibility in terms of which type of monitor connection you can use. However, it’s essential to know which ports are available and ensure that your chosen monitor supports the corresponding port.
If you’re unsure about the compatibility of your laptop, you can also consult with a knowledgeable salesperson at a computer store or reach out to the laptop manufacturer’s customer support. They can provide you with specific details about your laptop’s external display capabilities.
Once you have confirmed that your laptop supports external monitors and identified the available video output ports, you’re ready to move on to the next step: gathering the necessary equipment.
Step 2: Gather the Necessary Equipment
Before you can connect your monitor to your laptop, it’s important to gather all the necessary equipment. Having everything prepared beforehand will make the process smoother and prevent any delays or frustrations.
The specific equipment you’ll need depends on the type of connection you’ll be using. Here are the common items you might need:
- A monitor: Choose a monitor that suits your needs, whether it’s for work, gaming, or entertainment. Ensure that the monitor has the necessary input ports compatible with your laptop (e.g., HDMI, VGA, USB-C).
- A video cable: This is required to connect your laptop and monitor. The type of cable you’ll need depends on the available ports on your laptop and the monitor’s input options. The most common cables include HDMI, VGA, DisplayPort, and USB-C. Make sure to get a cable of sufficient length for your setup.
- An adapter (if necessary): If your laptop has a different video output port than your monitor’s input, you may need an adapter to bridge the connection. For example, if your laptop only has USB-C ports, but your monitor uses HDMI, you’ll need a USB-C to HDMI adapter.
- Power cables: Ensure that both your laptop and monitor have their respective power cables and that they are properly plugged in and powered on.
It’s always a good idea to check the cables and adapters for any visible damage. If there are any issues, it is recommended to replace them to ensure a stable and reliable connection.
Once you have gathered all the necessary equipment, you’re ready to move on to the next step: connecting the monitor to your laptop.
Step 3: Connect the Monitor to Your Laptop Using HDMI
If both your laptop and monitor have HDMI ports, using an HDMI cable is one of the easiest and most common ways to connect them. HDMI (High-Definition Multimedia Interface) provides high-quality audio and video transmission from your laptop to the monitor.
Here’s how to connect the monitor to your laptop using HDMI:
- Ensure that both your laptop and monitor are powered off before making any connections.
- Locate the HDMI port on your laptop. It is usually found on the side or back of the laptop and is labeled “HDMI”.
- Take one end of the HDMI cable and insert it into the HDMI port on your laptop, making sure it is securely in place.
- Locate the HDMI port on your monitor. It is typically found on the back of the monitor, labeled “HDMI”.
- Take the other end of the HDMI cable and insert it into the HDMI port on your monitor, ensuring a tight connection.
- Power on your monitor first and then your laptop.
- Your laptop should automatically detect the monitor and configure the display settings accordingly. However, if the display does not appear on the monitor, you may need to adjust the display settings manually.
- To change the display settings, right-click on your desktop and select “Display settings” or “Graphics options”. From there, you can choose to extend or duplicate your display, adjust the resolution, and arrange the position of the monitors.
Once you have completed these steps, the monitor should now be successfully connected to your laptop using HDMI. You can now enjoy a larger screen and improved visuals for your work or entertainment purposes.
Step 4: Connect the Monitor to Your Laptop Using VGA
If your laptop and monitor have a VGA (Video Graphics Array) port, you can use a VGA cable to connect them. Although VGA does not support high-definition video and audio like HDMI, it is still a widely used connection method, especially for older devices.
Follow these steps to connect the monitor to your laptop using VGA:
- Make sure both your laptop and monitor are powered off.
- Locate the VGA port on your laptop. It is usually blue and has 15 pins arranged in three rows.
- Take one end of the VGA cable and insert it into the VGA port on your laptop, aligning the pins with the holes. Secure the connection by tightening the screws on the VGA cable.
- Locate the VGA port on your monitor. It is typically found on the back and is also blue with 15 pins.
- Take the other end of the VGA cable and insert it into the VGA port on your monitor. Tighten the screws to ensure a secure connection.
- Power on your monitor first and then your laptop.
- Your laptop should automatically detect the monitor and configure the appropriate display settings. If not, you may need to adjust the display settings manually.
- To adjust the display settings manually, right-click on your desktop and choose “Display settings” or “Graphics options”. From there, you can select the desired display mode, resolution, and other settings.
Once these steps are completed, your laptop and monitor should be successfully connected using a VGA cable. Although VGA does not support high-definition video and audio like HDMI, it can still provide a reliable and functional display solution.
Step 5: Connect the Monitor to Your Laptop Using USB-C/Thunderbolt
If your laptop and monitor both have USB-C or Thunderbolt ports, you can use a USB-C to HDMI or USB-C to DisplayPort cable to connect them. USB-C and Thunderbolt connections offer high-speed data transfer and support for video output, making them versatile options for connecting external monitors.
Follow these steps to connect the monitor to your laptop using USB-C/Thunderbolt:
- Ensure that both your laptop and monitor are turned off.
- Locate the USB-C or Thunderbolt port on your laptop. It is usually a small oval-shaped port with a lightning bolt symbol next to it.
- Take one end of the USB-C or Thunderbolt cable and insert it into the port on your laptop, ensuring a secure connection.
- Locate the appropriate video input port on your monitor (HDMI or DisplayPort).
- Take the other end of the USB-C or Thunderbolt cable and connect it to the HDMI or DisplayPort input on your monitor.
- Power on your monitor first, then power on your laptop.
- Your laptop should automatically detect the monitor and configure the display settings. If the display does not appear on the monitor, you may need to adjust the settings manually.
- To manually adjust the display settings, right-click on your desktop and select “Display settings” or “Graphics options”. From there, you can choose the desired display mode, resolution, and other settings.
Once you have completed these steps, your laptop and monitor should be successfully connected using a USB-C or Thunderbolt cable. Enjoy the expanded display area and improved visuals that the external monitor provides.
Step 6: Adjust Display Settings on Your Laptop
After successfully connecting your laptop to an external monitor, it’s important to adjust the display settings to ensure optimal visual performance and productivity.
Here’s how to adjust the display settings on your laptop:
- Right-click on your desktop and select “Display settings” or “Graphics options”.
- In the display settings, you’ll see options such as resolution, orientation, and multiple display settings.
- Choose the desired resolution for your external monitor. This will determine how sharp and clear the visuals appear on the screen. Select the native resolution of your monitor whenever possible for the best results.
- If you choose to extend your desktop across multiple monitors, you can arrange their positions according to your preference. Drag and drop the monitor icons to align them as per your desired setup.
- Adjust the orientation of the monitor if needed. You can choose between landscape and portrait mode.
- Explore additional display settings to customize your experience further, such as color calibration, brightness, and contrast.
- Test the display to ensure that everything appears as desired. If you encounter any issues, such as screen flickering or incorrect resolution, revisit the display settings and make the necessary adjustments.
By adjusting the display settings, you can optimize the visuals and ensure a seamless dual-monitor experience. Take some time to experiment and find the configuration that works best for you.
Remember, these settings can always be adjusted as needed, so don’t hesitate to fine-tune them based on your preferences and requirements.
Step 7: Troubleshooting Common Issues
While connecting a monitor to your laptop is usually a straightforward process, you may encounter some common issues along the way. Here are a few troubleshooting tips to help you resolve these problems:
- No display on the external monitor: Double-check that all cables are securely connected to both the laptop and the monitor. Ensure the monitor is powered on. Try restarting your laptop and monitor to establish a fresh connection.
- Incorrect resolution: If the resolution on the external monitor is not as expected, go to the display settings on your laptop and adjust the resolution manually. Select the native resolution of the monitor for the best experience.
- Screen flickering or artifacts: This issue may occur due to a faulty cable or outdated graphics drivers. Try using a different cable or updating your graphics drivers to resolve the problem.
- No audio on the external monitor: If your monitor has built-in speakers, ensure that the audio is not muted on both the laptop and monitor. Check the connections and try restarting both devices. If the issue persists, you may need to adjust audio settings in your laptop’s control panel.
- Compatibility issues: If you’re using adapters or converters to connect your laptop and monitor, ensure they are compatible with your devices. Some adapters may not support audio or certain display resolutions.
- Driver issues: Occasionally, outdated or incompatible graphics drivers can cause display problems. Visit your laptop manufacturer’s website or the graphics card manufacturer’s website to download and install the latest drivers for your specific model.
If you’ve tried these troubleshooting tips and are still experiencing issues, it may be helpful to consult the user manual for both your laptop and monitor or seek assistance from the manufacturer’s customer support.
Remember, every laptop and monitor configuration may have unique considerations, so don’t hesitate to reach out for help if needed. With a little troubleshooting, you’ll be able to enjoy the full benefits of your laptop and external monitor setup.
Conclusion
Connecting a monitor to your laptop can greatly enhance your computing experience, whether you’re looking to boost productivity, immerse yourself in gaming, or enjoy a larger screen for entertainment purposes. By following the steps outlined in this guide, you can successfully hook up a monitor to your laptop.
We started by emphasizing the importance of checking the compatibility of your laptop and gathering the necessary equipment. Understanding the available ports and ensuring compatibility will help streamline the connection process.
From there, we explored three common methods for connecting a monitor to a laptop: HDMI, VGA, and USB-C/Thunderbolt. Each method has its own benefits and considerations, so it’s important to choose the one that suits your needs and matches the available ports on your laptop and monitor.
Adjusting the display settings on your laptop is crucial for achieving optimal visuals and maximizing the dual-monitor setup. Taking the time to fine-tune resolution, orientation, and multiple display settings will ensure a seamless experience.
Lastly, we delved into troubleshooting common issues that you may encounter during the setup process. By following the troubleshooting tips provided, you can overcome challenges such as no display, incorrect resolution, screen flickering, and audio problems.
Remember, every laptop and monitor configuration may have its own nuances and peculiarities. Don’t hesitate to consult the documentation or customer support of your specific devices for further assistance.
By successfully connecting a monitor to your laptop, you can enjoy a more expansive and immersive workspace, enhance your productivity, and elevate your visual experience. So go ahead and hook up that monitor, and elevate your laptop usage to the next level!


