Introduction
Welcome to the world of gaming and browsing on your PlayStation 4! While primarily known for its impressive gaming capabilities, the PS4 also offers a built-in Internet Browser that allows you to surf the web right from the comfort of your couch. Whether you want to check your favorite websites, browse social media, or stream videos, the PS4 Internet Browser provides a convenient solution for all your online needs.
In this guide, we will walk you through the steps to access and use the Internet Browser on your PS4. Don’t worry if you’re new to the PlayStation console or unfamiliar with navigating the menu settings – we’ve got you covered with easy-to-follow instructions and useful tips to enhance your browsing experience.
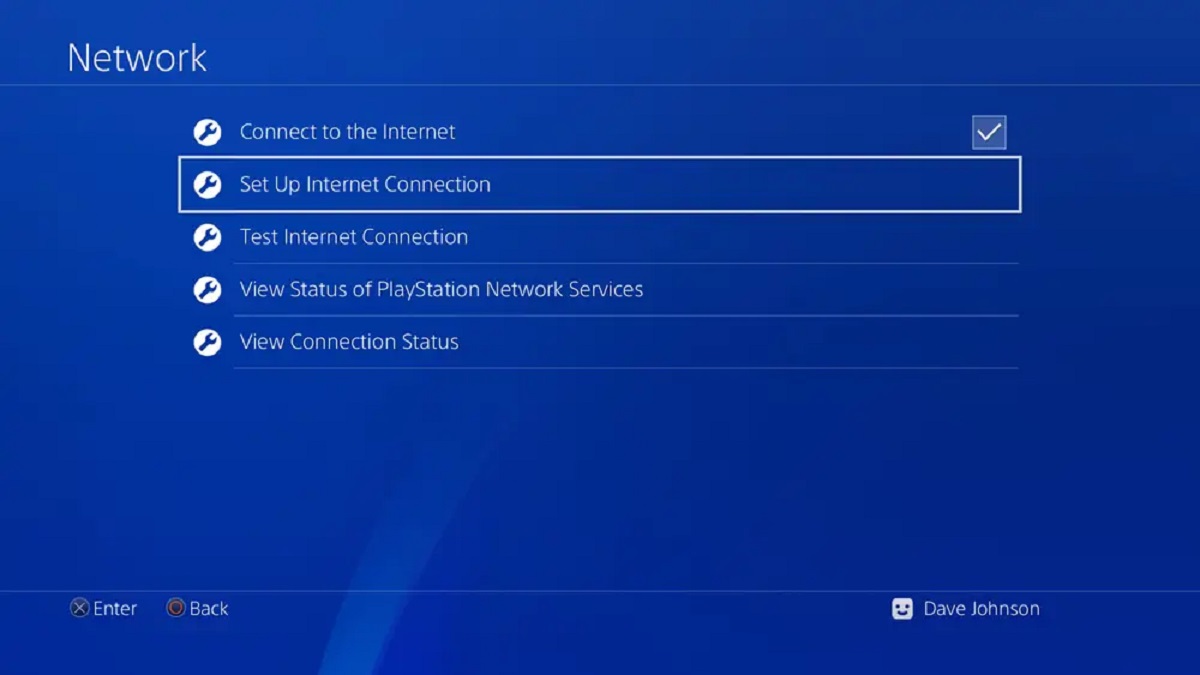
Before diving in, make sure your PlayStation 4 is connected to the internet. You can either connect it via an Ethernet cable for a stable wired connection or utilize the built-in Wi-Fi functionality to connect wirelessly. Once you’re connected, let’s get started on exploring the Internet Browser on your PS4!
Step 1: Powering on the PlayStation 4
Before you can start using the Internet Browser on your PlayStation 4, you need to power on the console. Here’s how:
- Make sure the power cable is properly connected to the PlayStation 4 and a power source.
- Press the power button on the front panel of the console or the PlayStation button on the controller to turn it on.
- Wait for the console to boot up. You will see the PlayStation logo followed by the home menu screen.
Once the console is powered on, you’re ready to navigate through the menu and access the Internet Browser.
It’s worth mentioning that if your PlayStation 4 is in Rest Mode, you can wake it up by pressing the PlayStation button on the controller or the power button on the console. Rest Mode allows you to quickly resume your browsing sessions without going through the entire boot-up process.
Now that your PlayStation 4 is powered on, let’s move on to the next step: navigating the home menu to locate the Internet Browser application.
Step 2: Navigating the PlayStation 4 Home Menu
Once your PlayStation 4 is powered on, you’ll be greeted with the home menu screen. This is where you can access various applications and settings, including the Internet Browser. Follow these steps to navigate the home menu:
- Using your controller, press the up or down arrow keys on the D-pad to highlight different icons or options on the screen.
- To move between different sections of the home menu, use the left or right arrow keys on the D-pad.
- Alternatively, you can use the left analog stick on the controller to navigate the on-screen cursor.
- Once you have highlighted the desired application or option, press the X button on the controller to select it.
The Internet Browser application can be found among the icons in the home menu. It’s represented by an icon featuring a globe symbol. Move the cursor or scroll through the icons until you locate the Internet Browser icon.
If you’re having trouble finding the Internet Browser icon, you can also use the search feature in the home menu. Simply press the up arrow key on the D-pad to reveal the search bar at the top of the screen. Type “Internet Browser” using the on-screen keyboard, and the system will automatically filter the results for you.
With the Internet Browser icon in sight, it’s time to launch the application. Keep reading to learn how to access and use the Internet Browser on your PlayStation 4.
Step 3: Locating the Internet Browser Application
With the PlayStation 4 home menu in front of you, it’s time to find the Internet Browser application. Here’s how you can locate it:
- Using the navigation methods mentioned in the previous step, move the cursor or scroll through the icons on the home menu screen.
- Look for the icon that features a globe symbol. This represents the Internet Browser application.
- Alternatively, you can use the search feature in the home menu. Press the up arrow key on the D-pad to reveal the search bar at the top of the screen. Type “Internet Browser” using the on-screen keyboard to filter the results and find the application quickly.
Once you have located the Internet Browser icon, you’re one step closer to accessing the web on your PlayStation 4. In the next step, we will guide you on how to launch the Internet Browser application and start browsing.
It’s worth noting that if you can’t find the Internet Browser application on your home menu, make sure you have the latest software updates for your PlayStation 4. Sometimes, system updates can add or rearrange icons on the home menu, including the Internet Browser application. To update your system, go to “Settings” > “System Software Update” and follow the on-screen instructions.
Step 4: Launching the Internet Browser
Now that you have located the Internet Browser application on your PlayStation 4 home menu, it’s time to launch it. Follow these steps to start browsing the web:
- Using the controller, highlight the Internet Browser icon.
- Once the icon is highlighted, press the X button on the controller to select and launch the Internet Browser application.
After launching the Internet Browser, you will be taken to the web browser’s homepage. From here, you can begin navigating the web and accessing your favorite websites.
If you have previously opened the Internet Browser during your current gaming session, you can also access it quickly by pressing and holding the PlayStation button on the controller. This will bring up a quick menu where you can select the Internet Browser option.
It’s important to note that the PlayStation 4’s Internet Browser is a stripped-down version compared to desktop or mobile web browsers. However, it still provides basic functionality for web browsing, allowing you to visit websites, search the internet, and enjoy certain multimedia content.
Now that you have successfully launched the Internet Browser on your PlayStation 4, let’s move on to the next step: navigating and using the Internet Browser to browse the web.
Step 5: Navigating and Using the Internet Browser on PS4
Now that you have launched the Internet Browser on your PlayStation 4, it’s time to explore its features and start browsing the web. Here’s how you can navigate and use the Internet Browser:
- Using the left analog stick or the directional buttons on the controller, move the cursor or scroll through the webpage. This allows you to highlight links, buttons, and various elements on the webpage.
- Press the X button on the controller to select a highlighted link or button. This will take you to a new webpage or perform a specific action, such as submitting a form or playing media.
- To go back to the previous webpage, press the circle button on the controller. This is equivalent to pressing the back button in a regular web browser.
- To refresh the current webpage, press the square button on the controller. This will reload the page and display the latest content.
- If you need to enter a URL or search query, press the options button on the controller to bring up the on-screen keyboard. Use the directional buttons or the left analog stick to navigate through the keyboard and enter your desired text. Press the X button to confirm your input.
While browsing the web, you can also take advantage of the PlayStation 4’s multitasking capabilities. Press and hold the PlayStation button on the controller to bring up a quick menu. From there, you can access additional options, such as adjusting screen size, managing downloads, or controlling playback for certain multimedia content.
Keep in mind that due to the console’s hardware limitations, some websites or web-based applications may not function optimally on the PlayStation 4 Internet Browser. Complex websites with heavy multimedia elements or technology-dependent features may experience reduced functionality or not load at all.
Now that you know how to navigate and use the Internet Browser on your PlayStation 4, let’s move on to the final step: some tips and tricks to enhance your browsing experience.
Step 6: Tips and Tricks for a Better Browsing Experience
To make the most out of your web browsing experience on the PlayStation 4, here are some helpful tips and tricks:
- Use Bookmarks: Save your favorite websites by bookmarking them for quick access. Press the options button on the controller while on a webpage, select “Add Bookmark,” and give it a name. You can find your bookmarks by pressing the up arrow key on the D-pad and selecting the bookmarks icon.
- Zoom In and Out: Adjust the zoom level of a webpage for better readability by pressing the R2 and L2 buttons on the controller simultaneously. This can be especially useful when reading small text or viewing images.
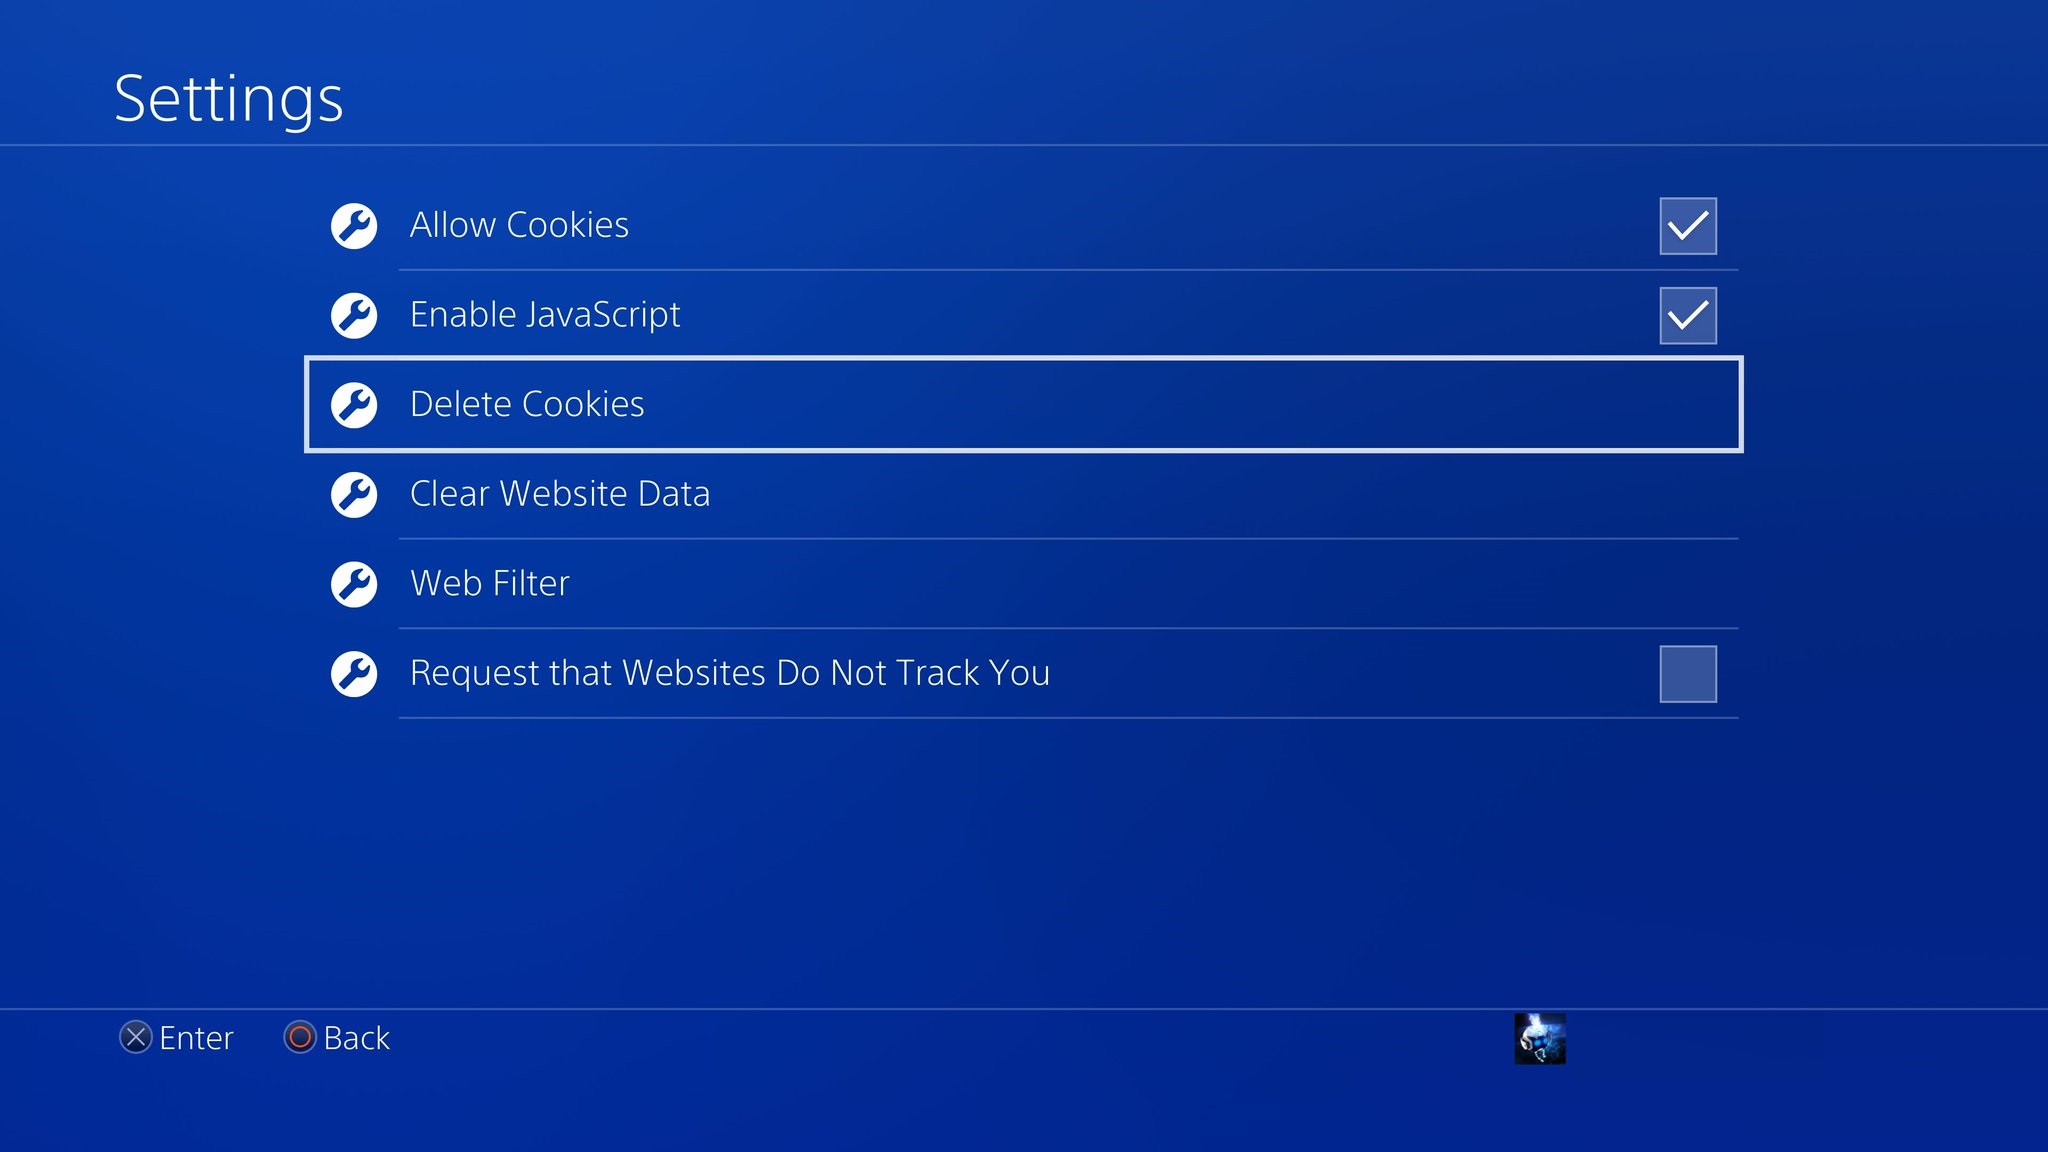
- Clear Browsing Data: If you want to clear your browsing history, cookies, or cached data, you can do so by going to the Internet Browser’s settings menu. Press the options button on the controller while on the home screen of the Internet Browser, select “Settings,” and choose “Clear Website Data” to remove any stored information.
- Use Private Browsing: If you prefer to browse the internet without leaving a trace, you can enable private browsing mode. Press the options button on the controller, select “Settings,” and toggle on the “Enable Private Browsing” option. This way, your browsing history, cookies, and other data will not be stored.
- Optimize Display Settings: Customize the display settings according to your preferences. Press the options button on the controller, select “Settings,” and navigate to “Display Settings.” Here, you can adjust the default page zoom level, enable or disable JavaScript, and toggle image quality options.
- Update the Browser: Keep your Internet Browser up to date by regularly checking for software updates. This ensures better compatibility with websites and access to new features and improvements. To check for updates, go to “Settings” > “System Software Update” on your PlayStation 4.
By implementing these tips and tricks, you can enhance your browsing experience on your PlayStation 4 and make the most out of the Internet Browser’s capabilities.
Now that you are equipped with these valuable tips, you can enjoy seamless web browsing right from your PlayStation 4. Happy browsing!
Conclusion
Congratulations! You have successfully learned how to access and use the Internet Browser on your PlayStation 4. With the ability to browse the web right from your console, you can easily stay connected, access your favorite websites, and enjoy online content from the comfort of your living room.
In this guide, we walked you through the steps to power on your PlayStation 4, navigate the home menu, locate the Internet Browser application, and launch the browser. We also provided tips and tricks to enhance your browsing experience, such as using bookmarks, adjusting zoom levels, and optimizing display settings.
While the PlayStation 4 Internet Browser may have some limitations compared to traditional web browsers, it still offers an enjoyable and convenient way to access the internet on your gaming console.
So go ahead, explore the web, catch up on your favorite websites, and make the most out of the Internet Browser on your PlayStation 4. Whether you’re gaming or browsing, your console is now equipped to provide you with a complete entertainment experience.
Thank you for following this guide, and happy browsing!