Introduction
Welcome to this guide on how to get to the home screen with your Apple Pencil. The Apple Pencil is a powerful tool that can greatly enhance your productivity and creativity on your iPad. While it’s commonly used for drawing, note-taking, and other tasks within apps, you may find yourself needing to quickly access the home screen without having to put down your Apple Pencil. In this article, we’ll walk you through the steps to effortlessly navigate back to the home screen using your Apple Pencil.
With the Apple Pencil in your hand, you can save time and streamline your workflow by performing tasks directly on the screen. This guide will show you how to smoothly transition from an app to the home screen without having to rely on the iPad’s physical buttons or setting the Apple Pencil aside. Whether you’re a creative professional or simply enjoy using your Apple Pencil for everyday tasks, mastering this skill will make your iPad experience even more efficient and convenient.
By learning how to navigate to the home screen with your Apple Pencil, you’ll be able to seamlessly switch between different apps and access important features on the home screen. This can be particularly useful when you’re multitasking or need to quickly refer to another app or widget on your home screen. So, let’s get started and discover how to effortlessly get back to the home screen with the help of your Apple Pencil.
Step 1: Unlock your iPad
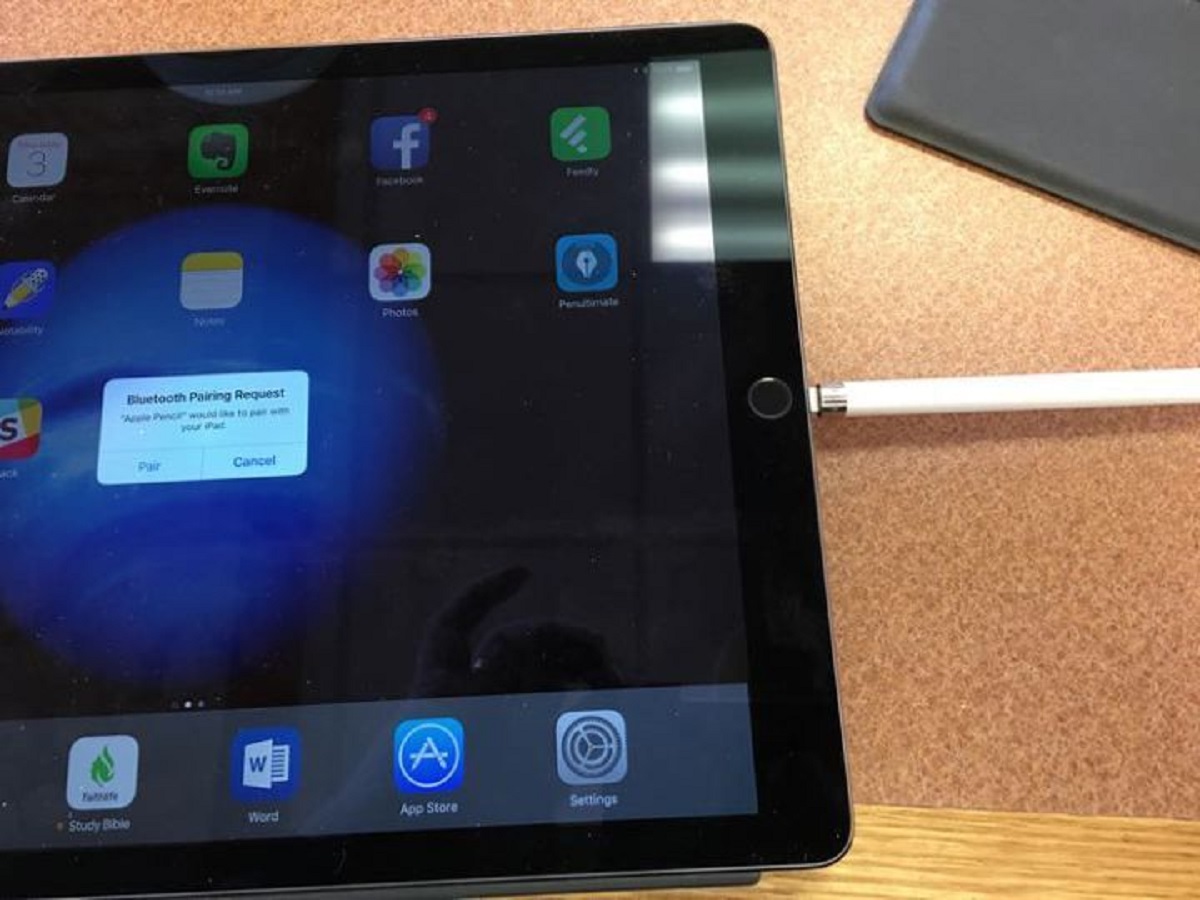
The first step in getting to the home screen with your Apple Pencil is to unlock your iPad. To do this, simply press the Home button or, if you have a newer model without a Home button, use Face ID or Touch ID to unlock your device. This step is essential as it allows you to access the features and functionality of your iPad.
If you have enabled Face ID on your iPad, position your face in front of the front-facing camera until your device recognizes you and unlocks automatically. In case you have Touch ID, gently place your finger on the Home button to unlock your iPad. Once your device is unlocked, you’re ready to move on to the next step.
Keep in mind that if your iPad is already unlocked and you’re using an app or have the screen turned on, you can skip this step and proceed directly to the next one.
Unlocking your iPad ensures that you have full access to its features and settings, giving you the freedom to navigate to the home screen easily. With your device unlocked and ready, let’s move on to the next step and learn how to open an app or use the home gesture to prepare for navigating back to the home screen with your Apple Pencil.
Step 2: Open an app or use the home gesture
Once you have unlocked your iPad, the next step is to open an app or use the home gesture. There are a couple of ways you can do this:
- Open an app: Tap on the app icon on your home screen or swipe down on the spotlight search to search for and open the desired app. This step is important as it allows you to switch from the app you are currently using to the home screen.
- Use the home gesture: If you are already on the home screen or want to return to it from within an app, you can use the home gesture. Simply swipe up from the bottom of the screen to bring up the app switcher.
Using the home gesture will display a carousel of all the recently used apps, giving you a convenient way to switch between them. This gesture not only provides quick access to the home screen but also allows you to seamlessly navigate between multiple apps without having to close and reopen them.
Once you have either opened an app or used the home gesture to access the app switcher, you’re ready to move on to the next step and learn how to use your Apple Pencil to navigate back to the home screen effortlessly. Let’s dive in!
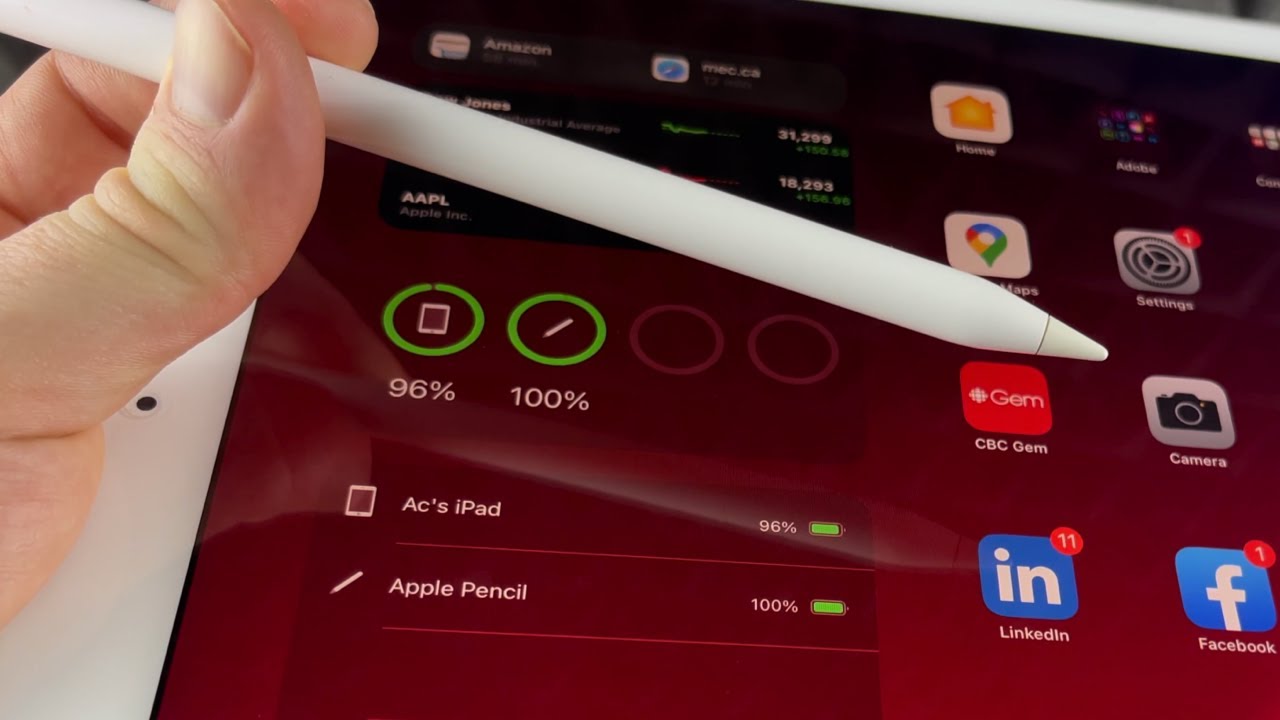
Step 3: Use the Apple Pencil to swipe up from the bottom of the screen
Now that you have opened an app or used the home gesture to access the app switcher, it’s time to use your Apple Pencil to navigate back to the home screen. Follow these simple steps:
- With the Apple Pencil in your hand and the tip resting on the iPad’s screen, place your finger near the bottom edge of the display for stability.
- Using a gentle motion, swipe straight upwards from the bottom of the screen with the Apple Pencil. Start at the bottom border of the iPad and continue until your finger reaches the halfway point of the screen.
By swiping up from the bottom of the screen with your Apple Pencil, you will trigger the action to return to the home screen. This gesture is similar to the one you would perform with your finger but instead, you’re using the Apple Pencil for a more precise and controlled navigation experience.
This step is crucial as it allows you to smoothly transition from an app or the app switcher to the home screen. The ability to perform this gesture with your Apple Pencil not only provides convenience and efficiency but also enhances the overall user experience on your iPad.
Now that you have successfully swiped up from the bottom of the screen with your Apple Pencil, let’s move on to the next step and learn how to glide the Apple Pencil to the left or right edge of the screen to further navigate on the home screen.
Step 4: Glide the Apple Pencil to the left or right edge of the screen
After swiping up from the bottom of the screen with your Apple Pencil and successfully returning to the home screen, the next step is to glide the Apple Pencil to the left or right edge of the screen. Follow these instructions:
- With the Apple Pencil still in your hand and the tip touching the screen, gently move your finger along with the Apple Pencil towards the left or right edge of the display.
- Continue gliding the Apple Pencil until you reach the desired location on the home screen.
By gliding the Apple Pencil to the left or right edge of the screen, you can smoothly navigate between different pages or app icons on the home screen. This action mimics the way you would swipe with your finger to access different areas of the home screen, but with the added precision and control that the Apple Pencil offers.
This step is important for organizing and accessing your apps efficiently. Whether you want to move an app to a different page or simply navigate through the various sections of your home screen, gliding the Apple Pencil along the screen’s edges allows for seamless movement and customization.
As you glide the Apple Pencil to the left or right edge of the screen, take the time to explore and arrange your apps to suit your preferences. You can organize them into folders, rearrange their positions, or even delete unwanted apps by gently tapping and holding the app icon until it starts to jiggle, then tapping the “x” button.
Now that you know how to glide the Apple Pencil to the left or right edge of the screen, you’re ready for the final step, which is to release the Apple Pencil and enjoy your fully customized home screen.
Step 5: Release the Apple Pencil to return to the home screen
After gliding the Apple Pencil to the desired location on the home screen, the final step is to release the Apple Pencil. Here’s how:
- Ensure that the Apple Pencil tip is still in contact with the screen as you position it on the home screen.
- Lightly lift your finger off the screen, maintaining contact with the Apple Pencil’s tip.
- Once your finger is completely lifted off the screen, release the Apple Pencil.
Releasing the Apple Pencil will complete the navigation process, and you will now be fully back to the home screen. This step allows you to seamlessly transition from using the Apple Pencil to interacting with the various apps and features available on your iPad’s home screen.
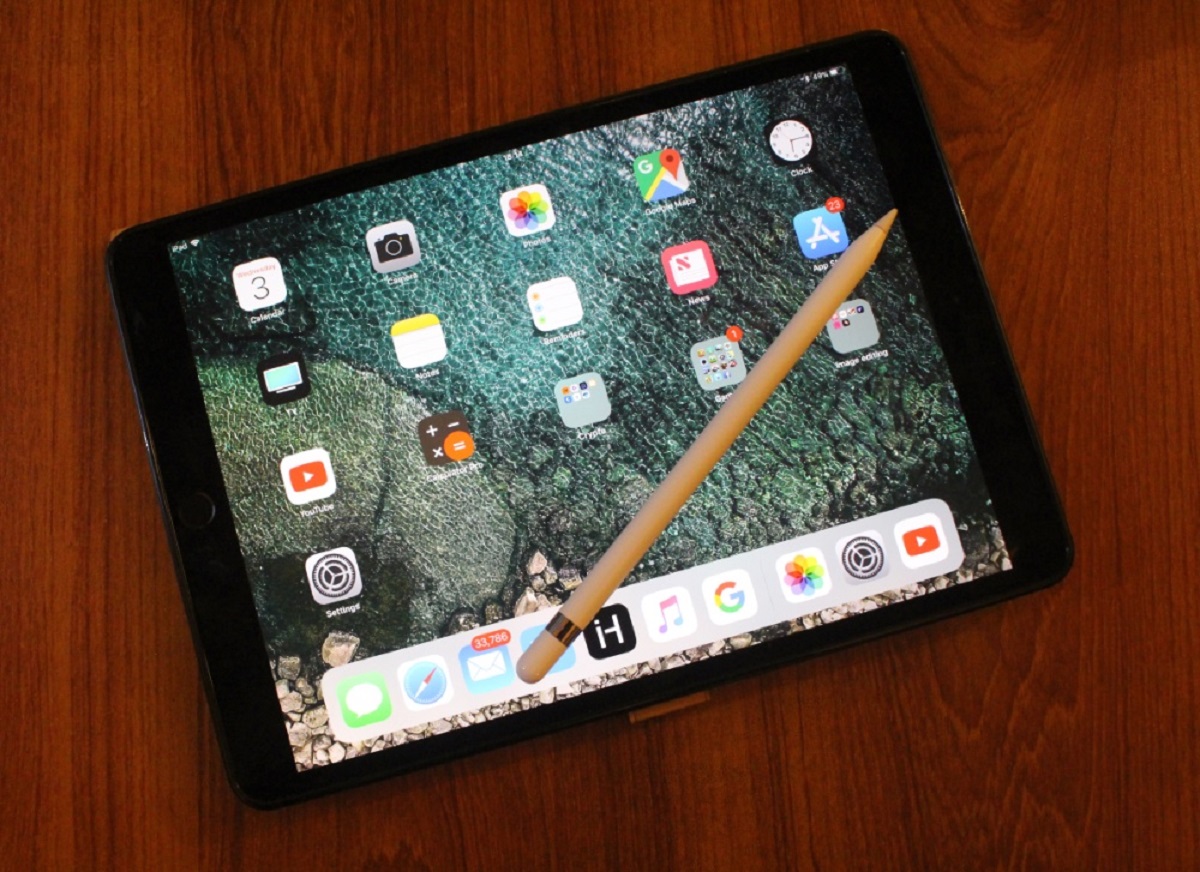
With your Apple Pencil successfully guiding you to the home screen, you can now explore and access your favorite apps, widgets, and settings effortlessly. Take advantage of the customizable nature of the home screen by arranging your apps, creating folders, and personalizing your iPad experience to your liking.
Remember, mastering the ability to navigate back to the home screen with your Apple Pencil not only enhances efficiency and convenience but also showcases the versatility and functionality of this powerful tool. Whether you’re using your Apple Pencil for creative projects or everyday tasks, being able to seamlessly switch between apps and access the home screen is a valuable skill.
Now that you have successfully released the Apple Pencil and returned to the home screen, you can continue enjoying the full capabilities of your iPad and unleash your creativity or productivity to its fullest potential.
Conclusion
Congratulations! You have now learned how to effortlessly navigate to the home screen with your Apple Pencil. By unlocking your iPad, opening an app, swiping up from the bottom of the screen, gliding the Apple Pencil to the left or right edge, and finally releasing the Apple Pencil, you can easily transition between apps and access the home screen with precision and control.
Mastering this skill not only saves you time but also enhances your productivity and overall user experience on your iPad. The Apple Pencil, with its advanced features and seamless integration, becomes an invaluable tool that empowers you to maximize your creativity, productivity, and efficiency.
As you continue to explore the possibilities of your Apple Pencil, don’t hesitate to experiment with different apps, organize your home screen to suit your needs, and take advantage of the multitude of features your iPad has to offer.
Remember to practice and familiarize yourself with these navigation techniques to ensure that you can effortlessly switch between apps, access widgets, or return to the home screen as needed. With time and experience, using the Apple Pencil to navigate on your iPad will become second nature.
So, grab your Apple Pencil and enjoy the seamless and intuitive navigation experience it provides. Unleash your creativity, boost your productivity, and make the most out of your iPad with the power of the Apple Pencil!