Introduction
An on-screen keyboard, also known as a virtual keyboard, is a software interface that allows users to input text or commands using a graphical representation of a keyboard displayed on a computer screen or touch-enabled device. It serves as an alternative input method for individuals who may have difficulty using a traditional physical keyboard or those who prefer a more versatile and portable option.
The on-screen keyboard eliminates the need for a physical keyboard by using a combination of mouse clicks, touch gestures, or even voice recognition technology to simulate key presses. It has become a popular feature in various operating systems, including Windows, Mac, iOS, and Android, providing accessibility and convenience to users across different devices.
Whether you’re using a touchscreen device, a laptop without a built-in keyboard, or simply want to explore a different way of inputting text or commands, the on-screen keyboard can be a valuable tool. In this article, we’ll explore the benefits of using an on-screen keyboard and provide step-by-step instructions on how to access this feature on different platforms.
What is an on-screen keyboard?
An on-screen keyboard, also known as a virtual keyboard, is a software interface that allows users to input text or commands using a graphical representation of a keyboard displayed on a computer screen or touch-enabled device. Unlike a physical keyboard, which consists of physical keys that you press, an on-screen keyboard relies on visual cues and input methods such as touch gestures, mouse clicks, or even voice recognition.
The on-screen keyboard can be accessed through the operating system of your device. It offers a range of functionalities and features that can make typing and inputting commands more convenient and accessible. The layout and design of the on-screen keyboard may vary depending on the operating system and device you are using, but the core principle remains the same – providing a software-based alternative to physical keyboards.
One of the key benefits of an on-screen keyboard is its versatility. It can be used on various devices, including laptops, tablets, smartphones, and even desktop computers. This makes it particularly useful in situations where a physical keyboard is not available or practical, such as when using a touchscreen device without a keyboard attachment or when accessing a device remotely through a network connection.
Another advantage of an on-screen keyboard is its accessibility. For individuals with physical disabilities or impairments that make typing on a traditional keyboard challenging, the on-screen keyboard offers an accessible input method. It allows users to type using other input devices, such as a mouse or a stylus, or even by using voice commands.
Additionally, the on-screen keyboard can be beneficial for users who are multilingual or are working with different input languages. It allows you to switch between different keyboard layouts or language settings with ease, making it convenient for users who need to type in multiple languages or characters sets.
Overall, the on-screen keyboard provides a flexible and accessible solution for users who require an alternative input method or prefer the convenience of a virtual keyboard. In the following sections, we will provide step-by-step instructions on how to access the on-screen keyboard on various operating systems.
Benefits of using an on-screen keyboard
Using an on-screen keyboard offers a range of benefits that make it a valuable tool for users across different devices and situations. Here are some key advantages of using an on-screen keyboard:
1. Accessibility: The on-screen keyboard provides an accessible input method for individuals with physical disabilities or impairments that make typing on a physical keyboard challenging. It allows users to type using alternative input devices or methods, such as a mouse, stylus, or voice recognition technology. This accessibility feature ensures that users with different abilities can still have full access to their computers or devices.
2. Portability: Unlike physical keyboards, which require a dedicated space and can be bulky to carry around, the on-screen keyboard is a software-based solution that is always available on your device. This makes it highly portable and convenient, especially for users of laptops, tablets, and smartphones. It eliminates the need to carry an additional physical keyboard and enables users to type wherever they go.
3. Multilingual support: The on-screen keyboard allows users to easily switch between different keyboard layouts and input languages. This is particularly useful for individuals who work with multiple languages or character sets. With just a few clicks or taps, users can switch to a different keyboard layout or language, eliminating the need for physical keyboard overlays or language stickers.
4. Versatility across devices: The on-screen keyboard can be used on a wide range of devices, regardless of their form factor or input method. Whether you’re using a touchscreen device, a laptop without a built-in keyboard, or accessing a device remotely, the on-screen keyboard provides a consistent input method across different devices. This versatility ensures a seamless typing experience regardless of the device you are using.
5. Customization options: Many on-screen keyboards offer customization options that allow users to personalize the keyboard layout and appearance to suit their preferences. Users can adjust the size, layout, and even add special function keys or shortcuts to enhance their typing experience. This customization feature ensures that users can optimize the on-screen keyboard to their specific needs and typing style.
Overall, the on-screen keyboard offers accessibility, portability, multilingual support, versatility, and customization options that make it a valuable tool for users across various devices and situations. Now that we understand the benefits of using an on-screen keyboard, let’s explore how to access this feature on different operating systems.
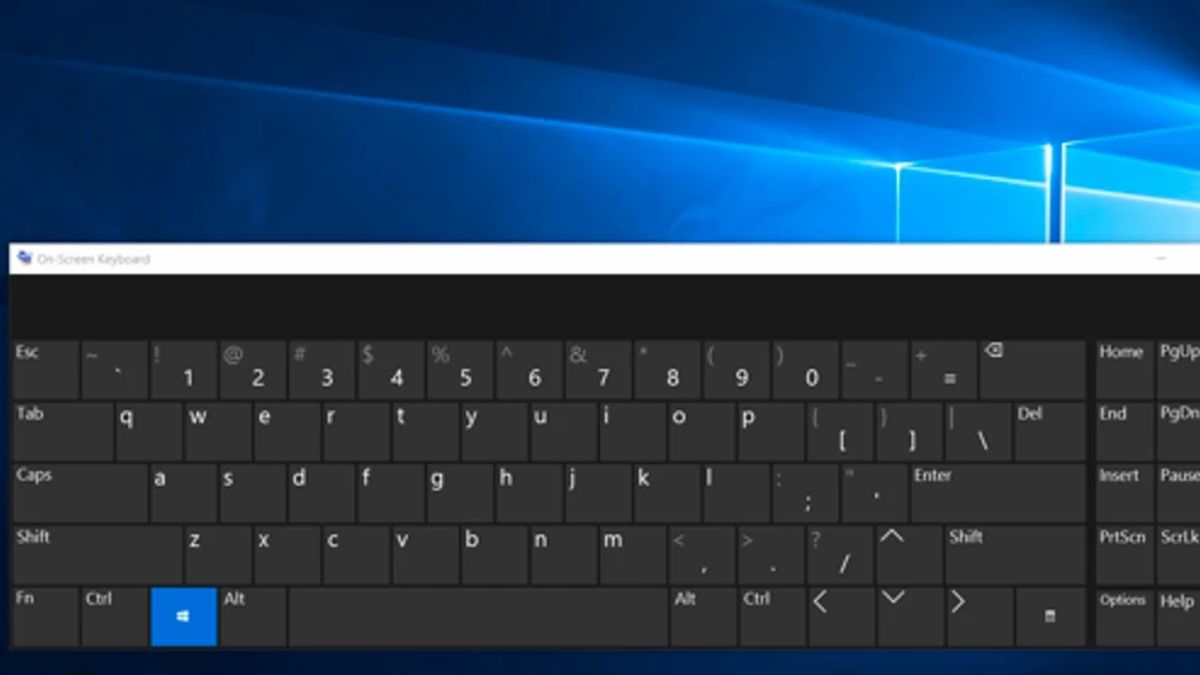
How to access the on-screen keyboard on Windows
If you’re using a Windows operating system, accessing the on-screen keyboard is a straightforward process. Here’s how you can do it:
1. Click on the “Start” button located on the bottom left corner of your screen.
2. In the search bar, type “On-Screen Keyboard” and press Enter.
3. The on-screen keyboard window will appear on your screen.
4. You can now use the on-screen keyboard to input text or commands by clicking on the keys with your mouse or using touch gestures if you’re on a touchscreen device.
Alternatively, you can also access the on-screen keyboard through the Ease of Access menu. Here’s how:
1. Click on the “Start” button and go to “Settings” (the gear icon).
2. In the Settings menu, click on “Ease of Access.”
3. In the left sidebar, click on “Keyboard.”
4. Toggle the “On-Screen Keyboard” switch to the “On” position.
5. The on-screen keyboard will appear on your screen.
Once the on-screen keyboard is open, you can resize or move the window according to your preference. You can also access additional options and settings by clicking on the “Options” button on the keyboard window.
It’s worth noting that Windows also provides various keyboard shortcuts and input methods that can enhance your typing experience. For example, if you have a touch-enabled device, you can use swipe gestures on the on-screen keyboard to type faster. Additionally, you can enable the “Sticky Keys” or “Filter Keys” accessibility features in the Ease of Access settings to customize key input behavior according to your needs.
By following these simple steps, you can access the on-screen keyboard on your Windows device and begin using it as an alternative input method. In the next sections, we’ll explore how to access the on-screen keyboard on Mac, iOS, and Android devices.
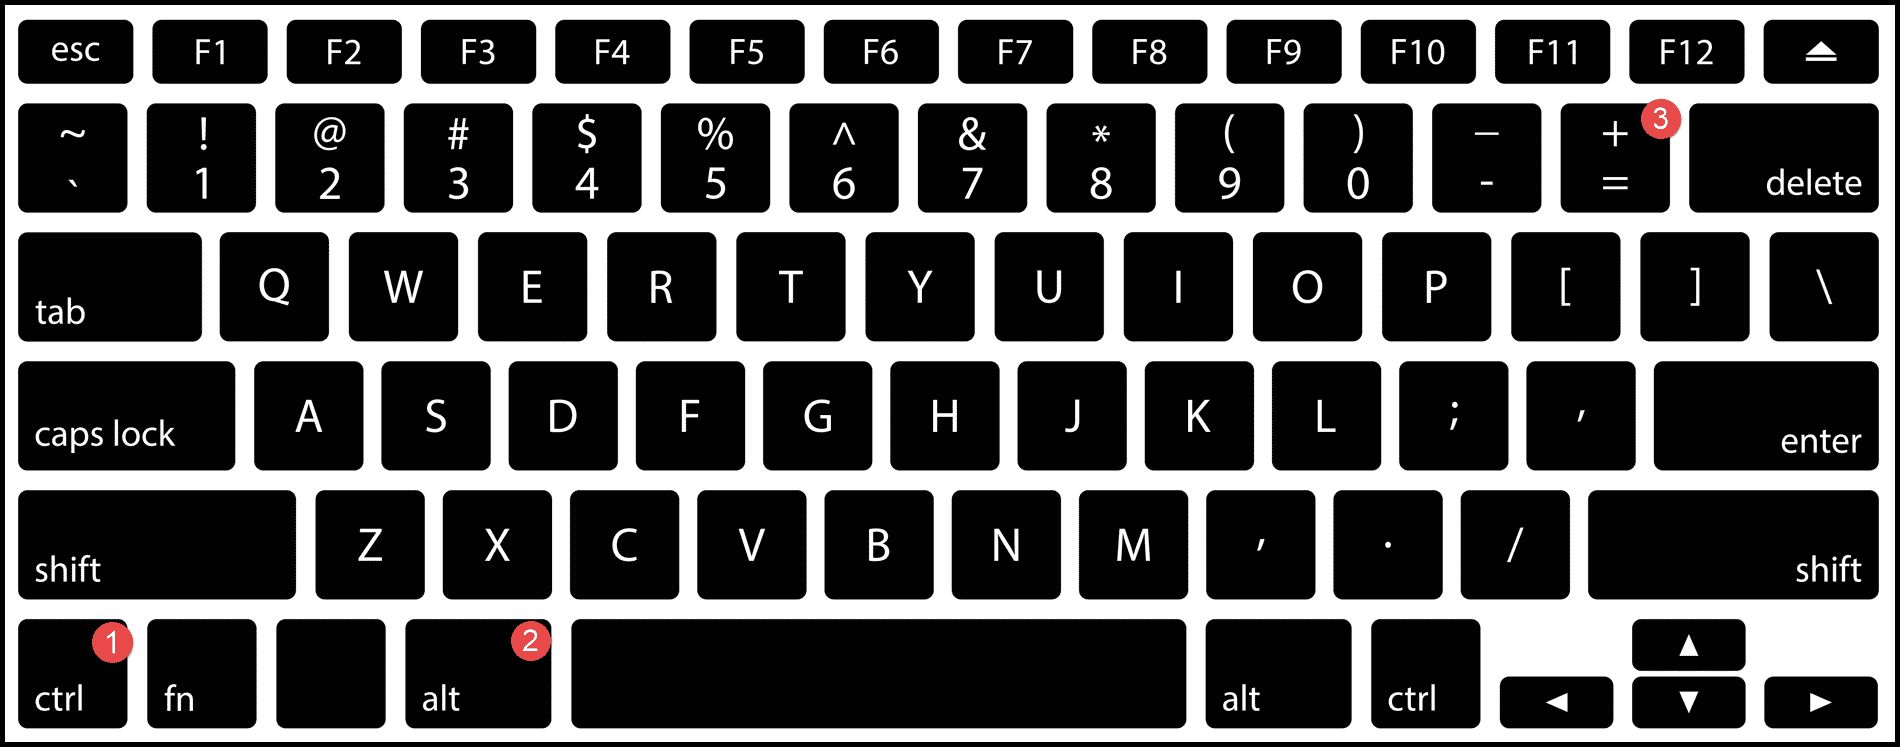
How to access the on-screen keyboard on Mac
If you’re using a Mac, accessing the on-screen keyboard is a straightforward process. Here’s how you can do it:
1. Click on the Apple menu located on the top left corner of your screen.
2. From the drop-down menu, select “System Preferences.”
3. In the System Preferences window, click on “Keyboard.”
4. Navigate to the “Keyboard” tab and make sure to check the box that says “Show keyboard and emoji viewers in menu bar.”
5. Close the System Preferences window.
6. You will now see a new icon in your menu bar, typically located at the top right corner of your screen. It resembles a flag or the keyboard layout based on your language preference.
7. Click on the keyboard icon in the menu bar, and select “Show Keyboard Viewer.”
After following these steps, the on-screen keyboard will appear on your screen. You can now use your mouse or touch gestures if you’re on a touch-enabled device to click on the keys and input text or commands.
Mac’s on-screen keyboard, also known as the Keyboard Viewer, is highly customizable. You can adjust the layout, switch between different language settings, and even enable a numeric keypad or special characters. To access these options, click on the keyboard icon in the menu bar and select “Show Keyboard Viewer” again. Then, click on the “Options” button on the bottom left corner of the on-screen keyboard window.
Additionally, Mac provides various keyboard shortcuts and text input methods that can enhance your typing experience. For example, you can use the built-in Text Replacement feature to create shortcuts for frequently used phrases or words, saving you time and effort when typing.
By following these simple steps, you can access the on-screen keyboard, or Keyboard Viewer, on your Mac and begin using it as an alternative input method. In the next sections, we’ll explore how to access the on-screen keyboard on iOS and Android devices.
How to access the on-screen keyboard on iOS
If you’re using an iOS device, such as an iPhone or iPad, accessing the on-screen keyboard is inherent to the device’s functionality. Here’s how you can do it:
1. Open any app or text field where you want to input text, such as Messages or Notes.
2. When the keyboard is not visible, tap on the text field to bring up the on-screen keyboard.
3. The on-screen keyboard will appear at the bottom of the screen, allowing you to input text or commands using taps and gestures.
iOS offers a user-friendly and intuitive on-screen keyboard experience with features like auto-correction, predictive text, and the ability to switch between different keyboard layouts, such as QWERTY or a specific language’s layout. You can also access additional options and settings by tapping on the globe or emoji icon located in the bottom left or bottom right corner of the keyboard.
Furthermore, iOS provides various keyboard shortcuts and productivity features that can enhance your typing experience. For example, you can enable the QuickPath feature to swipe across the keyboard to type, and you can customize the keyboard settings to include or exclude features like auto-capitalization or auto-correction according to your preferences.
It’s also worth noting that if you’re using an iPad with an external keyboard attached, you can simply start typing on the physical keyboard, and the on-screen keyboard will not appear unless you manually tap on a text field or the on-screen keyboard icon.
By following these simple steps, you can access the on-screen keyboard on your iOS device and begin using it as an alternative input method. In the next section, we’ll explore how to access the on-screen keyboard on Android devices.
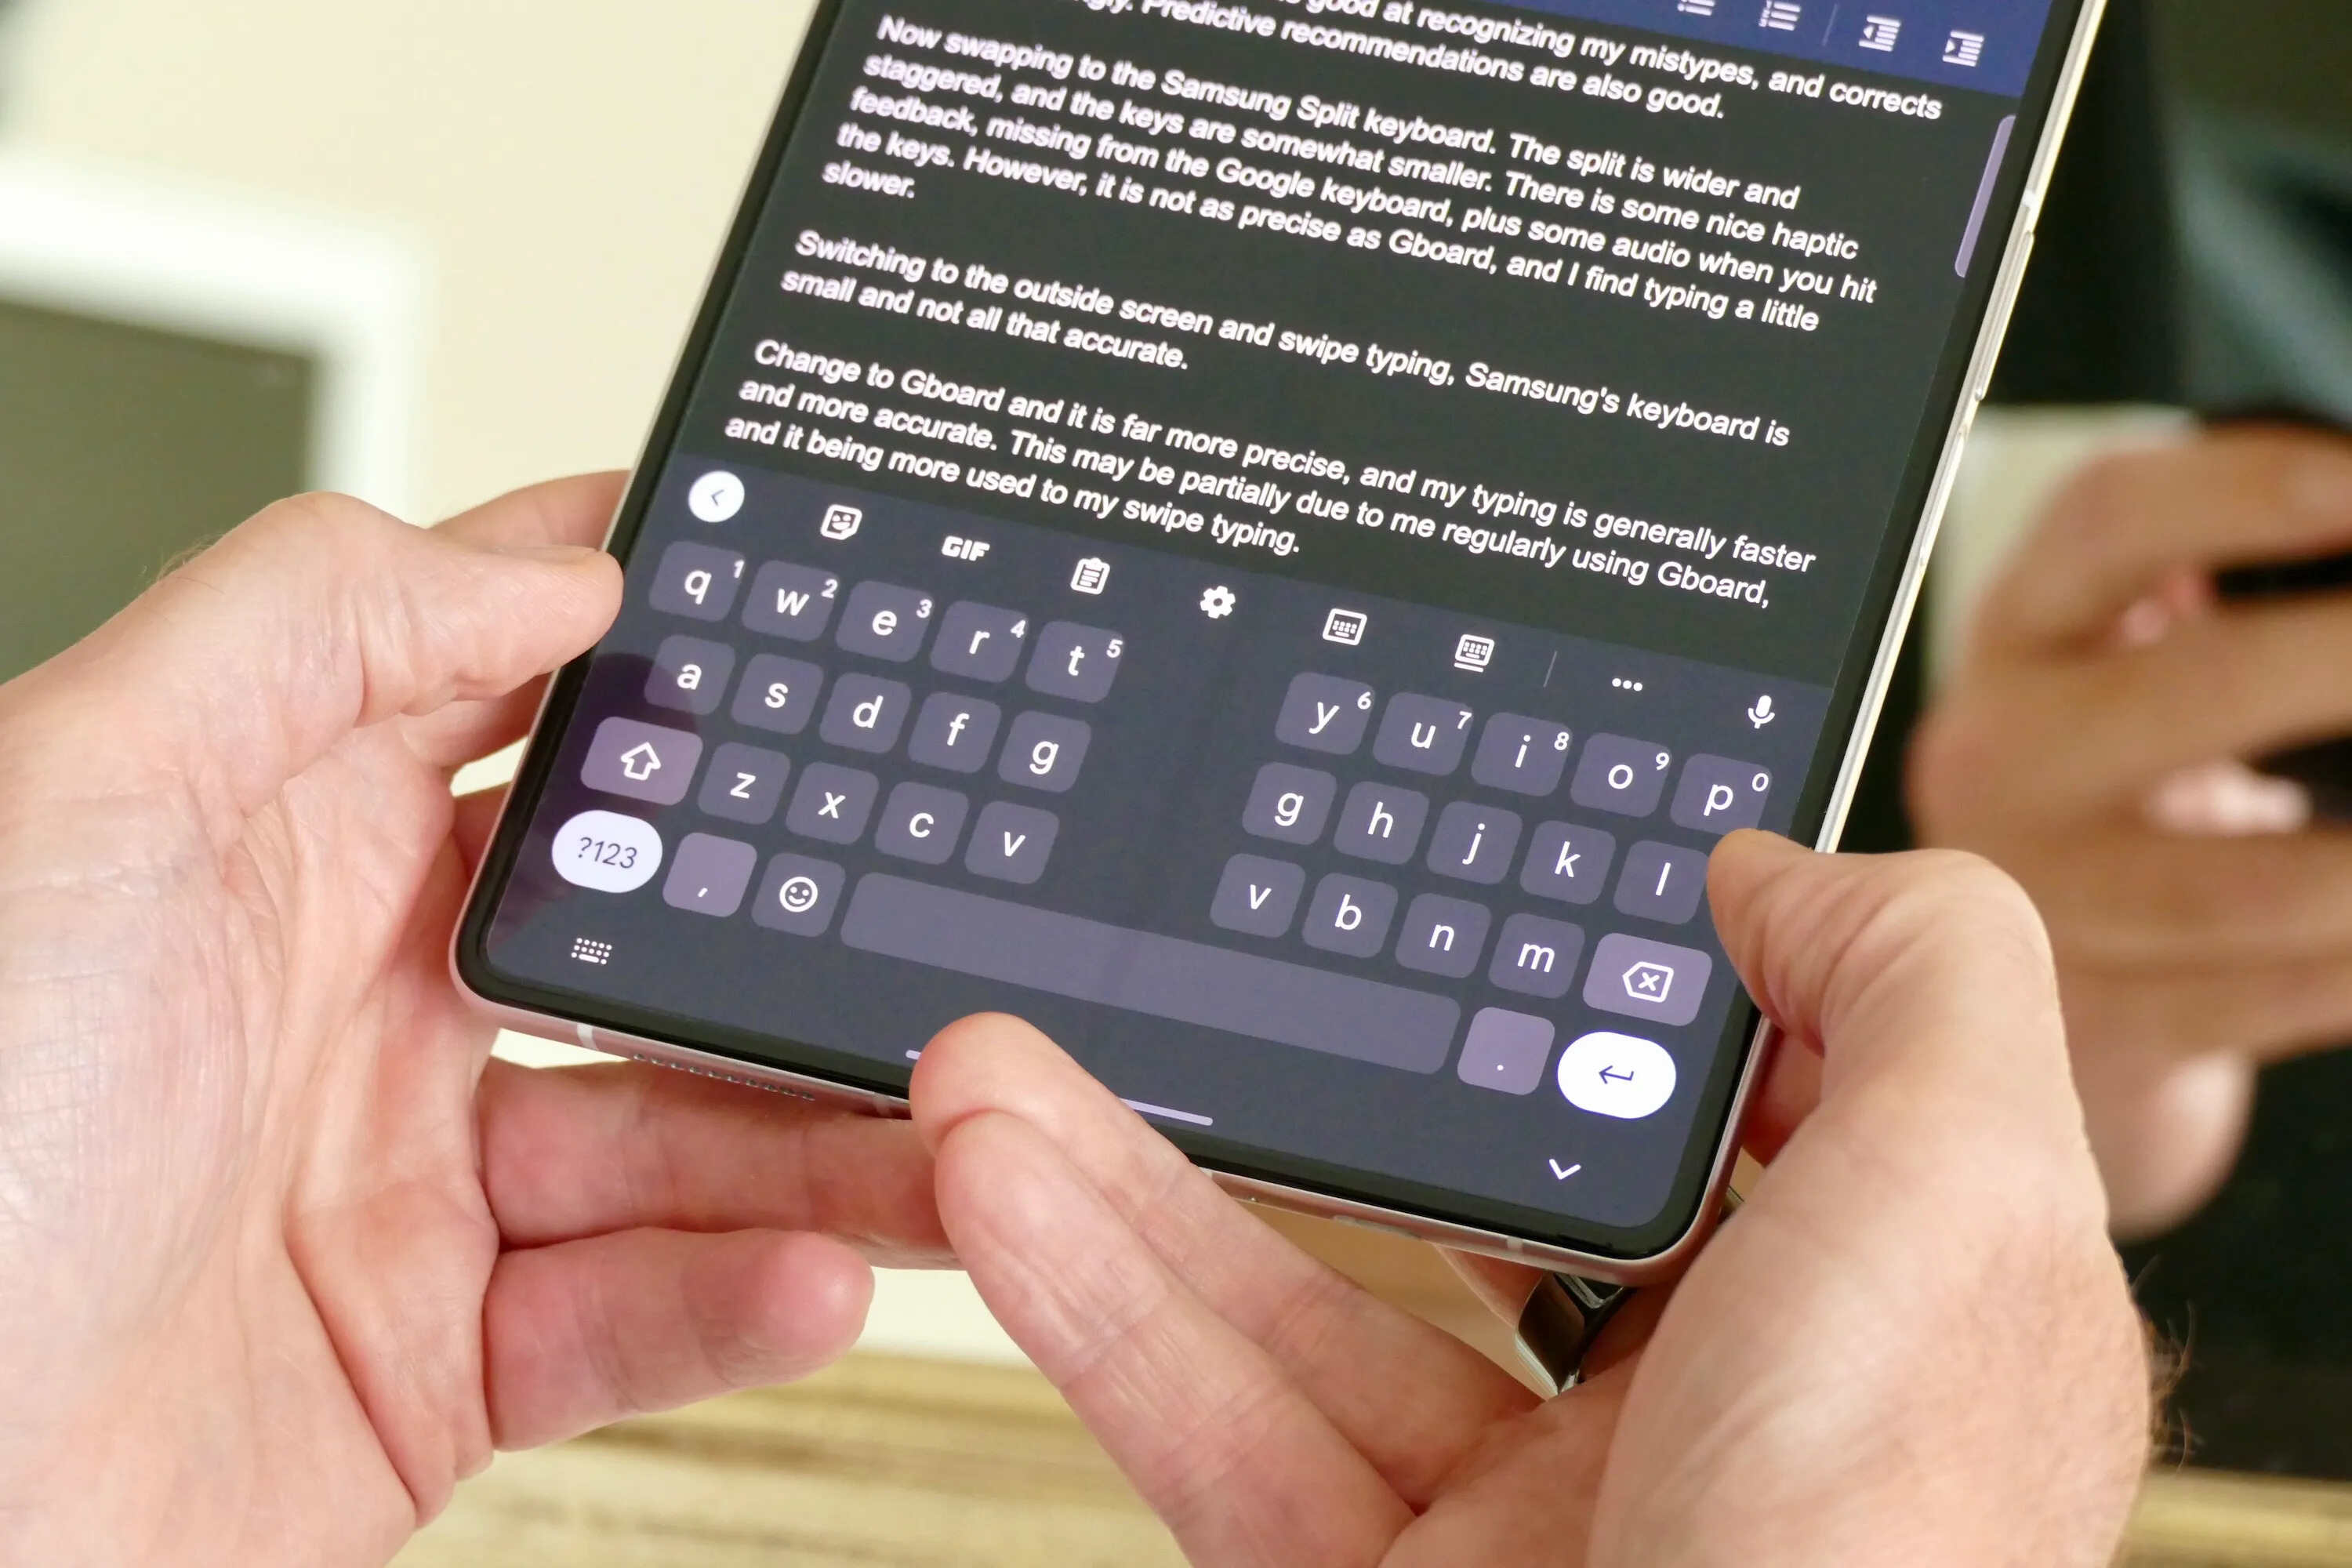
How to access the on-screen keyboard on Android
If you’re using an Android device, accessing the on-screen keyboard is an integral part of the operating system. Here’s how you can do it:
1. Open any app or text field where you want to input text, such as messaging or a note-taking app.
2. When the keyboard is not visible, tap on the text field to bring up the on-screen keyboard.
3. The on-screen keyboard will appear at the bottom of the screen, allowing you to input text or commands using taps and gestures.
Android provides a highly customizable on-screen keyboard experience. Depending on your device and software version, you may have access to features like gesture typing, auto-correction, predictive text, and the ability to switch between different keyboard layouts or languages.
To access additional options and settings for the on-screen keyboard, follow these steps:
1. Open any app or text field where the keyboard is visible.
2. Tap and hold the keyboard icon located in the bottom right corner of the keyboard.
3. A pop-up menu will appear, displaying different customization options for the keyboard.
4. Tap on “Keyboard Settings” or any other similar option available on your device to access the keyboard settings menu.
From the keyboard settings menu, you can customize various aspects of the on-screen keyboard, such as the layout, keypress sounds, auto-capitalization, auto-correction, and more. Some devices may also offer additional features like one-handed mode or keyboard themes.
Additionally, Android supports various keyboard apps that can be downloaded from the Google Play Store, allowing you to customize your typing experience even further. These third-party keyboard apps offer unique features, different themes, and alternative input methods for a personalized typing experience.
By following these simple steps, you can access the on-screen keyboard on your Android device and use it as an alternative input method. Experiment with the different features and settings available to find the configuration that works best for you.
Tips for using the on-screen keyboard efficiently
Using the on-screen keyboard can be a seamless and efficient experience with a few helpful tips and tricks. Here are some tips to help you make the most out of your on-screen keyboard:
1. Familiarize yourself with the layout: Take some time to get familiar with the layout of the on-screen keyboard. Pay attention to the placement of keys, including special characters, numbers, and punctuation marks. Becoming familiar with the layout will increase your accuracy and speed when typing.
2. Utilize auto-correction and predictive text: Most on-screen keyboards offer auto-correction and predictive text features. These features can automatically correct typing mistakes and suggest words as you type. Take advantage of these features to save time and minimize errors in your text.
3. Enable auto-capitalization: To automatically capitalize the first letter of each sentence, enable the auto-capitalization feature in your device’s keyboard settings. This feature saves you time and ensures proper capitalization in your texts.
4. Use gestures or shortcuts: Many on-screen keyboards support gesture typing or provide shortcuts for common functions. Practice and familiarize yourself with these gestures and shortcuts to speed up your typing. For example, swipe your finger across the keyboard to form words instead of tapping each key individually.
5. Customize keyboard settings: Explore the settings of your on-screen keyboard to customize it according to your preferences. Adjust the keyboard size, enable haptic feedback for tactile response, or change the theme if available. Customizing the keyboard will help make it more comfortable and suitable for your typing style.
6. Take advantage of voice input: If your on-screen keyboard supports voice input, use it for hands-free typing. Tap the microphone icon on the keyboard and speak your desired text. The device will convert your voice into text, allowing you to input text quickly and effortlessly.
7. Practice and adapt: Like with any form of typing, practice is key. The more you use the on-screen keyboard, the more comfortable and efficient you’ll become. Adapt to the size and sensitivity of the keys and find a typing technique that suits you best.
8. Explore third-party keyboard apps: Consider exploring third-party keyboard apps available for your device. These apps often offer additional features, themes, and functionality that can enhance your typing experience. Experiment with different keyboard apps to find one that suits your needs and preferences.
By applying these tips and exploring the features and settings of your on-screen keyboard, you can improve your overall typing efficiency and make the most out of this alternative input method.
Conclusion
The on-screen keyboard, also known as a virtual keyboard, offers a convenient and accessible alternative to physical keyboards. Whether you’re using a Windows PC, a Mac, an iOS device, or an Android device, accessing and using the on-screen keyboard is relatively simple and intuitive.
We explored the benefits of using an on-screen keyboard, including its accessibility for individuals with physical disabilities, its portability, and its versatility across different devices. We also discussed how to access the on-screen keyboard on various operating systems, providing step-by-step instructions for Windows, Mac, iOS, and Android.
Additionally, we provided tips for using the on-screen keyboard efficiently, such as familiarizing yourself with the layout, utilizing auto-correction and predictive text, customizing keyboard settings, and taking advantage of gestures and shortcuts. These tips can help enhance your typing experience and improve your overall efficiency when using the on-screen keyboard.
Remember, practice makes perfect when it comes to typing on the on-screen keyboard. The more you use it and adapt to its functionality, the more comfortable and proficient you’ll become. Don’t be afraid to explore additional keyboard options and features offered by third-party keyboard apps, as they can further enhance your typing experience.
Ultimately, the on-screen keyboard provides a versatile and accessible input method for users of different abilities and preferences. It offers flexibility, convenience, and customization options, making it a valuable tool for various devices and situations.
So, the next time you find yourself without a physical keyboard or looking for a more portable and adaptable typing solution, give the on-screen keyboard a try. Embrace its features, practice using it efficiently, and enjoy the convenience of typing on a virtual keyboard.