Introduction
Welcome to our guide on how to format an SSD for Xbox Series S! With the ever-increasing demand for digital game downloads and the need for more storage space, many Xbox Series S owners are opting to expand their storage capacity by utilizing external SSDs. However, before you can start using an SSD with your Xbox Series S, it’s crucial to format it properly.
In this article, we will walk you through the step-by-step process of formatting an SSD to ensure compatibility with your Xbox Series S console. Whether you’ve just purchased a new SSD or you’re repurposing an existing one, following these instructions will help you get your SSD ready to store and play your favorite games.
Please note that formatting your SSD will erase all existing data on the drive. Therefore, it’s crucial to backup any important files or save games before proceeding. Additionally, ensure that your Xbox Series S has the latest system software updates installed before attempting to format an external SSD.
Ready to dive in? Let’s get started! In the following sections, we’ll discuss the reasons for formatting your SSD for Xbox Series S, the preparations you need to make, how to connect and format the SSD, and important final steps to consider. By the end of this guide, you’ll have your SSD formatted and ready to provide enhanced storage capacity for your gaming needs.
Why Format Your SSD for Xbox Series S?
Formatting your SSD for Xbox Series S is an essential step that ensures optimal performance and compatibility with your console. Here are a few key reasons why formatting is necessary:
- Unlock the Full Potential of Your SSD: By formatting your SSD specifically for Xbox Series S, you can maximize its performance. The console is designed to work seamlessly with certain file systems, such as exFAT, which provides faster load times and smoother gameplay.
- Enable Xbox Series S Features: Formatting your SSD allows you to take advantage of specific features designed for Xbox Series S. This includes the Quick Resume feature, which lets you switch between multiple games instantly without losing progress. With a properly formatted SSD, you can enjoy the improved loading speeds and quick access to your games.
- Ensure Reliable Data Storage: Formatting your SSD helps to eliminate any potential corruption or errors that may occur during the data transfer process. It creates a clean slate, ensuring that the storage space is free from any lingering fragments or incompatible file systems. This reduces the risk of crashes, freezes, or data loss while playing games.
- Compatibility with Xbox Series S: Xbox Series S has its own specific requirements for external storage devices. By formatting your SSD to meet these requirements, you ensure that it is recognized and fully compatible with your console. This allows you to seamlessly install and run games from your SSD without any compatibility issues.
- Expand Storage Capacity: One of the primary reasons for using an external SSD is to increase the storage capacity of your Xbox Series S. By formatting the SSD correctly, you can utilize the entire storage space and install more games, applications, and downloadable content without worrying about running out of space.
By taking the time to format your SSD for Xbox Series S, you are optimizing its performance and ensuring a smooth gaming experience. Now that you understand the importance of formatting, let’s move on to the next steps in preparing your SSD for use with your console.
Prepare Your SSD
Before connecting your SSD to your Xbox Series S and formatting it, there are a few important preparatory steps to follow. This will ensure a smooth and hassle-free process. Here’s what you need to do:
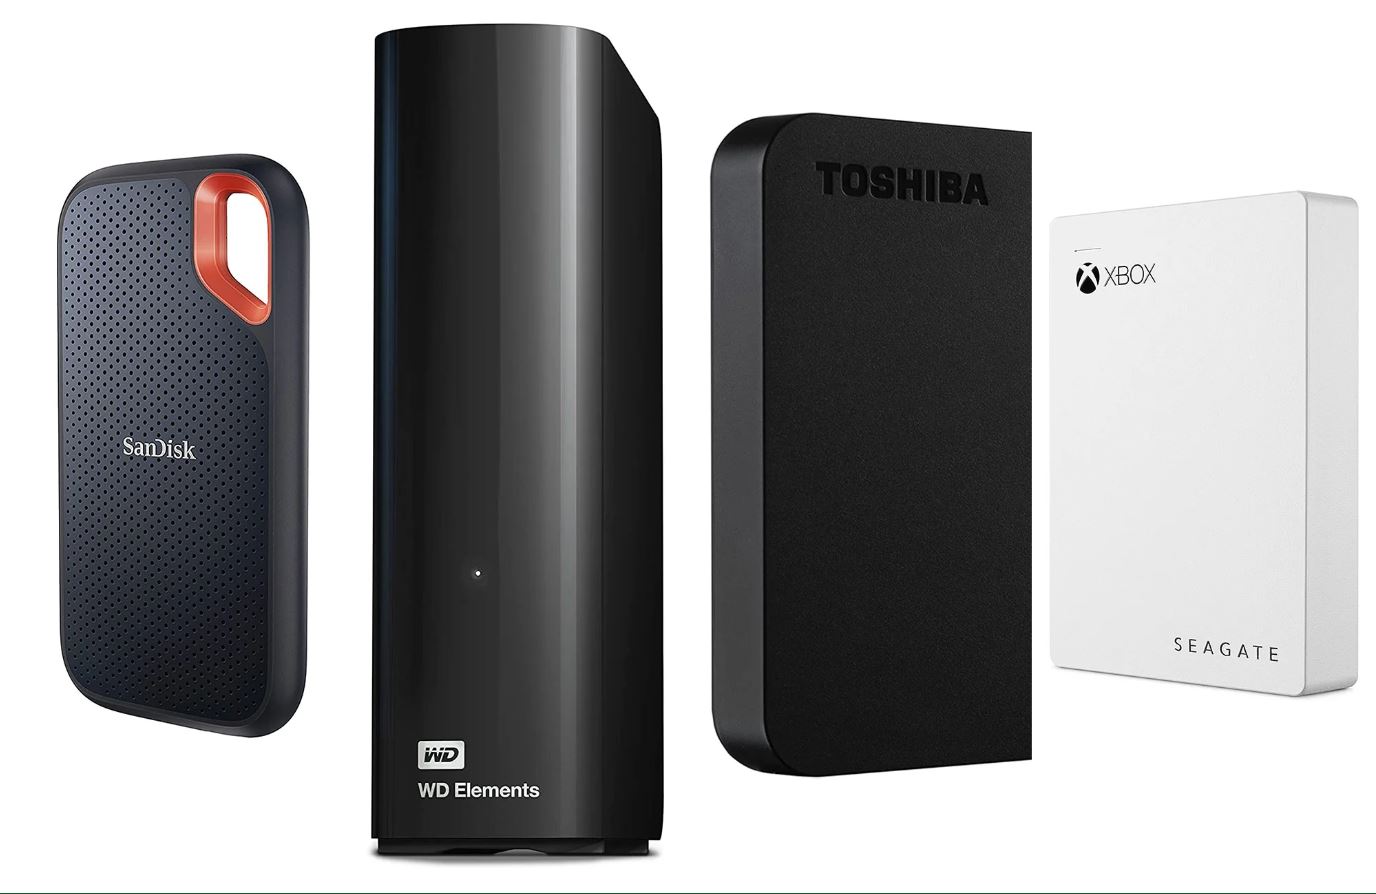
- Check Compatibility: Confirm that your SSD is compatible with Xbox Series S. Ensure that it supports USB 3.0 or higher for optimal performance. You can refer to the manufacturer’s specifications or consult the Xbox support website for a list of supported storage devices.
- Backup Important Data: As mentioned earlier, formatting your SSD will erase all data on the drive. Before proceeding, make sure to back up any crucial files, including game saves, videos, or other personal data, to a separate storage device. This will prevent any data loss during the formatting process.
- Remove Cables or Adapters: If your SSD is currently connected to any cables or adapters, disconnect them. It’s recommended to connect the SSD directly to the Xbox Series S console to ensure a stable and reliable connection.
- Verify Sufficient Power Supply: Ensure that your Xbox Series S console has enough power to support the additional SSD. Avoid using USB hubs or extension cables and connect the SSD directly to the console’s USB ports. This ensures that the SSD receives adequate power for optimal performance.
- Prepare USB Stick: You will need a USB stick with a minimum capacity of 4GB to download and install the necessary system update. Make sure it is formatted correctly (exFAT or NTFS) and has enough free space for the update file.
- Set Aside Time: Formatting an SSD can take some time, depending on the size of the drive. Make sure you have enough time set aside for the formatting process without interruptions. Avoid disconnecting the SSD or turning off the console during this time to prevent any potential issues.
By following these preparation steps, you’ll be ready to connect and format your SSD for use with your Xbox Series S. Now that you’re prepared, let’s move on to the next section where we’ll guide you through the process of connecting the SSD to your console.
Connect the SSD to Your Xbox Series S
Now that you have prepared your SSD, it’s time to connect it to your Xbox Series S console. Follow these steps to ensure a successful connection:
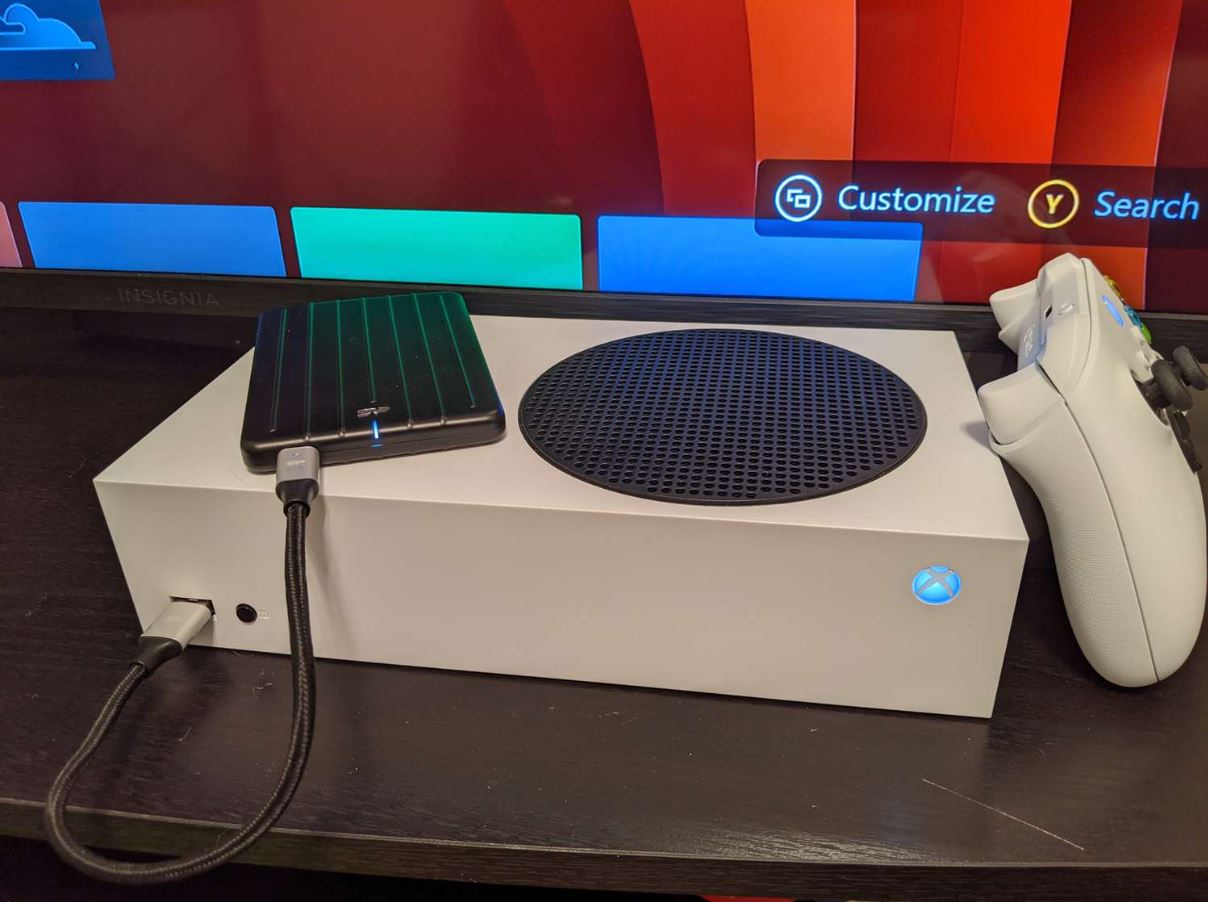
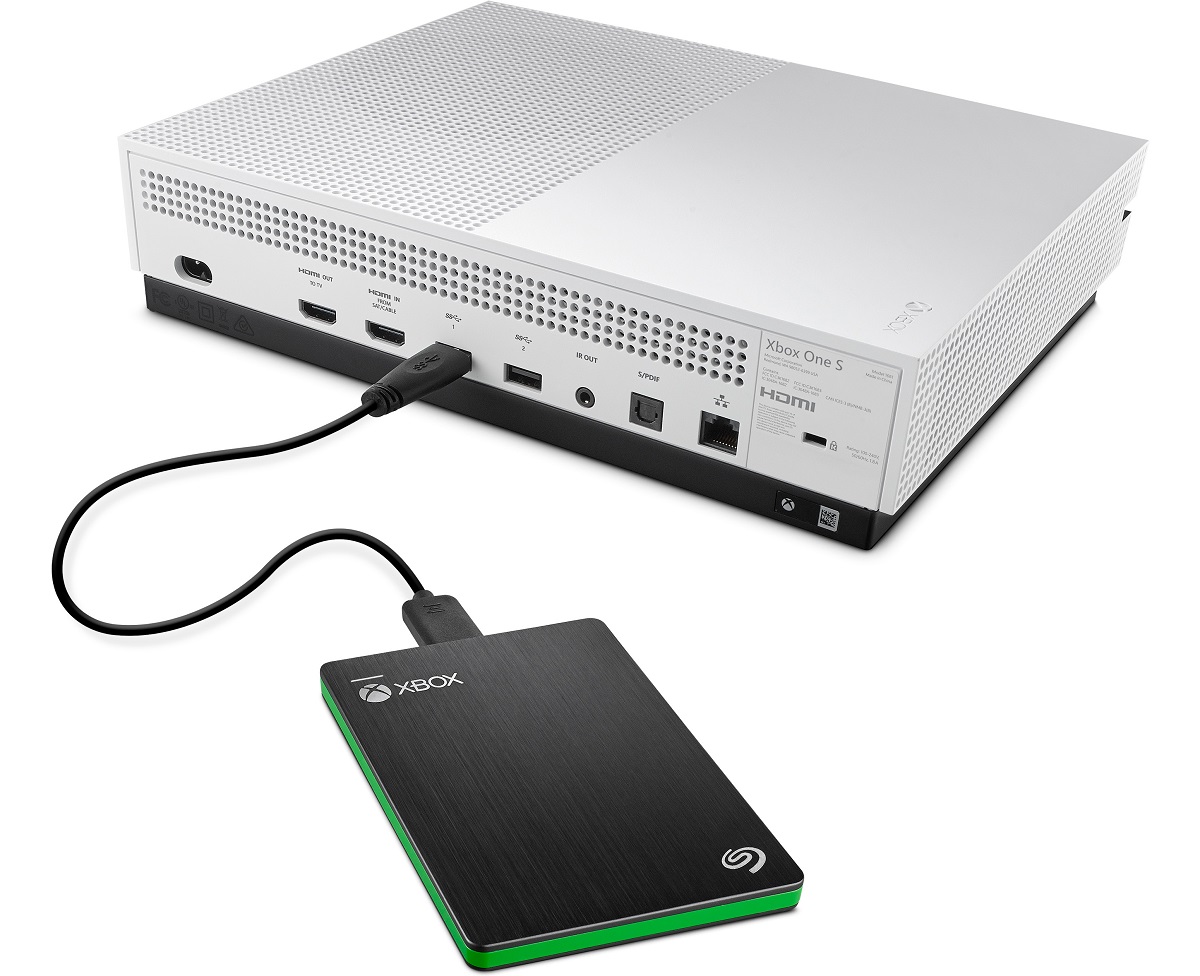
- Locate the USB Ports: On the rear panel of your Xbox Series S console, you will find one or more USB ports. These ports are used for connecting external storage devices, such as your SSD.
- Insert the SSD: Carefully plug the USB connector of your SSD into one of the available USB ports on your Xbox Series S. Ensure that the connection is secure and that the SSD is inserted fully into the port.
- Power On Your Console: Once the SSD is connected, power on your Xbox Series S console. Wait for the console to fully boot up before proceeding to the next step.
- System Update: If this is the first time you are connecting an external storage device to your console, or if your console prompts for a system update, make sure your USB stick (prepared in the previous step) is inserted into one of the USB ports on the console. Follow the on-screen prompts to download and install the system update onto the USB stick. This update is necessary to ensure that your console can recognize and utilize the external SSD.
- Install System Update: Once the system update has finished downloading to the USB stick, follow the on-screen instructions to install it onto your Xbox Series S console. This update may take a few minutes to complete, so be patient and avoid interrupting the process.
- Console Recognition: After the system update is installed, your Xbox Series S console should recognize the connected SSD. It may prompt you to format the SSD if it has not been formatted already. Follow the on-screen prompts to proceed with the formatting process.
By following these steps, you will successfully connect your SSD to your Xbox Series S console. In the next section, we will guide you through the process of formatting the SSD, ensuring it is ready to store and play your favorite games.
Format the SSD
Now that you have connected your SSD to your Xbox Series S console, it’s time to format the SSD to ensure compatibility and optimal performance. Follow these steps to format your SSD:
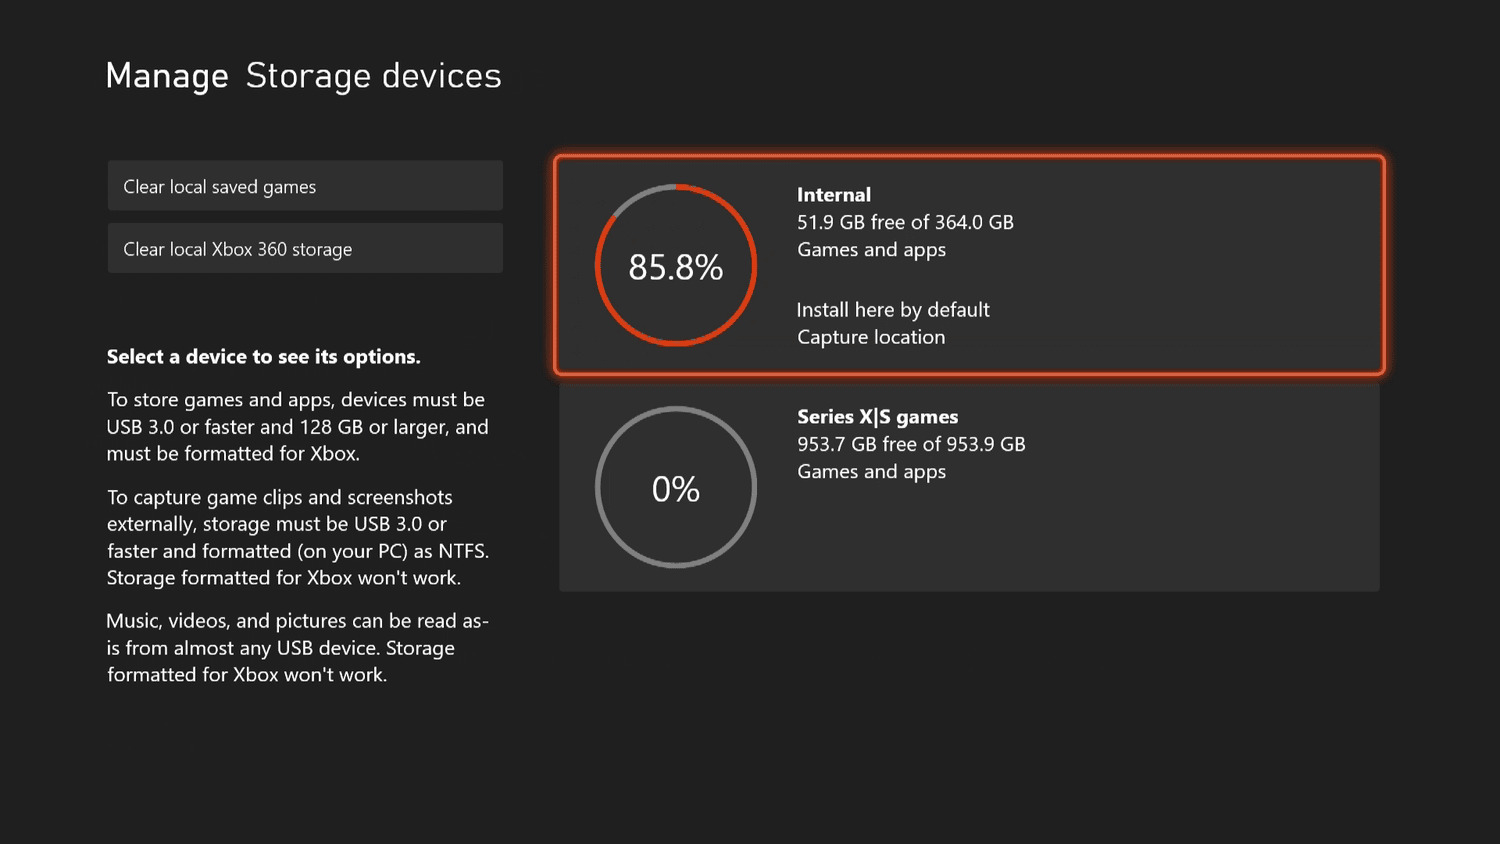
- Console Prompts: Once your console recognizes the connected SSD, it may prompt you to format the drive. If the prompt does not appear automatically, you can navigate to the “Settings” tab on your dashboard and select “System.” From there, choose “Storage” and select the connected SSD.
- Choose Format Option: In the storage menu, select the connected SSD and choose the “Format storage device” option. This will initiate the formatting process for the SSD.
- Confirm formatting: You will be presented with a warning message that all data on the SSD will be erased during the formatting process. Make sure you have backed up any important data and confirm your choice to proceed with the formatting process.
- Formatting Progress: Your console will now start formatting the SSD. The progress bar will indicate the status of the formatting process. This may take some time, depending on the size of the SSD. Avoid interrupting the process or disconnecting the SSD while formatting is in progress.
- Formatting Complete: Once the formatting is complete, you will receive a confirmation message. Your SSD is now formatted and ready for use with your Xbox Series S console.
Formatting your SSD ensures that it is compatible with your Xbox Series S and ready to provide enhanced storage for your games. With the formatting complete, you can now proceed to the final steps and considerations before using your newly formatted SSD.
Final Steps and Considerations
Now that you have successfully formatted your SSD for use with your Xbox Series S, there are a few final steps and considerations to keep in mind:
- Install Games and Apps: With your SSD formatted and connected, you can now start installing games, applications, and downloadable content onto the SSD. This will help free up space on your console’s internal storage and ensure quicker load times for your games.
- Manage Storage: To manage your storage effectively, periodically review and move games or applications between your internal storage and the SSD. This will help optimize storage space and ensure that you have enough room for new games or updates.
- Keep Firmware Updated: Check the manufacturer’s website for any firmware updates for your SSD. Keeping your SSD’s firmware up to date can improve performance and address any potential bugs or issues.
- Monitor for Errors: If you encounter any issues or errors with your SSD after formatting, it’s essential to troubleshoot and resolve them promptly. Check for OS updates, USB port functionality, or compatibility issues to ensure smooth performance.
- Disconnecting the SSD: If you need to disconnect your SSD from your Xbox Series S, make sure to follow the proper procedure. Safely eject the SSD from the console’s storage settings to avoid any potential data corruption or loss.
- Future Formatting: If you wish to use the SSD with a different device in the future, note that you may need to reformat it to ensure compatibility. Be sure to back up any data before formatting to prevent loss.
By following these final steps and considerations, you can ensure an optimal gaming experience with your newly formatted SSD for Xbox Series S. Enjoy the expanded storage capacity and improved performance as you dive into your favorite games!
Conclusion
Formatting an SSD for your Xbox Series S is a crucial step that allows you to unlock its full potential, optimize performance, and expand the storage capacity of your console. By following the step-by-step guide in this article, you have successfully prepared, connected, and formatted your SSD specifically for your Xbox Series S, ensuring compatibility and optimal performance.
With your SSD formatted, you can now enjoy the benefits of faster loading times, quick access to multiple games with the Quick Resume feature, and ample storage space for your growing library of games and applications.
Remember to keep the firmware of your SSD up to date and manage your storage effectively to make the most of your newly formatted SSD. Additionally, if you encounter any issues or errors, troubleshoot them promptly to ensure smooth performance.
We hope this guide has been helpful in assisting you with formatting your SSD for Xbox Series S. Now, it’s time to dive into your favorite games and enjoy a seamless gaming experience with expanded storage capacity!