Introduction
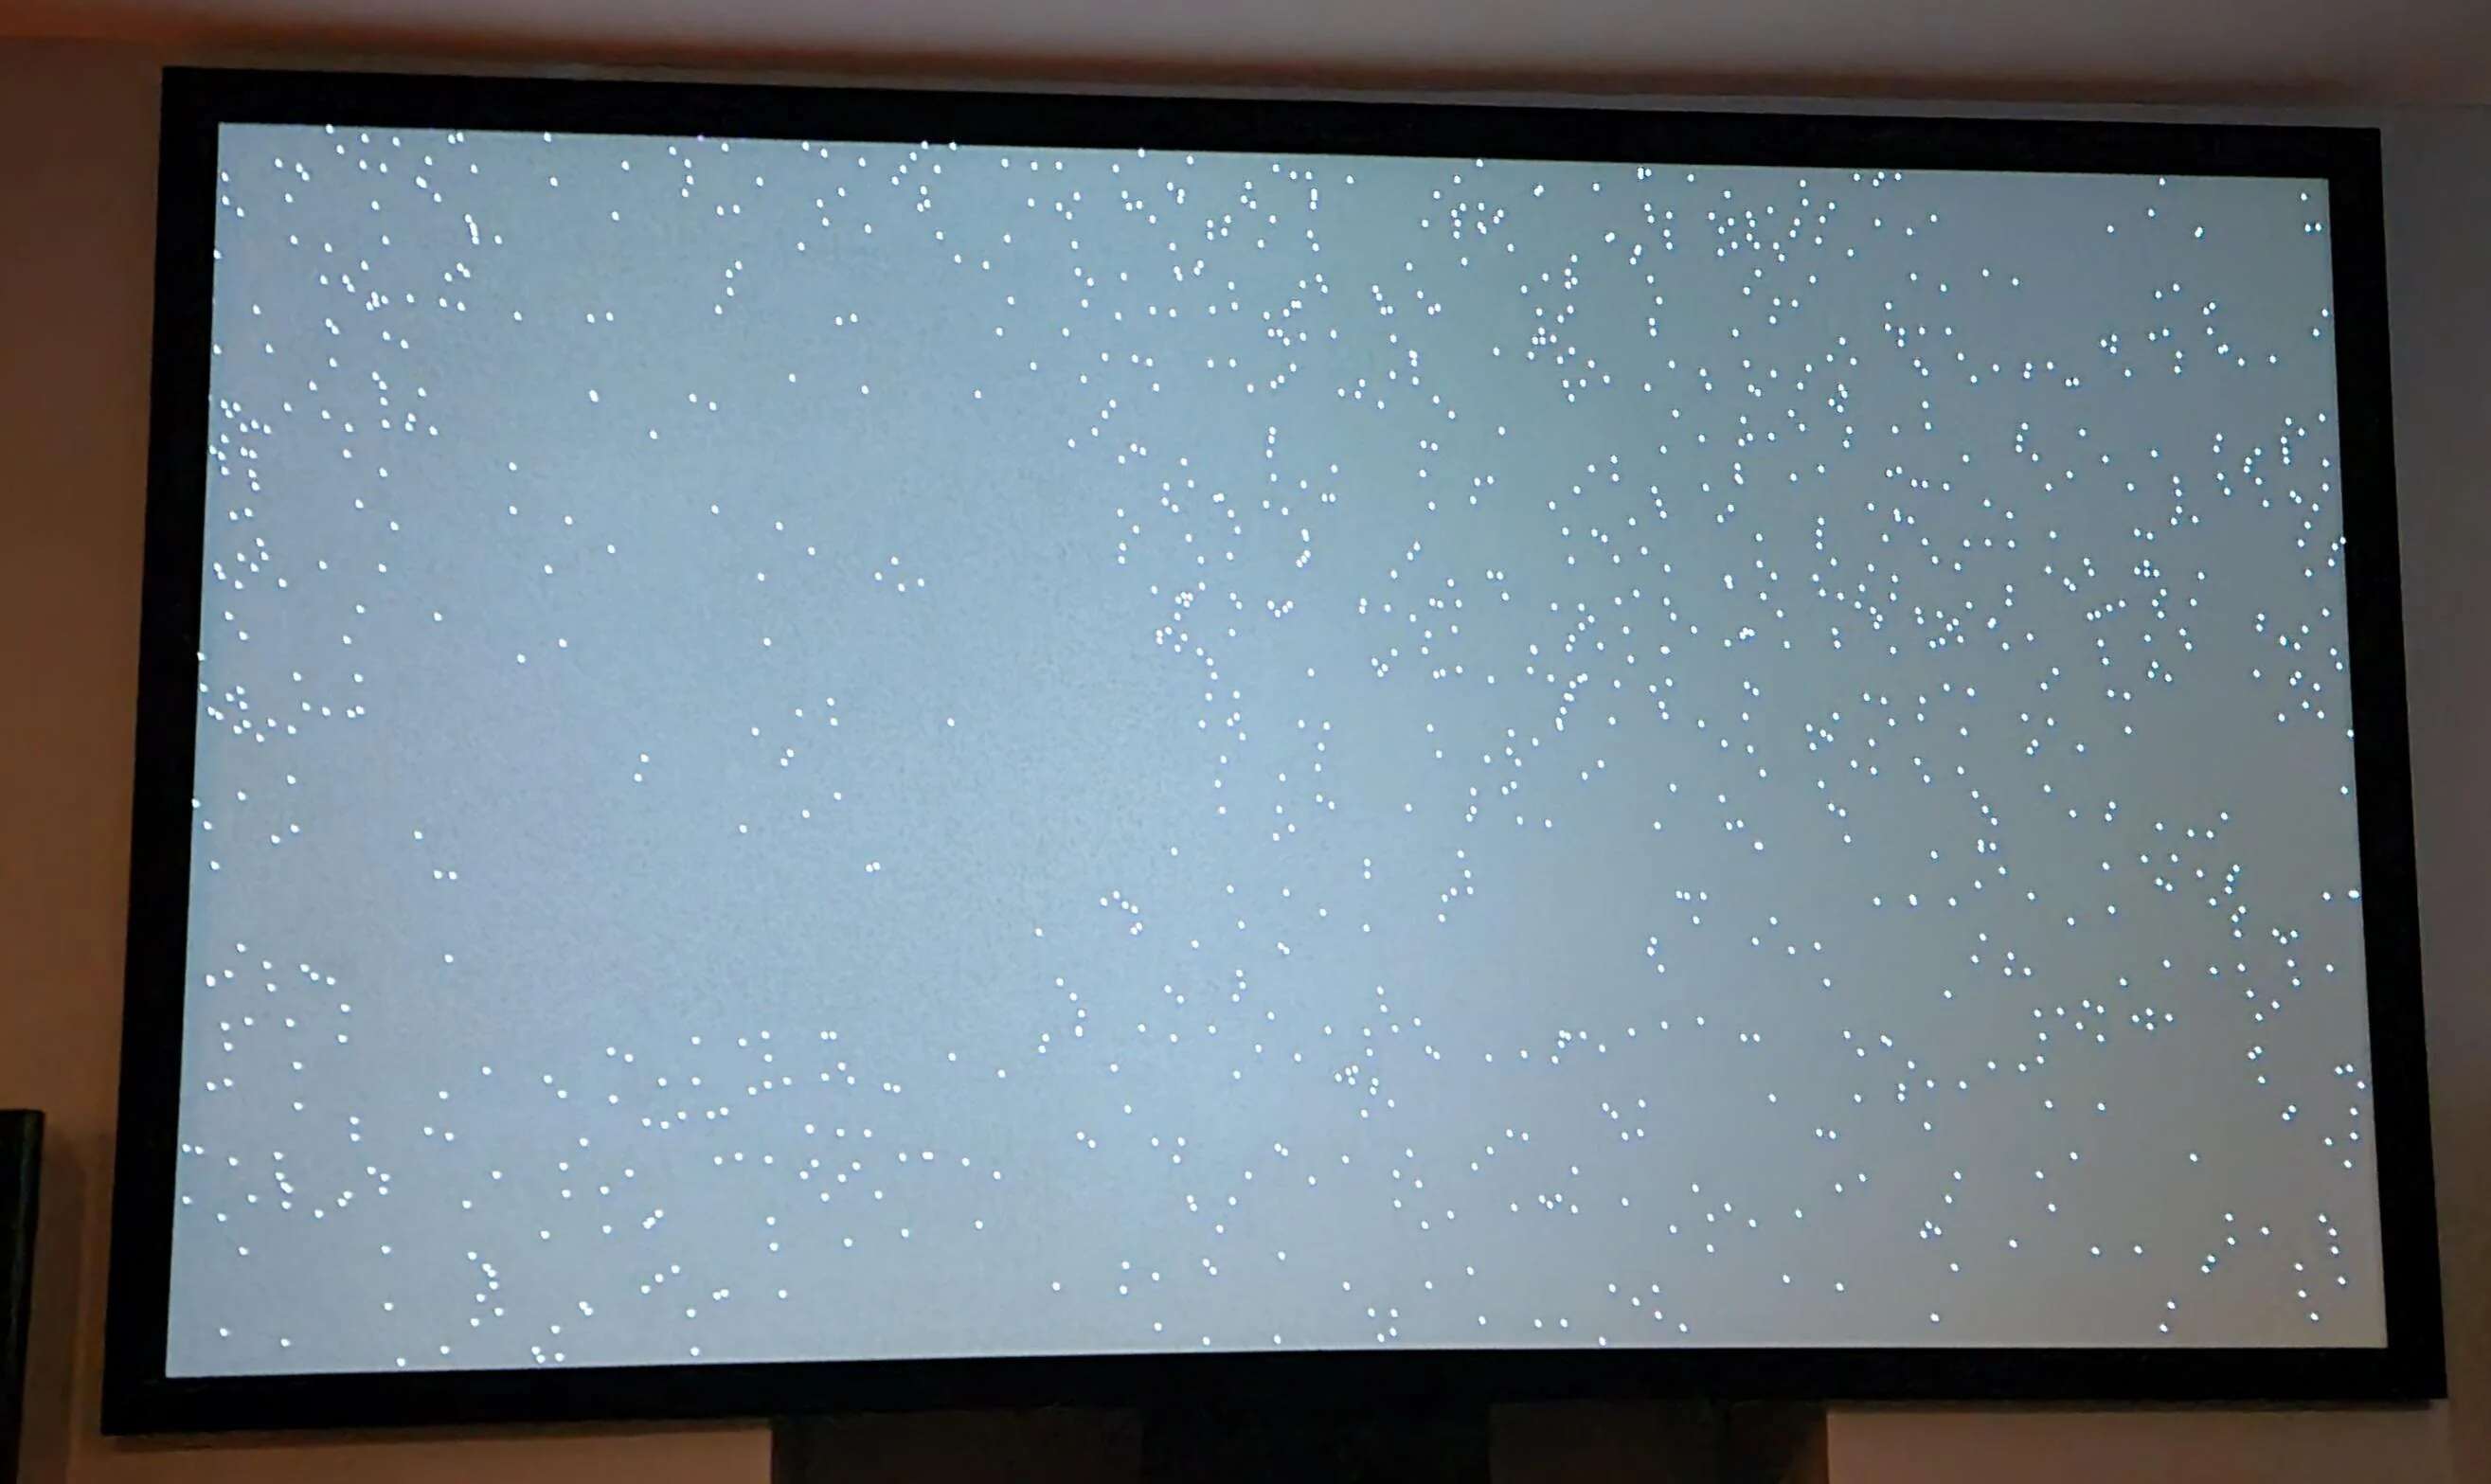
Welcome to our guide on how to fix a black spot on a projector. If you’ve noticed a mysterious dark spot on your projector’s display, it can be a frustrating and distracting issue. However, before you panic and start searching for a replacement, there are several steps you can take to troubleshoot and potentially fix the problem. In this article, we will explore the possible causes of the black spot and provide you with step-by-step instructions on how to address them.
A black spot on a projector’s display can occur due to a variety of reasons, ranging from a dirty lens to a damaged bulb or even a technical glitch. By pinpointing the exact cause and taking appropriate measures, you can eliminate the black spot and restore your projector’s visual clarity.
Before we dive into the troubleshooting process, it’s important to note that projectors can vary in their design and features. Therefore, the steps outlined here may not apply to every projector model. However, the general principles discussed will help you get started in addressing the black spot issue.
In the following sections, we will cover the common causes of a black spot on a projector and provide you with step-by-step instructions on how to fix the problem. We recommend following the troubleshooting steps in the order presented to ensure a systematic approach to resolving the issue.
Now, let’s get started with understanding the potential causes of the black spot on your projector’s display.
Understanding the black spot on a projector
Before diving into the troubleshooting process, it’s important to gain a clear understanding of what causes a black spot on a projector’s display. This will help you effectively diagnose and resolve the issue.
A black spot on a projector’s display is typically caused by one of the following factors:
- Dirt or debris on the lens: The lens of a projector is prone to collecting dust, dirt, and smudges over time. When there is a buildup of debris on the lens, it can result in a black spot or a blurry area on the projected image.
- Damaged projector bulb: If the projector’s bulb is damaged or nearing the end of its lifespan, it may result in a black spot on the display. Bulbs with black spots may be due to an internal defect or physical damage to the bulb itself.
- Technical glitch: In some cases, a black spot on the projector’s display may be caused by a technical glitch or malfunction. This can include issues with the projector’s internal components or settings.
Understanding these potential causes will help you determine the best course of action for troubleshooting and resolving the black spot issue on your projector. In the following sections, we will guide you through the steps to check and clean the lens, inspect the projector bulb, and address any technical glitches that may be causing the black spot.
Now that we have a clear understanding of what might be causing the black spot on your projector, let’s move on to the first step: checking the projector lens.
Check the projector lens
When you notice a black spot on your projector’s display, the first step in troubleshooting is to check the projector lens. The lens is a vital component responsible for projecting the images onto the screen, and any debris or smudges on it can cause a black spot or distortion in the projected image.
To check the projector lens, follow these steps:
- Power off the projector: Before inspecting the lens, make sure to turn off the projector and unplug it from the power source. This will ensure your safety and prevent any potential damage to the projector.
- Inspect the lens visually: Carefully examine the lens for any signs of dirt, dust, fingerprints, or smudges. These contaminants can obstruct the light and result in a black spot on the display. Use a flashlight if needed to examine the lens more closely.
- Wipe the lens: If you notice any dirt or smudges on the lens, use a soft, lint-free cloth or a lens cleaning solution to gently wipe away the debris. Start from the center of the lens and move outward in a circular motion. Avoid using harsh chemicals or abrasive materials that could scratch the lens.
- Recheck the display: Once you have cleaned the lens, power on the projector and check if the black spot is still present. If the issue persists, proceed to the next troubleshooting step.
By checking and cleaning the projector lens, you can eliminate any potential obstructions that may be causing the black spot on the display. However, if the black spot persists after cleaning the lens, there may be other underlying causes that need to be addressed.
In the next section, we will discuss how to clean the projector lens more thoroughly if the initial cleaning didn’t resolve the issue. Keep reading to learn the steps for a more in-depth cleaning process.
Clean the projector lens
If you’ve checked the projector lens and the black spot persists, it’s time to proceed with a more thorough cleaning process. Cleaning the lens properly can help remove stubborn dirt, dust, or smudges that may be causing the black spot on the projected display.
Follow these steps to clean the projector lens:
- Power off and unplug the projector: Before cleaning the lens, ensure that the projector is powered off and disconnected from the power source. This is important for safety and to prevent any accidental damage to the projector.
- Prepare the cleaning materials: Gather a soft, lint-free cloth, lens cleaning solution, and a blower brush. Avoid using harsh chemicals or abrasive materials as they may damage the lens.
- Blow away loose debris: Use the blower brush to gently blow away any loose particles or dust from the lens. This will help prevent scratching the lens during the cleaning process.
- Apply lens cleaning solution: Put a small amount of lens cleaning solution on the lint-free cloth. Be cautious not to use excessive liquid, as it could seep into the projector’s interior and cause damage.
- Gently wipe the lens: Starting from the center of the lens, gently wipe it in a circular motion using the cloth dampened with the cleaning solution. Gradually move outward until you have covered the entire lens surface. Take care to apply gentle pressure and avoid rubbing too harshly.
- Dry the lens: After cleaning, use a clean, dry portion of the cloth or an air blower to remove any moisture or streaks from the lens.
- Recheck the display: Power on the projector and inspect the display for any remaining black spots. If the black spot persists, proceed to the next troubleshooting step.
Properly cleaning the projector lens can often resolve black spot issues caused by dirt, dust, or smudges. However, if the problem persists after a thorough cleaning, there may be other factors contributing to the black spot.
In the next section, we will discuss how to check and potentially replace the projector bulb, which can also be a common cause of black spots on the display.
Check the projector bulb
If you have cleaned the lens and the black spot still remains on your projector’s display, it’s time to examine the projector bulb. A damaged or deteriorating bulb can often be the culprit behind black spots or abnormal projection on the screen.
Here’s how you can check the projector bulb:
- Power off and unplug the projector: Before inspecting the bulb, make sure the projector is turned off and disconnected from the power source for safety purposes.
- Locate the bulb compartment: Refer to your projector’s user manual to locate the bulb compartment. It is usually accessible from the bottom or sides of the projector.
- Inspect the bulb: Carefully examine the bulb for any signs of physical damage, such as cracks or black spots. If you notice any abnormalities, it is likely that the bulb needs to be replaced.
- Check the bulb’s lifespan: Projector bulbs have a limited lifespan, after which they may start to exhibit issues like black spots. Refer to the manufacturer’s specifications or the bulb’s packaging to determine its expected lifespan.
- Inspect the bulb connections: Check the connections between the bulb and the projector. Ensure that they are securely attached and free from any corrosion or debris. Loose connections can cause irregularities in the projected image.
- Recheck the display with a new bulb: If you suspect that the bulb is causing the black spot, consider replacing it with a new one. Install the new bulb and power on the projector to see if the black spot is resolved.
If the black spot disappears after replacing the bulb, then the issue was likely due to a malfunctioning or worn-out bulb. However, if the black spot persists even with a new bulb, it is recommended to proceed to the next troubleshooting step.
In the following section, we will discuss how to reset the projector settings, which can potentially resolve issues related to internal settings or configuration.
Replace the projector bulb
If you have inspected the projector bulb and determined that it is indeed the cause of the black spot on the display, it’s time to replace the bulb. Over time, projector bulbs can deteriorate, resulting in issues such as black spots, image discoloration, or reduced brightness.
Follow these steps to replace the projector bulb:
- Power off and unplug the projector: Before replacing the bulb, ensure that the projector is turned off and unplugged from the power source. This will prevent any potential electrical shock or damage.
- Refer to the user manual: Consult your projector’s user manual for specific instructions on how to replace the bulb. Different projector models may have different procedures, so it’s essential to follow the manufacturer’s guidelines.
- Allow the bulb to cool down: Projector bulbs can become extremely hot during operation. Wait for the bulb to cool down completely before attempting to replace it. This will protect you from any burns or injuries.
- Remove the old bulb: Follow the instructions provided in the user manual to safely remove the old bulb from the projector. Take care not to touch the bulb with bare hands as the oils in your skin can damage the bulb.
- Install the new bulb: Carefully insert the new bulb into the projector, aligning it correctly according to the instructions provided. Ensure that it is securely in place and properly connected.
- Reassemble the projector: Replace any covers or panels that were removed during the bulb replacement process. Make sure everything is securely fastened to avoid any loose connections.
- Power on the projector: Once the bulb is replaced and the projector is reassembled, plug it back into the power source and power it on. Check the display to see if the black spot has been resolved.
If the black spot disappears after replacing the bulb, then it was likely a faulty bulb causing the issue. However, if the black spot persists even with the new bulb, there may be other factors contributing to the issue.
In the next section, we will discuss how to reset the projector settings, which can potentially resolve internal configuration issues that may be causing the black spot on the display.
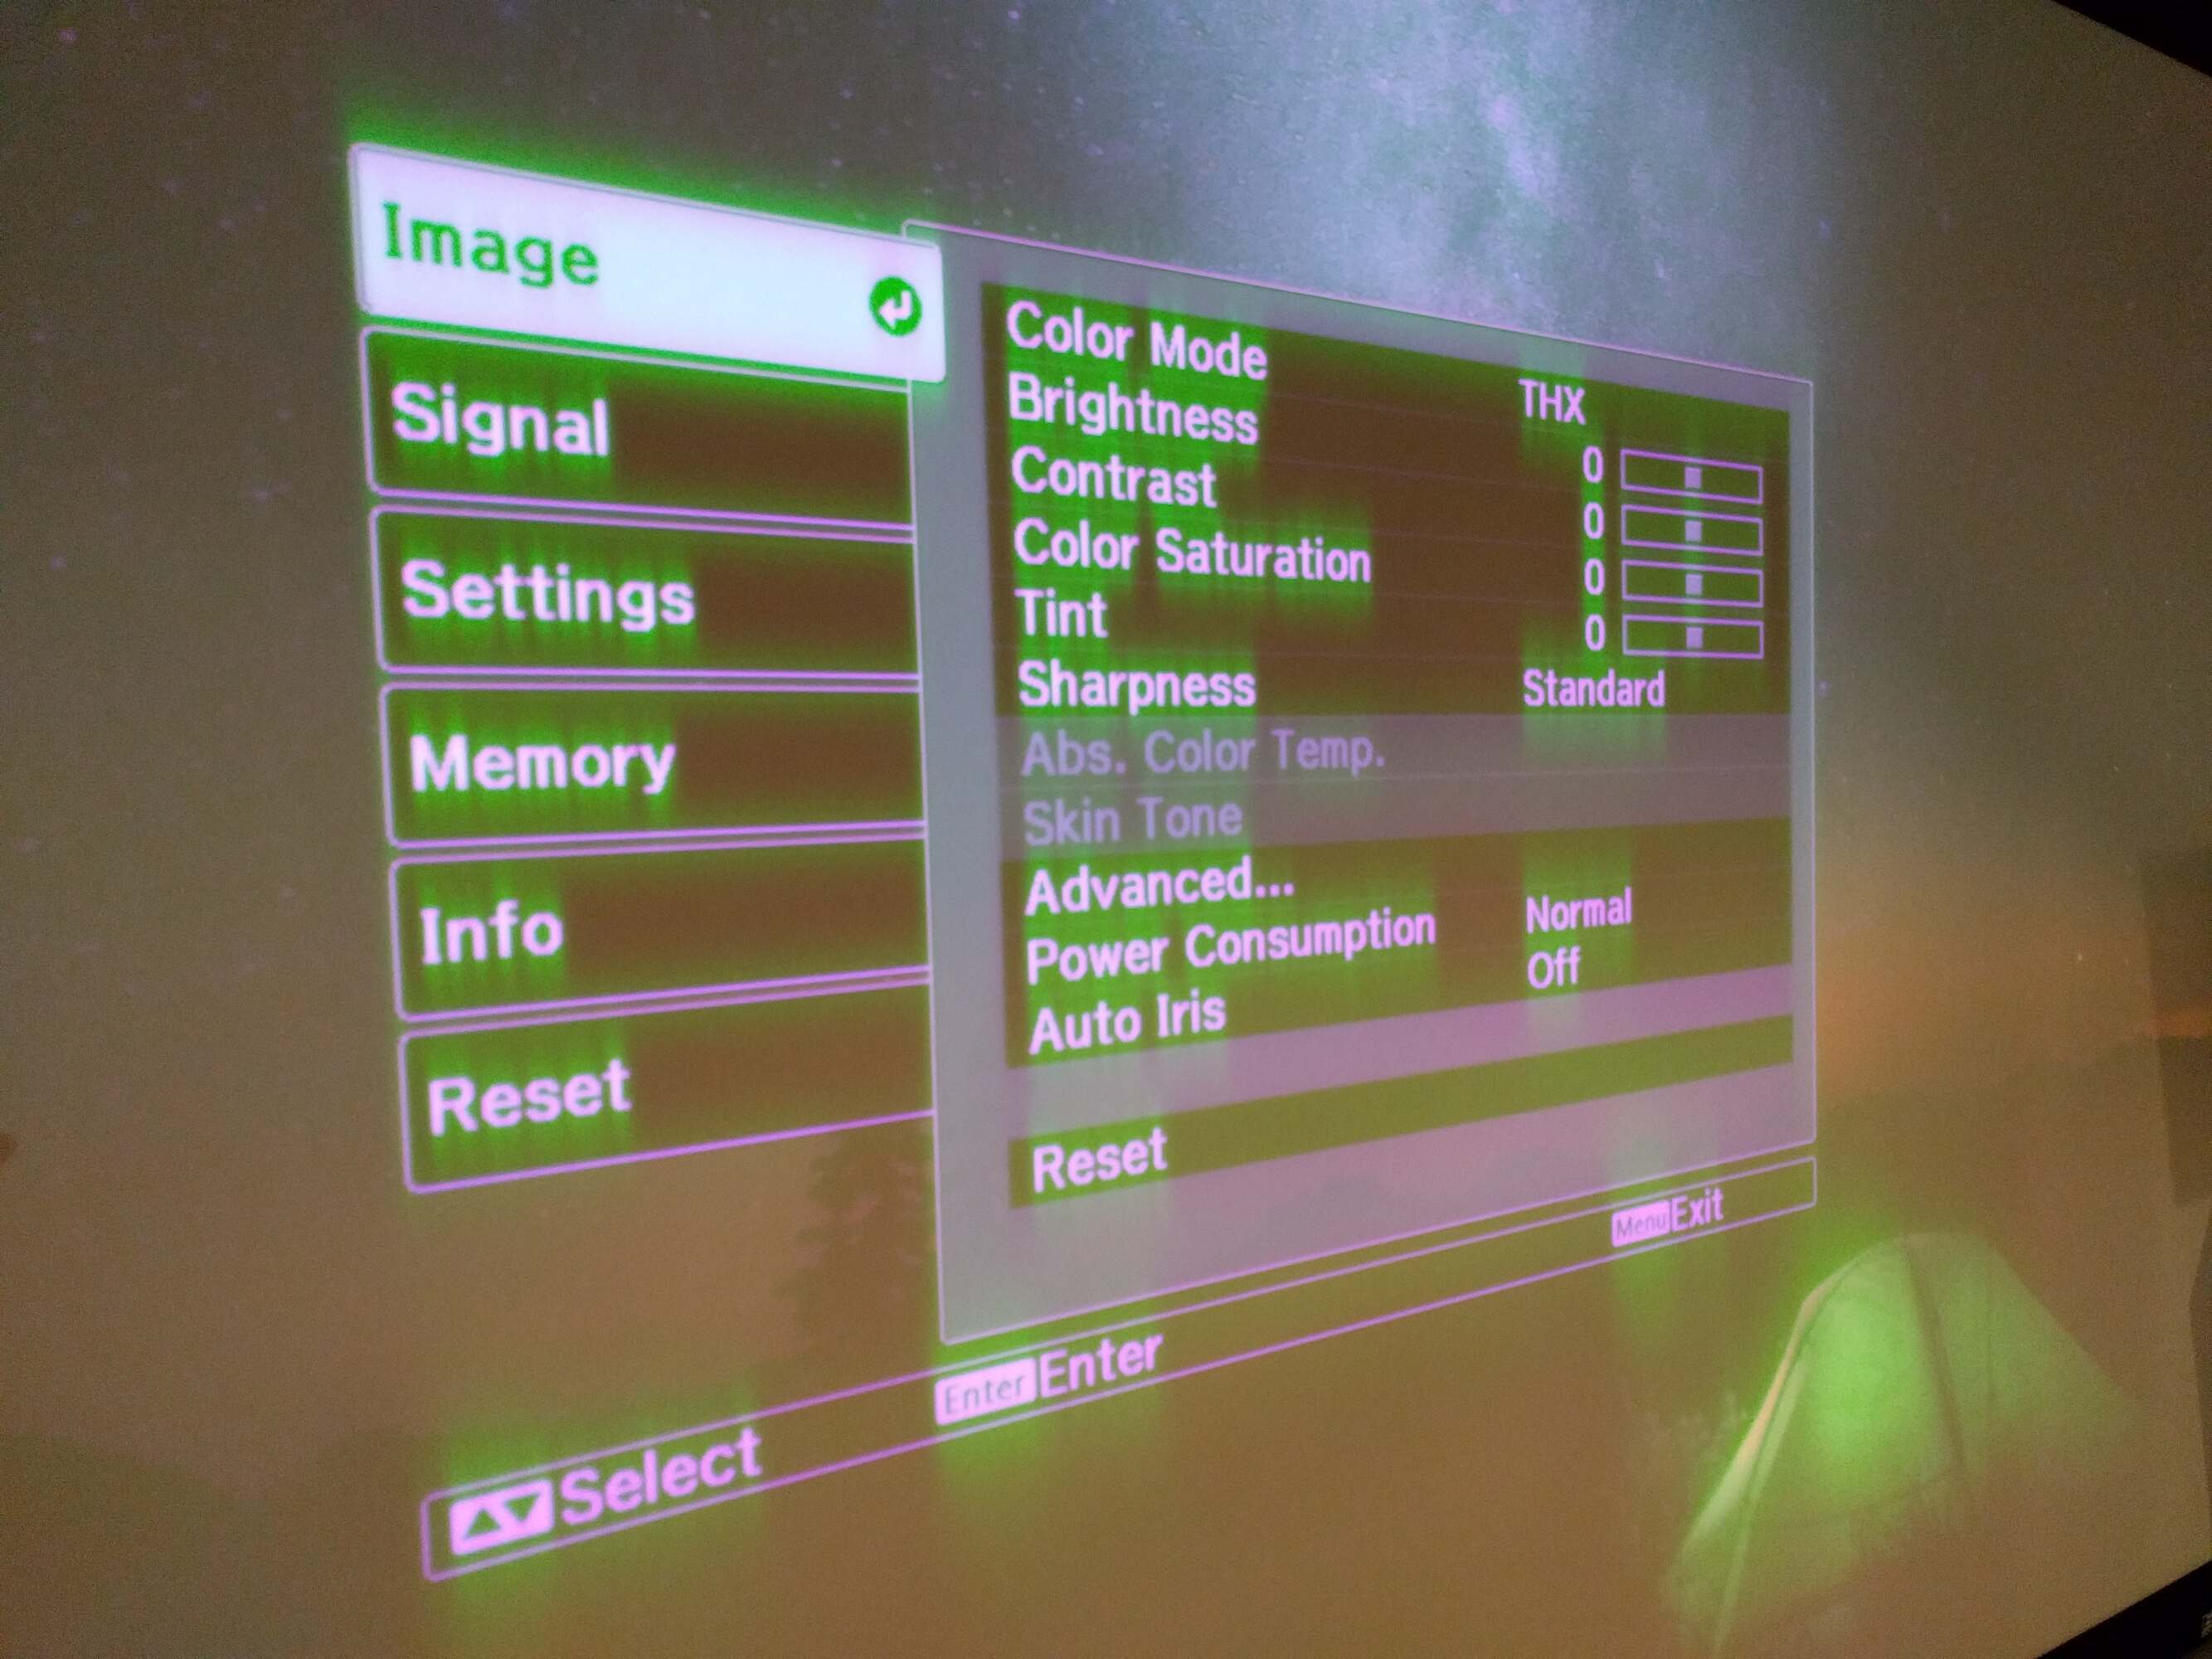
Reset the projector settings
If you have tried cleaning the lens, checking and replacing the projector bulb, and the black spot still persists on the display, it’s worth considering resetting the projector settings. Sometimes, incorrect settings or configuration can lead to abnormal display issues, including black spots.
Follow these steps to reset the projector settings:
- Power off the projector: Turn off the projector and unplug it from the power source.
- Look for the reset button or option: Consult your projector’s user manual or check the projector’s menu settings to find the reset button or the option to reset the settings. It may be labeled as “Reset,” “Default,” or something similar.
- Press the reset button or select the reset option: Once you have located the reset button or option, press the button or select the reset option to initiate the resetting process.
- Confirm the reset: Depending on your projector model, you may be prompted to confirm the reset action. Follow the on-screen instructions or press the appropriate button to confirm the reset.
- Wait for the reset: Allow the projector a few moments to reset the settings. It may take a short while for the process to complete.
- Power on the projector: Once the reset is complete, plug the projector back into the power source and power it on.
- Check the display: After the projector has restarted, check the display for any remaining black spots. If the issue has been resolved, your projector settings have likely been restored correctly. However, if the black spot still persists, proceed to the next troubleshooting step.
Resetting the projector settings can often resolve issues caused by incorrect configurations or settings. By doing so, you bring the projector back to its default state, which may help eliminate any anomalies causing the black spot on the display.
If the black spot persists even after resetting the projector settings, there may be internal damage or a technical issue that requires professional assistance. In the next section, we will explore how to check the projector for any internal damage that may be causing the black spot.
Adjust the projector focus
If you have tried all the previous troubleshooting steps and the black spot remains on the projector’s display, it’s worth checking the focus settings. Improper focus can cause image distortion and may contribute to the appearance of a black spot.
Here’s how you can adjust the projector focus:
- Power on the projector: Turn on the projector and ensure that it is displaying an image on the screen.
- Locate the focus adjustment: Refer to your projector’s user manual to find the focus adjustment mechanism. It is usually a dial, knob, or lever located on the projector or the lens assembly.
- Adjust the focus: Gradually turn the focus adjustment dial, knob, or lever in both directions while observing the projected image. Find the point where the image appears sharp and clear without any blurriness.
- Check for black spots: After adjusting the focus, carefully inspect the display for any remaining black spots. If the issue persists, continue to the next troubleshooting step.
By adjusting the projector’s focus, you can ensure that the image appears sharp and clear, thus eliminating any distortions that may have contributed to the black spot. However, if the black spot remains even after adjusting the focus, there may be other factors at play.
In the following section, we will discuss how to check the projector for any internal damage that may be causing the black spot on the display.
Check the projector for any internal damage
If you have gone through all the previous troubleshooting steps and the black spot still persists on the projector’s display, it’s essential to check for any potential internal damage. Internal damage to components such as the color wheel, optical engine, or other internal mechanisms can cause abnormalities in the projected image, including black spots.
Here are a few steps you can take to check for internal damage:
- Consult the user manual: Refer to the projector’s user manual to understand the internal components and their locations. This will help you identify the areas to inspect for any visible damage.
- Examine the color wheel: If accessible, visually inspect the color wheel for any signs of damage or malfunctions. Look for broken or chipped blades, misalignment, or excessive dust build-up.
- Inspect the optical engine: Carefully examine the optical engine for any visible damage, such as cracks, loose connections, or abnormal discoloration.
- Look for signs of overheating: Check for any signs of excessive heat, such as burnt marks or melted components, which could indicate internal damage.
- Listen for unusual sounds: While the projector is running, pay attention to any abnormal sounds, such as grinding, rattling, or clicking noises. This could be indicative of internal mechanical issues.
- Consult a professional: If you are unable to identify any visible damage or are unsure how to proceed, it is recommended to consult a professional technician or contact the projector’s manufacturer for further assistance.
Internal damage to a projector requires expertise to diagnose and repair. If you suspect internal damage, it is best to seek professional help to assess the issue and determine the appropriate course of action.
Remember, these troubleshooting steps are meant to provide general guidance, but specific models and manufacturers may have unique considerations. Always refer to the projector’s user manual or seek professional advice when in doubt.
In the next section, we will conclude our guide and summarize the key takeaways for troubleshooting a black spot on a projector’s display.
Conclusion
Dealing with a black spot on your projector’s display can be frustrating, but it is not an issue without potential solutions. By following the troubleshooting steps outlined in this guide, you can systematically diagnose and address the problem.
We began by understanding the potential causes of a black spot, including a dirty lens, damaged bulb, or technical glitch. We then discussed how to check and clean the projector lens, inspect and replace the projector bulb, reset the projector settings, and adjust the focus. Additionally, we explored the importance of checking for internal damage and seeking professional assistance if necessary.
Remember to consult your projector’s user manual for model-specific instructions and recommendations. Each projector may have unique features and troubleshooting methods.
By carefully following the steps in this guide, you can significantly increase your chances of resolving the black spot issue and restoring a clear and vibrant display on your projector.
If you’ve exhausted all troubleshooting steps without success, it may be a good idea to contact the manufacturer’s technical support or seek professional assistance. They will have the expertise and resources to diagnose and repair any internal damage that might be causing the black spot.
We hope this guide has been helpful in your journey to fix the black spot on your projector. Remember to stay patient and persistent, and with proper troubleshooting, you can enjoy high-quality projections once again.