Introduction
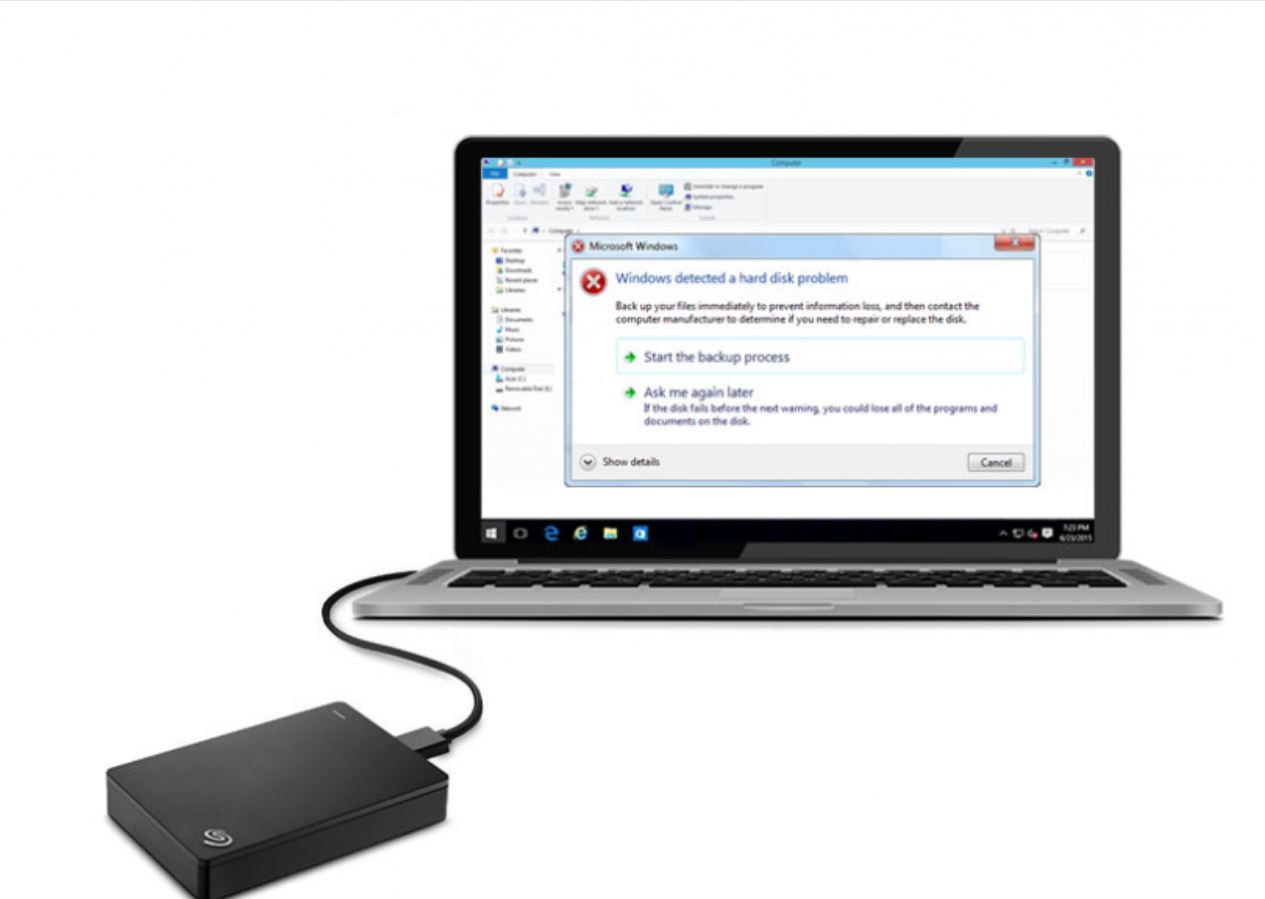
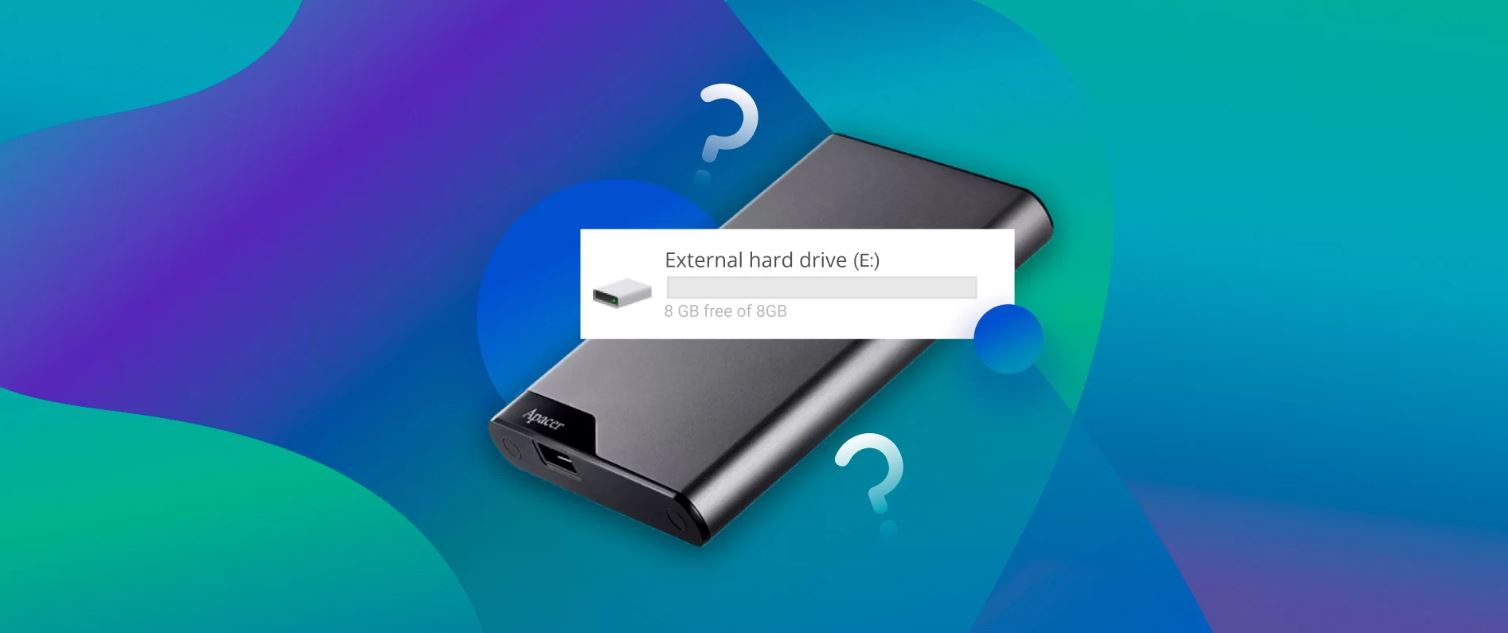
An external hard drive is a convenient storage device that allows you to easily store and access your data. However, just like any other electronic device, external hard drives can encounter issues that may render them corrupted and inaccessible. This can be a frustrating experience, especially if you have important files stored on the drive.
If you are a Mac user and facing the problem of a corrupted external hard drive, this article will guide you through the steps to fix it. Whether it’s due to improper ejection, a power outage, or a software glitch, we will walk you through the troubleshooting steps to get your external hard drive back in working order.
It’s important to note that attempting to repair a corrupted external hard drive requires some technical knowledge and caution. Therefore, it’s always recommended to back up your data before proceeding with any repair methods. This ensures that if anything goes wrong during the repair process, your files will still be safe.
Throughout this guide, we will cover various methods to fix a corrupted external hard drive on a Mac. These methods include diagnosing the issue, force-quitting applications that may be using the drive, reconnecting the drive, using Disk Utility’s First Aid feature, utilizing Terminal commands, and as a last resort, reformatting the drive.
By following these steps and with a little patience, you should be able to resolve the corruption issue and regain access to your external hard drive. So without further ado, let’s dive into the troubleshooting process and get your corrupted external hard drive back up and running smoothly.
Step 1: Diagnosing the issue
Before attempting any repairs, it’s important to diagnose the issue with your corrupted external hard drive. This will help you identify the root cause of the problem and determine the appropriate steps to resolve it.
The first thing you should do is check if the external hard drive is physically connected to your Mac. Ensure that all cables are securely plugged in and that there are no loose connections. If the drive is connected via a USB hub, try connecting it directly to your Mac’s USB port to rule out any issues with the hub.
If the physical connection is not the issue, you can move on to testing the drive on another computer or using a different cable. This will help determine if the problem is specific to your Mac or if it is a drive-related issue.
Another useful diagnostic step is to listen for any unusual noises coming from the external hard drive. Clicking, grinding, or buzzing sounds can indicate a mechanical issue, in which case, it’s best to consult a professional data recovery service.
If the drive appears to be physically fine, but your Mac is still unable to recognize it, you can check the System Information on your Mac. To do this, go to the Apple menu, select “About This Mac,” and then click on “System Report.” Locate the “USB” section and see if your external hard drive is listed. If it’s not listed or is listed with an error, it indicates a problem with the connection or the drive itself.
By diagnosing the issue, you will have a better understanding of what has caused your external hard drive to become corrupted. This knowledge will assist you in implementing the appropriate solution to fix the problem. Let’s move on to the next step and force-quit any applications that might be using the external hard drive.
Step 2: Force-quit any applications using the external hard drive
When a corrupted external hard drive is connected to your Mac, it’s possible that some applications might be using it, preventing you from repairing or accessing the drive. In this step, we’ll guide you through force-quitting any applications that might be causing conflicts.
First, open the Finder on your Mac by clicking on the magnifying glass icon located on the top-right corner of the screen or by pressing Command + Space and typing “Finder” in the search box.
In the Finder window, navigate to the left sidebar and click on “Applications.”
Now, look for any applications that you suspect might be using the external hard drive. Common examples include media players, file transfer utilities, or backup software.
Select each suspected application individually, right-click on it, and choose the “Quit” option from the context menu. Alternatively, you can also force-quit an application by clicking on it and pressing Command + Q on your keyboard.
Continue force-quitting all applications one by one until you have closed all programs that might be using the external hard drive.
Once all the applications are closed, disconnect your external hard drive from your Mac.
Now, wait for a few seconds and reconnect the external hard drive to your Mac. This action will ensure that the applications no longer have control over the drive, allowing you to perform the necessary repairs.
By force-quitting any applications that might be using the external hard drive, you eliminate potential conflicts and ensure that the drive is available for repair. In the next step, we’ll cover the process of disconnecting and reconnecting the external hard drive to further troubleshoot the issue.
Step 3: Disconnect and reconnect the external hard drive
In this step, we will focus on disconnecting and reconnecting the external hard drive to your Mac. This simple action can often help resolve minor connectivity issues and refresh the connection between your Mac and the drive.
Start by safely ejecting the external hard drive from your Mac. To do this, locate the drive icon on your desktop or in the Finder sidebar, right-click on it, and select “Eject” from the context menu. Alternatively, you can drag the drive icon to the Trash can in your Dock.
Once the drive is safely ejected, disconnect it from your Mac. Ensure that the cable is unplugged from both your Mac and the external hard drive.
Now, wait for a couple of minutes to allow any residual charge to dissipate and for the drives’ internal components to reset.
After the waiting period, reconnect the external hard drive to your Mac. Make sure to use the appropriate cable and verify that it is securely connected to both your Mac and the drive.
Wait for a few seconds to allow your Mac to recognize the newly connected external hard drive. You should see the drive icon appear on your desktop or in the Finder sidebar.
Try accessing the external hard drive to check if it is now functioning properly. If it mounts on your Mac and you can access your files, the issue may have been resolved.
If the drive fails to mount or you still encounter corruption issues, proceed to the next step to use Disk Utility’s First Aid feature to repair the corrupted drive.
By disconnecting and reconnecting the external hard drive, you are essentially giving it a fresh start and resetting the connection between the drive and your Mac. In the next step, we’ll explore the Disk Utility option for repairing the corrupted drive.
Step 4: Check if the external hard drive appears in Disk Utility
Disk Utility is a built-in utility on Mac that allows you to manage and troubleshoot storage devices, including external hard drives. In this step, we’ll guide you on how to check if the corrupted external hard drive appears in Disk Utility.
To open Disk Utility, go to your Applications folder, then open the Utilities folder, and finally, double-click on the Disk Utility icon.
Once Disk Utility is open, you will see a list of available drives and volumes on the left-hand side of the window. Look for the external hard drive in the list.
If the corrupted external hard drive appears with a grayed-out or dimmed name in Disk Utility, it indicates that the drive is indeed recognized by your Mac but is experiencing some level of corruption.
In some cases, the external hard drive may not appear at all in Disk Utility. If this is the case, ensure the drive is properly connected to your Mac and try clicking on the “View” button in the top-left corner of the Disk Utility window and selecting “Show All Devices.” This will reveal any hidden or unmounted drives.
If, after following the above steps, your external hard drive is still not visible in Disk Utility, there may be a more severe hardware issue with the drive. In such cases, professional assistance may be required for data recovery.
Assuming your external hard drive is visible in Disk Utility, proceed to the next step, where we will use the First Aid feature in Disk Utility to attempt repairing the corrupted drive.
Checking if the external hard drive appears in Disk Utility is a crucial step to ensure that your Mac recognizes the drive and establishes a connection with it. In the next step, we’ll delve into the process of using Disk Utility’s First Aid to repair the corrupted drive.
Step 5: Use First Aid in Disk Utility to repair the corrupted drive
Once you have confirmed that the corrupted external hard drive appears in Disk Utility, you can proceed with using the First Aid feature to attempt repairing the drive. First Aid is a powerful tool within Disk Utility that can help fix common disk errors.
To start, select the corrupted external hard drive from the list in Disk Utility. It should be listed on the left-hand side of the window.
Next, click on the “First Aid” button located in the top toolbar of Disk Utility.
Wait for Disk Utility to run its diagnostics and repair processes on the selected drive. This may take some time, depending on the size and condition of the drive.
If any errors or issues are found, Disk Utility will attempt to fix them automatically. Pay close attention to the progress and any messages displayed during the repair process.
Once the repair process is complete, carefully review the results provided by Disk Utility. If it shows that the repairs were successful, you can try accessing the external hard drive again to see if the corruption problem has been resolved.
If Disk Utility is unable to repair the drive or if the corruption issue persists, proceed to the next step where we will utilize Terminal commands to further troubleshoot and repair the corrupted drive.
While Disk Utility’s First Aid feature is effective in resolving many disk-related issues, it may not be able to fix all types of corruption. In such cases, using Terminal commands can offer a more in-depth approach for repairing a corrupted external hard drive on a Mac.
Step 6: Use Terminal to repair the corrupted drive
If Disk Utility’s First Aid feature was unable to repair the corrupted external hard drive, you can try using Terminal commands as a more advanced method to troubleshoot and repair the drive.
Start by opening Terminal on your Mac. You can find it in the Utilities folder within the Applications folder or by searching for “Terminal” using Spotlight.
Once you have Terminal open, type the command “diskutil list” and press Enter. This will display a list of all connected storage devices, including your external hard drive.
Identify your corrupted external hard drive from the list based on its size and name. Note down the disk identifier associated with the drive, which is typically in the format “/dev/diskX” (where X is a number).
Next, enter the command “diskutil verifyVolume /dev/diskX” and press Enter, replacing “X” with the appropriate disk identifier of your drive. This command will verify the volume structure of the drive for any errors.
If the verification process detects any issues, you can attempt to repair them by entering the command “diskutil repairVolume /dev/diskX” and pressing Enter.
Wait for the repair process to complete. Terminal will display progress updates and messages during the repair operation.
Once the repair is finished, check if the corrupted external hard drive is now accessible. If it is, you have successfully repaired the drive using Terminal commands.
If the corruption issue persists or if Terminal reports any errors that it couldn’t fix, it’s recommended to consult professional data recovery services to avoid exacerbating the problem.
Using Terminal commands gives you more control and flexibility in repairing a corrupted external hard drive. However, it’s important to exercise caution and double-check the commands you enter to avoid any unintended consequences.
In the next step, we’ll explore the option of reformatting the external hard drive if the previous steps were unsuccessful in repairing the corruption.
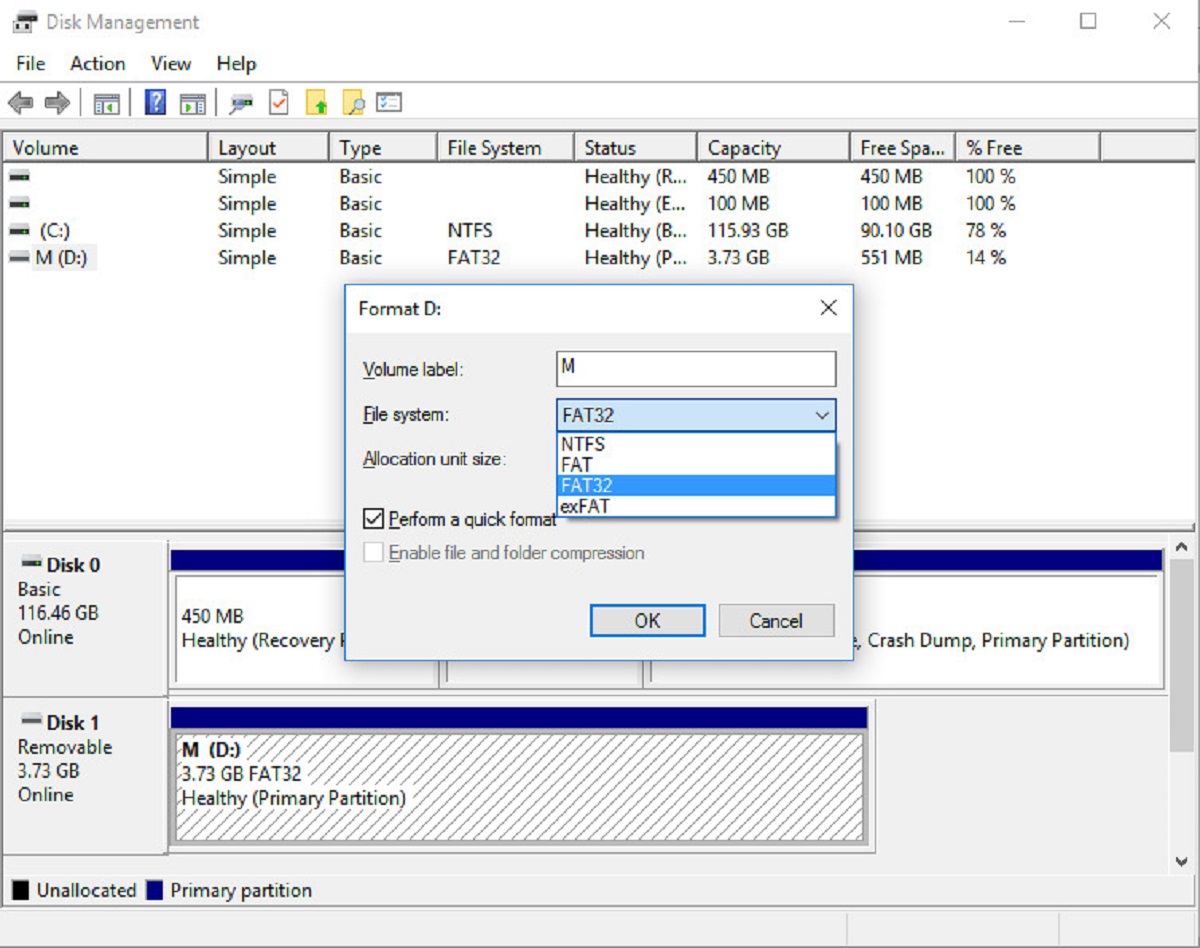
Step 7: Reformatting the external hard drive
If all previous attempts to repair the corrupted external hard drive have been unsuccessful, reformatting the drive may be necessary. This process will erase all data on the drive, so it’s crucial to ensure that you have backed up any important files beforehand.
Here are the steps to reformat the external hard drive:
- Open Disk Utility on your Mac, either by searching for it in Spotlight or locating it in the Utilities folder within the Applications folder.
- Select the corrupted external hard drive from the list on the left-hand side of the Disk Utility window.
- Click on the “Erase” tab located at the top of the Disk Utility window.
- Choose a new name for your external hard drive. Make sure to pick a name that is easily recognizable.
- Select the appropriate format for your needs. If you will be using the drive exclusively with Mac computers, choose “Mac OS Extended (Journaled).” If you need cross-platform compatibility, consider “ExFAT.”
- Optionally, you can choose to partition the drive into multiple volumes by clicking on the “Partition” button. This can be useful if you want to separate data or use different file systems on the same drive.
- Double-check that you have selected the correct external hard drive and that you have a backup of any important data.
- Click on the “Erase” button to initiate the reformatting process.
- Wait for Disk Utility to reformat the external hard drive. This process may take a few minutes.
- Once the reformatting is complete, the drive will be ready to use. You can now disconnect and reconnect the drive to your Mac.
Reformatting the external hard drive effectively erases all data and rebuilds the file system, which should resolve any corruption issues. However, keep in mind that reformatting is irreversible and will result in the loss of all data on the drive.
Remember to regularly back up your important files to avoid the risk of data loss in the future. With your freshly reformatted external hard drive, you can start anew and ensure a smooth and stable storage solution for your files.
Conclusion
Dealing with a corrupted external hard drive on your Mac can be a frustrating and worrisome experience. However, with the troubleshooting steps outlined in this guide, you have a chance to restore the functionality and accessibility of your drive.
We began by diagnosing the issue and checking the physical connection of the drive. We then moved on to force-quitting applications that might be using the drive and disconnecting and reconnecting the drive to refresh the connection. Next, we explored the use of Disk Utility’s First Aid feature to repair any disk errors and employed Terminal commands for more advanced troubleshooting. Finally, if all else failed, we discussed the option of reformatting the drive to resolve the corruption issue.
Throughout the process, it’s essential to remember to back up your data regularly to prevent permanent data loss. Additionally, it’s crucial to exercise caution and double-check the steps before implementing them to avoid any unintended consequences.
If you’re still unable to fix the corrupted external hard drive using the methods in this guide, it might be time to seek professional help from data recovery experts. They can provide specialized tools and expertise to recover your data and repair the drive if possible.
Remember, prevention is better than cure. Take measures to protect your external hard drive, such as safely ejecting it from your Mac, avoiding abrupt power interruptions, and using reliable cables and connectors. Regularly check the health of your drive using Disk Utility, and address any issues promptly.
By following the steps outlined in this guide, you have equipped yourself with valuable knowledge and troubleshooting techniques to tackle the challenge of a corrupted external hard drive on your Mac. With patience and persistence, you can often recover your data and restore your drive to working condition.