Introduction
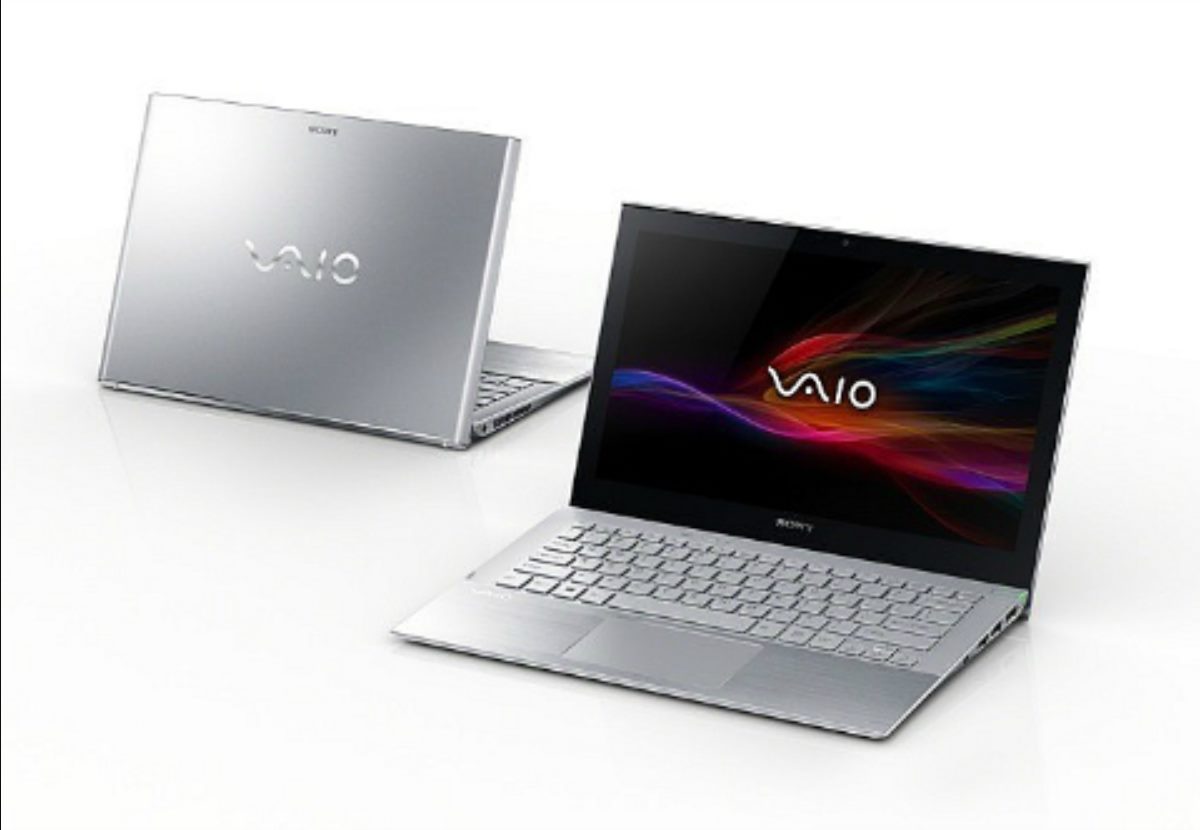
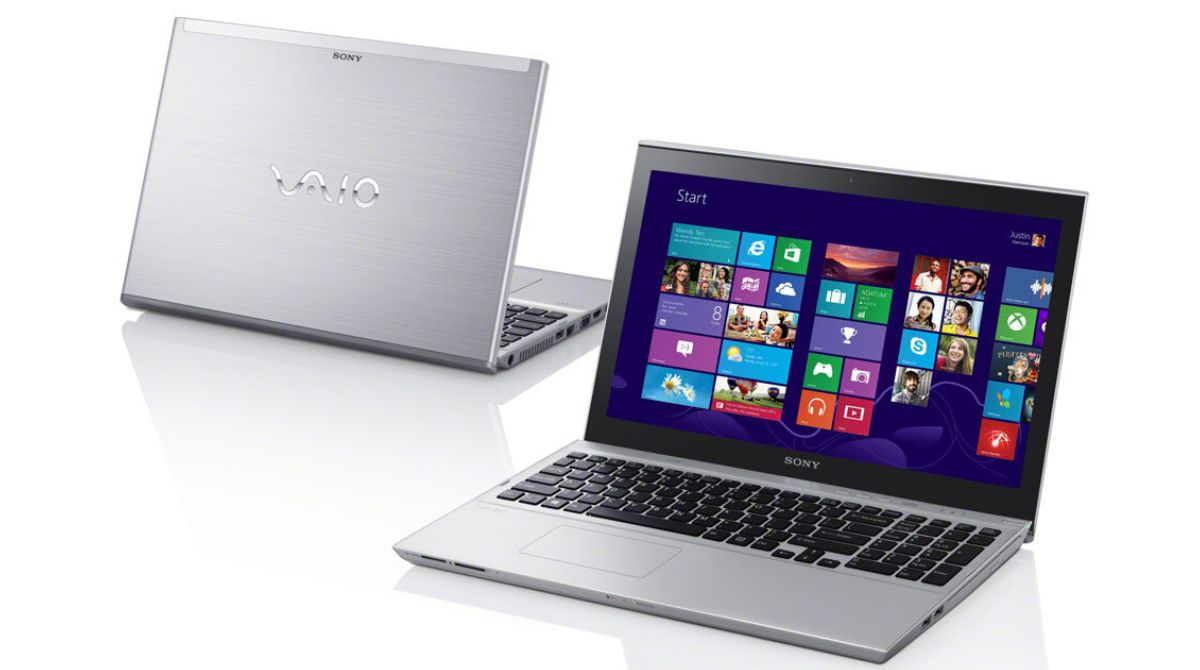
The VAIO T Series Ultrabook is known for its sleek design and powerful performance. It is a popular choice among individuals who require a reliable and portable device for work or personal use. One of the key features of the VAIO T Series Ultrabook is its built-in webcam, which allows users to engage in video calls, capture photos, and record videos.
However, finding the webcam on the VAIO T Series Ultrabook may not be as straightforward as it seems. Some users may struggle to locate the webcam or encounter issues with its functionality. In this guide, we will explore various methods to find and utilize the webcam on your VAIO T Series Ultrabook.
Whether you need to connect with colleagues for a virtual meeting, chat with family and friends, or become a content creator, understanding how to access and optimize your webcam is crucial. We will walk you through the steps to check the physical appearance of the webcam, enable it in device settings, update the webcam driver, and even provide recommendations for third-party webcam software. Additionally, we will address common troubleshooting issues that may arise and suggest potential solutions.
By following the tips and techniques outlined in this guide, you will be able to make the most out of your VAIO T Series Ultrabook’s webcam and enjoy seamless video communication and content creation experiences.
Check the Physical Appearance
Before diving into the software settings, it’s important to visually inspect your VAIO T Series Ultrabook for the location of the built-in webcam. Follow these steps to check the physical appearance of the webcam:
- Start by closing any open applications or programs on your Ultrabook.
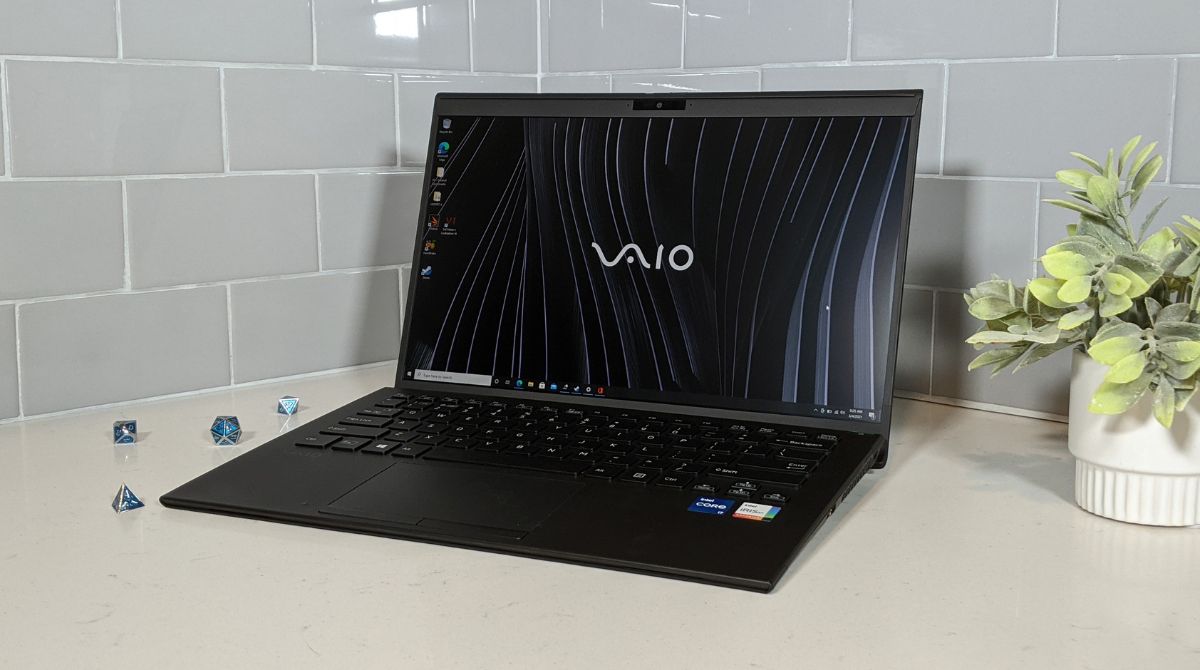
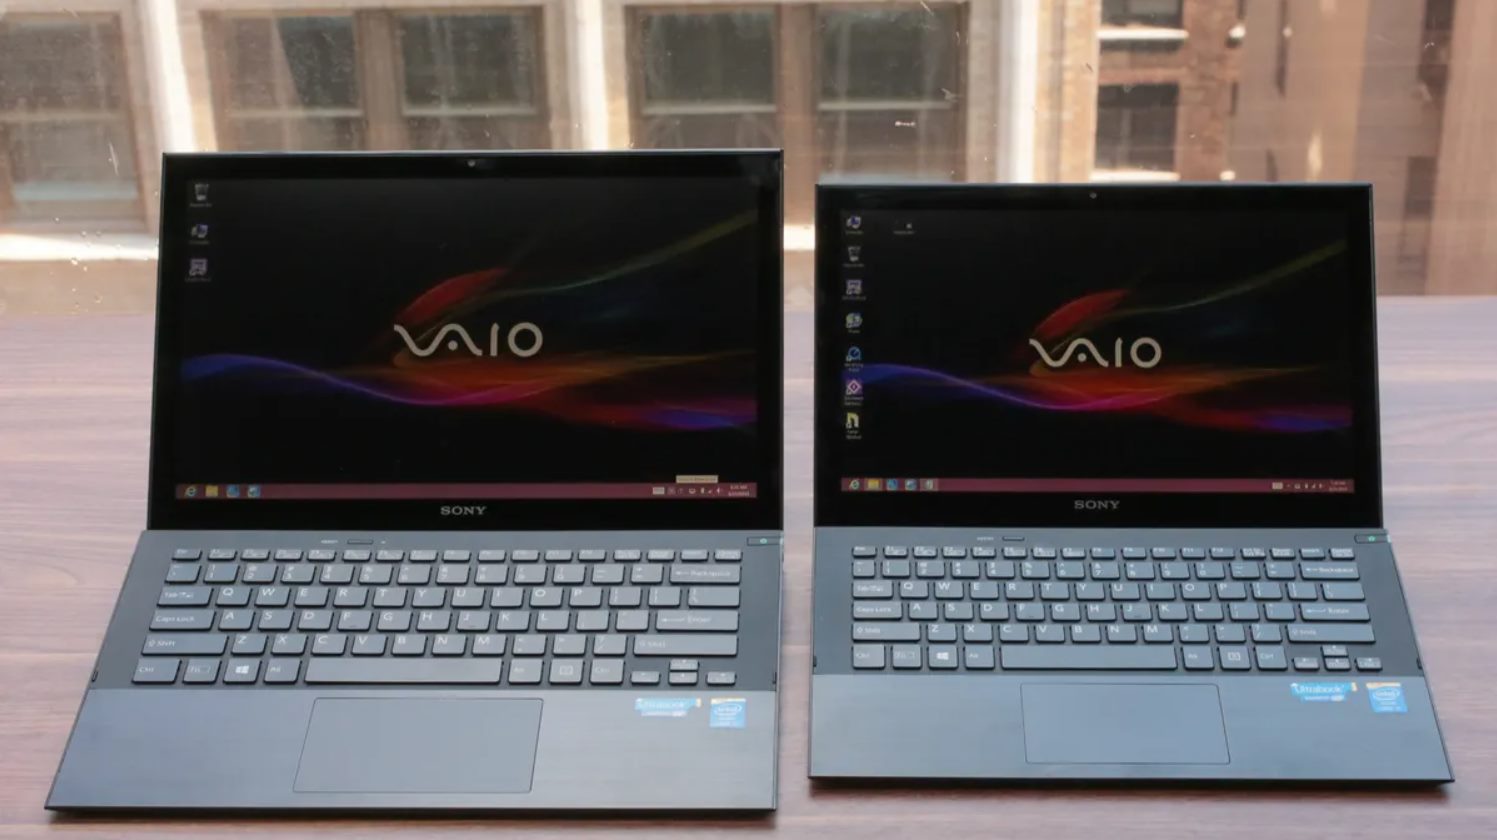
- Locate the top bezel of your Ultrabook’s screen. This is the area where the webcam is typically positioned.
- Look for a small, circular lens or a rectangular module on the bezel. This is the housing for the webcam.
- If you see a lens or module, gently clean it with a microfiber cloth to remove any dust or smudges that might affect the image quality.
- If you are unable to spot the webcam on the bezel, refer to the user manual or the manufacturer’s website for specific instructions on the webcam’s location for your model.
Once you have identified the physical location of the webcam, you can proceed to enable and configure its settings to ensure optimal performance.
Enable the Webcam in Device Settings
After confirming the physical presence of the webcam on your VAIO T Series Ultrabook, the next step is to enable it in the device settings. Here’s how to do it:
- Click on the Start menu and navigate to the Control Panel.
- In the Control Panel, locate the “Hardware and Sound” category and click on it.
- Under the “Devices and Printers” section, click on “Device Manager.”
- In the Device Manager window, expand the “Imaging devices” category to view the list of devices.
- Right-click on the webcam device, which is usually listed as “Integrated Camera” or “Webcam,” and select “Enable.”
- If the device is already enabled but not functioning properly, you can try disabling it and then re-enabling it to troubleshoot any potential issues.
- Close the Device Manager window and exit the Control Panel.
After enabling the webcam, you can now proceed to test its functionality by opening a webcam application or engaging in a video call. If the webcam still doesn’t work, there may be an issue with the driver.
Please keep in mind that the exact steps to enable the webcam may vary slightly depending on your specific VAIO T Series Ultrabook model and the operating system you are using. Consult the user manual or the manufacturer’s website for detailed instructions tailored to your device.
Update Webcam Driver
If enabling the webcam in the device settings did not resolve the issue, it is possible that you may need to update the webcam driver. Outdated or incompatible drivers can cause malfunctioning or non-functional webcams. Here’s how you can update the webcam driver on your VAIO T Series Ultrabook:
- Open your preferred web browser and visit the official website of Sony or the VAIO support page.
- Navigate to the “Drivers and Software” or “Support” section of the website.
- Enter the model number of your VAIO T Series Ultrabook to access the appropriate drivers for your device.
- Locate the webcam driver in the list of available drivers and click on the download link.
- Once the driver file is downloaded, double-click on it to initiate the installation process.
- Follow the on-screen instructions to install the updated webcam driver.
- After the installation is complete, restart your Ultrabook to apply the changes.
- Once your Ultrabook is back online, check the functionality of the webcam by utilizing a webcam application or engaging in a video call.
Updating the webcam driver can often resolve issues related to compatibility or outdated software. If the problem persists, you may want to consider contacting VAIO support for further assistance or exploring alternative solutions.
Note that the driver update process may differ depending on your specific VAIO T Series Ultrabook model and the operating system you are using. Ensure you are downloading the correct driver version compatible with your device to avoid any potential issues.
Use Third-Party Webcam Software
If the built-in software on your VAIO T Series Ultrabook is not meeting your needs or if you want additional features and customization options for your webcam, you can consider using third-party webcam software. These applications offer a variety of functionalities and effects to enhance your webcam experience. Here’s how to utilize third-party webcam software:
- Research and choose a reputable third-party webcam software that aligns with your requirements. Some popular options include OBS Studio, ManyCam, and CyberLink YouCam.
- Visit the official website of the chosen webcam software and download the installation file.
- Double-click on the downloaded file and follow the on-screen instructions to install the software.
- Once installed, launch the webcam software and explore its interface and features.
- Depending on the software, you can adjust settings such as resolution, frame rate, color balance, and exposure to optimize your webcam performance.
- Experiment with various effects and filters offered by the software to add a touch of creativity and fun to your webcam sessions.
- Some of these third-party webcam software also provide advanced features like screen sharing, video recording, and virtual backgrounds, which can be very useful for presentations or creating professional content.
It’s important to note that using third-party webcam software may require system resources and could impact the overall performance of your Ultrabook. Make sure your VAIO T Series Ultrabook meets the software’s requirements and ensure compatibility before installation.
By utilizing third-party webcam software, you can personalize your webcam experience and unlock a wider range of features and effects, making your video calls and content creation more engaging and professional.
Troubleshooting Webcam Issues
Even with the steps mentioned earlier, it’s possible that you may still encounter issues with your webcam on the VAIO T Series Ultrabook. If you’re experiencing problems with your webcam, try the following troubleshooting steps:
- Restart your Ultrabook: Sometimes, a simple restart can resolve minor software glitches that may be affecting the webcam’s functionality.
- Check for conflicting applications: Ensure that other applications or programs that utilize the webcam, such as video conferencing tools or photo editing software, are closed. These applications can sometimes prevent the webcam from being accessed by other programs.
- Scan for malware: Run a virus scan on your Ultrabook to check for any malware or malicious software that could be interfering with the webcam’s operation.
- Update your operating system: Ensure that your VAIO T Series Ultrabook’s operating system is up to date. Installing the latest system updates can often include fixes for potential compatibility issues with the webcam.
- Check privacy settings: Verify that the privacy settings on your Ultrabook allow applications to access the webcam. Some privacy settings may disable or restrict webcam usage.
- Test the webcam on another application: Try using a different webcam application or video conferencing tool to see if the issue is specific to a particular application.
- Restore system defaults: If all else fails, you can try restoring your Ultrabook to its default settings. However, be aware that this will erase all personal files and settings, so make sure to back up your important data before proceeding.
If none of the troubleshooting steps mentioned above resolve the issue, it may be necessary to seek further assistance. Contact the VAIO support team or consult with a professional technician who specializes in VAIO T Series Ultrabook repairs.
Remember, troubleshooting webcam issues can be frustrating, but with patience and perseverance, you can often overcome the challenges and restore your webcam’s functionality.
Conclusion
The built-in webcam on the VAIO T Series Ultrabook provides a convenient way to engage in video calls, capture photos, and record videos. However, finding and utilizing the webcam may require some initial setup and troubleshooting. By following the steps outlined in this guide, you can ensure that you make the most out of your Ultrabook’s webcam functionality.
Start by checking the physical appearance of the webcam on the top bezel of your Ultrabook’s screen. If you cannot locate it, consult the user manual or the manufacturer’s website for specific instructions. Once you have identified the webcam, enable it in the device settings by navigating through the Control Panel. If enabling the webcam doesn’t resolve the issue, updating the webcam driver from the official Sony or VAIO support page may be necessary.
If you desire additional features and customization options, consider using third-party webcam software. These applications offer a range of functionalities and effects to enhance your webcam experience. However, before installing any third-party software, ensure compatibility and system requirements.
If you encounter any issues with your webcam, troubleshoot by restarting your Ultrabook, checking for conflicting applications, scanning for malware, updating your operating system, verifying privacy settings, testing the webcam on another application, or restoring system defaults. If none of these steps resolves the issue, seek assistance from the VAIO support team or a professional technician.
By following these steps and troubleshooting approaches, you can optimize the performance of your VAIO T Series Ultrabook’s webcam and enjoy smooth and high-quality video communication and content creation experiences.