Introduction
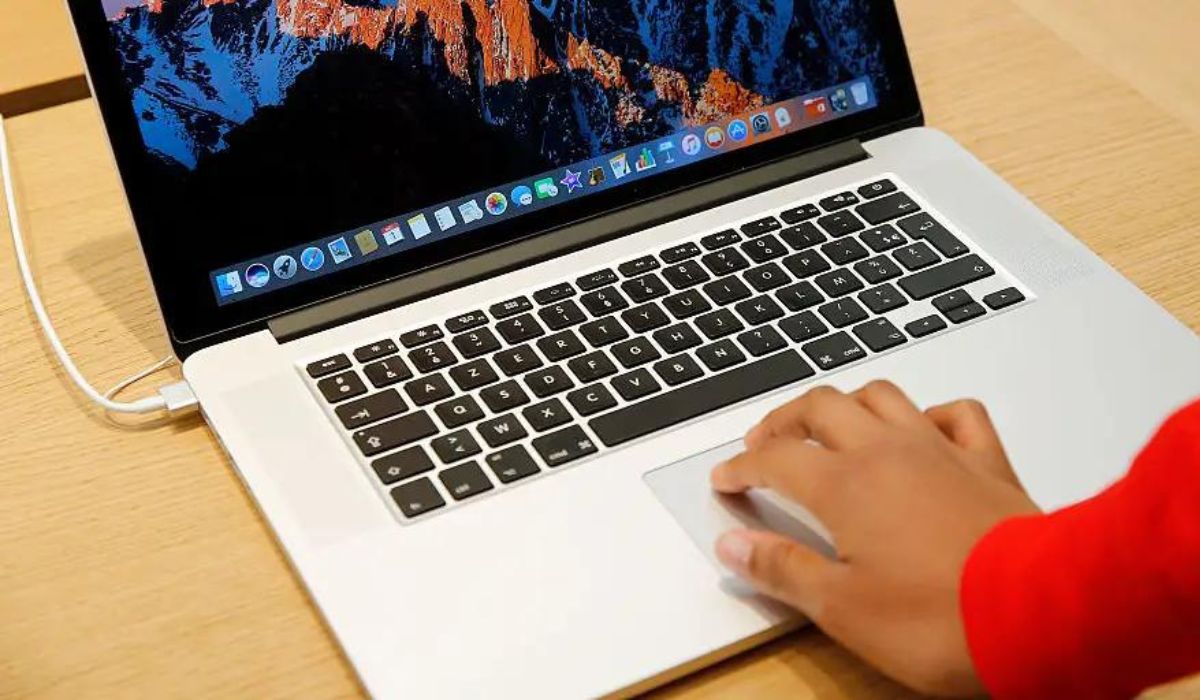
Using a trackpad on a MacBook Pro can greatly enhance your productivity and ease of use. The trackpad provides a convenient way to navigate, scroll, and interact with your device. However, there may be instances when the trackpad is not enabled or functioning properly. If you are facing this issue, don’t worry, because there are several steps you can take to enable the trackpad on your MacBook Pro.
In this article, we will guide you through the process of enabling the trackpad on your MacBook Pro. Whether the trackpad is not working at all or if certain features are disabled, we will cover different troubleshooting steps that should help you resolve the issue and get your trackpad back up and running.
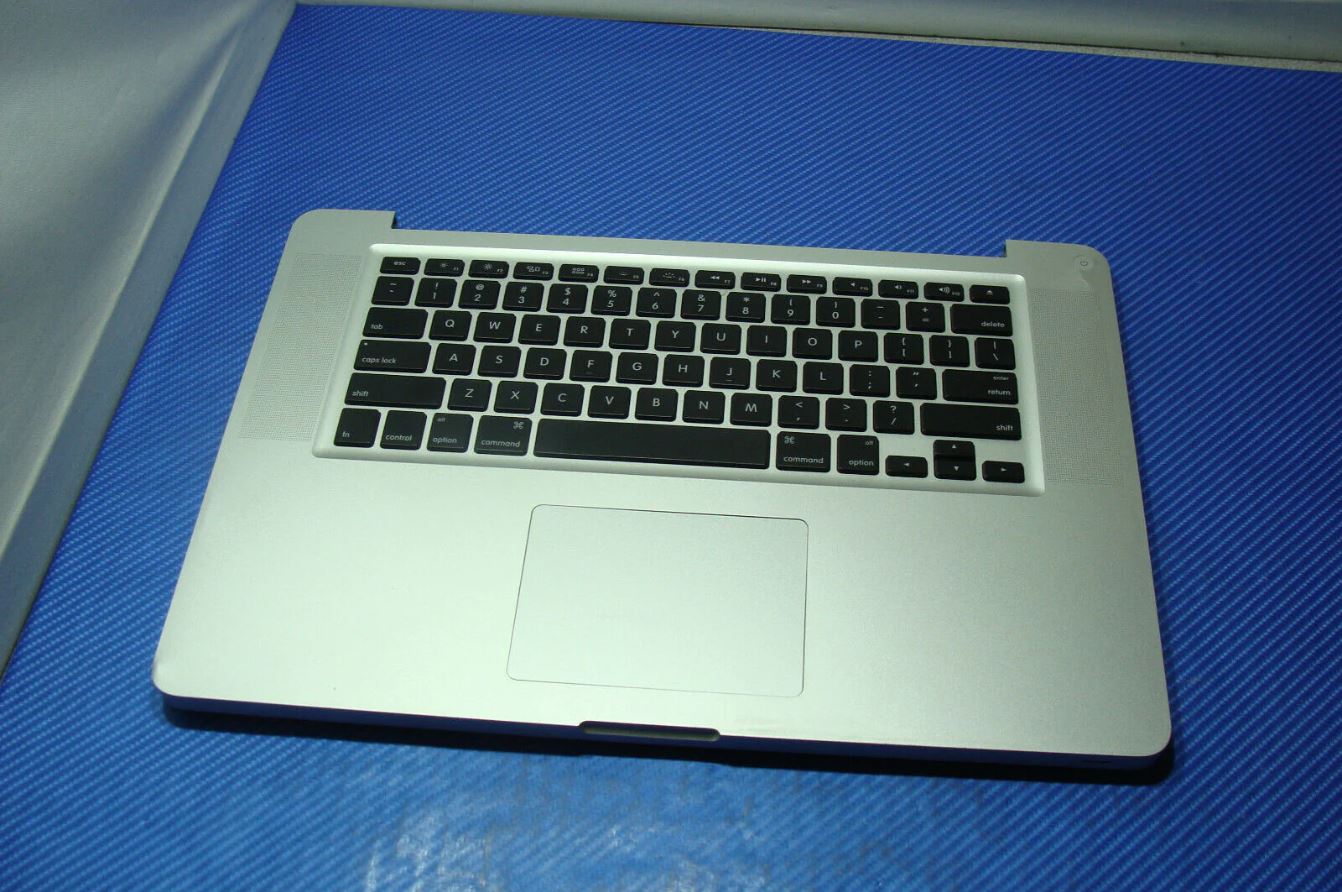
Please note that the steps provided here are applicable to all MacBook Pro models, including the MacBook Pro (13-inch, 15-inch, or 16-inch) with a Touch Bar or without a Touch Bar. So, without further ado, let’s dive into the troubleshooting process and get your trackpad working again.
Step 1: Check the trackpad settings
The first step in enabling your trackpad is to check the settings on your MacBook Pro. Sometimes, the trackpad may be disabled or certain features may be turned off mistakenly. Follow these steps to ensure that your trackpad settings are correctly configured:
- Click on the Apple menu in the top-left corner of your screen and choose “System Preferences.”
- In the System Preferences window, click on “Trackpad.”
- Make sure the checkbox next to “Enable Trackpad” is checked.
- Explore the different tabs and options to customize your trackpad settings according to your preferences.
If the trackpad settings were already enabled, try toggling them off and then turning them back on again. Sometimes, this simple action can resolve any minor software glitches that may be affecting the trackpad’s functionality.
After adjusting the trackpad settings, test if the trackpad is working as expected. If not, don’t worry, as we’ll move on to the next troubleshooting step to further resolve the issue.
Step 2: Update the trackpad driver
If checking the trackpad settings didn’t solve the issue, the next step is to update the trackpad driver on your MacBook Pro. Outdated or incompatible drivers can cause problems with the trackpad’s functionality. Follow these steps to update the trackpad driver:
- Click on the Apple menu in the top-left corner of your screen and choose “App Store.”
- In the App Store, click on the “Updates” tab.
- If an update for the trackpad driver is available, you will see it listed. Click on the “Update” button next to it to install the update.
- Once the update is installed, restart your MacBook Pro to apply the changes.
If there were no updates available for the trackpad driver, or if updating didn’t resolve the issue, you can also try reinstalling the driver. To do this, follow these steps:
- Go to the official website of the trackpad’s manufacturer and search for the latest driver for your MacBook Pro.
- Download the driver and follow the on-screen instructions to install it.
- Restart your MacBook Pro to complete the installation.
Updating or reinstalling the trackpad driver can often solve compatibility or software-related issues that may be interfering with its proper functioning. If the trackpad is still not working, let’s move on to the next troubleshooting step.
Step 3: Reset the SMC
If the trackpad issues persist after updating or reinstalling the trackpad driver, the next step is to reset the System Management Controller (SMC) on your MacBook Pro. The SMC controls various hardware functions, including the trackpad. Resetting the SMC can often resolve hardware-related issues. Here’s how you can reset the SMC:
- Shut down your MacBook Pro by choosing “Shut Down” from the Apple menu.
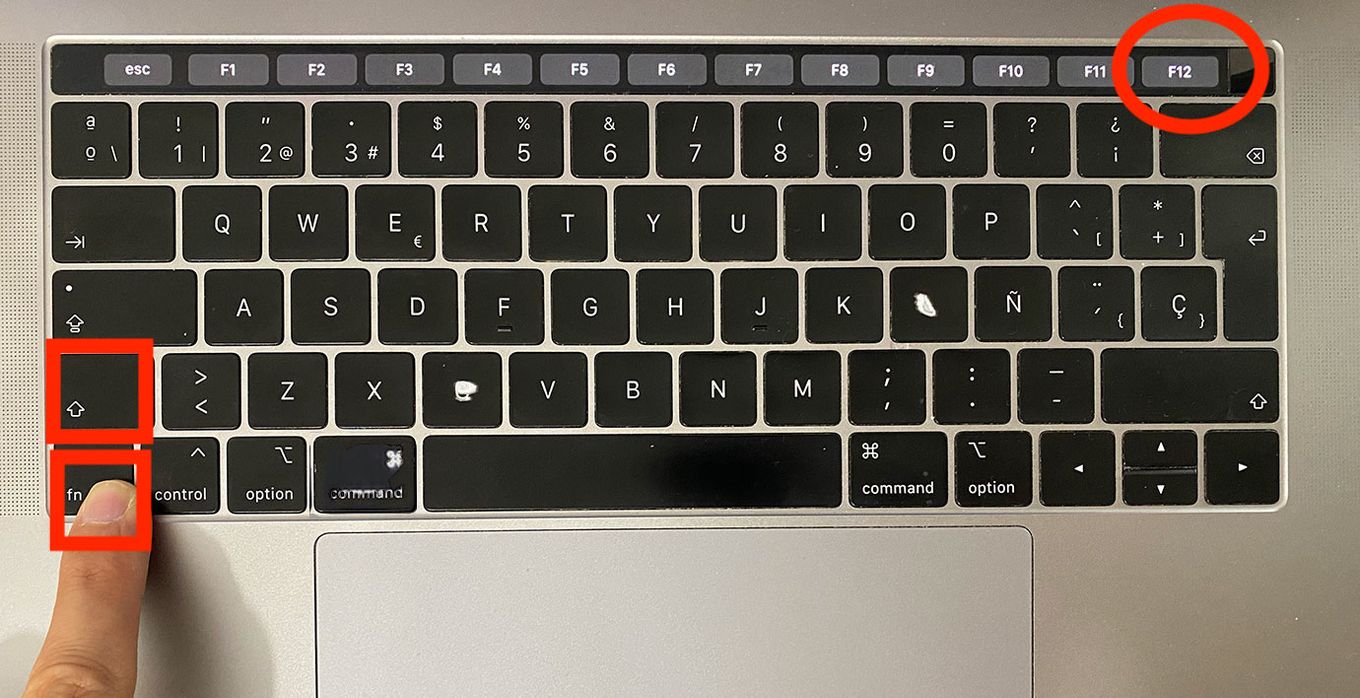
- Once your MacBook Pro is completely powered off, press and hold the following keys simultaneously: Shift, Control, and the Power button on the keyboard.
- Keep holding the keys for about 10 seconds, then release them.
- Press the Power button again to turn on your MacBook Pro.
After resetting the SMC, test the trackpad to see if the issue has been resolved. If not, proceed to the next troubleshooting step.
Step 4: Enable trackpad through Accessibility settings
If the previous steps didn’t enable the trackpad on your MacBook Pro, you can try enabling it through the Accessibility settings. This method can help bypass any software issues affecting the trackpad’s functionality. Follow these steps to enable the trackpad through Accessibility settings:
- Click on the Apple menu in the top-left corner of your screen and choose “System Preferences.”
- In the System Preferences window, click on “Accessibility.”
- In the left sidebar, click on “Pointer Control.”
- Under the “Mouse & Trackpad” section, check the box next to “Enable Mouse Keys.”
- Click on “Options” to open the Mouse Keys settings.
- Make sure the box next to “Ignore built-in trackpad when Mouse Keys is on” is unchecked.
Enabling the trackpad through the Accessibility settings can sometimes reset any issues with its functionality. After making these changes, test if the trackpad is now working. If it’s still not functioning properly, let’s move on to the final troubleshooting step.
Step 5: Restart your MacBook Pro
If none of the previous steps have resolved the trackpad issue on your MacBook Pro, restarting the device can often do the trick. Restarting your MacBook Pro can help refresh the system and clear any temporary glitches that may be affecting the trackpad’s functionality. Follow these steps to restart your MacBook Pro:
- Click on the Apple menu in the top-left corner of your screen.
- From the drop-down menu, choose “Restart.”
- Wait for your MacBook Pro to shut down and then turn back on.
Once your MacBook Pro has restarted, test the trackpad to see if it’s working properly now. In many cases, a simple restart can resolve minor software issues and restore the functionality of the trackpad.
If after restarting your MacBook Pro, the trackpad is still not working, it may be necessary to contact Apple support or visit an authorized service center to get further assistance with your device.
Conclusion
Enabling the trackpad on your MacBook Pro is crucial for smooth navigation and efficient operation of your device. If you are experiencing issues with your trackpad, don’t panic. By following the troubleshooting steps outlined in this article, you should be able to resolve the problem and get your trackpad working again.
We started by checking the trackpad settings on your MacBook Pro, ensuring that it is enabled and configured correctly. Then, we moved on to updating or reinstalling the trackpad driver to address any software-related issues. If that didn’t solve the problem, we reset the SMC, as it can help resolve hardware-related trackpad issues.
If the trackpad still wasn’t working, we explored the option of enabling the trackpad through the Accessibility settings, which can bypass certain software issues. Finally, we recommended restarting your MacBook Pro as a general troubleshooting step that can resolve temporary glitches.
If you have followed all these steps and the trackpad is still not functioning properly, it may be necessary to seek further assistance from Apple support or an authorized service center.
Remember, each step in this troubleshooting guide is designed to help you enable your trackpad, but individual results may vary. It’s important to read and follow the instructions carefully. We hope that this guide has been helpful in resolving your trackpad issues and getting your MacBook Pro back to optimal working condition.